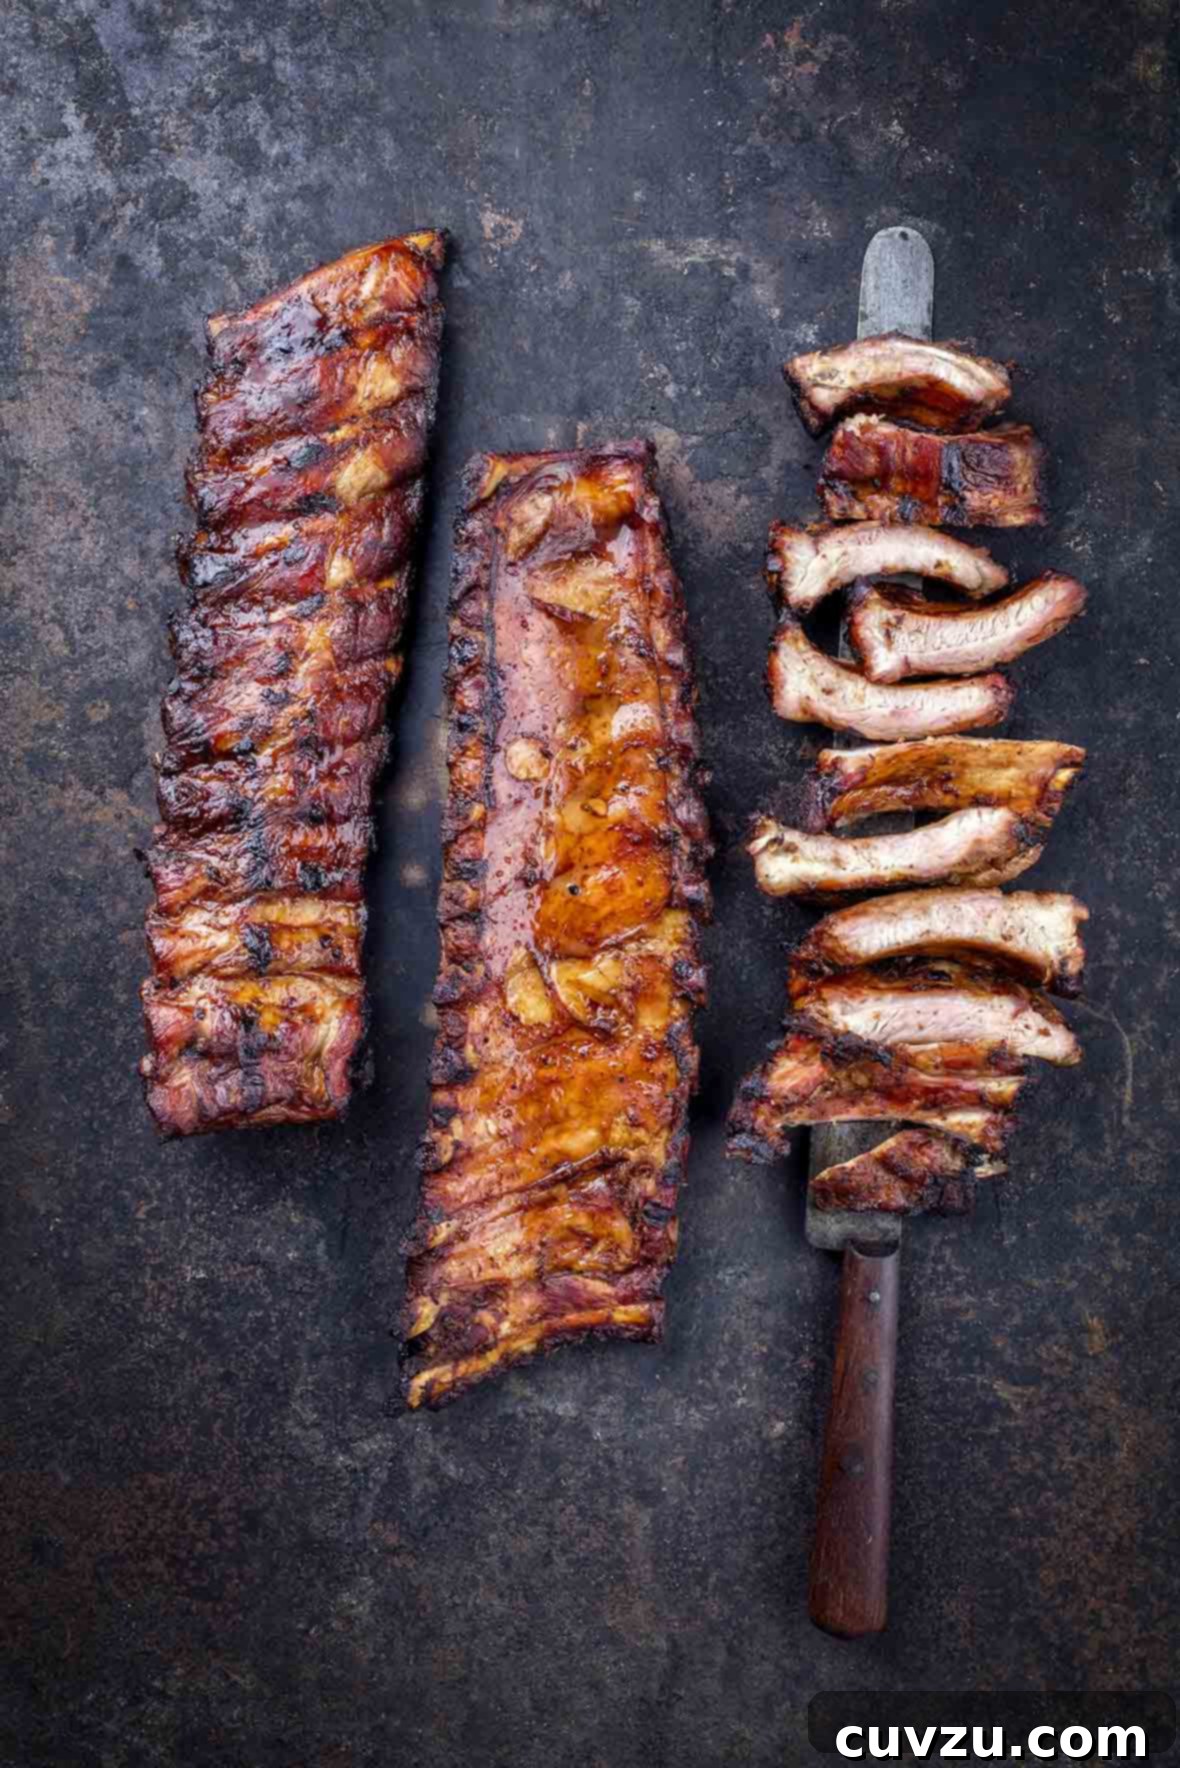
Prepare for an unforgettable culinary journey with these extraordinary barbecued baby back ribs. Our meticulous approach begins with a strategic brine, a simple yet powerful technique that guarantees unparalleled juiciness and flavor in every bite. Following the brine, the ribs are generously coated with a handcrafted spice rub – a masterful blend of rich paprika, zesty chili, earthy cumin, and robust pepper that forms an exquisite crust during cooking. Finally, they are kissed by the grill, undergoing a transformation through a low and slow cooking process until the meat achieves an incredible tenderness, almost effortlessly detaching from the bone. These ribs are so inherently flavorful and perfectly cooked that they stand alone, requiring absolutely no sauce to highlight their spectacular taste. This recipe promises not just a meal, but a true barbecue experience that will be the highlight of any gathering.
Mastering the Art of Barbecued Baby Back Ribs: A Guide to Succulence
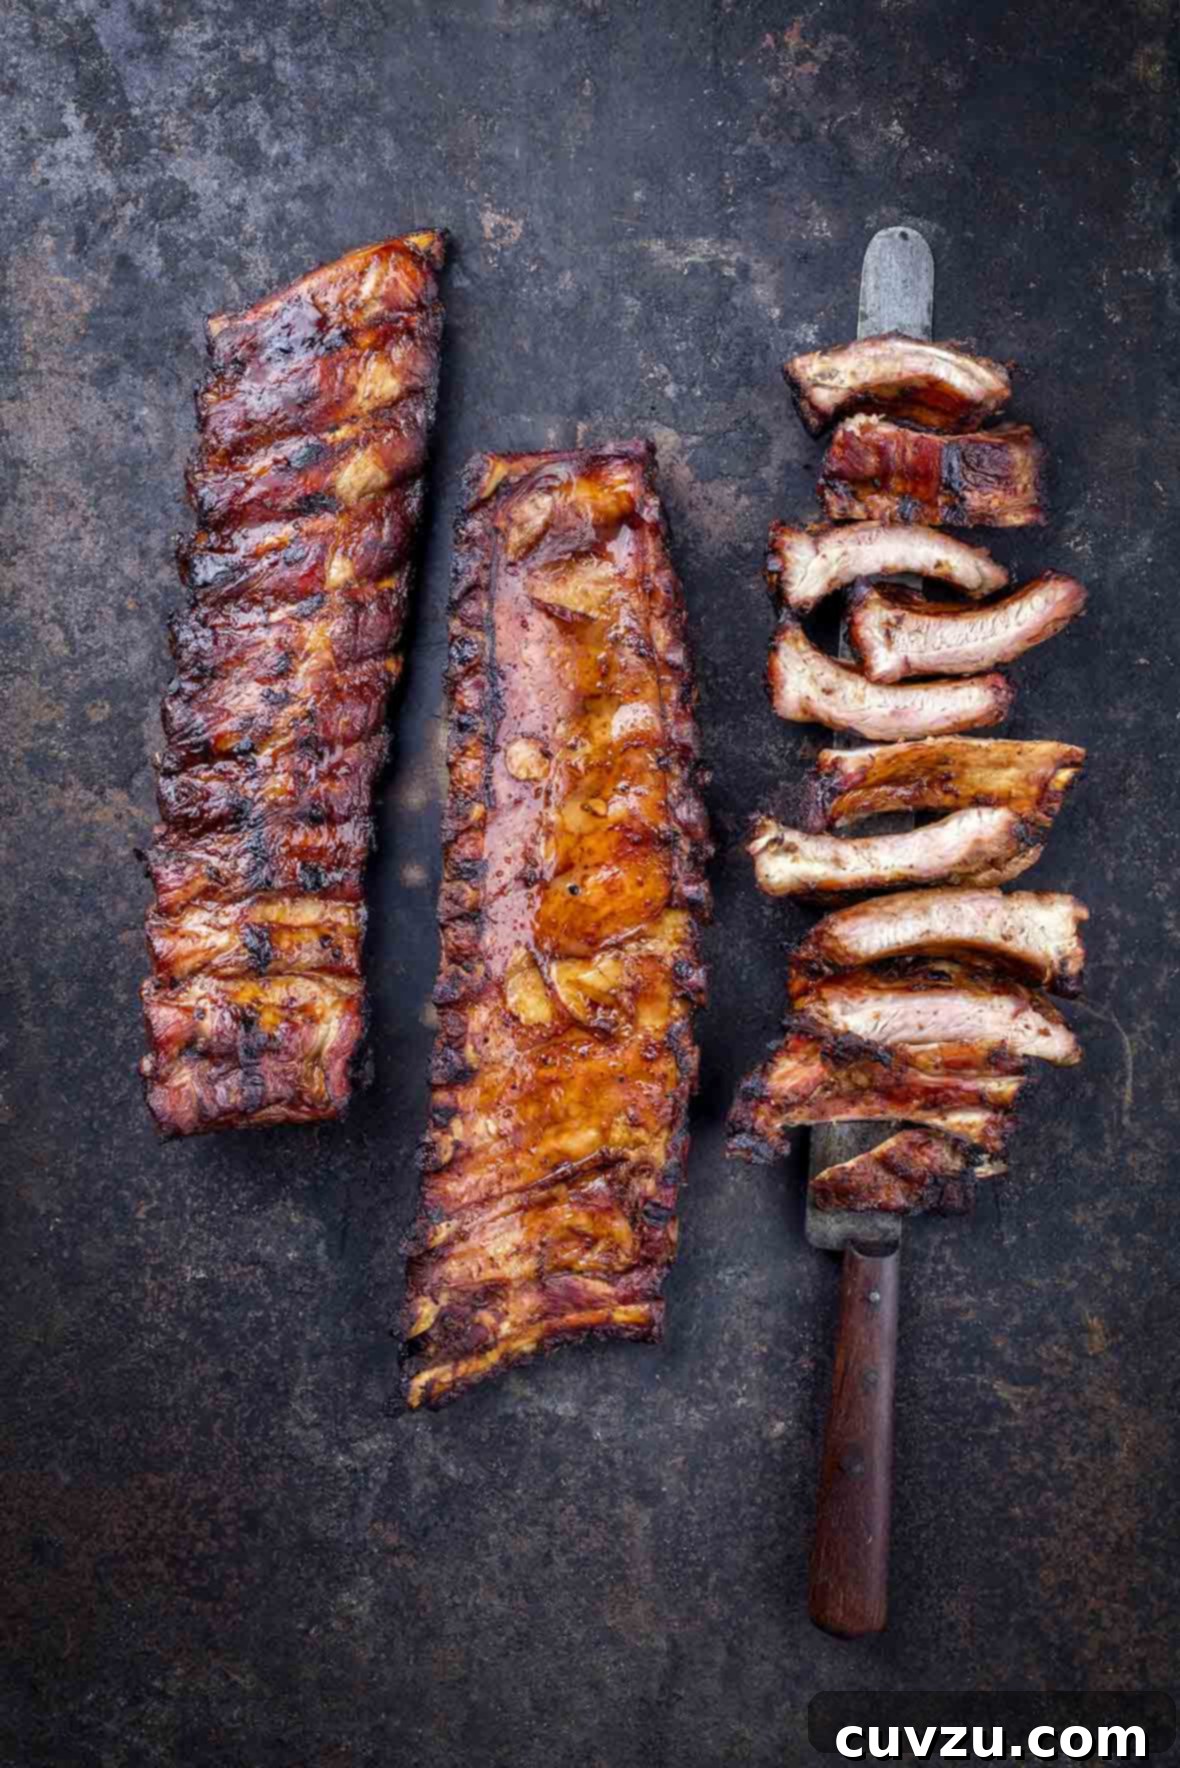
There’s nothing quite like the smoky aroma and melt-in-your-mouth tenderness of perfectly barbecued baby back ribs. This recipe elevates the classic barbecue experience by focusing on fundamental techniques that ensure juicy, flavorful results every time. Forget about slathering on heavy sauces to mask imperfections; our method builds flavor from the inside out, allowing the natural taste of the pork and the aromatic dry rub to shine through. Whether you’re a seasoned grill master or a novice looking to impress, this comprehensive guide will walk you through each step, from preparing the ribs to achieving that coveted “falling-off-the-bone” tenderness.
The Essential First Step: Removing the Membrane from Ribs
One of the most crucial, yet often overlooked, steps in preparing ribs is removing the silverskin, also known as the membrane, from the back of each rack. This thin, connective tissue, if left intact, can become tough and chewy during cooking, preventing the dry rub from fully penetrating the meat and hindering the ribs from reaching their peak tenderness. Fortunately, removing it is quite simple:
- **Locate the Membrane:** Turn the rib rack bone-side up. You’ll see a translucent, shimmering layer covering the bones.
- **Loosen a Corner:** Use the tip of a small, sharp knife (a butter knife or the blunt end of a spoon can also work) to carefully slide under the membrane at one end of the rack. Gently lift and loosen a small corner, taking care not to cut into the meat.
- **Grip and Pull:** Once you have a loose corner, grab it firmly with a paper towel. The paper towel provides extra grip, preventing your fingers from slipping.
- **Slow and Steady:** Slowly but steadily pull the membrane away from the bones. It should peel off in one or two large pieces. If it tears, simply repeat the process from where it broke off. Discard the membrane.
This small effort makes a monumental difference in the final texture and enjoyment of your barbecued ribs.
Barbecued Baby Back Ribs
These barbecued baby back ribs are first brined to keep them incredibly juicy, then generously coated with a superlative spice rub featuring paprika, chili, cumin, and pepper. They are meticulously grilled low and slow until they achieve an exquisite, almost fall-off-the-bone tenderness. The resulting flavor is so spectacular and self-sufficient that no additional sauce is needed.
By David Leite
Course: Mains
Cuisine: Southern
Servings: 4 servings
Calories: 658 kcal per serving
Prep Time: 30 minutes
Cook Time: 5 hours 30 minutes
Total Time: 6 hours
Pin Recipe
Ingredients
For the Dry Rub (makes 1 cup)
- 4 tablespoons sweet paprika
- 2 tablespoons chili powder
- 2 tablespoons ground cumin
- 2 tablespoons dark brown sugar
- 2 tablespoons salt
- 1 tablespoon dried oregano
- 1 tablespoon granulated sugar
- 1 tablespoon ground black pepper
- 1 tablespoon ground white pepper
- 1 to 2 teaspoons cayenne pepper (adjust to desired heat level)
For the Baby Back Ribs
- 1/2 cup table salt* (see notes on salt substitution)
- 1/4 cup granulated sugar
- 4 quarts cold water
- 2 (2-pound) full racks baby back ribs or loin back ribs, membranes removed (as described above)
- 1/4 cup dry rub (prepared above)
- 2 (3-inch) wood chunks (hickory, pecan, or apple are great choices)
Instructions
1. Make the Dry Rub
- In a small bowl, combine all the dry rub ingredients: sweet paprika, chili powder, ground cumin, dark brown sugar, salt, dried oregano, granulated sugar, ground black pepper, ground white pepper, and cayenne pepper. Mix thoroughly until well combined. Store any unused rub in an airtight container for future use. This blend offers a balanced profile of savory, sweet, and a hint of heat, perfectly complementing the pork.
2. Brine the Baby Back Ribs
- In a container large enough to fully submerge the rib racks, combine the 1/2 cup table salt, 1/4 cup granulated sugar, and 4 quarts of cold water. Stir diligently for about 2 minutes until both the salt and sugar are completely dissolved. Brining is a fantastic technique that infuses moisture and flavor deep into the meat, ensuring the ribs remain tender and juicy throughout the long grilling process.
- Carefully submerge the prepared baby back ribs into the brine solution. Ensure they are fully covered. Place the container in the refrigerator and allow the ribs to brine for 1 hour. Do not over-brine, as this can make the ribs too salty.
- After 1 hour, remove the ribs from the brine. Discard the brining liquid. Thoroughly pat the ribs dry on all sides with paper towels. Removing excess moisture is crucial for the rub to adhere properly and for achieving a good crust during grilling.
- Place the dried rib racks on a rimmed baking sheet. Evenly rub each side of each rack with approximately 1 tablespoon of the prepared dry rub, ensuring every surface is well-covered. Gently press the rub into the meat. Refrigerate the rubbed ribs for at least 30 minutes, or preferably overnight, to allow the flavors to meld and penetrate the meat. This resting period enhances the rub’s effectiveness.
3. Prepare the Grill for Indirect Cooking
- While the ribs are brining or resting with the rub, begin preparing your wood chunks. Soak the 2 (3-inch) wood chunks in cold water to cover for at least 1 hour. Soaking prevents them from burning too quickly and helps them produce a steady stream of smoke for a longer duration, infusing the ribs with that delicious smoky flavor.
- Next, prepare your charcoal. Light a large chimney starter filled about three-quarters full with charcoal briquettes (approximately 4 1/2 quarts). Allow the briquettes to burn until they are completely covered with a layer of fine gray ash, which typically takes about 30 minutes. This indicates they are ready for placement on the grill.
- Construct a modified two-level fire setup in your charcoal grill. Spread all the lit coals on one side of the grill, piling them up to a height of 2 or 3 briquettes. This creates a hot zone. Leave the other half of the grill completely free of coals, establishing a cooler, indirect cooking zone. Ensure the bottom vents of your grill are completely open to allow for maximum airflow and heat.
- Drain the soaked wood chips and carefully place them directly on top of the lit charcoal briquettes. Place the cooking grate back into position. Open the grill lid vents completely. Cover the grill with its lid, positioning it so that the vents are directly opposite the wood chunks. This setup helps to draw the smoke across the entire cooking surface and over the food on the indirect side. Allow the grate to heat for 5 minutes before adding the ribs. This ensures an even cooking temperature.
4. Grill the Baby Back Ribs Low and Slow
- Once your grill is properly set up and preheated, carefully place the seasoned baby back ribs on the cooler side of the grill (the side with no coals). Cover the grill immediately, again ensuring the lid vents are opposite the wood chunks to maintain a consistent smoke flow over the ribs. The internal temperature inside the grill should initially register around 350°F (175°C) but will gradually drop as the cooking progresses.
- Continue cooking the ribs for approximately 2 hours. During this period, the grill temperature will naturally start to drop to about 250°F (120°C). It is crucial to manage the heat and airflow throughout the cooking process. Every 30 minutes, flip the rib racks and rotate them 180 degrees, switching their positions so that the rack closest to the fire is moved to the outside, and vice versa. This ensures even cooking and promotes consistent smoky flavor across both racks. Monitor the temperature and adjust vents as needed to maintain a low and slow environment.
- After the initial 2 hours, add about 10 fresh charcoal briquettes to the existing pile of coals to boost the heat and maintain consistency. Continue to cook the ribs for an additional 1 1/2 to 2 hours, aiming for a grill temperature of 275 to 300°F (135 to 150°C). During this final stage, maintain the routine of flipping, rotating, and switching the ribs every 30 minutes. The ribs are done when the meat easily pulls away from the bone with gentle pressure, indicating exceptional tenderness. You should see a slight pull-back of the meat from the bone ends.
- Once the ribs are perfectly tender, transfer them to a clean cutting board. Allow them to rest for 10-15 minutes before cutting. This resting period allows the juices to redistribute throughout the meat, resulting in an even more succulent final product. Using a sharp knife, carefully cut between the bones to separate the individual ribs. Pile the perfectly barbecued ribs onto a platter and serve them immediately. Watch them disappear quickly – they are truly irresistible!
Originally published August 5, 2005.
Notes
*Understanding Kosher Salt vs. Table Salt in Brining
When preparing brine, the type of salt you use significantly impacts the final result due to differences in density. Simply substituting kosher salt for table salt in a 1:1 ratio by volume can lead to an overly salty or under-salted brine. This complexity is further compounded by the fact that different brands of kosher salt (e.g., Diamond Crystal and Morton) have varying densities themselves. To ensure your brine is perfectly balanced and your ribs achieve optimal juiciness and seasoning, we’ve done the testing for you. Please refer to this handy conversion chart:
For 1/2 cup of table salt, use:
- 1 cup Diamond Crystal Kosher Salt
- OR 3/4 cup Morton Kosher Salt
Using the correct conversion is key to achieving the desired tenderness and flavor without making your ribs excessively salty. Always measure carefully!
Adapted From
The Cook’s Illustrated Guide to Grilling and Barbecue
Buy On Amazon
Nutrition
Calories: 658 kcal
Carbohydrates: 5 g
Protein: 55 g
Fat: 47 g
Saturated Fat: 16 g
Monounsaturated Fat: 20 g
Trans Fat: 0.4 g
Cholesterol: 196 mg
Sodium: 1138 mg
Fiber: 1 g
Sugar: 3 g
Nutrition information is automatically calculated and should be used as an approximation.
Tried this recipe?
Mention @leitesculinaria or tag #leitesculinaria!
Recipe Testers’ Reviews: Real Feedback on Our Barbecued Baby Back Ribs

Cheryl Freeman
As a huge enthusiast of baby back ribs, I’ve always appreciated the pure, unadulterated flavor of meat, especially when complemented by a well-crafted dry rub. While a great sauce certainly has its place, there are times when I simply crave the authentic taste of perfectly cooked pork. This recipe introduced a new technique for me: brining the ribs, which I initially hadn’t considered for barbecue. I decided it was definitely worth exploring, and I’m glad I did.
One interesting detail was the instruction to dissolve salt and sugar in cold tap water for the brine. My usual habit would be to warm the water, but I followed the recipe’s suggestion. To my surprise, a quick two minutes of stirring was all it took for everything to dissolve completely – a welcome time-saver compared to heating water and then waiting for it to cool with ice. This made the brining process exceptionally efficient.
For the grilling, I opted for briquettes, as the recipe suggested, over my usual lump charcoal. Briquettes, known for their longer, more consistent burn, proved ideal for the low-and-slow method required here. I chose pecan wood for its mild, sweet smoke, which perfectly complemented the robust dry rub.
The dry rub itself is remarkably well-rounded. The ability to adjust the cayenne pepper offers a nice flexibility for heat preference. I was initially concerned that without a basting liquid, the ribs might dry out over such a long cook time. However, the brine worked wonders, locking in moisture and ensuring the ribs remained incredibly succulent throughout. The texture was fantastic, proving the brine’s effectiveness.
While the continuous flipping, rotating, and temperature management every 30 minutes made this recipe a bit labor-intensive, the end result was absolutely worth every moment. The ribs were profoundly succulent and tender, detaching effortlessly from the bone. Despite having a side of sauce available just in case, it went completely untouched – a true testament to the exceptional flavor of these dry-rubbed, brined ribs. This recipe is a keeper for anyone who loves ribs that speak for themselves.

Greg Crawford
As an enthusiastic fan of barbecue and smoking, this recipe immediately captured my interest. However, as I began to assemble the dry rub – noting its fairly typical ingredients – I confess I had a moment of skepticism, wondering if the world truly needed yet another barbecue rib recipe. I was profoundly mistaken.
First and foremost, while the rub does contain familiar elements, a few distinctive touches truly set it apart. The inclusion of oregano, along with both black and white pepper, and a carefully balanced chili powder, gave this particular rub an added depth and kick that unmistakably shone through in the final product. It wasn’t just another blend; it was a uniquely flavorful one.
The other innovative aspect that I believe made a significant difference was the one-hour brine. This brining step proved to be a critical factor in preventing the ribs from drying out during their extensive four-hour cook time. The result was remarkably moist and juicy ribs, retaining their succulence even after hours on the grill.
Regarding the flavor profile, there was a perfect amount of smoke infused into the meat, and what truly impressed me was the distinct taste of the various rub flavors. Often, with barbecue rubs, the individual spices tend to blend into a single, less defined “barbecue” taste. Here, however, we could clearly discern the sweet notes, the pleasant heat, and the smoky undertones. It was a truly harmonious and pretty perfect balance of flavors.
Beyond the fantastic taste, I found this to be a very accessible recipe, even for those who might not consider themselves experienced barbecue chefs. The instructions were clear and the process manageable. I opted for hickory wood for the smoke, which contributed a classic, robust flavor. The charcoal took approximately 35 minutes to achieve that ideal gray ash layer, indicating it was ready. The timing for the ribs was spot on – it was exactly two hours before more charcoal was needed, and then another two hours until they reached perfection. I might even try pulling them off after an hour and a half after adding the fresh charcoal next time, to experiment with a slightly firmer texture.
We easily got four to five generous servings from the two racks of ribs, and they were wonderfully complemented by homemade cornbread and a fresh coleslaw. This recipe has definitely earned a permanent spot in my barbecue repertoire.