Authentic Italian Grissini Recipe: Master the Art of Crispy Homemade Breadsticks
Step into the world of genuine Italian cuisine with this effortless recipe for Grissini, the beloved Italian breadsticks. Far superior to any store-bought alternative, these grissini offer an unparalleled crispness and a delightful chew that makes them incredibly addictive. Once you try these satisfyingly crunchy, golden sticks, you’ll understand why they’re a staple across Italy and a joy to create in your own kitchen.
TL;DR: Your Quick Guide to Authentic Grissini
- What are Grissini? An authentic recipe for Grissini Torinesi, or Italian breadsticks, crafted from a simple yet perfect dough of flour, water, yeast, olive oil, and salt. The result is a wonderfully thin, exceptionally crisp, and irresistibly addictive snack that brings a piece of Italy to your table.
- Why You’ll Love This Recipe: Forget bland, pre-packaged breadsticks. This homemade version boasts an outrageous crunch, is surprisingly easy to prepare, and delivers an incredible flavor experience. They’re perfect as a sophisticated appetizer, alongside your favorite dips, cheeses, or a glass of fine wine.
- How to Make Them: The process is straightforward. Combine and knead the dough until smooth, allow it to rise for about an hour, then cut it into slender strips. Gently stretch these strips to the length of your baking sheet, then bake until they achieve a beautiful golden hue and satisfying crunch.
For many, the word “grissini” conjures images of those uniformly pale, factory-made breadsticks served in long waxen envelopes at Italian-American restaurants. However, these mass-produced versions bear as much resemblance to true, authentic Grissini, or Italian breadsticks, as industrial white bread does to a rustic, handcrafted country loaf. The genuine article is a different experience entirely.
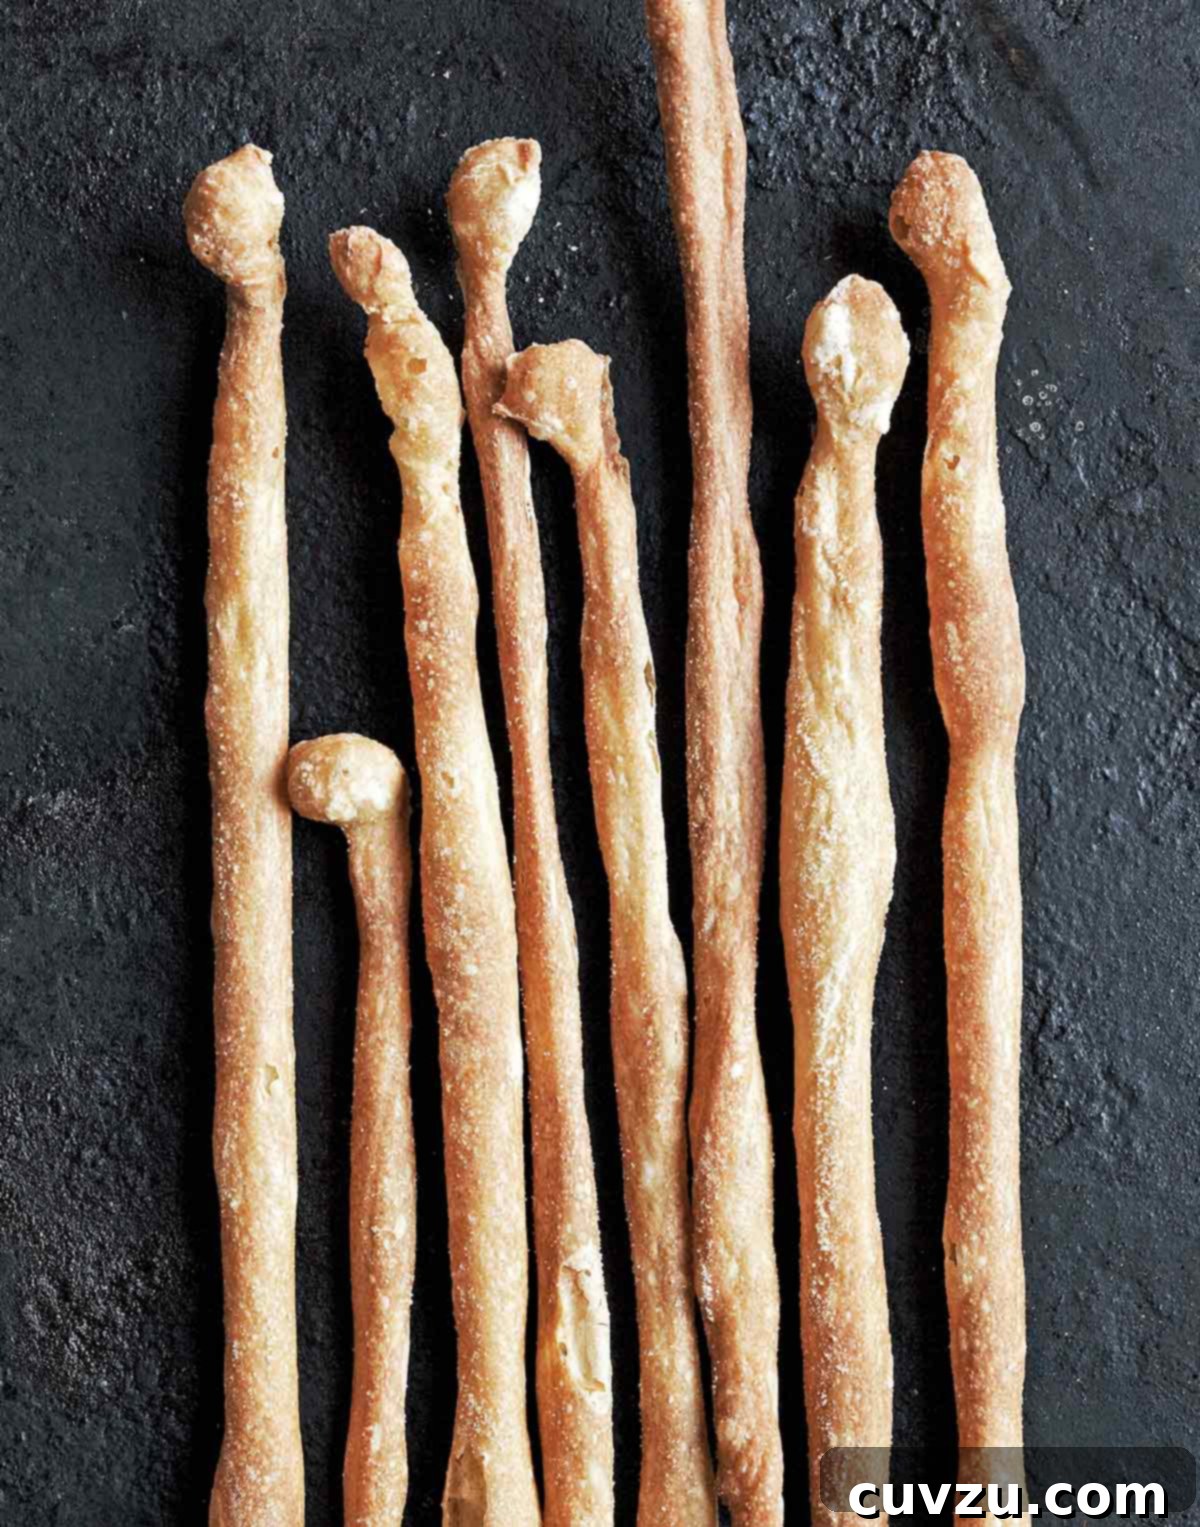
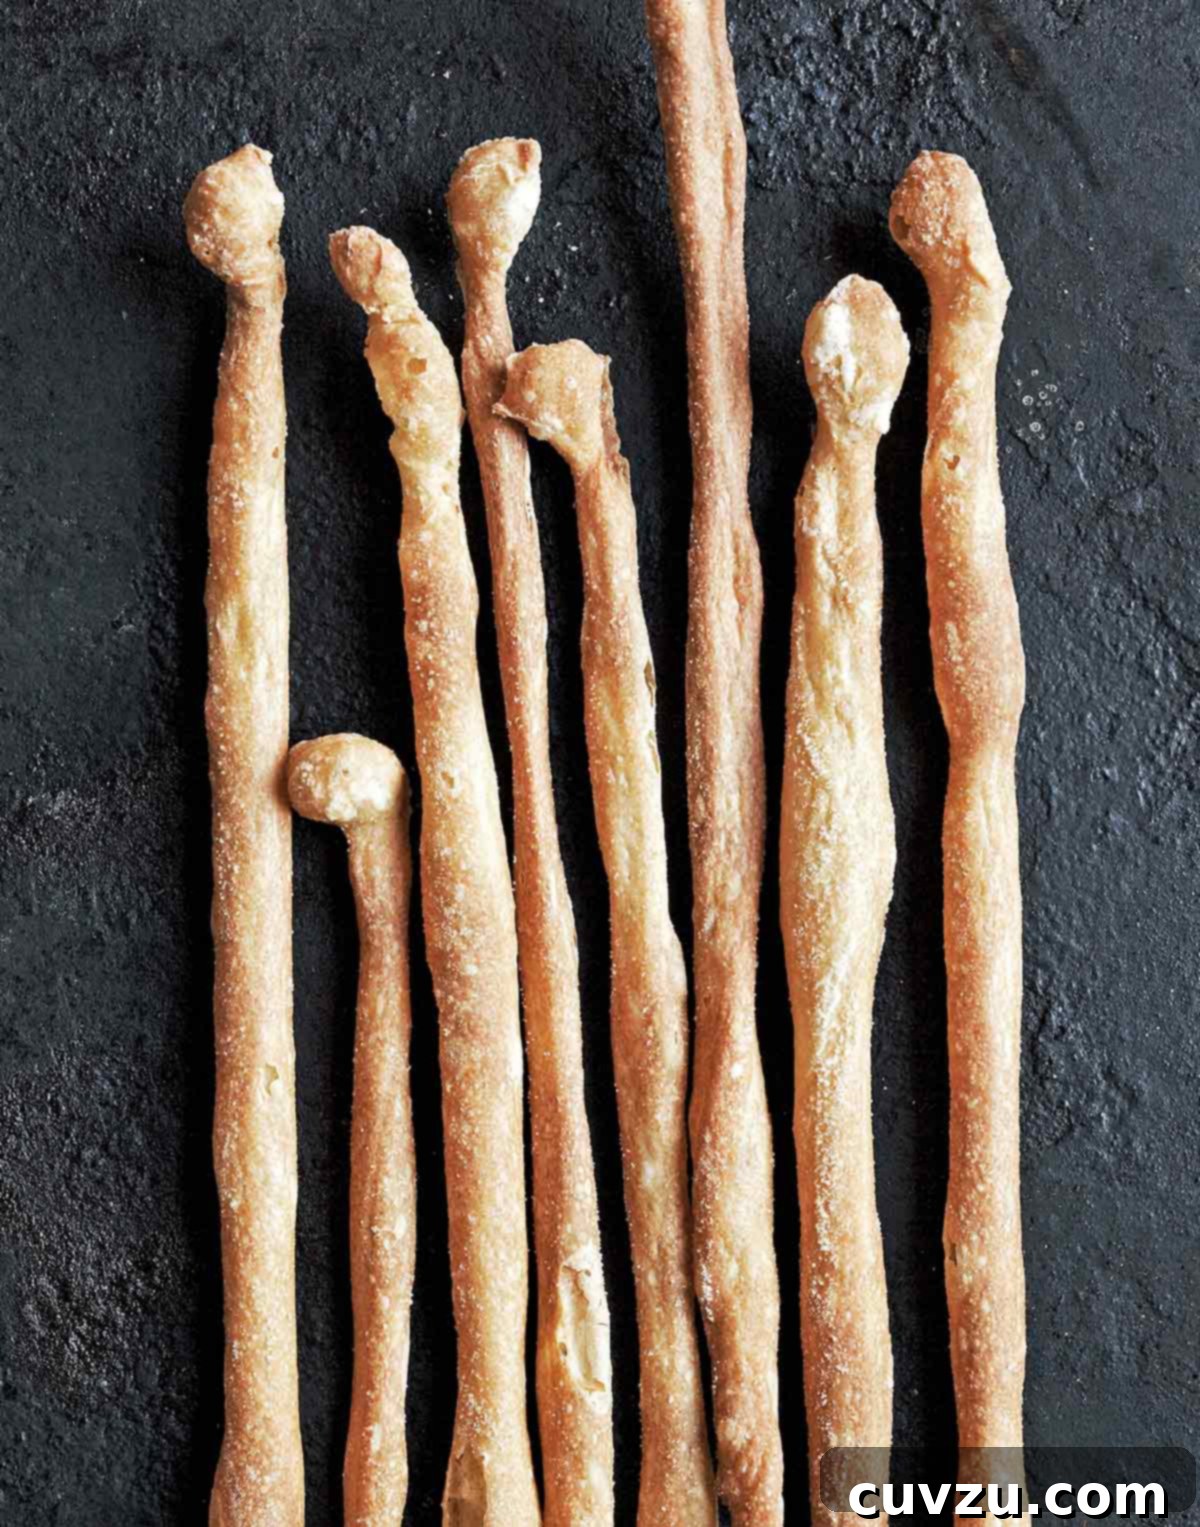
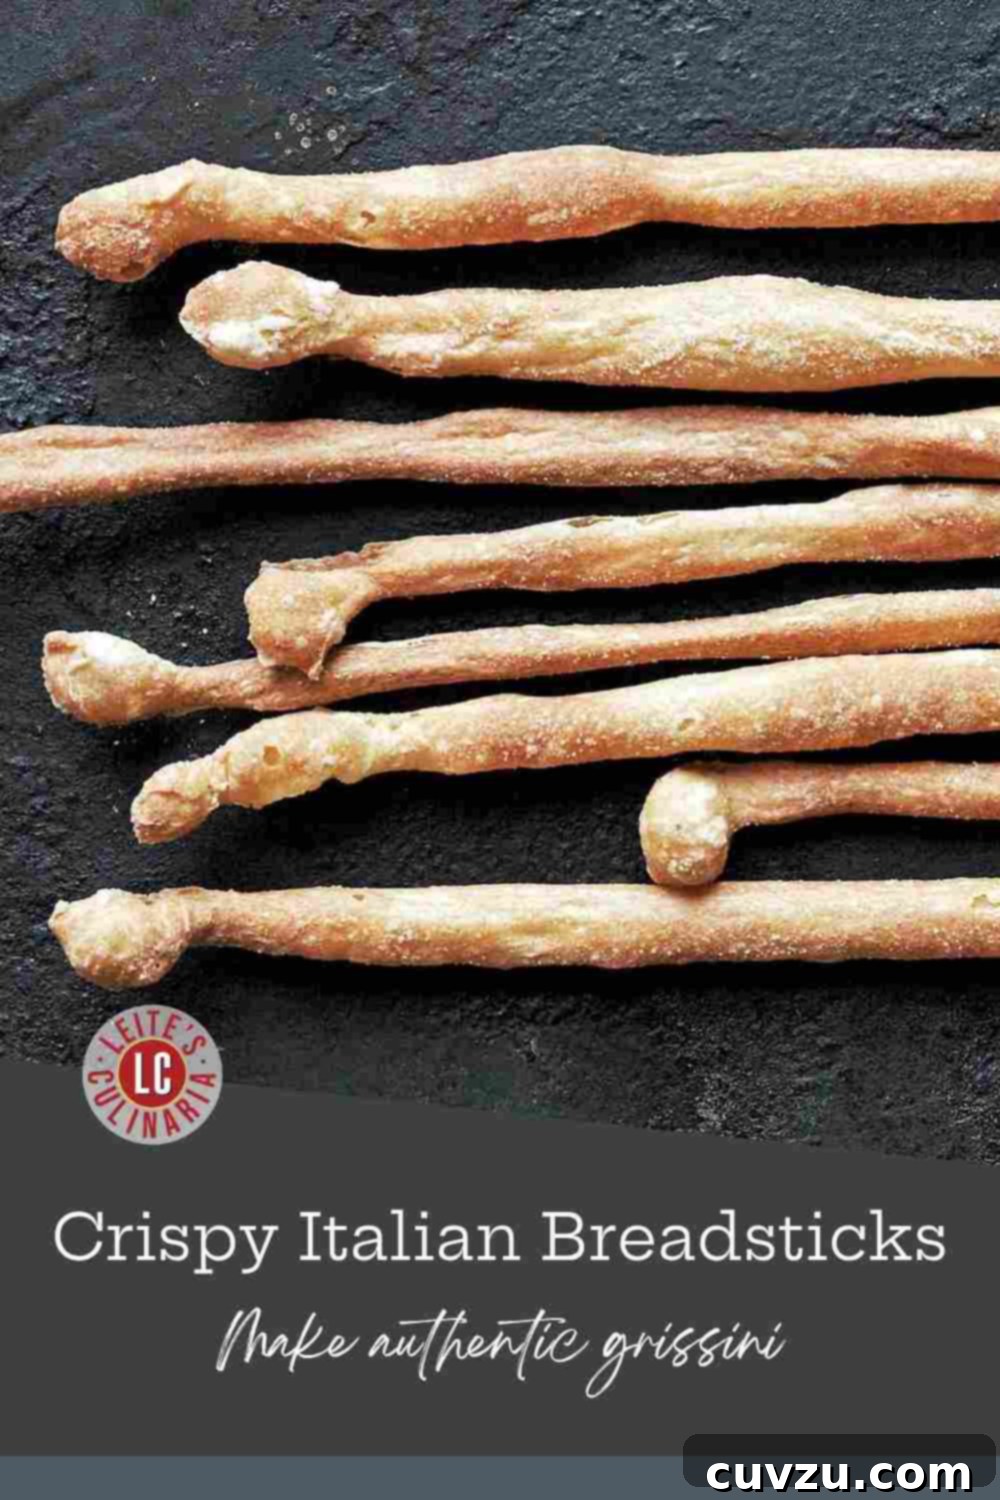
As culinary expert Carol Field eloquently describes, real grissini are born from a foundational dough of yeast, flour, water, and a touch of olive oil, lard, or butter. Their characteristic shape is achieved by gently stretching the dough between the hands, often to the impressive length of the baker’s arms. Traditionally, these slender delights were baked directly on the hearth of a wood-burning oven, imparting a unique depth of flavor. Authentic grissini are wonderfully irregular, with a thickness reminiscent of knobby fingers, and stack like cordwood. They deliver an undeniable crunch and a wholesome, earthy taste. Even when crafted in a home kitchen using traditional methods, these breadsticks evoke the spirit of the Italian countryside and cherished old-world traditions.
The True Essence of Italian Breadsticks: Beyond the Commercial Version
The history of grissini is as rich and flavorful as the breadsticks themselves. Originating in Turin, Piedmont, around the late 17th century, grissini were purportedly created for Duke Vittorio Amedeo II of Savoy, who suffered from digestive issues. His court baker, Antonio Brunero, devised these thin, dry breadsticks as an easily digestible alternative to regular bread. They quickly became a favorite of the House of Savoy and soon spread throughout Italy and beyond. They were even beloved by Napoleon Bonaparte, who established a regular stagecoach service between Turin and Paris solely to satisfy his craving for grissini!
What truly distinguishes authentic Italian grissini from their mass-produced counterparts lies in their simple yet profound ingredients and artisanal preparation. While industrial versions prioritize uniformity and shelf-life, traditional grissini celebrate the natural elasticity of the dough, the richness of olive oil (or sometimes lard for an even more rustic flavor), and the slow fermentation that develops complex flavors. The hand-stretching method creates their signature irregular, elongated form and ensures maximum surface area for that coveted crispiness.
Grissini Torinesi: A Taste of Turin’s Culinary Heritage
Technically speaking, the proper name for these skinny, crunchy, yeasty, and utterly delightful “light sabers of bready goodness” is grissini Torinesi. While “Torinesi” might not roll off the tongue quite as easily as “grissini,” it proudly signifies their origin in Turin. This region’s culinary heritage is deeply intertwined with these breadsticks, which remain a symbol of local gastronomic excellence.
Those adventurous enough to embrace a bit of advanced Italian pronunciation can practice the full name, along with other classic variations such as grissini Siciliani (Sicilian breadsticks, often adorned with sesame seeds) and grissini al papavera (poppy seed breadsticks). The how-to instructions for these delicious variations are detailed just below the main grissini recipe, inviting you to explore the diverse world of Italian breadstuff.
Versatile Ways to Serve Your Homemade Grissini
Homemade grissini are incredibly versatile and can elevate almost any meal or snack. Their crisp texture and subtle flavor make them a perfect accompaniment to a wide range of dishes, transforming simple ingredients into an elegant spread. Here are some popular ways to enjoy them:
- With Antipasti: Serve grissini alongside a colorful platter of cured meats like prosciutto, salami, and mortadella, a selection of Italian cheeses (Parmesan, Pecorino, Gorgonzola), marinated olives, artichoke hearts, and sun-dried tomatoes. Their neutral flavor allows the antipasti to shine.
- Soups and Salads: Instead of traditional croutons, break grissini into smaller pieces and sprinkle them over creamy soups or crisp green salads for an added crunch and authentic Italian touch.
- Dips and Spreads: They are perfect for dipping into olive oil with a sprinkle of balsamic vinegar, a rich pesto, creamy hummus, or a savory tapenade. For a sweeter option, try them with a hazelnut spread.
- Breakfast Tradition: In some parts of Italy, a delightful, albeit less common, tradition involves eating grissini for breakfast with milk or coffee, offering a unique crunchy start to the day.
- With Eggs: Pair them with scrambled eggs, omelets, or frittatas as a delightful alternative to toast, adding a sophisticated crunch to your breakfast or brunch.
- Elegant Snacks: Simply enjoy them on their own, or alongside a glass of wine for a light and satisfying snack. Their simple elegance makes them ideal for entertaining guests.
More Irresistible Crunchy Snacks Recipes
Cheese Crackers
25 mins
Cheddar-Parmesan Crackers
2 hrs 40 mins
Stilton and Walnut Crackers
1 hr 10 mins
Peppery Cheese Straws
35 mins
Share Your Culinary Journey: Write a Review
If you make this recipe, or any dish on LC, consider leaving a review, a star rating, and your best photo in the comments below. I love hearing from you.–David
Featured Review
These grissini are simply amazing! Easy to prepare and super tasty. They pair wonderfully with a glass of wine and various spreads or cheeses, making them my go-to treat for spontaneous visits from friends. Without exception, everyone who has tried them has loved them. I enjoy adding crushed dried rosemary, za’atar, and paprika, or sometimes just cumin seeds. Either way, these sticks are absolutely fantastic!
Eliza
Italian Breadsticks ~ Grissini Torinesi Recipe
David Leite
- PIN
Equipment
-
Baking stone (optional)
Ingredients
- 1 3/4 teaspoons active dry yeast
- 1 tablespoon malt syrup, (you can substitute molasses, honey, or sugar, although the malt syrup gives the crust a nice color)
- 1 1/4 cups warm water, (or 1/4 cup warm water plus 1 cup cold water if using a food processor)
- 2 tablespoons extra-virgin olive oil, plus more for brushing and for the pans
- 3 3/4 cups unbleached all-purpose flour, plus more for the work surface
- 1 1/2 teaspoons salt
- 1/2 cup cornmeal or coarse semolina flour, plus more for dusting the baking stone (optional)
Instructions
-
Make the dough by hand: In a large mixing bowl, stir the yeast and malt into the warm water. Let it stand until foamy, about 10 minutes, indicating the yeast is active. Stir in the olive oil. Add the all-purpose flour and salt, then stir until the dough comes together. Transfer to a lightly floured surface and knead until the dough is smooth, soft, velvety, and elastic, approximately 8 to 10 minutes.Make the dough with a stand mixer: Begin by stirring the yeast and malt into the warm water in your mixer bowl. Allow it to stand until foamy, about 10 minutes. Using the paddle attachment, mix in the olive oil. Add the all-purpose flour and salt, mixing until the dough forms a cohesive mass. Switch to the dough hook and knead at low speed for about 3 minutes. For the perfect finish, briefly knead the dough by hand on a lightly floured surface.Make the dough with a food processor: In a small bowl, stir the yeast and malt into 1/4 cup warm water; let stand until foamy, about 10 minutes. In a standard food processor fitted with a dough blade (or a large processor with a steel blade), combine the all-purpose flour and salt, pulsing several times to sift. In a separate small bowl, mix the 1 cup cold water with the olive oil. With the food processor running, gradually pour the water and oil mixture, along with the dissolved yeast, through the feed tube. Process until the dough comes together, then continue processing for another 45 seconds to knead. Finish with a brief hand-kneading on a lightly floured surface.
-
On a well-floured surface, gently pat the dough into a 14-by-4-inch rectangle. Lightly brush the top surface with a little olive oil. Loosely cover the dough with plastic wrap and let it rise in a warm place until it has doubled in size, which should take approximately 1 hour.
-
Preheat your oven to 450ºF (232ºC). If you plan to use a baking stone (highly recommended for extra crunchy breadsticks), turn the oven on 30 minutes before baking to allow the stone to heat thoroughly. Lightly oil two baking sheets.
-
Before cutting and shaping, sprinkle the risen dough generously with cornmeal or semolina flour. The traditional method for shaping grissini is brilliantly simple and efficient, eliminating the need to individually roll each breadstick. First, cut the dough crosswise into 4 equal sections. Then, cut each of these sections crosswise again into 5 strips, aiming for a width similar to a plump finger. The dough’s inherent elasticity allows you to simply pick up each strip, hold both ends with your fingers, and gently pull and stretch it until it reaches the length of your baking sheet. Arrange the stretched breadsticks several inches apart on the prepared baking sheets. There is no need for a second rise.
☞ TESTER TIP: Many find it easier to use the backs of baking sheets for stretching and baking, especially if you don’t have rimless sheets, as this prevents the grissini from getting stuck against a raised edge.
-
Bake the breadsticks for 20 minutes. For an extra crisp texture, if using a baking stone, carefully transfer the breadsticks directly onto the preheated stone for the final 5 minutes of baking. Ensure you sprinkle the baking stone with additional cornmeal or coarse semolina before transferring the breadsticks. Once baked to a golden crisp, let the grissini cool completely on wire racks.
Notes & Variations
Once you’ve mastered the classic grissini, feel free to experiment with these traditional and inspired variations to add different flavors and textures to your homemade breadsticks.
Italian Breadstick Variations
Grissini Siciliani
For a delightful nutty flavor and a beautiful texture, sprinkle the dough with 1/2 cup of sesame seeds instead of cornmeal or semolina flour before cutting and shaping the breadsticks. The sesame seeds toast beautifully in the oven, adding a fragrant aroma and a satisfying crunch.
Grissini al Papavera
To create these visually appealing and subtly flavored breadsticks, sprinkle the dough with 1/2 cup of poppy seeds instead of cornmeal or semolina flour before cutting and shaping. The tiny seeds add a delicate crunch and a distinctive look, perfect for pairing with cheeses.
Inspired Variations
Herb Grissini: Incorporate 1-2 tablespoons of finely chopped fresh rosemary, thyme, or oregano into the dough during the kneading process. You can also sprinkle dried herbs over the shaped breadsticks before baking.
Garlic Grissini: Mix 1-2 cloves of minced garlic or 1 teaspoon of garlic powder into the dough for a savory twist. Brush with garlic-infused olive oil after baking for an intensified flavor.
Spicy Grissini: Add a pinch of red pepper flakes to the dough for a subtle heat, or sprinkle them on top before baking for a bolder kick.
Cheese Grissini: Gently fold in 1/4 cup of grated Parmesan or Pecorino cheese into the dough during the final stages of kneading. Alternatively, sprinkle grated cheese over the stretched breadsticks just before baking for a crispy, cheesy crust.
Tips for Grissini Perfection
Achieving perfect grissini is a rewarding experience. Here are a few tips to ensure your breadsticks turn out wonderfully crispy and delicious every time:
- Dough Consistency is Key: The dough should be soft and elastic, but not overly sticky. If it’s too sticky, add a little more flour, one tablespoon at a time, until it’s manageable. If it’s too stiff, a tiny bit more warm water can help.
- Embrace Imperfection in Stretching: Don’t strive for perfectly uniform breadsticks. The beauty of authentic grissini lies in their artisanal, slightly irregular shape. The gentle stretching, rather than rolling, helps create air pockets and contributes to their signature crispness.
- Don’t Overcrowd the Baking Sheet: Give your grissini plenty of space on the baking sheet. Overcrowding can lead to steaming, which prevents them from getting adequately crispy. Bake in batches if necessary.
- Storage: Once completely cooled, store grissini in an airtight container at room temperature for up to a week. To revive their crispness, you can briefly reheat them in a moderate oven for a few minutes.
- Making Ahead: The dough can be prepared a day in advance and left to rise slowly in the refrigerator overnight. This can even enhance the flavor. Just bring it to room temperature for about 30 minutes before shaping.
Adapted From
The Italian Baker
Buy On Amazon
Explore More with AI
Nutrition Information
Nutrition information is automatically calculated, so should only be used as an approximation.
Recipe Testers’ Reviews & Insights
Linda M.
This grissini recipe produced crunchy, authentic Italian grissini. I followed the recipe as written but did note some differences in the final product based on how the breadsticks were formed. I placed half on the sheet pan the short way and the other half on a different pan the long way. Those that were shorter and fatter had a much doughier consistency than the crunchier, longer batch made according to the recipe’s directions. The crunchier batch seemed more authentic to me. The semolina left a floury residue on the exterior, which I didn’t love. Next time I’ll cut down on the semolina by as much as half.
Making your own authentic Italian grissini is a truly rewarding culinary adventure. From the simple satisfaction of working with the dough to the incredible crispness of the final product, these homemade breadsticks offer an experience far beyond anything you can buy. They embody the essence of Italian tradition, bringing a touch of rustic charm and irresistible flavor to any occasion. So, gather your ingredients, follow these steps, and prepare to delight your senses with these wonderfully crispy, deliciously addictive Italian breadsticks. Buon appetito!