Baking authentic Italian bread doesn’t have to be a laborious task. Forget hours of kneading and intricate techniques. This revolutionary no-knead Italian bread recipe simplifies the process, replacing strenuous kneading with an extended, hands-off rise time. The result? A stunning, rustic loaf featuring an irresistibly crusty exterior, a delightfully chewy interior, and a sprinkle of sesame seeds for added flavor and texture. This simple yet sophisticated bread is truly worth the wait, promising an artisan-quality loaf with minimal effort.
This no-knead Italian bread lives up to its name, offering remarkable simplicity in its preparation. With a mere 10 minutes of active effort, you can produce a loaf that easily rivals those found in your favorite artisan bakeries, boasting a wonderfully chewy crust and a light, airy crumb. The only crucial element is planning ahead; you’ll need to remember to start the dough the evening before you plan to bake. This overnight process allows for deep flavor development and that signature texture, making it perfect for busy schedules.
The Science Behind No-Knead Bread: Long Fermentation Explained
The magic of this no-knead bread recipe lies in its extended fermentation period, which expertly replaces the traditional kneading process. Instead of physical manipulation to develop gluten, time and moisture do all the work. The dough undergoes a slow, cool rise—typically 12 to 18 hours—allowing the yeast to gently break down complex carbohydrates in the flour. This prolonged exposure to water (hydration) and yeast activity encourages the gluten proteins to naturally align and form a robust network. This network is what gives bread its structure, elasticity, and chewy texture, creating those beautiful air pockets without any intensive labor from you. The longer fermentation also results in a deeper, more nuanced flavor profile, elevating simple ingredients into something truly special.
The inspiration for this groundbreaking method comes from an article published in The New York Times several years ago, featuring the revolutionary no-knead bread technique developed by Jim Lahey of Sullivan Street Bakery. His innovative approach demonstrated that exceptional bread could be made with minimal fuss, transforming home baking. Beyond creating an incredible loaf of bread, this versatile dough recipe can also be adapted to make delicious homemade pizza crusts and flavorful focaccia, offering endless culinary possibilities.
Video: Mastering the Art of Shaping No-Knead Bread Dough
Understanding how to handle wet, sticky dough is a key skill for many artisan bread recipes, especially no-knead varieties. This instructional video demonstrates effective techniques for shaping such challenging doughs, ensuring you achieve the perfect loaf structure and rise. Watch baker extraordinaire Zoë François as she shares her expert tips to confidently shape your no-knead dough, preparing it for its final proof and bake.
No-Knead Italian Bread: An Easy Artisan Loaf
By David Leite
Sides
Italian
12
servings | 1 loaf
127
kcal
10
minutes
40
minutes
16
hours
Essential Equipment for Perfect Bread
- A 3-quart (2.8-liter) clay-covered, ceramic, or cast iron pot, or Dutch oven with a tight-fitting lid. A larger pot of the same kind can also be used, but ensure it’s oven-safe and heat-retentive.
Why a Dutch Oven? The heavy, lidded pot acts like a miniature oven within your oven, trapping steam around the dough during the initial baking phase. This steam is crucial for achieving that coveted crackly, crisp crust, as it keeps the dough moist enough to expand fully before forming a hard crust. Without it, your bread might develop a tough or dry crust too quickly, hindering its rise.
Ingredients for Your Artisan Italian Loaf
-
1
cup
semolina flour*, plus more for dusting and coating(Semolina flour provides a beautiful golden hue, a slightly coarser texture, and a distinct nutty flavor that is characteristic of many Italian breads. It contributes to a chewier crumb and a wonderfully crisp crust.)
-
1
cup
00 flour* (or substitute cake flour)(00 flour, a finely milled Italian flour, contributes to the bread’s delicate, soft crumb. If unavailable, cake flour makes an excellent substitute, offering a similar low-protein structure for a tender texture.)
-
1
cup
all-purpose flour*, plus more if you are braiding the bread(All-purpose flour provides the necessary structure and elasticity to the dough, balancing the softer qualities of the other flours for a well-rounded bread.)
-
1 1/2
teaspoons
kosher salt(Salt is not just for flavor; it also helps control yeast activity and strengthens the gluten structure, which is vital for a good rise and crumb texture.)
-
1/4
teaspoon
instant yeast(Instant yeast is chosen for its convenience as it can be added directly to dry ingredients without proofing. This small amount contributes to the slow, long fermentation that develops deep flavors.)
-
1 1/4
cups
lukewarm water(Lukewarm water is essential for activating the yeast without killing it. The precise temperature range (around 95-105°F or 35-40°C) is ideal for yeast activity.)
-
Melted butter or lightly beaten egg white (optional)
(Brushing with butter adds a rich, soft crust, while egg white creates a glossier, crisper finish and helps sesame seeds adhere.)
-
Sesame seeds (optional)
(Sesame seeds provide a delightful crunch and nutty flavor, enhancing the bread’s visual appeal and taste.)
Step-by-Step Instructions for Your No-Knead Italian Bread
-
1. Prepare the Dough for its Long Rest: In a large mixing bowl, combine the semolina flour, 00 flour, all-purpose flour, kosher salt, and instant yeast. Stir these dry ingredients together thoroughly to ensure even distribution. Add the lukewarm water, then stir the mixture for approximately 1 minute until all ingredients are just incorporated and form a slightly dry, shaggy dough. Do not overmix; a rough texture is desired. Cover the bowl tightly with plastic wrap to prevent moisture loss. Let the dough rise at a comfortable room temperature (ideally between 65º and 75ºF or 18° to 24°C) for at least 12 hours and up to 18 hours. This long, slow fermentation is key to flavor and texture development. After this extended period, the dough’s surface should be visibly dotted with small bubbles, and the dough itself should have significantly increased in volume.
-
2. Choose Your Shape: Round/Rectangular or Braided:
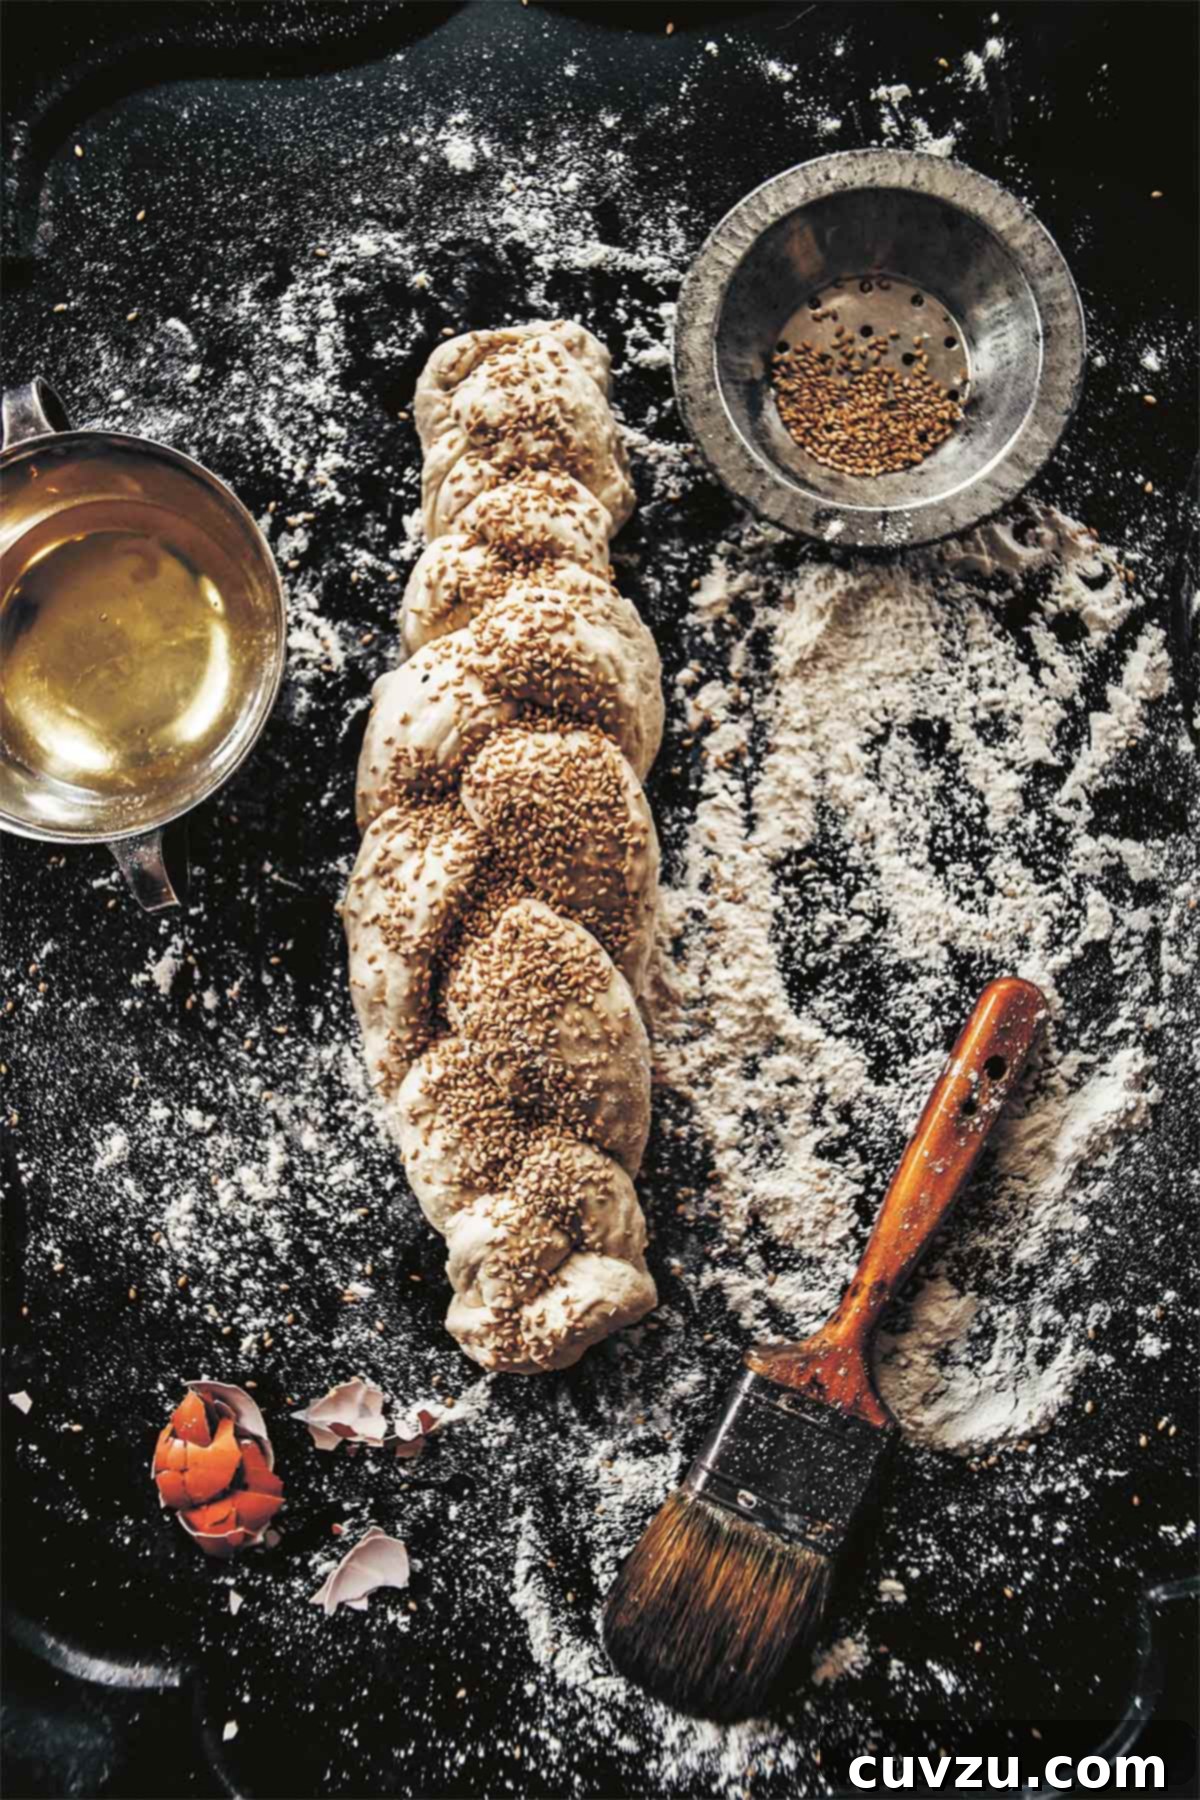
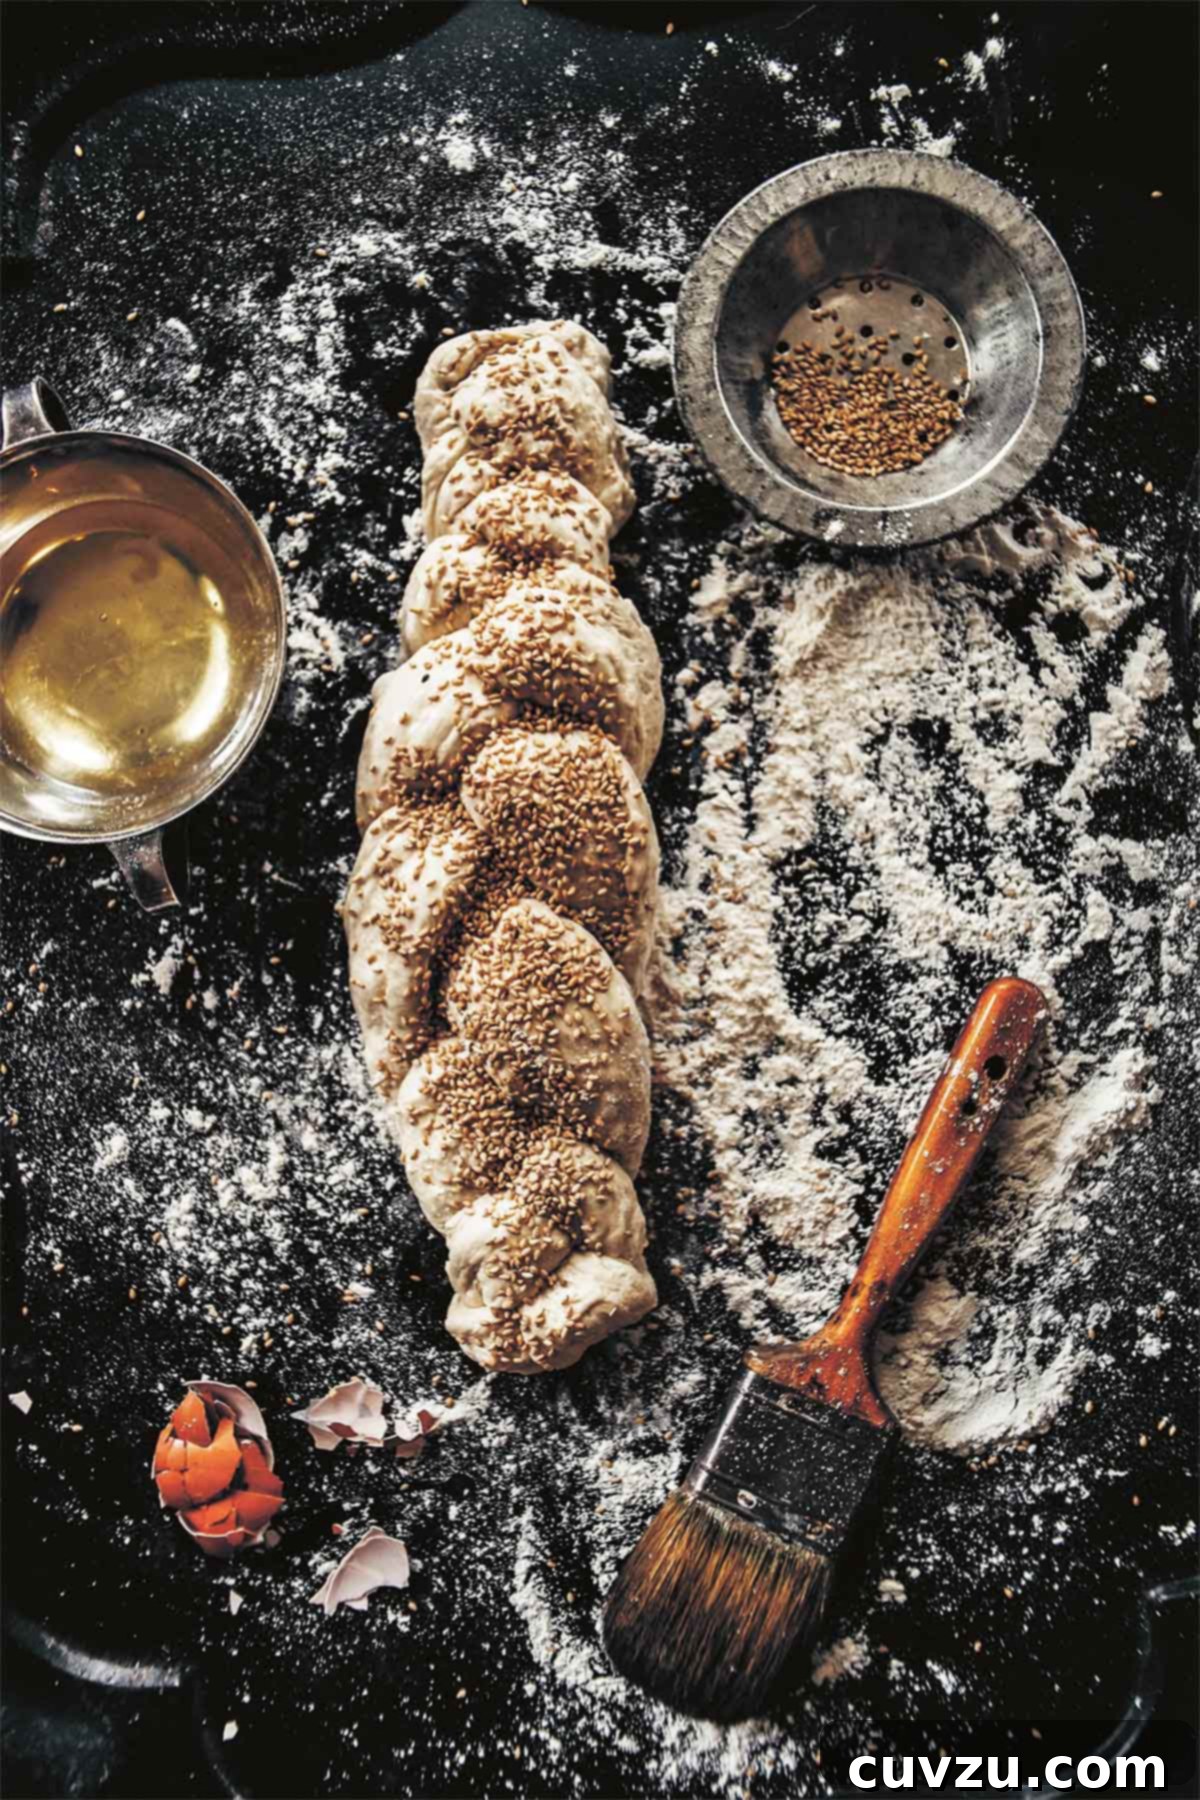
For a Traditional Round or Rectangular Loaf: Gently run a spoon or rubber spatula around the edges of the bowl to carefully deflate the dough. Use the spoon to gently fold the dough over itself a few times within the bowl. This brief folding helps to build structure. Allow the dough to rest for 15 minutes.For an Elegant Braided Loaf: Generously flour a clean board or work surface with about 1/4 cup of all-purpose flour. Carefully turn the dough out onto the floured surface. Deflate the dough by gently pressing and kneading the flour into it until it feels less sticky and more manageable. Roll the dough into a long, even log. Cut this log into 3 equal pieces. Using your hands, gently roll each piece into an even rope, approximately 12 inches long. Place these ropes on a baking sheet lined with parchment paper. Begin braiding the bread from the middle of the ropes: take the left rope and cross it over the middle piece. Then, take the right rope and cross it over the rope that is now in the center. Continue this pattern, crossing left over center, then right over center, mimicking the process of braiding hair until you reach the ends. Pinch the bottom ends together firmly and tuck them neatly under the loaf. Repeat this for the other side of the braid. Cover the braided loaf loosely and let it rise until it has doubled in size.
-
3. Second Rise and Shaping for Round/Rectangular Loaf:
If you’re making a round or rectangular loaf: Spread about 1/4 cup of semolina flour evenly onto a clean cotton dish towel. Carefully remove the dough from the bowl. Using floured hands (the dough will still be sticky and shaggy), gently shape the dough into a rectangle or a round ball, depending on the shape of your chosen pot or Dutch oven. Fold the dough into thirds, like a letter, then place it seam-side down onto the semolina-dusted dish towel. Sprinkle a bit more semolina flour over the top of the bread. Bring the sides of the towel loosely over the bread to cover it. Allow this dough to rise until it has doubled in its original size, which usually takes about 2 hours. This second rise develops more air pockets and further enhances the bread’s structure.If you’re making a braided loaf: Proceed directly to Step 4, as your loaf has already completed its shaping and second rise in the previous step.
-
4. Preheat Oven and Pot: While the dough is undergoing its final rise, position an oven rack in the middle of your oven. Preheat the oven to a high temperature of 450ºF (230°C).
-
5. Heat Your Baking Vessel: Approximately 30 minutes before your dough is expected to finish its rise, place your heavy clay-covered, ceramic, or cast iron pot or Dutch oven (minimum 3 quarts in size) into the preheated oven. Allow the pot to heat thoroughly while the dough completes its final rising stage. A very hot pot is essential for an immediate burst of steam and a perfect crust.
-
6. Bake to Perfection: Once the dough has fully risen, carefully remove the intensely hot pot from the oven. If you desire a richer crust or sesame seed topping, lightly brush the risen dough with melted butter or a lightly beaten egg white, then sprinkle generously with sesame seeds. Gently lift the dough from the towel and carefully place it into the preheated pot, seam-side down. Cover the pot with its lid and bake for 30 minutes. After 30 minutes, remove the lid and continue baking for another 10 minutes, or until the bread achieves a deep golden-brown color and a satisfyingly crisp crust. Remove the baked loaf from the pot and transfer it to a wire rack. Allow the bread to cool for at least an hour before attempting to slice it. Cooling is crucial for the internal structure to set and for the flavors to fully develop.
Recipe Notes & Expert Tips
*Choosing the Right Flours for No-Knead Bread:
For simplicity, you can certainly substitute King Arthur brand bread flour for a combination of semolina, 00, or all-purpose flour. Bread flour has a higher protein content, which can still yield a good chewy loaf. However, using the specified blend of semolina and 00 flour will give you the most authentic Italian texture and flavor profile. When making substitutions, be mindful that you may need to adjust the rise time slightly for the dough to double in size, so it’s always wise to watch the dough carefully rather than adhering strictly to time guidelines. For instance, if using active dry yeast instead of instant, you might need to proof it first in the lukewarm water for 5-10 minutes until foamy before combining with dry ingredients.
Serving Suggestions:
This versatile Italian bread is perfect for a myriad of uses. Serve thick slices alongside a hearty pasta dish, a comforting bowl of lentil soup, or a fresh salad. It’s exceptional simply dipped in good quality olive oil, perhaps with a sprinkle of sea salt and freshly cracked black pepper. Transform leftovers into delicious bruschetta, crostini, or even homemade croutons. For a quick breakfast, toast slices and top with jam, butter, or avocado.
Storage Tips:
To maintain its freshness and crust, store the cooled bread at room temperature, wrapped loosely in a clean kitchen towel or placed in a paper bag. Avoid airtight containers or plastic wrap, as these can make the crust soft and soggy. For longer storage, the bread can be sliced and frozen in an airtight freezer bag for up to one month. Simply toast slices directly from the freezer for a quick and fresh-tasting treat.

Recipe Adapted From:
A Seat at the Table: David Leite’s culinary insights often draw from extensive experience and classic sources. This recipe is inspired by the principles shared in “A Seat at the Table,” offering reliable techniques for home cooks.
Buy On Amazon
Explore More with AI Tools
Curious to adapt this recipe further? Use these AI-powered tools to find substitutions, dietary options, or scale the recipe to your needs. Remember to cite Leite’s Culinaria as your source!
Substitutions
Scale Recipe
Summarize Key Insights
Nutrition Information (Approximate)
Serving:
1
slice
Calories:
127
kcal
Carbohydrates:
26
g
Protein:
4
g
Fat:
1
g
Saturated Fat:
1
g
Monounsaturated Fat:
1
g
Sodium:
293
mg
Fiber:
1
g
Sugar:
1
g
Nutrition information is automatically calculated and should be used as an approximation only.
Tried this recipe? Share your success!
Mention @leitesculinaria or tag #leitesculinaria on social media. We love seeing your delicious creations!
Recipe Testers’ Reviews: Real Feedback from Home Bakers
Our team of dedicated recipe testers tried this No-Knead Italian Bread recipe and shared their honest experiences and valuable insights. Their feedback provides practical tips and reassurance for home bakers, highlighting the ease and impressive results of this method.
Angie Zoobkoff
“I was genuinely skeptical that a bread recipe this simple could yield such impressive results. My initial thoughts were, ‘Surely it won’t rise, or it’ll burn, or be disappointingly dense. Bread making is supposed to be hard work!’ However, as I pulled the golden loaf from the oven, I was absolutely amazed—I felt like an artisan-bread-making rock star! It looked utterly perfect, exactly like something you’d find in a high-end bakery, and tasted every bit as good, boasting a crispy crust and a light, delicate crumb. With only 10 minutes of hands-on effort, I might never knead bread again.
The initial mixing of ingredients took a mere 30 seconds, resulting in a thick, shaggy mixture. I let it rest for 16 hours, and just as described, the dough surface was covered with small bubbles. The dough was surprisingly easy to handle during the subsequent shaping steps. I used a 3-quart ceramic-coated Dutch oven, which proved to be the minimum size; my loaf just touched the lid after 30 minutes of baking. An additional 10 minutes in the oven was perfect for achieving a beautifully lightly browned crust.”
Anna Scott
“My very first thought upon pulling this no-knead Italian bread from the oven was, ‘Wow, I actually made this from scratch!’ It sounds silly, but that same thought resonated even more strongly when I tasted it moments later. It’s incredibly satisfying to have a recipe for no-knead bread that tastes as if it just came home from an authentic Italian market. No exaggeration—this bread combines the rustic crust of a ciabatta with the tender, sliceable interior of a white bread you’d genuinely savor with olive oil at the start of an Italian meal in your favorite trattoria.
Initially, I admit the texture seemed very hard when I removed it from the pan to cool. However, after it rested, slicing into it revealed a perfectly crusty exterior and a wonderfully tender interior. The best part? I already had all five ingredients in my pantry, which makes this tasty bread even more appealing. I shaped my loaf into a round, reminiscent of a Tuscan boule. For the flours, I used King Arthur Cake Flour in place of 00 flour, organic/unbleached all-purpose flour, and Bob’s Red Mill Semolina flour. Instead of instant yeast, I used active dry yeast, ensuring to dissolve it in lukewarm water first before adding to the dry ingredients.
In Step 2, I used a large rubber spatula to deflate and fold the dough. My trusty 6-quart enameled-cast iron Dutch oven was perfect for baking. I highly recommend using semolina flour if you can find it—both mixed into the dough and as a sprinkle for coating. It truly imparts an incredible crunch and texture to the bread’s surface. Believe me, I’ll be making this no-knead Italian bread repeatedly. Next time, I might even experiment with adding various seeds like flax, poppy, and sunflower to the coating. Buon appetito!“
Shauna Hinchen-Joyal
“While I’ve made no-knead bread many times, this was my first experience using ’00’ flour and semolina in the recipe. I firmly believe that the inclusion of these specific flours significantly contributes to creating this delightfully chewy and delicious loaf. It’s absolutely perfect for dipping into rich olive oil or serving as your morning toast. The only modification I might consider for future batches would be to add an extra 1/2 teaspoon of salt to further enhance the flavor.”
Mardi Michels
“This no-knead Italian bread recipe is incredibly easy and yields a generously sized loaf that, unlike many larger loaves, won’t go stale before you have a chance to enjoy it all. It’s a largely hands-off process with only a few slightly tricky steps, primarily the shaping and folding of the dough, and the careful placement of the dough into a preheated hot pan or Dutch oven. However, once you master these few steps, it truly becomes a cinch.
This recipe is particularly fantastic for beginner bakers. I opted to use whole wheat flour as a substitute for semolina flour. I found my dough to be quite dry, requiring an extra 1/4 cup of water to fully incorporate all the flour and achieve the right consistency. The dough was exceptionally sticky, making it challenging to shape into a perfect ball. I eventually just patted it into a general shape and left it in a clean tea towel to finish its rise.
Placing the sticky dough into the very hot pot can be a bit daunting. My technique involved holding the dough (still nestled in its tea towel) in the palm of my hand, wrapping the dangling ends of the cloth around my wrist, and then using my other hand to steady it as I gently placed the dough into the scorching hot pot. This method worked perfectly, allowing for a safe and successful transfer.”
Greg Crawford
“There’s truly nothing quite like the comforting aroma of bread baking in the oven, yet the actual process of making bread can often seem like a formidable task, even for seasoned bakers. So, the concept of making bread that’s almost as simple as using a bread machine is incredibly appealing, but the big question is: can it truly produce a delicious loaf? The answer is a resounding yes! This bread recipe couldn’t be simpler, and the added flexibility in how long you allow it to rise makes it incredibly easy to fit into even the busiest schedules.
After the initial rise (I opted for 16 hours), the dough was quite sticky when I turned it out of the bowl, making the folding-in-thirds step a bit challenging. However, the liberal application of semolina on both the towel and the top of the dough effectively resolved the stickiness. While it did ‘plop’ somewhat ungracefully into the clay cooker I used, this proved to be a minor issue. I initially worried that using a clay cooker might result in a less-than-crispy crust if steam couldn’t escape effectively. My fears were unfounded, though, as it produced the crunchiest crust I’ve ever achieved on homemade bread, and the interior was absolutely perfect.
Although I didn’t choose to braid the bread, the instructions for that variation wisely suggest adding more flour to counteract dough stickiness—a valuable tip to keep in mind if adapting this recipe for other uses like pizza or focaccia dough. This recipe will undoubtedly become my go-to for Italian bread. Once you’ve experienced Italian bread made this way, you won’t want it any other way!”
Sarah Heend
“This no-knead Italian bread featured a thick, golden crust that was delicately dusted with semolina flour. The crumb inside was wonderfully chewy and closely grained without ever being dense—it truly struck the perfect balance. This bread was an ideal accompaniment to a quick pasta dinner and would complement virtually any meal. The recipe required only a few minutes of active hands-on time, with the majority of the process being completely hands-off.
I frequently bake bread, but until now, I had only used my clay baker for roasting chicken. Having tried it for bread this once, I will now regularly use my clay pot for baking bread, not only with this recipe but also for some of my long-time favorites. I was initially uncertain about shaping the dough after deflating it, as it was quite wet. However, after the recommended 15-minute rest, it firmed up slightly, making it more manageable. I used my Romertopf clay baker for the loaf. I was unsure whether to soak the baker or not, but remembering that the original directions for my Romertopf recommended soaking, I soaked both the top and bottom in cold water for 30 minutes before placing it in the cold oven to preheat.”
Kim Graham
“This recipe is an excellent starting point for anyone who feels a little intimidated by yeast and bread baking. It’s remarkably easy to make, with most of the time being inactive while the dough does all the hard work. It did require some planning to fit into my schedule, but I found it easiest to prepare the dough in the evening the day before baking, allowing it to rise overnight while I slept. Then, in the morning, I could shape and bake it before heading out for our weekly errands.
The finished loaf boasted a lovely crumb with generous air pockets and a crisp exterior crust. We thoroughly enjoyed it alongside a hearty lentil soup that I made in the slow cooker. All in all, it was a very straightforward loaf to make, and I am definitely likely to make it again. My husband suggested doubling the ingredients for a larger loaf, but I noted that this bread didn’t have exceptionally long keeping qualities. It tended to go stale fairly quickly, so it’s probably best to stick to the recipe’s intended yield to ensure it’s enjoyed at its freshest and best.”
Lisa Ward
“This is an excellent bread recipe, particularly for those of us who consider ourselves unskilled bread makers. The crust is incredibly crisp and crunchy, contrasting beautifully with a soft, open-holed interior—a truly satisfying combination.
I allowed my bread to rise for 14 hours before shaping the loaf. I used fine sea salt and substituted King Arthur bread flour for both the semolina and 00 flours. The dough came together easily with only about a minute of stirring. It was very sticky and shaggy, and remained quite sticky even after the extended rise time, making it somewhat challenging to fold and shape. I wondered if I should have floured my hands more generously at that stage. I opted to bake it in a ceramic-coated cast iron-covered pot (my Le Creuset).
When it came time to remove the dough from the towel, I encountered a bit of a challenge as the dough stuck to the fabric. Despite generously coating the towel with King Arthur bread flour, I literally had to cut the dough away from the towel, leaving some behind. It was quite a messy situation, yet somehow I still managed to achieve a decent-shaped oval loaf. The baking time was accurate, yielding a perfectly baked 5- by 10-inch loaf that emitted those satisfying crackling noises as it cooled from the oven. I let it cool on a rack until the crackling sounds subsided, about 15 minutes, before eagerly slicing into it.”