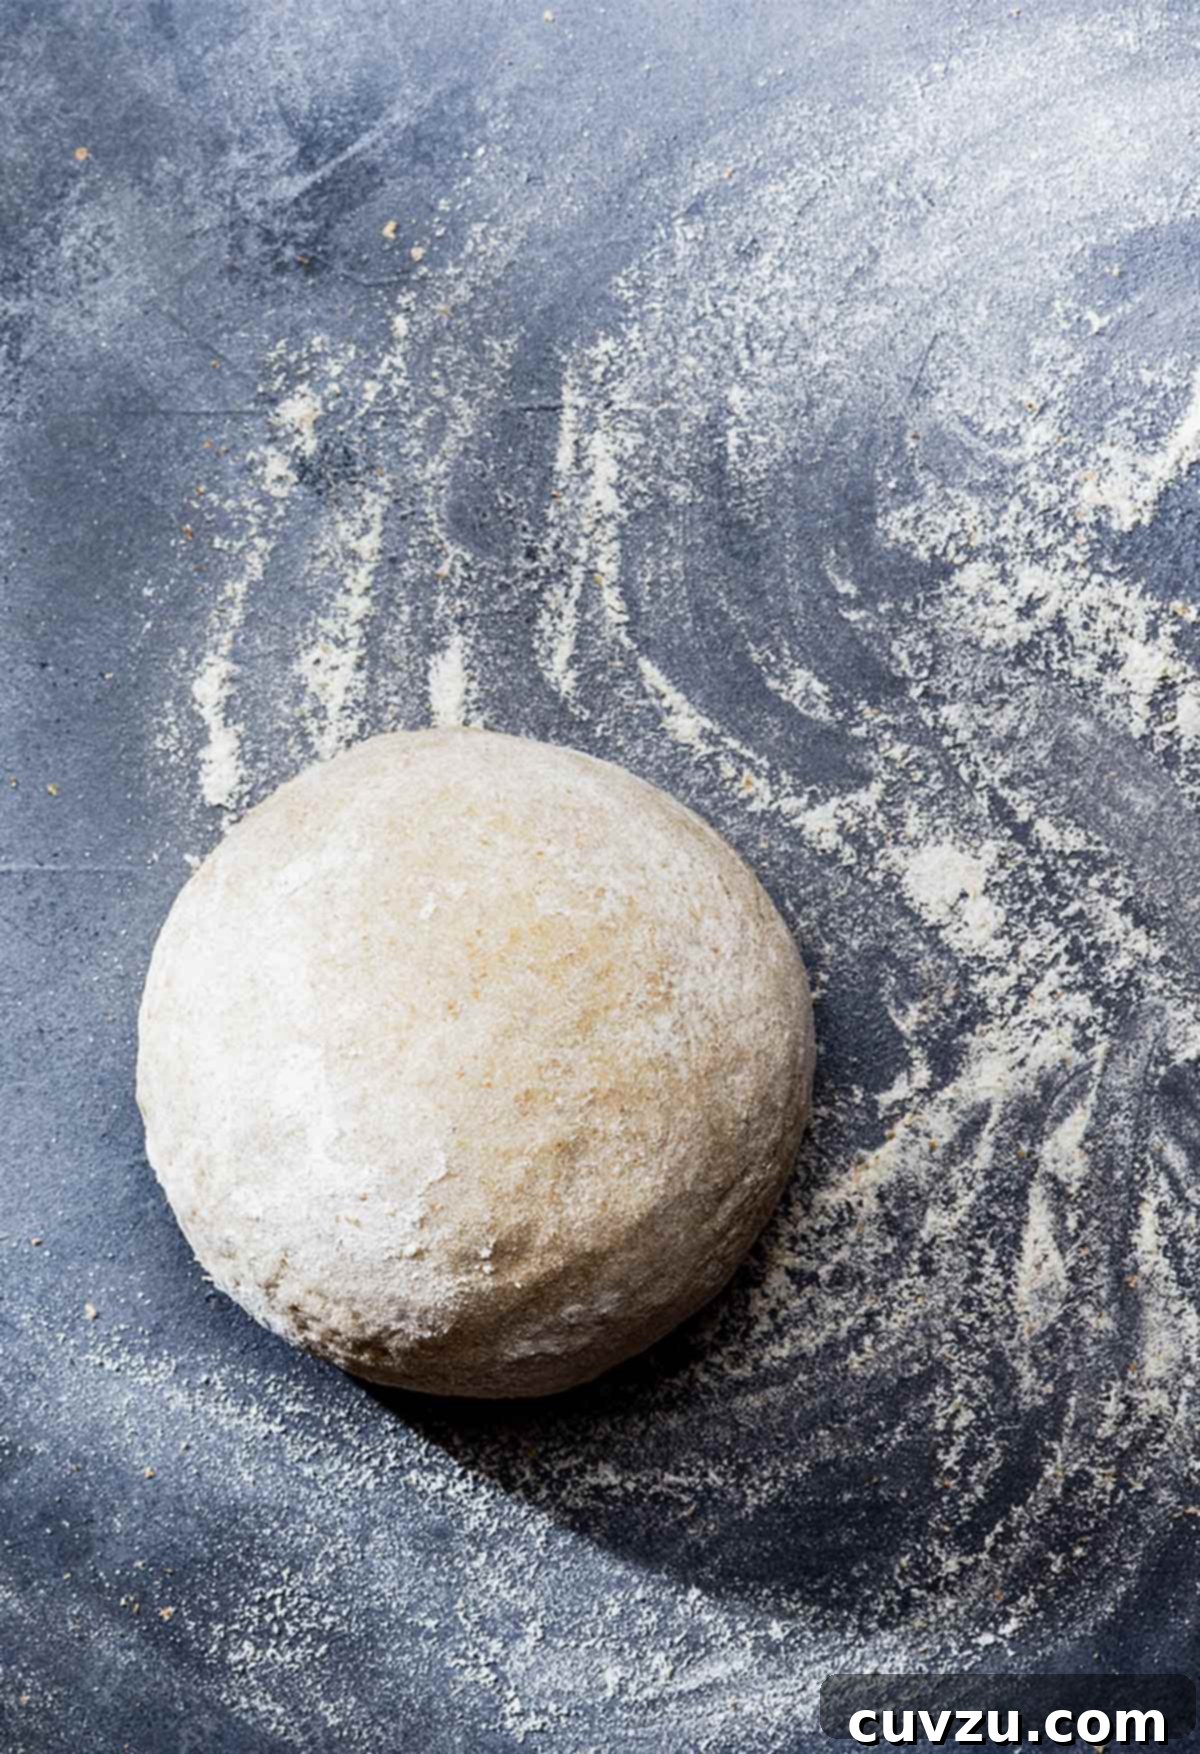
Crafting the Perfect Semolina Pizza Dough: Your Guide to a Hearty, Flavorful Crust
There’s an undeniable magic to homemade pizza, a culinary experience that brings warmth and joy to any kitchen. While many dough recipes exist, diving into the world of semolina pizza dough offers a distinctly rewarding journey. This isn’t just another crust; it’s a foundation designed for substance, delivering a remarkably satisfying chew and an impressive sturdiness that eagerly embraces generous toppings and melted cheese. Forget flimsy bases; with semolina, you’re crafting a pizza that can truly hold its own.
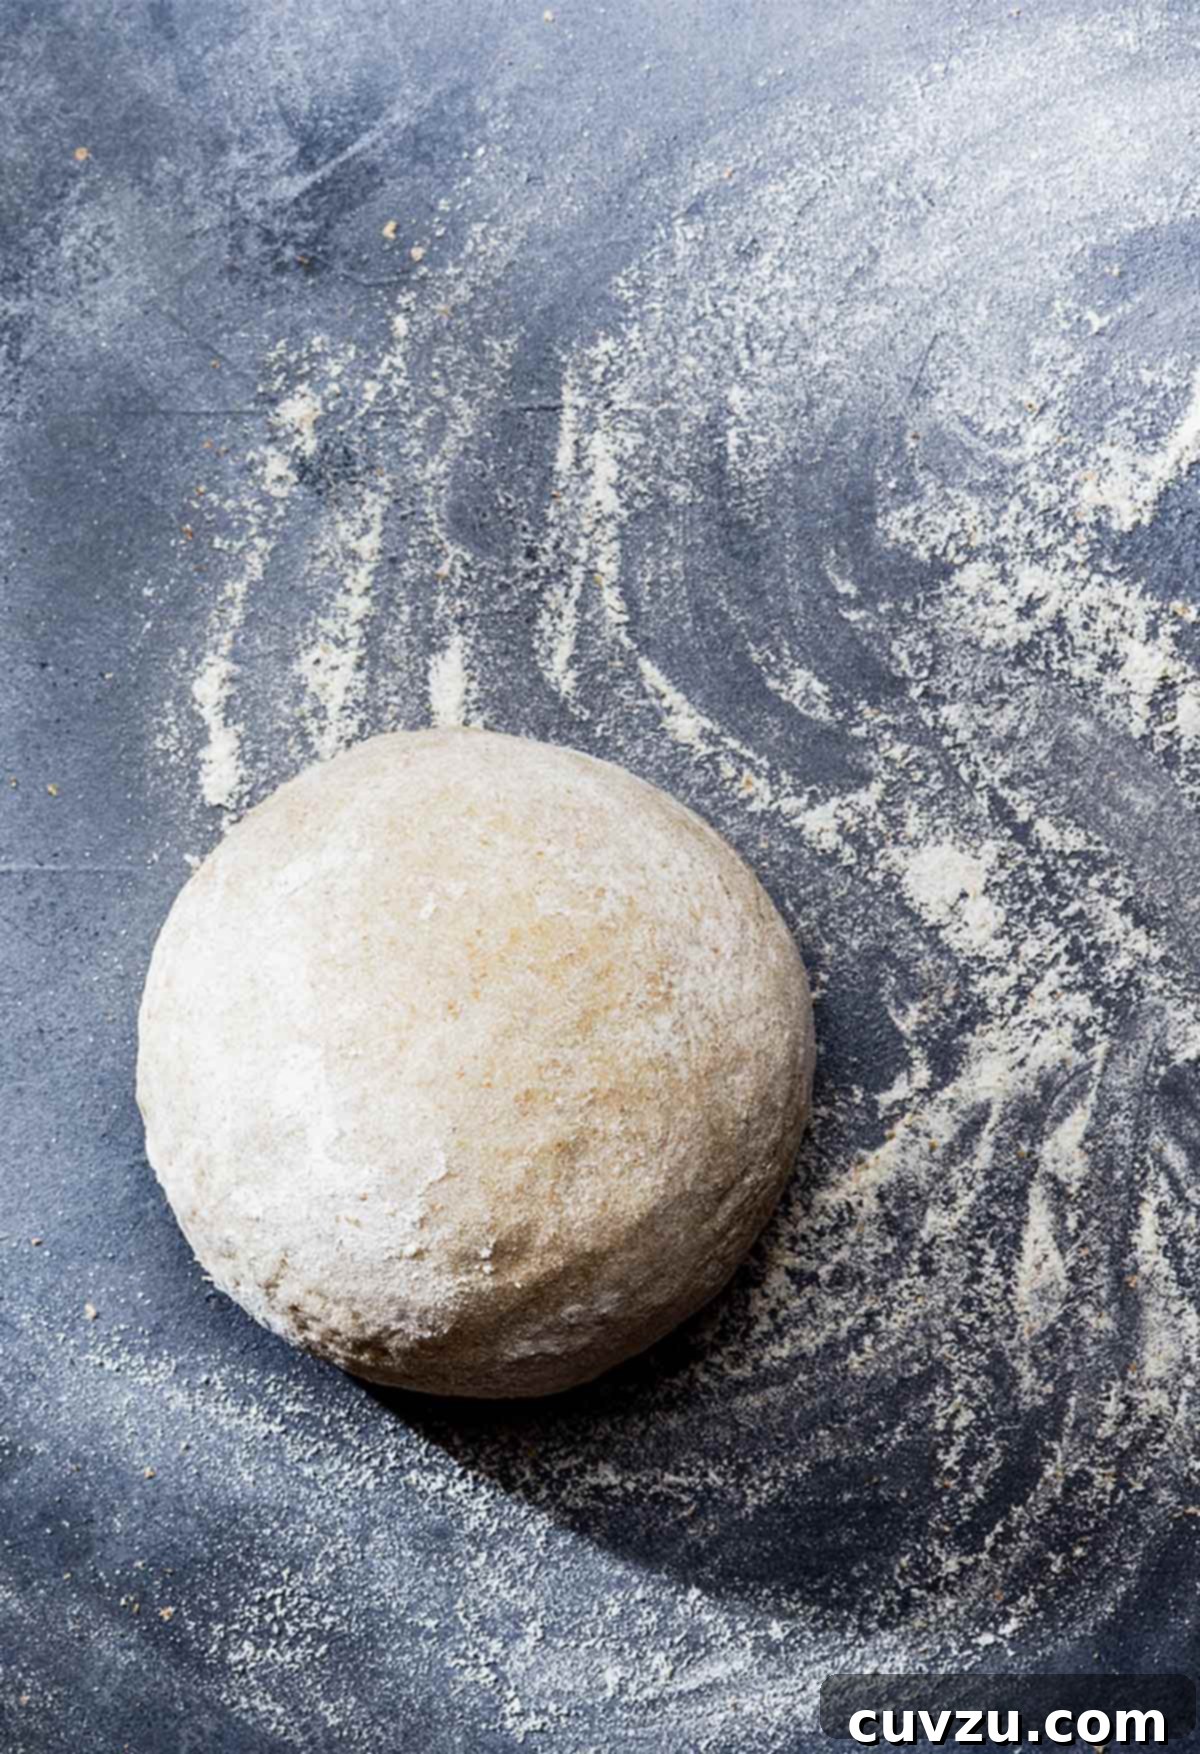
Why Semolina Flour is a Game-Changer for Pizza Dough
At the heart of this exceptional dough lies semolina flour, a golden-hued grain milled from durum wheat. Renowned for its high protein content, semolina imparts a unique set of characteristics that elevate your pizza experience. Unlike standard all-purpose flour, semolina creates a dough that is not only resilient and easy to work with but also bakes into a crust with a wonderfully hearty chew and a distinctive ‘tooth-sinking’ texture. This isn’t just a metaphor; it describes a crust that offers a pleasant resistance, a satisfying bite that enhances the overall enjoyment of every slice. This robust quality ensures your pizza holds up beautifully, no matter how lavishly you load it with your favorite ingredients.
While often associated primarily with pasta, semolina flour’s coarse texture and strong gluten network make it an ideal candidate for pizza dough. The fine semolina, specifically, contributes to both the dough’s workability and the final crust’s structure. Its ability to absorb liquids slowly means a dough that’s easier to handle without becoming overly sticky, while its high protein content leads to excellent gluten development. This gluten, when properly kneaded, forms an elastic network that traps gases, resulting in a lighter, yet incredibly chewy, interior and a delightfully crisp exterior once baked. The subtle, slightly sweet, and nutty flavor of semolina also adds another layer of complexity to your pizza, distinguishing it from conventional crusts, creating a truly memorable meal.
Semolina Pizza Dough Frequently Asked Questions (FAQs)
Before we delve into the step-by-step process of creating this fantastic semolina pizza dough, let’s address some common questions to ensure you’re fully equipped for pizza perfection. Understanding these nuances will help you achieve the best possible results and confidently tackle any pizza-making endeavor.
The simple answer is: Any and all! This versatile semolina pizza dough is an excellent canvas for virtually any pizza creation you can dream up. Its robust nature makes it particularly suitable for pizzas with heavier toppings, ensuring the crust remains firm and flavorful, standing up to the most generous applications of sauce, cheese, and other ingredients. From classic pepperoni to gourmet vegetarian delights, this dough is ready for anything. Some of our absolute favorites include the iconic New York-style pizza, a comforting potato bacon pizza, the satisfying pepperoni pan pizza, a hearty Meatball Pizza, and the vibrant broccoli rabe pizza. Don’t hesitate to get creative and make it your own; the possibilities are truly endless!
While you can substitute other flours, doing so would inherently change the unique characteristics of this specific semolina pizza dough. All-purpose flour will generally yield a softer, less chewy crust, while bread flour will offer a chewiness closer to semolina but without its distinct texture, subtle golden hue, and unique nutty flavor profile. If you’re seeking that signature ‘tooth-sinking’ texture and robust crust, we highly recommend sticking to fine semolina flour as specified in the recipe. It truly makes a noticeable difference in the final product.
It’s absolutely crucial to ensure your yeast is active before proceeding with the recipe, as it’s the leavening agent responsible for your dough’s rise. When you combine warm water and sugar with the active dry yeast (as in Step 1 of our instructions), it should ‘bloom’ or become noticeably foamy and bubbly on the surface within 5 to 10 minutes. This frothy appearance is a clear sign that the yeast is alive and ready to work. If, however, the mixture remains flat or shows no signs of activity, your yeast may be old, dead, or the water temperature might have been either too hot (killing the yeast) or too cold (preventing it from activating). In such a case, it’s always best to discard that mixture and start with a fresh batch of yeast to avoid a failed dough.
For an authentic pizzeria-style crust with irresistible crispiness and proper structural integrity, baking your semolina pizza at a high temperature is paramount. We recommend preheating your oven with a pizza stone or a pizza steel placed inside to its highest possible setting (typically between 475-550°F or 245-290°C) for at least 30-60 minutes before you even think about putting your pizza in. This extended preheating allows the stone or steel to reach a superheated temperature, which will give your crust a beautifully crisp, golden-brown bottom upon contact. If you don’t have a pizza stone or steel, a heavy-duty preheated baking sheet or even a cast-iron skillet can work well to achieve a decent crispness. Transferring the pizza directly onto the hot surface is key!
The Ultimate Semolina Pizza Dough Recipe
This semolina pizza dough is surprisingly simple to work with and remarkably satisfying, yielding a sturdy, chewy crust. Load it up with your favorite toppings and cheese without worry!
Author: David Leite
Mains
Italian
2 crusts
1089 kcal (per crust)
20 minutes
1 hour 55 minutes
2 hours 15 minutes
Ingredients (for 2 pizza crusts)
- 1/4 cup warm water [110°F (43°C)]
- 1 teaspoon granulated sugar
- 1 package (2 1/4 teaspoons) active dry yeast
- 1 cup room-temperature water, plus more as needed
- 1 tablespoon mild olive or vegetable oil, plus more for the bowl
- 2 cups plus 2 tablespoons fine semolina flour
- 1 cup plus 7 tablespoons all-purpose flour, plus more for the work surface
- 2 to 3 teaspoons Diamond kosher salt
Instructions
- In a measuring cup or small bowl, stir together the warm water and the sugar. Sprinkle the active dry yeast over the surface and let it stand undisturbed for about 5 minutes. Watch for the mixture to become foamy; this indicates that your yeast is alive and active, ready to leaven your dough.
- Once the yeast has bloomed, add the room-temperature water and the tablespoon of mild olive or vegetable oil to the foaming yeast mixture. Give it a gentle stir to combine, and then let it rest for just a moment before moving on.
- In the bowl of a food processor, combine the fine semolina flour, all-purpose flour, and the kosher salt. With the motor running, slowly add the prepared yeast mixture in a steady stream through the feed tube. Continue to pulse the food processor until the dough begins to come together and forms a rough, shaggy mass, which should take approximately 12 seconds. If the dough doesn’t quite form a cohesive ball or appears too dry, sprinkle in 1 to 2 teaspoons of cold water and pulse again until a rough mass forms. Allow the dough to rest directly in the food processor bowl for 5 to 10 minutes; this crucial step permits the flours to fully hydrate.
- Process the dough again for a further 25 to 30 seconds. During this step, it’s helpful to steady the top of the food processor with one hand to prevent it from moving too much. The dough, once processed, should feel tacky to the touch but should not be excessively sticky. It should be elastic and cohesive.
- Carefully transfer the dough from the food processor to a lightly floured work surface. Gently knead it a few times to form it into a smooth, even ball. Lightly oil a large, clean bowl, then place the dough ball into it, turning it once to ensure the entire surface is coated with oil. Cover the bowl tightly with plastic wrap to prevent a skin from forming on the dough. Place the covered bowl in a warm place, allowing the dough to rise until it has visibly doubled in size and feels spongy when lightly pressed, which typically takes about 1 1/2 hours, depending on your ambient temperature.
- Once the dough has risen, turn it out onto a lightly floured work surface. Gently punch it down to release the trapped air, then shape it into a smooth cylinder. Using a sharp knife or a bench scraper, divide the dough cylinder into two equal portions. Take each portion and shape it into a smooth ball, adding a very light dusting of flour only if the dough becomes sticky and unmanageable.
- Cover both balls of dough with a clean kitchen towel and let them rest for 10 minutes. This brief resting period is important as it allows the gluten to relax, making the dough much easier to stretch and shape for your pizza. You can now proceed directly with your chosen pizza recipe, or if you’re not ready to bake immediately, refer to the storage instructions below.
Storage and Freezing Instructions
One of the fantastic aspects of this semolina pizza dough recipe is its versatility for meal prep. You can easily make the dough ahead of time and store it for future pizza nights, making homemade pizza even more convenient.
- Refrigeration: If you plan to use the dough within 24-48 hours, you can refrigerate the covered dough balls. After the initial rise and dividing into two portions (Step 6), place each ball in a lightly oiled, airtight container or a bowl tightly covered with plastic wrap, then transfer it to the refrigerator. When ready to use, remove the dough from the refrigerator and let it come to room temperature for about 30-60 minutes before shaping. This will relax the gluten and make it easier to work with.
- Freezing: For longer storage, this dough freezes beautifully, allowing you to have homemade pizza dough on hand whenever a craving strikes. After shaping the dough into individual balls (Step 6), lightly oil each ball and then place them in gallon-size resealable plastic freezer bags. Be sure to squeeze out as much air as possible from the bags to prevent freezer burn and maintain freshness. The frozen dough can be stored in the freezer for up to 2 months without significant loss of quality.
- Thawing Frozen Dough: To thaw frozen dough, you have a couple of options. You can either transfer the bagged dough to the refrigerator overnight (about 8-12 hours) for a slow thaw, or place it on the counter at room temperature for 3 to 4 hours if you’re in a bit more of a hurry. Once thawed, let it rest for an additional 30 minutes at room temperature before proceeding with your pizza recipe. This final rest will ensure the dough is pliable and easy to stretch.
Expert Tips for Perfect Semolina Pizza
- Don’t Over-Flour Your Work Surface: While a little flour helps prevent sticking, using too much flour when shaping will make your dough tough and dry, impacting the final texture of your crust. Use just enough to keep the dough manageable.
- High Heat is Your Friend: For a truly crispy crust with a perfectly browned bottom, ensure your oven (and pizza stone or steel, if you’re using one) is thoroughly preheated to its highest temperature (475-550°F / 245-290°C) for at least 30-60 minutes before baking your pizza.
- Gentle Handling: Semolina dough is resilient due to its strong gluten, but gentle handling during stretching and shaping will result in a more tender and airy crust. Avoid tearing or aggressively overworking the dough once it has risen.
- Pre-Bake for Extra Crispiness (Optional): If you prefer a super crispy crust, or if you’re planning to use very wet or heavy toppings, consider pre-baking your shaped dough for 5-7 minutes before adding your sauce and toppings. This helps to set the crust and prevent sogginess.
- Experiment with Toppings: The sturdy and flavorful nature of this semolina dough allows it to hold up beautifully to a wide array of toppings. Feel free to experiment with everything from rich meats and robust cheeses to an abundance of fresh vegetables.
Adapted From

Pizza: And Other Savory Pies
Buy On Amazon
Nutrition Facts (per 1 crust serving)
- Calories: 1089 kcal
- Carbohydrates: 222 g
- Protein: 37 g
- Fat: 3 g
- Saturated Fat: 1 g
- Monounsaturated Fat: 1 g
- Sodium: 3500 mg
- Fiber: 11 g
- Sugar: 2 g
Note: Nutrition information is an approximation calculated automatically and can vary based on specific ingredient brands and preparation methods. It should be used as a general guide.
What Our Recipe Testers Say
We believe in thorough testing, and our dedicated team of recipe testers puts every dish through its paces. Here’s what they had to say about this fantastic semolina pizza dough, offering valuable insights and tips for your own kitchen adventures:
Jackie Gorman
Jackie Gorman was thoroughly impressed with the ease of preparation and the delicious flavor profile of this semolina pizza dough. “I was very pleased with how easy this semolina pizza dough was to make as well as with the flavor of the finished product,” she notes. Having always wanted to experiment with semolina flour for pizza, this recipe sparked her interest in exploring it further. She particularly appreciated that the recipe yields enough dough for two pizzas, offering great versatility for meal planning or serving a crowd. Jackie also highlighted a helpful tip for dough rising: for those who might need more guidance, she suggested turning the oven to its lowest setting for about 5 minutes, then turning it off and placing the dough inside to rise. This creates a consistently warm environment, ideal for yeast activity. Furthermore, she pondered the clarity around storing leftover dough, suggesting explicit instructions for refrigeration would be beneficial for less experienced bakers who might otherwise assume they must bake or freeze immediately after the initial rise.
Angie Zoobkoff
Angie Zoobkoff praised the dough’s exceptional handling properties, stating, “This dough was incredibly easy to work with and stretch and it held its shape.” She found that the recipe produced a fairly thick crust, perfectly capable of supporting a generous amount of toppings without becoming soggy or collapsing. Angie’s pizza was loaded with cooked crumbled sausage, peppers, mushrooms, onions, and plenty of cheese, resulting in an “excellent though very filling” meal that satisfied everyone. A significant highlight for Angie was the dough’s freezer-friendliness: “I froze the second crust, wrapped it in plastic wrap, and used it a couple of months later and it was just as good as fresh.” This attests to the dough’s remarkable quality and convenience for future meal planning, allowing you to enjoy delicious homemade pizza with minimal effort on busy weeknights.
Discover more culinary insights from our community of passionate home cooks and professional chefs.
Show More Testers’ Reviews
We’d love to see your delicious creations using this semolina pizza dough! Share your photos and experiences with us on social media.
Tried this recipe?
Mention @leitesculinaria or tag #leitesculinaria!