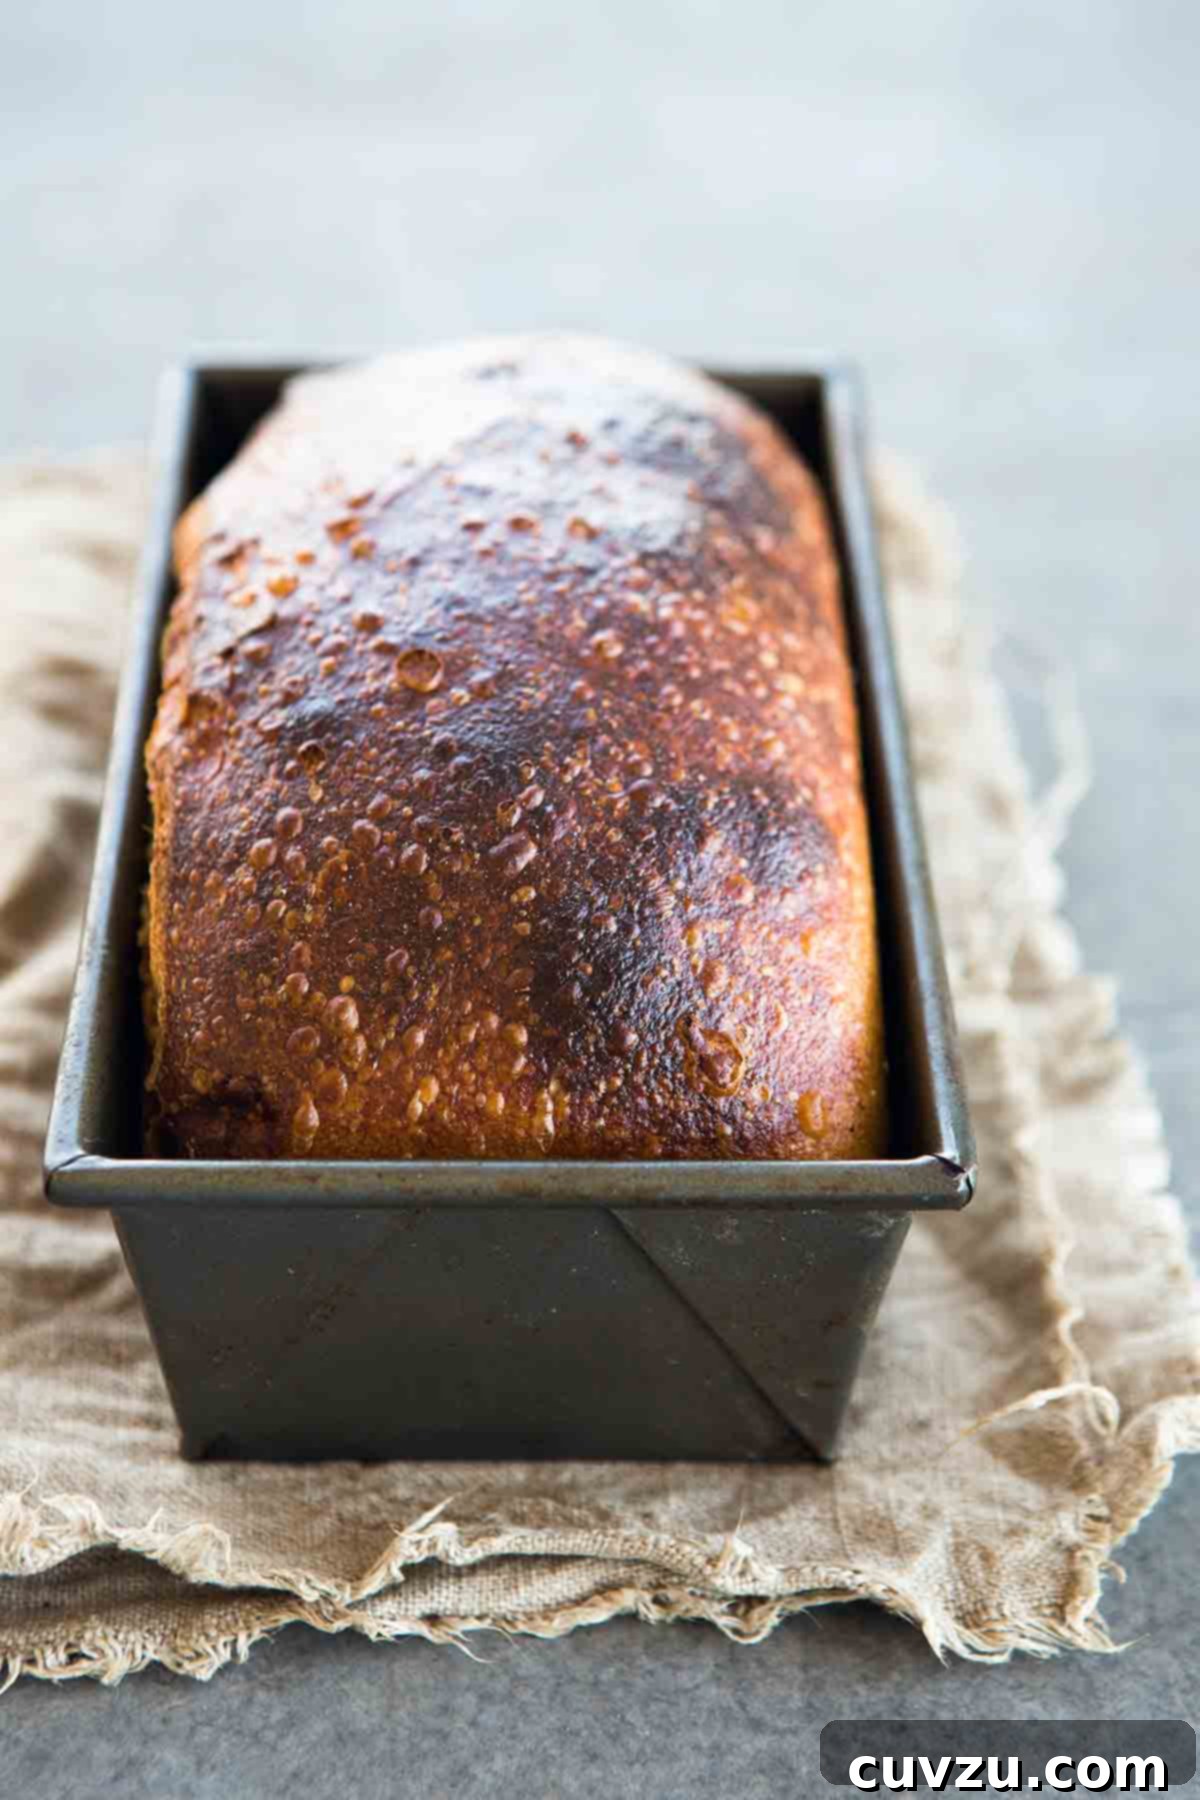
Unlock the secret to baking the most delightful, light, and airy sandwich bread you’ve ever tasted, right in your own kitchen. This simple, no-fuss recipe for homemade sandwich bread, crafted from just flour, water, yeast, and salt, promises a rewarding baking experience for everyone, especially those new to the world of bread making. Forget complicated techniques and intimidating processes; this guide offers straightforward, hand-holding advice designed to empower even the most novice bakers to achieve bakery-quality results. Imagine the aroma of freshly baked bread filling your home, the soft texture perfect for your favorite sandwiches, or simply enjoyed with a pat of butter. This isn’t just a recipe; it’s an invitation to a fulfilling culinary journey that culminates in the best sliced white bread imaginable.
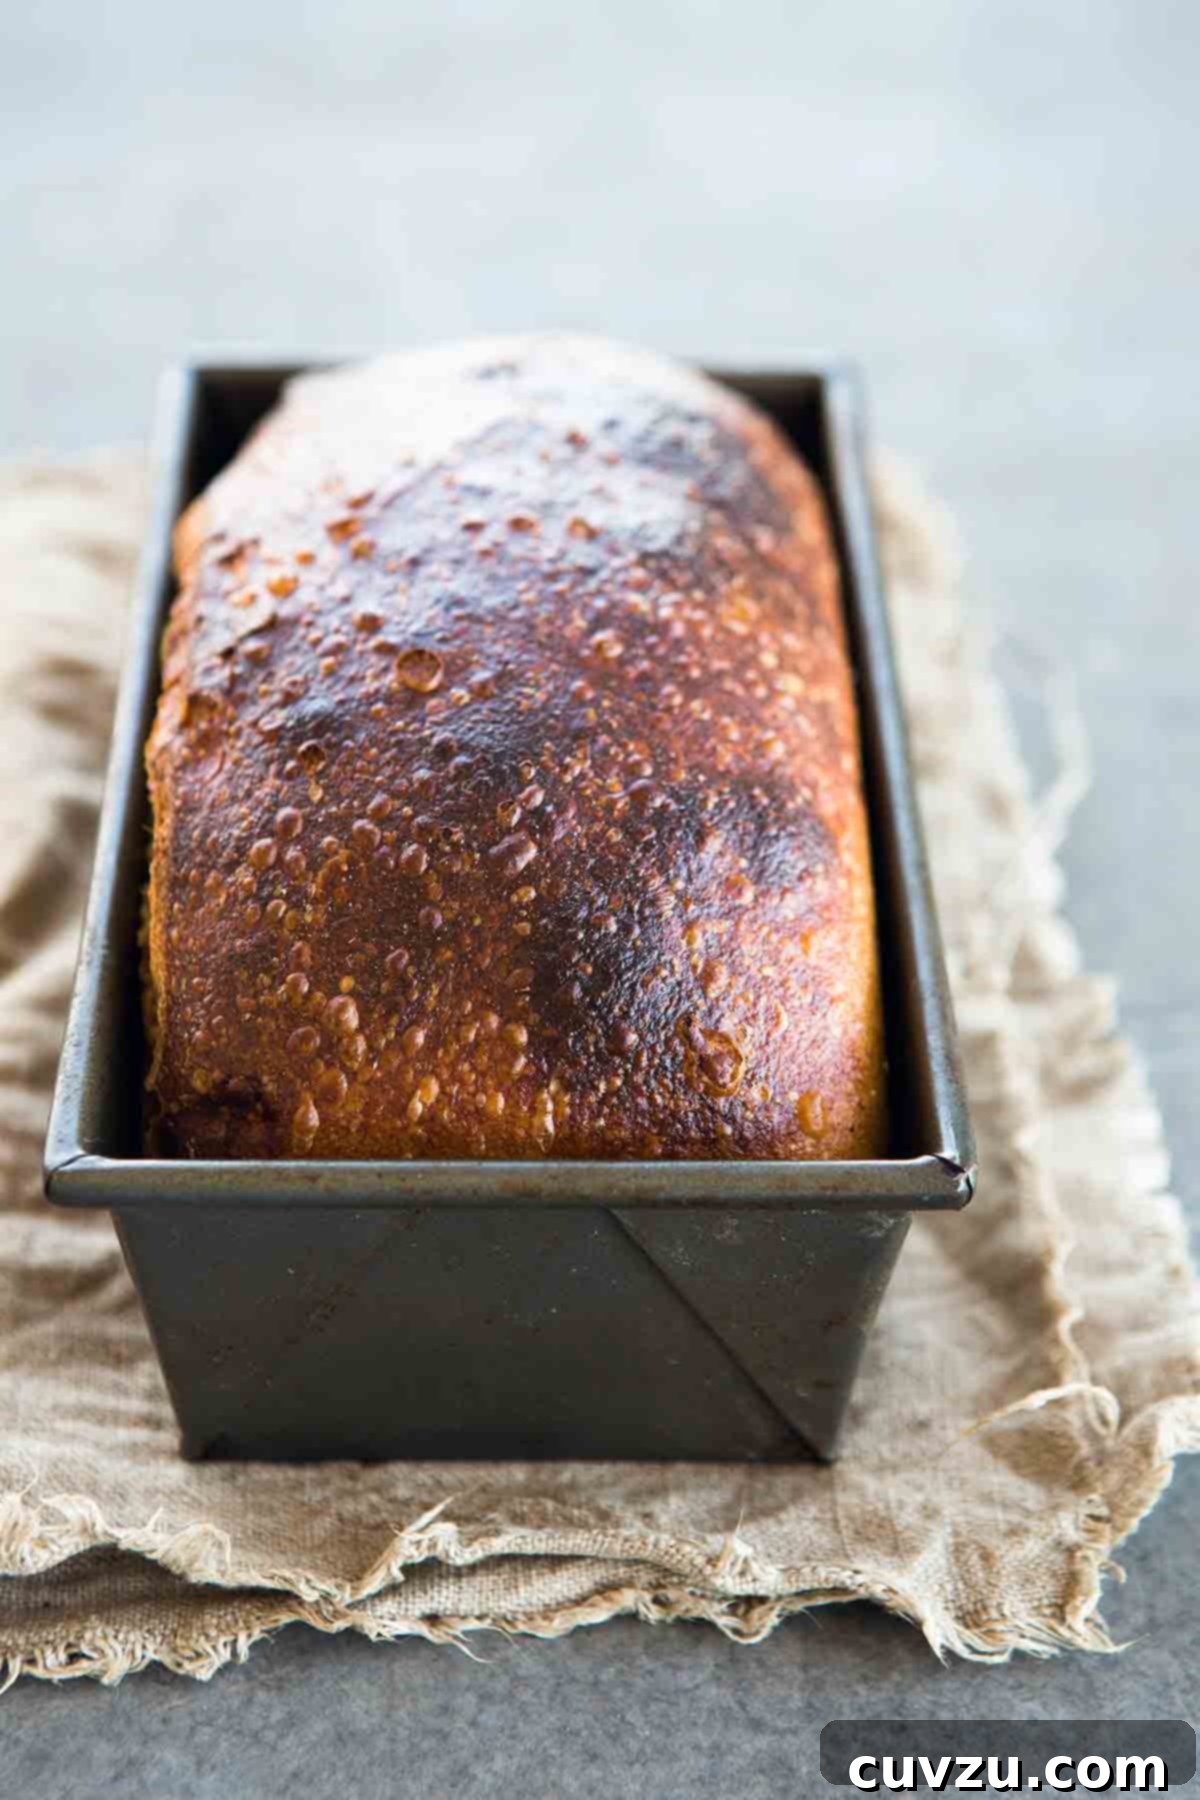
Inspired by the philosophy of author Josey Baker, whose knack for crafting exceptional bread is matched only by his talent for writing incredibly accessible recipes, this guide is specifically tailored for beginner bakers. “Don’t be a weenie; you have everything you need to do this. You don’t need any fancy anything—just flour, water, yeast, and salt,” he playfully asserts, cutting through any apprehension with his encouraging words. Baker goes above and beyond, outlining practical tips, visual cues, and reassuring advice that builds confidence in those of us still finding our footing in the kitchen. As Renee Schettler Rossi notes, his instructive writing emphasizes a crucial truth: “Good bread takes time, and there’s just no way around it. You spend 10 minutes mixing up your bread dough on day one, and then leave the dough in the fridge for a few days before doing anything else. So plan ahead and invite someone over for dinner this weekend.” This patient approach not only simplifies the process but also enhances the flavor, making this an ideal recipe for busy schedules and aspiring bakers alike.
Why Bake Your Own Sandwich Bread?
There’s a unique satisfaction that comes with baking bread from scratch. Beyond the incredible aroma and taste that far surpasses anything store-bought, making your own sandwich bread allows you to control the ingredients, avoiding preservatives and artificial additives often found in commercial loaves. This recipe is a gateway to that satisfaction, proving that creating delicious, wholesome bread can be an easy and enjoyable endeavor. The process is surprisingly hands-off, with much of the magic happening during extended rest periods, which conveniently fit into even the busiest lifestyles. It’s an opportunity to create a staple that will elevate your daily sandwiches, toast, or simply be a delightful accompaniment to any meal.
More Delicious Bread Recipes to Explore:
- Wholesome Homemade Whole Wheat Bread
- Irresistible English Muffin Bread
- Hearty Whole-Wheat Sandwich Bread

The Foolproof Homemade Sandwich Bread Recipe
This homemade sandwich bread, crafted with just flour, water, yeast, and salt, is an incredibly easy and relatively quick way to produce the finest sliced white bread. With clear instructions and supportive tips, it’s perfectly suited for budding bread bakers.
Recipe by David Leite
Ready to bake?
Course: Mains
Cuisine: American
Servings: 16 servings
Calories: 104 kcal
Prep Time: 20 minutes
Cook Time: 11 hours 10 minutes
Total Time: 11 hours 30 minutes
Equipment You’ll Need
- 1 8.5-x-4.5-inch (21-x-11-cm) loaf pan
- Large mixing bowl
- Plastic wrap or a lid
- Cooling rack
Essential Ingredients
- 3 1/2 cups bread flour*, plus more for shaping the dough
- 2 teaspoons fine sea salt
- 2 1/4 teaspoons active dry yeast (one small packet)
- 1 2/3 cups lukewarm water, about 80°F (27°C), plus more as needed
- Oil for the pan, preferably one with a high smoke point, such as grapeseed or avocado oil
Step-by-Step Instructions for Your First Loaf
-
Combine Dry Ingredients: In a large mixing bowl, thoroughly combine the bread flour, salt, and yeast. Use your hand to stir until they are evenly mixed, ensuring no lumps of salt or yeast remain. A well-distributed blend is key for consistent results.
☞ BAKER’S TIP: For accurate flour measurement, gently fluff the flour in its container before lightly scooping it into your measuring cup. Overfill the cup, then use the back of a knife to level it off, scraping away any excess. If you have a digital kitchen scale, weighing your flour (approximately 420-450 grams for 3 1/2 cups) offers the most precise measurement.
-
Mix Wet and Dry: Pour the lukewarm water into the bowl with the dry ingredients. Roll up your sleeves and get ready to mix with your hands – yes, it will be a bit squishy, but it’s part of the fun! If you prefer, a sturdy wooden spoon can also be used. Work the ingredients until they are uniformly combined, ensuring no dry flour pockets remain. The dough should have a consistency similar to very wet Play-Doh. This mixing process should take only about 30 seconds. If the dough seems too dry, add 1-2 tablespoons of water; if it’s too liquidy, add 1-2 tablespoons of flour. The dough will be quite wet and will slouch in the bowl when undisturbed; this is exactly how it should be, so don’t worry.
-
First Rise at Room Temperature: Cover the bowl tightly with a lid or plastic wrap to prevent moisture loss. Let the dough rest undisturbed at room temperature for approximately 3 hours. During this time, the yeast will become active, causing the dough to roughly double in size. It will still maintain a somewhat sticky texture.
-
Cold Fermentation for Flavor: Transfer the covered bowl to your refrigerator and allow the dough to chill for at least one day, and up to a week. While impatience might tempt you to shorten this, a minimum of 3 hours in the fridge is essential to make the dough easier to handle. Crucially, the extended cold fermentation period allows the yeast to develop a much richer, more complex flavor profile, resulting in a superior tasting bread.
-
Prepare Pan and Shape Dough: Generously oil the inside of your loaf pan, extending the oil over the top rim and a portion of the upper outer edges. Retrieve your chilled dough from the fridge; it will still be sticky, which is perfectly normal. Sprinkle a small handful (about 2 tablespoons) of flour onto a clean countertop and an additional tablespoon on top of the dough in the bowl. Gently tip the bowl to release the dough. Sprinkle a little more flour (about 1 tablespoon) on top of the dough to prevent sticking, then gently flatten it into a circular shape.
-
Form the Loaf: Take the left side of the flattened dough and fold it towards the center, then repeat with the right side, folding it over the left. Gently roll or fold the dough into a log shape. Carefully place the formed dough log into the prepared loaf pan, ensuring the smooth side of the dough faces upwards.
-
Second Rise Preparation: Lightly brush the top of the dough with oil. Take a large sheet of heavy-duty aluminum foil and slick one side with oil. Drape this foil (oil-side down) over the loaf, tenting it so there’s ample room (about 2 inches) for the dough to rise without touching the foil. Ensure the foil securely covers the edges of the pan to seal in moisture.
-
Second Rise at Room Temperature: Let the covered dough sit at room temperature for 2 to 4 hours. Choose a quiet, undisturbed spot, like on top of your refrigerator or a kitchen shelf. You’re waiting for the dough to rise approximately 2 inches, peaking just above the sides of the pan but not overflowing. Should your schedule change, you can return the dough to the fridge after 2 hours for another 1 to 3 days, resuming the final rise later.
-
Preheat Your Oven: Adjust one of your oven racks to the middle position. Preheat your oven to a high temperature of 475°F (246°C) for at least 20 minutes to ensure it’s thoroughly heated. If your dough was refrigerated for the second rise, take it out when you start preheating the oven to allow it to come to room temperature.
-
Bake the Bread: Place the loaf, still covered with its aluminum foil tent, into the preheated oven. Bake for 20 minutes. After this initial baking period, carefully open the oven, remove the aluminum foil (be excited – your dough is transforming!), and continue baking for another 10 to 20 minutes. Begin checking the loaf after 10 minutes; it’s done when the top reaches a beautiful golden brown color.
-
Cool and Enjoy: Using oven mitts or a towel, carefully remove the hot pan from the oven. Tip the freshly baked bread out of the pan. If it seems to stick, gently use a spatula or butter knife to loosen its sides. Place the loaf on a cooling rack or lean it against something to allow air circulation, facilitating even cooling. Patience is key here; resist the urge to slice into it immediately. Letting it cool for at least 30 minutes (ideally an hour) prevents steam from escaping too quickly, which can make the bread gummy, and saves your mouth from a burn. Then, slice and savor your homemade masterpiece!
Baker’s Notes
*Understanding Bread Flour
For this homemade sandwich bread recipe, using bread flour is highly recommended. While similar to all-purpose flour, bread flour is milled from wheat varieties with a higher protein content. This increased protein forms more gluten, resulting in a “stronger” dough that produces a loaf with a better structure, chew, and a more satisfying rise than if you were to use all-purpose flour.

Adapted From
Josey Baker Bread: Get Baking—Make Great Bread—Stay Sane—Learn the Ropes
Buy On Amazon
Nutrition
Serving: 1 slice
Calories: 104 kcal
Carbohydrates: 21 g
Protein: 4 g
Fat: 1 g
Saturated Fat: 1 g
Monounsaturated Fat: 1 g
Sodium: 293 mg
Fiber: 1 g
Sugar: 1 g
Nutrition information is automatically calculated and should only be used as an approximation.
Real Bakers, Real Results: What Our Testers Say
To ensure this recipe truly lives up to its promise for beginner bakers, a panel of dedicated recipe testers put it to the ultimate test. Their varied experiences and insights provide invaluable feedback, confirming the ease, flexibility, and delicious outcome of this homemade sandwich bread. From seasoned bakers seeking a simpler method to complete novices embarking on their first loaf, the consensus is clear: this recipe delivers. Read on for their candid reviews, offering additional tips and reassurances for your baking journey.

Mardi Michels
I absolutely adored this homemade sandwich bread recipe! Its simplicity was a huge plus, especially since I was baking in an unfamiliar kitchen with different flour and yeast, yet the loaf still turned out fabulous. While it requires some planning ahead, the minimal hands-on time (about 20 minutes total) makes it incredibly manageable. I followed the suggested resting times—3 hours at room temperature, then 24 hours in the fridge, followed by 4 hours resting in the pan—and the dough was consistently like very wet Play-Doh. The 40-minute baking time was perfect. I will definitely be making this again.

Linda Pacchiano
This recipe for sandwich bread is a keeper, even for experienced bakers like myself. It’s a great beginner-friendly option, almost foolproof, and boasts impressive flexibility with timing. This adaptability is what truly stands out; it allows you to fit bread baking into a busy schedule by utilizing the refrigerator to slow down proofing. The instructions are incredibly detailed and easy to follow, making success achievable even without prior bread-baking experience. The dough comes together quickly with minimal mess, resulting in a versatile loaf perfect for any use.

Jackie Gorman
Despite limited bread-baking experience, this recipe delivered wonderful results. It was incredibly easy to make, required no kneading, and produced a delicious loaf. The dough doubled in size after 3 hours at room temperature, and after 5 days in the refrigerator, it was puffy and springy. I found the dough to be quite sticky during shaping, requiring more flour than suggested on the counter. Forming it into a log and transferring it to the pan took a bit of finesse, but the baked loaf was beautifully dark brown. This is definitely a recipe I’ll revisit.

Chiyo Ueyama
As my first attempt at basic sandwich bread, this recipe was a delightful challenge, so much so that I baked it two weekends in a row! It’s easy to see how bread baking can become an obsession. The rewards were two wonderful loaves, delicious warm, cold, toasted, or untoasted, with a great salty flavor. The dough was wet but fun and easy to handle, proving less daunting than anticipated. Despite long resting and rising times (36 hours in my fridge), the hands-on effort was minimal. For the second loaf, I adjusted the baking temperature to 425°F after removing the foil, and it came out perfectly golden.

Susan Bingaman
This recipe, nicknamed “Your First Loaf of Bread,” exceeded all expectations. Instead of a bland, plastic-y white bread, I got a crusty, yeasty, and chewy loaf bursting with flavor. My husband even asked if there was beer in it! The hands-on time was minimal, about 15 minutes over 36 hours. After mixing, a short room temperature rise was followed by 48 hours in the fridge. The dough was then shaped, rested for 4 hours, and finally baked after another 24 hours in the fridge. This recipe truly offers fabulous homemade bread, even with a crazy schedule. The crust softens slightly when wrapped, but the texture remains excellent.

Steve Dunn
This homemade sandwich bread recipe, with minimal fuss, delivers a solid loaf and introduces the baker to one of life’s simplest pleasures: fresh, warm bread straight from the oven. While not the most exquisite bread I’ve ever tasted, it’s a fantastic recipe to encourage timid bakers. The instructions were well-written and measurements accurate. However, I found the 4-hour second rise a bit too long in my 74°F kitchen, leading to the dough overflowing slightly. I also reduced the baking time by about 10 minutes to achieve a beautifully browned top without overcooking. After a quick cool-down, a slice with salted butter was pure bliss.

Ellen Fuss
Though not my absolute first loaf, I approached this homemade sandwich bread recipe with a beginner’s mindset, and it truly guided me through the process. The detailed and descriptive instructions were spot-on, making each step feel approachable rather than intimidating. I added an extra tablespoon of water to achieve the described Play-Doh consistency, and the dough doubled in size as expected. My loaf was nicely browned after just 7 minutes without the foil. This recipe works beautifully, producing a flavorful bread with a gorgeous crust. It’s an easy win for any new bread baker, even if it bypasses the pleasure of kneading.

Sarah Heend
This recipe yielded a delicious loaf with a lovely yeasty flavor, a moist crumb, and a crisp, thick crust, featuring a natural sweetness from the long, cool rise. Its flexible timing makes it a great recipe to keep on hand. While I typically prefer fully kneaded bread, this no-knead version produced a beautiful loaf with its characteristic slightly rough yet fabulously moist crumb—perfect for warm-from-the-oven enjoyment or toast. I found the dough to be very sticky during mixing, suggesting a sturdy spoon might be preferable to hands. After a 72-hour rise, I decided to bake when the dough was 2 inches above the pan, cutting the final rise short to prevent overflow. The bread was light and airy, and I closely monitored the browning after removing the foil, finding it cooked faster than expected.

Robert Castagna
This homemade sandwich bread offers excellent flavor and is remarkably simple to prepare. I allowed the dough to ferment in the fridge for three days. The dough maintained its Play-Doh-like consistency, requiring no additional flour. For the second rise in the kitchen, it took 2 hours and 45 minutes to double in size. After removing the aluminum foil during baking, the loaf achieved a perfect brown color in just 17 minutes, slightly less than the suggested time. It’s a consistently rewarding recipe.

Elsa M. Jacobson
I might just devour this entire loaf myself tonight, then start another batch to keep the homemade bread coming! This recipe requires such little effort and hands-on time—just 10 minutes to mix, with no need for weighing (though watch for lumps!). My water temperature guess was fine, and the flour-water balance was perfect. After 3 hours, my dough had more than doubled. I let it rest in the fridge for 17 hours, taking advantage of the recipe’s flexibility to store dough for up to a week, meaning fresh bread can be a constant in your home. Ensure you oil the pan generously, including rims and outer edges, with a high smoke point oil like grapeseed. This helped with cleanup after my loaf tried to creep out. Use heavy-duty aluminum foil for tenting. My bread baked to perfection in less time than stated; after the initial 20 minutes with foil, it took only 3-4 minutes to achieve a dark brown crust. It tasted terrific! Even if a loaf “fails,” it makes excellent grilled cheese, French toast, croutons, or bread crumbs. Master this loaf, and you can experiment with whole wheat flour, seeds, nuts, dried fruit, cinnamon swirls, olives, or herbs. This recipe truly works well, whether it’s your first loaf or your thousandth.

Larry Noak
Bread-making is my passion, and I wholeheartedly recommend this recipe to everyone, regardless of their baking skill level. With just flour, water, yeast, and salt, it proves that these basic ingredients are all you truly need. I appreciate its simplicity, clear explanations for beginners, and its ability to produce a fine loaf of bread. The hands-on time is incredibly short, no more than 10 minutes, but the overall process can span from 24 hours to a week. The longer you allow the dough to develop in the fridge, the richer the flavor. I baked mine after about 28 hours, and honestly, the flavor was vastly superior to any store-bought bread. This recipe is perfectly written and consistently delivers. Just remember to start checking the loaf after 10 minutes once the foil is removed, as oven temperatures can vary.
These reviews highlight the consistent success and delightful experience this recipe offers. Ready to create your own homemade masterpiece?
There you have it—a comprehensive guide to baking your very own homemade sandwich bread. This recipe, with its simple ingredients, minimal hands-on time, and flexible schedule, is truly a gift for anyone eager to experience the unparalleled joy of freshly baked bread. Whether you’re a complete novice or a seasoned pro looking for a straightforward method, this foolproof approach promises a delicious, flavorful loaf every single time. So, gather your simple ingredients, trust the process, and prepare to fill your home with the intoxicating aroma of warm, homemade bread. Your sandwiches (and your taste buds) will thank you!