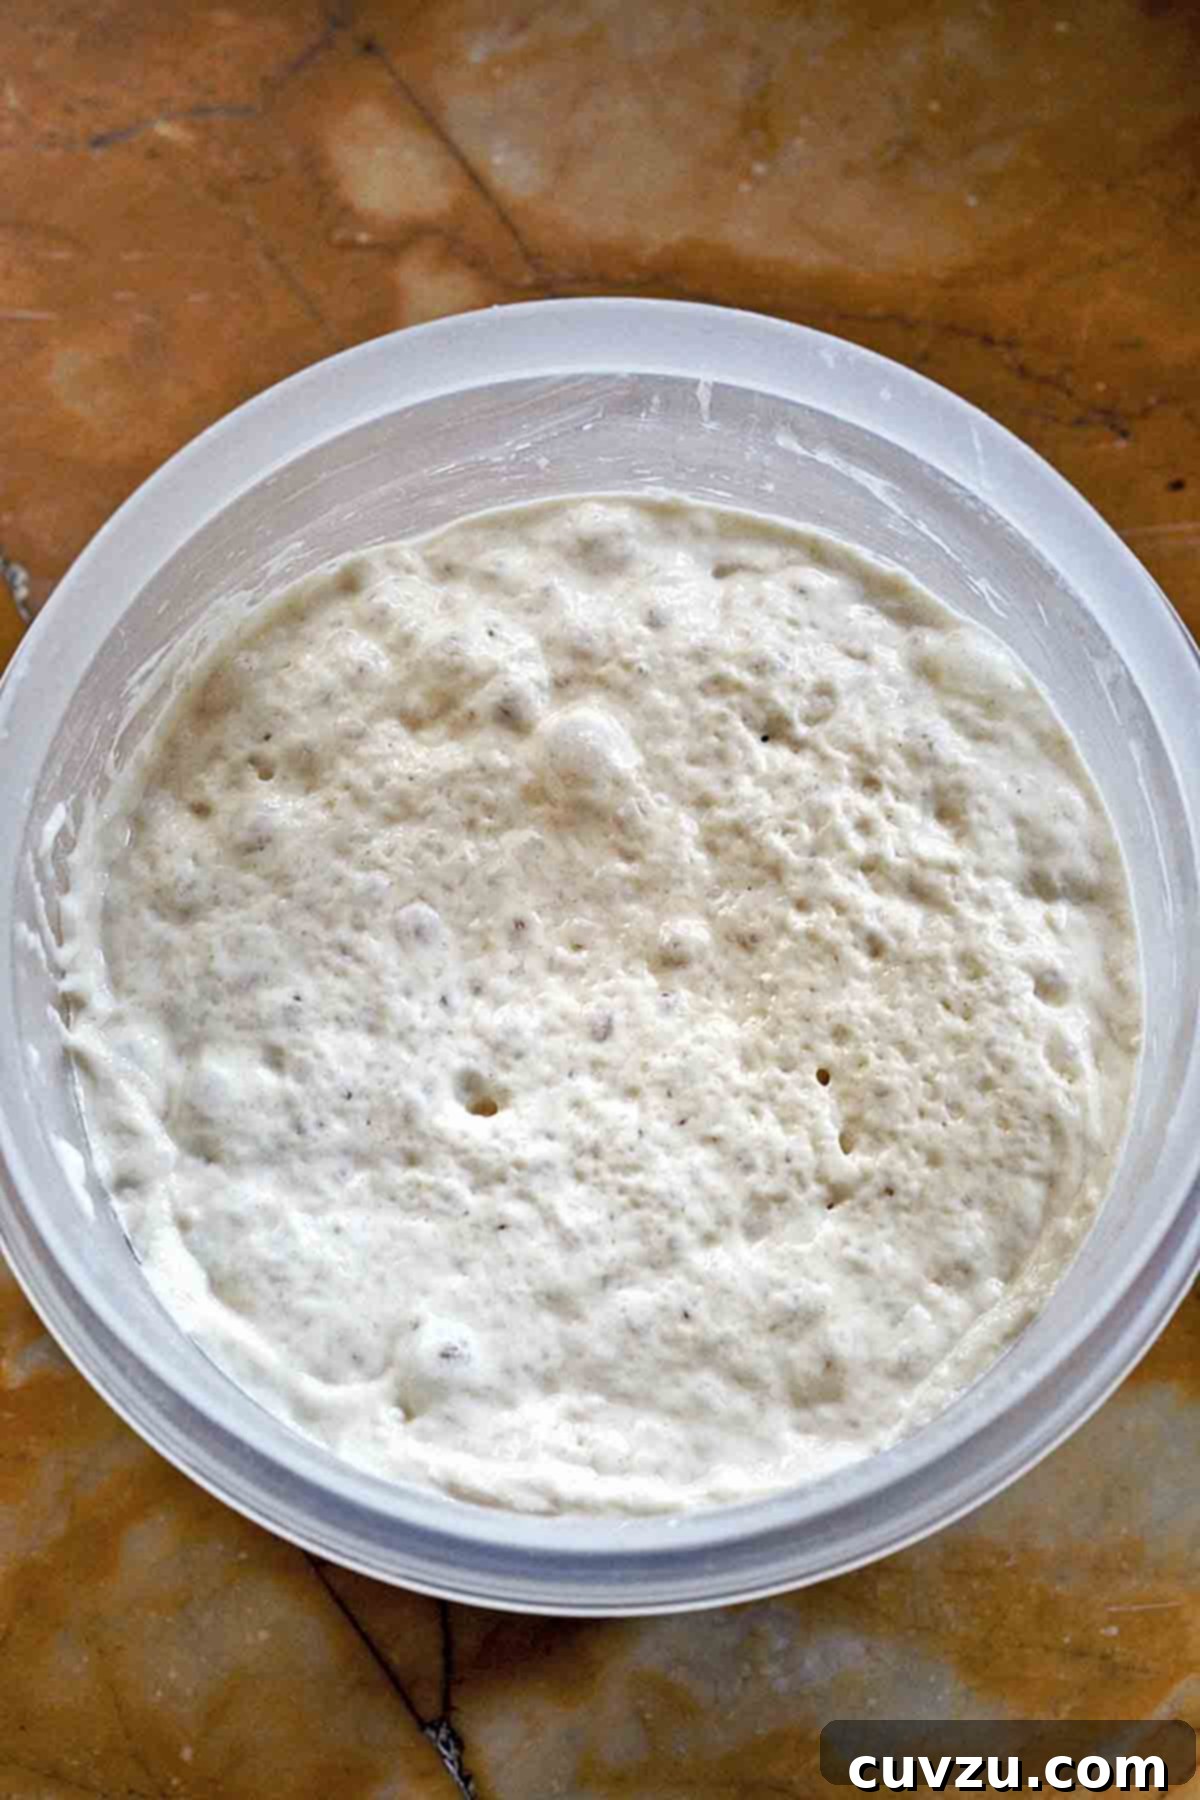
Embark on a culinary journey to the heart of Italy with this essential guide to mastering Italian biga. This remarkable pre-ferment, composed simply of flour, yeast, water, and time, is the cornerstone of countless traditional Italian loaves, imparting unparalleled flavor, aroma, and texture. Forget bland, quickly risen breads; with biga, you’re not just baking, you’re embracing an age-old tradition that transforms simple ingredients into something truly extraordinary.
Understanding Italian Biga: The Heart of Authentic Bread
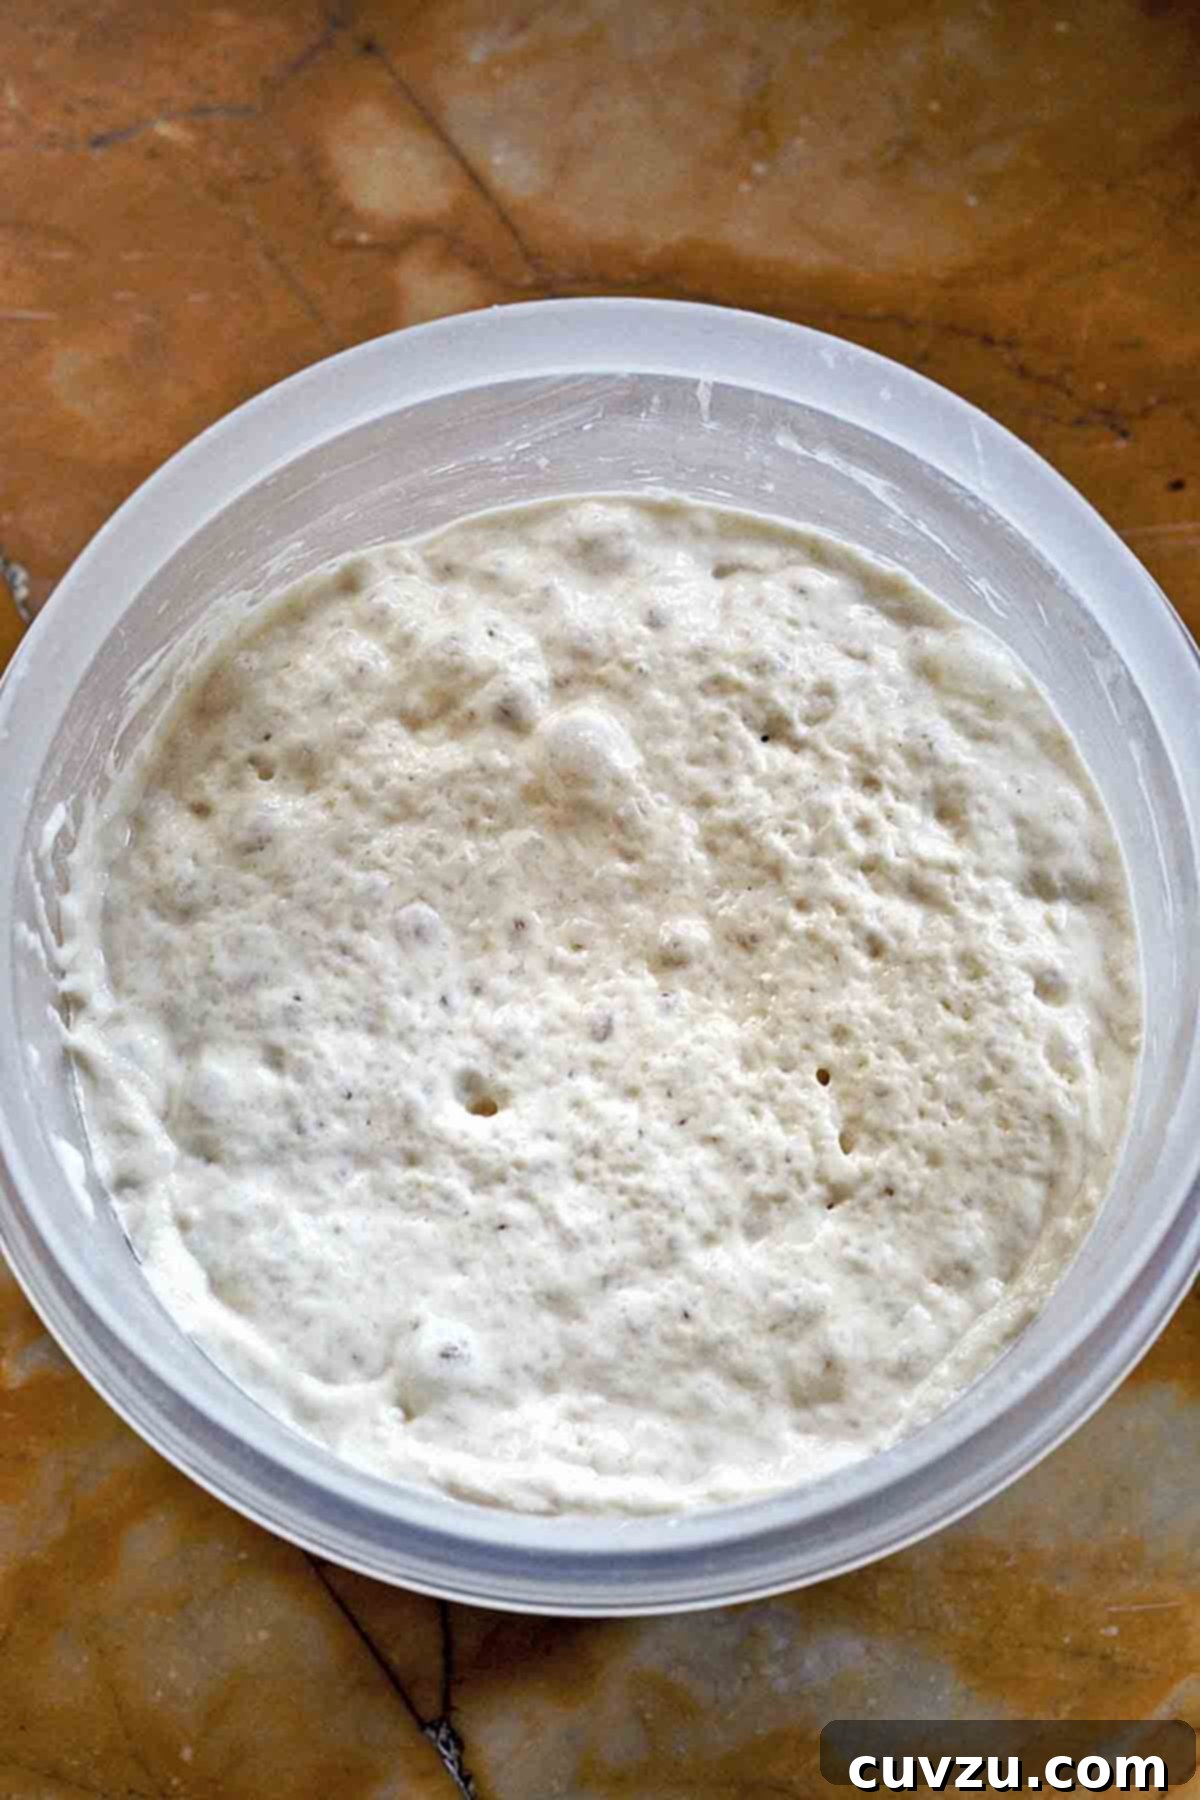
Many of the most revered recipes for classic regional Italian breads, such as the iconic ciabatta or the rustic pane pugliese, owe their distinctive characteristics to a starter dough known as biga. This pre-ferment is created from carefully measured amounts of flour, water, and yeast, allowed a controlled initial fermentation period. When prepared in smaller quantities, it is sometimes referred to as bighino.
More than just a leavening agent, biga plays a pivotal role in Italian baking, especially when working with the typically weaker flours found in Italy. It provides crucial strength to the dough, enhancing its structure and elasticity. Furthermore, the slow, secondary fermentation facilitated by biga is responsible for the incredible depth of flavor, natural aroma, and the characteristic open, airy crumb structure – or porosity – that defines true artisanal Italian loaves and wheels of bread. It’s this nuanced process that elevates homemade bread from good to truly exceptional.
The Unrivaled Benefits of Baking with Biga
The core advantage of using a biga lies in the remarkable taste development it encourages. Breads made with biga undergo extended fermentation periods, during which the natural sugars and starches in the grain break down, unlocking a complex spectrum of flavors that simply cannot be achieved with rapid, commercial yeast-driven processes. This slow transformation yields a depth and richness that is both subtle and profound, a testament to the power of patience in baking.
Beyond flavor, biga offers several other significant benefits for the home baker:
- Enhanced Shelf Life: Breads made with biga remain fresher for longer. The pre-fermentation process produces organic acids that act as natural preservatives, slowing down the staling process and keeping your loaves delicious for days.
- Superior Texture: The stiffer consistency of biga contributes to a chewier, more structured crumb and a wonderfully crisp crust, a hallmark of artisan bread.
- Sweeter Flavor Profile: Interestingly, despite the longer fermentation, biga-leavened breads often possess a subtly sweeter taste than those made with larger amounts of commercial yeast. This is due to the balanced fermentation, which doesn’t strip the flour of its inherent sweetness.
- Improved Digestibility: The extended fermentation breaks down complex carbohydrates and proteins, potentially making the final bread easier to digest for some individuals.
Biga in Italian Bakeries: A Timeless Tradition
In traditional Italian bakeries, the concept of biga often extends to a continuous cycle. Bakers frequently use a portion of the previous day’s dough to kickstart a new batch, a practice that builds on generations of flavor and expertise. For the home baker, replicating this tradition is both rewarding and convenient.
Many passionate bakers, like esteemed author Carol Field, advocate for keeping a biga starter on hand at all times. This preparedness allows for spontaneous baking; imagine deciding to make a beautiful pane pugliese or a classic ciabatta in the morning and having it ready for dinner that very night. While the first biga must, of course, be created from scratch, its remarkable resilience and adaptability make it a worthwhile investment of time.
Once made, biga is incredibly forgiving. It freezes exceptionally well, requiring only about 3 hours at room temperature to become bubbly and active again. Alternatively, it can be refrigerated for up to 5 days, maintaining its potency and readiness for your next baking project. This flexibility makes traditional Italian bread baking more accessible than ever before. We are deeply indebted to baking experts like Carol Field for sharing such invaluable techniques and recipes, allowing us to bring the authentic flavors of Italy into our own kitchens.
Leite’s Culinaria’s Dedication to Biga
Every exquisite, memorable bite of proper Italian bread, whether it’s a delicate nibble or a heartily consumed slice, owes its existence to the humble biga. It’s the unsung hero behind the rich traditions of Italian baking. We at Leite’s Culinaria feel immense gratitude to culinary masters like Carol Field for preserving and sharing this essential recipe. It’s a foundational piece of authentic Italian cuisine, bringing a touch of nonna’s magic to every loaf – nonna herself, of course, remains an irreplaceable ingredient!
Italian Biga
David Leite
Sides, Bread
Italian
2
servings (approx. 2 cups biga)
536
kcal
20
minutes
6
hours –
72
hours
20
minutes
Ingredients
US Standard
Metric
Metric
-
1/4 teaspoon active dry yeast -
1/4 cup warm water, 100°F to 110°F (38°C to 43°C) -
3/4 cup plus 4 teaspoons bottled spring water, at room temperature (filtered tap water can be used) -
2 1/3 cups unbleached all-purpose flour -
vegetable oil, for greasing the bowl
Instructions
-
In a medium bowl, stir the 1/4 teaspoon active dry yeast into the 1/4 cup warm water. Let this mixture stand for approximately 10 minutes, or until it becomes creamy and fully activated.
-
Once the yeast mixture is creamy, stir in the 3/4 cup plus 4 teaspoons bottled spring water (at room temperature). Gradually incorporate the 2 1/3 cups unbleached all-purpose flour, adding it about 1 cup at a time, ensuring it is fully absorbed before adding more.
☞ Mixing by Hand: If mixing by hand, stir vigorously with a sturdy wooden spoon for 3 to 4 minutes until a cohesive, somewhat stiff dough forms.
☞ Using a Stand Mixer: If using a stand mixer, attach the paddle attachment and beat the mixture at the lowest speed for 2 minutes. The dough should come together and be quite stiff.
☞ Using a Food Processor: If using a food processor, pulse just until the ingredients combine and a sticky, stiff dough forms. Be careful not to overmix.
-
Lightly coat a clean bowl with vegetable oil. Transfer the biga to this prepared bowl, ensuring it is well-covered with plastic wrap to prevent a skin from forming. Allow the biga to rise at a cool room temperature, ideally between 65°F to 68°F (18°C to 20°C).
The fermentation period for biga can vary significantly, ranging from 6 to 24 hours, or even longer for enhanced flavor. The goal is for the starter to triple its original volume while still maintaining a wet and sticky consistency. Many experienced bakers recommend a fermentation of 10 to 11 hours for the initial rise, which provides a balanced flavor. However, allowing it to rest for a full 24 hours truly develops a deeper character, embodying the concept of “yesterday’s dough.” For those who prefer a more pronounced, complex, or slightly sour profile in their bread, a fermentation period of 24 to 48 hours, or even up to 72 hours, can yield exceptional results.
-
Once the biga has reached its desired fermentation stage, cover it securely and transfer it to the refrigerator or freezer until you are ready to use it in your baking. If refrigerating, aim to use the biga within 5 days for optimal performance. If freezing, allow the biga to thaw and rest at room temperature for approximately 3 hours until it becomes bubbly and actively rising again.
When incorporating biga into your chosen recipe, it is highly recommended to weigh the desired amount rather than measuring it by volume, as its consistency can change with temperature and fermentation, affecting volume measurements. If volume measurement is your only option, ensure the biga is chilled when measured. If weighing, the biga can be either chilled or at room temperature. Scooping out the required amount of this vibrant, active starter will bring incredible life and flavor to your final bread dough.
Adapted From
The Italian Baker by Carol Field
Buy On Amazon
Explore More with Digital Tools
Find Ingredient Substitutions
Scale This Recipe
Summarize Key Insights
Note: While these tools can help explore variations, any modifications to the original recipe, especially with biga, might alter the final outcome. Always test small batches for best results.
Nutrition Facts (Approximate per Serving of Biga)
Serving Size:
1 cup
Calories:
536 kcal
Carbohydrates:
112 g
Protein:
16 g
Fat:
2 g
Saturated Fat:
1 g
Monounsaturated Fat:
1 g
Sodium:
10 mg
Fiber:
4 g
Sugar:
1 g
Nutrition information is automatically calculated and should only be used as an approximation. Actual values may vary based on ingredients and preparation.
Tried this recipe? Share your creations!
Mention @leitesculinaria or tag #leitesculinaria on Instagram!
Recipe Testers’ Reviews
Curious about how this biga performs in real kitchens? Our team of dedicated recipe testers put it to the test, and here’s what they had to say:
Larry Noak
This biga recipe is a perfectly suitable starting point for almost any bread that calls for a starter. As someone who bakes bread several times a week, I find it incredibly convenient to have this active pre-ferment readily available. Sometimes, I even go beyond the recipe requirements and add a small amount of this biga to a bread dough that doesn’t explicitly call for a starter, simply to infuse it with that wonderful, complex, added flavor. It consistently delivers excellent results, enhancing the depth and character of every loaf.
Jane Smith
I’ve always been intimidated by making my own starters, but this Italian biga recipe was surprisingly straightforward. The instructions were clear, and the visual cues for readiness were very helpful. I used my biga to make ciabatta, and the difference in flavor and crumb texture compared to my previous attempts was astonishing. The bread had a beautiful open crumb, a fantastic chew, and a subtle sweetness that was truly delightful. This biga is definitely a game-changer for my bread baking!
Mark Johnson
The flexibility of this biga recipe is fantastic. I made a double batch and froze half, and it reactivated perfectly when I needed it a week later. The key is truly observing the dough as it ferments; the cool room temperature rise yields a richer flavor than warmer, faster fermentations. I particularly appreciated the note about weighing the biga for accuracy; it’s a small detail that makes a big difference in the final product. My sourdough-loving family even praised the pane pugliese I made with this biga!
Biga vs. Other Pre-ferments: A Quick Comparison
While biga is a powerful tool for enhancing bread, it’s not the only pre-ferment out there. Understanding its distinctions from other popular starters like poolish and sourdough can help you choose the right one for your baking goals:
- Biga: This is a stiff, low-hydration pre-ferment (typically 50-60% hydration) made with flour, water, and commercial yeast. Its firm consistency encourages slower fermentation and produces a nutty, slightly sweet flavor with a crisp crust and open crumb, ideal for rustic Italian loaves.
- Poolish: In contrast, a poolish is a very wet, high-hydration pre-ferment (100% hydration) also made with commercial yeast. Its liquid nature leads to a faster fermentation, resulting in a mild, slightly tangy flavor and a softer crumb, often used in French breads like baguettes.
- Sourdough Starter (Levain): Sourdough relies on wild yeasts and bacteria present in flour and the environment, creating a naturally leavened starter. This multi-day process yields a distinct tangy, sour flavor due to lactic and acetic acids, producing breads with a unique chewiness and robust crust. While biga and poolish use commercial yeast, sourdough captures the natural microbiome, offering a different flavor profile and slower rise.
Each pre-ferment offers unique contributions to bread, and biga stands out for its ability to lend structure, profound flavor, and an appealing open texture to Italian-style loaves without the intense sourness of sourdough.
Mastering Your Biga: Expert Tips for Success
Creating a successful biga is straightforward, but a few key considerations can elevate your results:
- Flour Quality Matters: While unbleached all-purpose flour works well, a good quality bread flour with a higher protein content can further enhance the biga’s strength and the final bread’s structure. Experiment with different brands to find your favorite.
- Water Temperature is Crucial: The specified temperature range for the initial warm water (100°F to 110°F / 38°C to 43°C) is vital for activating the dry yeast effectively. For the room temperature water used later, filtered or bottled spring water is preferred to avoid chlorine, which can inhibit yeast activity.
- Precision in Measurement: Especially for the flour and water ratios, accurate measurement is key. Using a kitchen scale for flour offers greater precision than volume measurements, ensuring the correct hydration level for a stiff biga.
- Temperature Control During Fermentation: Maintaining a cool room temperature (65°F to 68°F / 18°C to 20°C) is perhaps the most important factor for biga. This slower, cooler fermentation allows for optimal flavor development and avoids over-fermentation, which can lead to a sticky, overly acidic biga. If your kitchen is warmer, consider placing the biga in a cooler spot like a pantry or basement.
- Observing Readiness: Don’t just rely on the clock. A ready biga will have visibly tripled in volume and will appear bubbly and active throughout. It should still be quite stiff and sticky, not runny or deflated. Trust your senses.
- Incorporating into Your Dough: When it’s time to use your biga, remember that it replaces a portion of the flour and water in your final bread recipe. Most recipes will specify how much biga to use. Break it into smaller pieces and add it early in the mixing process to ensure even distribution.
By paying attention to these details, you’ll consistently produce a vibrant, active biga that will bring unparalleled character to all your homemade Italian breads.