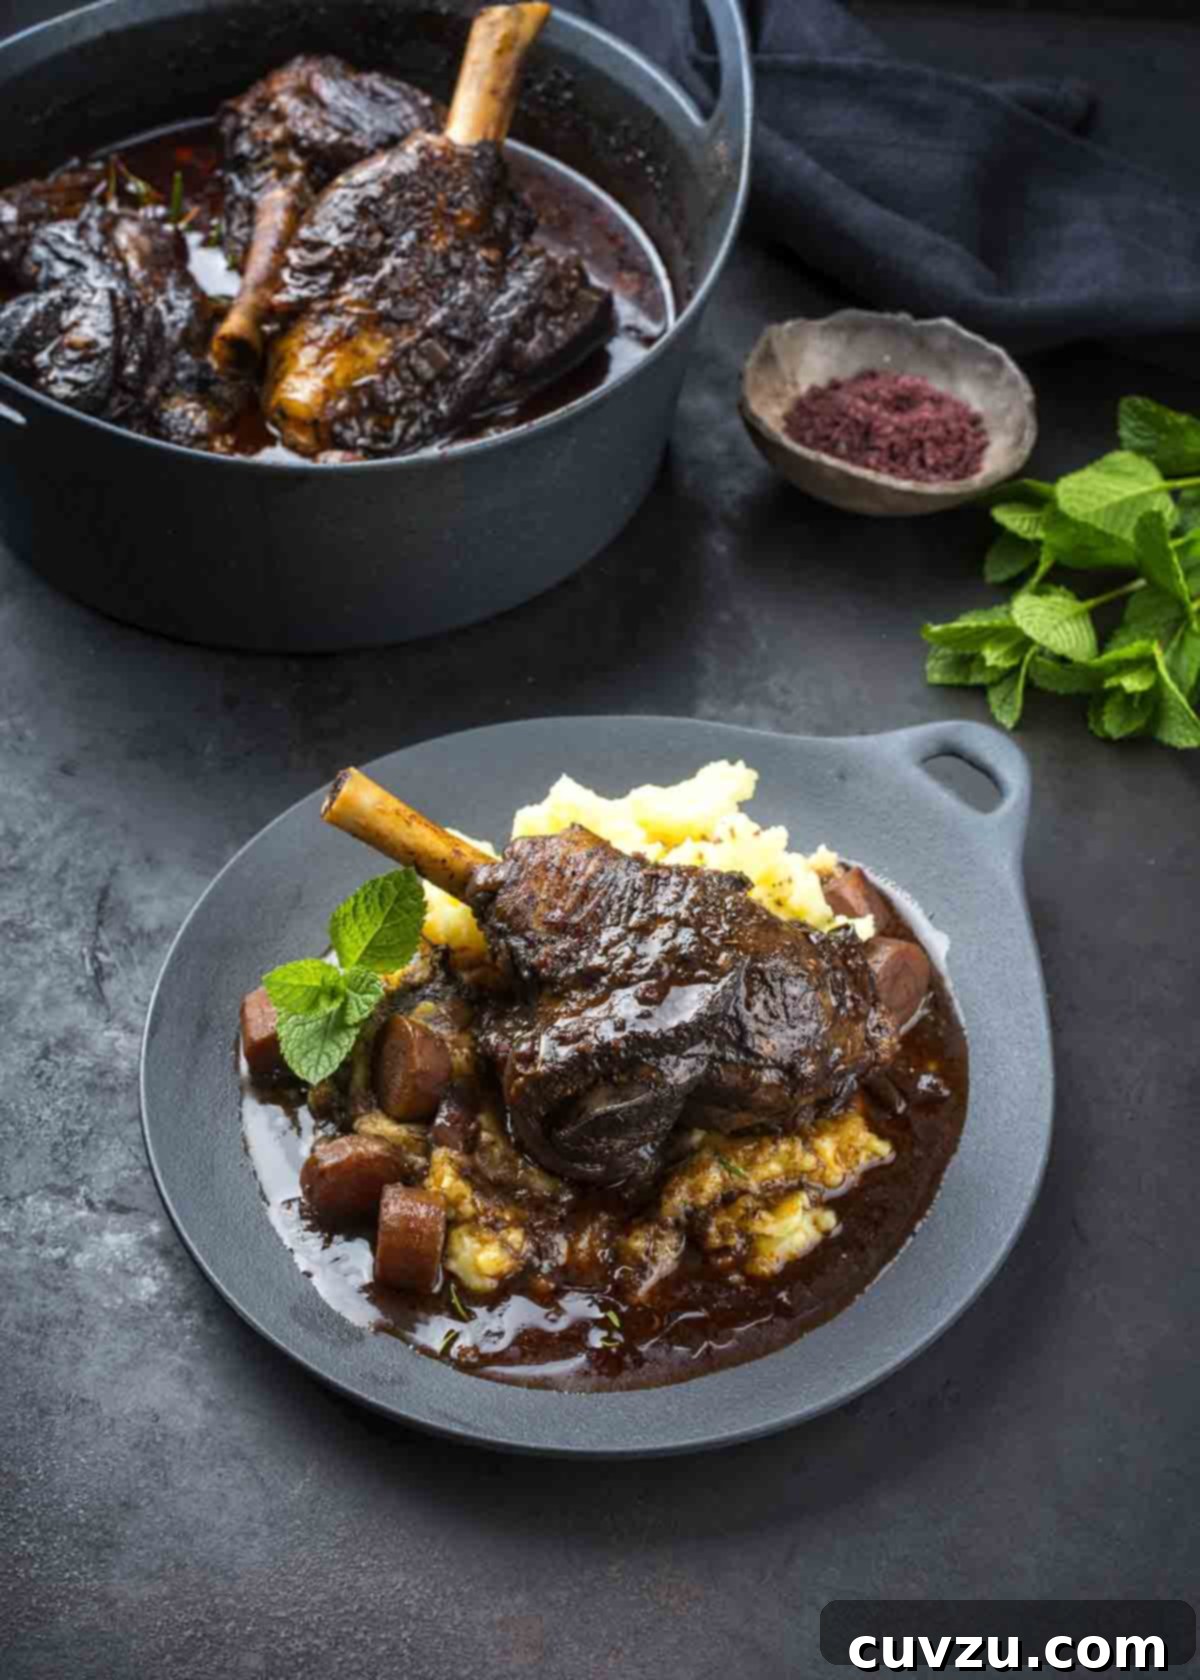
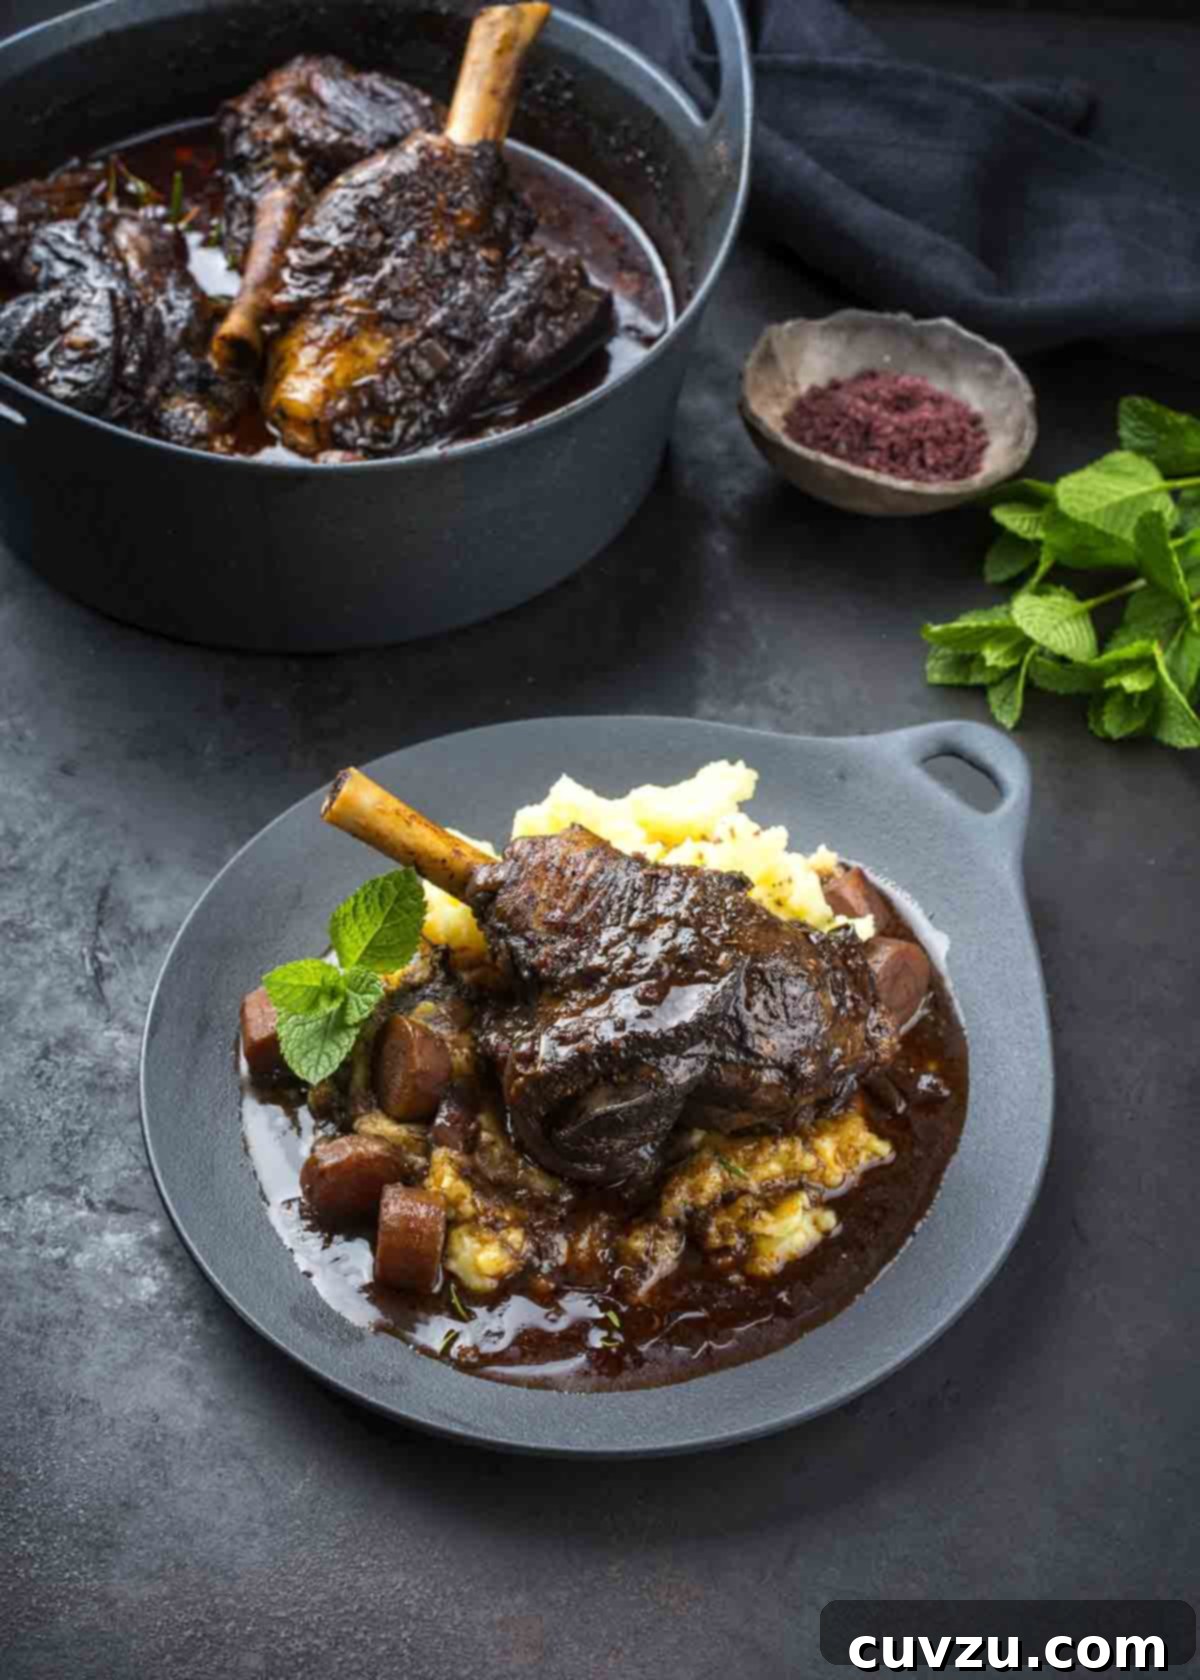
As the chill of winter sets in and temperatures plummet, few culinary experiences offer the profound satisfaction and comforting embrace of a slow-cooked braise. The inviting aroma alone, a tantalizing herald of dinner’s imminent arrival, can draw family and friends from every corner of the house. Beyond its captivating fragrance, braising stands out as a remarkably low-effort cooking method, demanding little constant vigilance yet delivering an explosion of flavor and unparalleled tenderness that far transcends its often-humble and inexpensive ingredients. It’s a culinary alchemy that transforms the ordinary into the extraordinary, making it a beloved technique for home cooks seeking hearty, budget-friendly meals.
What is Braising: The Art of Culinary Transformation
Braising is more than just a cooking technique; it’s an art of transformation, an elegant dance of disparate elements fusing into a greater, cohesive, and utterly delicious whole. At its heart, braising involves taking robust, often tougher, and more economical cuts of meat – the very ones your butcher might offer at a steal – and coaxing them into sublime tenderness. Mastering braising unlocks a vast repertoire of one-pot wonders, capable of feeding an entire family lavishly without breaking the bank. One of its most appealing attributes is its make-ahead potential: braises frequently taste even better a day or two after preparation, as the flavors continue to meld and deepen during their rest, making them ideal for effortless future meals or entertaining.
This deceptively simple technique is so fundamental that many home cooks have already braised countless dishes without consciously realizing it. If you’ve ever followed instructions that read, “reduce heat to a very low simmer, cover tightly, and cook for 1 1/2 to 2 hours,” then congratulations, you’ve been braising! Classic dishes like succulent short ribs, rich osso buco, comforting pot roast, or the iconic Coq au Vin are all prime examples of braised masterpieces. Even a significant portion of your favorite slow cooker recipes fall under the broad umbrella of braising. The term “braise” might be less frequently used as a verb in everyday conversation than “grill,” “roast,” or “sear” – especially outside of traditional culinary texts – but its presence in our kitchens is undeniable and deeply ingrained.
Fundamentally, braising is a moist-heat cooking method where a primary ingredient, typically a substantial and relatively inexpensive cut of meat, is first seared at high heat (optional but recommended for flavor) and then gently cooked at a low temperature in a small amount of liquid. Unlike stewing, where the ingredients are fully submerged, braising uses just enough liquid to come about a third to halfway up the sides of the food. Essential aromatics such as herbs, spices, and robust vegetables like onions, carrots, and celery are often incorporated into the pot. The entire ensemble is then tightly covered, creating a sealed, humid environment, and allowed to cook at a bare simmer for an extended period, usually far exceeding 45 minutes, often several hours. Whether this takes place in the controlled environment of an oven, on the stovetop, or within the convenience of a slow cooker, the core principles remain the same: the triumvirate of low temperature, prolonged cooking time, and the strategic use of cooking liquid are the critical components that define the braising process and guarantee its remarkable results.
How Braising Works: The Science of Tenderness and Flavor
The magic of braising unfolds within a tightly sealed environment. When the pot is covered, it traps steam inside, creating a mini culinary rainforest. This steam collects on the underside of the lid, condenses into flavorful droplets, and continuously drips back into the braise, basting the ingredients and ensuring they remain moist and succulent. Often, the process begins with searing the meat, a crucial step that creates a rich, browned crust. This searing develops what chefs call fond – delicious caramelized bits stuck to the bottom of the pot. As the cooking liquid is added, it deglazes these bits, incorporating that deep, savory foundation into the sauce, setting the stage for the incredible depth of flavor to come.
The cooking liquid itself, which typically reaches only a third to halfway up the side of the meat, may seem scant, but fear not. As the ingredients slowly cook, they release their own natural juices, which intermingle with the aromatics and the chosen liquid (be it stock, wine, or even beer). This synergistic blend concentrates into a sauce that becomes just as much a star of the show as the main ingredient. It’s imperative not to add too much liquid, as this will dilute the concentrated flavors, resulting in a muddled and less impactful dish. For this reason, investing in the best quality stocks, broths, and wines you can afford is highly recommended, as they significantly influence the final flavor profile of your exquisite braise.
Beyond the humid cooking environment, the true alchemy of braising lies in the “low and slow” approach. This sustained, gentle heat is precisely what brings out the best in tough cuts of meat, which are often rich in connective tissues like cartilage and sinew. At temperatures hovering around 180 to 200°F (82 to 93°C) – just below the boiling point of water, hence the delicate simmer – these stubborn connective tissues gradually melt and dissolve. They transform into gelatin, bathing the meat fibers in moisture and flavor. This process is what imparts braised meat with its signature glossy, unctuous, and utterly mouthwatering texture, making it fork-tender and unbelievably rich. It’s a complete transformation from the chewy toughness of an uncooked cut to a melt-in-your-mouth experience.
This method is a strict departure from how you would prepare more delicate cuts of meat. Attempting to cook a lean chicken breast or a marbled ribeye steak in this manner would result in an overcooked, dry, and inedible disaster. Braising is specifically designed for cuts that benefit from long, moist cooking, such as beef short ribs, succulent lamb shanks, hearty chuck roasts, pork shoulder, oxtail, or even chicken legs and thighs. These cuts, often overlooked or deemed difficult, become culinary jewels when subjected to the magic of braising.
How Do You Know When a Braise Is Done: The Fork Test
Determining the doneness of a braise is fundamentally different from cooking a steak or a chicken breast. One common mistake is to check a pot roast with a meat thermometer after only 40 minutes, see it register 165°F (74°C), and then pull it out. Braising simply cannot be rushed. Any attempt to accelerate the process will result in a tough, chewy, and highly disappointing meal that will require a LOT of chewing and might feel more like an endurance test than a delight.
Meat cooked through braising will exceed typical USDA doneness temperatures for food safety long before it reaches the desired state of tenderness. This means a thermometer isn’t your best guide for texture. Instead, the most reliable method for checking if a braise is done is the “fork test.” Gently insert a fork into the thickest part of the meat. If you can push the fork in with little to no resistance and easily tease the meat fibers apart with a slight twist, then your braise has reached its perfect state of tenderness. In contrast to a tough steak, which signals overcooking, a tough piece of braised meat is almost always an indication that it hasn’t been cooked nearly long enough. Patience, truly, is a virtue in braising.
That being said, while it is significantly more challenging, it is possible to overcook braised dishes. Many recipes for pulled meats, such as vibrant Ropa Vieja or hearty Italian ragu, instruct you to cook until the meat fibers easily separate from one another with the aforementioned fork test. Once you reach this glorious, fall-apart stage, it’s crucial to stop cooking. Beyond this point, the individual meat fibers themselves will begin to disintegrate too much, leading to a mushy texture and a significant loss of flavor. You’ll be left with remnants that are fit for little more than your nearest canine companion. Always use a timer, but more importantly, trust your senses and the fork test to prevent crossing that delicate line between perfection and pulp.
Essential Tips for Mastering Better Braising
To ensure your braising endeavors consistently yield tender, flavorful results, here are some invaluable tips and tricks we’ve gathered and perfected over years of kitchen experience:
Ensure a Tight-Fitting Lid for Optimal Moisture
The integrity of your pot’s seal is paramount in braising. If steam escapes too readily from your pot and fails to recirculate back into the cooking liquid via condensation, your precious liquid will gradually evaporate. This can lead to the bottom of your braise scorching, imparting an undesirable burned taste to the entire dish. To gauge the effectiveness of your lid, simply bring some water to a simmer in your pot and place the lid on. While some minor steam escape is natural (a completely sealed pot would be a pressure cooker!), if you observe large plumes of steam flooding the rims, you’ll need to improvise. To significantly enhance the seal and better retain moisture, try placing a piece of parchment paper slightly larger than the lid over the top of your pot before securing the lid. Alternatively, wrap the edge of the lid with aluminum foil for a tighter fit. If you’re still uncertain, consider checking your braise once during the cooking process to monitor liquid levels, adding a small amount of water or stock only if absolutely necessary. Resist the urge to check more frequently, as each lift of the lid releases a significant amount of that critical trapped steam.
Choose the Right-Size Pot for Your Braise
Having the appropriate equipment is a cornerstone of successful cooking, and matching the pot size to your braise recipe is crucial. A Dutch oven is often considered the ideal vessel for braising, truly living up to its primary raison d’être and serving as a go-to for countless home cooks thanks to its excellent heat retention and sturdy construction. However, a dedicated Dutch oven isn’t strictly necessary. Many shallow, wide pans with tight-fitting lids, such as a large sauté pan or a specialized braiser (which, true to its name, excels at this technique), are perfectly suitable. These wider pans offer a larger surface area, which helps ensure that the cooking liquid forms a shallow layer around the ingredients without submerging them entirely. Remember, the goal is to gently braise, not to poach or boil the meat, which would result in a very different texture and flavor.
For exceptionally large cuts, such as a leg of lamb, which might overwhelm even your largest lidded pot, a substantial baker or roasting pan tightly covered with aluminum foil can serve as an excellent alternative. In such cases, perform any initial browning or sautéing in a large skillet, then transfer all ingredients to your designated roasting pan for the long braise. Don’t rush to wash that skillet immediately; many recipes conclude by requiring the braising liquid to be reduced into a thicker sauce, and you might need to transfer the liquid back to the skillet for this final, flavor-concentrating step.
Functional Cookware Trumps Fancy: No Need for Expensive Pots
While a gleaming, expensive piece of imported French cookware might indeed look magnificent on your Instagram feed, we can assure you that your braise will taste just as good when prepared in a heavy, sturdy pot or skillet with a tight-fitting lid purchased from a local thrift store. The essential qualities are simply good heat retention and a secure lid. Some high-end brands, like Staub, incorporate dimples or “chistera” on the underside of their lids, designed to promote condensation and self-basting. While an interesting design feature, in practical application, these often don’t produce significantly different results compared to a standard, well-fitting pot lid. There are certainly many valid reasons to invest in expensive cookware for other cooking methods, but for braising, a functional and correctly sized pot is all you truly need. Moreover, if you use parchment paper or aluminum foil to enhance your seal, these clever dimples are largely blocked anyway, rendering their unique feature somewhat redundant for the braising process.
Maintain a Consistently Low and Gentle Heat
Achieving and maintaining the most delicate of simmers is often the most challenging aspect when braising on a stovetop. While many newer stovetops feature an extra-low heat simmer burner, the consistency can vary greatly depending on your appliance. Electric coil stovetops, for example, power cycle on and off, leading to inconsistent heat delivery. Gas simmer burners, while offering direct flame control, often produce a small, concentrated flame right in the center, which can create an unwanted hot spot and potentially lead to uneven cooking or scorching. To counteract these issues and ensure perfectly even, gentle heat distribution, consider investing in a metal or ceramic heat diffuser, also widely known as a flame tamer. This simple yet effective tool works much like a pizza stone, absorbing the direct heat and then steadily and evenly transferring it to the base of your pot. An added bonus of using a heat diffuser is that this protective buffer allows you to safely use more delicate earthenware cooking vessels, such as traditional terra cotta pots and elegant clay tagines, directly on your stovetop without fear of cracking or uneven heating.
Explore Braising Beyond Meat: Delicious Vegetable Braises
The wonders of braising are not exclusively reserved for meat-eaters. In fact, some of the most incredibly flavorful and comforting vegetable dishes are prepared using this very technique. Since vegetables lack muscle fibers and connective tissues, most vegetable braises cook in significantly less time than their animal-based counterparts. The focus here shifts to coaxing the maximum flavor and tender, yielding texture out of heartier vegetables. While braised cabbage is perhaps the most familiar and widely loved example, almost any robust vegetable can be transformed through braising. Consider fragrant saffron-laced carrots, rich and buttery French new potatoes, or venture into less common but equally delicious territory with creamy baked fennel or tender braised artichokes with garlic and thyme. Braising brings out the inherent sweetness and complexity of vegetables, creating side dishes or even main courses that are deeply satisfying and remarkably flavorful.
The Secret Weapon: Make It Ahead for Enhanced Flavor
Braises are incredibly forgiving and are absolutely perfect for making ahead of time. In fact, there are compelling arguments to suggest you should always plan to prepare them a day or two in advance. Firstly, and perhaps most importantly, the rich, nuanced sauce from a braise invariably tastes superior the next day. The overnight rest in the refrigerator allows the myriad flavors to further develop, commingle, and harmonize, resulting in a much more profound and complex dish that simply can’t be achieved right off the stove. This crucial resting period deepens the savory notes and creates a truly unforgettable culinary experience.
Secondly, braised meats typically release a considerable amount of fat during their long cooking process. While fat undeniably equates to flavor, the quantity released is often far more than what’s needed for a perfectly full-bodied sauce. Rather than fussing with a fat separator or tediously skimming with a spoon, making your braise ahead provides an effortless solution. Allowing the braise to cool completely and then hibernate in the fridge overnight ensures that any excess fat will rise to the surface of the sauce and solidify into a firm layer. The next day, you can effortlessly lift off and discard the congealed fat, leaving you with a beautifully rich yet not overly greasy sauce. Best of all, you can refrigerate the entire braise in the very same pot you used for cooking, making reheating the next day an absolute breeze. Just remember one critical caveat: save any delicate garnishes and final acidic touches, such as a squeeze of lemon juice or a dash of vinegar, for just before serving. Acids added at the end tend to lose their bright potency if reheated, so incorporate them fresh for maximum impact.
Start with Reliable Recipes, Then Unleash Creativity
Once you’ve grasped the fundamental principles and mechanics of braising, you’ll undoubtedly feel confident enough to create your own unique braises using whatever ingredients you have on hand. However, as with most new skills in life, it’s wise to begin by drawing inspiration and guidance from those who have mastered the technique before you. For your initial forays and to build a solid foundation, we highly recommend consulting well-tested and reliable recipes. To assist you in this culinary journey, we’ve thoughtfully compiled our favorite braising inspirations into a comprehensive collection of best braising recipes. These recipes serve as an excellent starting point, providing clear instructions and proven flavor combinations to ensure your early braising attempts are met with resounding success. Happy braising!