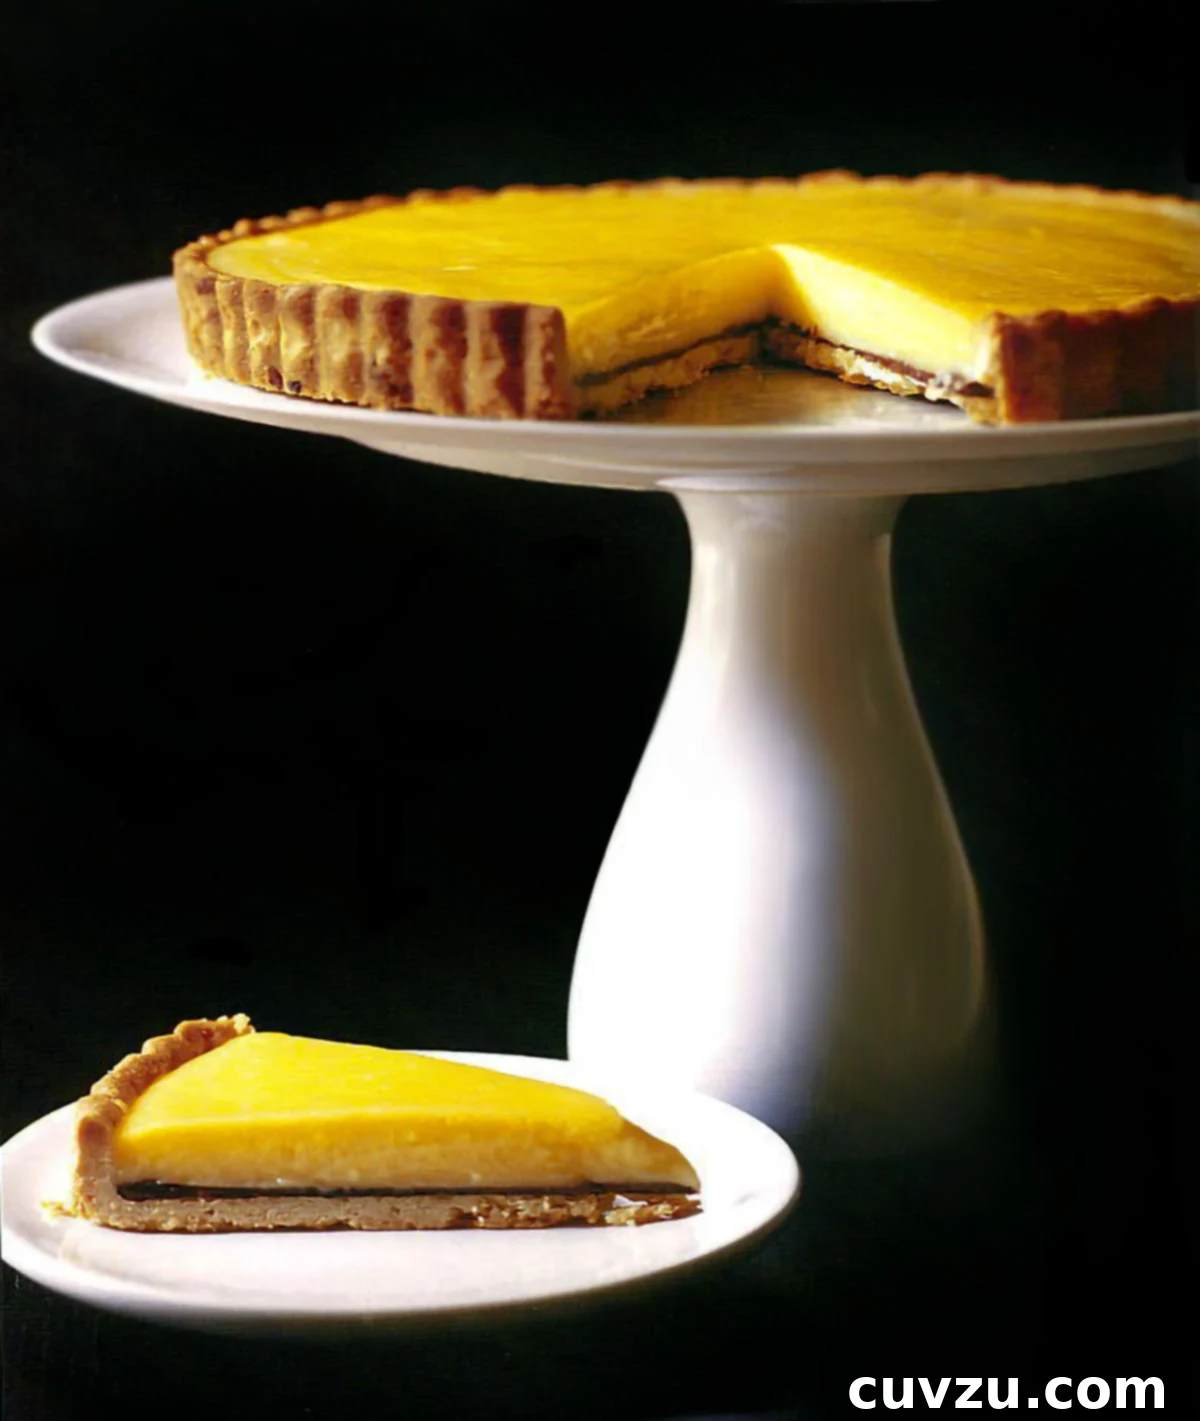
Embark on a culinary journey to create an exquisite dessert that perfectly marries two beloved flavors: the bright tang of Meyer lemon and the deep richness of bittersweet chocolate. This extraordinary Meyer lemon tart features a luscious, sweet-tart lemon custard, beautifully complemented by a delicate layer of fine bittersweet chocolate, all nestled within a crisp, buttery pâte sucrée crust. More than just a recipe, this tart represents a harmonious fusion of classic French pastry techniques with a delightful, unexpected twist, promising to captivate your taste buds and impress your guests.
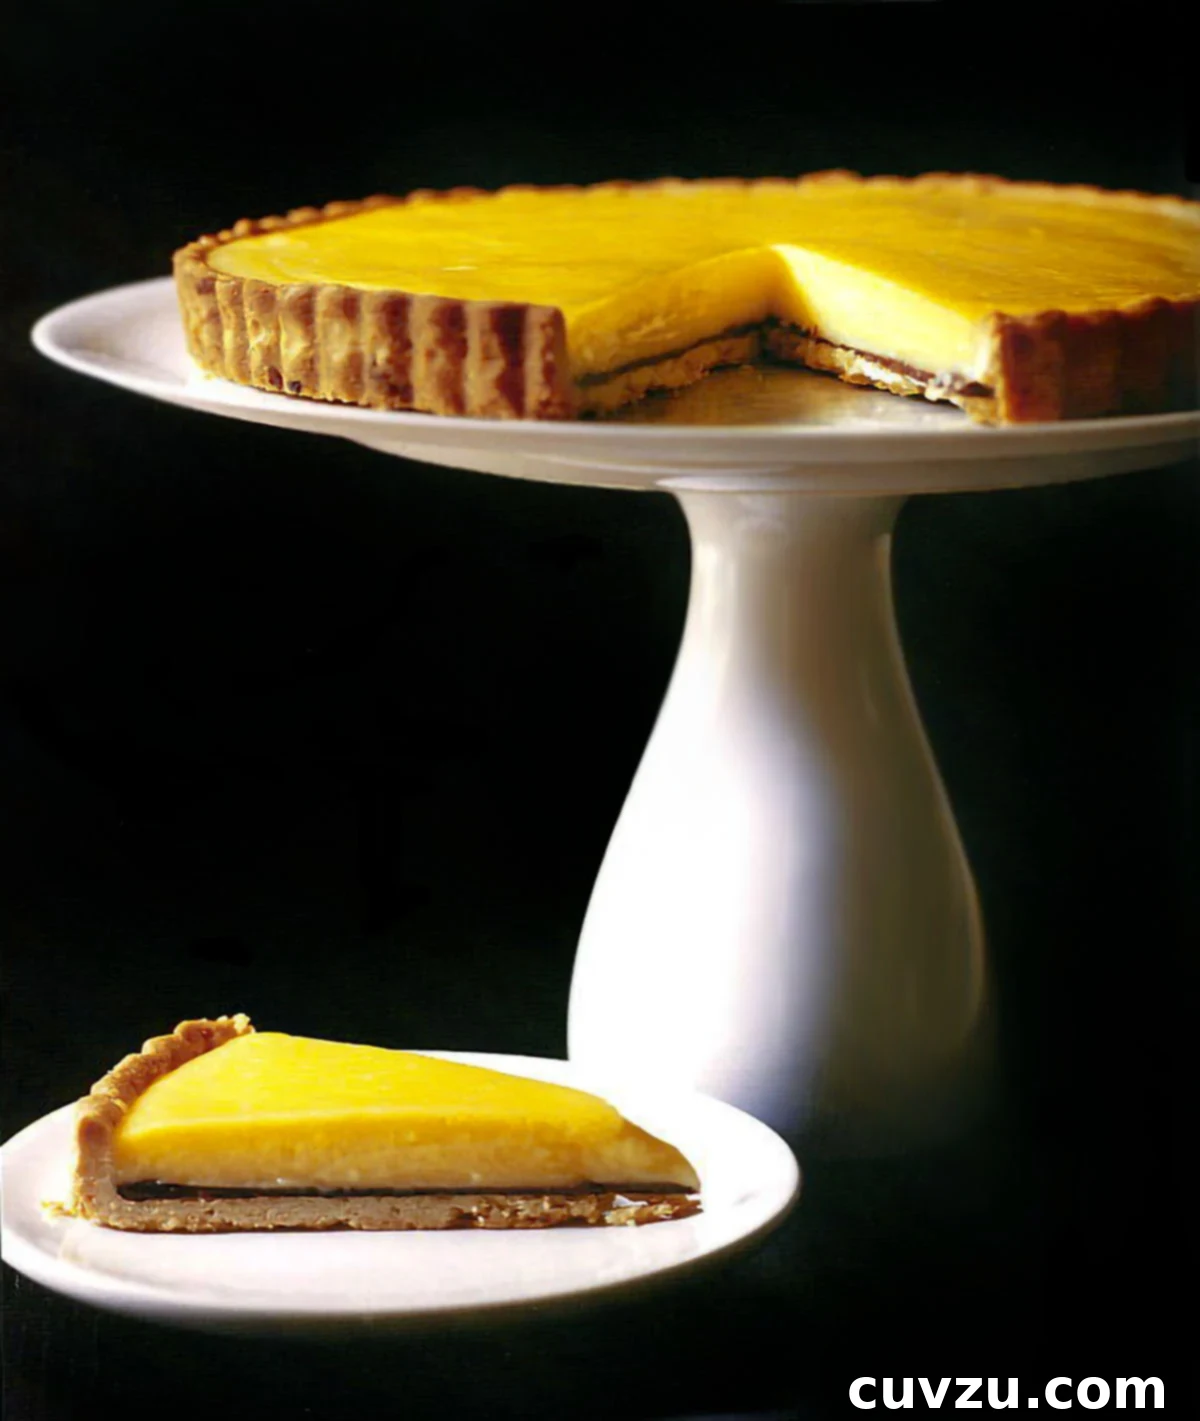
The genesis of this exceptional Meyer lemon tart with a layer of chocolate traces back to a pivotal moment in my culinary education, a memory I cherish deeply. During my final year of high school, while many of my classmates pursued adventurous senior projects like scuba diving or rock climbing, I found my adventure in the bustling, precise world of Ma Maison, then considered the zenith of Los Angeles’s fine dining scene in 1984. As a young woman stepping into a high-caliber French restaurant, I was naturally directed to the pastry kitchen – a realm where art and science converge. Any initial trepidation about being an inexperienced observer quickly dissolved upon my arrival. Serendipitously, the pastry chef had just departed, leaving the talented sous-chef, Aisha, to single-handedly manage the intricate operations. Without hesitation, Aisha welcomed me, quickly immersing me in the fundamentals of pastry. I learned to prepare delicate doughs, whip airy mousses, and meticulously fill tart shells, acquiring skills that felt nothing short of magical.
My newfound expertise sparked an exhilarating passion. Each day after my time at Ma Maison, I would rush home, eager to replicate those sophisticated desserts for my family. Among the first creations I mastered that spring was a classic lemon tart, exquisitely framed by a pâte sucrée crust. My sister, Jessica, a devout chocoholic, was an immediate and enthusiastic critic. Upon her first taste of my traditional lemon tart, she implored me to incorporate chocolate. Initially, I resisted, adhering strictly to the revered French tradition. However, when her birthday arrived, I decided to surprise her, embracing her bold suggestion. I gently melted some high-quality bittersweet chocolate and spread a thin, even layer over the pre-baked tart crust, allowing it to solidify to a firm sheen. With a mix of excitement and apprehension, I then poured the warm, fragrant lemon curd over the hardened chocolate. The entire process was a leap of faith; it was the very first time I had ever dared to deviate from a meticulously followed pastry recipe, and the thought of potentially ruining it was daunting.
To both Jessica’s immense delight and my profound relief, the experiment was a resounding success. The interplay of the bright, zesty lemon and the rich, slightly bitter chocolate proved to be an even more sublime combination than the original classic. The contrasting textures and complementary flavors created a dessert that was truly unforgettable. To this day, whenever this specific tart graces the menu at Lucques, Jessica beams with pride, often reminding everyone of our collaborative culinary breakthrough. This tart is a testament to the beauty of culinary curiosity and the unexpected joys of venturing beyond the boundaries of tradition. –Suzanne Goin
Mastering the Art of Homemade Lemon Tart: A Comprehensive Guide
Creating a perfect homemade lemon tart from scratch is a rewarding experience, and this Meyer lemon and chocolate rendition offers a unique twist on a classic. Achieving that impeccably smooth, vibrant curd and sturdy crust requires a few key techniques and a bit of patience. This tart is designed to be served chilled, so advance preparation is essential. Plan to make it at least several hours before you intend to serve it, or even the day before, to allow ample time for cooling and setting, which deepens its flavors and perfects its texture.
Essential Tips for a Silky Lemon Curd
The heart of any exceptional lemon tart is its curd – a delicate balance of citrus, sugar, and eggs, often enriched with butter. For an ultra-smooth, velvety lemon curd, constant attention and the right tools are paramount. As you cook the lemon curd mixture, continuous stirring is non-negotiable. This prevents the eggs from scrambling and ensures even cooking, leading to a homogenous, delightful texture. I find it highly beneficial to employ both a whisk and a rubber spatula, alternating between them throughout the cooking process. Begin with a whisk to thoroughly combine the ingredients and keep them moving as the mixture starts to heat. The whisk also helps to incorporate air, contributing to a lighter texture. Once the curd begins to get slightly frothy and starts to thicken, switch seamlessly to a rubber spatula. The spatula is particularly effective for scraping the bottom and sides of the saucepan continuously. This meticulous motion not only prevents scorching – a common pitfall – but also helps to eliminate any persistent froth, ultimately ensuring a beautifully glossy and clear finish for your curd.
It’s crucial to remove the curd from the heat as soon as it reaches the precise consistency of a thick pastry cream – it should thickly coat the back of your spatula, and when you run your finger across it, the line should hold without the curd running back together. Overcooking can lead to a grainy texture. After removing it from the heat, let the curd cool slightly for about 8 minutes. This brief cooling period allows some of the initial steam to escape and prevents the chocolate layer from melting excessively, yet keeps the curd warm enough to pour smoothly over the solidified chocolate layer in your baked crust. Do not allow the curd to cool completely before pouring, as it can lose its beautiful sheen and become too thick and unmanageable to spread evenly. The gentle warmth helps it settle effortlessly into the tart shell, creating a flawless, inviting surface. While Meyer lemons offer a distinct floral and less acidic flavor profile that is truly unique, lending a nuanced sweetness, this recipe is also wonderfully versatile and can be made with regular lemon juice for a more traditional, pronouncedly zesty and bright profile, which many also adore.
Meyer Lemon Tart with a Layer of Chocolate
Rated 5 out of 5 stars by 5 votes
By David Leite, based on a recipe from Suzanne Goin
Ingredients
For the pâte sucrée (makes enough for two crusts)
- 1/4 cup heavy cream, cold
- 2 extra-large egg yolks
- 2 3/4 cups plus 2 tablespoons all-purpose flour, spooned and leveled
- 1/2 cup granulated sugar
- 1/4 teaspoon kosher salt
- 2 sticks (8 oz) cold unsalted butter, cut into small cubes
For the Tart Filling and Topping
- 1 recipe pâte sucrée (half of the above recipe for one crust), chilled and pre-baked
- 2 ounces bittersweet chocolate (at least 60% cacao), finely chopped
- 4 extra-large eggs
- 3 extra-large egg yolks
- 1 cup granulated sugar
- 1 cup Meyer lemon juice, freshly squeezed and strained (requires about 4-5 Meyer lemons; regular lemon juice can be substituted for a tarter flavor)
- 10 tablespoons (5 oz) cold unsalted butter, cut into small pieces
- A pinch of kosher salt
- 1 cup heavy cream, for serving (optional, for whipped cream)
Instructions
Crafting the Pâte Sucrée Crust
-
In a small bowl, whisk together the cold heavy cream and extra-large egg yolks until thoroughly combined and smooth. Set this creamy mixture aside for later use in the dough.
-
In the spacious bowl of a stand mixer, fitted with the dough hook attachment, combine the all-purpose flour, granulated sugar, and kosher salt. Add the very cold, precisely cut small cubes of unsalted butter to the dry ingredients. Mix on medium speed until the mixture achieves the texture of a coarse meal, with discernibly pea-sized pieces of butter still visible. Gradually incorporate the prepared cream and yolk mixture, mixing just until the dough visibly comes together. It is paramount not to overwork the dough at this stage, as excessive mixing can develop the gluten, resulting in a tough, undesirable crust.
-
Gently transfer the dough to a clean, lightly floured large work surface. Use your hands to carefully bring the dough together into a cohesive mass, ensuring all ingredients are fully incorporated without any strenuous kneading. Divide the dough evenly in half. Shape one half into a flat, 1-inch-thick disc, wrap it tightly in plastic wrap, and place it in the freezer for future use. This recipe intelligently yields enough dough for two crusts, providing you with an extra for another delightful tart adventure whenever the craving strikes!
-
If the remaining dough disc feels overly soft or sticky to work with, place it promptly in the refrigerator for a brief period of 5 to 10 minutes to allow it to firm up slightly. Once the dough reaches a manageable consistency, generously flour your work surface and lightly dust the top of the dough. Using a rolling pin, roll the dough out evenly into a uniform 1/4-inch-thick circle. Continue to flour as necessary to prevent any sticking. Carefully transfer the delicate rolled dough by gently wrapping it around your rolling pin, then gracefully unroll it over a 10-inch tart pan with a removable bottom.
-
Gently fit the dough into the contours of the tart pan, meticulously lifting the edges and pressing the dough into the corners with your fingers to ensure it perfectly conforms to the pan’s intricate shape. To achieve a clean, professional, and aesthetically pleasing edge, lightly roll your rolling pin over the very top of the tart pan, allowing the excess dough to neatly separate and create a sharp finish. Alternatively, you can carefully pinch off any excess dough with your fingers, working your way around the entire rim. Once formed, place the prepared tart shell in the refrigerator and chill thoroughly for at least 1 hour. This extended chilling step is absolutely vital to prevent the crust from shrinking excessively during the baking process, ensuring a perfectly stable and beautiful tart shell.
Assembling and Baking the Tart
-
Preheat your oven to a precise 375°F (190°C), ensuring it reaches the correct temperature before baking.
-
Retrieve the thoroughly chilled tart pan with the pâte sucrée from the refrigerator. Use a fork to gently and evenly prick the bottom of the crust all over. This helps steam escape and prevents large air bubbles. Line the tart shell with a few opened coffee filters or a piece of parchment paper, carefully pressing it against the sides to hold its shape. Fill the lined tart shell with an adequate amount of pie weights or dried beans. Bake for an initial 15 minutes, which allows the crust to blind bake and set without puffing up excessively. Carefully remove the tart from the oven and meticulously lift out the paper and weights. Return the par-baked tart shell to the oven and continue baking for another 10 to 15 minutes, or until the crust achieves an even, beautiful, and deeply golden brown hue. Transfer the perfectly baked crust to a wire rack and allow it to cool completely to room temperature before proceeding with the filling.
-
While the crust cools, prepare the decadent chocolate layer. Melt the finely chopped bittersweet chocolate in a double boiler set over medium-low heat, stirring occasionally until it becomes completely smooth and gloriously glossy. Once melted, using a small offset spatula or pastry brush, spread the chocolate evenly over the cooled tart crust. Ensure a thin, uniform layer for the best balance of flavors. Place the tart back in the refrigerator for a minimum of 15 minutes, or until the chocolate layer has fully solidified and is firm to the touch. This creates a delightful, distinct barrier and an unexpected flavor layer.
-
As the chocolate layer chills and sets, begin the preparation of the vibrant Meyer lemon curd. In a heavy-bottomed saucepan, whisk together the extra-large eggs, extra-large egg yolks, granulated sugar, and the freshly squeezed and strained Meyer lemon juice until thoroughly combined and uniform. Cook this luscious mixture over medium heat, stirring continuously. As previously mentioned in the “Essential Tips” section, it’s beneficial to alternate between a whisk and a rubber spatula. Use the whisk initially for aeration and smooth mixing, then switch to the spatula to meticulously scrape the bottom and sides of the pan constantly, ensuring even cooking and expertly preventing the curd from sticking or, worse, scrambling. Continue cooking until the lemon curd has thickened to the ideal consistency of a rich pastry cream and coats the back of your spatula thickly. This process typically takes about 7-10 minutes of diligent stirring.
-
Immediately remove the thickened lemon curd from the heat. Add the very cold unsalted butter, piece by piece, stirring vigorously after each addition until the butter is completely incorporated and the curd transforms into a wonderfully smooth and glossy emulsion. Season the curd with a pinch of kosher salt; this seemingly small addition actually enhances and balances the overall flavors beautifully. Allow the curd to cool for approximately 8 minutes – it should still be warm but not scalding hot, which is the perfect temperature for pouring. Then, for an ultimately silky and refined texture, strain the curd through a fine-mesh sieve directly into the prepared tart shell, pouring it carefully over the solidified chocolate layer. This crucial step removes any minuscule bits of cooked egg or lemon pulp, ensuring a perfectly smooth and luxurious curd.
-
Carefully transfer the filled tart to the refrigerator and chill for at least 3-4 hours, or preferably overnight, to allow the lemon curd to completely set and become firm. This chilling time is essential for the tart to hold its shape when sliced. Just before serving, if desired, prepare a light and airy whipped cream. Whip the heavy cream in a stand mixer fitted with the whisk attachment (or by hand with a balloon whisk) until it holds soft, ethereal peaks. To serve this magnificent dessert, cut the chilled tart into six generous wedges. Plate each exquisite slice and adorn with a delicate dollop of freshly whipped cream. For an added touch of elegance and fresh flavor, a few fresh raspberries, blueberries, or a sprinkle of finely grated lemon zest can serve as a beautiful and complementary garnish. Enjoy this harmonious blend of tart, sweet, and rich flavors, a true showstopper.

Adapted From
Sunday Suppers at Lucques
Buy On Amazon
Nutrition Information (Approximate per serving)
Serving: 1 portion
Calories: 856 kcal
Carbohydrates: 67 g
Protein: 11 g
Fat: 62 g
Saturated Fat: 37 g
Monounsaturated Fat: 17 g
Trans Fat: 1 g
Cholesterol: 413 mg
Sodium: 175 mg
Fiber: 1 g
Sugar: 48 g
Nutrition information provided is an estimate based on ingredients and serving sizes, and may vary. For precise nutritional values, independent calculation is recommended.
Tried this recipe? We’d love to see your beautiful creations! Mention @leitesculinaria or tag #leitesculinaria when you share your delicious tart on social media!
Recipe Testers’ Reviews: Real Feedback for Your Culinary Success
Hearing from those who have tried and loved this Meyer Lemon Tart with Chocolate is always inspiring. Our dedicated community of recipe testers provides invaluable feedback, offering practical tips and insights that can significantly enhance your baking experience. Discover what they particularly loved about creating and tasting this unique, delightful dessert:

Shauna Hinchen-Joyal
My guests absolutely adored this Meyer lemon tart! It proved to be a versatile delight, perfectly suited for any season – whether it provided a bright, refreshing finish to a hearty winter feast or served as a cooling, zesty dessert on a warm summer’s day. I’ve always been a passionate fan of the classic combination of chocolate and orange, but the interplay of chocolate and lemon was a completely new culinary frontier for me, and I was genuinely pleasantly surprised by how wonderfully they harmonized. The subtle bitterness and deep richness of the bittersweet chocolate provides an exquisite counterpoint to the vibrant, tangy zest of the lemon curd, creating a truly balanced flavor profile.
Despite its sophisticated appearance, I found this tart to be quite straightforward to prepare, making it accessible even for those with moderate baking experience. However, it does require a bit of foresight and advance planning to allow adequate chilling time for both the delicate pâte sucrée dough and the finished tart. This patient chilling is absolutely key to achieving the perfect, flaky texture of the crust and ensuring the stability and setting of the lemon curd. A generous dollop of sweetened whipped cream is an utterly exquisite accompaniment, elevating the dessert further with its light, airy texture and subtle sweetness. For a truly elegant and visually appealing presentation, I enthusiastically suggest adding a few fresh raspberries or blackberries as a garnish – their vivid color and delicate tartness provide a beautiful visual and flavor contrast that truly makes the tart pop.

Rosie Coelho
This tart is, simply put, an absolute dream. It’s essentially a sophisticated and elevated take on the timeless tarte au citron – a French classic that holds a very special place as one of my all-time favorite desserts from the rich repertoire of French patisserie. This particular recipe masterfully strikes the perfect balance, delivering a sublime combination of delightful tartness, balanced sweetness, and an undeniable burst of pure, unadulterated lemony deliciousness that is truly intoxicating. If you, like me, are utterly captivated by the magic and charm of French lemon desserts, you’ll be genuinely surprised at how effortlessly this tart comes together and how utterly delectable the final result is. It’s undeniably crave-worthy and destined to become a cherished favorite in your baking repertoire.
While the recipe might initially appear intricate or lengthy due to its multiple steps, I assure you that each individual step is remarkably straightforward and easy to follow, even for those who might be intimidated by French baking. By adhering to the instructions precisely and patiently, you are virtually guaranteed to achieve impressive, professional-quality results that will undoubtedly impress. Regarding the crust, I opted for a slightly unconventional yet effective method: instead of laboriously rolling out the dough, I simply dotted the tart pan with small, evenly sized pieces of dough and then gently pressed them across the bottom and meticulously up the sides to form a uniform crust. This technique worked beautifully for me, given my extensive baking experience and familiarity with pastry. However, for those who are new to baking or prefer a more traditional and foolproof approach, carefully rolling out the dough is highly recommended to ensure consistent thickness throughout and a perfectly even bake.
When it came to meticulously spreading the melted chocolate onto the cooled crust, I found a silicone pastry brush to be an invaluable and indispensable tool. It allowed me to create a nice, even, and crucially, a thin layer of chocolate, which is paramount for maintaining the delicate balance of flavors within the tart and preventing the chocolate from overpowering the lemon. The lemon filling itself came together with surprising speed and efficiency. Initially, I did alternate between using a whisk and a spatula as suggested, but I ultimately found the whisk to be my preferred method for mixing, especially when incorporating the butter, as it helped achieve maximum smoothness, aeration, and a consistent emulsion. The curd thickened perfectly within about 7 minutes, a testament to the recipe’s reliability. For the lemon juice, I chose to use regular lemons instead of Meyer lemons, finding that approximately four medium-sized lemons yielded the precise amount of juice required.
A crucial and often underestimated step that might seem tempting to skip, yet is absolutely essential for perfection, is straining the curd. Even if the curd appears perfectly smooth and lump-free to the naked eye after cooking, you will almost certainly discover tiny, minuscule bits of cooked egg or lemon pulp that can subtly compromise the luxurious texture. Straining the curd through a fine-mesh sieve is the undeniable secret to achieving that truly silky, ethereal, and restaurant-quality smoothness that makes this tart so extraordinarily special. Do not, under any circumstances, skip this vital step if you desire the best possible result!