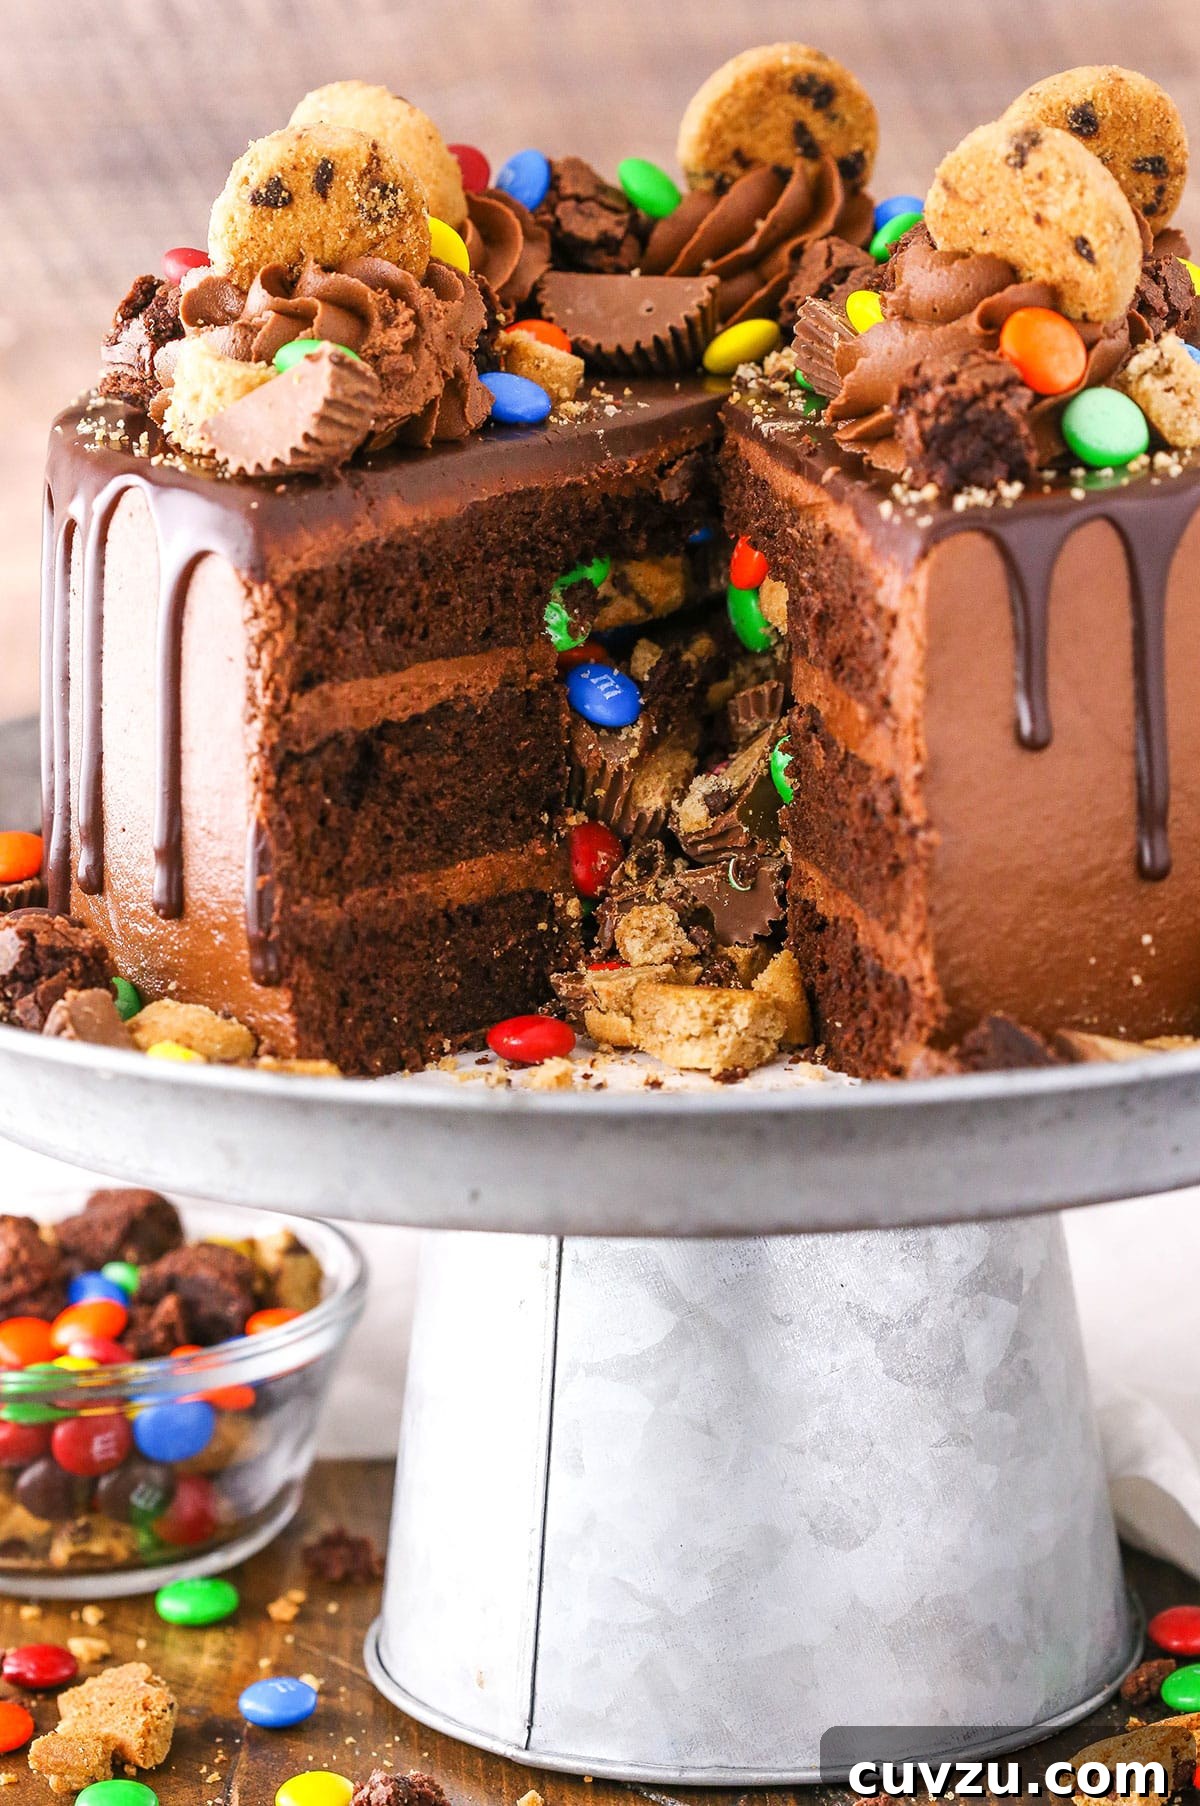
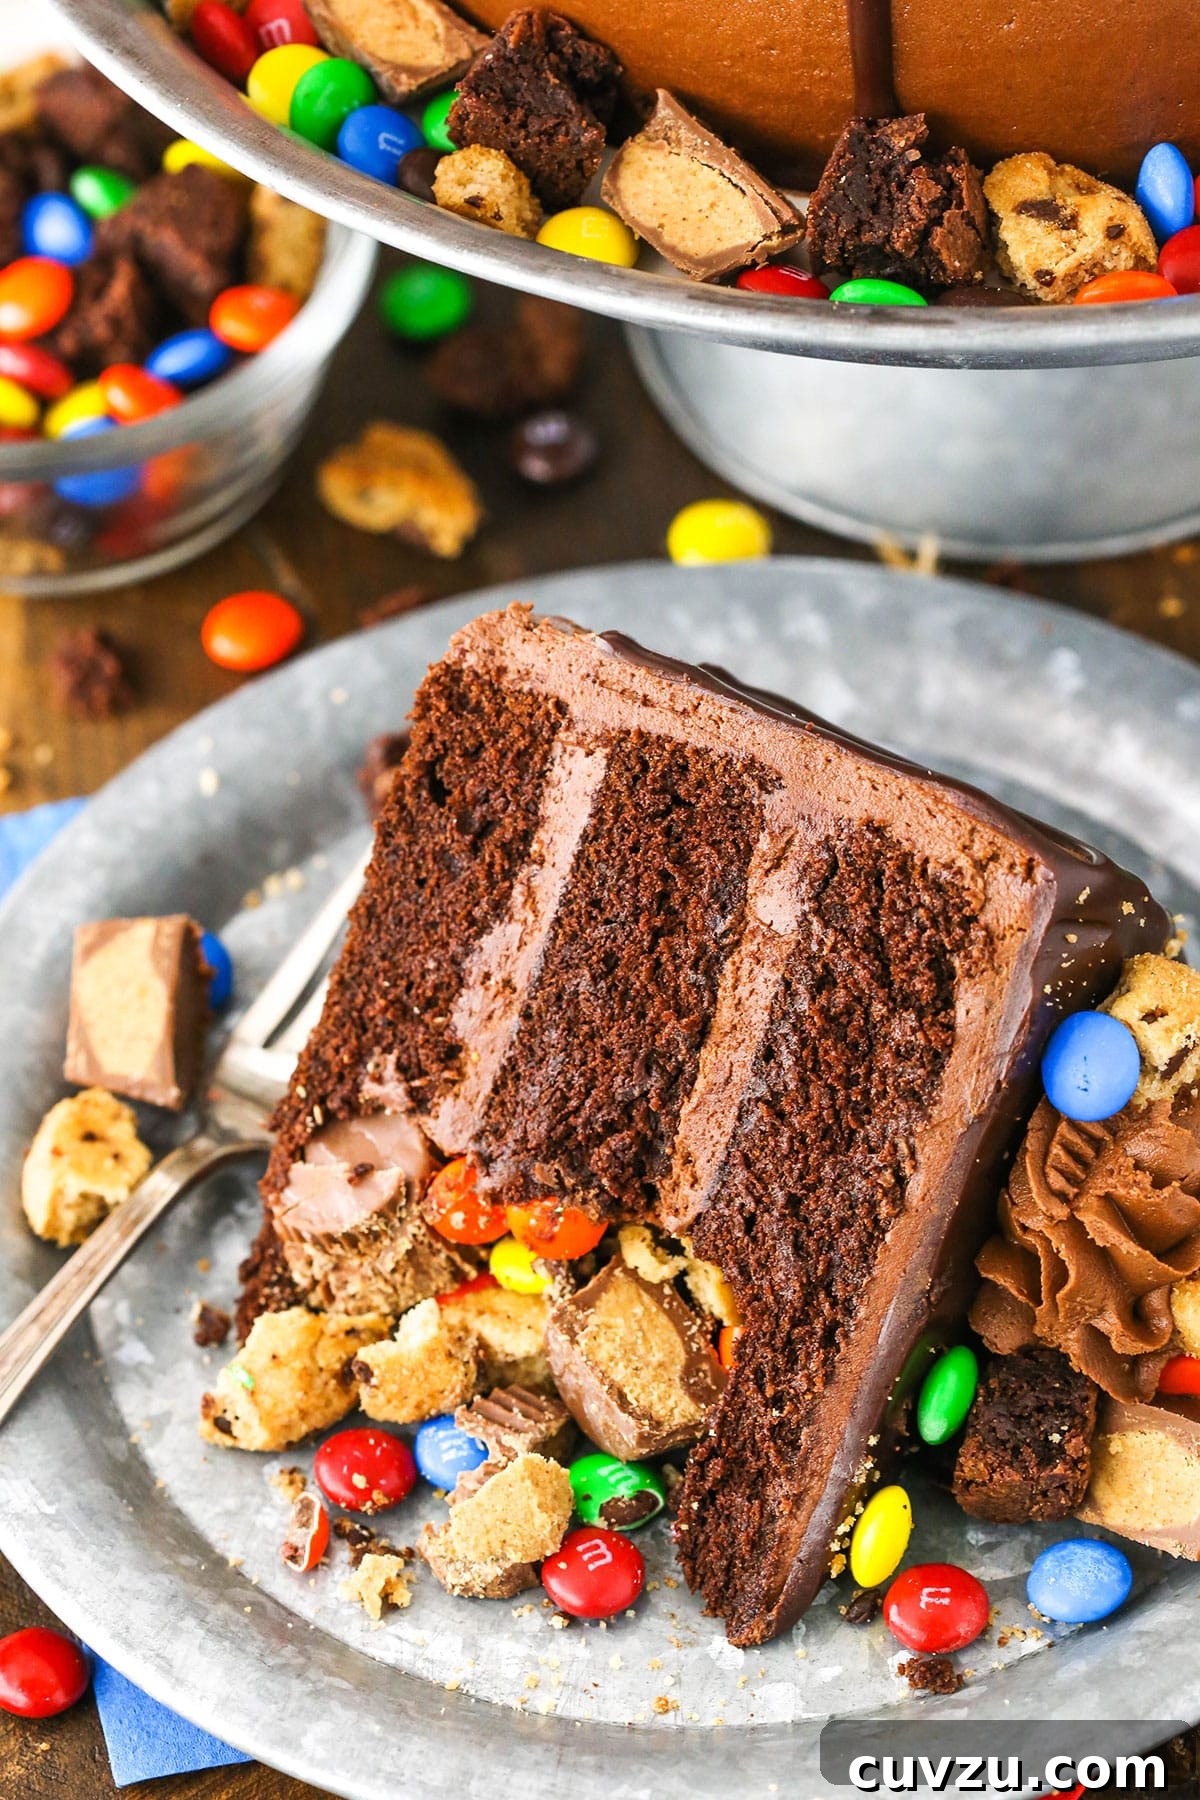
Prepare to be amazed by the ultimate dessert experience: the **Chocolate Piñata Cake**! This isn’t just any chocolate cake; it’s a celebration baked into every slice. Imagine a flawlessly moist chocolate cake, generously enrobed in a rich, velvety chocolate buttercream, only to reveal a delightful cascade of your favorite treats – think Reese’s, M&Ms, and chocolate chip cookies – bursting from its core. If you’re searching for a dessert that combines incredible flavor with an unforgettable element of surprise, this fun-filled cake is precisely what your next special occasion demands!
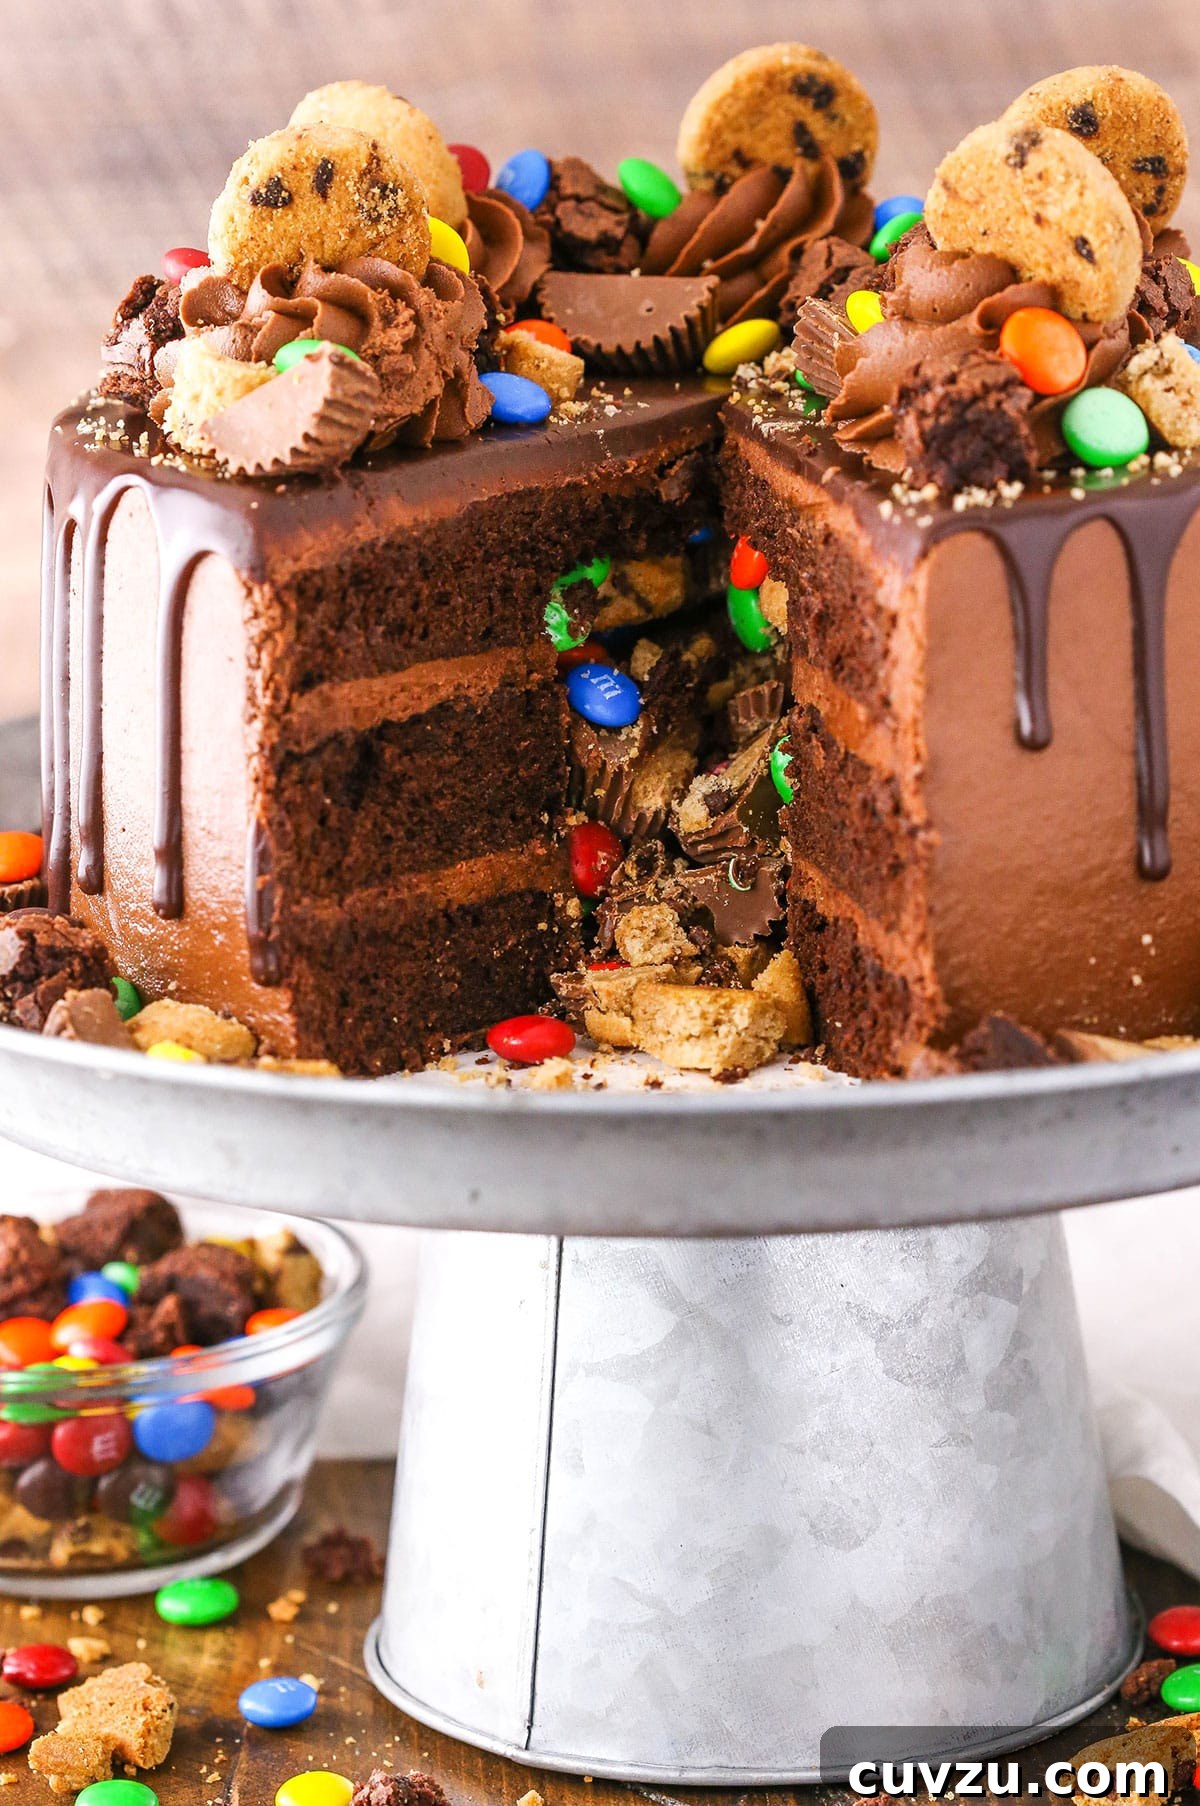
Unveiling the Chocolate Piñata Cake: A Delightful Surprise Inside
The concept of a piñata cake originally sparked as I pondered ideas for special occasions like Father’s Day. When thinking of loved ones, my mind often gravitates toward delectable treats, particularly sweets – a trait I definitely inherited! While classic Chocolate Chip Cookie Cakes are always a hit, I had a strong feeling that a decadent chocolate cake, brimming with favorite candies, would be an even bigger sensation. Imagine the sheer joy of cutting into a cake and having a treasure trove of Hershey’s Chocolate Nuggets or Twizzlers spill out! Add a topping of salty movie theater popcorn, and you might just achieve dessert perfection!
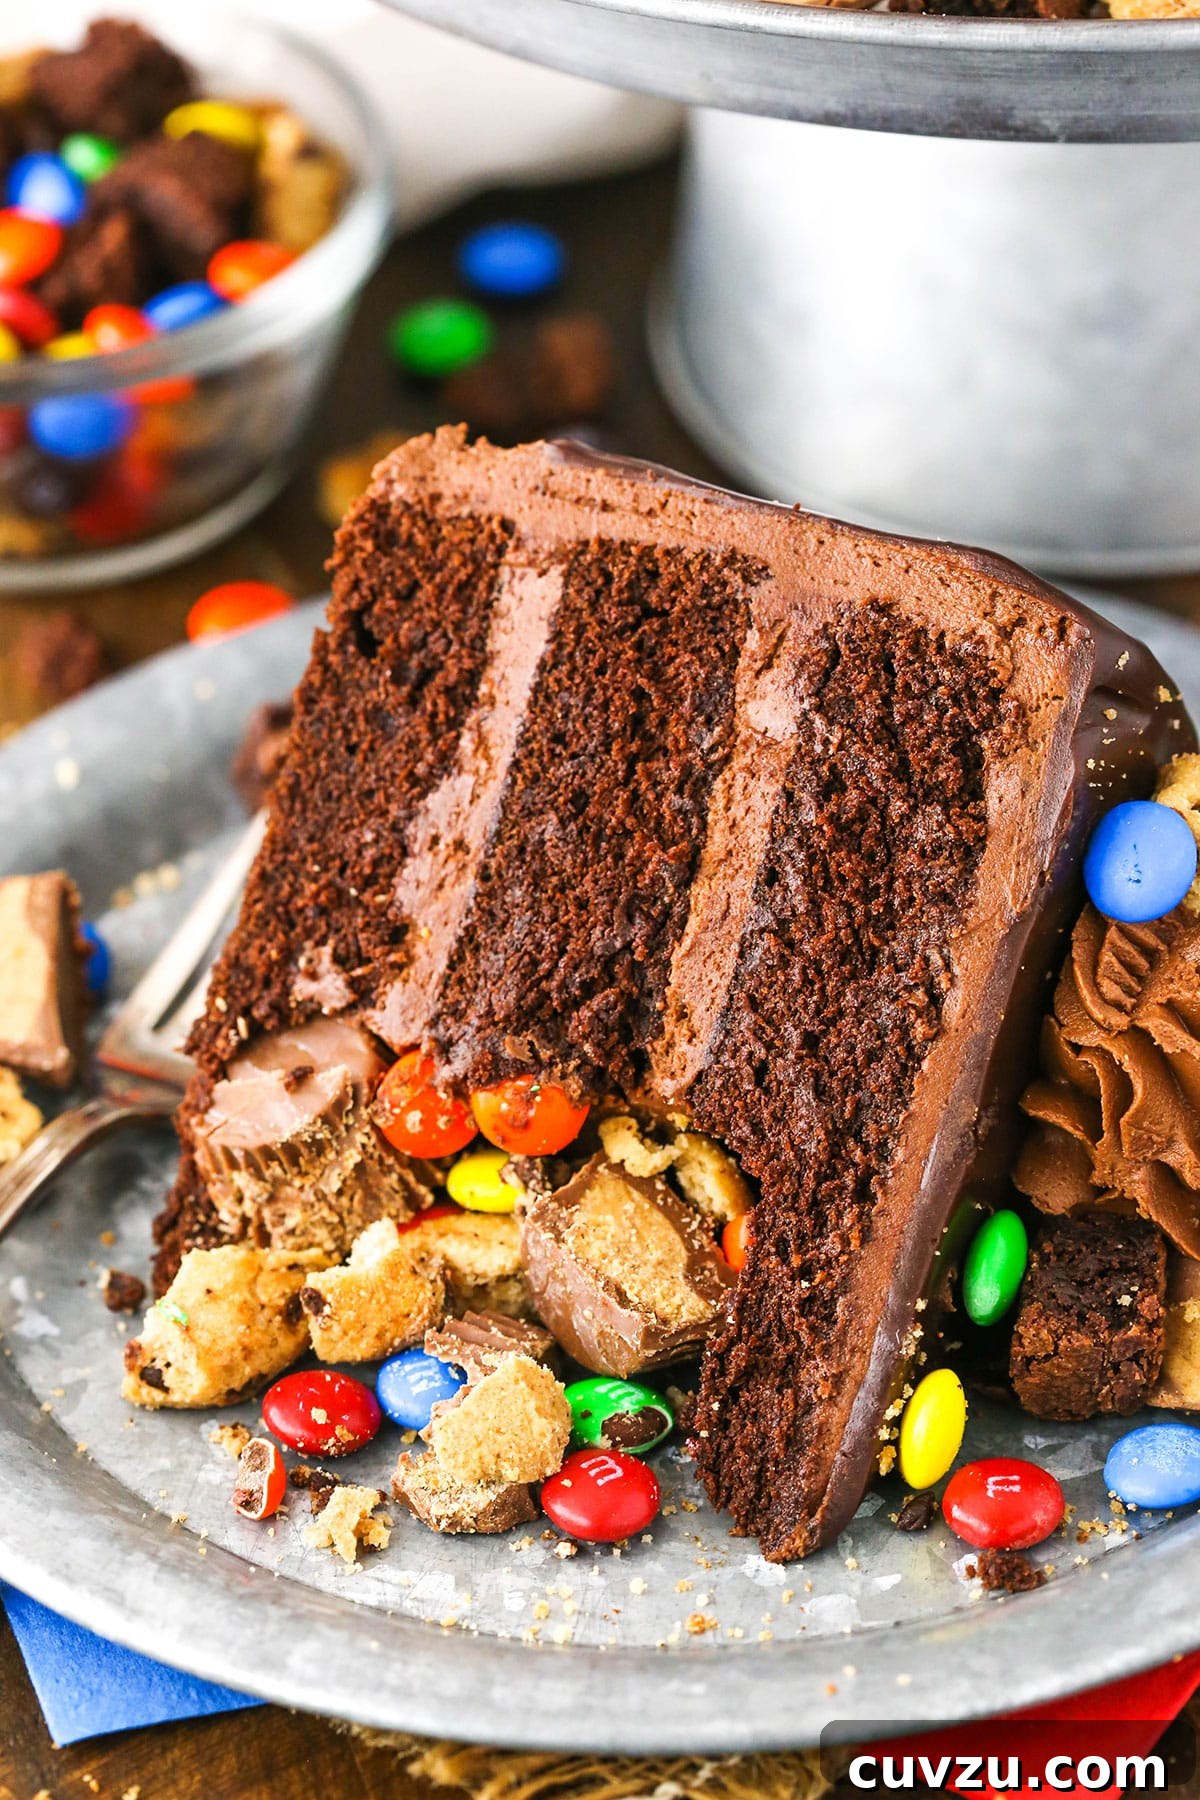
The beauty of this incredible dessert lies in its universal appeal. It’s the perfect canvas for anyone in your life who adores both luxurious cake and an exciting candy explosion. This isn’t merely a cake; it’s an edible gift, an interactive centerpiece, and a conversation starter all rolled into one. The filling options are truly limitless: miniature candies, bite-sized cookies, or even vibrant SPRINKLES can create the ultimate surprise. Each slice promises a burst of flavor and a moment of pure, unadulterated fun, making your Chocolate Piñata Cake truly unforgettable.
Despite its impressive appearance, crafting this sensational cake is surprisingly straightforward. The process involves a clever technique of hollowing out specific cake layers and then generously filling them with your chosen delights. If you’ve successfully assembled a traditional layer cake before, you possess all the skills needed to master this exciting variation. It’s a simple adjustment that yields maximum impact, transforming a classic dessert into an extraordinary experience.
Crafting Your Perfect Piñata Cake: Step-by-Step Assembly Guide
Let’s delve into the exciting construction of this magnificent creation. For optimal structure and a generous candy reservoir, I recommend a three-layer cake. Three layers strike the perfect balance, allowing for ample filling without making the cake overly tall or causing the individual layers to be too thin and difficult to handle. This approach streamlines the baking process, eliminating the need to bake two larger cakes and then torting them; simply bake three individual layers. However, if you envision an even grander, taller cake, the method can certainly be adapted for four layers.
Preparing Your Cake Layers for the Surprise Fillings
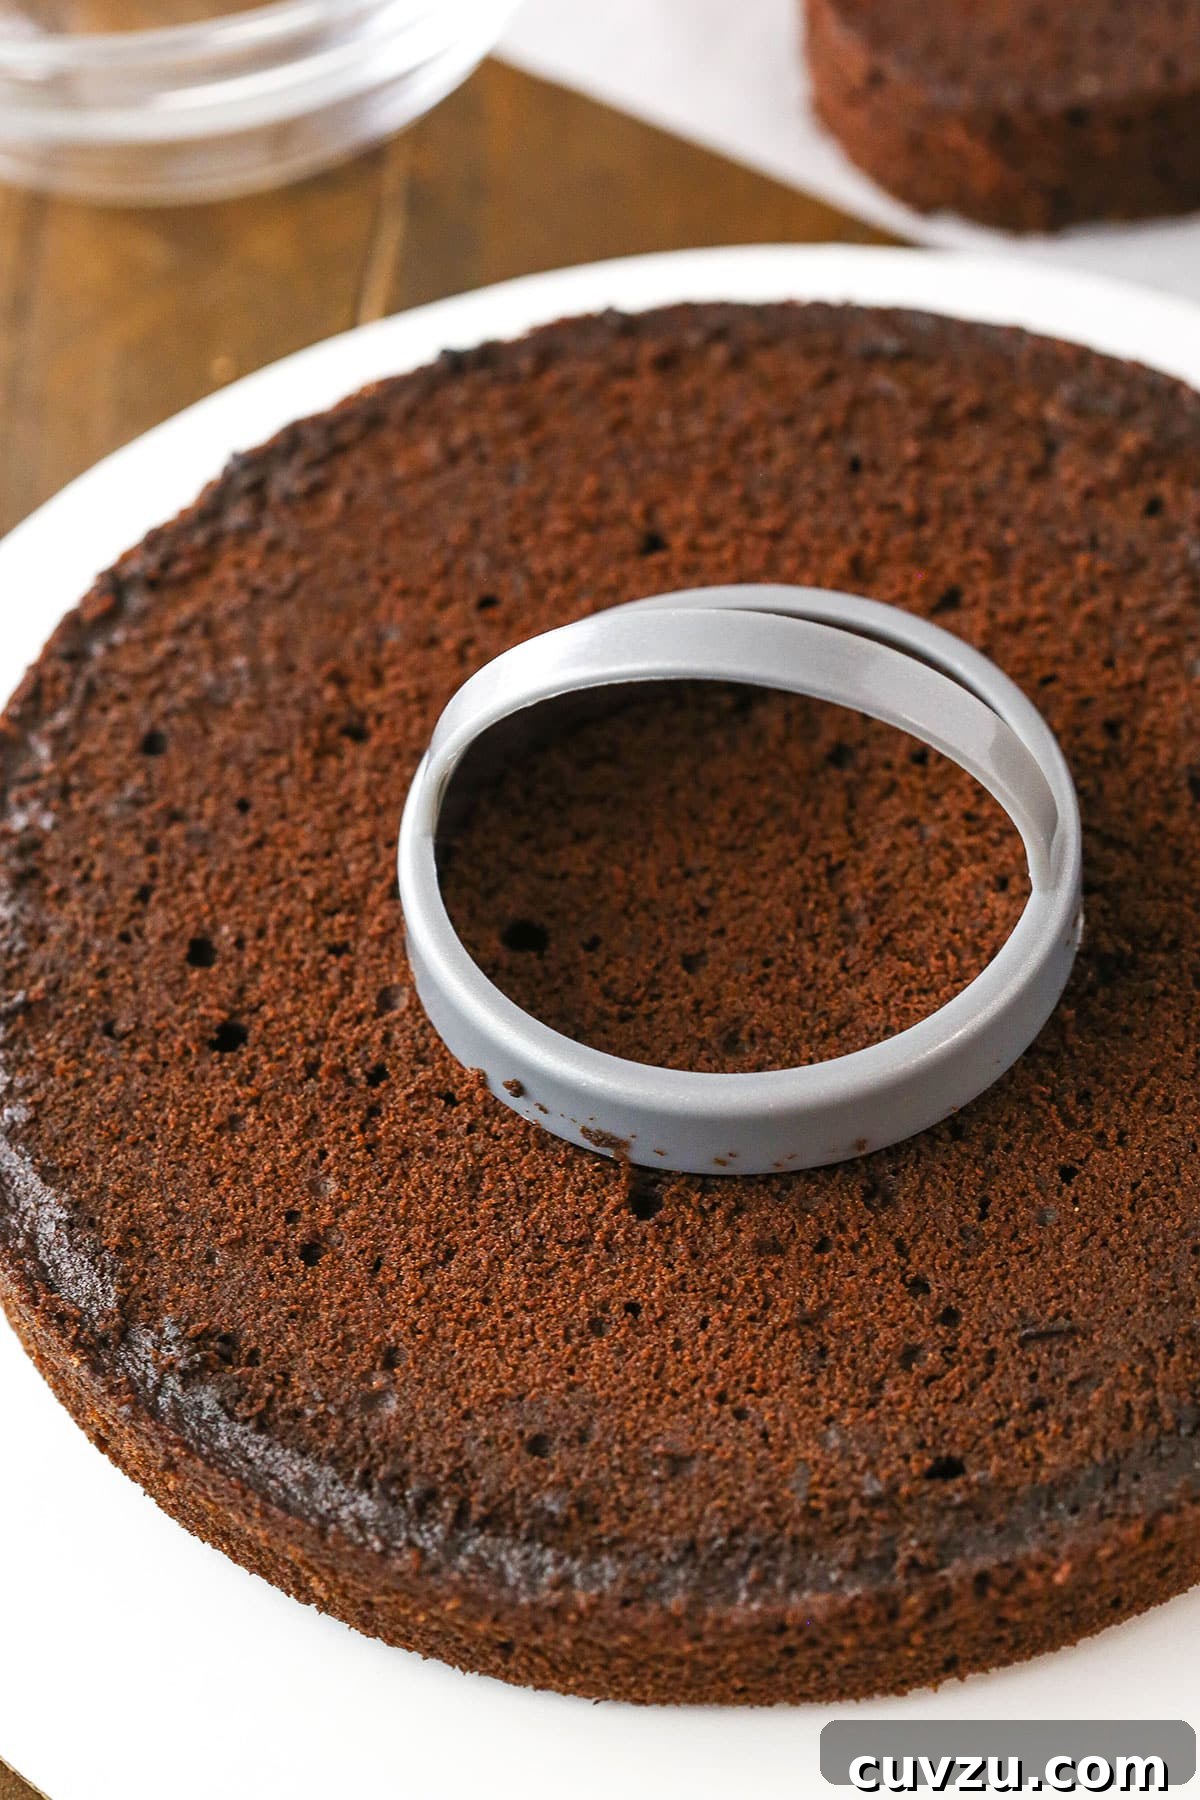
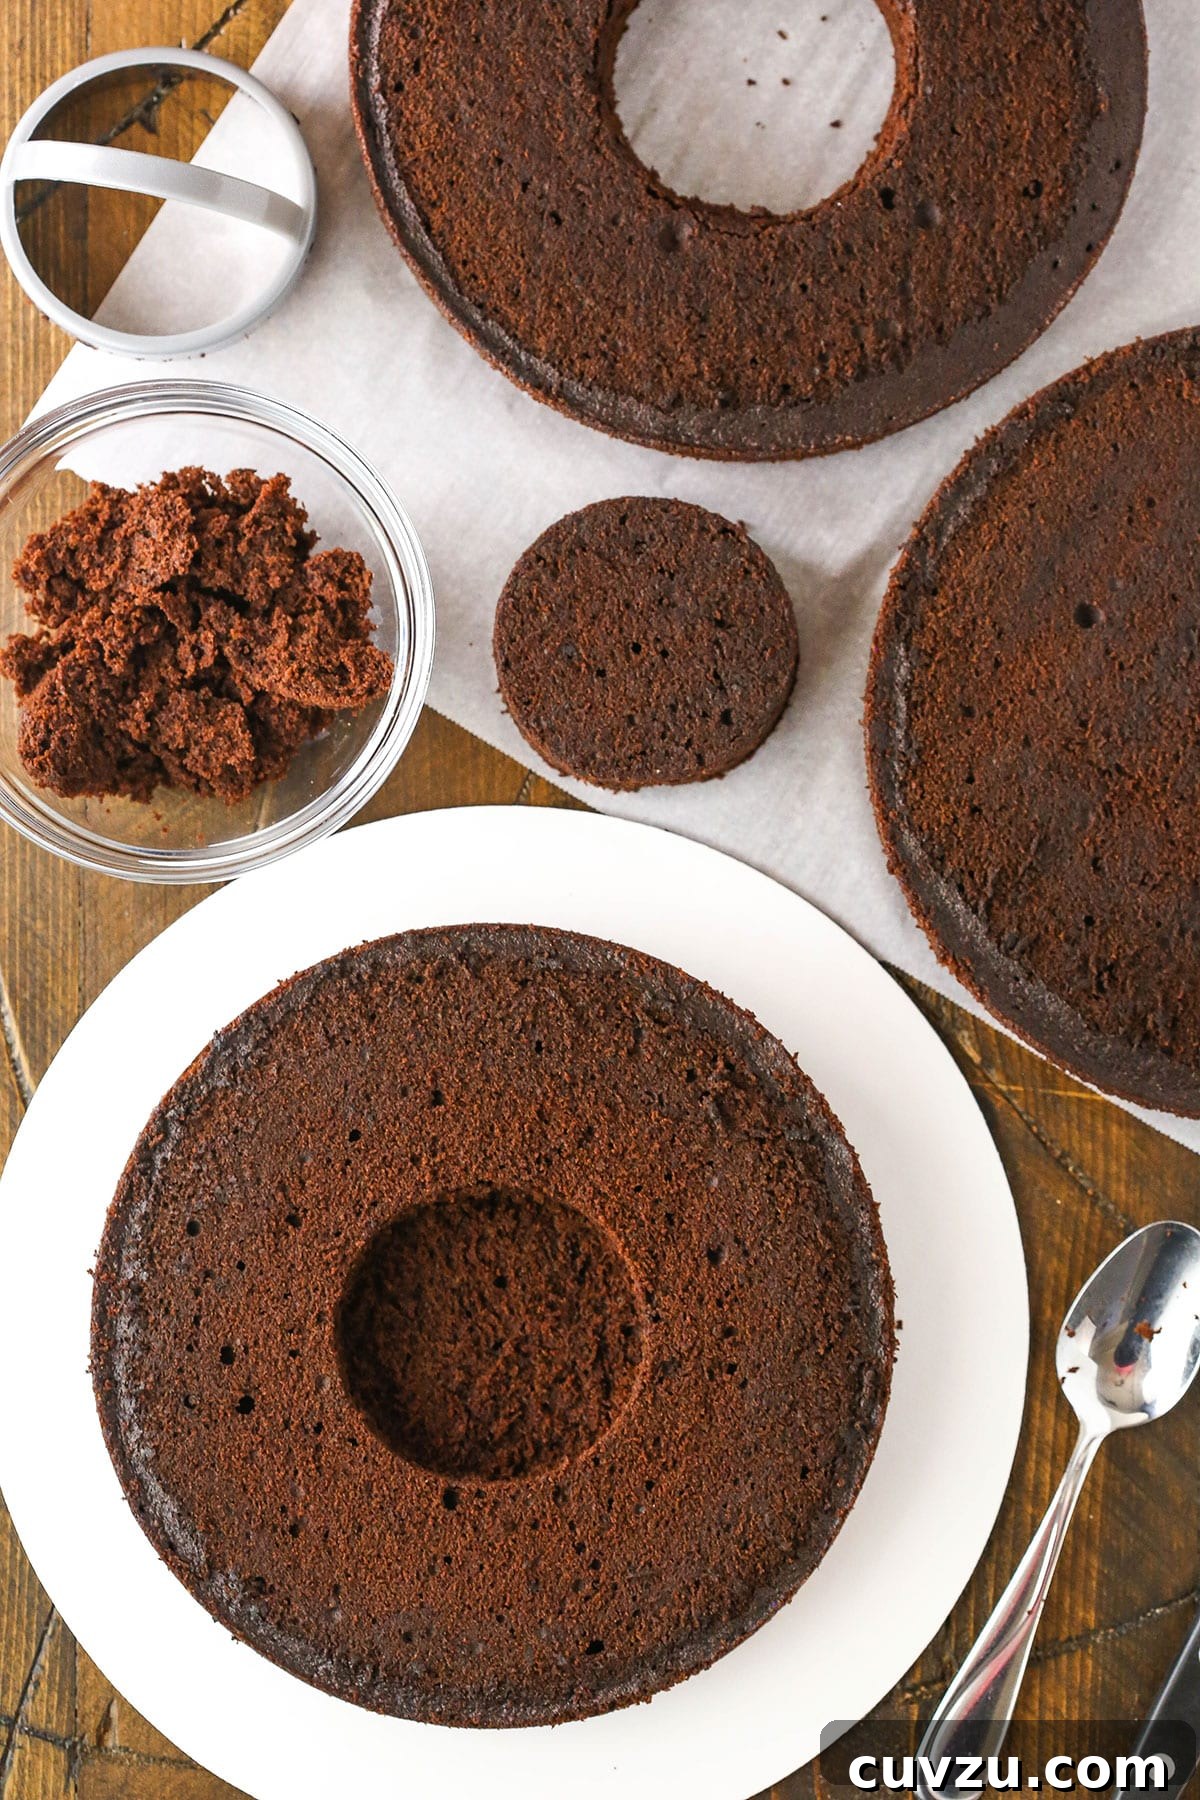
Assuming you’re starting with three beautifully baked cake layers, the next step is to create the cavity for your delightful surprise. Begin by taking one of your cake layers and, using a 3-inch biscuit cutter, a round cookie cutter, or even a sharp knife, carefully cut a hole all the way through the center. This will form the core of your candy chamber.
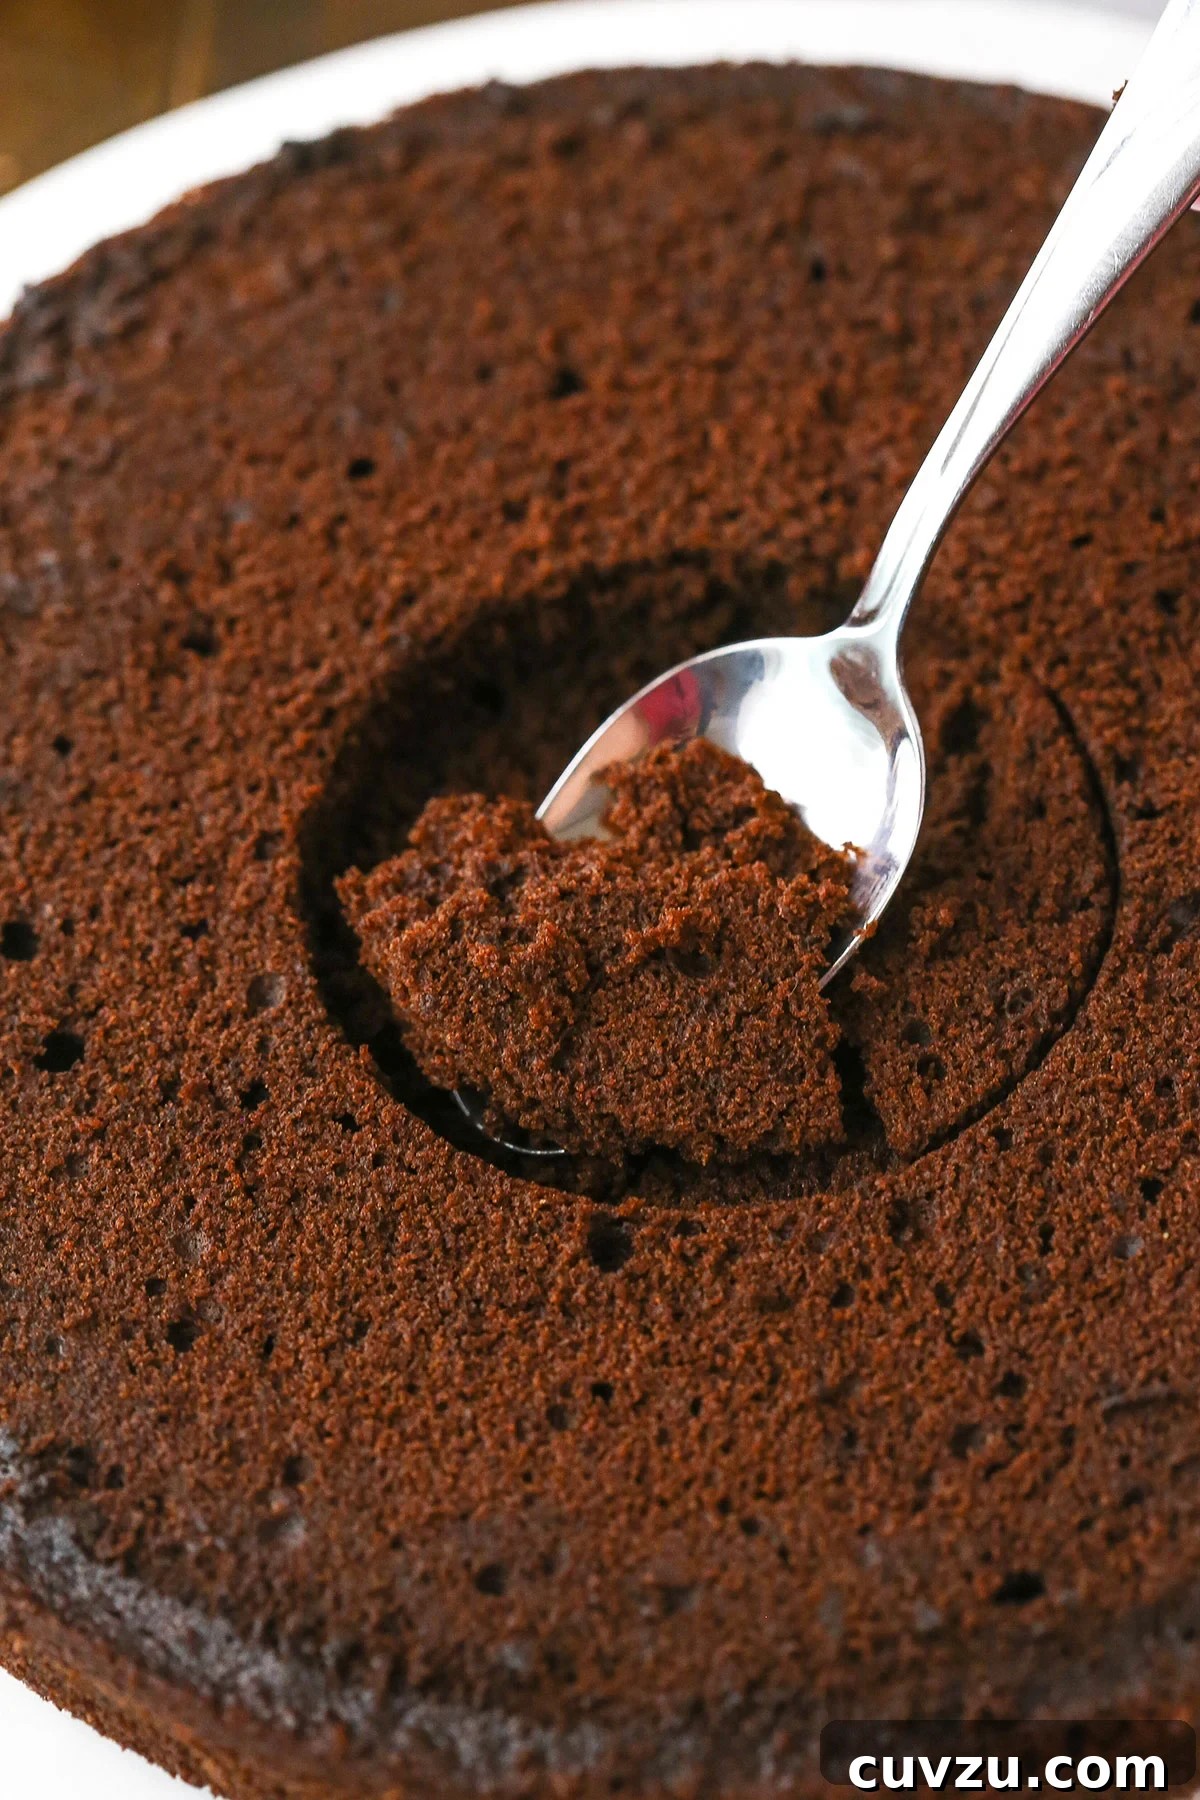
For the remaining two layers, you’ll also create a hole, but this time, only about halfway through the cake. Press your chosen cutter about halfway into the cake to define the perfect circular shape and depth. Once the outline is established, use a spoon to gently scoop out the cake from within the marked circle. This creates a recess rather than a full tunnel, which is crucial for containing the candy and providing a stable base and top for your piñata effect. This simple technique ensures a neat and tidy cavity for your fillings.
Assembling the Piñata Cake Layers
With your cake layers prepped, it’s time for the exciting assembly. Start by placing one of the cake layers with only a partially cut hole onto your desired cake plate or a sturdy cardboard cake circle. Apply a generous layer of frosting around the outer ring of this cake layer, creating a delicious border that will help contain the filling. Next, carefully place the second layer – the one with the hole cut completely through – directly on top. Apply another layer of frosting around its outer edge, and then, for extra stability and to seal any gaps, spread a thin layer of frosting around the inside perimeter of the central hole.
The Thrilling Moment: Filling Your Piñata Cake
Now comes the most anticipated part – filling the cavity! This is where you can unleash your creativity. Pour in all your fantastic candies, cookies, and other treats, ensuring the filling rises just a little higher than the top edge of the central hole. This slight overflow is intentional; the top cake layer also has a partial hole, and this extra filling will perfectly settle into that space, ensuring a complete and abundant surprise when the cake is sliced. Pack it full, making sure every bite promises a delightful discovery.
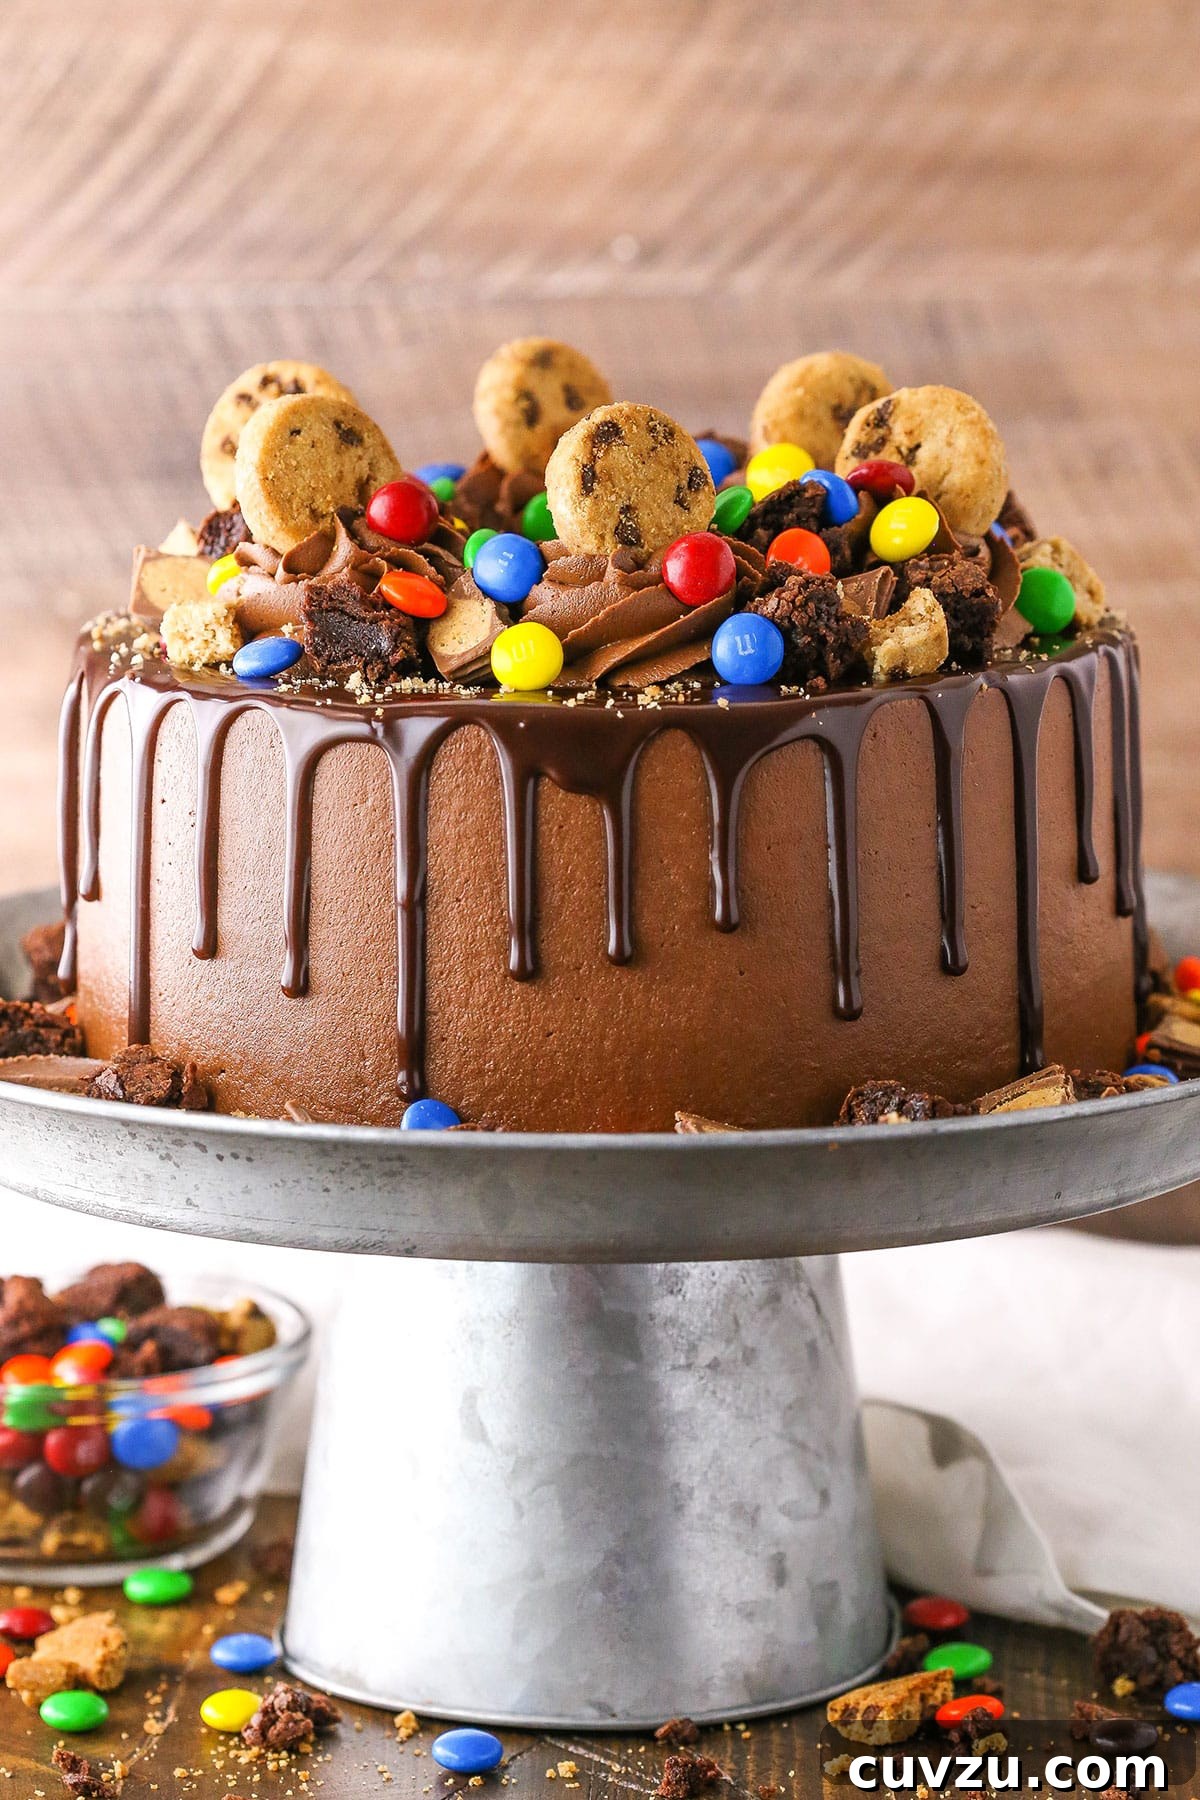
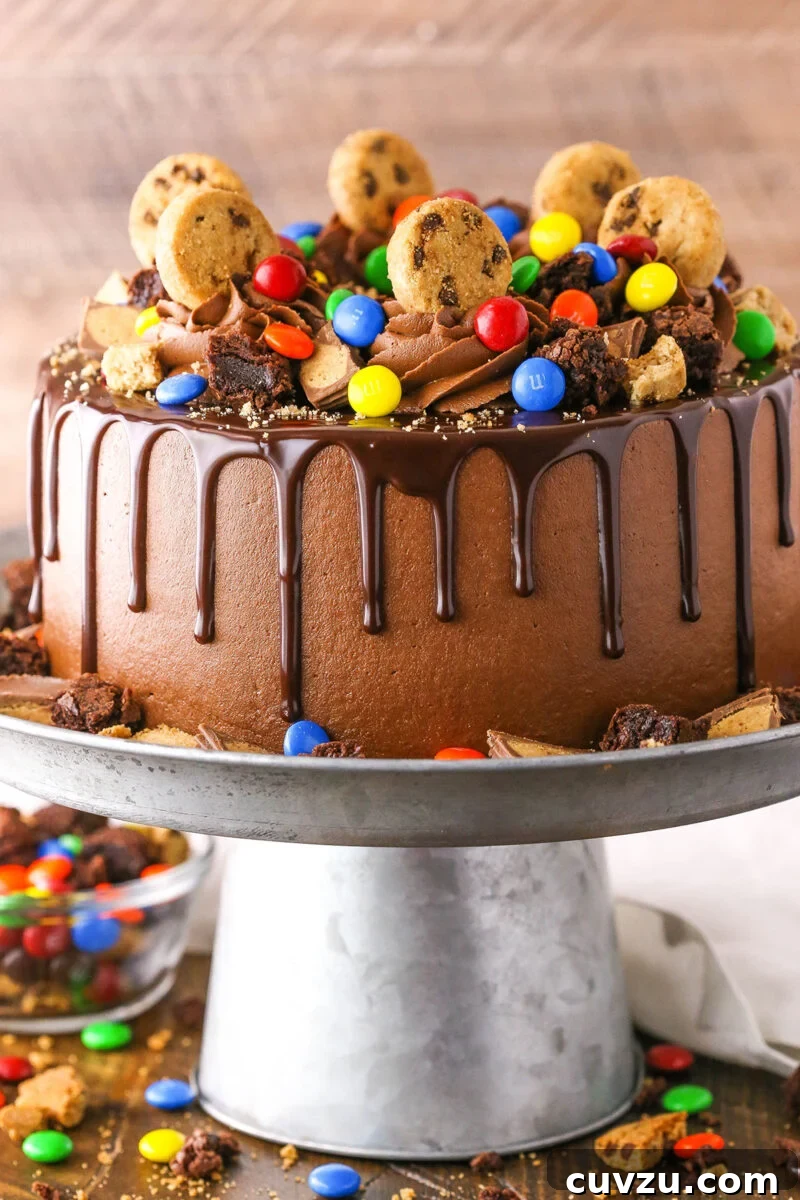
From this point onward, decorating your Chocolate Piñata Cake is just like frosting any other layer cake. Apply a smooth, even layer of your delicious chocolate buttercream to the entire exterior of the cake. To truly lean into the candy theme, consider adding a luxurious chocolate drip around the edges and topping it with an assortment of additional candies and cookies. This exterior decoration hints at the fun within and adds another layer of visual appeal.
Seriously, this is such an incredibly fun cake to make and even more fun to serve! The chocolate cake itself is wonderfully moist, tender, and rich, offering a truly satisfying base. However, the sheer excitement and joy that erupts when the internal surprise is revealed almost overshadow the cake’s deliciousness. It’s undeniably a party in every slice, guaranteed to bring smiles and laughter to any gathering. Get ready to share this unforgettable dessert and watch the amazement unfold!
Explore More Irresistible Chocolate Cake Recipes
If you’ve fallen in love with this rich chocolate cake, you might also enjoy these other decadent creations:
- The Best Moist Chocolate Cake
- Drunken Chocolate Truffle Cake
- Luxurious Chocolate Mousse Cake
- Incredible Flourless Chocolate Cake
Chocolate Piñata Cake
5 Stars
4 Stars
3 Stars
2 Stars
1 Star
5 from 5 reviews
- Author: Lindsay
Prep Time: 1 hour 45 minutes
Cook Time: 20 minutes
Total Time: 2 hours, 5 minutes
Yield: 12–14 slices 1x
Category: Dessert
Method: Oven
Cuisine: American
Description
This Chocolate Piñata Cake is a moist chocolate cake frosted with classic chocolate buttercream and filled to the brim with awesome goodies – Reese’s, M&Ms and chocolate chip cookies! If you’re looking for a fun-filled cake (literally!), then this cake is exactly what you need!
Ingredients
Scale
Chocolate Cake
- 1 1/2 cups (195g) all purpose flour
- 3/4 cup (85g) natural unsweetened cocoa
- 1 tsp baking soda
- 1/2 tsp salt
- 1/2 cup (112g) unsalted butter, room temperature
- 1/2 cup (120ml) vegetable oil
- 1 1/2 cups (310g) sugar
- 1 1/2 tsp vanilla extract
- 4 large eggs
- 1 1/4 cups (300ml) milk
Chocolate Buttercream
- 1 1/4 cups (280g) unsalted butter, room temperature
- 1 1/4 cups (237g) shortening
- 3/4 tsp salt
- 9 cups (1035g) powdered sugar
- 2 tsp vanilla extract
- 4–5 tbsp (60-75ml) water or milk
- 1 cup (114g) natural unsweetened cocoa powder
Chocolate Ganache
- 6 oz (1 cup | 169g) semi sweet chocolate chips
- 1/2 cup heavy whipping cream
Additional
- Mini Reese’s
- Mini chocolate chip cookies
- M&Ms
Instructions
- Preheat oven to 350°F (176°C) and prepare three 8-inch cake pans with non-stick baking spray and parchment paper in the bottom.
- Combine the flour, cocoa, baking soda, and salt in a medium-sized bowl and set aside.
- Add the butter, oil, sugar, and vanilla extract to a large mixer bowl. Beat together until the mixture is light in color and fluffy, approximately 3-4 minutes. Ensure not to cut short this creaming time, as it’s crucial for the cake’s texture.
- Incorporate the eggs one at a time, mixing until mostly combined after each addition. Scrape down the sides of the bowl as needed to ensure all ingredients are thoroughly incorporated.
- Add half of the dry ingredients to the wet batter and mix until just combined.
- Slowly add the milk and continue mixing until well combined. Don’t worry if the batter appears slightly curdled at this stage; it’s perfectly normal.
- Add the remaining dry ingredients and mix until the batter is smooth and well combined. Again, scrape down the sides of the bowl as necessary to ensure no pockets of unmixed ingredients remain. Be careful not to overmix the batter.
- Divide the prepared batter evenly among the three cake pans and bake for 19-21 minutes, or until a toothpick inserted into the center comes out with only a few moist crumbs.
- Remove the cakes from the oven and allow them to cool in their pans for 2-3 minutes before inverting them onto a wire cooling rack to cool completely.
- To prepare the frosting, beat together the room-temperature butter, shortening, and salt until the mixture is smooth and light.
- Gradually add 4 cups (460g) of powdered sugar to the butter mixture and mix until smooth and fully incorporated.
- Stir in the vanilla extract and half of the water or milk, mixing until the frosting is smooth.
- Add the remaining 5 cups (575g) of powdered sugar and continue to mix until the frosting is smooth and free of lumps.
- Finally, add the cocoa powder and mix until the chocolate buttercream is uniformly smooth and richly colored.
- Adjust the consistency by adding the remaining water or milk, one tablespoon at a time, until the frosting reaches your desired spreadable consistency.
- For building the cake, you’ll need a tool to cut through the cake layers. I recommend a 3-inch biscuit cutter for precision, but a round cookie cutter of similar size or a sharp knife will also work. Use your chosen tool to cut a hole completely through the center of one of the cooled cake layers.
- For the other two cake layers, only cut a hole about halfway through each layer. Then, use a spoon to carefully scoop out the cake from within the marked circle, creating a shallow cavity in each.
- Place one of the cake layers with a partial hole onto your serving plate or cardboard cake circle. Spread about 1/2 cup of chocolate buttercream evenly around the top of the cake, specifically on the outer ring surrounding the central hole.
- Carefully place the cake layer with the full hole removed directly on top of the first layer. Apply another layer of frosting around the outer edge of this second layer.
- Spread a thin layer of frosting around the inside wall of the central hole to create a barrier and help keep your fillings contained. Now, fill the cavity generously with your selection of candies and treats. Fill it slightly above the top edge of the hole; this extra bit will perfectly nest into the partial hole of the final cake layer.
- Gently place the final cake layer (the one with the other partial hole) on top. Then, frost the entire outside of the cake with your remaining chocolate buttercream. For a super smooth finish, refer to my tutorial for frosting a smooth cake.
- To make the ganache topping, place the chocolate chips in a medium-sized heatproof bowl. (For more detailed tips, see my guide on making chocolate ganache).
- Heat the heavy whipping cream in a microwave-safe measuring cup until it just begins to boil and small bubbles appear around the edges.
- Pour the hot cream mixture over the chocolate chips. Let it sit undisturbed for 2-3 minutes to allow the chocolate to melt, then whisk gently until the ganache is completely smooth and glossy.
- Carefully drizzle the warm chocolate ganache around the top edges of the cake, allowing it to drip down the sides for a beautiful effect. Then, fill in the center/top of the cake with the remaining ganache. For expert tips on creating stunning drips, check out my guide on how to make a chocolate drip cake.
- Using the remaining frosting, pipe decorative swirls or borders around the top edge of the cake. Finish by topping the cake with additional candies and treats for a truly festive and inviting presentation.
Nutrition
- Serving Size: 1 slice
- Calories: 976
- Sugar: 92.9 g
- Sodium: 129.4 mg
- Fat: 59.9 g
- Carbohydrates: 111.3 g
- Protein: 8.9 g
- Cholesterol: 127.1 mg
This post contains affiliate links.