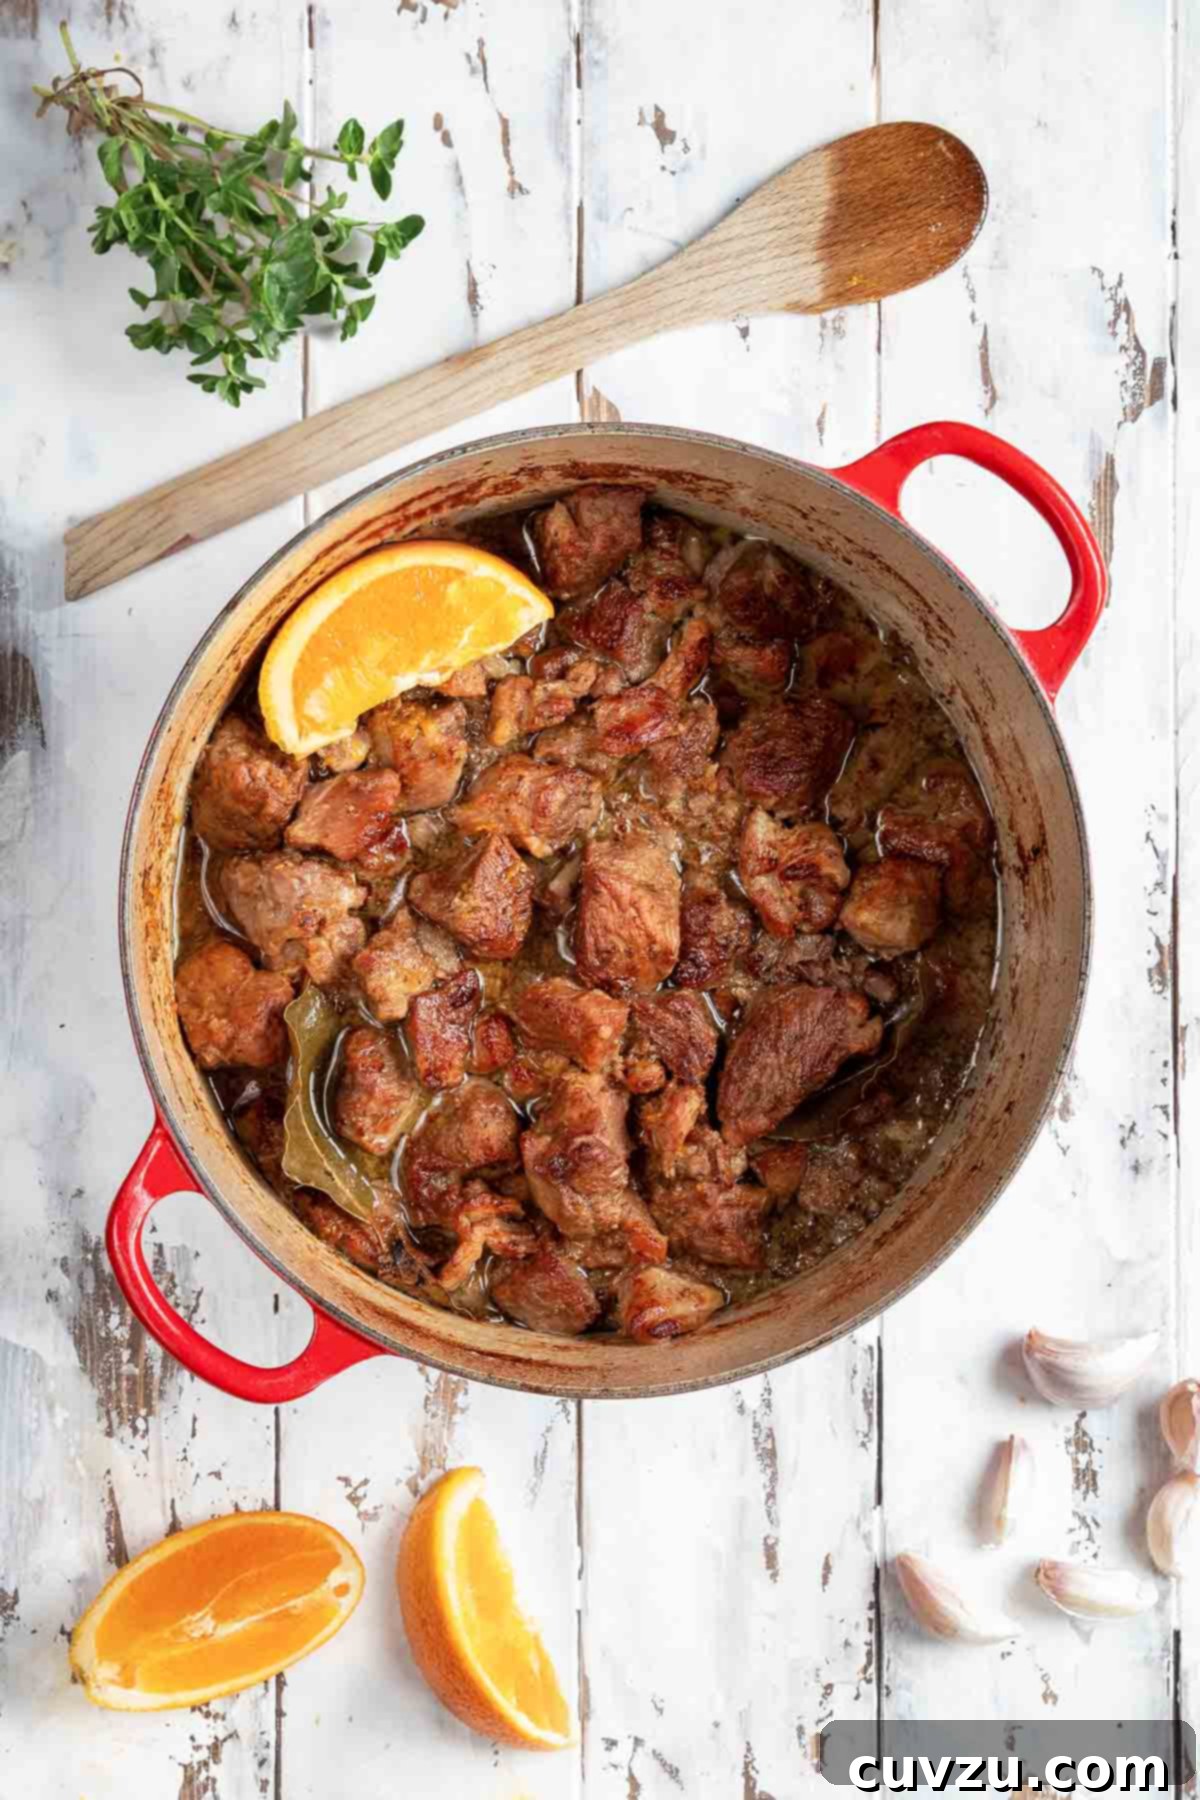
Authentic Mexican Carnitas: A Culinary Journey to Crispy Pork Perfection
Discover the magic of authentic carnitas, a traditional Mexican dish featuring tender, succulent pork shoulder braised to perfection with aromatic ingredients like onion, garlic, bay leaf, and orange, then crisped to an irresistible golden-brown. This beloved preparation transforms humble pork into a versatile masterpiece, ideal for elevating burritos, tacos, or simply enjoyed on its own. Whether you prefer the classic stovetop method, the convenience of a slow cooker, or the speed of an Instant Pot, this recipe guides you to achieve restaurant-quality carnitas right in your own kitchen.
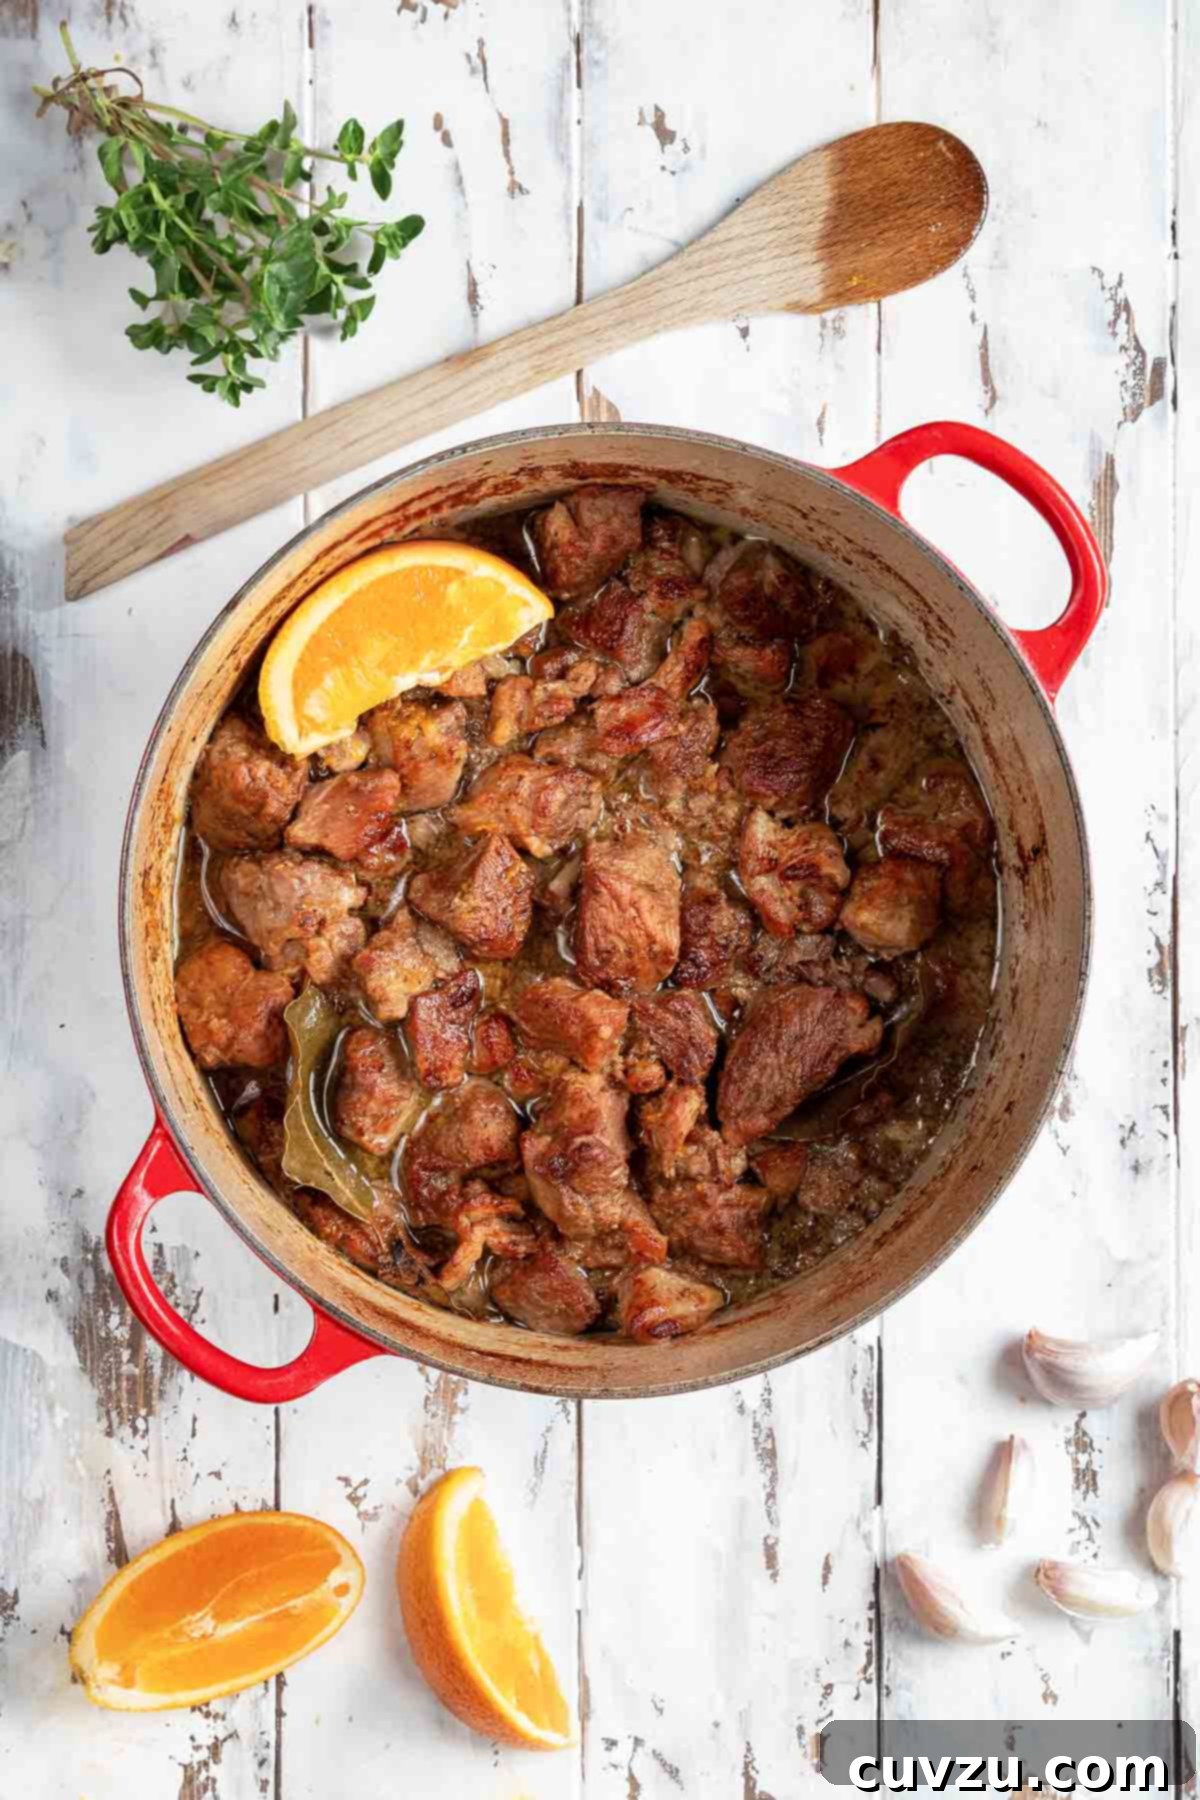
Why You’ll Love These Carnitas
- Unforgettable Flavor & Texture: Experience pork shoulder slow-simmered with a fragrant blend of onions, garlic, bay leaves, and a touch of orange, resulting in incredibly tender meat with addictively crispy edges after a final oven crisping.
- Authenticity at Home: This recipe delivers the rich, savory taste of traditional Mexican carnitas, rivaling your favorite taqueria. It’s a truly conversation-stopping, fall-apart-tender meal that impresses every time.
- Flexible Cooking Methods: Choose your preferred cooking style – whether it’s the classic stovetop, the hands-off ease of a slow cooker, or the quick efficiency of an Instant Pot. Each method yields spectacular results for a crowd-pleasing dish.
- Simple Process: Combine pork, water, onion, orange, lard, garlic, bay leaves, sweetened condensed milk, and oregano. Simmer until tender and the liquid evaporates, then oven-fry for that signature browned crispness.
Featured Review
“I made this last weekend with the Instant Pot method, and wow, it was incredible—so much tastier than any other pulled pork recipe I’ve tried, and so tender!”
TaYna
For many, the first encounter with pork carnitas, those glorious Mexican braised and fried pork chunks with their addictively crisp edges, is a revelation. I have to confess, my own journey to discovering the sheer deliciousness of carnitas began just a few years ago. It seems almost bizarre now, given my deep appreciation for both pork and Mexican cuisine, that these two loves hadn’t converged in the sublime form of carnitas sooner. But, as they say, better late than never! This recipe has since become a cherished staple in my kitchen, a testament to its irresistible flavor and satisfying preparation.
This particular recipe honors the classic tradition of carnitas while introducing a clever modification for convenience. Instead of requiring constant vigilance over a stovetop burner to maintain the precise temperature, this method cleverly transitions the pot into the oven. This innovation ensures that the pork cooks at just the right temperature without the cook being tethered to the stove, allowing for truly hands-off perfection once the initial simmering is complete. This approach not only simplifies the cooking process but also consistently yields deeply flavorful, fall-apart tender meat.
My partner and I frequently devour these succulent carnitas. They’re absolutely divine tucked into soft, warm tortillas, forming the most exquisite tacos. Equally satisfying is serving them heaped generously atop a bed of fluffy rice and hearty beans. A distinctive touch we’ve embraced in this recipe is the addition of an entire orange to the cooking pot. This seemingly unusual ingredient imparts a subtle, bright hint of citrus that beautifully complements the richness of the pork, adding a layer of complexity to the flavor profile. And yes, for uncompromising authenticity and unparalleled flavor, we enthusiastically advocate for the use of lard—qué sorpresa!

What Makes Our Carnitas So Special? Hear From Our Testers!
Our team of recipe testers were absolutely smitten with this Mexican fried pork recipe. The consensus was clear: this method produces exceptional carnitas. Natalie Reebel raved that “this recipe worked exactly as written and produced an incredibly great-tasting, authentic pork carnitas.” Meanwhile, Sofia Reino was ecstatic, noting that “the meat came out juicy and fork-tender with a slight crispness,” a combination that had her family repeatedly begging for the recipe. The consistent praise for its ease, authentic flavor, and perfect texture underscores why this carnitas recipe stands out as a true culinary gem.
Essential Ingredients for Perfect Carnitas
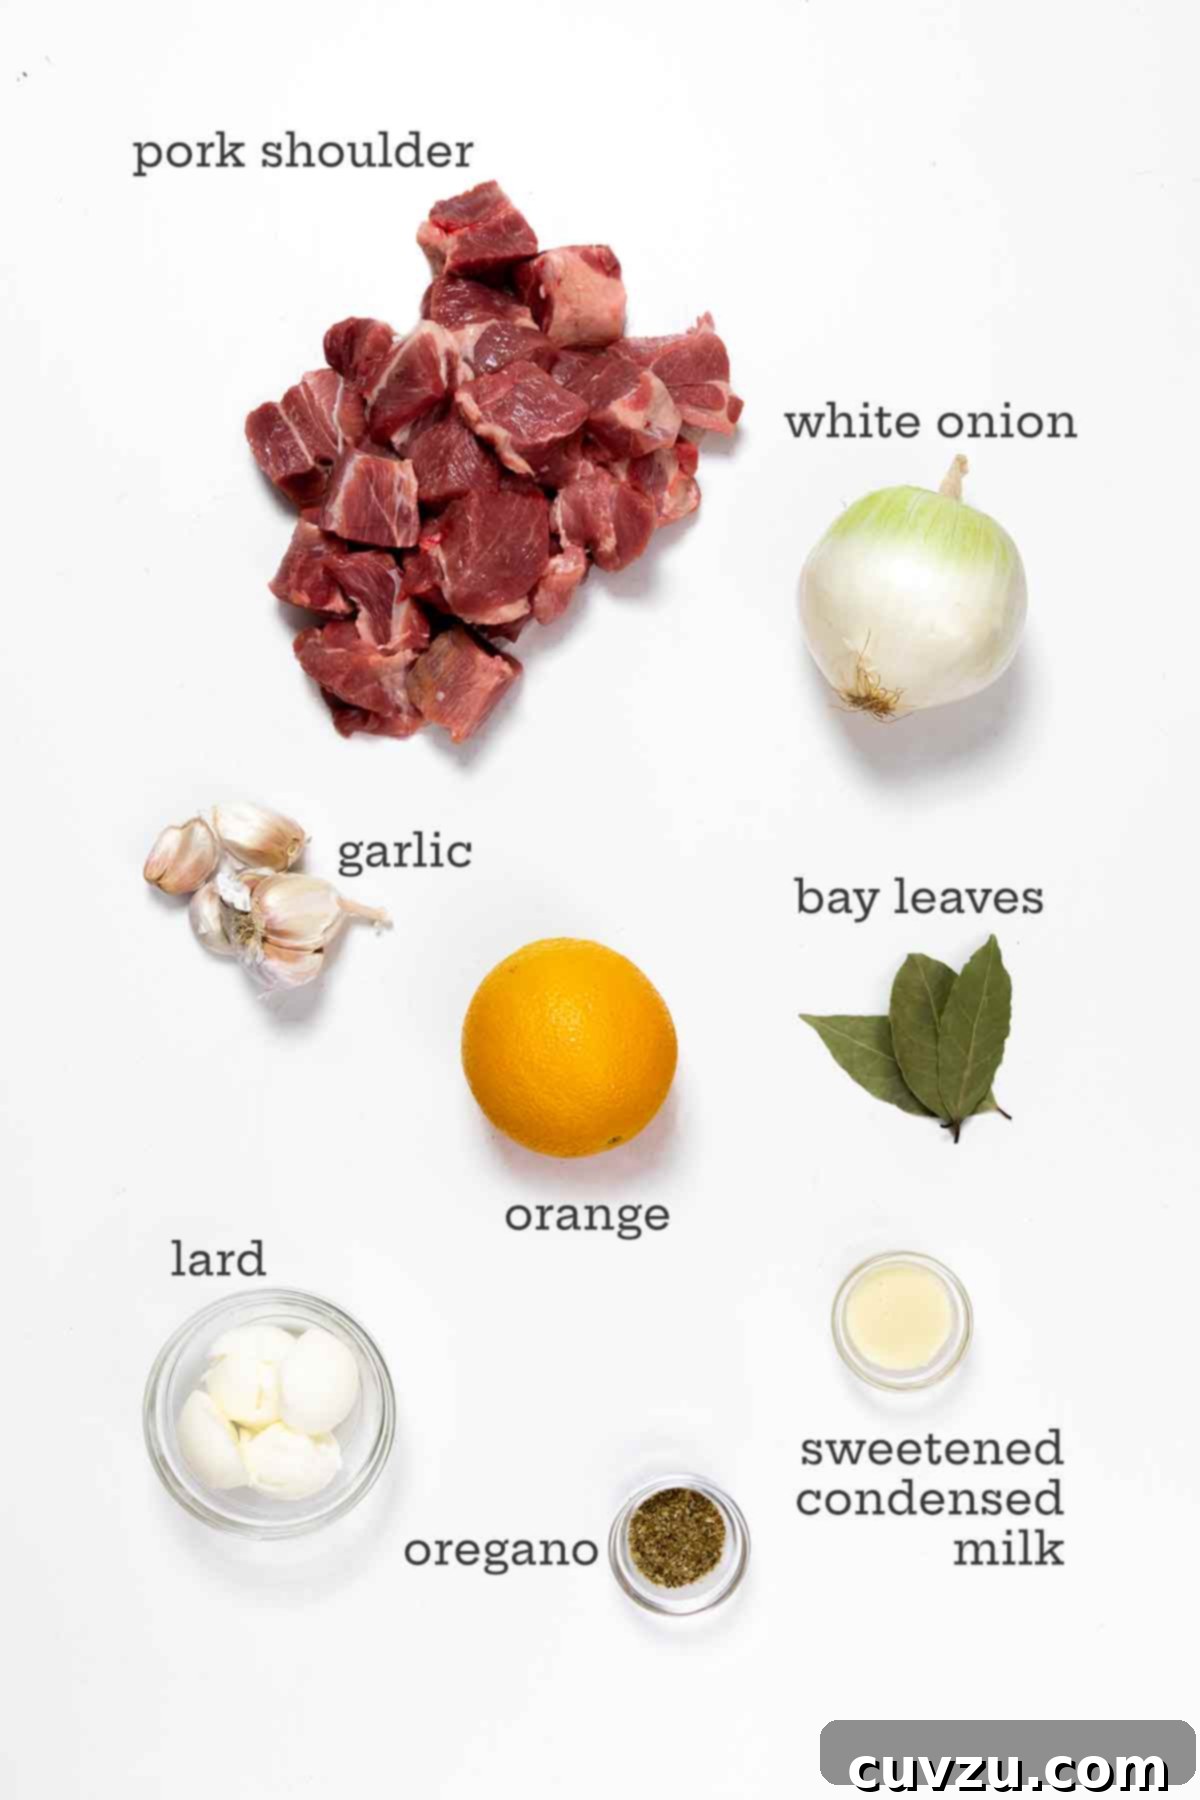
Crafting truly authentic carnitas begins with selecting the right ingredients. Each component plays a crucial role in developing the complex flavors and textures that define this classic dish.
- Pork Shoulder (or Pork Butt): This is the star of the show. Choose a cut that is generously marbled with fat. The fat is essential as it renders down during the long cooking process, basting the meat and creating incredibly tender results. If your roast comes with skin, be sure to remove and discard it before cooking, as we want the fat to render directly into the pot.
- Lard: For truly traditional Mexican carnitas, lard is the secret weapon. It contributes an unparalleled richness and helps achieve that signature crispy exterior. While vegetable oil can be substituted, using lard will significantly enhance the authentic flavor and texture. Don’t shy away from it – it’s what makes carnitas, carnitas!
- Sweetened Condensed Milk: This might seem like an unexpected ingredient, but it’s a game-changer. The milk’s sugars promote beautiful caramelization on the pork, while its lactose and creamy texture act as a tenderizer, helping to break down the meat fibers. Don’t worry, the finished dish won’t taste sweet; the milk merely adds depth and contributes to the meat’s incredible texture. Any extra milk from the can can be used for delightful condensed milk cookies.
- Orange: A whole orange, sliced or cut into wedges, adds a subtle yet essential citrus note. It brightens the rich pork flavor, cutting through the fat and adding a fresh aroma without overpowering the dish. The acidity also aids in tenderizing the meat.
- Onion & Garlic: These foundational aromatics provide a savory base, infusing the pork with classic, comforting flavors during the slow braising process.
- Bay Leaves & Mexican Oregano: These herbs contribute to the traditional Mexican flavor profile. Bay leaves offer a mild, herbaceous note, while dried Mexican oregano provides an earthy, slightly citrusy, and robust flavor that is distinct from Mediterranean oregano.
Crafting Carnitas: The Classic Stovetop & Oven Method
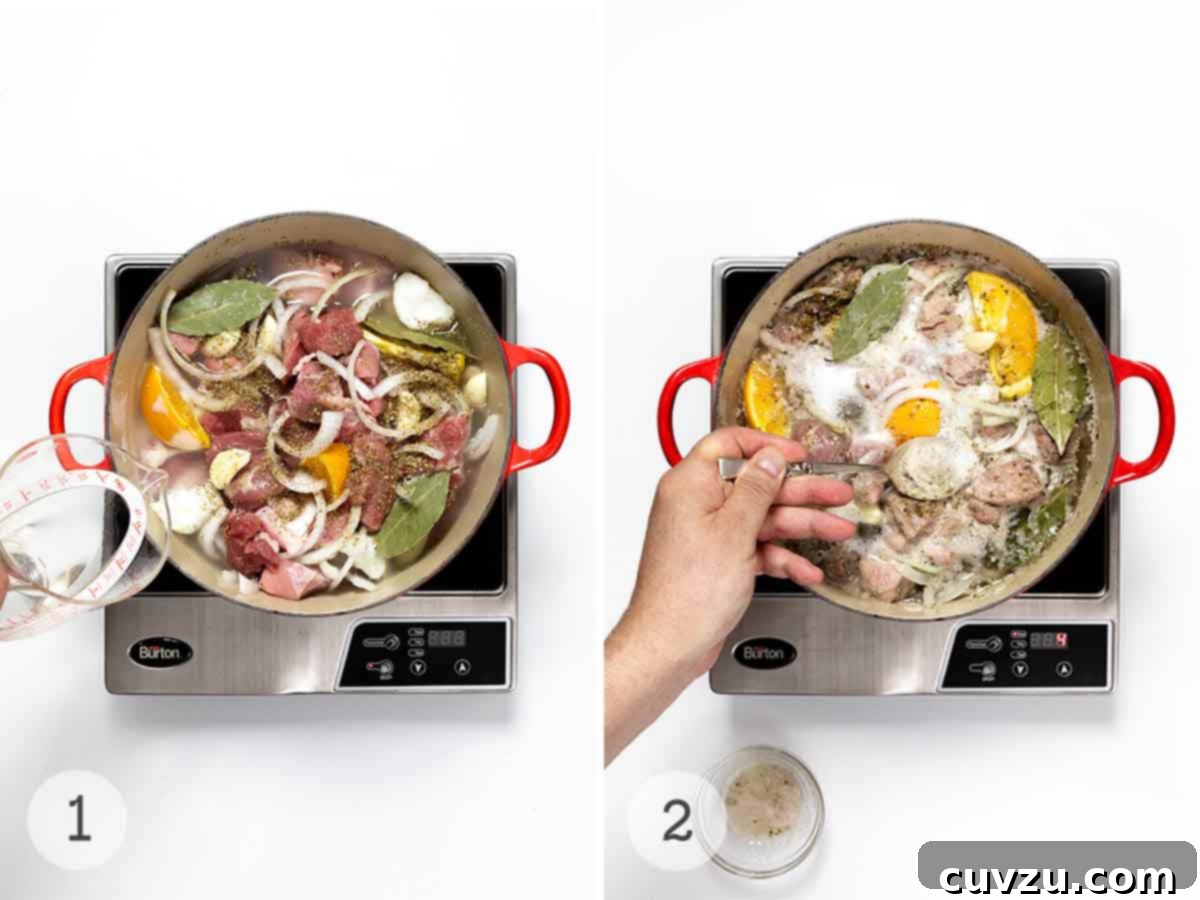
This traditional method involves both stovetop simmering and a final oven crisping, ensuring the pork achieves both ultimate tenderness and those coveted crispy edges.
- Combine Ingredients: Place all the pork shoulder pieces, cold water, thinly sliced white onion, orange wedges, lard, peeled garlic cloves, bay leaves, sweetened condensed milk, dried Mexican oregano, and salt into a large, heavy-bottomed Dutch oven (6- to 7-quart capacity is ideal). Don’t worry if the pork isn’t completely submerged at this stage.
- Bring to a Boil & Skim: Set the Dutch oven over high heat and bring the mixture to a vigorous boil. As it heats, any impurities will rise to the surface in the form of a grayish “scum.” Skim this off using a spoon as necessary to ensure a cleaner braising liquid and purer flavor.
- Slow Simmer until Tender: Once boiling, reduce the heat to medium-low. The goal is a gentle but consistent simmer. Continue to cook, stirring occasionally, for about 1 1/2 to 2 hours. During this phase, the pork will slowly tenderize, and the liquid will gradually evaporate. The meat is ready when it is fork-tender and falls apart easily. Discard the spent orange pieces and bay leaves from the pot.
☞ TESTER TIP: If the liquid hasn’t completely evaporated by the time the pork is tender, carefully transfer the pork pieces to a separate bowl. Continue to simmer the remaining liquid in the pot, stirring frequently, until it reduces significantly and only a glossy layer of rendered fat remains. This concentrated fat will be crucial for the crisping step.
- Oven Crisp for Perfection: Preheat your oven to a high temperature of 450°F (232°C). If your Dutch oven is oven-safe, simply slide it into the preheated oven. If not, transfer the tender pork and any rendered fat to a sturdy, ovenproof baking dish. Leave the pork uncovered and allow it to “fry” in its own rendered fat. Cook for 20 to 30 minutes, or until the pork pieces are beautifully browned and crisp at the edges. There’s no need to stir during this final step; let the oven do its work. Serve your perfect carnitas directly from the pot or baking dish!
Effortless Slow Cooker Carnitas
For those days when time is a luxury but flavor is non-negotiable, the slow cooker offers an incredibly convenient path to delicious carnitas. This hands-off method ensures the pork becomes unbelievably tender with minimal effort.
To prepare: Simply combine all the ingredients in your slow cooker. It’s important to reduce the amount of water by at least 1 cup, as less liquid evaporates in a slow cooker compared to stovetop cooking. Cover the slow cooker and cook on low for 8 to 10 hours, or on high for 6 to 8 hours, until the pork is profoundly tender and easily falls apart. The beauty of this method is that you can set it and forget it, letting the low, slow heat work its magic while you go about your day.
Once cooked, use tongs or a slotted spoon to transfer the tender chunks of pork to a large skillet, leaving the flavorful cooking liquid behind in the slow cooker. At this point, you can shred the pork using two forks for a classic pulled texture, or simply leave it in larger chunks if you prefer. Then, heat the pork in the skillet over medium to medium-high heat. This crucial step is where the magic of crisping happens, transforming the soft braised pork into delectable pieces with crispy edges, while remaining unbelievably tender within.
For an extra boost of moisture and flavor, you can dribble a little of the strained cooking liquid (skimmed of excess fat, if desired) over the pork before serving. If the cooking liquid is still quite watery, simply pour it into a saucepan and simmer it on the stovetop until it reduces to a thicker, desired consistency. This rich liquid can also be served alongside your carnitas or used as a sauce.
Intrigued by the versatility of your slow cooker? Explore more culinary wonders with our extensive selection of slow cooker recipes, and check out what our testers had to say about slow cooker wizardry in the comments below.
Speedy Instant Pot Carnitas
The Instant Pot offers a fantastic way to achieve tender carnitas in a fraction of the time, making this delicious dish accessible even on busy weeknights. While the Instant Pot excels at pressure cooking, a quick pre-sear on the stovetop ensures deeper flavor and better texture.
First, season your pork shoulder pieces generously with salt. Working in batches to avoid overcrowding, sear the pork in a large skillet with lard or olive oil until it develops a deep, rich brown crust. This browning step is crucial for flavor development; attempting to sear effectively in the Instant Pot’s narrow, high-sided insert often results in steamed rather than seared meat. Trust us, the skillet is infinitely better and faster for this initial step.
While the pork is searing, prepare your aromatics. Juice 1 or 2 oranges to yield about 1/2 cup of fresh orange juice. Layer the sliced onions, peeled garlic cloves, the juiced orange halves, any remaining orange wedges, and bay leaves at the bottom of the Instant Pot insert. Dump in the seared pork, sprinkling with dried Mexican oregano as you go. Finally, drizzle the sweetened condensed milk and fresh orange juice over the top.
Secure the Instant Pot lid, ensuring the pressure release valve is set to “sealing.” Select the “manual” or “pressure cook” function and set the cooking time to 30 minutes at high pressure. Once the cooking cycle is complete, carefully quick-release the pressure by moving the valve to “venting.” Exercise caution as steam will release rapidly. Once the steam is fully dissipated and the pin has dropped, open the pot.
Using a slotted spoon, scoop the tender pork onto a foil-lined baking sheet. Discard the cooked orange halves and bay leaves. To achieve the signature crispy carnitas texture, cook the pork in a preheated 450°F (232°C) oven for 10 to 15 minutes, or until beautifully crisped and golden brown. This final oven step is key to transforming the braised pork into true carnitas perfection.
Common Questions About Carnitas
Here are answers to some of the most frequently asked questions about making and serving authentic carnitas.
This authentic carnitas recipe yields a substantial amount of pork, which we hardly consider a problem – who could resist packing away a batch of this subtly infused Mexican pulled pork? However, if you wish to make a smaller batch, the author advises halving the amount of pork, salt, and oregano. Crucially, you should maintain the same quantities of water, onion, orange, garlic, bay leaves, sweetened condensed milk, and lard. These ingredients are essential for creating the rich braising liquid and flavor profile, irrespective of the pork quantity. You’ll also want to use a slightly smaller pot for the reduced batch. Think of your smaller yield as a diminutive, yet equally delicious, version of this classic – a Carnitas-ito, if you will!
While pulled pork and carnitas often share a similar initial preparation method—slow roasting or simmering until the meat is fork-tender and easily shredded—the key distinction lies in the final step. Carnitas are traditionally fried or roasted again after the initial braising and shredding. This crucial step crisps up the edges of the meat, creating an irresistible contrast between tender interior and golden, crunchy exterior that is characteristic of authentic carnitas. Pulled pork, by contrast, is typically served immediately after shredding, often with a sauce, without the added crisping step.
The addition of sweetened condensed milk to carnitas is a traditional Mexican technique, and it serves multiple important functions. Firstly, it acts as a tenderizer. The mild acidity and proteins in the milk help break down the connective tissues in the pork, contributing to those incredibly tender, melt-in-your-mouth bites we all crave. Secondly, the sugars in the condensed milk contribute to the beautiful golden-brown caramelization during the final crisping stage, enhancing both flavor and visual appeal. The resulting carnitas are never sweet, but rather boast a richer, more complex savory flavor and perfect texture.
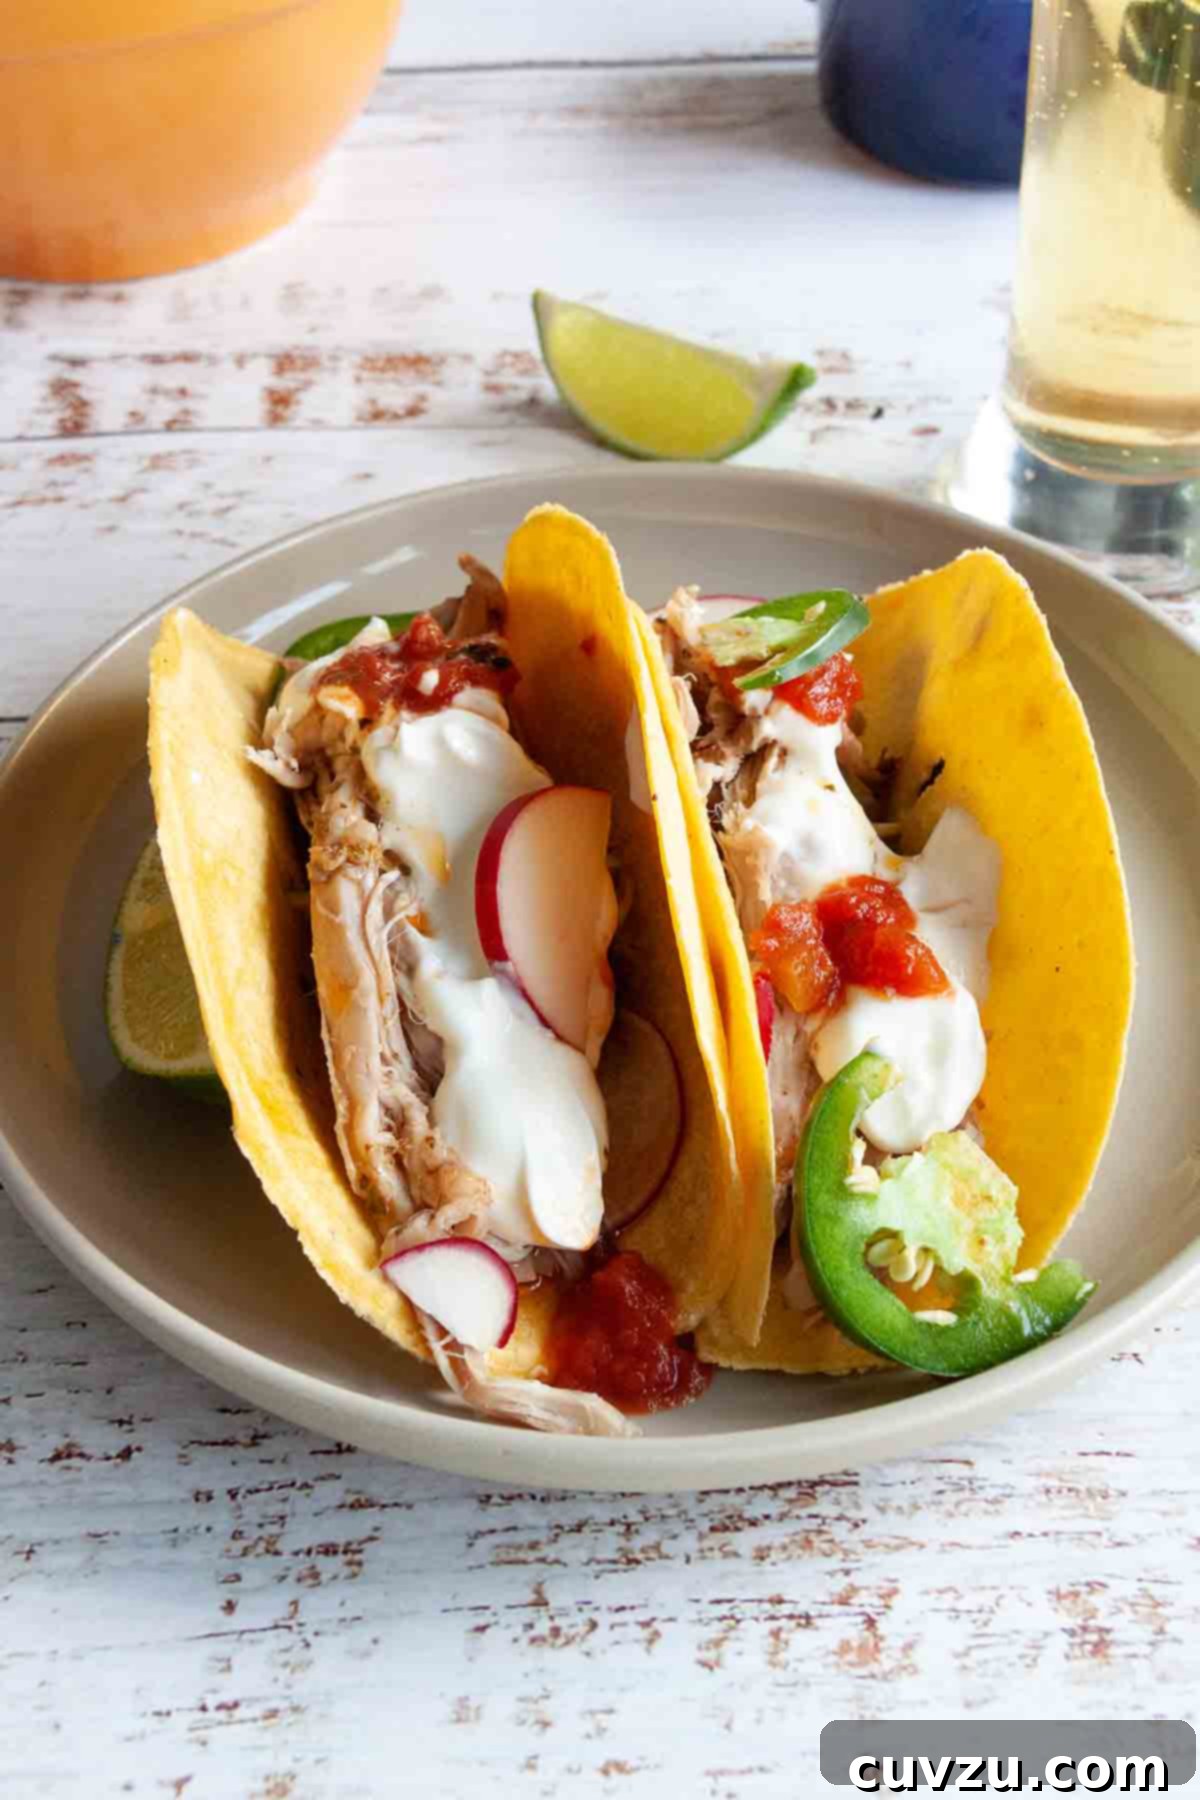
Carnitas are incredibly versatile and can be served in a myriad of delicious ways. They are most commonly enjoyed as carnitas tacos, where the succulent meat is piled into warm corn tortillas and adorned with fresh toppings like vibrant salsa, a squeeze of lime juice, and finely chopped onion and cilantro. However, the flavorful meat is equally divine when incorporated into hearty burritos, layered atop crispy chilaquiles, or as the star in a Mexican-inspired rice bowl with black beans and avocado. Don’t hesitate to get creative with your favorite condiments and accompaniments!
Pro Tips & Troubleshooting for Carnitas Success
- Storage: Leftover pork carnitas are a treasure! Store them in an airtight container in the refrigerator for up to 3 days. For longer preservation, carnitas freeze beautifully for up to 3 months.
- Reheating: If frozen, thaw your carnitas overnight in the refrigerator for best results. To reheat, warm them on the stovetop in a skillet or in the oven with a little additional lard or oil until thoroughly warmed through and re-crisped on the edges. This helps restore their delightful texture.
- Dietary Considerations: This pork carnitas recipe is naturally suitable for gluten-free diets, provided all other ingredients used (like any accompanying tortillas or sauces) are also gluten-free.
- Achieving Crispy Edges: The key to truly great carnitas is that final crisping step. Ensure your oven is preheated to the correct high temperature. Do not overcrowd your pan, as this will steam the meat rather than crisp it. Give the pork plenty of space to get golden and crunchy.
- Balancing Salt: The amount of salt can be adjusted to your preference. Start with the lower end of the recommended range, especially if you plan to add salty toppings like cheese or pickled onions, and adjust before the final crisping.
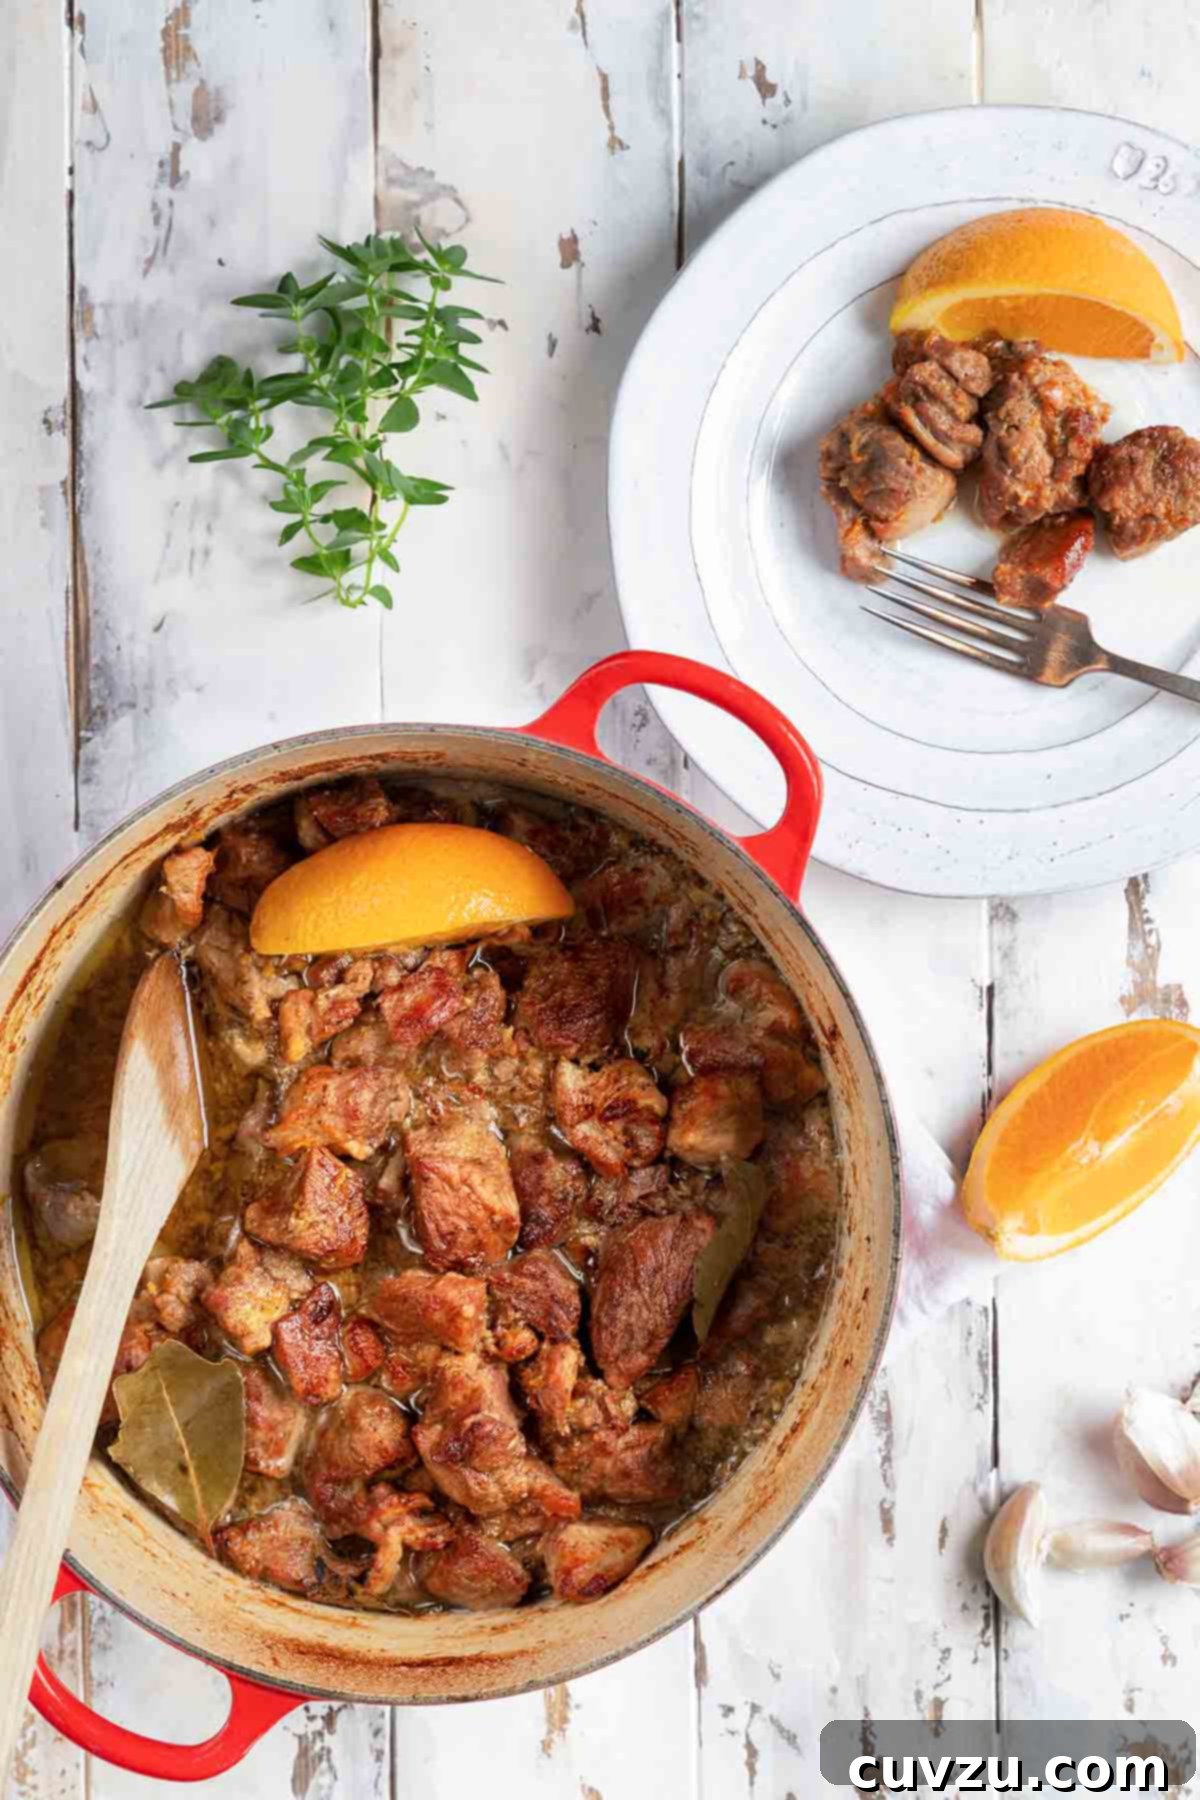
Explore More Superb Pork Shoulder Recipes
If you love the versatility and flavor of pork shoulder, you’ll enjoy these other fantastic recipes:
Share Your Experience: Write a Review
If you make this recipe, or any dish on LC, consider leaving a review, a star rating, and your best photo in the comments below. I love hearing from you.–David
Featured Review
“This is better than restaurant carnitas. My one go-to dish at any Mexican restaurant is pork carnitas to see how good the restaurant is. Amazingly, every place is completely different, but this is honestly the best carnitas I have ever had…and I made it.”
josh
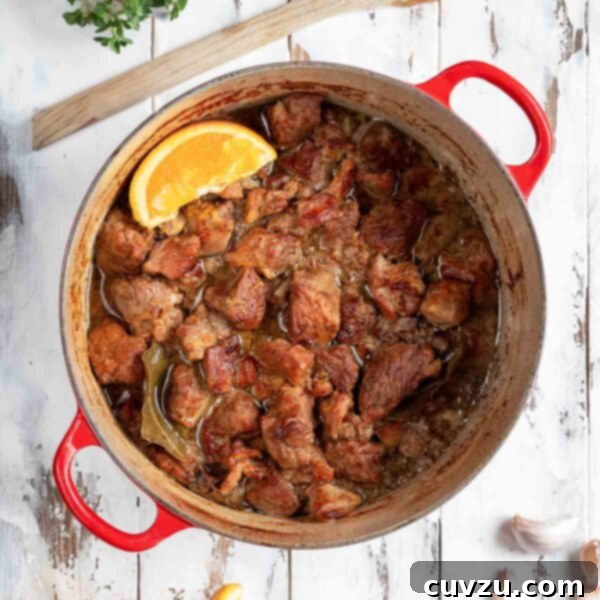
Carnitas ~ Authentic Mexican Braised Pork
David Leite
Mains
Mexican
8 servings
291 kcal
20 minutes
1 hour 40 minutes
2 hours
Ingredients
- 4 pounds fatty pork shoulder, cut into 2-inch pieces
- 3 cups cold water
- 1 medium white onion, thinly sliced
- 1/2 orange, preferably seedless, cut into 2 wedges (or 1 to 2 oranges if using the Instant Pot Variation)
- 1/4 cup lard (or, for the lard averse, vegetable oil)
- 8 garlic cloves, peeled
- 3 bay leaves
- 1 tablespoon sweetened condensed milk
- 2 teaspoons dried Mexican oregano, crumbled
- 1 1/2 to 2 teaspoons fine salt, or 3 to 4 teaspoons kosher salt
Instructions
- Place all of the ingredients in a wide 6- to 7-quart heavy pot. (Don’t worry if everything isn’t completely submerged.) Bring to a boil, skimming any scum that collects on the surface as necessary.
- Reduce the heat to medium-low and simmer vigorously, stirring occasionally, until the pork is fork-tender and the liquid has completely evaporated, 1 1/2 to 2 hours. Discard the orange pieces and bay leaves.
☞ TESTER TIP: If the liquid hasn’t completely evaporated, transfer the pork to a bowl and continue to simmer the liquid, stirring often, until it is reduced and only a glossy layer of oil remains.
- Preheat the oven to 450°F (232°C).
- If your pot isn’t ovenproof, transfer the pork and fat to an oven-safe dish. Slide the pork into the oven, uncovered, and let it fry in its own fat until it’s browned, 20 to 30 minutes. There’s no need to stir. Serve it straight from the pot.
Notes
- Storage: Leftover pork carnitas can be stored in an airtight container in the fridge for up to 3 days, or frozen for up to 3 months.
- Reheating: If frozen, thaw overnight in the refrigerator. Reheat on the stovetop or in the oven with a little additional lard until warmed through and crisped on the edges.
- Dietary: This pork carnitas recipe is suitable for gluten-free diets.
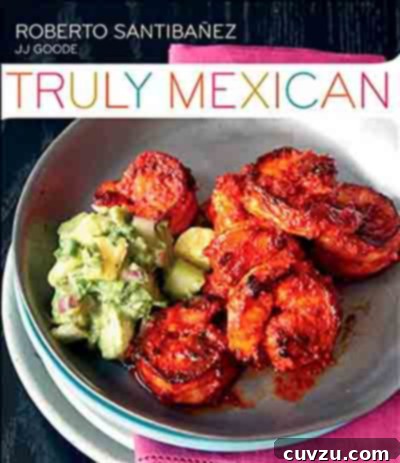
Adapted From
Truly Mexican
Buy On Amazon
Nutrition
Serving: 1 portion
- Calories: 291 kcal
- Carbohydrates: 6 g
- Protein: 28 g
- Fat: 17 g
- Saturated Fat: 5 g
- Monounsaturated Fat: 6 g
- Trans Fat: 1 g
- Cholesterol: 94 mg
- Sodium: 550 mg
- Fiber: 1 g
- Sugar: 3 g
Nutrition information is automatically calculated, so should only be used as an approximation.
Tried this recipe?
Mention @leitesculinaria or tag #leitesculinaria!
Recipe Testers’ Reviews: What They Loved About Our Carnitas
Our team of dedicated recipe testers put this carnitas recipe through its paces, and the feedback was overwhelmingly positive. They consistently praised the authentic flavor, perfect texture, and surprising ease of preparation. Here’s what they had to say:
Jo Ann Brown
“I absolutely adore this authentic Mexican fried pork! These carnitas were exactly what I craved in terms of both taste and texture. The ingenious method of oven-frying the pork in its own rendered fat is pure genius. I confess I even ‘pilfered’ some of this ‘liquid gold’ to sauté onions and garlic for truly killer black beans and rice, served as a divine side dish. (Editor’s Note: Brilliant! We’re definitely stealing that trick!) I used the half-recipe method, and it worked flawlessly. However, a word of caution: even after halving the salt, the reduction came dangerously close to being a tad too salty. I recommend erring on the side of caution and adding less salt than specified, whether you’re making the full 4 pounds or a smaller batch. I paired this with carnitas tacos and the fresh tomatillo salsa, which was creamy, delicious, and provided a lovely balance to the rich meat.”
Amy Iacopi
“This Mexican fried pork dish is absolutely RIDICULOUSly good! It’s so incredibly tasty that I honestly can’t believe I made it! I particularly loved the subtle hint of orange infused into the meat, adding a wonderful brightness. I think the most challenging part of the whole process was slicing the pork away from the bone – otherwise, everything came together beautifully and straightforwardly. It did require the full 2 hours to completely evaporate all the liquid in the pot, and then about 25 minutes in the oven to darken the pork to that perfect, almost-burnt crispness (which is exactly how I love it). This is an excellent recipe that I’ll definitely be making again, especially when I’m feeding a crowd. In the meantime, I’m happily looking forward to devouring all the delicious leftovers!”
Natalie Reebel
“Could it get any easier than this? I truly don’t think so. This recipe performed exactly as written and yielded an incredibly great-tasting, genuinely authentic pork carnitas. The versatility of the finished pork is fantastic; you can take it wherever your culinary imagination leads you! It’s absolutely fantastic in tacos, would be deliciously wrapped in a burrito with some vibrant salsa verde, and definitely something to look forward to on a tostada after a busy workday. And the best part? It tastes even better on the second day, as the flavors deepen and meld. A quick tip: keep a close eye on the pork after about 20 minutes in the oven, as it browns much quicker than you might anticipate.”
Steve Dunn
“As a long-time admirer of pork carnitas as a restaurant staple, I was thrilled to finally try my hand at making this recipe. Having been a fan of duck confit for years, I quickly realized upon reading the dish description that this is essentially pork confit – and what could possibly be better than that?! I’m here to tell you, not much. This is, without a doubt, one of the tastiest dishes I’ve ever prepared, and given how effortless it is to put together, I can envision myself making it again, and again, and again, and again… you get the picture! My only slight deviation from the written recipe was pulling the pot from the oven after just 15 minutes into the roasting phase, whereas the recipe calls for 20 to 30 minutes to crisp the meat. This step truly warrants careful attention. Aside from that, strictly following the recipe yielded a sheet pan overflowing with moist, incredibly flavorful, and beautifully caramelized pork deliciousness. One could certainly experiment with the aromatics in the braising liquid to introduce other flavors, but honestly, it’s absolutely superb just as it is, and certainly doesn’t require any tweaking.”
Helen Doberstein
SLOW COOKER: “Initially, I didn’t hold out much hope when I first saw the results in the slow cooker after getting home from work. The pork looked rather bland, nondescript, and not particularly appealing. But then, the magic happened! I removed the meat, shredded it onto a pan, and placed it in the convection oven for about 15 minutes, stirring once. Holy smokes! What an incredible transformation! When I pulled the pork out, the texture had completely changed, becoming both tender and wonderfully crisp at the same time. The pork was gently spiced and utterly delicious. I did find there was too much liquid in the pot initially, but this undeniably kept the meat incredibly moist and tender. I left it on low for 8 hours while I was at work. I used a 4-pound pork shoulder roast, cubed, and kept all other ingredients true to the recipe, with the exception of the lard. The roast itself was fatty enough that I felt the added lard wasn’t necessary, and I was right, as I skimmed a good amount of fat from the pot (but no scum, thankfully!).”
INSTANT POT: “I also tried this recipe in the Instant Pot, and I truly appreciate easy recipes like this that offer minimal hands-on time yet yield big, flavorful results. My pork shoulder was closer to 4 1/2 pounds. It took me about 10 minutes to sear the meat in three batches, then juice the orange, layer everything into the pot, set it, and simply let the magic unfold. After the pressure cooking, when the meat was removed and placed onto the tray to crisp, it was already incredibly tender. Following its time in the oven, it was absolutely fabulous! The meat was flavorful, perfectly tender, and delightfully crisp. I was genuinely surprised to still discern the taste of orange after all the cooking, which was a lovely touch. We served this with warm tortillas, sliced avocados, shredded lettuce, and chopped onion and tomato. Everyone enjoyed it so much that there was very little left over. When recipes are this easy to execute and the results are so bursting with flavor, I would happily make this again and again. We easily got 10 generous servings from the recipe.”
Tricia Seibold
“This recipe was absolutely fantastic! There aren’t a ton of ingredients in this dish, and having never made carnitas before, I was genuinely surprised by just how simple the ingredient list was (I kept wondering, ‘where are all the spices?’). It does take some time for everything to come together, but mostly it just needs to be patiently ‘babysat’ – it’s a remarkably simple dish to make. I started it simmering and then used the hands-off time to prepare some homemade Spanish rice and fresh salsa. It didn’t look like much in the beginning – in fact, I had some doubts, looking at the meat and veggies swimming around in what seemed like unappetizing milky water. But the end is truly where the magic happens! When I finally pulled the finished product out of the oven and saw these beautifully browned pieces of incredibly tender pork, I could hardly wait to start eating it. It was, without a doubt, a huge hit with everyone!”
Lori Widmeyer
SLOW COOKER: “I made these last night using a slightly different technique with my slow cooker, and the results were exceptional. First, I reduced the water from 3 cups to 2 cups, which helped to concentrate the flavors. Then, I cooked the meat on high for 3 hours. Knowing that the meat would be thoroughly cooked through at this point (and thus not risking undercooking the pork), I removed the lid and continued to cook it on high for an additional three hours until almost all the liquid had been absorbed. This allowed for some reduction and slight thickening. Afterward, I transferred the meat to a large cast-iron skillet and browned it until perfectly crispy. We tasted the meat both before and after browning, and I can confirm it was absolutely amazing both ways, though the crisping step truly elevates it!”
Sofia Reino
“I honestly cannot imagine an easier recipe to make on a weeknight, and the flavor and tenderness were an absolute WOW! The meat came out incredibly juicy and fork-tender, with that perfect slight crispness on the edges. Everyone in our household immediately asked me to make this again – and soon! I served it simply with fresh tomatillo salsa, fluffy white rice, and black beans. The vibrant, cold, and tart salsa was a fantastic addition to the rich meat, creating a truly exquisite blend of tastes that complemented each other beautifully.”
Lynne Brenner
“This recipe absolutely delivered on its promise of tender, crisp pork carnitas. The ingredients were all readily available, and the preparation itself was wonderfully simple, especially since the pork could be conveniently browned by simply sliding the original pot directly into the oven. The pork boasted a fine flavor when tasted fresh out of the oven. However, it was truly ten times better the following day when all the flavors had an opportunity to meld and mellow, creating a deeper, more harmonious taste experience. (For my personal preference, the oregano was a tad too dominant right after cooking, but this resolved beautifully overnight.)”
Melissa Maedgen
SLOW COOKER: “I successfully adapted this recipe for the slow cooker, which, as expected, required some modifications but produced truly excellent results. The significant difference between slow cooker and stovetop cooking, and often the pitfall of the former, is that far less liquid evaporates in the slow cooker, meaning flavors aren’t always as concentrated. With this in mind, I completely omitted ALL the added water from the recipe. I simply mixed the pork shoulder and all the other ingredients, squeezing the other half of the orange directly over everything. Then, I let it cook on low for 7 hours. During this time, the pot miraculously went from having no initial liquid to the pork being almost entirely covered with its own rendered fat and flavorful juices. After the 7 hours of low and slow cooking, I carefully moved the insert of the slow cooker to an oven preheated to 450°F. I let this go for almost an hour, stirring just once to turn everything over and prevent any over-browning. By this point, all the liquid had evaporated, and the pork had beautifully browned in its own fat. The carnitas were falling-apart tender and incredibly flavorful! It’s absolutely wonderful on tacos or simply served with rice. A fresh tomatillo salsa is truly the ideal embellishment for this dish.”
Dawn English
“What a fantastic dish! This is precisely one of those recipes that I knew I had to make immediately upon seeing it. Cinco de Mayo presented the perfect occasion to try it out. I followed the recipe exactly as written, with one minor substitution: instead of sweetened condensed milk, I used two tablespoons of whole milk heated with one tablespoon of sugar, which worked beautifully. I also opted for coconut oil and a Cara Cara orange, both of which blended into the pork wonderfully. I was able to easily discard the orange peel, even though it broke into several large pieces after cooking. It took approximately 1 1/2 hours for the liquid to completely boil down, and the oven browning method worked perfectly, creating that ideal crispiness. I will absolutely be making this again. The green tomatillo and avocado blended salsa recipe, also found on this site, is an absolutely fantastic accompaniment to these carnitas!”
Olivia G.
INSTANT POT: “Every time I’ve used my Instant Pot, I’ve been thoroughly impressed with its performance, and this carnitas recipe was no different. It does require some moving around the kitchen – from the stovetop to the Instant Pot, and then back into the oven to finish – so I’d recommend it for an evening when you have a bit more time to spend in the kitchen (and tackle the dishes!). The pork turned out incredibly flavorful, moist, and just melt-in-your-mouth delicious. I honestly couldn’t decide if I loved the crunchy outer bits or the rich, fatty ends more; either way, together they created a decadent and irresistible combination. I used a cast-iron skillet on medium-high heat to sear the pork, working in two batches. Each batch took about 12 minutes, with me flipping the pieces once or twice to ensure even browning. I needed one large navel orange to yield the required 1/2 cup of juice. It took about 10 minutes for the Instant Pot to reach high pressure. The pork emerged from the steam stage incredibly tender, yet still held together somewhat, which was perfect. I allowed the pork to stay in the oven for 15 minutes, and it developed an absolutely amazing crunchy outer layer. I then used two forks to easily break the pork chunks into shreds, perfect for tacos. I got four good-sized entrée servings from the recipe. I served the carnitas on tacos with a cilantro-lime sour cream, various veggies, and a sprinkle of cheese. I don’t think the leftovers I gifted my boyfriend will survive the next 24 hours – that’s how good they were!”