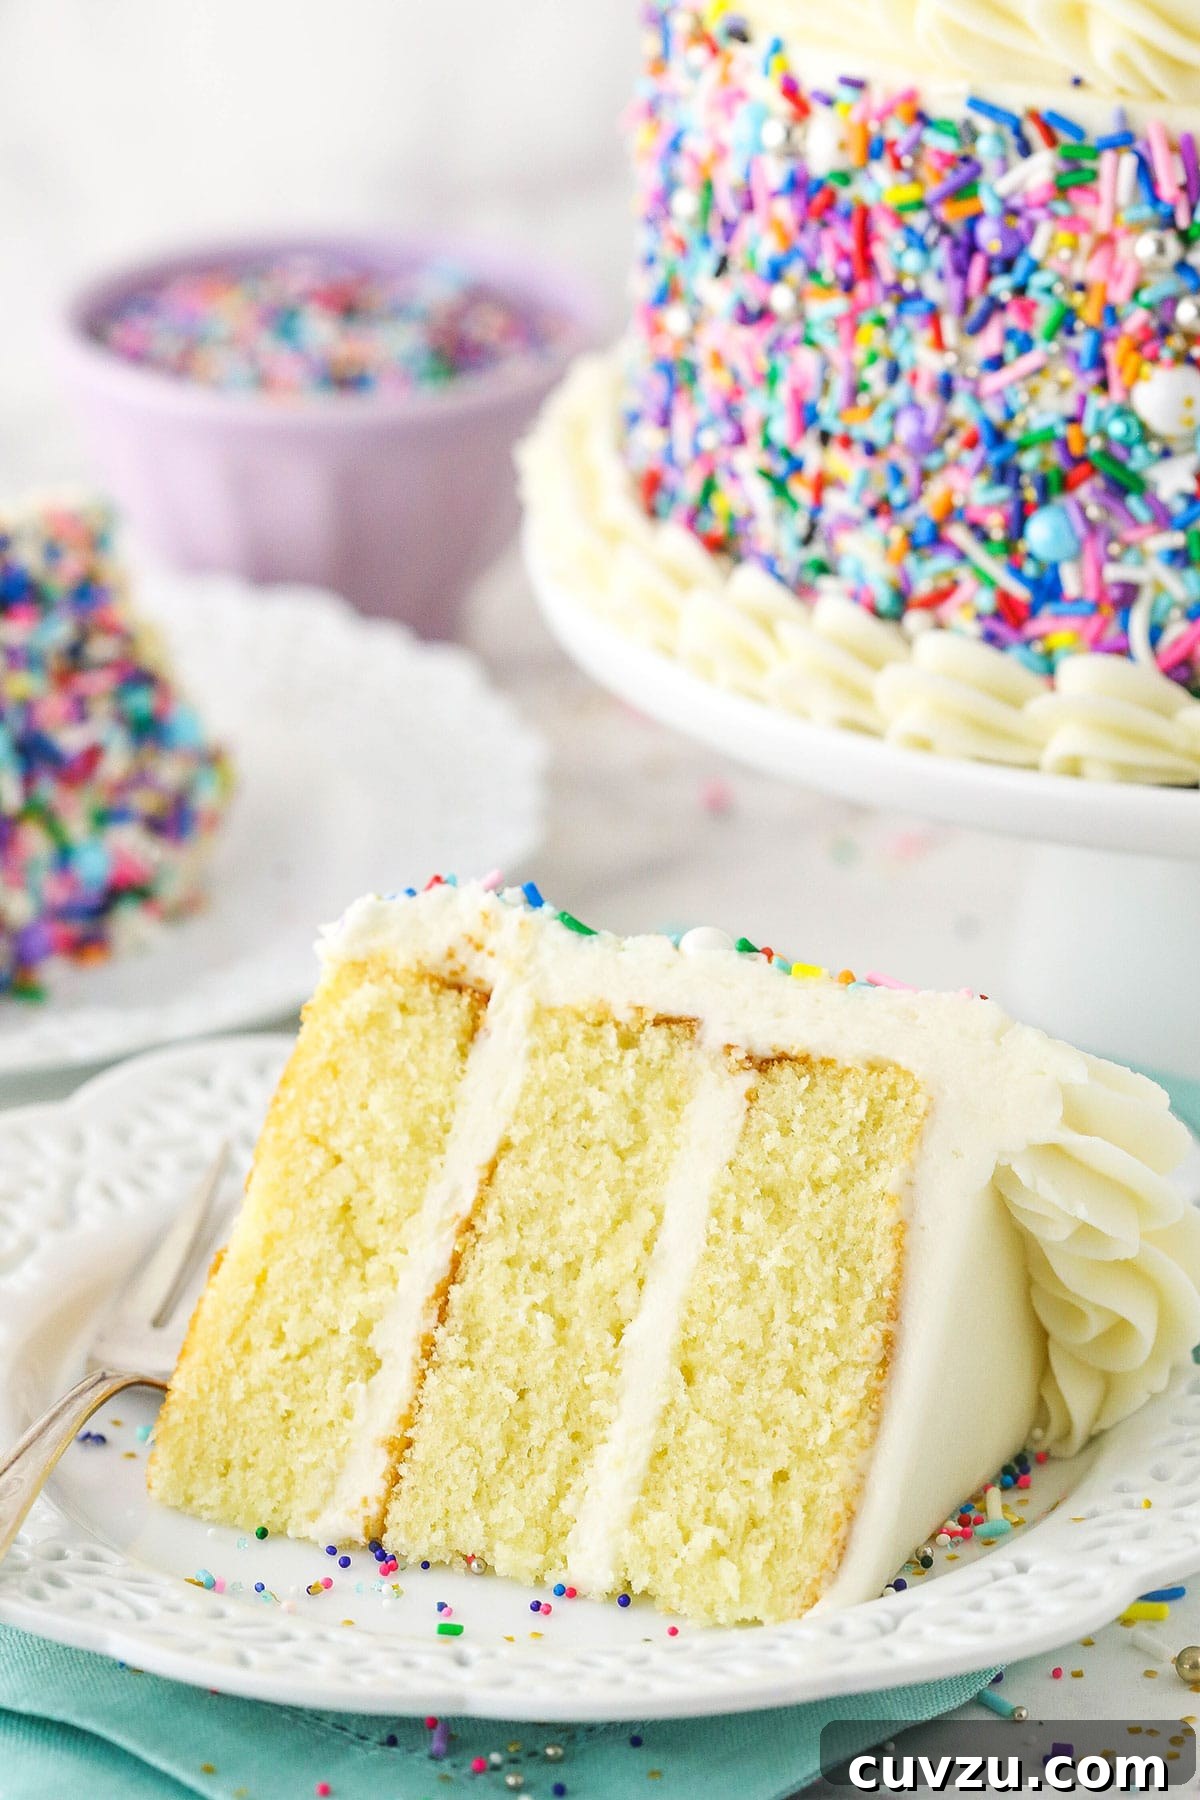
Welcome to the delightful world of small-batch baking! This comprehensive guide will show you how to create the most exquisite 6-inch vanilla cake, perfect for intimate gatherings, charming smash cakes, or simply satisfying a craving without the overwhelming leftovers of a full-sized dessert. Beyond a fantastic vanilla recipe, you’ll discover invaluable techniques to adapt many of your favorite cake recipes, transforming them into perfectly proportioned 6-inch masterpieces.
The Charm and Versatility of Small Batch Cakes
For years, one of the most frequently asked questions I’ve received centers around scaling down my popular cake recipes to fit smaller 6-inch pans. It’s a testament to the growing popularity of compact celebrations and conscious portion control. These smaller cakes offer an incredible array of benefits, making them a go-to choice for various occasions:
- Intimate Celebrations: Ideal for anniversaries, date nights, or small family birthdays, ensuring everyone gets a slice without excessive leftovers.
- Smash Cakes: The perfect size for a baby’s first birthday photo shoot, creating adorable memories.
- Flavor Exploration: Want to try a new flavor or impress guests with multiple cake options at an event? Small cakes allow you to experiment and offer variety without baking giant quantities of each.
- Less Waste: Avoid the dreaded leftover cake dilemma. A 6-inch cake is often consumed entirely, reducing food waste.
- Easier Handling: Smaller cakes are less intimidating to bake, decorate, and transport.
After extensive testing, I’m thrilled to share the simplest and most effective method for adapting your favorite recipes, ensuring consistently moist and perfectly sized 6-inch cakes every time.
Converting Your Favorite Cake Recipes to 6-Inch Pans
The secret to successfully scaling down your recipes is surprisingly straightforward. Forget complex mathematical equations or guesswork; the most effective approach is to simply reduce your cake batter by half. This simple adjustment provides the ideal amount of batter for three 6-inch cake pans.
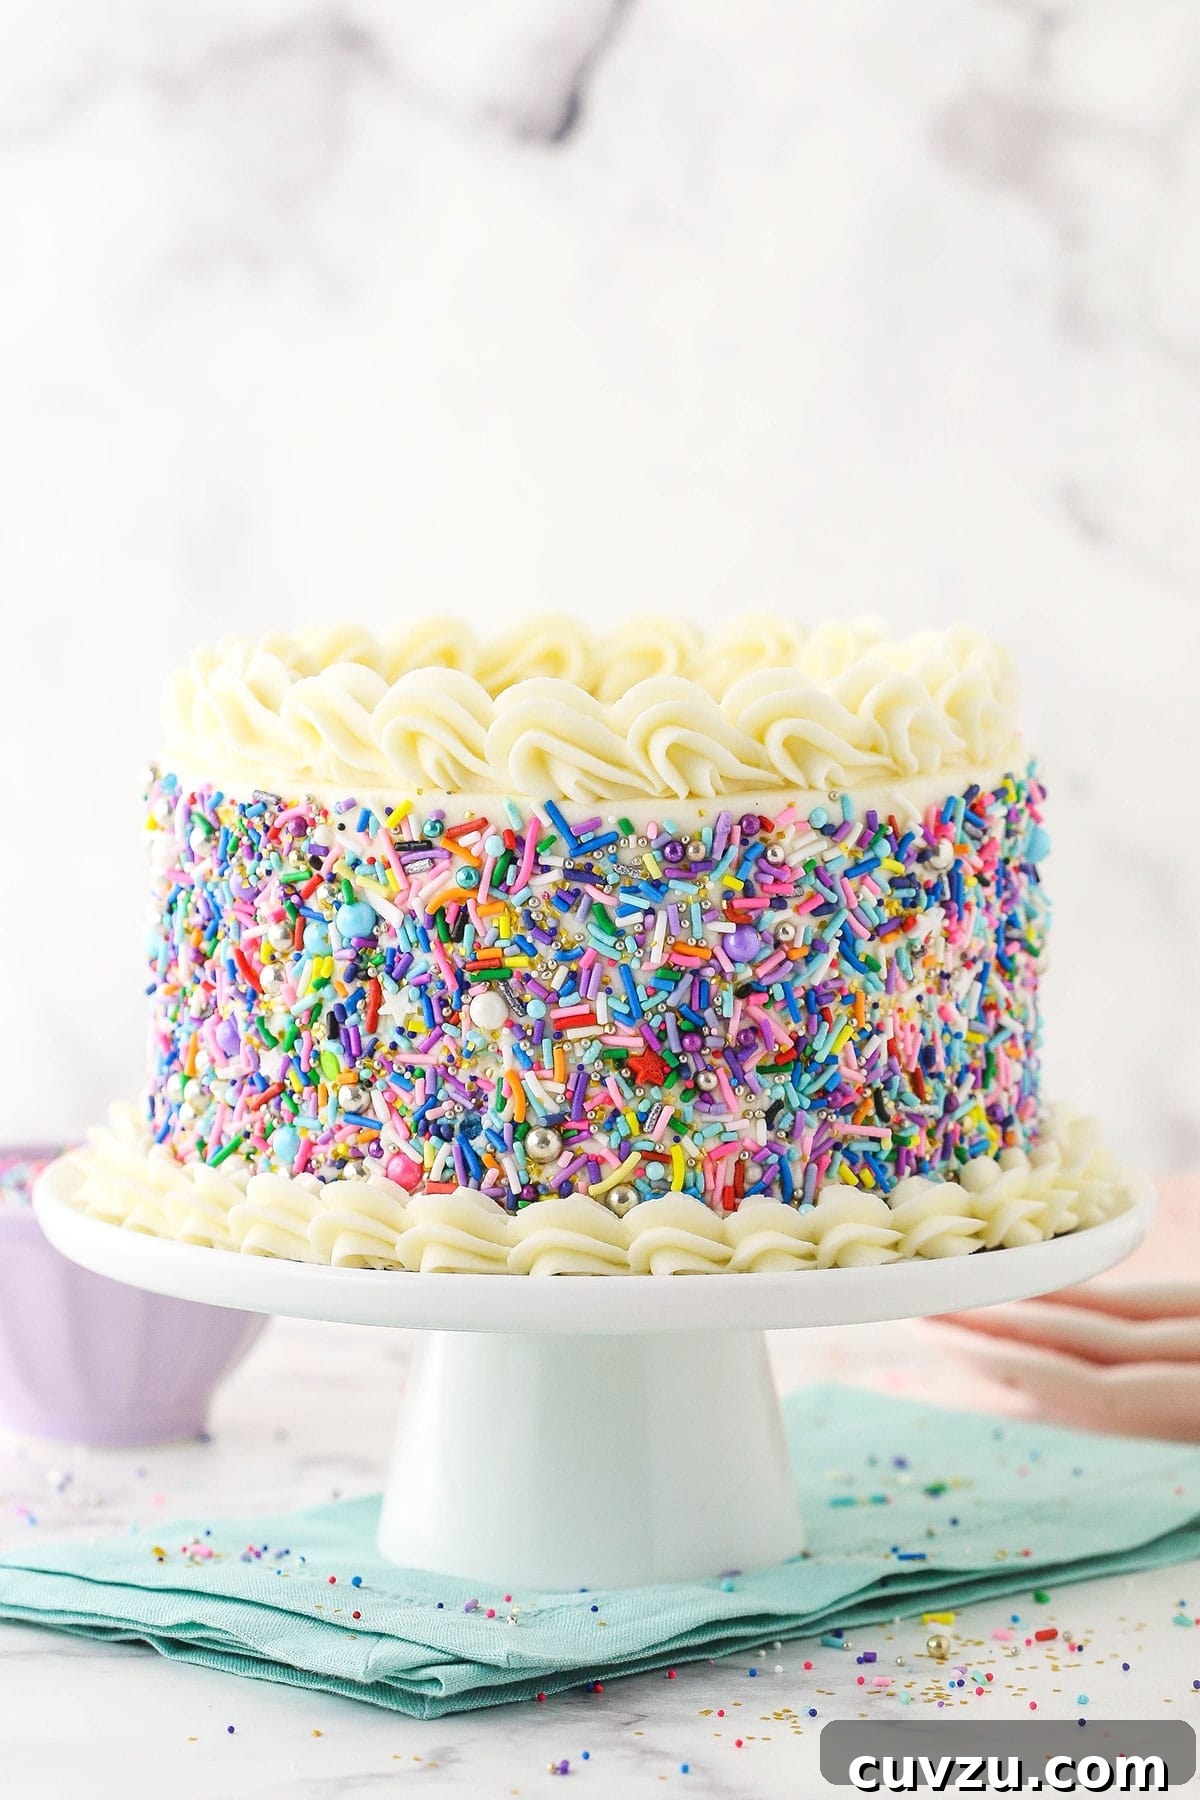
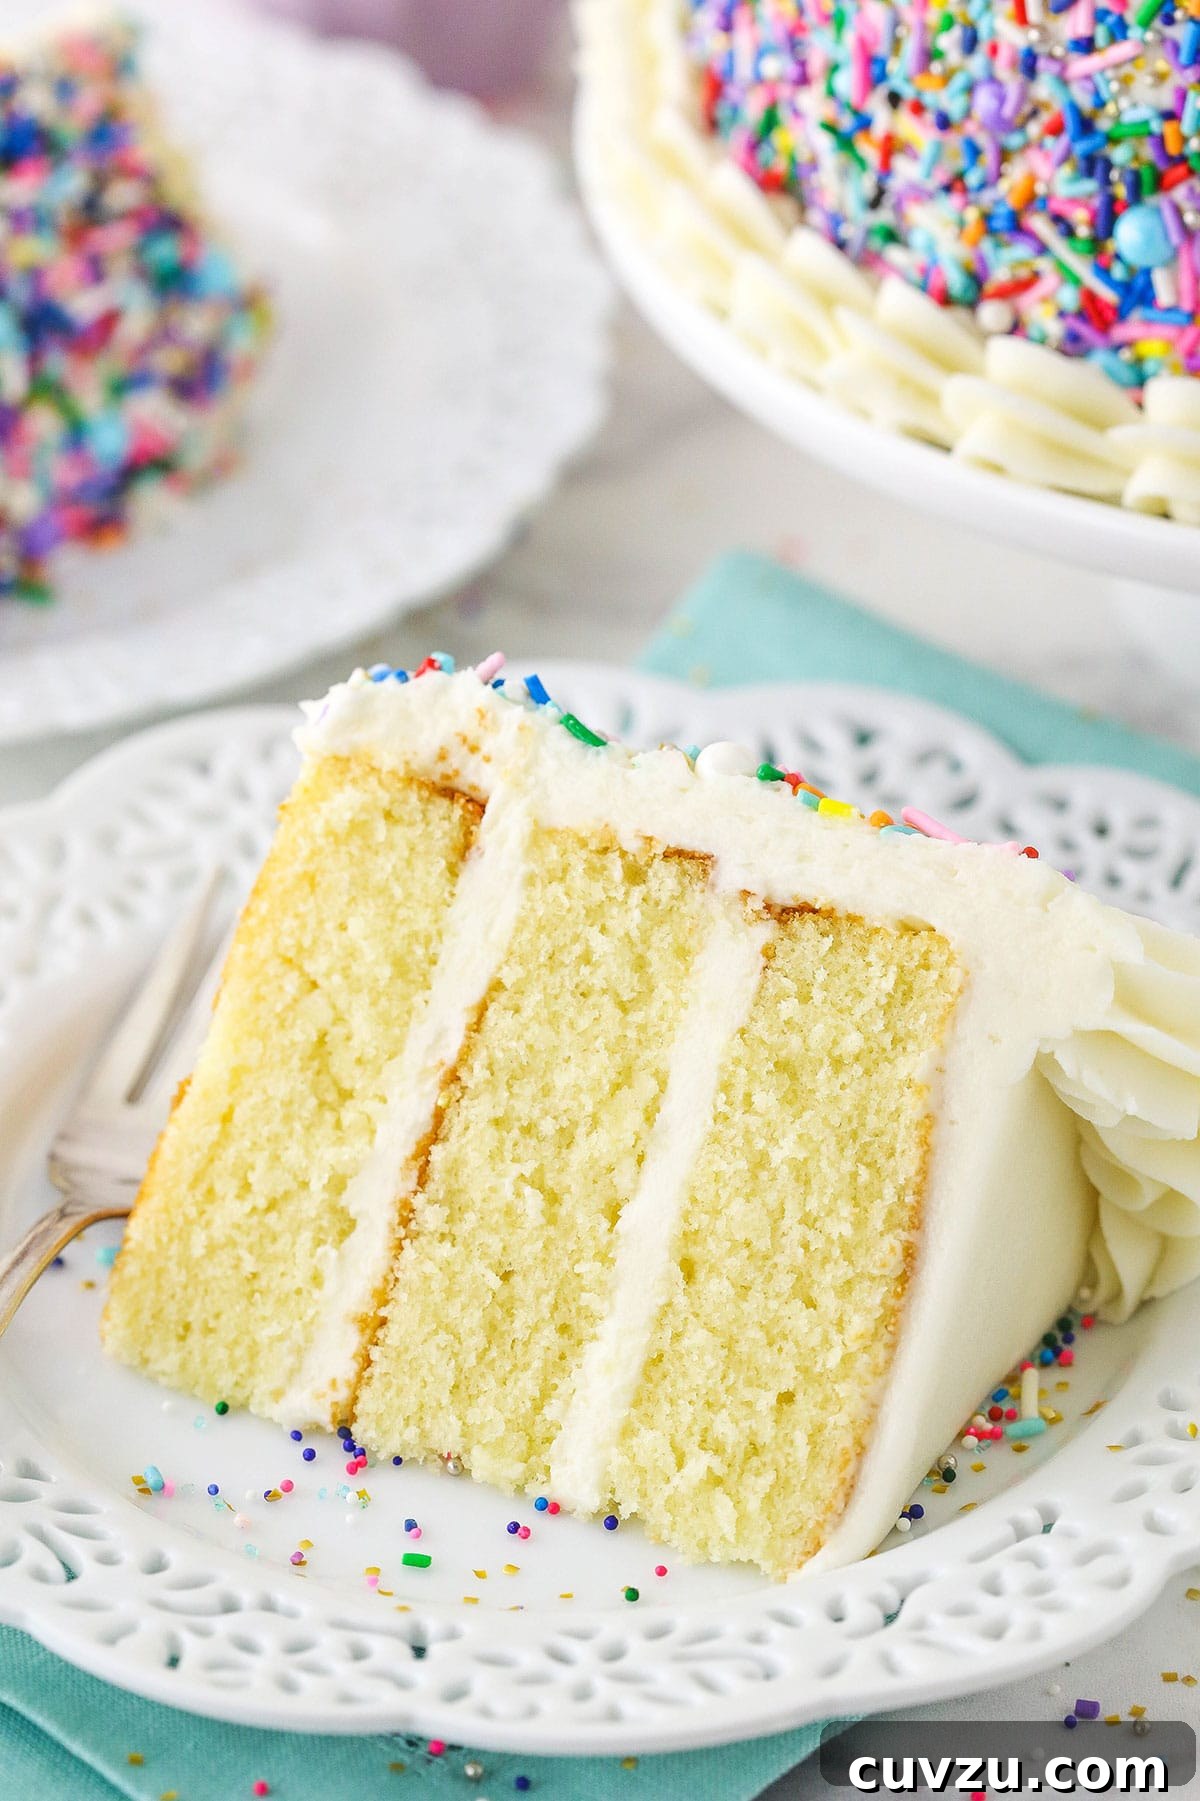
Each cake layer will bake up beautifully to about one inch in height. Once you add your luscious frosting between the layers and cover the entire cake, you’ll achieve a stunning dessert approximately 3.5 to 4 inches tall. This results in an elegant, well-proportioned cake that’s visually appealing and wonderfully satisfying.
What’s even better news? This conversion method means that many cupcake recipes can also be directly used for 6-inch cakes! The majority of my cupcake recipes, for instance, are crafted using half of my full-sized cake recipes, yielding about 12-14 cupcakes. Therefore, any cupcake recipe designed to produce a similar quantity of cupcakes will be perfectly suitable for your 6-inch cake pans. This unlocks a vast new world of small-batch cake possibilities!
Unlocking Endless 6-Inch Cake Options
Armed with the knowledge of simple recipe conversion, a universe of delightful 6-inch cake options awaits your baking endeavors. While we’re focusing on a classic vanilla cake today (which, you’ll note, is precisely half of my Moist Vanilla Layer Cake recipe and identical to my Easy Homemade Vanilla Cupcakes), the possibilities truly are limitless. Consider these beloved classics for your next small-batch creation:
- Rich Chocolate Cake: A decadent choice that always satisfies.
- Scrumptious Strawberry Cake: Or try these Fresh Strawberry Cupcakes in cake form for a burst of fruity flavor.
- Classic Carrot Cake: Spiced and delightful, especially with cream cheese frosting.
- Seasonal Pumpkin Cake: Perfect for autumn celebrations.
- Indulgent Peanut Butter Cake: A treat for peanut butter lovers.
- Tropical Coconut Cake: Light and airy with a hint of the tropics.
- Bright Lemon Cake: Zesty and refreshing.
- Exotic Hummingbird Cake: A delightful blend of banana, pineapple, and pecans.
- Classic Yellow Cake: A timeless favorite, especially with chocolate frosting.
- Elegant Italian Cream Cake: Layers of deliciousness.
- Fresh Strawberry Shortcake Cake: A summer classic transformed.
- Warm Gingerbread Cake: Spiced perfection for cooler months.
- Aromatic Spice Cake: A cozy, comforting flavor.
- Celebratory Champagne Cake: For those special sparkling moments.
When it comes to baking times for these scaled-down recipes, most non-chocolate cakes will typically require about 15-20 minutes in the oven. However, if you’re venturing into chocolate cakes based on my Best Moist Chocolate Cake recipe, anticipate a slightly longer bake time, closer to 20-25 minutes. This particular chocolate cake is known for its slower bake, and this characteristic carries over to its smaller counterpart, ensuring a perfectly moist crumb.
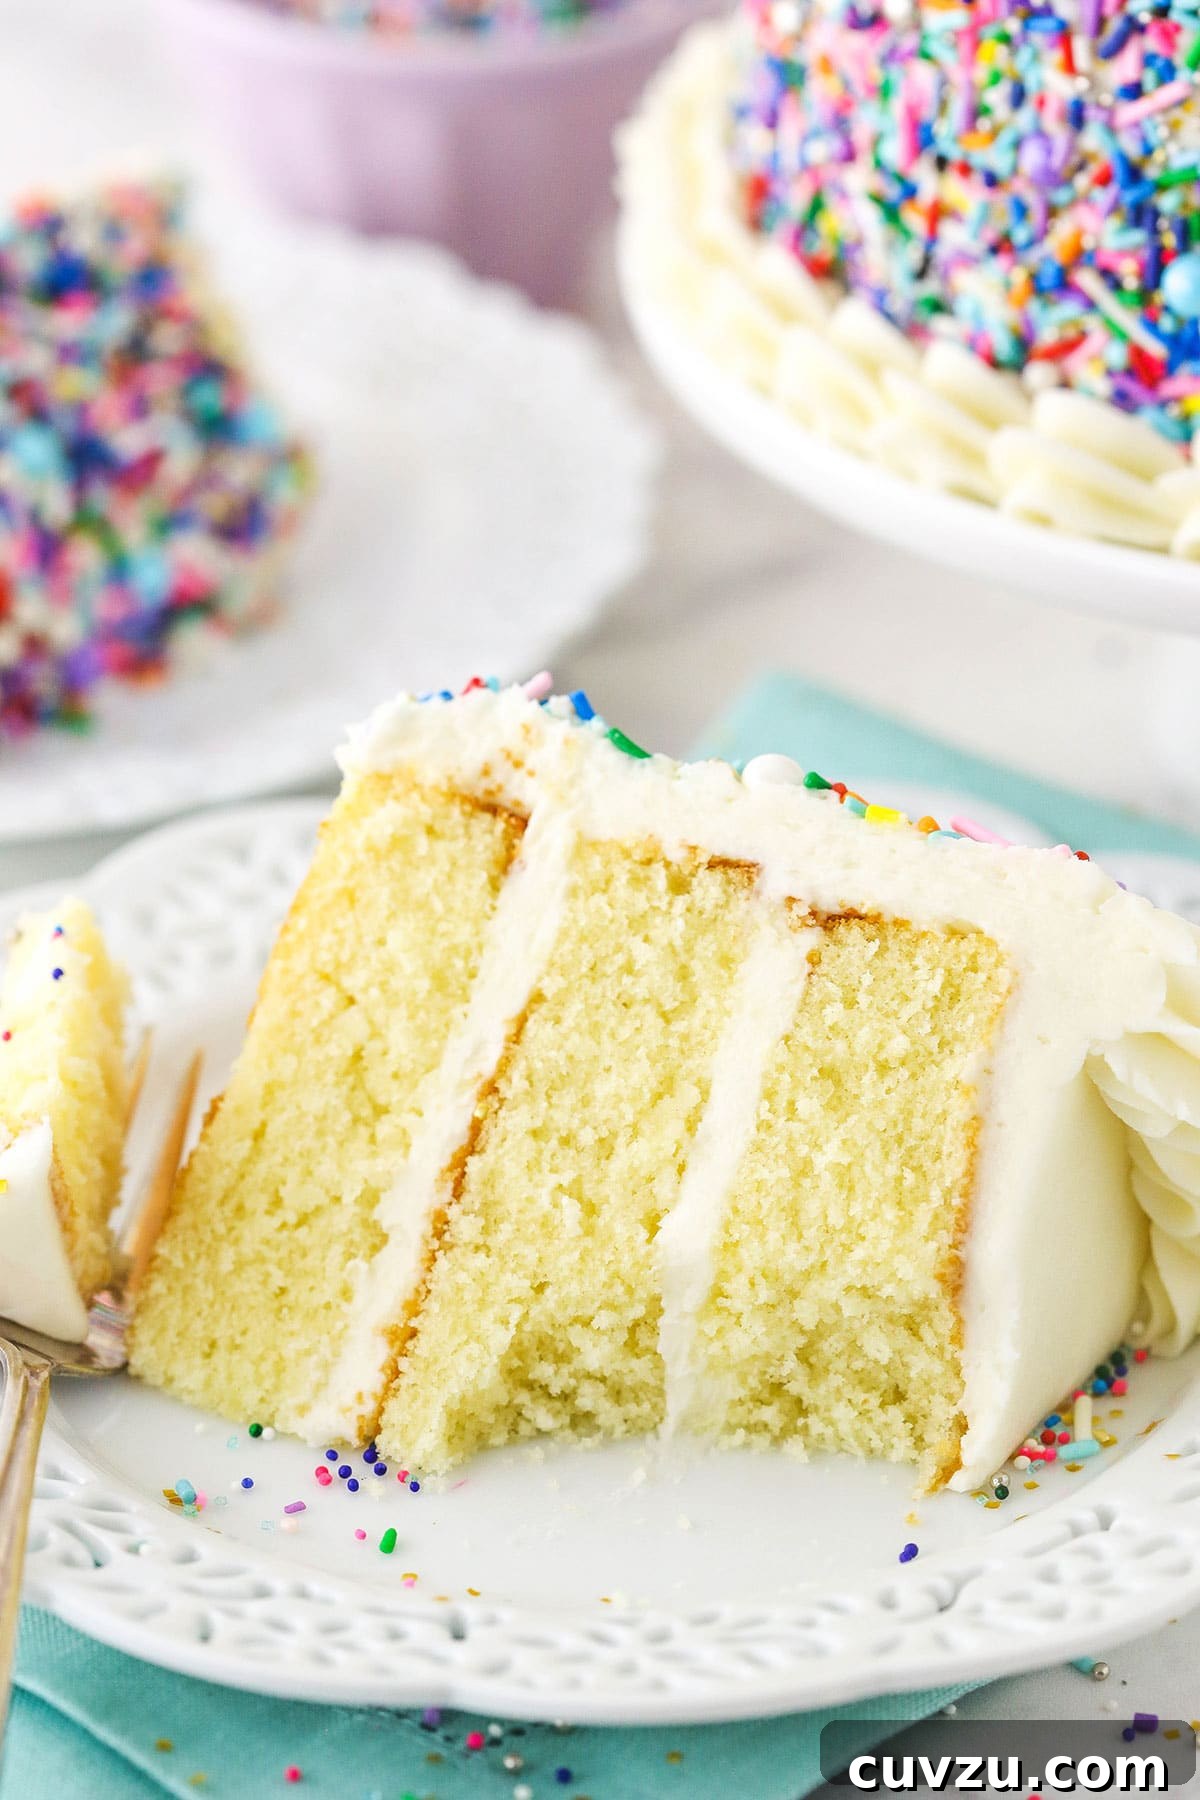
Perfecting Your Buttercream for a 6-Inch Cake
Just as with the cake batter, the principle for buttercream is simple: approximately half the amount used for an 8-inch cake will be ideal for your 6-inch creation. For this particular 6-inch vanilla cake, I find that half of my standard 8-inch buttercream recipe yields the perfect quantity for luscious fillings and a smooth, elegant exterior. Of course, personal preference plays a role here; if you prefer a generous slather of frosting or a more subtle coating, feel free to adjust the quantities to your liking. I personally lean towards a healthy amount of frosting, as it truly complements the moist cake layers.
When making buttercream, remember that using room temperature butter is crucial for a smooth, homogenous frosting. Be patient during the beating process to incorporate air, resulting in a light and fluffy texture. If your frosting seems too thick, a tablespoon or two of milk or cream can thin it out. Conversely, if it’s too thin, a bit more powdered sugar can firm it up. Achieving that perfect consistency is key to a beautiful, easily pipeable, and spreadable frosting.
How to Make a Flawless 6-Inch Vanilla Cake: Step-by-Step
The process for baking a 6-inch cake is fundamentally the same as any larger cake, just on a more manageable scale. You’ll be working with reduced quantities of ingredients and smaller cake pans, which often makes the experience even more enjoyable for home bakers. Here’s a detailed breakdown:
- 1. Prepare Your Equipment: Thoroughly grease three 6-inch cake pans and line the bottoms with parchment paper circles. This essential step prevents sticking and ensures your cake layers release easily. Preheat your oven to 350°F (176°C) to ensure it’s at the correct temperature when your batter is ready.
- 2. Combine Dry Ingredients: In a medium bowl, whisk together the all-purpose flour, baking powder, and salt. Set this aside. Whisking ensures these ingredients are evenly distributed, which is vital for proper cake structure.
- 3. Cream Butter and Sugar: In a large mixer bowl, combine the softened unsalted butter, granulated sugar, vegetable oil, and vanilla extract. Beat these ingredients together on medium-high speed for 3-4 minutes until the mixture is visibly light in color and delightfully fluffy. Do not rush this step, as proper creaming incorporates air, which contributes significantly to the cake’s light texture.
- 4. Add Eggs Gradually: Introduce the large eggs one at a time, mixing well after each addition until just mostly combined. Periodically scrape down the sides and bottom of the bowl with a spatula to ensure all ingredients are fully incorporated into the batter, preventing any unmixed pockets.
- 5. Incorporate Dry and Wet Ingredients Alternately: Add half of the dry ingredients to the butter mixture and mix on low speed until just mostly combined. Then, slowly pour in the milk and continue mixing until the batter is well combined. Don’t be alarmed if the batter appears slightly curdled at this stage; this is normal. Finally, add the remaining dry ingredients and mix until the batter is smooth and well combined. Again, remember to scrape down the bowl as needed. Be cautious not to overmix the batter, as this can develop the gluten too much, leading to a tough cake.
- 6. Bake to Perfection: Divide the prepared batter evenly among your three 6-inch cake pans. Bake for approximately 15-20 minutes. To check for doneness, insert a toothpick into the center of a cake layer; it should come out with a few moist crumbs attached, but no wet batter.
- 7. Cool Properly: Once baked, remove the cakes from the oven and allow them to cool in their pans for just 2-3 minutes. This brief cooling period helps the cakes firm up slightly before you attempt to move them. Then, carefully invert them onto wire cooling racks to cool completely. Cooling cakes thoroughly before frosting is crucial to prevent the buttercream from melting.
Crafting Your Vanilla Buttercream
- 1. Cream the Butter: In a large mixing bowl, beat the room temperature unsalted butter on medium-high speed until it’s wonderfully smooth and creamy.
- 2. Gradually Add Sugar: With the mixer on low speed, slowly add half of the powdered sugar, mixing until it’s fully incorporated and smooth.
- 3. Infuse Flavor and Moisture: Add the vanilla extract and 4-5 tablespoons of water or heavy cream. Mix again until the frosting is smooth and the liquid is fully combined.
- 4. Finish with Remaining Sugar: Slowly add the remaining powdered sugar and mix until the buttercream is smooth and uniform.
- 5. Adjust Consistency: If the buttercream appears too thick, add additional water or milk (one teaspoon at a time) until you achieve your desired consistency for spreading and piping. If it’s too thin, a tablespoon or two more powdered sugar can help thicken it.
Assembling Your Elegant 6-Inch Cake
Putting together your cake is an art form, and even with smaller layers, the principles remain the same. If you need a refresher on techniques, I have several helpful guides covering everything from how to level cakes, to how to fill and stack them, and even how to achieve a perfectly smooth buttercream finish. With these smaller 6-inch layers, you might even find the assembly process a little easier!
- 1. Level Your Layers: Use a large serrated knife or a cake leveler to carefully remove any domes from the tops of your cooled cake layers. While these smaller cakes often have minimal doming, ensuring they are perfectly flat creates a stable and professional-looking finished cake.
- 2. First Layer Down: Place your first leveled cake layer on your chosen serving plate or a sturdy cardboard cake round.
- 3. Apply First Frosting Layer: Spread about 1/2 cup of your vanilla buttercream evenly over the top of the first cake layer, reaching almost to the edges.
- 4. Second Layer and Frosting: Gently place the second cake layer on top, aligning it carefully. Apply another half cup of frosting evenly.
- 5. Final Layer and Crumb Coat: Top with the remaining cake layer. Apply a thin layer of buttercream all over the top and sides of the cake. This is your “crumb coat,” which traps any loose crumbs and creates a smooth base for your final frosting. Chill the cake in the refrigerator for 15-20 minutes to set the crumb coat.
- 6. Final Frosting: Once the crumb coat is firm, apply a thicker, even layer of your remaining buttercream to the top and sides of the cake. Refer to my tutorial for frosting a smooth cake for detailed tips.
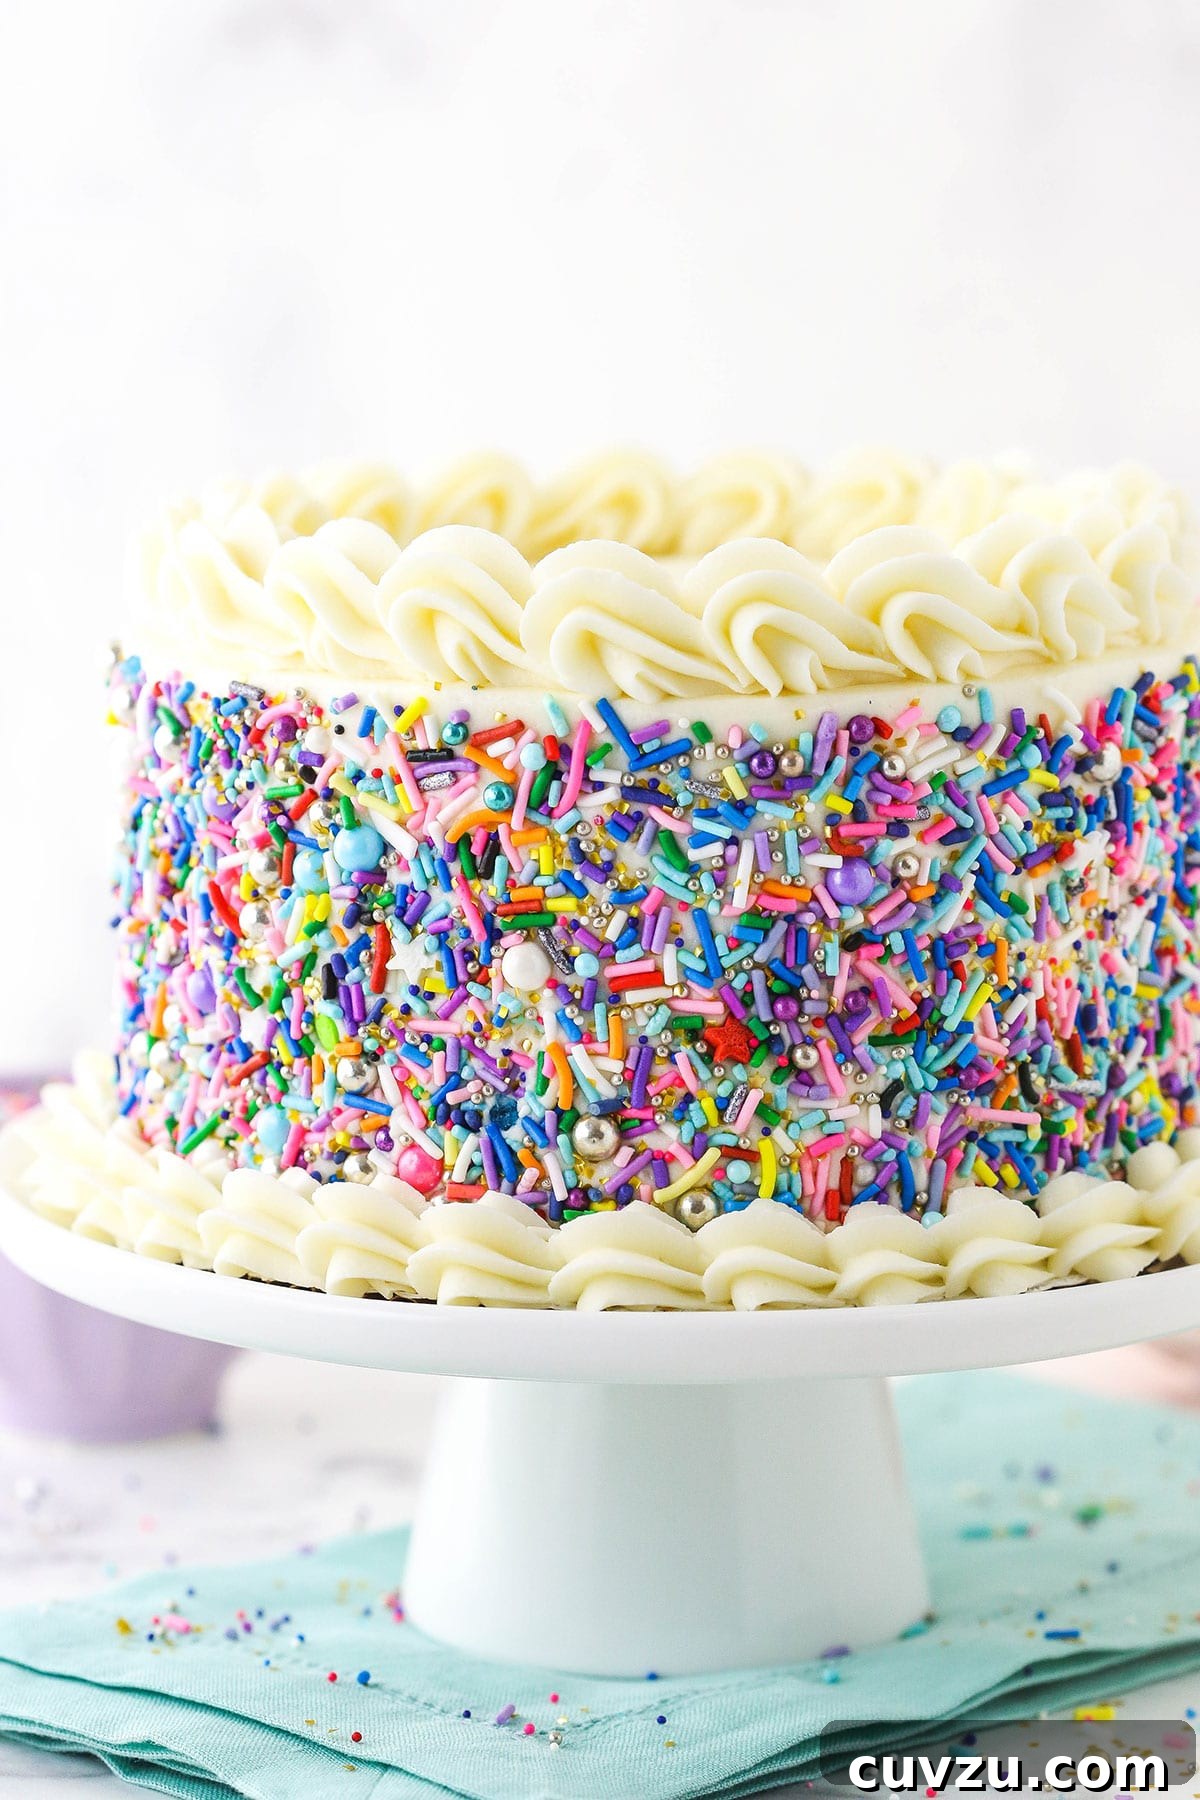
- 7. Decorate (Optional): For a festive touch, gently press sprinkles into the sides of the cake. Using a piping bag fitted with a decorative tip (like Ateco tip 844, as I did), pipe an elegant shell border around both the top and bottom edges of the cake.
- 8. Storage: Store your finished cake in an airtight container at room temperature for up to 2 days, or in the refrigerator for 3-4 days. Allow it to come to room temperature before serving for the best flavor and texture.
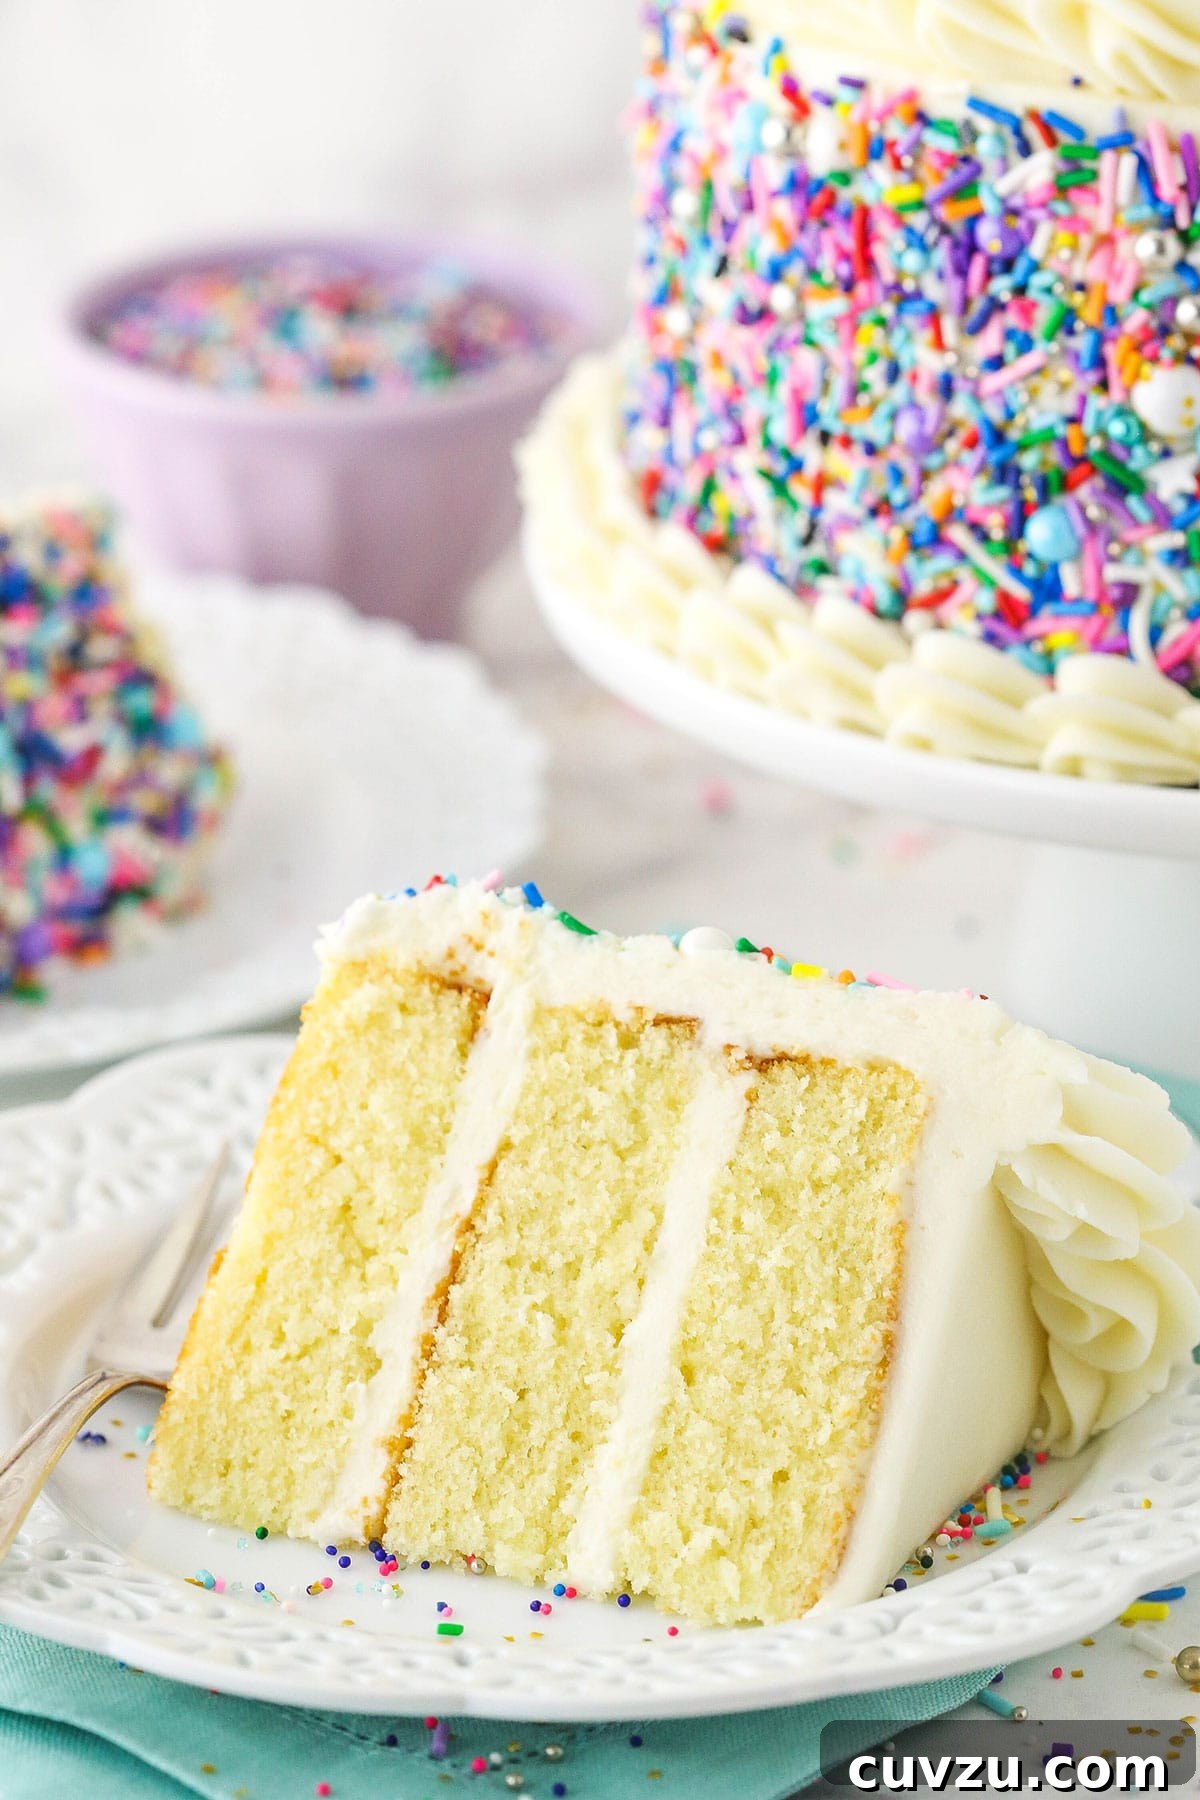
Your Go-To Easy 6-Inch Vanilla Cake
If you appreciate the convenience, charm, and perfect portions of small 6-inch cakes, then this vanilla cake recipe is destined to become a firm favorite in your baking repertoire. As we’ve explored, the beauty lies in its simplicity – with the easy rule of halving a standard recipe (or utilizing one of my readily available cupcake recipes), an entire world of cake flavors becomes accessible in a mini format.
This method not only simplifies the baking process but also opens up opportunities for creativity, allowing you to experiment with different flavor combinations and decorations without the commitment of a large cake. So, gather your ingredients, choose your favorite flavors, and embark on a delightful baking journey. Try this versatile 6-inch vanilla cake, or convert another beloved recipe, and let me know what incredible creations you whip up!
6-Inch Vanilla Cake
★★★★★
4.6 from 9 reviews
- Author: Lindsay
- Prep Time: 1 hour
- Cook Time: 15 minutes
- Total Time: 1 hour 15 minutes
- Yield: 6–8 servings
- Category: Dessert
- Method: Oven
- Cuisine: American
Description
This delightful 6-inch vanilla cake is perfectly sized for smaller gatherings, charming smash cakes, and so much more! Learn to bake a moist, delicious vanilla cake and master the art of adapting your favorite cake recipes for 6-inch pans.
Ingredients
Vanilla Cake Layers
- 1 1/4 cups (163g) all-purpose flour
- 1 1/4 tsp baking powder
- 1/4 tsp salt
- 6 tbsp (84g) unsalted butter, room temperature
- 3/4 cup (155g) sugar
- 2 tbsp (30ml) vegetable oil
- 1 1/2 tsp vanilla extract
- 2 large eggs
- 1/2 cup plus 2 tbsp (150ml) milk
Vanilla Buttercream
- 1 1/2 cups (336g) unsalted butter, room temperature
- 6 cups (690g) powdered sugar
- 2 tsp vanilla extract
- 4–6 tbsp (60-90ml) water or heavy cream
- Salt, to taste
- Sprinkles, optional
Instructions
For the Cake:
- Prepare three 6-inch cake pans with parchment paper circles in the bottom and grease the sides. Preheat oven to 350°F (176°C).
- Combine the flour, baking powder, and salt in a medium-sized bowl and set aside.
- Add the butter, sugar, oil, and vanilla extract to a large mixer bowl and beat together until light in color and fluffy, about 3-4 minutes. Do not skimp on the creaming time.
- Add the eggs one at a time, mixing until mostly combined after each. Scrape down the sides of the bowl as needed to be sure all ingredients are well incorporated.
- Add half of the dry ingredients to the batter and mix until mostly combined.
- Slowly add the milk and mix until well combined. The batter may look a touch curdled, but that’s okay.
- Add the remaining dry ingredients and mix until well combined and smooth. Scrape down the sides of the bowl as needed to be sure all ingredients are well incorporated. Do not overmix the batter.
- Divide the batter evenly between the cake pans and bake for 15-18 minutes, or until a toothpick comes out with a few crumbs.
- Remove the cakes from the oven and allow to cool for about 2-3 minutes, then remove to cooling racks to cool completely.
For the Frosting:
- To make the frosting, beat the butter until smooth.
- Slowly add half of the powdered sugar and mix until smooth.
- Add the vanilla extract, 4 tablespoons of water or cream, and salt, then mix until smooth.
- Slowly add the remaining powdered sugar and mix until smooth. Add additional water or milk, as needed to get the right consistency of frosting.
To Assemble the Cake:
- To put the cake together, use a large serrated knife to remove the domes from the top of the cakes so that they’re flat. These cakes don’t always have a large dome, but ensuring they’re completely flat is best for stacking.
- Place the first cake on a serving plate or a cardboard cake round.
- Spread about 1/2 a cup of frosting evenly on top of the cake.
- Add the second layer of cake and another half cup of frosting.
- Top the cake with the remaining layer and apply a crumb coat (a thin layer) of frosting to the outside of the cake. Chill briefly, then apply your final layer of frosting. Refer to a smooth frosting tutorial if needed.
- Press sprinkles into the sides of the cake for decoration. Pipe a shell border around the top edge and bottom of the cake. (I used Ateco tip 844 for reference.)
- Store in an air-tight container. The cake is best eaten within 3-4 days.
Nutrition
- Serving Size: 1 slice
- Calories: 947
- Sugar: 108 g
- Sodium: 107.7 mg
- Fat: 49.3 g
- Carbohydrates: 125.4 g
- Protein: 4.7 g
- Cholesterol: 165.5 mg