The Ultimate Foolproof Basic Pan Gravy Recipe: Your Guide to Rich, Silky Gravy
Elevate your holiday feasts and everyday meals with this incredibly simple, yet profoundly delicious, basic pan gravy. This foolproof recipe demystifies gravy making, teaching you how to craft a rich, velvety sauce from just three essential ingredients: savory pan drippings, a touch of flour, and your choice of nourishing stock. A truly indispensable skill, perfect for Thanksgiving, Christmas, Easter, and any cherished Sunday supper.
Quick-Answer Box: Your Essential Gravy Guide
- What it is: A simple, essential, and utterly foolproof gravy crafted from the savory pan drippings of your roasted meats, a minimal amount of flour, and your preferred homemade or high-quality store-bought stock. The result is an incredibly rich, smooth, and velvety sauce that complements any meal.
- Why you’ll love it: This is the quintessential gravy recipe for all festive occasions, from Thanksgiving to Christmas, and even adds a gourmet touch to everyday dinners. It delivers deep, complex roasted flavors in under 15 minutes, with the guaranteed absence of any dreaded lumps. It’s a testament to the fact that the best things in life are often the simplest.
- How to make it: The process involves a few straightforward steps: first, carefully skim the excess fat from your pan drippings. Next, whisk in flour to create a flavorful roux, which forms the base of your gravy. Finally, slowly incorporate warm stock, bring the mixture to a gentle boil to thicken, and season to perfection.
This basic pan gravy recipe is an absolute breeze to create, promising a no-fuss, no-mess, and crucially, no-lumps experience. While many assume great gravy happens by chance, it’s actually the result of understanding a few key principles and following a precise method. Here, we lay out every last detail, ensuring your success in crafting a soul-satisfying gravy every single time.

Why This Recipe Works: The Science of Superior Gravy
Indeed, this gravy is built upon the time-honored trinity of gravy-making: fat, flour, and stock. However, its true genius lies in its ability to harness those glorious, crusty, caramelized brown bits stubbornly clinging to the bottom of your roasting pan. These aren’t just remnants; they are concentrated flavor bombs, born from the **Maillard Reaction**, patiently waiting to be unleashed into your sauce.
The secret to its silky texture and profound depth of flavor is meticulously allowing the flour to cook just long enough to shed its raw, unappetizing taste. Think of it: nobody wants their gravy tasting faintly of library paste! This crucial step ensures a smooth, nutty foundation. The remarkable result is a gravy so silky, so rich, and so utterly delicious, your mother might just suspect it came from a packet. But you, dear cook, will know the truth – it’s pure, homemade magic.
Unlocking Umami: The Maillard Reaction Explained
The Maillard Reaction is a chemical process between amino acids and reducing sugars that gives browned food its distinctive flavor. When you roast meat, the intense heat causes the sugars and proteins on the surface to react, creating hundreds of new flavor compounds and those delectable brown bits (fond) in the pan. This reaction is what transforms simple ingredients into something extraordinary. Our gravy leverages this by deglazing the pan, dissolving these flavor compounds into the sauce, adding unparalleled depth that store-bought gravies can only dream of achieving.
The Art of the Roux: Building a Flavorful Foundation
A roux is a mixture of cooked fat and flour, and it’s the backbone of any good gravy. The key is to cook the flour in the rendered fat from your roast until it takes on a light golden color. This not only eliminates the raw flour taste but also develops a rich, toasted flavor that will be infused into your gravy. Cooking the roux properly is paramount to achieving a smooth, lump-free sauce, as it helps prevent the flour from clumping when the liquid is added. It’s a simple step, but one that makes all the difference.
Mastering Your Gravy: Expert Tips for Success
While this recipe is designed to be foolproof, a few expert tips can elevate your gravy from great to truly unforgettable.
Choosing Your Stock Wisely
The quality of your stock directly impacts the final flavor of your gravy. Whenever possible, use homemade stock that complements your roasted meat – chicken stock for chicken, beef stock for beef, turkey stock for turkey. Homemade stocks are richer, less salty, and free from artificial flavors, providing a superior base for your gravy. If using store-bought, opt for low-sodium varieties to control the seasoning.
The Importance of Warm Stock
Adding warm stock to your roux is a critical step for preventing lumps. Cold stock can cause the cooked flour to seize and clump. By gently warming your stock beforehand, you ensure a smooth, gradual incorporation, leading to a perfectly silky gravy. This minor preparation step saves you a lot of whisking effort later!
Whisking is Key
From the moment you add the flour to the pan drippings until the gravy has thickened, continuous whisking is your best friend. This ensures the flour is evenly incorporated into the fat, prevents scorching, and most importantly, breaks up any potential lumps before they can form. A good balloon whisk is an invaluable tool for this process.
Seasoning to Perfection
Always taste your gravy before serving. Pan drippings and stock can vary in saltiness, so adjust with salt and freshly ground black pepper as needed. A pinch of herbs (like rosemary or thyme), a dash of Worcestershire sauce, or even a splash of sherry can add extra layers of complexity and flavor, transforming a basic gravy into a culinary masterpiece.
Frequently Asked Questions About Gravy
Can I make pan gravy from brined meat?
The short answer is a resounding NO. Seriously, don’t even try. The saltiness infused into the pan drippings from brined meat will overwhelmingly dominate every other flavor in your gravy. It’s like trying to have a nuanced conversation with a narcissist; there’s simply no salvaging the situation, and the resulting gravy will be far too salty to enjoy. It’s best to use unbrined meat for pan drippings destined for gravy.
How can I make my gravy thicker or thinner?
Too thin? Don’t fret! Simply let your gravy simmer gently over low heat, stirring occasionally, until it reduces to your desired consistency. Every minute of simmering further concentrates the flavors, so there’s absolutely no downside here. If you’re pressed for time, you can whisk in a cornstarch slurry (a tablespoon of cornstarch mixed with an equal amount of cold water) and bring it back to a boil for a quick thickening fix.
Too thick? This is the easier fix. Gradually add more warmed stock, a little at a time, while continuously whisking, until it reaches your preferred consistency. Remember this golden rule: you can always thin gravy out, but thickening it takes more time and sometimes requires additional ingredients.
Can I freeze leftover gravy?
Absolutely! Gravy freezes beautifully, making it an excellent candidate for meal prep or saving holiday leftovers. Once completely cool, transfer it to an airtight container or a freezer-safe bag. It can be frozen for up to 3 months without significant loss of quality. When you’re ready to enjoy it again, thaw the gravy overnight in the refrigerator. Reheat it gently on the stovetop over low heat, whisking frequently. It’s crucial not to let it boil rapidly, as this can cause the gravy to “break” and turn grainy. Before serving, give it a good whisk to smooth out any slight separation that might have occurred during thawing and reheating.
How do I fix lumpy gravy?
Lumps can happen, even to the best of us! The easiest fix is to pour the gravy through a fine-mesh strainer into a clean saucepan. Press any lumps with the back of a spoon to extract all the flavorful liquid. For a creamier, smoother result, you can also use an immersion blender directly in the saucepan or carefully transfer the gravy to a regular blender (be cautious with hot liquids and blend in batches, venting the lid). A thorough whisking during reheating can also help smooth out minor lumps.
Can I make a vegetarian or vegan version?
While this specific recipe relies on meat drippings, the principles can be adapted. For a vegetarian version, use vegetable stock and a flavorful fat like butter or olive oil for the roux. You can add umami depth with sautéed mushrooms, nutritional yeast, or a dash of soy sauce. For vegan, use a plant-based oil (like olive or canola) for the roux and a rich vegetable stock. You might also consider adding a spoonful of mushroom powder for an even deeper, savory flavor.
Explore More Silky Gravy Creations
Chicken Gravy
🕒 2 hrs
Classic Turkey Gravy
🕒 20 mins
Cat Head Biscuits and Gravy
🕒 1 hr
Roast Chicken with Onion Gravy
🕒 1 hr 5 mins
Share Your Gravy Success!
If you make this recipe, or any delicious dish from Leite’s Culinaria, we’d love to hear from you! Consider leaving a review, a star rating, and your best photo in the comments below. Your feedback and culinary adventures inspire us all.–David
Leave a Review!
Video Tutorial: How to Make Pan Gravy
Learn how to make turkey gravy from pan drippings from your perfectly roasted Thanksgiving turkey.
Basic Pan Gravy
5 / 4 votes
This basic pan gravy is a foolproof lesson that teaches you how to make any kind of gravy using three ingredients: pan drippings, flour, and stock. A must for Thanksgiving, Christmas, Easter, and Sunday supper.
By David Leite
Ingredients
- Pan drippings, from a roast beef, chicken, turkey, guinea hen, pork loin, or other cut of meat (NOT a brined cut of meat). Approximately 2-3 tablespoons of fat should remain after skimming.
- 3 tablespoons all-purpose flour
- 2 1/2 cups homemade stock, warmed (use a chicken stock for roast chicken, turkey stock for turkey, beef stock for roast beef, and so on)
- Salt and freshly ground black pepper, to taste
Instructions
- After roasting your meat, carefully transfer it to a warmed platter or plate. Cover loosely with foil and set aside to rest. This resting period is crucial for juicy meat and allows the pan drippings to settle.
- Skim the excess fat from the surface of the liquid collected in the roasting pan. Aim to leave approximately 2 to 3 tablespoons of fat mixed with the savory pan drippings. This combination of fat and flavorful bits forms the essential base for your roux.
- Place the roasting pan directly over 1 or 2 burners on your stovetop set to medium heat. If your pan is too large for your burners, you can carefully pour the drippings into a smaller, heavy-bottomed saucepan.
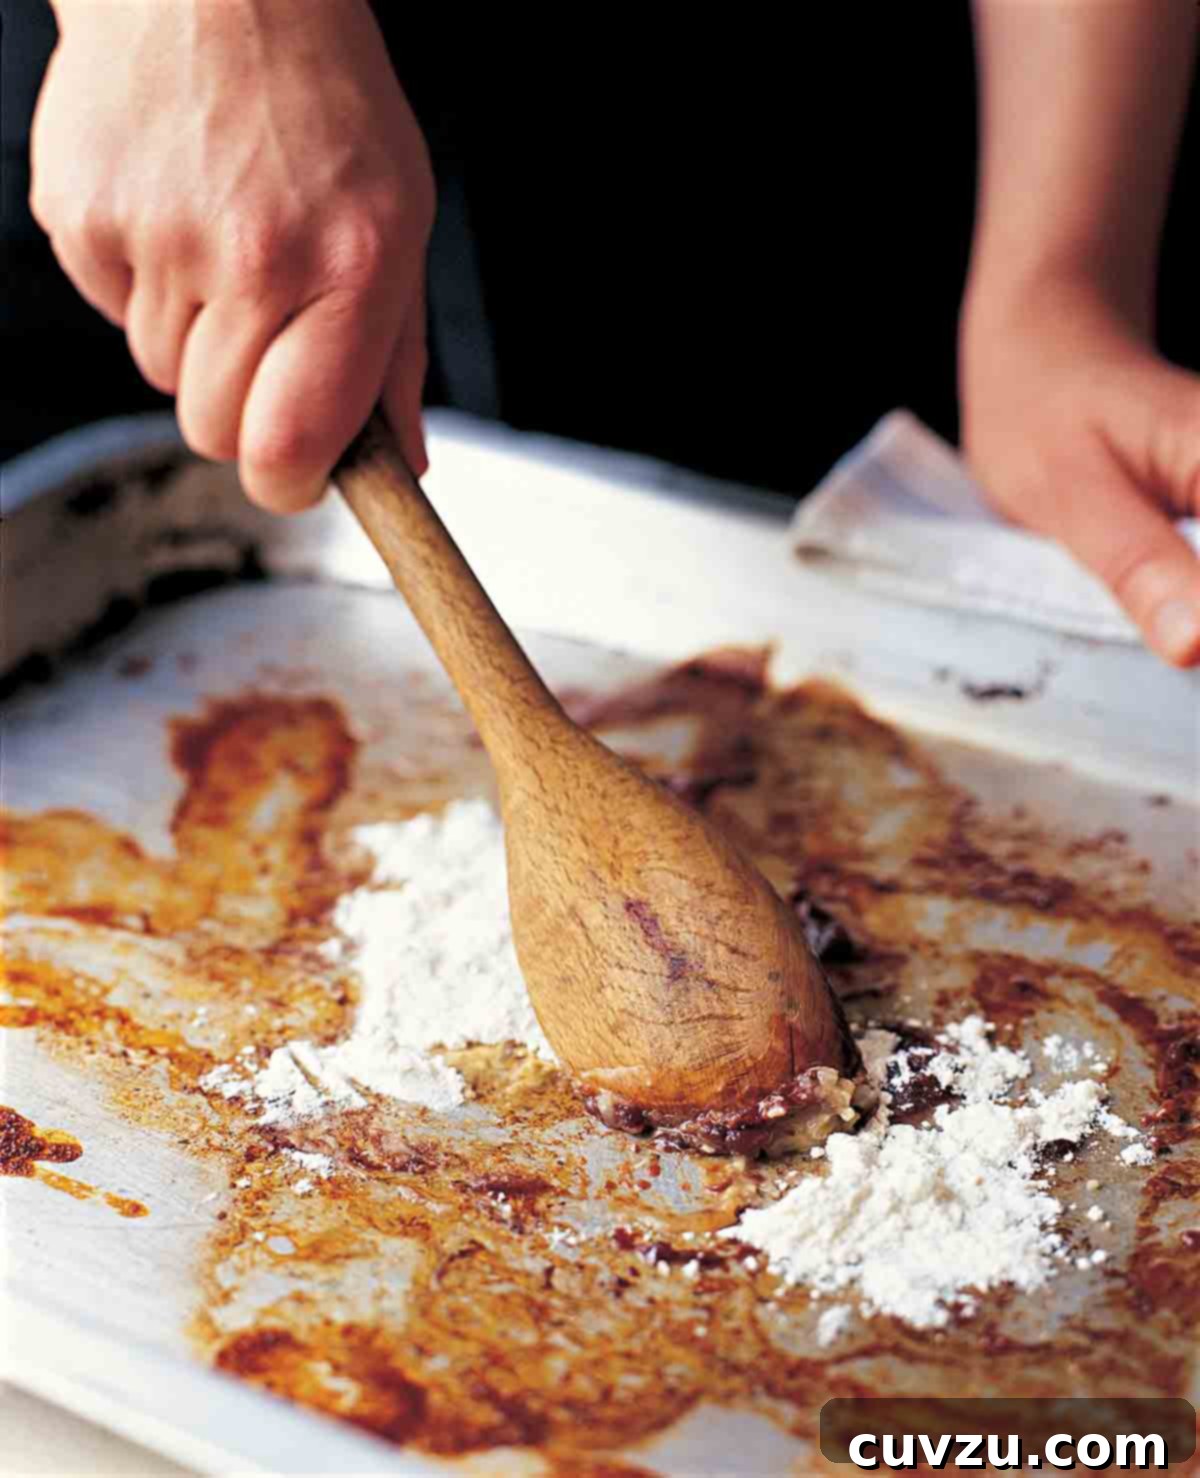
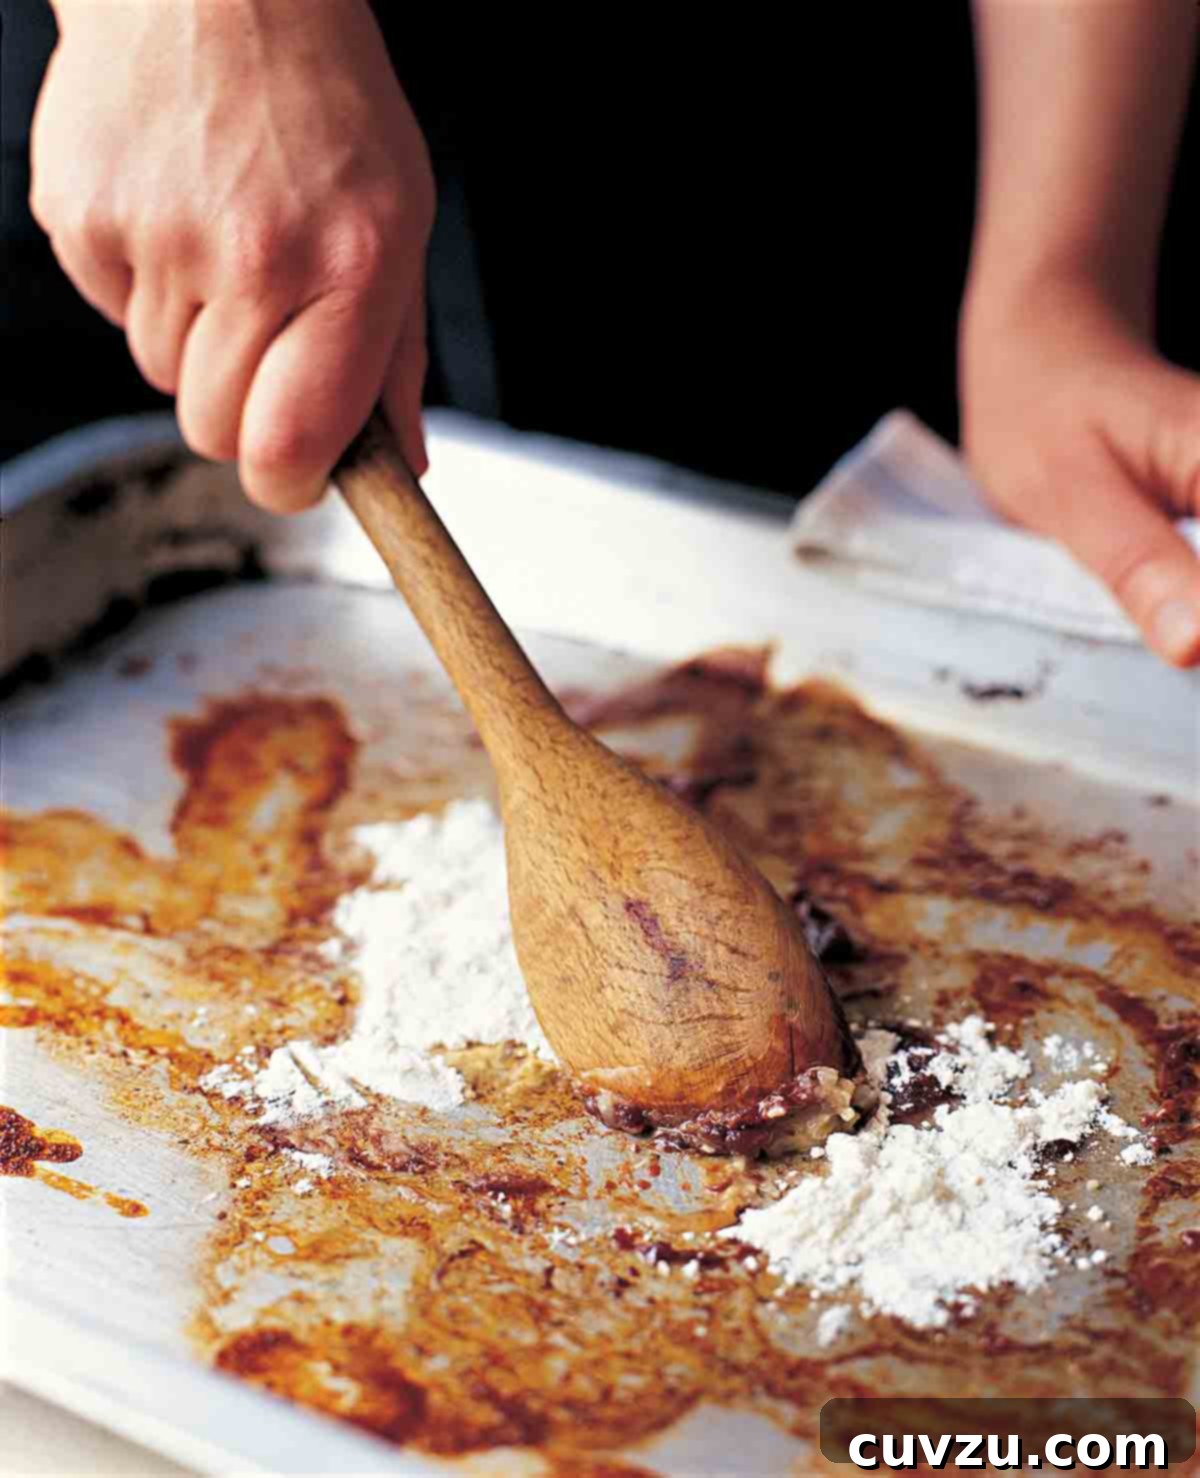
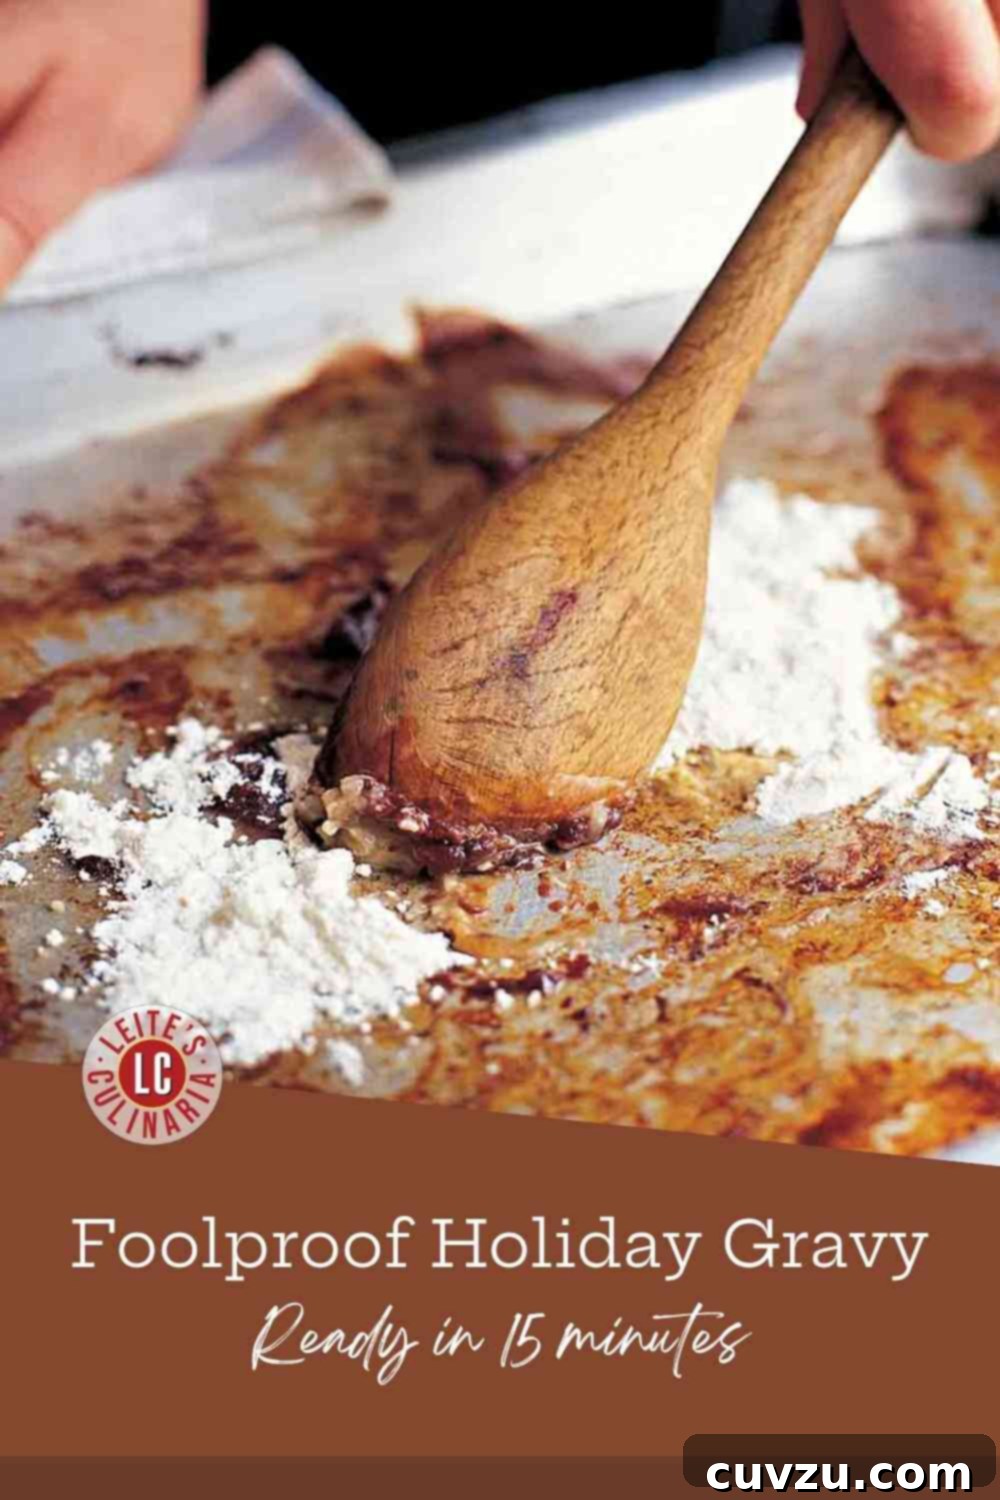
- Using a sturdy wooden spoon or a spatula, vigorously scrape up all the caramelized brown bits (fond) stuck to the bottom of the pan. These are packed with flavor! Once loosened, sprinkle the 3 tablespoons of all-purpose flour evenly over the drippings. Stir constantly to blend the flour thoroughly with the fat and juices, creating a smooth paste. Continue to cook, still stirring constantly, for about 2 minutes, or until the flour mixture turns a light golden color and smells slightly nutty. This step is vital to cook out the raw flour taste.
- Still stirring (yes, constantly!), slowly and gradually whisk the warmed 2 1/2 cups of homemade stock into the roasting pan. Begin by adding a small amount and whisking vigorously until smooth before adding more. This prevents lumps. Bring the mixture to a gentle boil and continue to cook, stirring frequently, until the sauce thickens to a rich, gravylike consistency and has reduced by about one-third. The whisking helps ensure smoothness.
- Season the gravy generously with salt and freshly ground black pepper to taste. If you prefer an ultra-smooth gravy without any small bits, strain it through a fine-mesh strainer into a serving vessel. Serve immediately, allowing its rich flavor to complement your roasted meat and side dishes.
Notes & Variations
Gravy Variations for Every Palate
Herb and Mustard Gravy: For an aromatic twist, simply add a small handful of your favorite fresh herbs, such as finely chopped rosemary, thyme, or sage, to the gravy as it reduces. Just before straining (if desired), whisk in 1 tablespoon of Dijon mustard for a subtle tang and added depth.
Wine Gravy: Elevate your gravy with a sophisticated note by substituting 1/3 cup of red wine, port, or dry white wine for 1/3 cup of the stock. Add the wine gradually, just as you would the stock, and allow it to simmer and reduce slightly before adding the remaining stock. This adds a wonderful complexity.
Beer Gravy: For a hearty, robust gravy that pairs exceptionally well with roast beef or pork, replace 1 1/2 cups of the stock with a 12-ounce bottle of your favorite dark beer (e.g., stout or porter). Add it slowly and allow it to simmer, reducing to a thicker consistency before adding any remaining stock.
Adapted From
The Sauce Book
Buy On Amazon
Explore More with AI Tools
Leverage modern tools to enhance your cooking experience:
- Find Dietary Options: Explore ingredient substitutions for various dietary restrictions (gluten-free, vegetarian, vegan, dairy-free, etc.).
- Discover Ingredient Substitutions: Get creative ideas for common swaps, alternatives for unavailable items, or ways to explore different flavor profiles.
- Scale Your Recipe: Adjust ingredient quantities accurately for different serving sizes, whether you’re cooking for two or a crowd.
- Summarize & Analyze Insights: Get key insights and a concise summary of this recipe and its techniques.
Important Note: While these suggested adjustments are informed by careful research, neither David Leite nor his recipe testers have prepared or tasted the recipe with these specific modifications. David and his team hope this helps, and they look forward to seeing you back on Leite’s Culinaria!
Nutrition Information
Calories: 55 kcal
Carbohydrates: 4 g
Protein: 2 g
Fat: 4 g
Saturated Fat: 1 g
Monounsaturated Fat: 2 g
Cholesterol: 4 mg
Sodium: 94 mg
Fiber: 0.1 g
Sugar: 1 g
Nutrition information is automatically calculated and should only be used as an approximation.
Mention @leitesculinaria or tag #leitesculinaria!
What Our Recipe Testers Say
Annie Leslie
I think this is a great basic pan gravy to keep on hand when you make any roast item that needs a gravy. This would make a super easy Thanksgiving gravy as well as Easter roast gravy or anything else. I didn’t try any of the variations, but I think that each would work great!
Natalie Reebel
This is a great way to make pan gravy for a roast—even if you don’t have enough drippings. The roast I cooked didn’t surrender enough drippings, so I improvised by adding some butter. Sure enough, the roux yielded a fantastic sauce for our roast beef. I used the wine variation, adding 1/2 cup port for a well-rounded gravy, and everyone loved it.
Jo Ann Brown
This pan gravy is foolproof, easy, and has demonstrated that it’s really versatile. My slightly alternative approach was to substitute the braising liquid from a big pile of short ribs for the roast pan drippings. I chose the herb and mustard variation. I added a heaping tablespoon of chopped fresh herbs rather than a small handful of dried herbs. It tasted perfect, and I didn’t have to strain the herbs out.
Jackie Gorman
This is a nice way to end up with pan gravy after making any of a wide variety of roast meats, poultry, or game. It’s pretty straightforward and open to many variations. I tried a beer gravy to use up the rest of the bottle of beer I had opened when making the Wheat Beer Chicken.
I had some beautiful fresh thyme, so I added that to the gravy also. I cooked some vegetables and used the leftover chicken and gravy to make a crustless chicken potpie. There are even leftovers for tomorrow, all after having a nice amount of gravy to begin with.