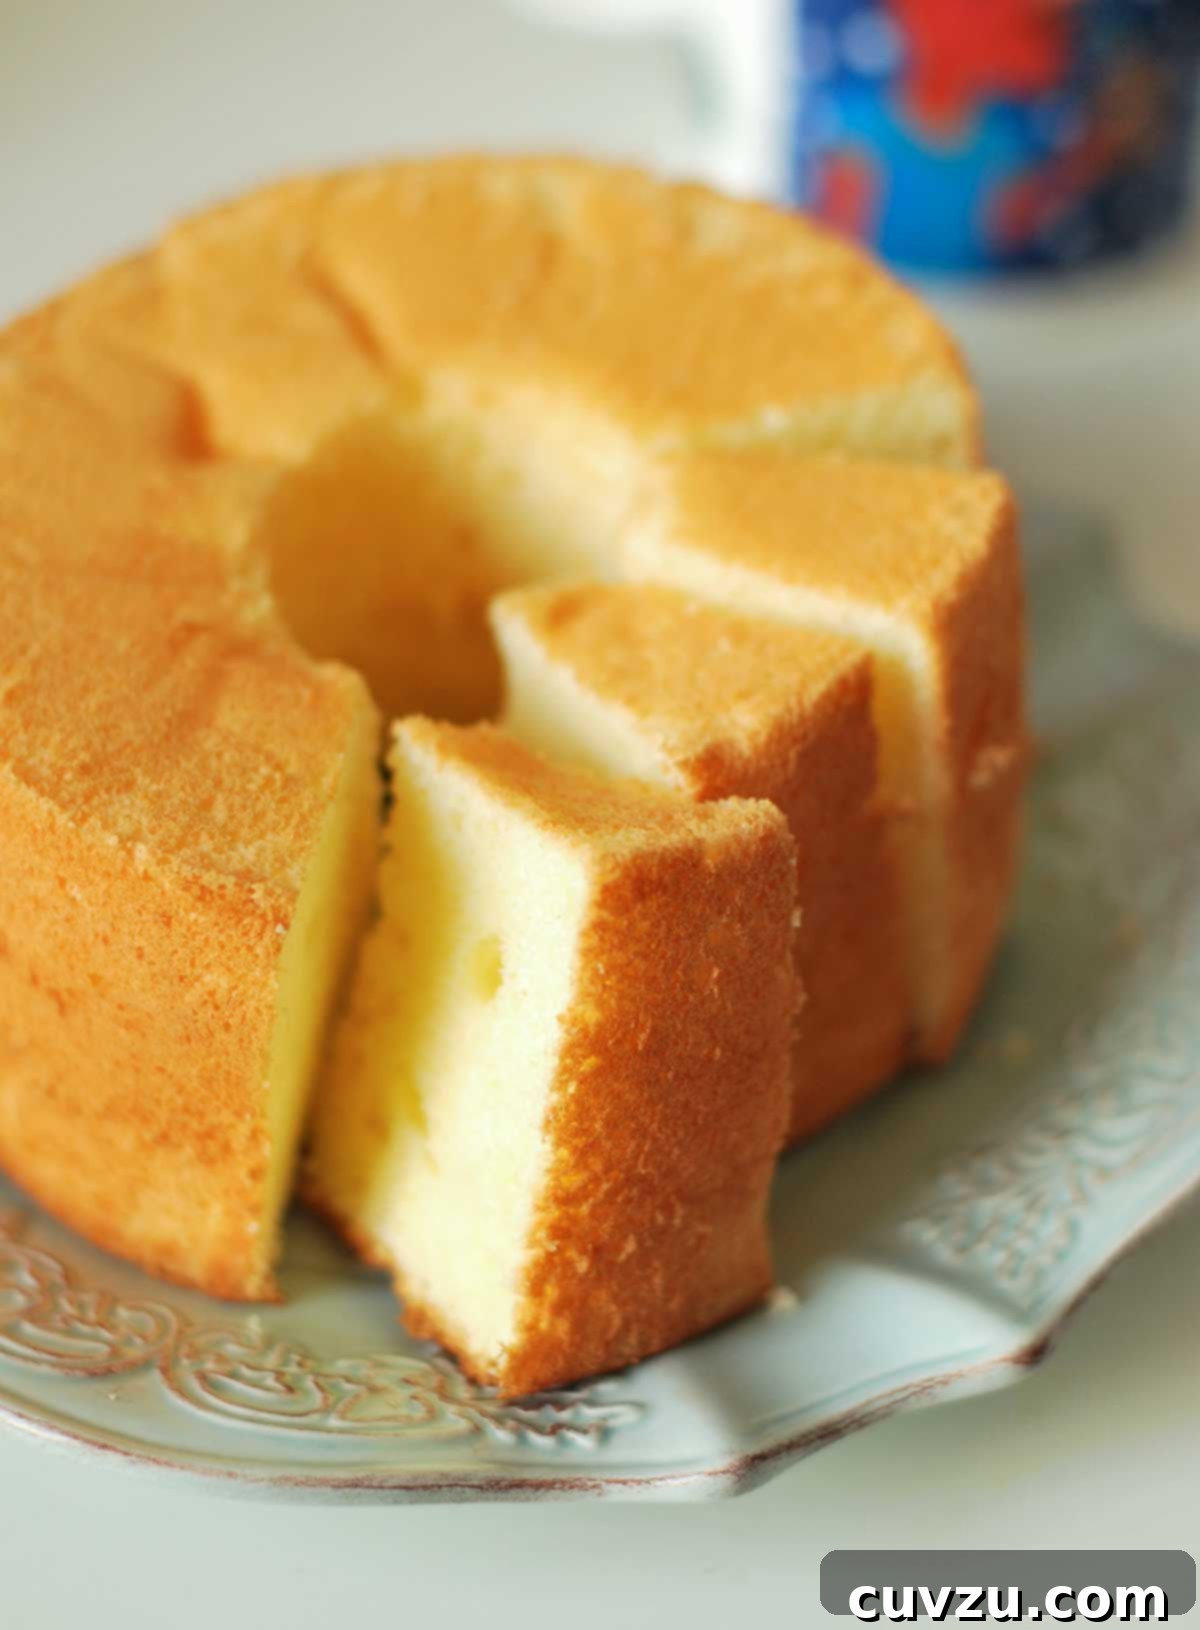
Step into the timeless world of classic American baking with this exquisite chiffon cake, a recipe perfected and shared by the venerable *Joy of Cooking*. Renowned for its unparalleled lightness, lofty height, and delicate texture, this cake is a testament to the magic that happens when simple ingredients are expertly combined. What makes it truly special is its unique structure, achieved through the careful incorporation of beaten egg whites, which infuse every bite with an airy softness, while egg yolks contribute to its rich body and tender crumb. As an added bonus, this elegant dessert is naturally dairy-free, making it a wonderful option for those with dietary preferences or allergies.
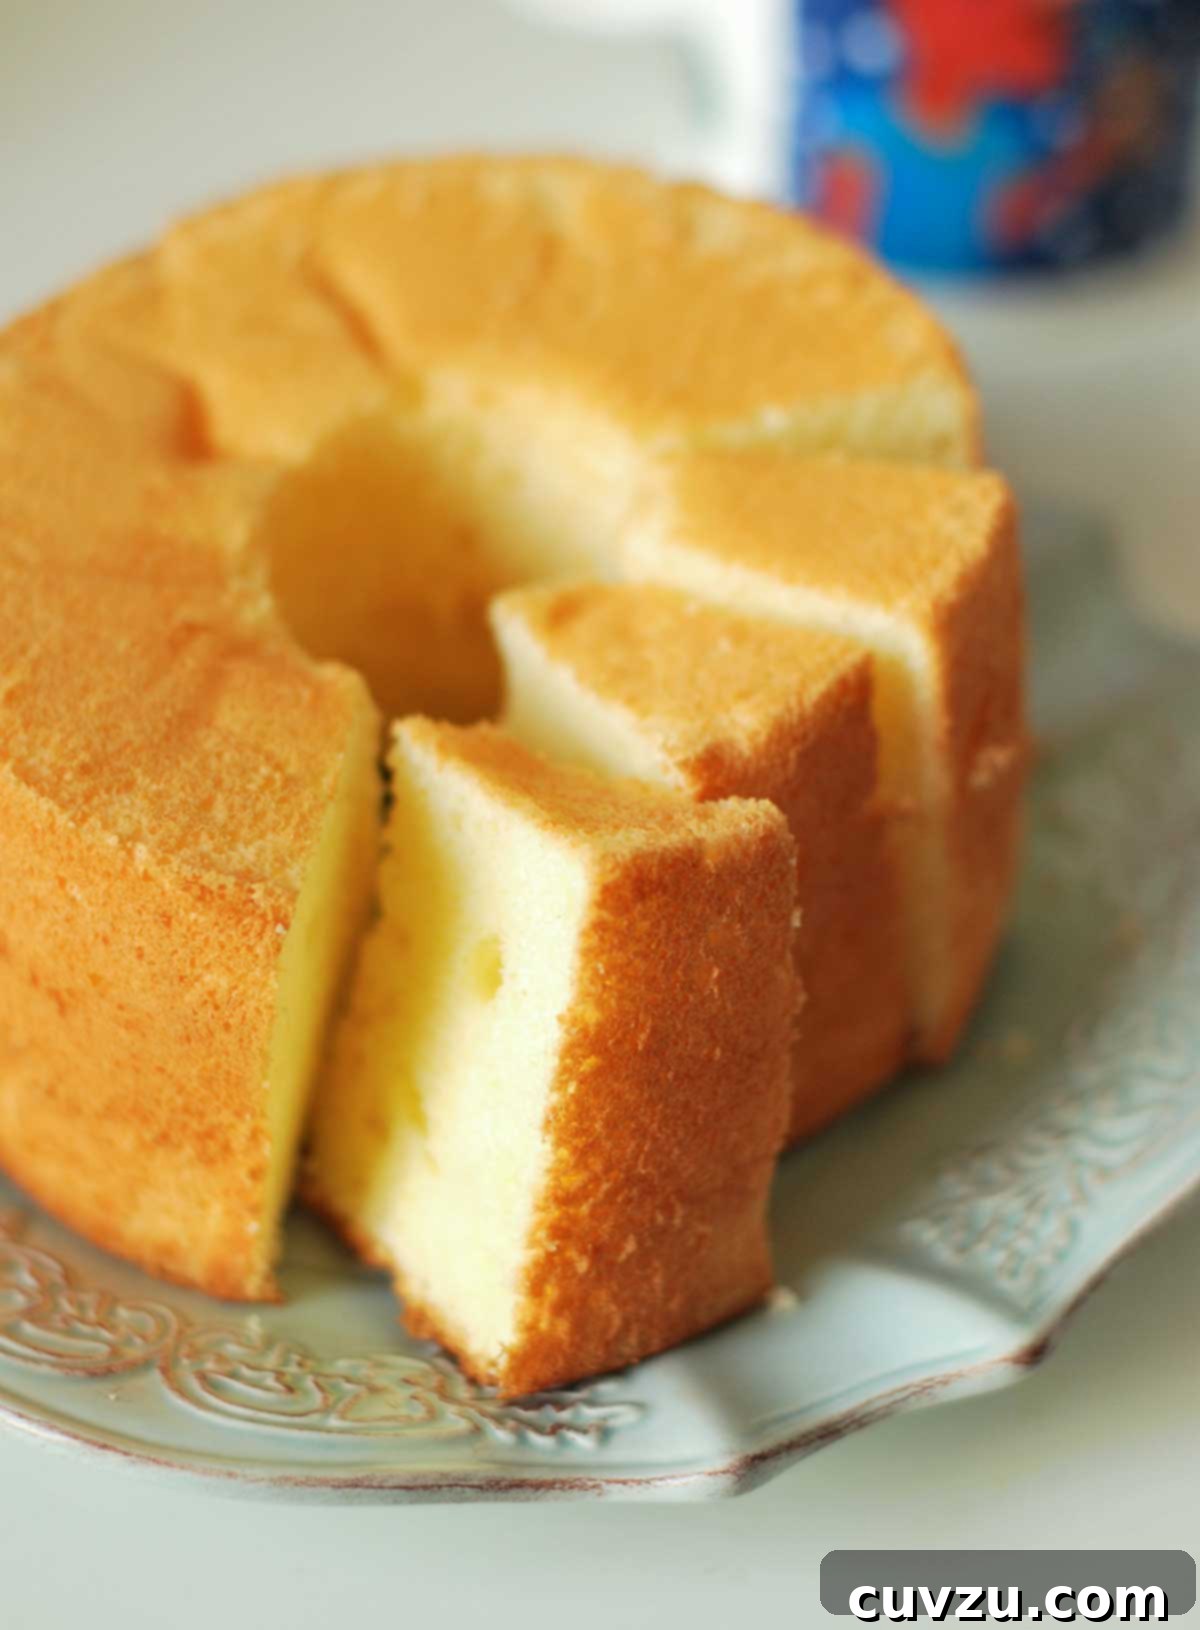
What is Chiffon Cake? The Secret to its Lightness
The chiffon cake, a true marvel of the baking world, holds a fascinating history. Developed in 1927 by Harry Baker, an insurance salesman turned baker, its recipe remained a closely guarded secret for two decades before he sold it to General Mills. Unlike traditional butter cakes, chiffon cake uses vegetable oil as its primary fat, contributing to its incredibly moist texture without the heaviness often associated with butter. This choice of fat also makes the cake inherently dairy-free, a significant advantage for many.
The defining characteristic of a chiffon cake, however, is its signature airy and cloud-like texture. This is achieved through the meticulous process of separating egg yolks and whites. The yolks are combined with the dry ingredients and oil, forming a rich, flavorful batter. Meanwhile, the egg whites are whipped to stiff peaks with sugar and cream of tartar, creating a stable meringue. This meringue is then gently folded into the yolk batter, acting as the primary leavening agent. This careful folding technique is crucial; it traps air, which expands during baking, resulting in a cake that rises beautifully high and boasts an ethereal lightness that almost melts in your mouth. The “Joy of Cooking” recipe masterfully guides you through this process, ensuring a consistently delightful outcome every time.
Why This “Joy of Cooking” Chiffon Cake Recipe is a Must-Try
Among the myriad chiffon cake recipes available, the one found in the *Joy of Cooking* stands out as an American classic for good reason. It’s a foundational recipe that has introduced generations of home bakers to the simple elegance and impressive results of a perfectly executed chiffon cake. The recipe’s enduring popularity lies in its reliability and the consistent, stunning results it delivers. It strikes a perfect balance between simplicity and sophistication, making it approachable for novice bakers while still satisfying the discerning palate of experienced pastry enthusiasts.
Furthermore, the *Joy of Cooking* version maintains its dairy-free status by utilizing vegetable oil instead of butter, which not only caters to specific dietary needs but also contributes to the cake’s distinctively moist and tender crumb that stays fresh longer than butter-based cakes. This absence of dairy allows the delicate flavors of lemon zest and vanilla to truly shine, offering a clean, bright taste that is utterly refreshing. It’s a testament to the cookbook’s philosophy of providing practical, well-tested recipes that yield delicious and dependable results, cementing its place as a beloved staple in countless kitchens.
To Frost or Not to Frost? Enhancing Your Chiffon Cake
One of the charming aspects of a classic chiffon cake is its inherent beauty and delightful flavor, which often makes it perfectly enjoyable “nude”—that is, served without any icing. The cake’s delicate texture and subtle lemon and vanilla notes are often sufficient on their own, allowing its natural character to be the star. For those who appreciate a touch of sweetness and an extra layer of flavor, however, the chiffon cake serves as an excellent canvas for various frostings and glazes.
If you prefer a simple yet effective enhancement, a classic confectioners’ sugar icing is an ideal choice. A basic recipe typically involves whisking powdered sugar with a small amount of liquid—be it milk (or a dairy-free alternative), water, or fruit juice—until smooth. For a truly complementary flavor profile, consider the simple lemon glaze recommended by our Recipe Tester. This bright, tangy glaze beautifully highlights the lemon zest already present in the cake, adding a zesty counterpoint to its sweetness and lightness. To prepare it, simply combine 2 cups of confectioners’ sugar with approximately 1/4 cup of fresh lemon juice, stirring until smooth and pourable. Drizzle it generously over the cooled cake for a stunning finish and an extra burst of citrusy delight. Whether you opt for a minimalist presentation or a luscious topping, this chiffon cake adapts beautifully to your preference, promising a sublime dessert experience every time.
Classic Chiffon Cake
Recipe by David Leite
Dessert
American
12 to 14
servings
298
kcal
15
minutes
1
hour
15
minutes
3
hours
Ingredients
-
2 1/4
cups
sifted cake flour -
1 1/2
cups
granulated sugar -
1
tablespoon
baking powder -
1
teaspoon
salt -
5
large
egg yolks -
3/4
cup
water -
1/2
cup
vegetable oil -
1
teaspoon
grated lemon zest -
1
teaspoon
vanilla extract -
8
large
egg whites -
1/2
teaspoon
cream of tartar
Instructions
-
Preheat your oven to 325°F (160°C).
-
In a large bowl, thoroughly stir together the sifted cake flour, 1 1/4 cups of granulated sugar, baking powder, and salt. Set aside.
-
In a separate bowl, using a stand mixer fitted with the whisk attachment (or a hand mixer), beat the egg yolks, water, vegetable oil, grated lemon zest, and vanilla extract on high speed until the mixture is smooth, which should take about 1 minute. Gradually incorporate this wet mixture into the dry flour mixture, stirring continuously until the batter is smooth and free of lumps.
-
Clean the stand mixer bowl and whisk attachment thoroughly to ensure no grease remains. On medium speed, beat the egg whites and cream of tartar until soft peaks begin to form. This process typically takes between 2 1/2 to 5 minutes, depending on your mixer.
-
Once soft peaks have formed, gradually add the remaining 1/4 cup of sugar to the egg whites. Increase the mixer speed to high and continue beating until stiff but not dry peaks are achieved, which usually takes around 5 minutes. The meringue should be glossy and hold its shape.
-
Using a rubber spatula, gently fold about one-quarter of the beaten egg whites into the main batter to lighten it. Then, carefully fold in the remaining whites until just combined, being careful not to deflate the mixture. Gently scrape the lightened batter into an ungreased 10-inch tube pan with a removable bottom. Smooth the surface with your spatula. Bake for 60 to 75 minutes, or until the top springs back when lightly pressed and a cake tester, toothpick, or strand of spaghetti inserted into the center comes out clean.
-
Immediately after removing the cake from the oven, invert the pan. You can prop the tube of the pan over the neck of a long, slender bottle, or rest the pan upside down on four short glasses to allow air circulation. Let the cake cool completely in the inverted pan for at least 1 1/2 hours. This step is crucial to prevent the cake from collapsing.
-
To unmold the cooled cake, carefully slide a thin, long-bladed knife around the outer edges of the cake, pressing the knife against the pan to ensure a clean separation without tearing the delicate cake. Repeat this process around the center tube. Gently pull the tube upward to release the cake from the pan sides. Once detached, slide the knife carefully under the cake to separate it from the bottom of the pan. Invert the cake onto a wire cooling rack or a plate, then gently turn it right side up onto another rack to cool completely.
-
Slice, serve, and savor each blissful bite of this remarkable cake. (Originally published April 21, 1997.)

Adapted From
The All New Joy of Cooking
Buy On Amazon
Nutrition
Serving:
1
portion
Calories:
298
kcal
Carbohydrates:
43
g
Protein:
6
g
Fat:
11
g
Saturated Fat:
2
g
Monounsaturated Fat:
3
g
Trans Fat:
0.1
g
Cholesterol:
77
mg
Sodium:
236
mg
Fiber:
1
g
Sugar:
25
g
Nutrition information is automatically calculated, so should only be used as an approximation.
Tips for Chiffon Cake Perfection
Achieving the perfect chiffon cake isn’t just about following the recipe; it’s also about understanding the nuances of its preparation. Here are some essential tips to ensure your cake turns out flawlessly light and tender:
- **Use Room Temperature Eggs:** This is critical! Room temperature egg whites whip up to a much greater volume and stability than cold ones, which is key to the chiffon cake’s airy texture.
- **Sift Your Cake Flour:** Sifting cake flour twice before measuring, and then again with other dry ingredients, ensures there are no lumps and that the flour is properly aerated, leading to a finer, more tender crumb.
- **Grease-Free Environment:** Any trace of grease in your mixing bowl or on your whisk attachment will prevent the egg whites from whipping properly. Ensure all equipment used for egg whites is impeccably clean.
- **Fold Gently but Thoroughly:** When incorporating the whipped egg whites into the batter, use a gentle folding motion with a rubber spatula. The goal is to combine the mixtures without deflating the airy whites. Overmixing will cause the cake to lose its signature lightness.
- **Do NOT Grease the Pan:** This is perhaps the most important tip for chiffon and angel food cakes. The batter needs to cling to the sides of the ungreased tube pan to climb and expand during baking. Greasing the pan will cause the cake to slip and fall, resulting in a dense, short cake.
- **Cool Upside Down:** Immediately inverting the cake pan after baking is crucial. This prevents the delicate, still-warm cake from collapsing under its own weight as it cools, helping it maintain its impressive height and airy structure.
- **Patience is a Virtue:** Allow the cake to cool completely in the inverted pan before attempting to unmold it. Rushing this step can lead to tearing or crumbling.
Serving and Storage Suggestions
Once your magnificent chiffon cake has cooled and been unmolded, the serving possibilities are as light and varied as the cake itself. For a purist’s delight, simply dust the top with a fine layer of confectioners’ sugar. The subtle sweetness and elegant presentation are often all that’s needed. If you’re hosting a gathering, consider serving slices alongside fresh berries – strawberries, raspberries, or blueberries add a burst of color and a tart counterpoint to the cake’s mild sweetness. A dollop of dairy-free whipped cream or a scoop of your favorite sorbet can elevate the dessert into a more decadent treat.
To keep your chiffon cake at its best, proper storage is key. Due to its delicate nature and the absence of heavy fats, it tends to dry out more quickly than denser cakes if left exposed. Store the cake, either whole or sliced, in an airtight container at room temperature for up to 2-3 days. If it’s a particularly humid environment, or if it has a perishable frosting, refrigeration might be necessary, though it can slightly alter the texture. For longer storage, slices can be individually wrapped in plastic wrap and then foil, and frozen for up to a month. Thaw at room temperature for a delightful reminder of this classic dessert.
The Enduring Legacy of Joy of Cooking
This chiffon cake recipe comes from *The All New Joy of Cooking*, a culinary institution that has guided home cooks for nearly a century. First published in 1931 by Irma S. Rombauer, this cookbook became an indispensable guide through generations, adapting to changing tastes and techniques while retaining its core philosophy of empowering cooks with reliable, well-tested recipes. Its comprehensive nature and clear instructions have made it a trusted companion in countless kitchens, cementing its status as an enduring classic in American culinary history.
Recipe Testers’ Reviews
Ellie Grinspun
“I was absolutely delighted with this chiffon cake! It was incredibly light, wonderfully moist, and carried a beautiful lemon essence. It disappeared from the table in no time. In fact, my son loved it so much that he’s already requested it weekly and made sure I have all the necessary ingredients on hand!”
“A critical step I found was to ensure you run a thin knife thoroughly around all sides, the center, and the bottom of the cake to completely detach it from the tube pan. This prevents any sticking and ensures a clean release.”
“For an icing that matched the dairy-free nature of the cake, I experimented with a simple lemon glaze. Mixing 2 cups of confectioners’ sugar with 1/4 cup of fresh lemon juice resulted in an easy-to-make, pourable glaze that was equally pleasing in taste and complemented the cake perfectly.”
Tried this recipe?
Mention @leitesculinaria or tag #leitesculinaria!