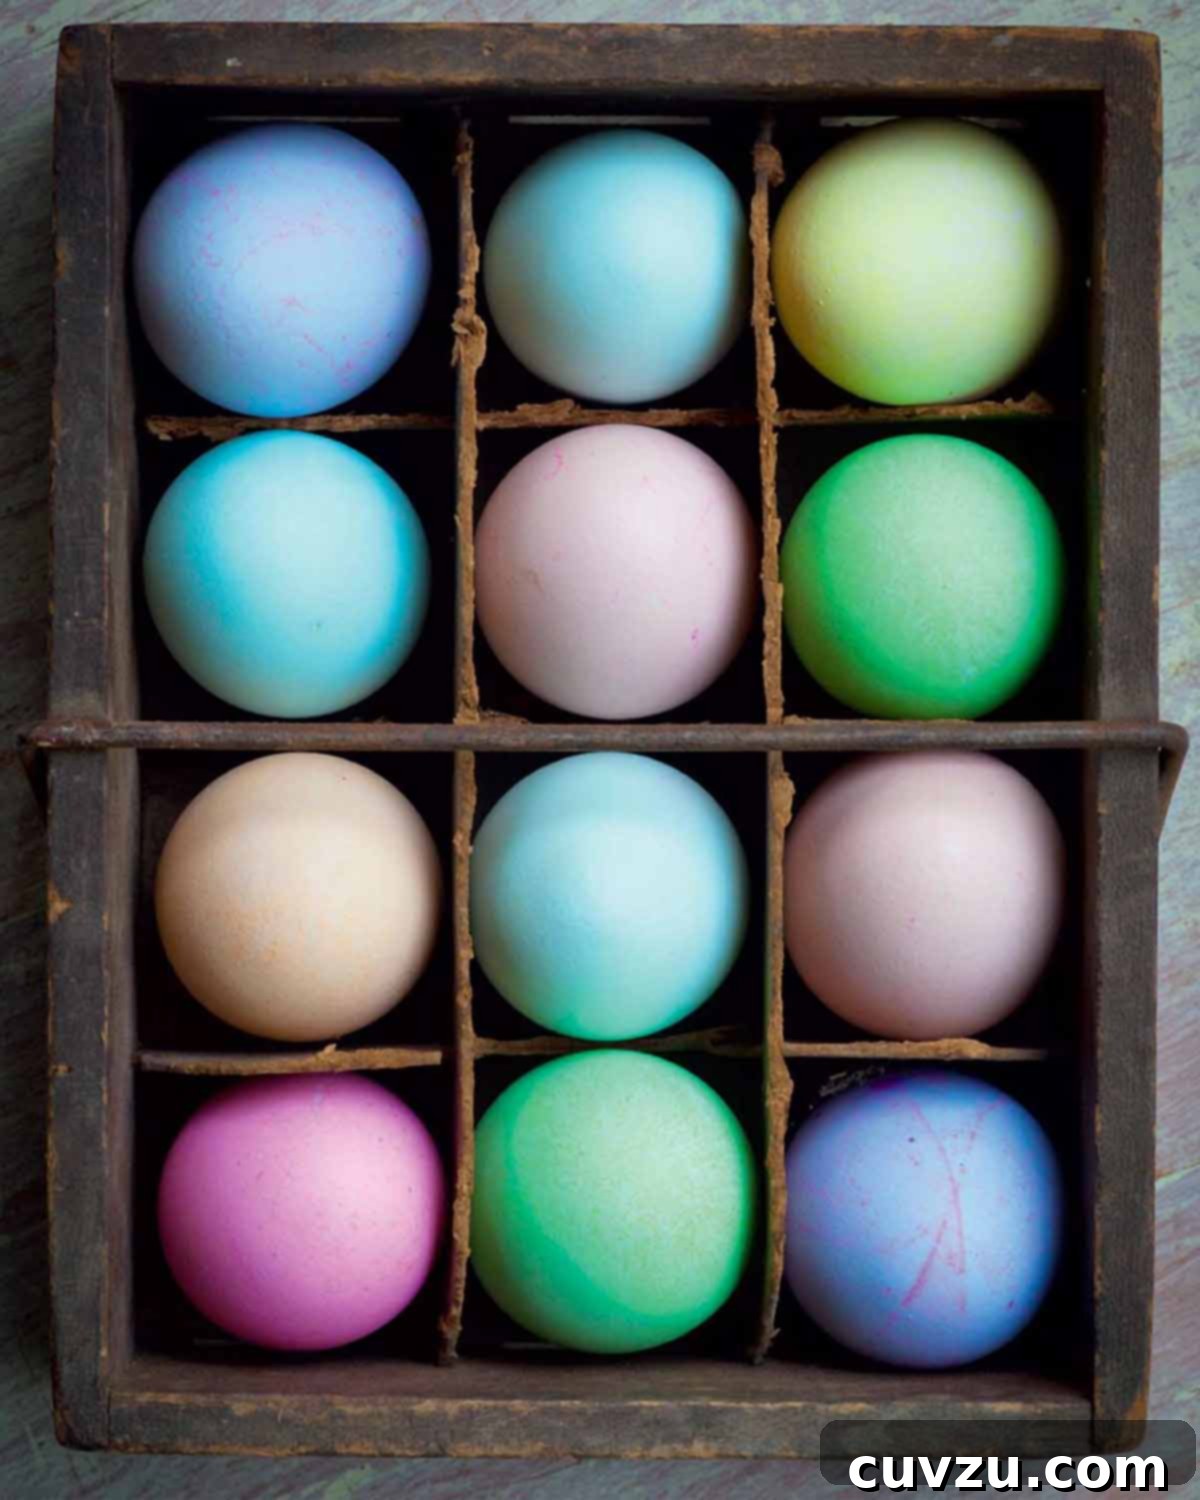
This comprehensive guide reveals the enchanting process of creating naturally dyed Easter eggs. Harnessing the magic of safe, natural ingredients, this method combines common kitchen staples you likely already have on hand – including red beets, onion skins, coffee, blueberries, turmeric, and more – to produce a spectrum of beautifully colored eggs. Forget the synthetic tablets and embrace a more wholesome, creative, and eco-conscious way to celebrate the vibrant spirit of Easter.
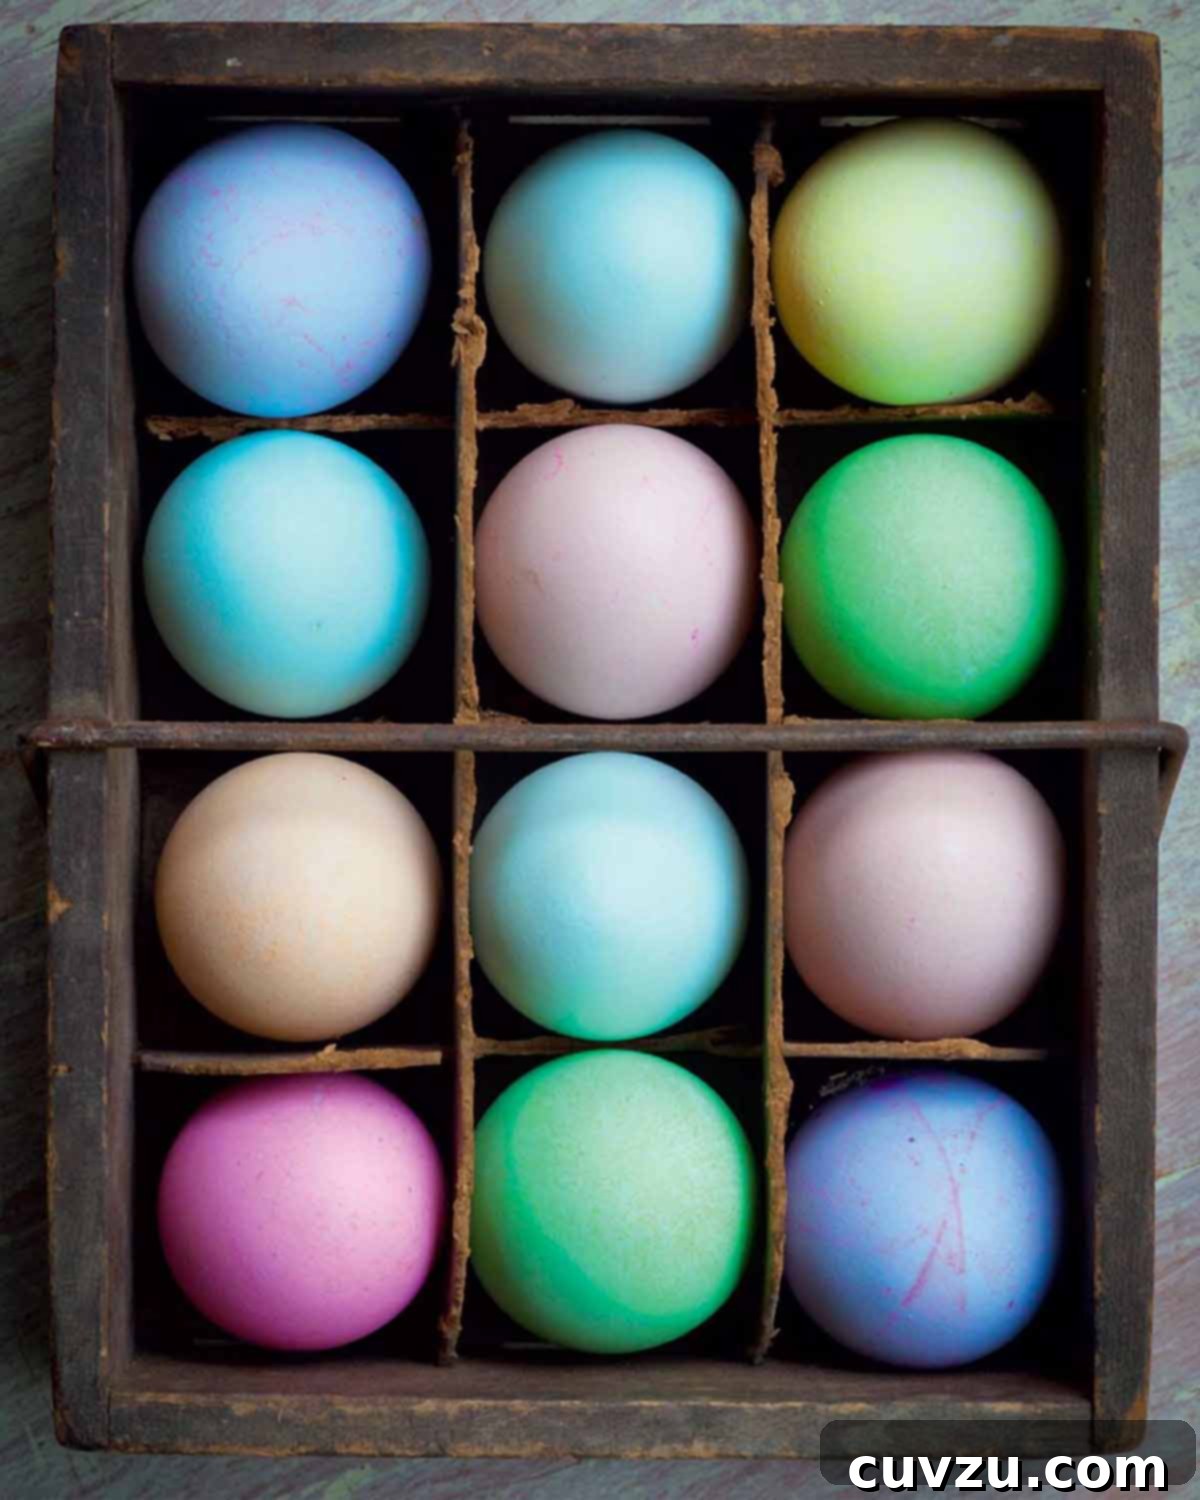
While conventional dye kits offer predictable, often intensely bright results, what we find far more intriguing and rewarding in terms of Easter egg escapades is eschewing the expected fizzy tablets. Instead, we embrace the humble treasures found within our kitchens, particularly those often overlooked items—kitchen scraps.
Yes, you read that right. Scraps. The remnants of your morning coffee, that slightly neglected tin of turmeric, a bag of blueberries tucked away in the freezer, or even that half-glass of wine from last night (for shame!). These seemingly ordinary items hold the secret to unlocking a world of stunning, naturally inspired hues for your Easter eggs. This approach yields lovely, often pastel-ish, non-lurid tones that possess a unique charm and depth unmatched by artificial dyes.
We’ve delved deep into our pantries and refrigerators, experimenting with all manner of languishing ingredients to formulate some truly delightful and effective natural dyes. While we’ve provided enough ideas to fill an entire egg carton, we strongly encourage you not to let our suggestions limit your curiosity or stifle your own creative instincts. The beauty of natural dyeing lies in experimentation and discovering your own unique palette. Should you stumble upon a brilliant new dye ingredient, we’d love for you to share your discovery in the comments below!
Why Choose Natural Dyes for Your Easter Eggs?
Opting for natural dyes offers a multitude of benefits beyond just pretty colors. It’s a return to traditional methods, deeply rooted in history, and perfectly aligned with modern desires for sustainability and safety:
- Safety First: The most compelling reason to choose natural dyes is safety. Artificial dyes often contain synthetic chemicals that, while deemed safe for food, can still be a concern for many, especially when children are involved in handling the eggs. Natural dyes, derived from fruits, vegetables, and spices, offer a completely food-safe alternative, meaning the eggs are perfectly edible after dyeing.
- Eco-Friendly and Sustainable: By utilizing kitchen scraps and readily available natural ingredients, you reduce waste and minimize your environmental footprint. This sustainable practice aligns beautifully with the spirit of spring and renewal that Easter embodies.
- Unique and Organic Hues: Natural dyes produce a distinctive range of colors – soft pastels, earthy tones, and rich, muted shades – that simply cannot be replicated with synthetic dyes. Each egg is a unique work of art, often displaying beautiful variations, streaks, and textures that add character and charm.
- Educational and Engaging for All Ages: The process of extracting colors from natural ingredients is a fantastic learning opportunity for children, teaching them about botany, chemistry, and the origins of color. It encourages patience, observation, and creative problem-solving.
- Cost-Effective: Many of the best natural dye ingredients are items you already have on hand or can easily acquire at a low cost, making this an economical choice compared to purchasing specialized dye kits.
Engaging Kids in the Natural Easter Egg Dyeing Process
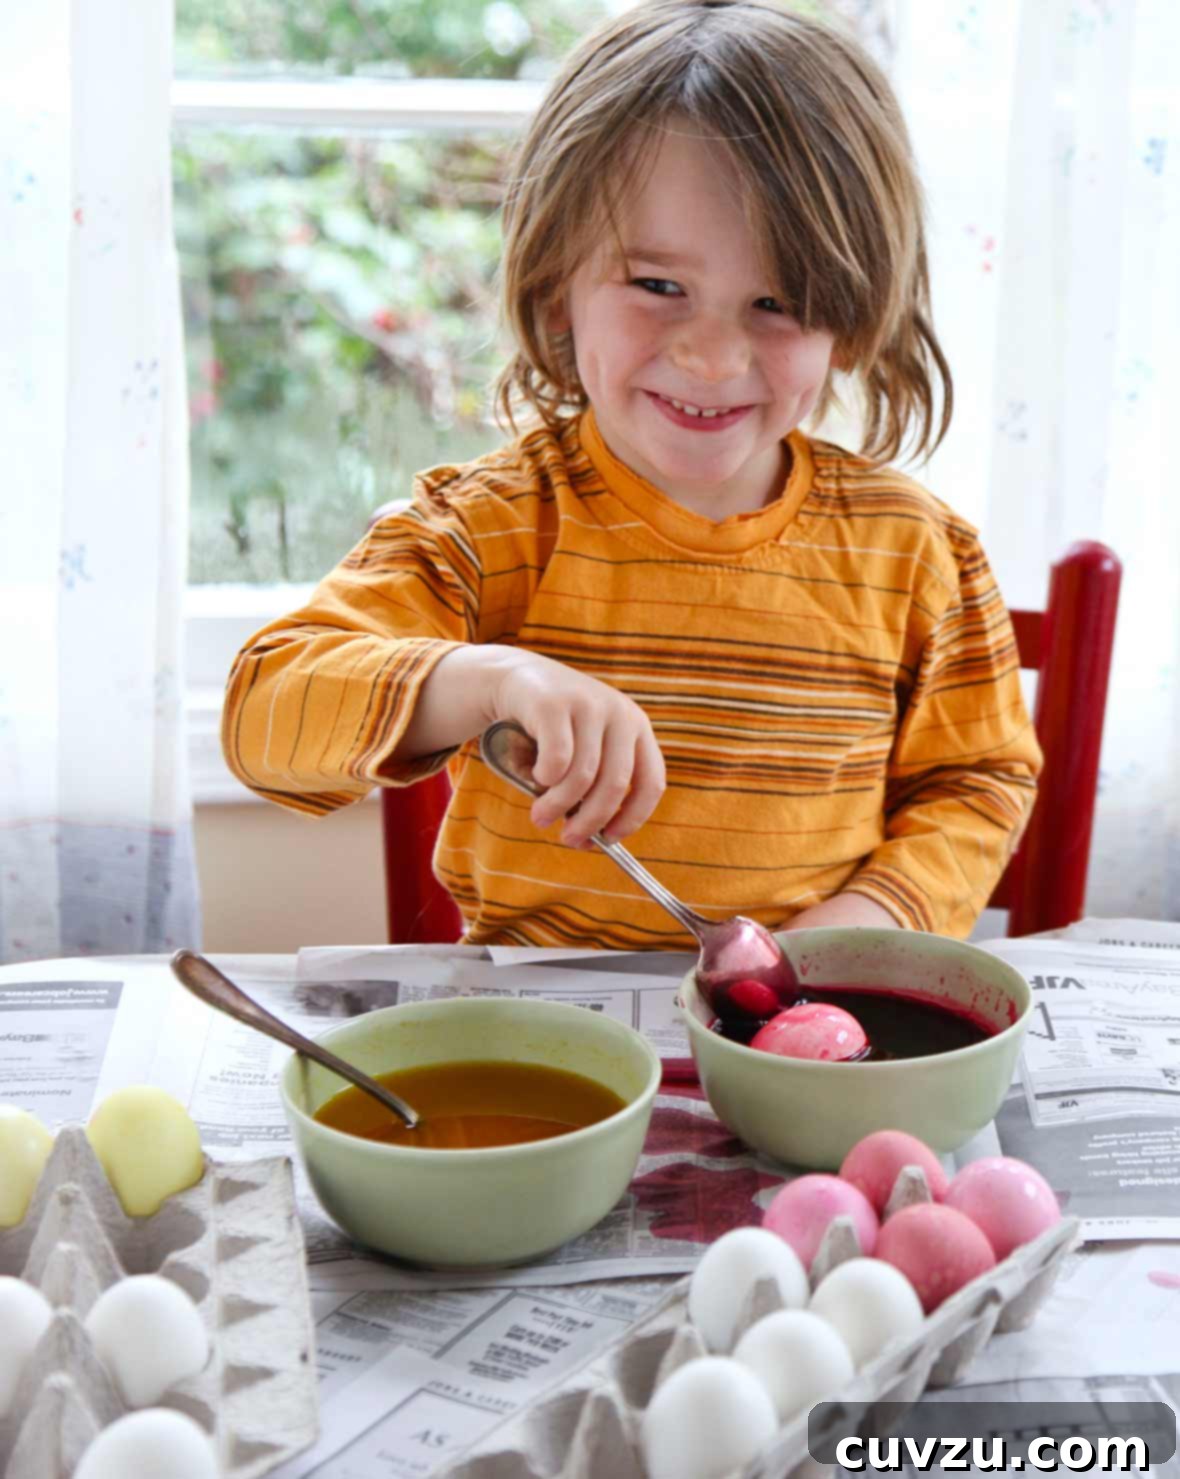
It’s easy to get lost in the nostalgic joy of Easter egg decorating, feeling like a kid again yourself. However, as author Leslie Jonath gently reminds us, children ought to be an integral part of the entire dyed Easter egg process, extending far beyond just the dipping and dyeing. This isn’t just about crafting; it’s about fostering creativity, teaching patience, and creating cherished family memories.
So, step away from monopolizing the eggs, and let the younger members of the family genuinely contribute. Encourage them to brainstorm color ideas, help assemble the ingredients, and even assist in the prep work for the dye solutions. Just as they might help with “regular” dinner preparations (they do help cook, right?), involving them in every step makes them more invested and appreciative of the outcome. Here are some ways kids can participate:
- Ingredient Foraging & Brainstorming: Let them explore the kitchen with you to find potential dye ingredients. “What color do you think these onion skins will make?” or “Can we get purple from blueberries?” This sparks curiosity.
- Preparation Assistants: Under adult supervision, younger children can help peel onion skins, sort blueberries, or mash beets. Older children can carefully measure water and vinegar, or help strain cooled dye solutions.
- The Dyeing Process: This is where they shine! Guide them in gently placing eggs into the dye baths and patiently waiting for the colors to develop. Discuss how different lengths of time produce different shades.
- Observation & Prediction: Encourage them to keep a “dye diary” – what ingredient was used, how long the egg soaked, and what color resulted. This is a great exercise in scientific observation.
- Drying & Decorating: Once dyed and dry, they can help gently polish the eggs with a tiny bit of vegetable oil for a subtle sheen, or add further decorations with white crayons, stickers, or natural embellishments.
It may indeed take a little more time, and perhaps a touch more mess, but the sheer joy and sense of accomplishment they’ll feel will be invaluable. You might be surprised by their creative brilliance and innovative ideas. (My nephew’s genius consistently astounds me!)
Naturally Dyed Easter Eggs Recipe
Recipe Overview
This natural dyed Easter eggs recipe demonstrates how to create magical, beautifully colored eggs using safe, everyday kitchen ingredients. Achieve unique, soft hues with items like red beets, onion skins, coffee, and blueberries.
Author: David Leite
Print Recipe
Equipment
- Large pots (one for eggs, separate ones for each dye color)
- Fine mesh strainers
- Heat-safe bowls or wide-mouth jars (one for each dye color)
- Slotted spoon
- Paper towels or a wire drying rack
- Patience. Lots and lots of patience.
Ingredients
- Eggs, preferably white and not brown (for best color vibrancy)
- White (distilled) vinegar
- Cold water
- Your choice of natural dye ingredients (ideas follow, but feel free to follow your instincts and go all zany!)
Natural Dye Ingredient Suggestions (per 3 cups water and 1-2 tbsp vinegar):
- For Pink/Red: 2-3 chopped red beets, or 2 cups red onion skins.
- For Orange/Gold: 2 cups yellow onion skins, or 2-3 tablespoons paprika.
- For Yellow: 3 tablespoons ground turmeric, or 3 tablespoons curry powder.
- For Blue/Green: ½ head red cabbage, chopped (will yield blue); 1-2 cups spinach leaves or kale (for light green).
- For Purple/Lavender: 1-2 cups frozen blueberries, or 1-2 cups red wine.
- For Brown: 1 cup strong brewed coffee, or ½ cup black tea bags/loose tea.
Instructions
- Prepare the Eggs: Gently place the eggs in a large pot and add enough cold water to completely cover them. Bring the water to a rolling boil over high heat, then immediately turn off the heat. Let the eggs stand in the hot water for 20 minutes to ensure they are hard-boiled. Using a slotted spoon, carefully remove the eggs from the hot water and pat them dry. Set them aside until they are cool enough to handle.
- Prepare the Dyes: For each desired color, bring 3 cups of water to a boil in a separate large pot. Once boiling, add 1 to 2 tablespoons of white (distilled) vinegar and the chosen dyeing ingredient for that specific color. Return the water to a boil. Cover the pot, reduce the heat to medium-low, and simmer gently for 20 to 30 minutes, or until the desired color intensity is achieved in the liquid. Carefully strain the dyeing liquid into a clean bowl or wide-mouth jar, discarding the solids. Allow the liquid dye to cool completely to room temperature. Repeat this process for each different dyeing ingredient you wish to use.
- Dye the Eggs: When both the hard-boiled eggs and the liquid dye solutions are cool, carefully add an egg or two to each bowl of dye. Ensure the eggs are fully submerged. Set the bowls aside, turning the eggs occasionally if needed, until the desired hue is achieved. The natural dyeing process requires patience; the longer you leave the eggs in the dye, the more robust and vibrant the color will become. Depending on the desired intensity, eggs may need to sit for as little as a few minutes for light pastels, or as long as several hours, or even overnight (refrigerated) for deep, rich colors.
- Dry the Eggs: Once your eggs have reached their perfect color, carefully remove them from the dye solutions. Transfer them to a plate lined with a paper towel or onto a wire rack to dry completely. Once dry to the touch, they are ready for display or consumption.
Originally published March 26, 2012.
Adapted From

At the Farmers’ Market with Kids
A wonderful resource for engaging children with food and cooking.
Buy On Amazon
Nutrition Information (Approximate per Egg)
- Serving: 1 portion
- Calories: 72 kcal
- Carbohydrates: 0.4 g
- Protein: 6 g
- Fat: 5 g
- Saturated Fat: 2 g
- Monounsaturated Fat: 2 g
- Trans Fat: 0.02 g
- Cholesterol: 186 mg
- Sodium: 71 mg
- Sugar: 0.2 g
Nutrition information is automatically calculated and should only be used as an approximation.
Tried this recipe? Share Your Creations!
We’d love to see your beautiful naturally dyed Easter eggs. Join our community!
Mention @leitesculinaria or tag #leitesculinaria on Instagram!
What Our Recipe Testers Discovered
The true test of any recipe lies in the kitchen, and our dedicated recipe testers always provide invaluable insights. Here’s what they experienced while creating these naturally dyed Easter eggs, offering practical tips and honest reflections on the process and results.
Adrienne Lee
Adrienne found it fairly easy to cook enough eggs for multiple dye variations simultaneously. A key observation was the need to carefully monitor boiling water to prevent egg cracking. For optimal color saturation, she allowed the eggs to sit in each dye overnight, then dried them on a rack.
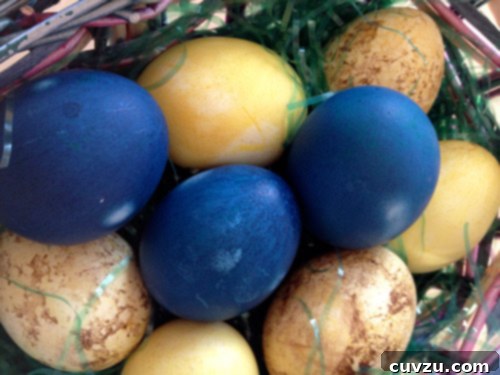
Blue Dye Insight: “The blue result was absolutely beautiful and strikingly different from the colors achieved with store-bought packages. While the effort involved was quite high, the substantial amount of leftover dye meant I could easily reuse it with more eggs later.”
Yellow Dye (Curry Powder) Insight: “Straining the curry powder proved a bit challenging, leading me to simply rinse the eggs instead. This required a little extra work, but it was certainly manageable for a beautiful yellow.”
Sofia Reino
Prior to testing these naturally dyed Easter eggs, Sofia was already familiar with several natural dye techniques, preferring them over chemical store-bought alternatives. She notes that while most natural colors are not as vivid, this is precisely why she loves these methods, as Easter for her evokes a palette of gentle, pale colors.
She emphasized that using white eggs is indeed crucial for the colors to truly stand out. Her toddler adored the eggs dyed with red beets, while her teen was captivated by the lavender ones. Their exchange student particularly liked the red wine-dyed eggs. Sofia herself confessed, “Truthfully, I just love them all together!”
Creative Tip: “Feel free to glue some string or tiny shapes, such as hearts, circles, or triangles, cut out of paper onto the eggs before dyeing. After the dyeing process, the areas underneath these shapes will be colored, but not as strongly, creating a delightful patterned effect.”
Natalie Reebel
Natalie championed this method as an excellent way to utilize kitchen ingredients and achieve rustic, chemical-free, and beautiful dyed eggs. She strongly advises planning for a significant portion of a day to complete the project, from preparing the dyes to coloring the eggs.
Beet Dye Exploration: “Because red is my favorite color, I began with beets. Grating the beets and simmering the dye was straightforward. However, once cooked, it required considerable pressing to separate the liquid from the solids. My first attempt with a cooked white egg yielded more magenta than red after 15 minutes. Reheating the dye in the microwave for 20 seconds and trying again with a brown egg, combined with a longer dyeing time (about 45 minutes), finally produced a beautiful, true red egg!”
Wine and Other Dyes: “Next, I experimented with wine dye. My first egg came out burgundy but transformed into a lovely purple as it dried. A longer soak for the subsequent egg resulted in a direct purple hue from the dye bath. Coffee produced a soft, latte-colored egg. The turmeric dye was notably thicker than the others, even after straining. When I removed my egg from this dye, it was coated in a thick blanket of turmeric. Wiping the egg clean revealed a bright, sunny yellow. My teenage son particularly liked the muted but very cool purple of the wine-dyed eggs, but my favorite was the true red achieved on a brown egg with the beet dye.”
Frequently Asked Questions About Natural Egg Dyeing
- What type of eggs work best for natural dyeing?
- White eggs are generally recommended because they provide a neutral canvas, allowing the natural colors to appear more vibrant and true to their expected shade. Brown eggs can also be dyed, but their inherent brown hue will influence the final color, often resulting in deeper, more muted, or earthy tones.
- How can I make the colors more vibrant?
- To achieve more intense and vibrant colors, several factors can be adjusted:
- Longer Soaking Time: The most significant factor. Allow eggs to soak in the cooled dye solution for several hours, or even overnight, in the refrigerator.
- Concentrated Dye: Use a higher quantity of your chosen dye ingredient (e.g., more beets, more turmeric) when preparing the dye solution.
- Warm Dye (Initial Soak): While the recipe suggests cooling, some natural dyers find that placing warm eggs into a still-warm (but not hot) dye solution can help with initial color absorption before allowing it to cool. Ensure eggs are cool enough not to crack from thermal shock.
- Repeat Dipping: For deeper shades, you can remove the egg, let it dry slightly, and then dip it again.
- Is white vinegar necessary?
- Yes, white distilled vinegar is highly recommended and almost crucial for successful natural egg dyeing. The acidity of the vinegar acts as a mordant, helping to slightly etch the eggshell. This allows the natural pigments to adhere much better and results in more vibrant, long-lasting colors. Without vinegar, the colors tend to be very faint and may not stick well to the shell.
- Can I eat naturally dyed eggs?
- Absolutely! One of the great advantages of using natural, food-grade ingredients for dyeing is that the eggs remain perfectly safe to eat. Ensure that you use only edible dye ingredients and that the eggs were properly hard-boiled and handled hygienically. Always keep hard-boiled eggs refrigerated after dyeing to maintain freshness and safety.
- How do I store naturally dyed Easter eggs?
- Store hard-boiled, naturally dyed eggs in the refrigerator. They are typically safe to eat for up to one week after they were cooked. For optimal flavor and texture, it’s best to consume them within 2-3 days.
Beyond Dyeing: Creative Touches for Your Natural Easter Eggs
Once your naturally dyed eggs are dry, the creative fun doesn’t have to end! Here are a few ideas to add an extra layer of charm and personalization to your unique creations:
- Wax Resist Magic: Before dyeing, draw patterns, swirls, or write messages on your eggs with a white crayon or melted beeswax. The wax will act as a resist, preventing the dye from coloring those areas, resulting in intriguing white designs against your chosen hue.
- Botanical Prints: For delicate, natural imprints, secure small leaves, flower petals, or even bits of lace to your eggs using old pantyhose or cheesecloth tied tightly around the egg before immersing them in the dye bath. The areas covered will remain undyed, leaving beautiful botanical silhouettes.
- Natural Polishes for Sheen: To give your dry, dyed eggs a subtle, appealing sheen, gently rub them with a tiny bit of vegetable oil, coconut oil, or olive oil. This not only enhances their appearance but can also deepen the perception of color.
- Decorative Displays: Arrange your unique, naturally colored eggs in baskets filled with natural nesting materials like hay, straw, fresh moss, or shredded paper. They make stunning, rustic centerpieces for your Easter table or thoughtful, handmade gifts.
Embrace the Imperfections, Celebrate the Charm
One of the most beautiful and endearing aspects of natural egg dyeing is the element of surprise and the inherent imperfections. Unlike the uniform, often intense colors produced by synthetic dyes, natural dyes yield softer, more nuanced, and sometimes beautifully mottled hues. Each egg becomes a small, original work of art, a testament to the subtle beauty of nature. Embrace the variations in color intensity, the gentle streaks, and the unique patterns; these are precisely what make naturally dyed Easter eggs so special and truly one-of-a-kind. They tell a story of natural processes and handmade care.
A Sustainable & Joyful Easter Tradition
Engaging in the craft of making naturally dyed Easter eggs is far more than just a seasonal activity; it’s an opportunity to connect with nature, participate in a sustainable practice, and forge lasting, cherished memories with your loved ones. It gently encourages creativity, cultivates patience, and fosters a deeper appreciation for the simple, yet profound, wonders of the ingredients found right in our everyday kitchens. This Easter, we invite you to step away from the artificial and embrace the genuine magic of natural dyes for a truly heartwarming, vibrant, and sustainable celebration. Enjoy the process, and delight in the beautiful results!