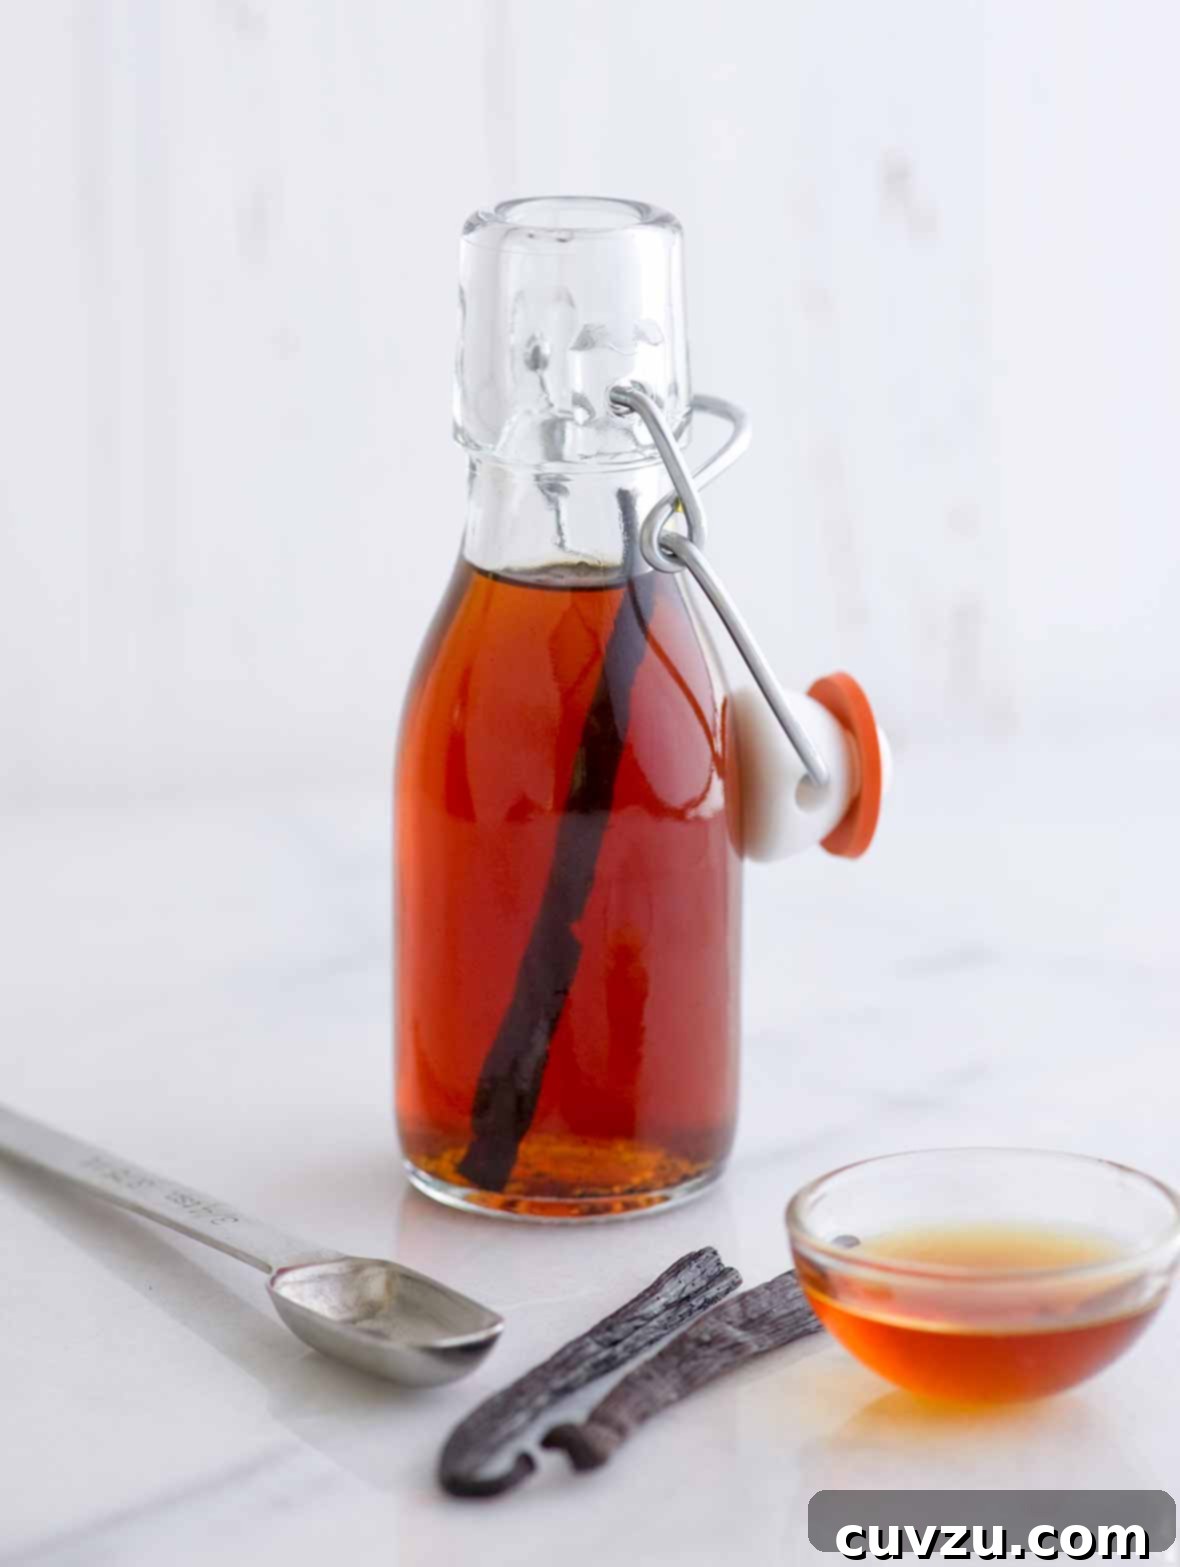
Transforming humble vanilla beans into exquisite homemade vanilla extract is a culinary marvel that promises unparalleled depth and aroma for all your baking and cooking endeavors. Once you experience the rich, complex notes of your own handcrafted extract, you may find yourself forever turning your back on the store-bought alternatives. We certainly have!
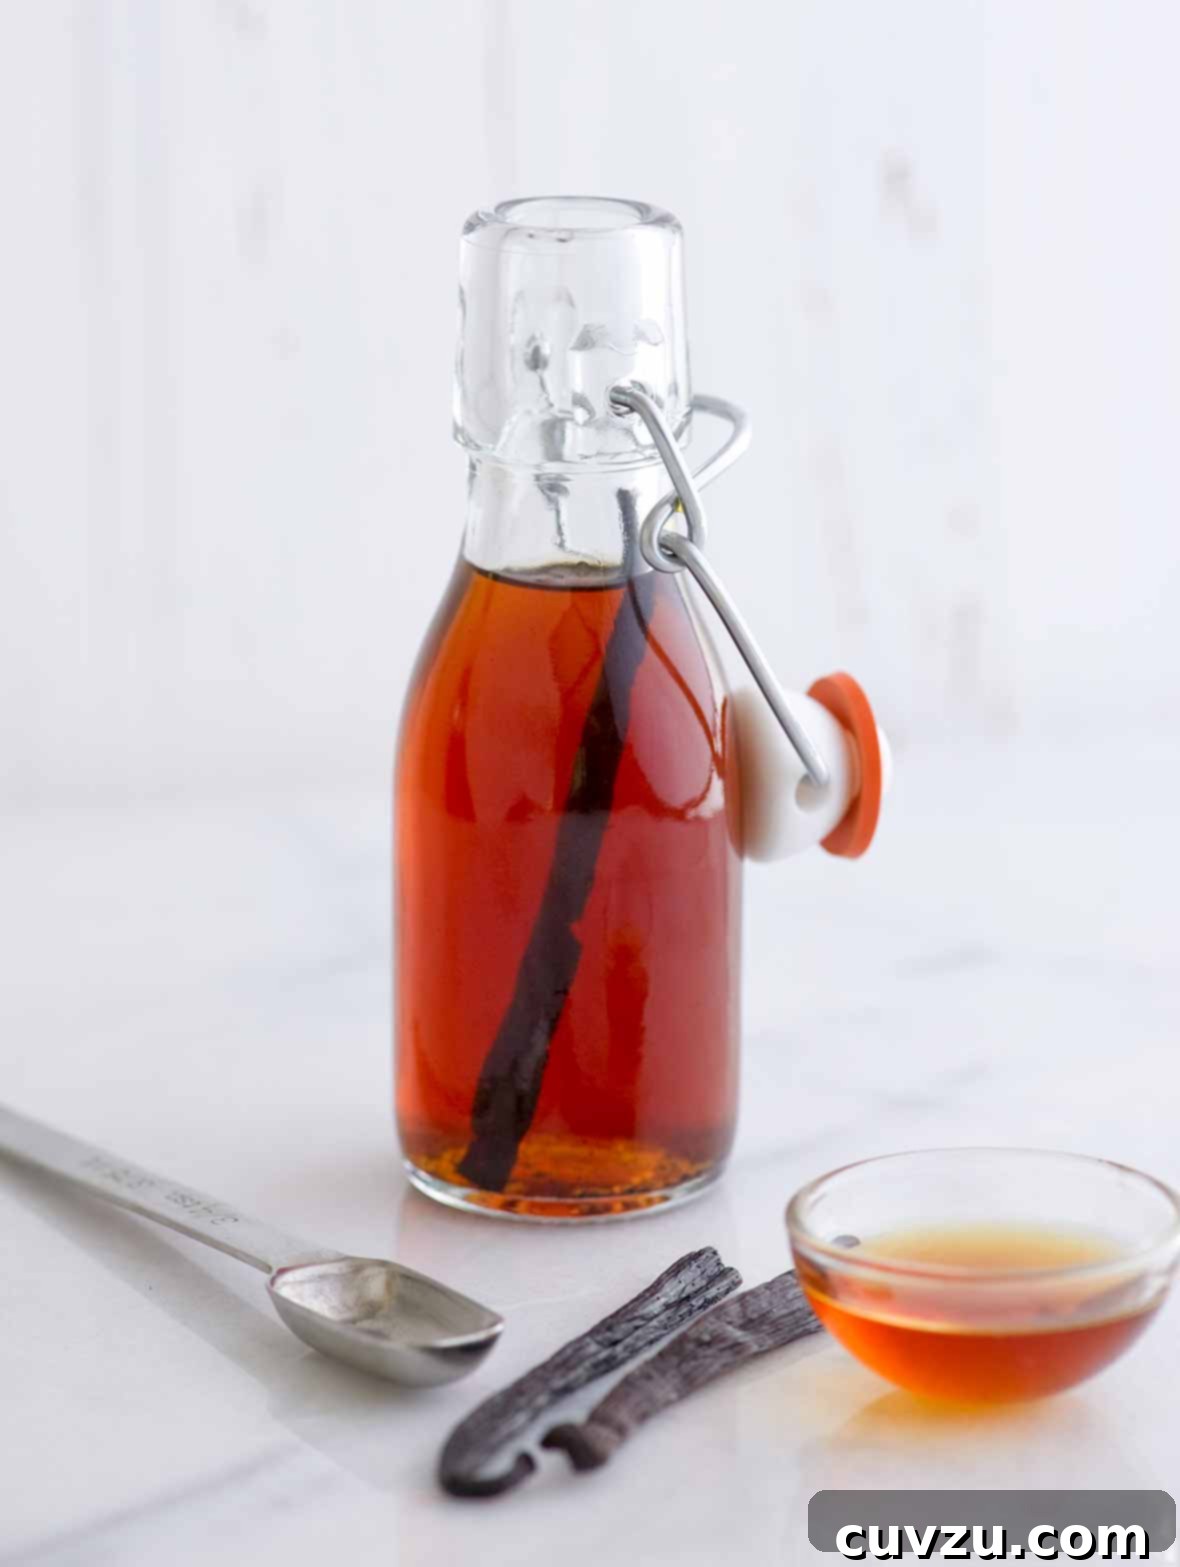
How to Make Homemade Vanilla Extract: Elevate Your Baking with Unmatched Flavor
For any dedicated home baker, mastering the art of making homemade vanilla extract isn’t just a delightful skill; it’s a game-changer. While many recipes opt for a single spirit base like brandy or vodka, our unique approach combines both to achieve an extraordinary level of complexity that truly sets it apart. Initially, the robust alcohol presence might be quite noticeable, especially if you take an early sniff of your nascent extract. However, rest assured that this booziness will gracefully mellow with time, allowing the profound and delicate vanilla notes to emerge, growing more pronounced and captivating with each passing week.
The secret to this simple yet deeply rewarding DIY project lies in one indispensable ingredient: patience. This isn’t just a virtue here; it’s the very essence of creating a truly magnificent vanilla extract. If you plan to share your liquid gold as a thoughtful gift before it reaches its peak maturity, consider attaching a charming tag with a gentle reminder: “Do not open until [INSERT A DATE THREE MONTHS HENCE].” This not only ensures your recipients experience the extract at its best but also builds delightful anticipation. Trust us, the wait is absolutely worth it.
Why Homemade Vanilla Extract Reigns Supreme in Every Kitchen
The allure of homemade vanilla extract extends far beyond simple cost savings. It’s about crafting a product of superior quality, unmatched depth, and pure flavor that commercial extracts often struggle to replicate. Store-bought vanilla extracts, while convenient, can sometimes contain artificial flavors, sweeteners, or corn syrup, detracting from the true essence of vanilla. When you make your own, you control every ingredient, ensuring a clean, potent, and authentically fragrant extract that will elevate everything from cookies and cakes to sauces and savory dishes.
Moreover, the process itself is incredibly satisfying. Watching vanilla beans slowly infuse their magic into alcohol over weeks and months is a testament to natural alchemy. The resulting extract offers a nuanced flavor profile that commercial versions simply can’t achieve, boasting hints of floral, woody, and even smoky undertones, depending on the beans and alcohol you choose. It’s a foundational ingredient that brings warmth and sophistication to countless recipes, making it a staple for any serious cook or baker.
The Essential Ingredients for Your Vanilla Extract Journey
Choosing Your Vanilla Beans: A World of Flavor at Your Fingertips
The quality and type of vanilla beans you select will profoundly influence the final flavor of your homemade vanilla extract. Don’t skimp on this crucial ingredient! Here are some popular varieties and what they bring to your extract:
- Tahitian Vanilla Beans: Known for their floral, fruity, and cherry-like aroma, Tahitian beans impart a wonderfully exotic and sweet flavor, often with notes of licorice or anise. They are plump and moist.
- Bourbon (Madagascar) Vanilla Beans: These are perhaps the most popular and versatile. Madagascar Bourbon beans offer a classic, rich, creamy, and sweet vanilla flavor, often described as having buttery or caramel notes. They are long, slender, and pliable.
- Mexican Vanilla Beans: Offering a bolder, smokier, and spicier flavor profile, Mexican vanilla beans are fantastic for those seeking a deeper, more robust extract. They might have hints of chocolate or clove.
When purchasing vanilla beans, look for those that are plump, moist, and pliable. Avoid dry, brittle beans, as they will yield less flavor. For an average-strength extract, a good rule of thumb is to use about 1 ounce (approximately 5-7 beans, depending on size) per 8 ounces of alcohol. Splitting the beans lengthwise and scraping out the tiny seeds (the “vanilla caviar”) before adding them to the alcohol will maximize flavor extraction.
Selecting Your Spirits: The Foundation of Flavor
The alcohol serves as the solvent that extracts and preserves the vanilla flavor compounds. The choice of spirit can subtly influence the final taste of your extract. Our recipe calls for a blend of brandy and vodka for unparalleled depth, but let’s explore why:
- Vodka: A neutral spirit, vodka is an excellent base because it allows the pure vanilla flavor to shine without adding its own distinct taste. Opt for a good quality, unflavored vodka (at least 80 proof/40% alcohol by volume) to ensure a clean extraction. As tester Elsa M. Jacobson notes, if you opt for vanilla-flavored vodka, choose a higher-end brand made with real vanilla, otherwise, the quality of your extract will suffer.
- Brandy: Brandy, derived from distilled wine, adds a wonderful warmth, sweetness, and a subtle fruitiness to the vanilla extract. It brings a layer of complexity that complements the vanilla beautifully, creating a richer, more rounded flavor. A mid-range brandy works perfectly; no need for top-shelf.
The Magic of Combining Them: The blend of vodka and brandy offers the best of both worlds: the clean vanilla notes from the vodka, enhanced by the deep, warm undertones of the brandy. This combination yields an extract that is both bright and deeply nuanced, perfect for a wide range of culinary applications.
Other Spirit Options: While our recipe leans into the brandy and vodka blend, don’t hesitate to experiment with other spirits:
- Bourbon: For a smokier, more caramel-like vanilla extract, bourbon is an excellent choice. Its inherent sweetness and oak notes pair wonderfully with vanilla.
- Rum: Dark rum can impart a rich, sweet, and slightly molasses-like flavor, creating a decadent vanilla extract perfect for tropical desserts or richer baked goods.
Whichever spirit you choose, ensure it’s at least 80 proof (40% alcohol by volume) for effective extraction and preservation.
Mastering the Art of Vanilla Extraction: Patience is a Virtue
The process of making homemade vanilla extract is remarkably straightforward, but its success hinges entirely on one crucial element: time. The longer your vanilla beans steep, the richer, deeper, and more complex your extract will become. This isn’t an instant gratification project; it’s a slow, deliberate dance of flavors that rewards those who wait.
Preparation is Key
Before beginning, ensure your glass jar is clean and sterilized. Then, prepare your vanilla beans:
- Using a sharp paring knife, carefully split each vanilla bean lengthwise, from top to bottom, but leave about a quarter-inch unsplit at one end. This allows the inner seeds to be exposed while keeping the bean intact.
- Gently scrape out the tiny, moist seeds (the “vanilla caviar”) from inside each bean. These seeds are packed with flavor.
- Place both the scraped vanilla bean pods and the collected seeds into your clean 1-quart glass jar.
The Steeping Process and Beyond
Once your beans are in the jar, it’s time to add the spirits:
- Pour in the brandy and vodka (or your chosen spirits). Ensure the vanilla beans are fully submerged.
- If you choose to, add the optional 3 ounces of store-bought vanilla extract. This can accelerate the flavor development, giving you a usable extract sooner, but it’s by no means essential for a stellar end product. A more natural way to boost flavor is to save vanilla pods from which you’ve scraped seeds for other recipes and occasionally add them to your jar.
- Seal the jar tightly with a lid.
- Store the jar in a cool, dark place, away from direct sunlight. A pantry or cupboard is ideal.
- Shake the jar gently once a week or every few days to help distribute the flavors.
During the initial weeks, you might notice a strong, almost boozy aroma from the extract. This is perfectly normal! As Renee Schettler Rossi wisely points out, this “boozy intensity” is merely the alcohol doing its job. With time, it will mellow, and the glorious vanilla fragrance will take center stage. The minimum recommended steeping time is three months, but many enthusiasts advocate for six months to a year for the deepest, most nuanced flavor. The longer it sits, the more profound the vanilla essence becomes.
How Long Will Homemade Vanilla Extract Keep?
One of the most appealing aspects of homemade vanilla extract is its incredible longevity. When stored correctly – tightly covered in a glass jar or bottle at room temperature in a cool, dark place – your homemade vanilla extract will last indefinitely. The high alcohol content acts as a natural preservative, meaning your investment in time and quality ingredients will continue to pay dividends for years to come. In fact, many believe the flavor only improves with age, becoming richer and more concentrated over time.
Homemade Vanilla Extract Recipe
Making homemade vanilla extract from vanilla beans is surprisingly simple and yields a complex flavor profile that far surpasses store-bought varieties. You’ll never look back!
Author: David Leite
Course: Dessert | Cuisine: American | Servings: 316 servings | Calories: 7 kcal
Prep Time: 5 minutes | Total Time: 3 months+
Ingredients
- 1 2/3 cups brandy
- 1 2/3 cups vodka
- 5 vanilla beans, preferably Tahitian or Bourbon, split lengthwise and seeds scraped
- 3 ounces vanilla extract (optional, preferably Tahitian or Bourbon, to boost flavor quickly)
Instructions
- In a 1-quart glass jar, combine the brandy, vodka, vanilla bean pods, and scraped vanilla seeds. If you’re using the optional vanilla extract for a quicker flavor boost, add it now. Place the lid on the jar and store the mixture in a cool, dark place for a minimum of 3 months. (Editor’s Note: The optional vanilla extract can accelerate flavor development, but it’s not essential. Another excellent way to intensify the vanilla flavor naturally is to save vanilla pods whose seeds you’ve used for other recipes and periodically add them to your extract jar.)
- Once the extract has matured to your liking, you can decant it into small, airtight bottles for gifting or storage. Ensure the bottles are tightly sealed with a screw-on lid or a cork. The extract will maintain its quality indefinitely when kept at room temperature, away from direct light.
Adapted From
Sweet Confections
Buy On Amazon
Beyond the Bottle: Tips for Maintaining and Using Your Extract
Topping Up Your Vanilla Extract: The Perpetual Extract
One of the most frequently asked questions about homemade vanilla extract, eloquently posed by recipe tester Kristen Kennedy, is whether you can continually replenish your bottle. The answer is a resounding yes! Your homemade vanilla extract can truly be a “perpetual extract.” As you use up the liquid, simply add more fresh vodka, brandy, or a combination of both to the jar. For every cup of extract you’ve used, you might want to add 1-2 fresh vanilla beans to maintain potency. Over time, the flavor will deepen as the original beans continue to infuse, and new beans add their fresh zest. Just remember to give it a little shake whenever you top it up and allow it a few weeks to re-infuse before heavy use.
Gifting Homemade Vanilla Extract: A Thoughtful Gesture
Homemade vanilla extract makes an incredibly thoughtful and gourmet gift for holidays, birthdays, or any special occasion. It demonstrates care, culinary prowess, and a touch of luxury. Here’s how to make your gifts extra special:
- Choose Charming Bottles: Small, clear glass bottles with tight-fitting caps or corks are perfect. Look for interesting shapes or amber glass to protect the extract from light.
- Add a Label: Design simple, elegant labels that include the name of the extract (e.g., “Homemade Vanilla Extract”), the date it was started, and perhaps a small personal message.
- Include a Vanilla Bean: Tuck a fresh, whole vanilla bean into each gifted bottle. Not only does it look beautiful, but it also continues to infuse the extract, intensifying its flavor.
- The Patience Note: If gifting before the extract is fully mature (less than 3-6 months old), include a tag with a friendly reminder: “This vanilla extract is still maturing! For the best flavor, please do not open until [insert a date a few months from now].” This ensures your recipient experiences the full depth of flavor you intended.
Creative Uses for Your Premium Vanilla Extract
While vanilla extract is a staple in baking, its rich flavor can enhance much more than just sweets:
- Coffee & Hot Beverages: Add a splash to your morning coffee, hot chocolate, or chai tea for an instant gourmet upgrade.
- Cocktails: Vanilla pairs beautifully with many spirits. Experiment with a few drops in bourbon cocktails, espresso martinis, or even a simple vanilla-infused vodka tonic.
- Savory Dishes: Don’t limit vanilla to desserts! A touch of vanilla can add surprising depth to savory sauces, glazes for pork or chicken, or even salad dressings. It balances richness and adds a subtle aromatic complexity.
- Whipped Cream & Icings: Elevate homemade whipped cream, buttercream, or glazes with a generous pour of your rich extract.
Insights from Our Recipe Testers
Our dedicated recipe testers put this homemade vanilla extract recipe through its paces, offering valuable insights and experiences that enrich our understanding of this fantastic DIY project.
Kristen Kennedy’s Enduring Delight
Kristen Kennedy, after a year of letting her homemade vanilla extract mature, declares she will “never bother buying vanilla extract again.” She describes the flavor as “lovely, deep, almost intimate,” a testament to the transformative power of time. Her insightful question about topping up the bottle with more brandy or bourbon each time a bit is used highlights a practical concern for anyone making their own extract, confirming the “perpetual extract” method is a popular and effective approach.
Elsa M. Jacobson’s Swedish Touch and Quality Advice
Elsa M. Jacobson, a connoisseur who previously received homemade vanilla extract as a gift, was eager to pay the goodness forward. True to her Swedish heritage, she opted for Absolut Vanilla vodka and Madagascar Bourbon beans. Her key takeaway is a word of caution regarding vanilla vodka: only use a higher-end, real vanilla-based flavored vodka if seeking a “double-powered effect.” Cheaper versions, she warns, will impart an undesirable artificial taste. Elsa also advocates for patience, preferring the natural intensification of flavor over adding store-bought extract, although she acknowledges the immediate usability of the extract even before its three-month maturation.
Helen Doberstein’s Comparative Experiment
Helen Doberstein, surprised by the simplicity of the process, embarked on a fascinating experiment, preparing several jars using different liquor bases. She compared a batch made strictly according to the recipe (brandy and vodka) with and without the optional vanilla extract, as well as batches made with just vodka and just brandy. Her findings are incredibly helpful:
- The original recipe (brandy and vodka) yielded an extract as good as store-bought.
- The addition of store-bought vanilla extract didn’t seem to significantly enhance the flavor, suggesting it can be omitted.
- The vodka-only extract was “sharp” in both smell and taste, indicating it might not be ideal as a single base.
- The brandy-only extract was “very smooth and as good as the one with the 2 liquors.”
Helen’s conclusion—that she’ll gladly make this “set-and-forget recipe” again due to its excellent results—underscores the ease and reward of this homemade project, particularly for those who appreciate the depth a brandy base provides.
Frequently Asked Questions about Homemade Vanilla Extract
Can I use my homemade vanilla extract right away?
While the extract technically begins to infuse immediately, it will have a strong alcohol aroma and a milder vanilla flavor if used right away. For the best, most complex and mellow flavor, it’s highly recommended to wait at least 3 months. Many aficionados prefer to wait 6 months to a year for optimal results. Patience truly is key for the best flavor.
What’s the best type of alcohol for vanilla extract?
The “best” alcohol depends on your desired flavor profile. Neutral spirits like vodka allow the vanilla flavor to shine purest. Brandy adds warmth, sweetness, and complexity. Bourbon or rum can introduce smoky, caramel, or molasses notes. Our recipe combines vodka and brandy for a well-rounded and deeply nuanced extract.
How do I store homemade vanilla extract?
Store your homemade vanilla extract in a tightly sealed glass jar or bottle in a cool, dark place, such as a pantry or cupboard. Protect it from direct sunlight and extreme temperature fluctuations. When stored properly, homemade vanilla extract will last indefinitely.
Can I reuse vanilla beans?
Absolutely! The vanilla beans in your extract jar will continue to infuse flavor. As you use the extract, you can “top up” the jar with more alcohol and, if you wish to maintain potency, add a fresh vanilla bean or two for every cup of extract you’ve removed. The beans will continue to yield flavor for a very long time, essentially creating a perpetual vanilla extract.
Is it worth making my own vanilla extract?
Unequivocally, yes! Making your own vanilla extract is cost-effective in the long run, allows you to control the quality of ingredients, and produces a far superior flavor compared to most store-bought options. The process is simple, and the reward is a gourmet ingredient that will elevate all your culinary creations.
Nutrition
Serving: 0.5 teaspoon | Calories: 7 kcal | Carbohydrates: 1 g | Protein: 1 g | Fat: 1 g | Saturated Fat: 1 g | Monounsaturated Fat: 1 g | Sodium: 1 mg | Sugar: 1 g
Nutrition information is automatically calculated, so should only be used as an approximation.
Tried this recipe?
Mention @leitesculinaria or tag #leitesculinaria!