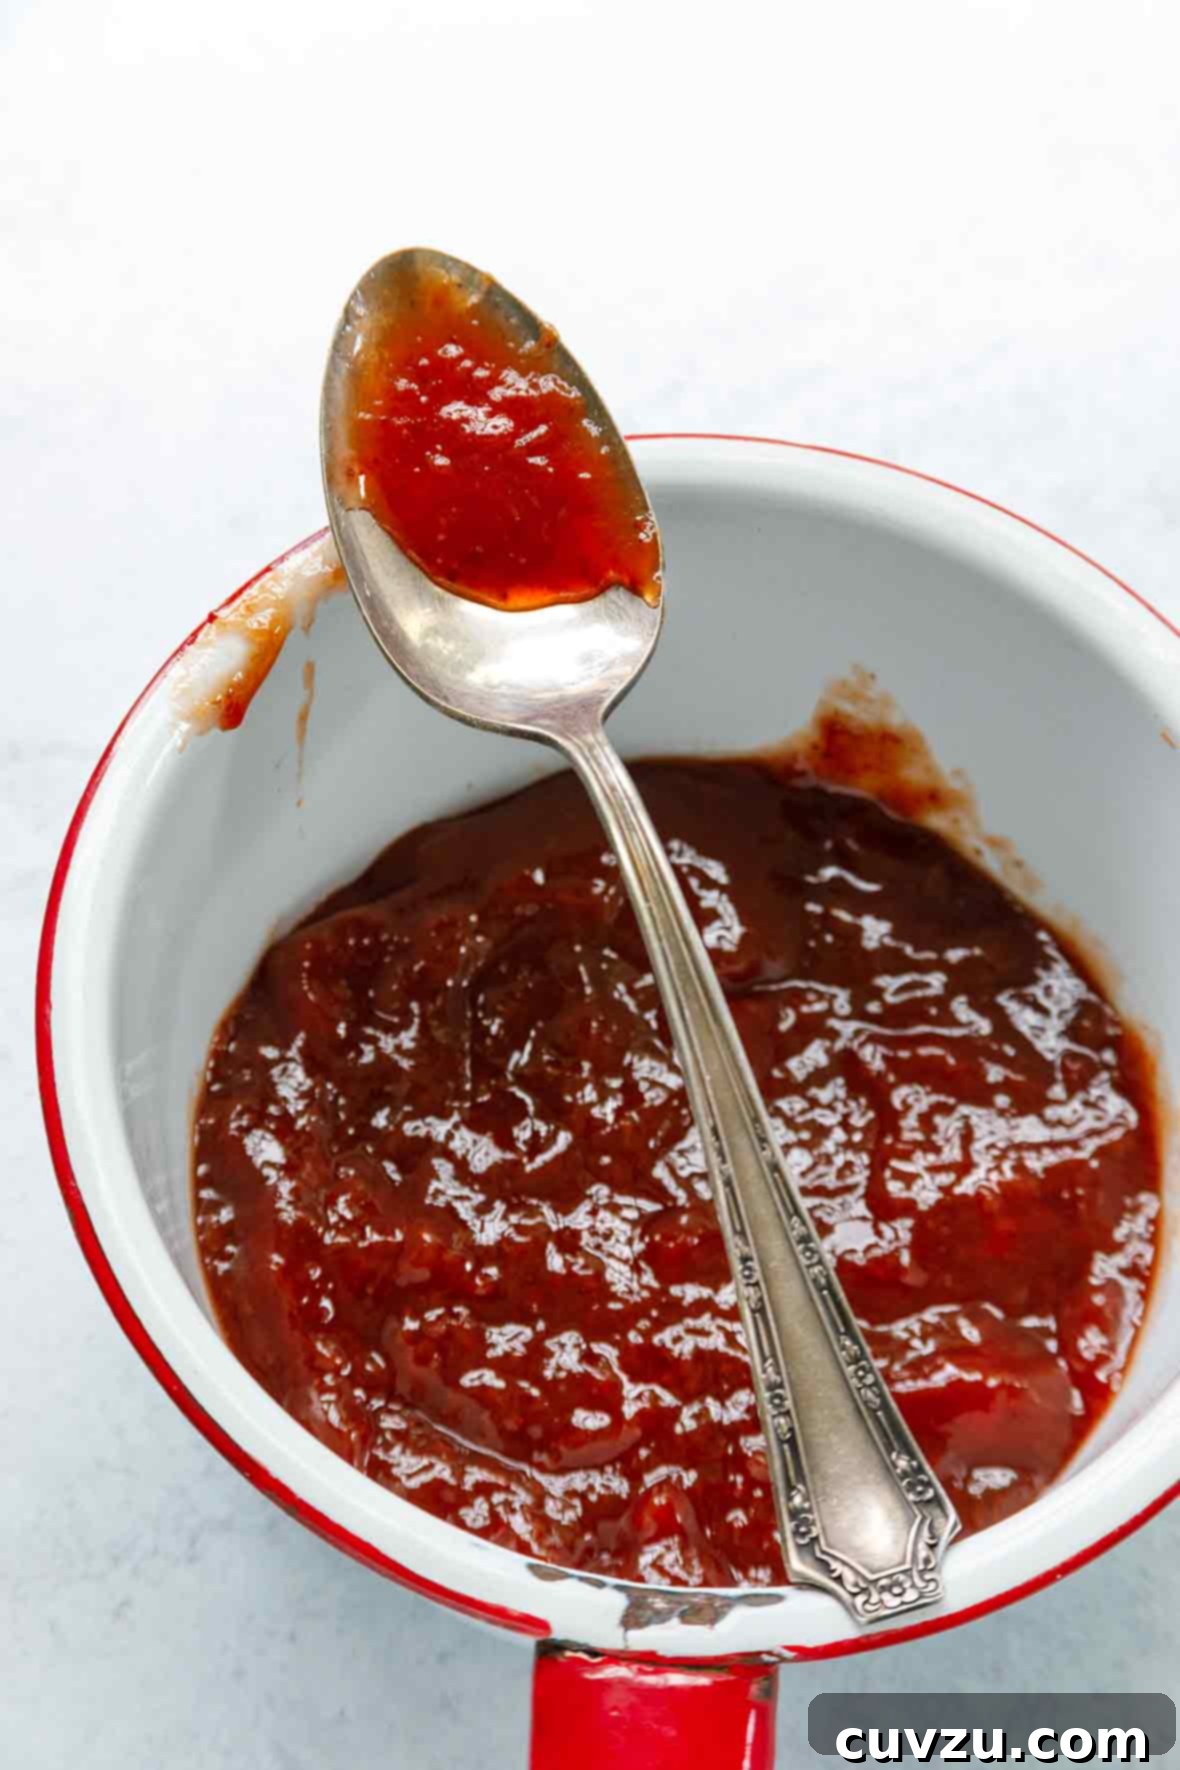
There’s nothing quite like the vibrant taste of homemade strawberry jam. This strawberry jam recipe offers an incredibly easy, small-batch approach to creating a preserve that bursts with fresh fruit flavor. Eschewing the need for commercial pectin and complex canning procedures, this recipe focuses on the pure essence of strawberries, sugar, and a touch of lemon juice. It’s the perfect solution for anyone eager to savor the summer’s bounty without the fuss, yielding a delightful preserve that’s ready to enjoy with minimal effort.
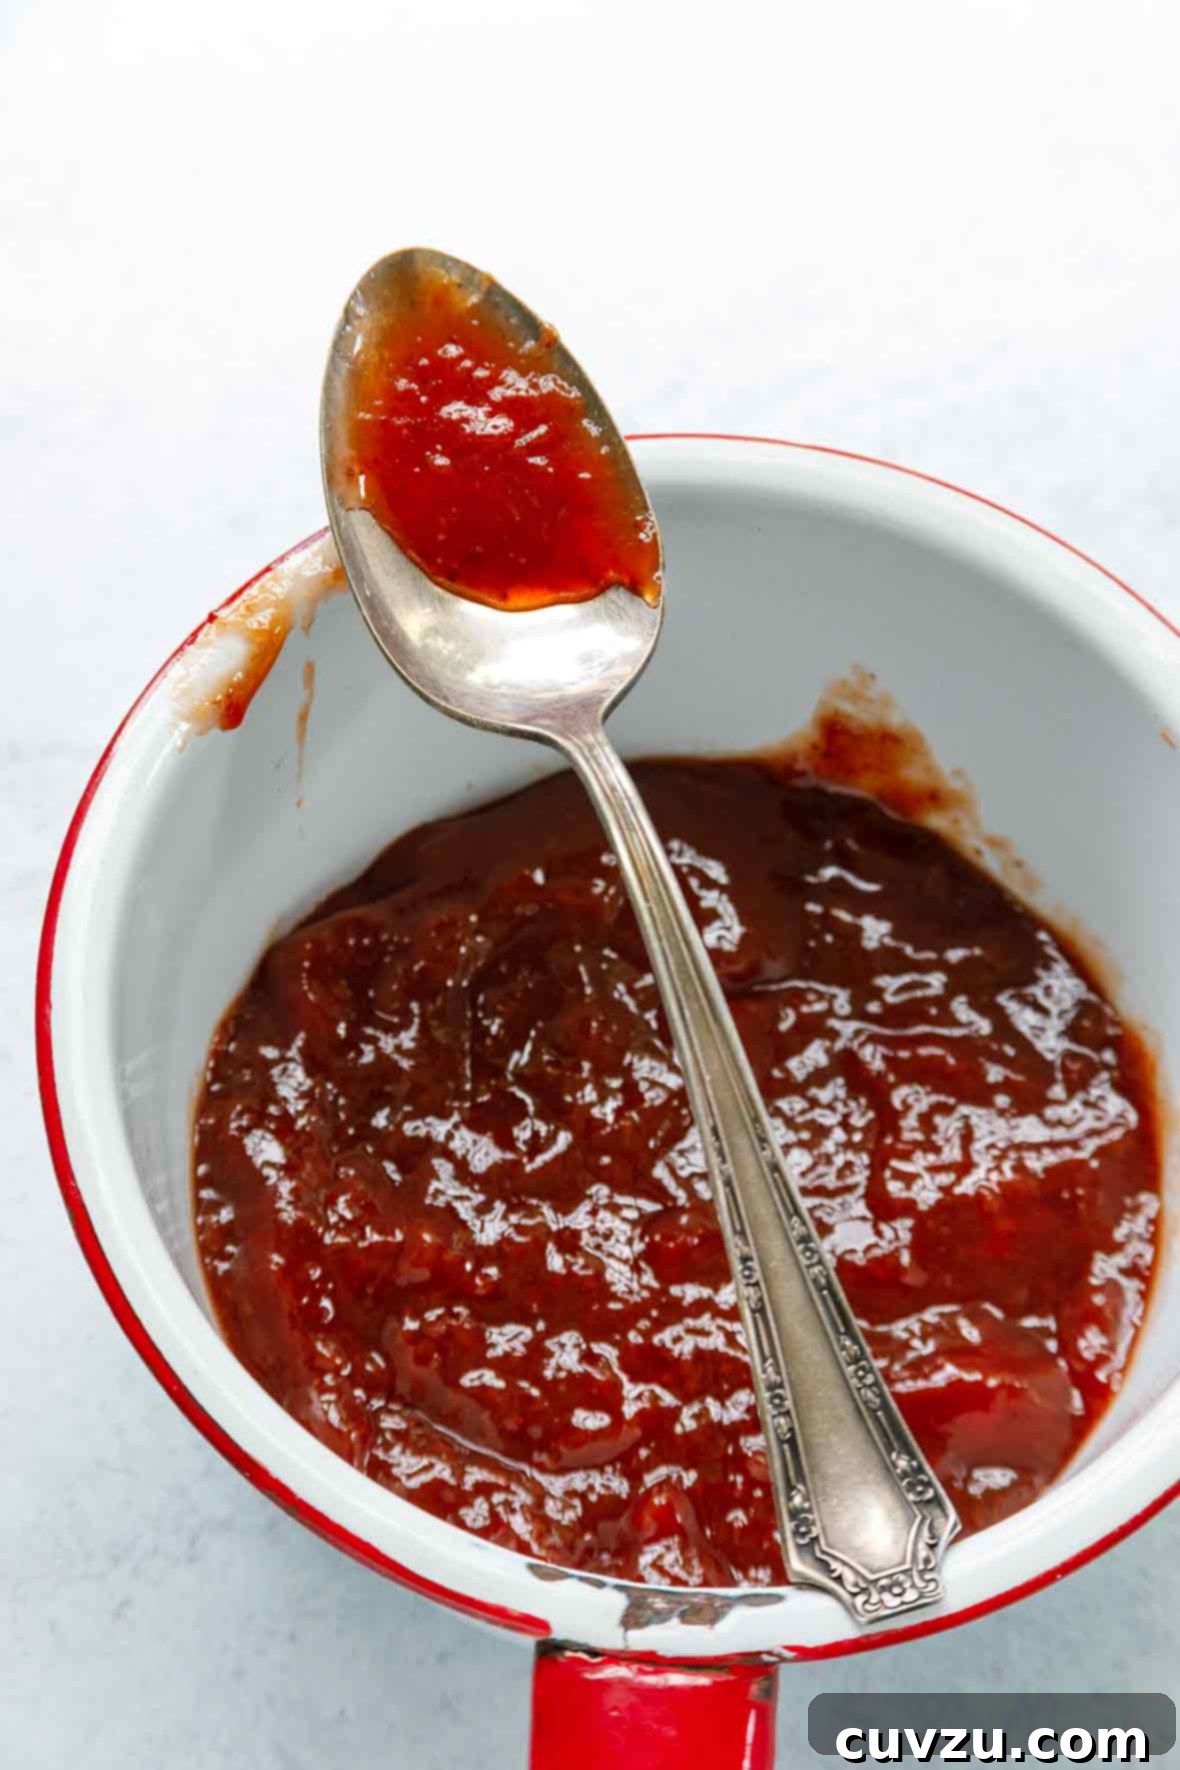
The Magic of No-Canning Refrigerator Jam: Effortless Preservation
For many home cooks, the thought of traditional canning can be daunting. Sterilizing jars, precise processing times, and specialized equipment often deter even the most enthusiastic bakers from venturing into homemade preserves. But what if we told you there’s a simpler, more accessible way to enjoy fresh, homemade jam? Enter the world of refrigerator jam – a game-changer for casual cooks and busy households alike.
This method brilliantly sidesteps the complexities of water bath canning, making delicious fruit preserves achievable for everyone. Instead of creating a shelf-stable product for long-term pantry storage, we focus on small, manageable batches designed for immediate enjoyment and short-term refrigeration or freezing. This approach is not about cutting corners on flavor or quality; it’s about embracing convenience and freshness.
The beauty of refrigerator jam lies in its minimal requirements. You won’t need a canning pot, jar lifters, or a deep understanding of headspace and vacuum seals. All you need are basic kitchen tools, a few simple ingredients, and a refrigerator to keep your delectable creation fresh. This makes it an ideal project for using up a sudden bounty of seasonal fruit – like those irresistible strawberries you picked up at the farmers’ market – before they lose their peak ripeness.
Moreover, small-batch jam allows for more frequent experimentation with different fruit flavors throughout the year. Instead of committing to a massive haul of one type of jam, you can enjoy strawberry jam now, then move on to raspberry, blueberry, or apricot preserves as their seasons arrive. This keeps your breakfast table exciting and your palate delighted with an ever-changing array of fresh, homemade spreads.
Versatile Ways to Enjoy Your Homemade Strawberry Jam
Once you’ve experienced the joy of making this effortless homemade strawberry jam, you’ll find countless ways to incorporate its vibrant flavor into your daily routine and special occasions. Its rich, fruity essence and beautiful red hue make it far more than just a breakfast spread; it’s a culinary enhancer ready to elevate a variety of dishes.
Start with the classics: a generous dollop on fluffy pancakes, crisp waffles, or warm, buttered toast. Imagine spreading it between slices of freshly baked homemade bread for an unparalleled sandwich experience. It’s also superb as a filling for a simple sponge cake or layered into miniature sweet tart shells, perhaps crowned with a whisper of whipped cream for an elegant dessert. Don’t limit yourself to just sweets; try pairing it with a creamy triple cream brie and a crusty baguette for a sophisticated cheese board appetizer, as suggested by one of our enthusiastic recipe testers.
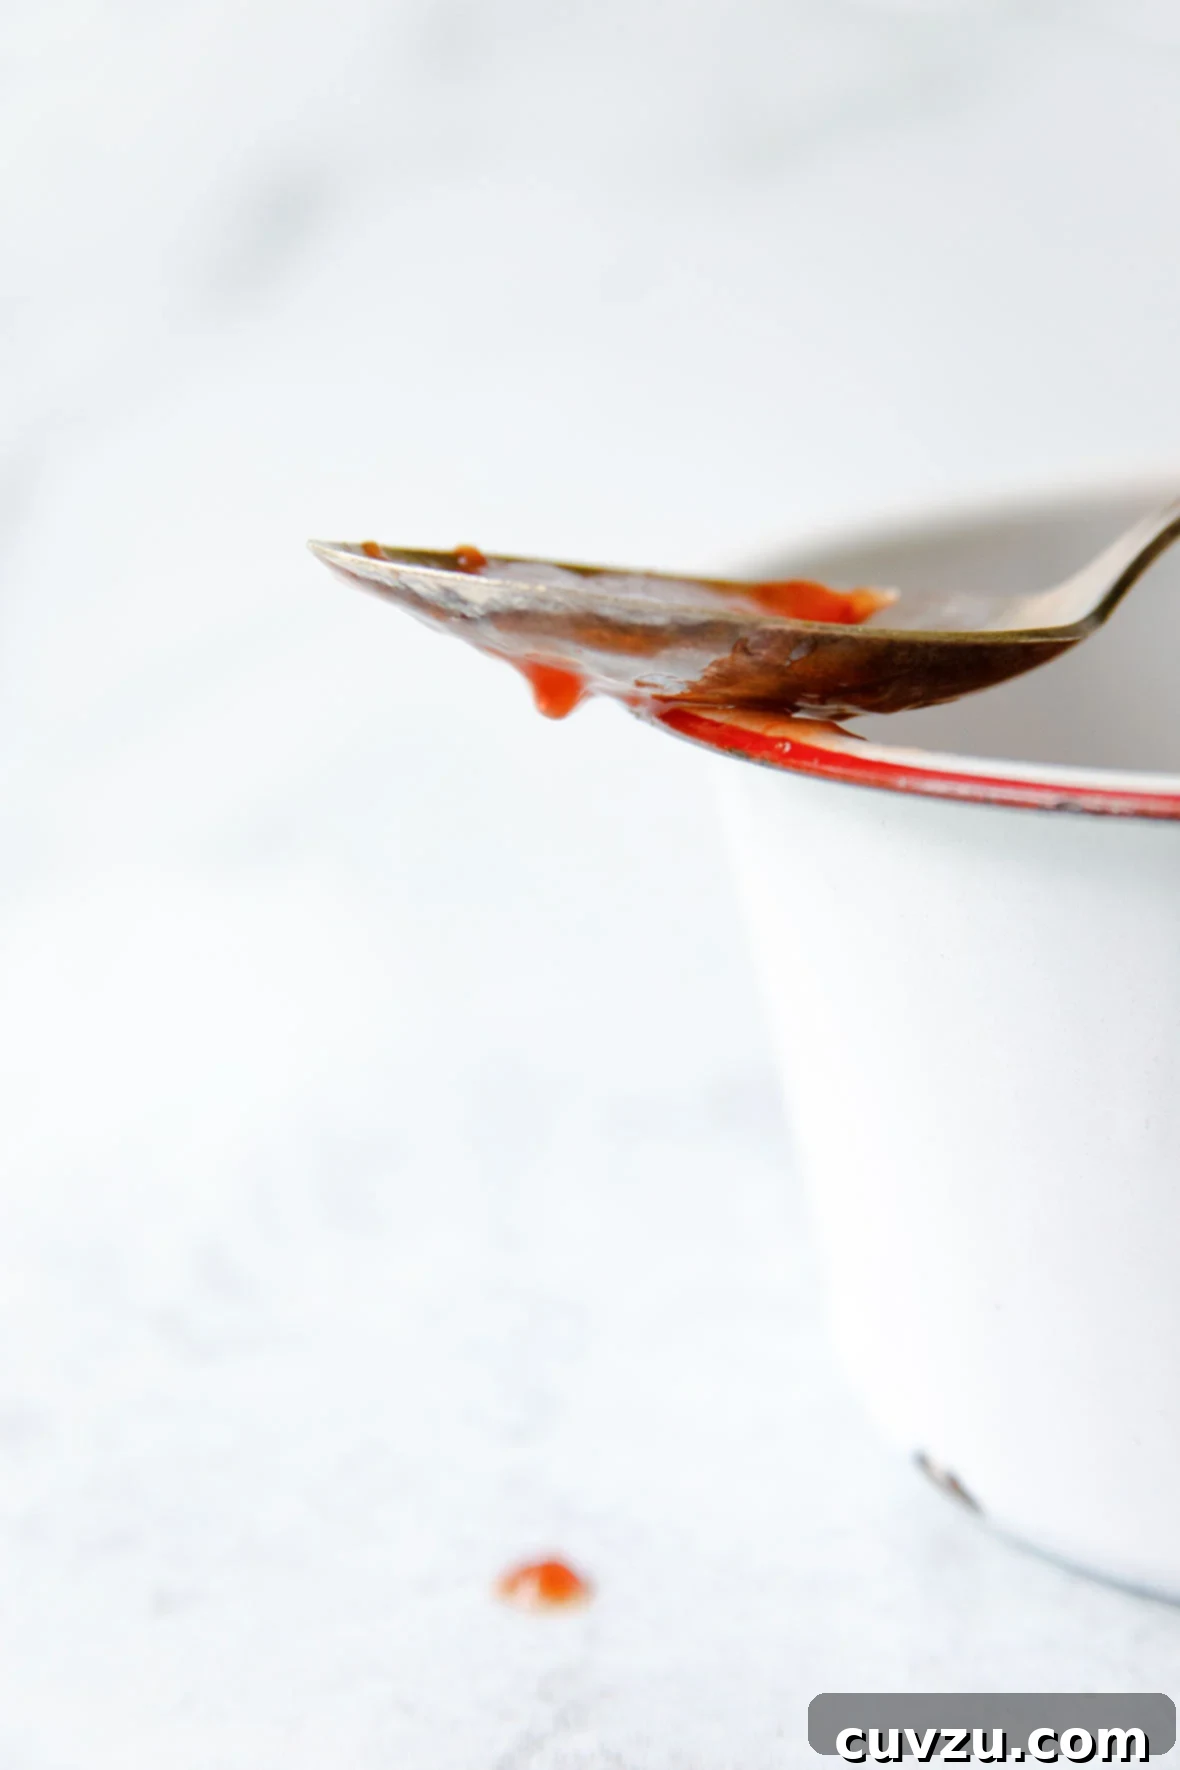
Beyond the obvious, let your creativity flow. Stir a spoonful into your morning yogurt or oatmeal for an instant flavor boost. Use it as a glaze for roasted chicken or pork tenderloin, creating a delightful sweet-and-savory contrast. For a refreshing beverage, mix a spoonful into sparkling water or use it as a base for a summery cocktail like a strawberry smash or daiquiri. While it might be a tad loose for traditional jam thumbprint cookies, as one tester noted, its incredible flavor makes it suitable for almost any other jam application you can dream up.
The beauty of this recipe also lies in its adaptability. Whether you prefer a perfectly smooth, velvety jam or one with delightful chunks of fruit, you can easily achieve your desired consistency. A quick pulse in the blender will create a rustic, chunky preserve, while a longer blend will result in a silken spread. The choice is yours, ensuring every batch perfectly matches your preference.
Easy Small-Batch Strawberry Jam (No Pectin, No Canning)
David Leite
Condiments, Breakfast
American
24 servings | Approximately 1 1/2 cups
40 kcal
25
20
45
Equipment You’ll Need
-
Nonreactive bowl
-
Large, heavy-bottomed jam pan or wide saucepan
-
Blender or immersion blender
-
Small, clean resealable containers or jars (4-ounce recommended) (See note below regarding sterilization)
Ingredients for Fresh Strawberry Jam
- 3 1/2 cups fresh strawberries, rinsed, hulled, and preferably small (small berries often carry more intense flavor)
- 1 cup superfine sugar, (alternatively, finely blitz granulated sugar in a blender until fine but not powdered)
- 1 lemon, freshly juiced
Step-by-Step Instructions
-
Begin by preparing your strawberries. Quarter them, or if they are particularly large, cut them into smaller, uniform chunks. The size of your strawberry pieces will influence the final texture of your jam.
-
Place the prepared strawberries in a nonreactive bowl (glass, ceramic, or stainless steel works best). Add the superfine sugar and freshly squeezed lemon juice. Toss all ingredients thoroughly to ensure the strawberries are well coated. Cover the bowl and refrigerate overnight, allowing the strawberries to macerate and release their natural juices. This crucial step helps create a rich syrup and intensifies the fruit flavor.
-
The next day, strain all the accumulated liquid from the macerated strawberries into a large, heavy-bottomed jam pan or a wide saucepan. Add approximately half of the strawberry pieces to the pan with the liquid. Bring this mixture to a rolling boil over medium-high heat, then reduce the heat and simmer gently. Continue to simmer for about 15 minutes, or until the juices have visibly thickened. This initial cooking helps to reduce the liquid and begin the gelling process.
-
Remove the pan from the heat and allow the mixture to cool for at least 10 minutes. This cooling period helps the jam settle and makes the blending process safer.
-
Carefully transfer the cooked strawberry mixture to a blender. Purée until it reaches your desired consistency – smooth for a classic spread, or pulsed a few times for a delightful chunky jam. If using an immersion blender, you can purée directly in the saucepan to minimize mess.
-
Return the puréed mixture to the pan. Add the remaining raw strawberry pieces and bring the jam back to a boil. Reduce the heat to low and continue to simmer gently for another 10 to 15 minutes, stirring occasionally. This second cooking phase allows the remaining strawberries to soften and meld into the jam, while further thickening the preserve.
To test if the jam is ready, drop a teaspoonful onto a chilled plate. Tilt the plate almost vertically. If the jam is done, it will cling to the plate and slowly glide down, rather than running quickly. It should also have a lovely red hue and look quite sticky. If it runs too freely, continue simmering for a few more minutes and retest until it reaches the desired set. -
Once the jam has reached its perfect consistency, carefully spoon it into your small, clean jars or resealable plastic containers. Allow it to cool completely before sealing. Since this jam is not processed using traditional canning methods, it must be stored in the refrigerator for up to two weeks. For longer storage, spoon the cooled jam into freezer-safe containers, leaving about ½-inch headspace, and freeze for up to three months. Label and date your containers for easy tracking.
Important: This is a refrigerator jam and is not shelf-stable. It must be kept refrigerated or frozen.
Helpful Notes & Variations
Refrigerator Jam Safety & Storage
Ensuring the safety and longevity of your refrigerator jam is simple with a few best practices. Use clean, heatproof jars or containers. While not as stringent as canning, proper hygiene is essential. To ensure jars are clean, wash them and their lids thoroughly in hot, soapy water, rinse well, and allow them to air-dry completely (avoid towel-drying, which can reintroduce bacteria). You can also run them through a dishwasher’s sanitize cycle. Fill jars with warm jam, cap them securely, and promptly refrigerate at or below 40°F (4°C). This jam typically keeps for up to two weeks in the refrigerator. For low-sugar versions, aim for 7-10 days. Always use clean utensils when serving to prevent contamination – no double-dipping! If you ever observe any mold, discard the entire jar immediately; do not taste it. For extended storage, freeze jam in freezer-safe containers, leaving about ½-inch headspace, for up to 3 months. Always label with the date of preparation.
Raspberry Jam Variation
This versatile recipe can easily be adapted for other fruits, such as raspberries. To make raspberry jam, follow the same instructions, but after the initial cooking and cooling, pass the mixture through a fine-mesh sieve. This step will remove the tiny seeds, yielding a beautifully smooth and seedless raspberry preserve. Other berry varieties like blueberries or mixed berries can also be used, adjusting sugar to taste based on the fruit’s natural sweetness.

Adapted From
This recipe is lovingly adapted from “Apples for Jam,” a wonderful collection of preserves.
Buy On Amazon
Nutrition Information (Approximate)
Serving Size: 1 tablespoon
- Calories: 40 kcal
- Carbohydrates: 10 g
- Protein: 0.2 g
- Fat: 0.1 g
- Saturated Fat: 0.004 g
- Monounsaturated Fat: 0.01 g
- Sodium: 0.3 mg
- Fiber: 0.5 g
- Sugar: 9 g
Nutrition information is automatically calculated and should only be used as an approximation. Actual values may vary based on ingredients and preparation methods.
Tried this delicious recipe?
Share your culinary creation! Mention @leitesculinaria or tag #leitesculinaria on Instagram! We love seeing your homemade jams!
What Our Recipe Testers Are Saying About This Strawberry Jam
Our team of dedicated recipe testers consistently raves about this strawberry jam. Their feedback highlights its remarkable flavor, ease of preparation, and versatility. Here’s what they had to say:
Julie Dreyfoos
Julie Dreyfoos, a long-time tester, absolutely adored this recipe, exclaiming, “Oh, this is soooooo good, and so easy to make, that everyone is having PB&Js today in their lunches with homemade strawberry jam!” She emphasizes that this recipe is perfectly timed for peak strawberry season when markets are overflowing with sweet, ripe berries. It provides an excellent way to utilize an abundance of strawberries quickly and deliciously, transforming them into a fresh, homemade treat.
Julie noted that her berries were particularly juicy, which extended the cooking time slightly beyond what was stated. She wisely suggested that if subsequent batches of strawberries are equally juicy, one might consider slightly reducing the sugar content. Her reasoning is that intensely sweet berries might not require the full amount of sugar, and reducing it slightly wouldn’t compromise the delightful flavor. This insight is invaluable for those working with exceptionally sweet, seasonal fruit.
Lori Widmeyer
Lori Widmeyer’s family is completely smitten with this jam. Her son’s description, “intense fruitiness,” perfectly encapsulates the essence of this preserve. Lori highlights her extensive experience with jam making, having indulged in a “jam-making binge” fueled by the combination of school resuming and the continued availability of fantastic fruit. She compared this recipe to several others, noting that most called for significantly more sugar (three to four times the amount).
This comparison led her to ponder the taste profile of a less-sweet jam. Her conclusion? This recipe is “amazing” for anyone seeking a strawberry jam that offers incredible fruit flavor without being overly sweet. Lori also shared a practical tip she learned from a friend: freezing jam for longer storage. She successfully froze a batch for two weeks (it disappeared too quickly to test longer!) and found it to be a much easier alternative to traditional canning, reinforcing the convenience of this no-canning method.
Barbara Hinde
Barbara Hinde turns to this easy strawberry jam recipe whenever strawberries are in season, especially when the berries aren’t at their peak sweetness or are typical grocery store varieties. She praises its ability to “improve and even amplify” the flavor of any strawberry. A major draw for Barbara is the elimination of canning equipment and pectin; all she needs is a lemon. Having made this jam “probably twenty times,” she consistently finds the deep strawberry flavor to be outstanding.
Barbara describes the jam as “looser than usual with chunks of berries,” highlighting its unique texture. Her family enjoys it in diverse ways: her daughters drizzle it on triple cream brie and baguettes, her husband loves it on toast (where it delightfully fills every nook), and Barbara herself uses it creatively in cocktails as a strawberry-flavored simple syrup. While she admits its consistency makes it “a little too drippy for using in jam thumbprint cookies,” she finds it perfect for almost any other jam application imaginable.
She also shares practical tips from her extensive experience. The recipe typically fills two 13-ounce Bonne Maman jam jars for her. She confirms that the “plate test” for readiness is indeed the most reliable indicator. For easier cleanup and preparation, Barbara recommends using a stick (immersion) blender directly in the pot instead of transferring the mixture to a traditional blender. Lastly, she offers a crucial insight about sweetness: “When it’s warm, the jam might not seem sweet enough, but after chilling overnight, it’s perfectly sweet.” This reassures new jam makers not to worry about the initial taste before chilling.
Making homemade strawberry jam doesn’t have to be an intimidating ordeal. This small-batch, no-pectin, no-canning recipe empowers you to create a delightful, intensely flavorful preserve with ease. From the simple act of macerating the berries overnight to the satisfying simmer on the stovetop and the final, crucial plate test, each step is designed for success. The resulting jam is a testament to the purity of fresh strawberries, brightened by lemon, and perfectly sweetened. Whether slathered on toast, nestled in a pastry, or stirred into a vibrant cocktail, this easy strawberry jam promises to bring a taste of summer sunshine to your table, anytime. Enjoy the process, savor the flavor, and share the joy of truly homemade goodness!