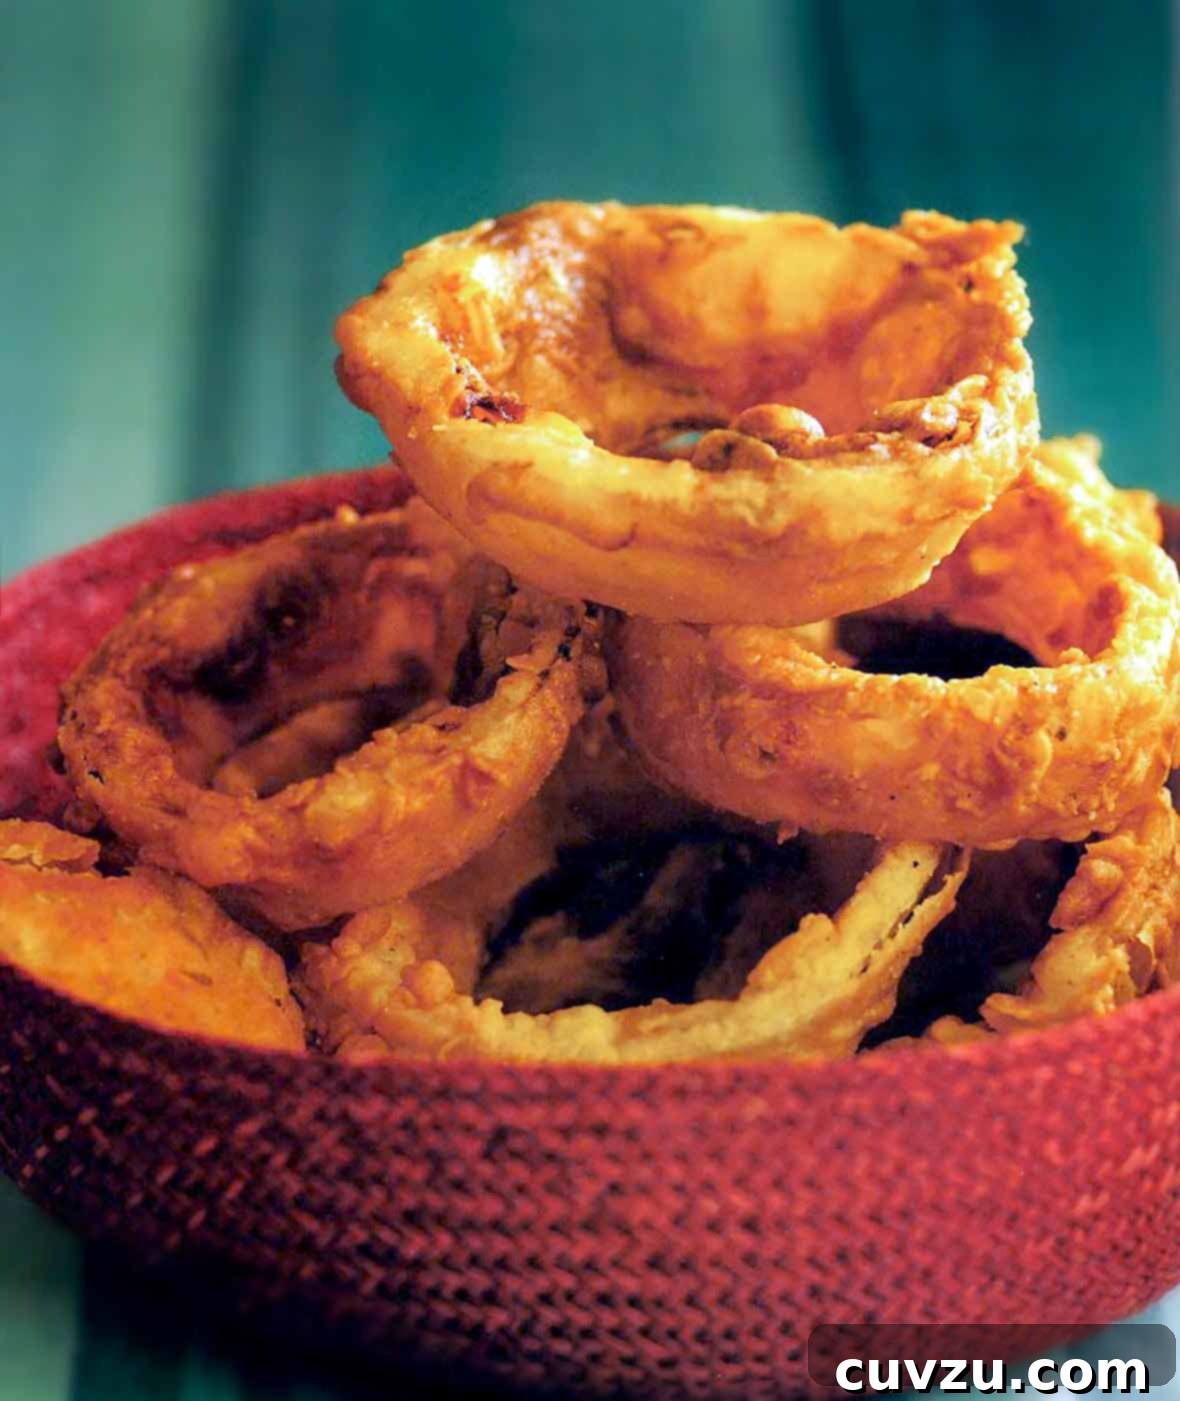
Welcome to the ultimate guide for crafting the most delectable, crispy, and tender buttermilk onion rings you’ve ever tasted. Forget those soggy, greasy imposters where the onion slips out of its breading with the first bite. Our recipe ensures a perfectly crisp exterior that adheres beautifully to a sweet, meltingly tender onion interior, all thanks to a brief buttermilk soak and a unique double-dipping flour technique. These are more than just a side dish; they’re a culinary revelation that stands spectacularly alongside a juicy burger, a perfectly grilled steak, or simply as an irresistible snack on their own.
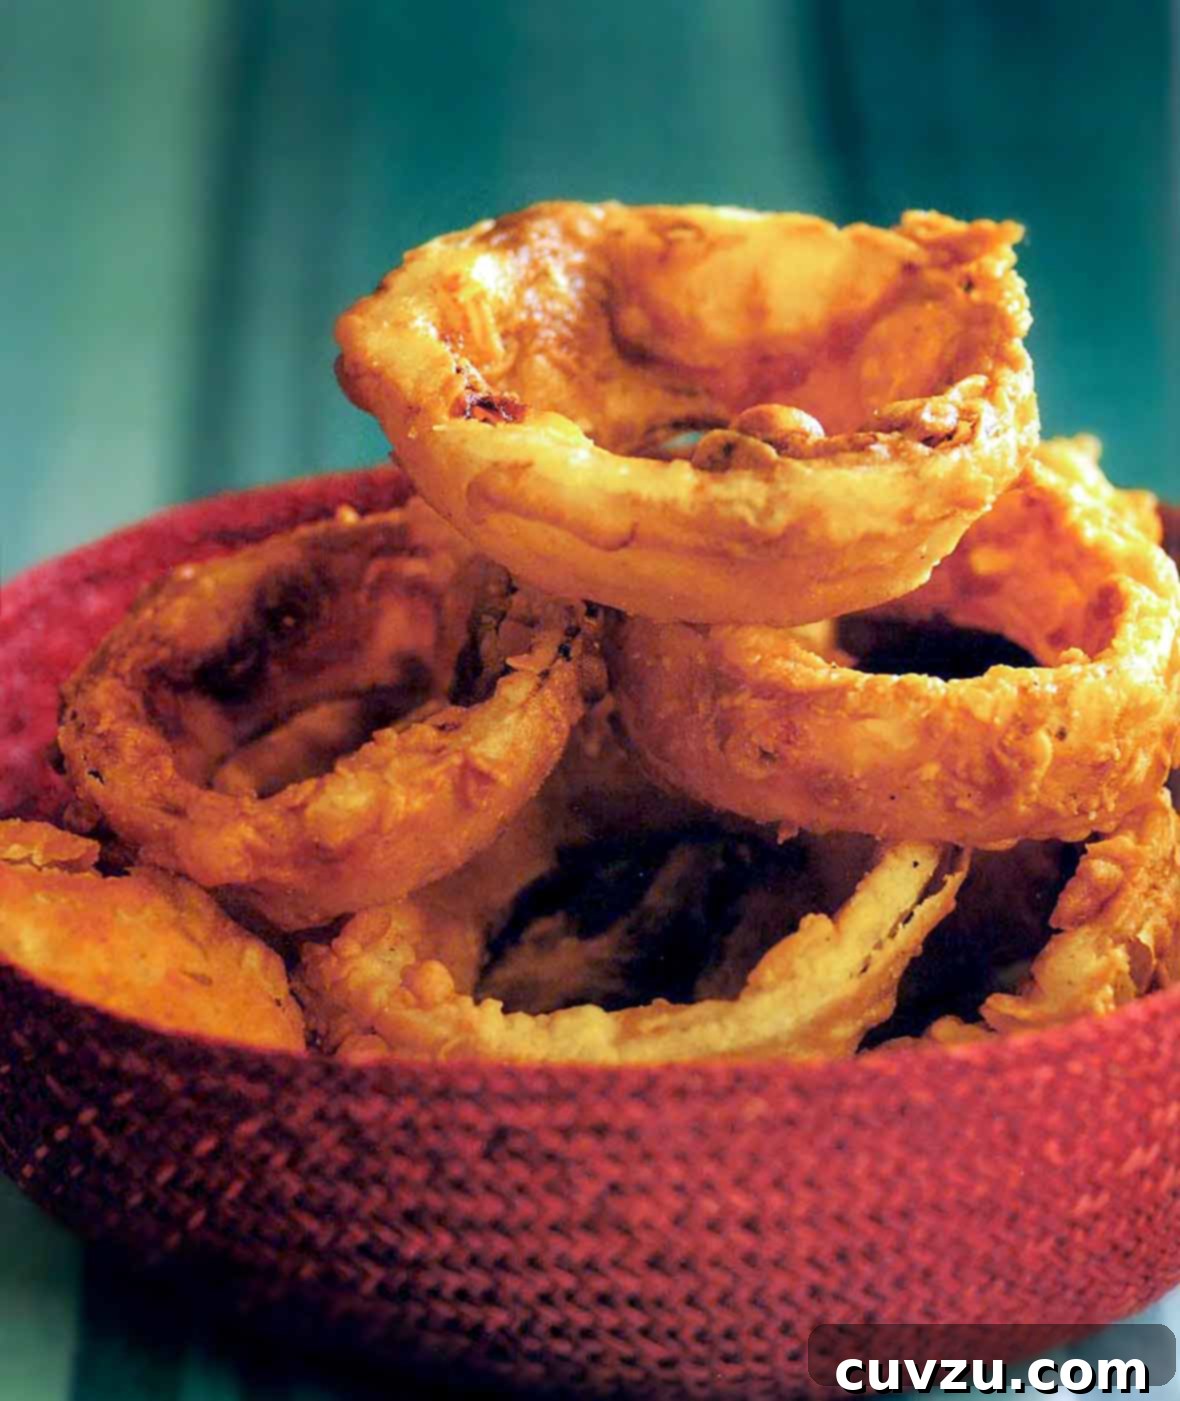
There’s a common disappointment that often accompanies onion rings: a too-thick, bready coating that crumbles away, leaving you with a naked onion ring or, worse, an empty shell. With this meticulously developed recipe, that disappointment becomes a distant memory. We start with sweet Vidalia onions, known for their mild flavor, which are briefly bathed in buttermilk. This not only infuses them with a subtle tang but also tenderizes them, preparing them for an ever-so-slight, yet incredibly crisp, flour coating. The result is a harmonious balance of texture and flavor that will redefine your expectations of what an onion ring can be.
Crafted by culinary expert David Leite, these buttermilk onion rings embody the perfect balance of an extra crisp coating and incredibly tender onions. This recipe ensures that every bite is a delightful experience, free from the common pitfalls of inferior onion rings. Renee Schettler Rossi, a renowned palate, confidently states, “Never again be disappointed.” This sentiment echoes through every crunchy, savory ring, proving that homemade perfection is truly within reach.
Perfectly Crispy Buttermilk Onion Rings
Recipe by David Leite
- PIN
Print Recipe
Sides, Appetizer
American
4 servings
796 kcal
30 minutes
10 minutes
40 minutes
Ingredients
- 2 large Vidalia or other sweet onions
- 1 quart peanut oil (or other high smoke point oil like canola, vegetable, or grapeseed)
- 2 cups buttermilk, (either low-fat or full-fat)
- Kosher salt and freshly ground black pepper, to taste
- 4 cups all-purpose flour
- 1/2 teaspoon cayenne pepper (adjust to your preferred spice level)
Instructions
-
Begin by carefully peeling the Vidalia or sweet onions. Then, slice them crosswise into uniform 1/2-inch or 1-inch-thick rings. Gently separate each slice into individual rings. For thicker slices, it’s recommended to remove the thin, papery membrane covering the inside of each ring to ensure an even texture after frying.
☞ TESTER TIP: If you opt for thinner slices, specifically 1/2 inch thick, you can often skip the step of removing the papery thin membrane, saving you a bit of prep time without compromising quality.
-
Prepare your frying station. Heat the peanut oil (or your chosen high smoke point oil) in a sturdy, heavy-bottomed pot or a tabletop deep fryer. Use a reliable thermometer to monitor the oil temperature, aiming for a steady 375°F (190°C). While the oil heats, line a large baking sheet with several layers of paper towels to create a draining station for the fried rings. This will help absorb excess oil and maintain crispiness.
-
As the oil comes to temperature, prepare your dredging stations. Pour the buttermilk into a large, shallow baking dish. Season it generously with kosher salt and freshly ground black pepper. In two separate large, shallow baking dishes, divide the all-purpose flour. Season each dish of flour liberally with salt, pepper, and 1/4 teaspoon of the cayenne pepper. This double seasoning ensures maximum flavor.
-
Work in small batches to avoid overcrowding. Take a handful of onion rings and dredge them thoroughly in the first dish of seasoned flour, ensuring they are fully coated. Gently tap off any excess flour. Next, dip these flour-coated rings into the seasoned buttermilk, turning them to ensure complete saturation, then allow any excess buttermilk to drip off. Finally, dredge the rings once more in the second dish of seasoned flour, pressing gently to achieve an even, thorough coating. This double-dredging technique is key to their exceptional crispness.
-
Once coated, tap off any loose flour from the rings and carefully transfer them into the preheated hot oil. Fry the onion rings, turning them once or twice to ensure even cooking, until they achieve a beautiful golden brown color and are tender when pierced, typically about 4 minutes. Frying in batches is crucial to maintain oil temperature and prevent the rings from becoming greasy.
-
Using a mesh skimmer or slotted spoon, carefully remove the cooked onion rings from the oil. Transfer them immediately to the prepared baking sheet lined with paper towels to drain. While still hot, season them generously with an additional sprinkle of kosher salt to enhance their flavor. Repeat this process with the remaining batches of onion rings until all are cooked. Serve these irresistible buttermilk onion rings hot, ideally with your favorite dipping sauce. This timeless recipe was originally published on July 30, 2009.
Adapted From
Bobby Flay’s Burgers, Fries & Shakes
Buy On Amazon
Explore More
Discover tailored dietary options or creative ingredient substitutions for this recipe. Leite’s Culinaria offers expert insights into adapting recipes to various needs and preferences, helping you explore different flavor profiles or accommodate dietary restrictions.
You can also find guidance on scaling this recipe for different serving sizes, ensuring perfect results whether you’re cooking for two or a crowd. For more detailed information on ingredients, substitutions, or scaling, explore Leite’s Culinaria’s extensive resources.
Nutrition
Calories: 796 kcal
Carbohydrates: 63 g
Protein: 10 g
Fat: 57 g
Saturated Fat: 10 g
Monounsaturated Fat: 26 g
Cholesterol: 7 mg
Sodium: 78 mg
Fiber: 3 g
Sugar: 11 g
Nutrition information is automatically calculated, so should only be used as an approximation.
Tried this recipe?
Mention @leitesculinaria or tag #leitesculinaria!
Why These Buttermilk Onion Rings Are Unbeatable
What makes these buttermilk onion rings stand out from all the rest? It comes down to a few key techniques and ingredients:
- The Buttermilk Soak: Buttermilk is a magical ingredient for fried foods. Its mild acidity tenderizes the onion, making it succulent and sweet, while also acting as a perfect adhesive for the flour coating. This ensures that the onion stays put within its crispy shell, solving the dreaded “slipping onion” problem.
- The Double-Dredge: A single coat of flour often isn’t enough to achieve that signature crunch. Our double-dipping method – flour, then buttermilk, then flour again – creates a robust yet light crust that becomes incredibly crispy when fried. This layered approach prevents the coating from becoming too thick or bready, allowing the onion’s natural sweetness to shine through.
- Sweet Onions: Starting with a sweet onion like Vidalia is crucial. Their lower sulfur content means less pungent, more palatable rings that become even sweeter and milder once fried. This foundational flavor elevates the entire dish.
- Precise Frying Temperature: Maintaining the oil at 375°F (190°C) is essential for achieving a golden-brown, crispy exterior without overcooking the onion or making the rings greasy. A thermometer is your best friend here.
Expert Tips for Perfect Buttermilk Onion Rings
Achieving onion ring perfection is easier than you think with these expert tips:
- Slice Uniformly: Consistency in onion ring thickness ensures even cooking. Aim for 1/2 to 1-inch slices as recommended.
- Remove Membranes (for thicker slices): The thin, papery membrane inside thicker onion rings can make them tough. Removing it ensures every bite is tender. For thinner rings (1/2 inch), this step is often less critical.
- Season Liberally: Don’t be shy with salt, pepper, and cayenne in both the buttermilk and flour. This is where a significant amount of flavor comes from.
- Work in Batches: Overcrowding the pot significantly drops the oil temperature, leading to greasy, less crispy rings. Fry in small batches to maintain optimal temperature and crispness.
- Drain Properly: Always drain your fried onion rings on paper towels or a wire rack set over paper towels. This helps remove excess oil, keeping them crispy.
- Serve Immediately: Onion rings are best enjoyed hot and fresh. While you can re-crisp them in an oven, nothing beats them straight from the fryer.
Serving Suggestions & Creative Pairings
These buttermilk onion rings are incredibly versatile. While they’re a classic partner for burgers, their delicate flavor and crisp texture allow for a wide range of culinary pairings:
- Classic Comfort: Serve them alongside juicy beef burgers, grilled chicken sandwiches, or a hearty pulled pork sandwich.
- Seafood Sensation: They make a fantastic accompaniment to fish and chips, crispy fried shrimp, or a light pan-seared cod.
- Dipping Delight: Elevate the experience with an array of dipping sauces. Classic ketchup is always a hit, but consider homemade ranch, spicy aioli, a tangy BBQ sauce, or even a sweet chili dip.
- Gameday Appetizer: Pile them high on a platter for your next gameday gathering or casual get-together. They disappear fast!
- Unexpected Pairings: Try them with a gourmet hot dog, a steak sandwich, or even crumbled over a fresh garden salad for an extra crunch.
Recipe Testers’ Reviews
Our dedicated team of recipe testers put these buttermilk onion rings through their paces, offering invaluable feedback and tips to ensure you achieve perfect results every time. Here’s what they had to say about this irresistible recipe:
Melissa Maedgen
I’ve historically not been a huge fan of onion rings; I could honestly take them or leave them. My biggest pet peeve is that moment when you bite into the ring, and all the onion slides right out, leaving you with nothing but an empty shell of batter. These onion rings, however, are a complete game-changer. The coating is wonderfully light and incredibly crisp, never overwhelming the delicate flavor of the onion itself. I truly just love them.
Initially, I made these with the intention of using them as a vehicle for a ketchup tasting, but the truth is, they are so exceptionally good that I’d happily eat them plain. When I prepared this recipe, I found myself with a significant amount of flour leftover, having used all the buttermilk. Next time, I plan to start with approximately half the amount of flour specified in the recipe. It’s always easier to add more if you find yourself running low.
I also personally prefer to slice the onions a bit thinner than what the recipe calls for—it’s just a matter of personal preference, but it makes them even more enjoyable for me.
Joan Osborne
These onion rings are truly exceptional—crispy, crunchy, and utterly delicious. I used sweet Vidalia onions, which I absolutely adore, and they performed beautifully in this recipe. I was particularly impressed by how they fried up to a perfect golden brown and maintained their crispness, while the onion inside remained wonderfully tender. The idea of dipping them in flour, then buttermilk, and then back into flour again is simply brilliant, creating that ideal texture.
They were absolutely fantastic when served alongside some fresh fish, creating a delightful meal. I can also envision them pairing perfectly with a classic burger, enhancing any backyard barbecue or casual dinner.
Kim Venglar
This recipe instantly transported me back to cherished memories of my great aunt’s seafood restaurant. I can still recall walking into the bustling kitchen and seeing piles of perfectly prepped onion rings, just waiting to be fried to golden perfection. This recipe certainly did not disappoint in terms of flavor; it truly delivers. If you follow the recipe and season both the flour and buttermilk precisely, you’ll find there’s absolutely no need for additional salting of the onion rings after frying—they are perfectly seasoned as is.
I experimented with two different thicknesses: one batch at the recommended 1-inch thickness, and another batch I sliced to about 1/2-inch thick. While the thicker ones were good, they were quite substantial. We unanimously preferred the 1/2-inch thick rings; they had a more delicate balance of crisp coating to tender onion. If you opt for the thicker rings, it’s truly important to remove that inner membrane from the onions, as it can be noticeable otherwise. With the thinner rings, however, the membrane wasn’t an issue. A crucial tip: be sure to fry the onion rings immediately after you batter them. If you let them sit too long, they will inevitably start to stick together, making them difficult to separate. Lastly, if you choose to make the 1/2-inch thick rings, I’d recommend using just one large onion, as it still yields an impressive pile of delicious onion rings.