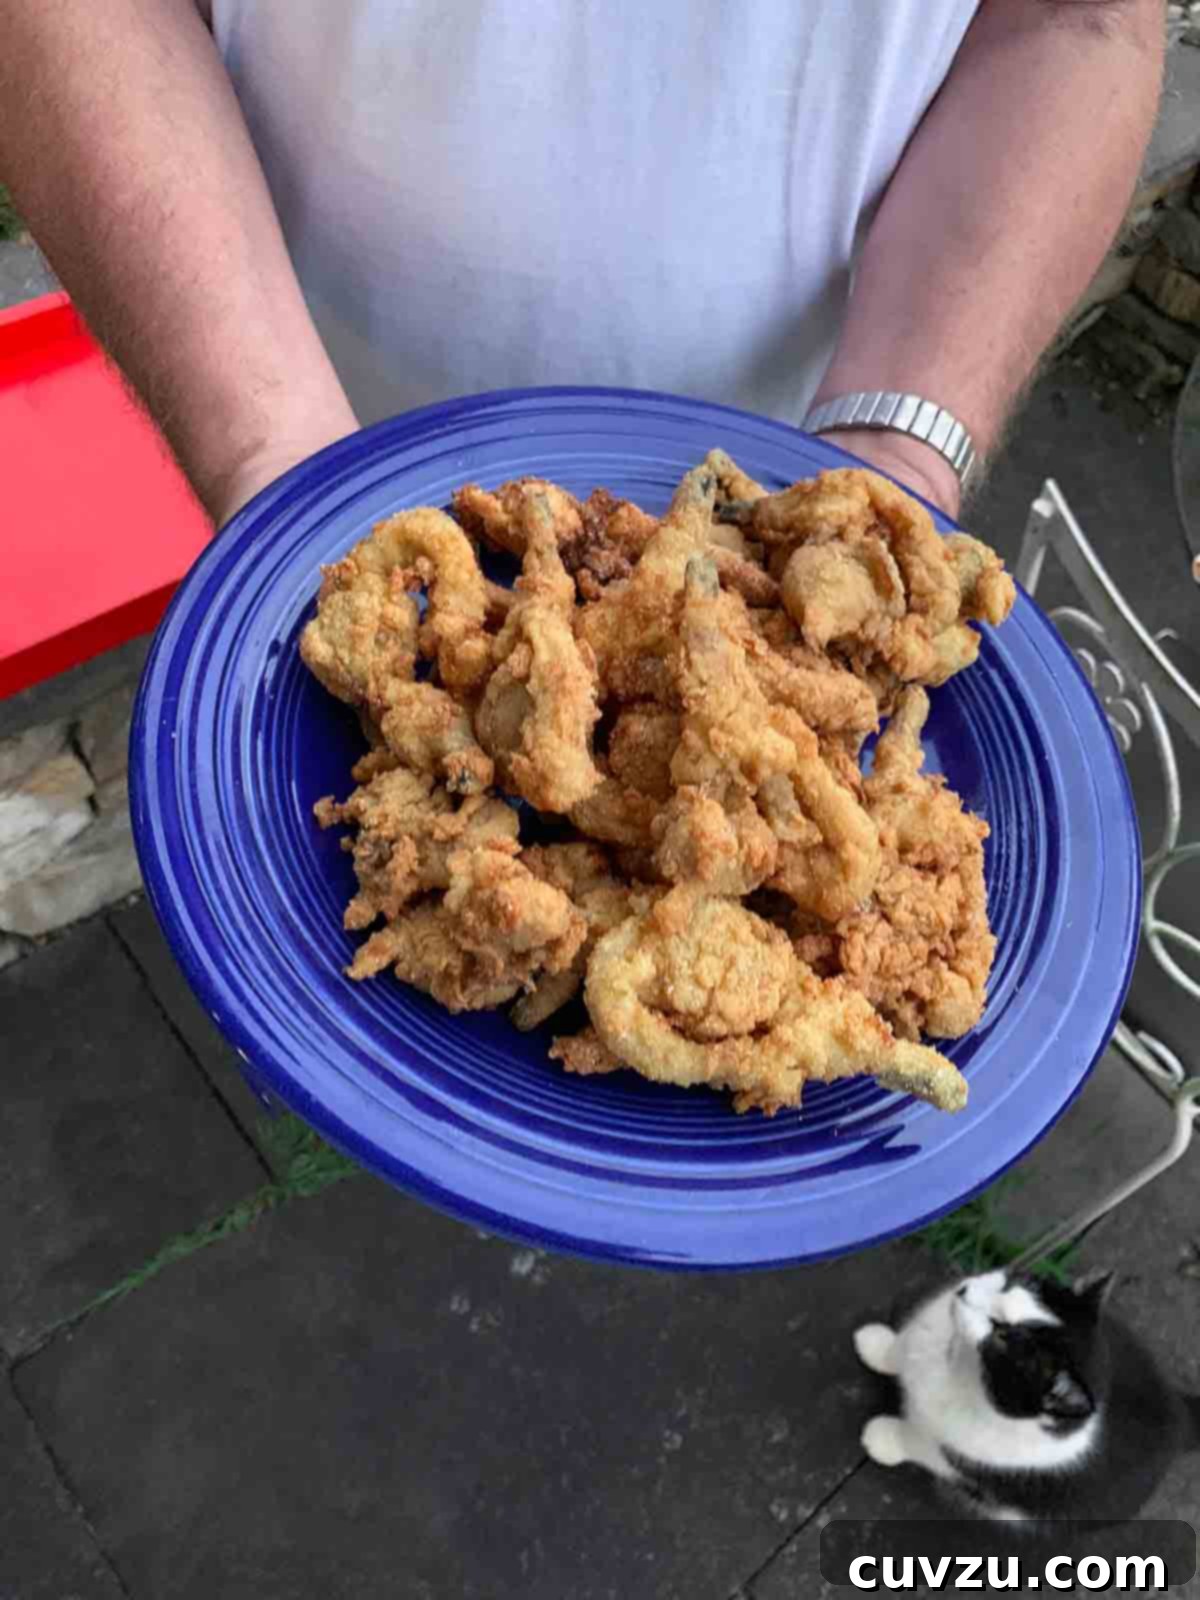
Welcome to the definitive guide on mastering the art of homemade **clam shack-style fried clams**. This isn’t just a recipe; it’s your ticket to recreating the quintessential taste of a New England summer right in your own kitchen. We’re talking about those glorious, plump, **whole belly fried clams** – the kind that burst with oceanic flavor and offer an irresistible tender-crisp texture. Forget the days when this iconic dish was relegated to seaside shacks; with our simple yet authentic approach, you’ll discover just how ridiculously easy it is to achieve fried clam perfection.
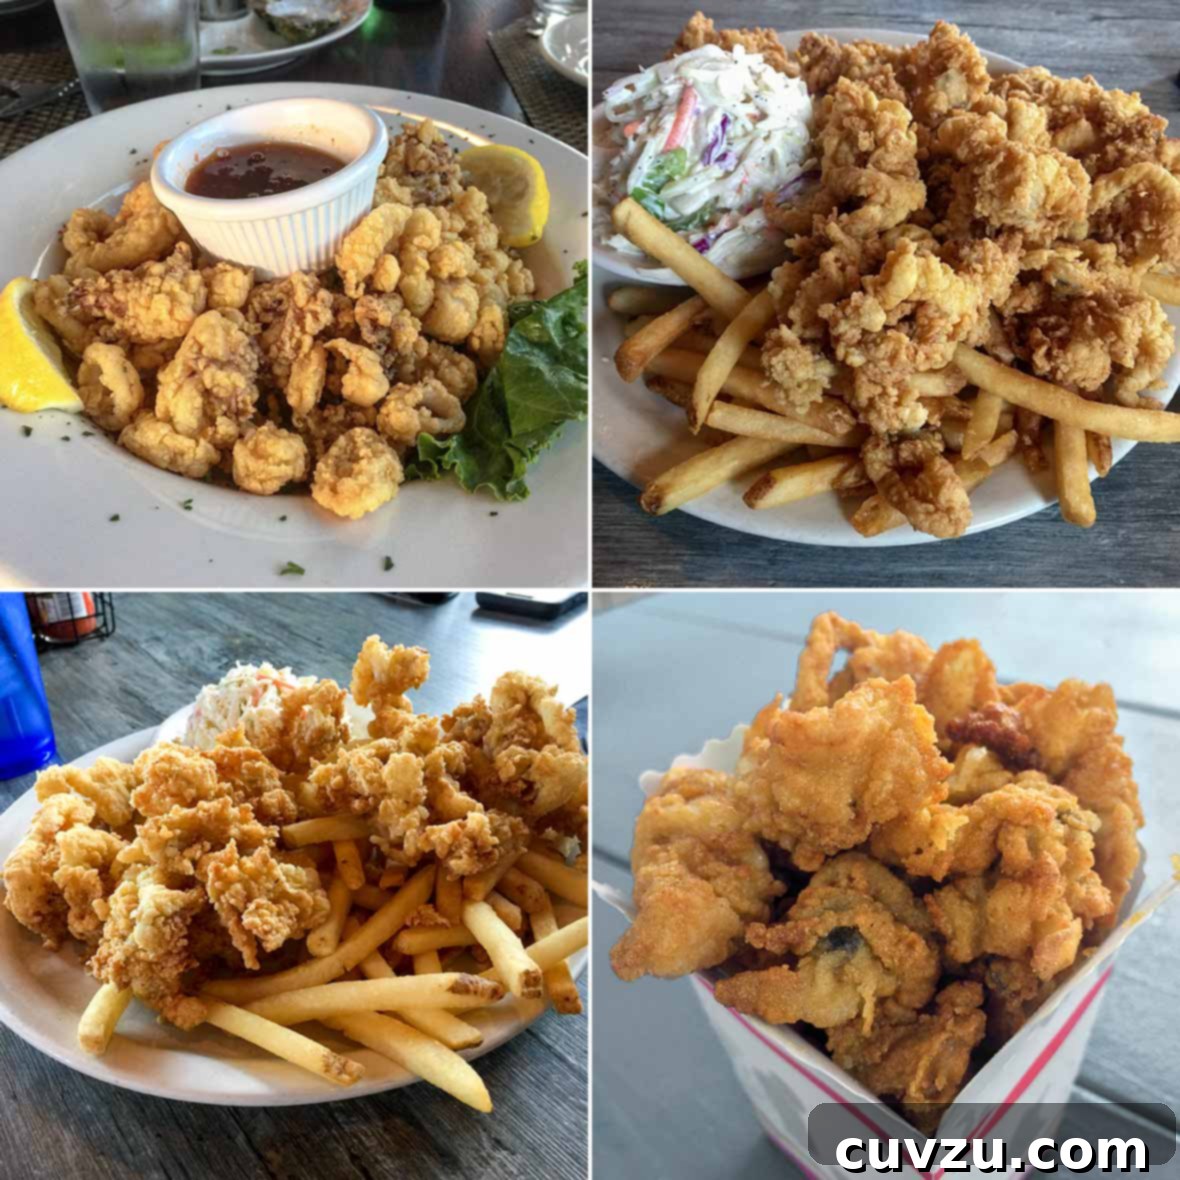
For me, the mere mention of fried clams evokes a flood of cherished childhood memories. I carry an absolute addiction for these golden nuggets, especially the robust, luscious, and utterly satisfying whole belly variety served in classic clam shacks. I vividly recall the annual pilgrimage to Macray’s, a beloved local spot in Westport, Massachusetts. Sundays during those hot, steamy New England summers were dedicated to family feasts: my parents, grandparents, godparents, cousins, and I would gather to dive headfirst into pints of deep-fried oceanic goodness. The joy was immense, yet the underlying regret was always present as I tapped the last crumbs from the greasy, red-striped box – the realization that this unparalleled treat couldn’t be replicated at home. It meant that the magic of fried clams remained a seasonal indulgence, tied exclusively to those fleeting summer days.
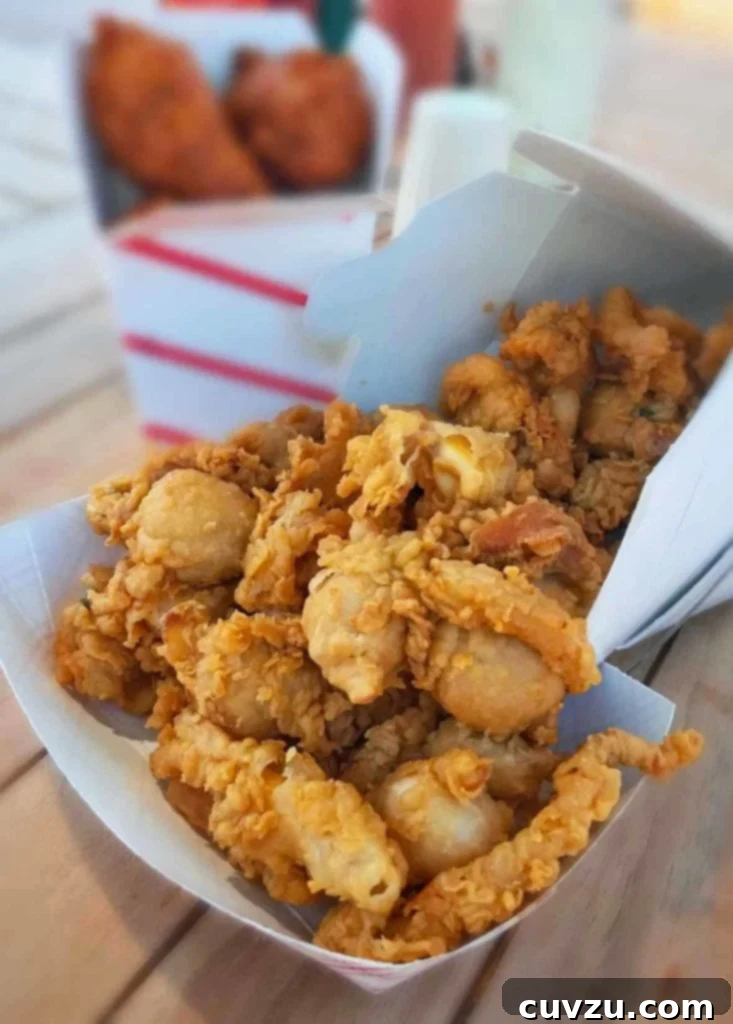
However, that all changed when I finally learned the straightforward technique of **shucking steamer clams at home**. This process, while seemingly daunting, is remarkably simple and unlocks the secret to truly fresh fried clams. It involves briefly immersing the clams in boiling water for just a few seconds – enough to gently coax open their shells without actually cooking the delicate meat. Immediately after, the clams are plunged into an ice-cold water bath to halt the cooking process. Then, it’s merely a matter of using a knife to release the clam meat from its shell, revealing those coveted whole bellies ready for their golden transformation. This hands-on preparation ensures maximum freshness and the authentic flavor that defines true clam shack fried clams.
When developing this recipe, adapted from the culinary insights of the esteemed Jasper White, I admit I was initially tempted to “doctor up” the coating mix with a complex array of herbs and spices. For a fleeting moment, I envisioned myself as the Colonel Sanders of seafood, inventing a secret blend. But I quickly remembered the wisdom shared by Chickie Aggelakis, the venerable owner of The Clam Box in Ipswich, Massachusetts: “The secret to fried clams is the flavor of the clams.” This profound truth underscores that the coating’s primary role is to provide a protective, crispy shell and an appealing crunch, safeguarding the tender, sweet belly meat within. Overpowering the delicate natural taste of the clam with excessive spices, however tempting, should be avoided at all costs. The goal is to celebrate the clam itself, not mask it. This philosophy is at the heart of achieving genuinely authentic **New England fried clams**.
Clam Shack Style Fried Clams FAQs
Unfortunately, no. Canned clams are already fully cooked, which means their texture would be compromised during frying – they would simply fall apart. Furthermore, canned clams are typically quite small. For authentic clam shack-style fried clams, you need large, fresh steamer clams, specifically the whole-belly variety, for that signature plumpness and flavor.
Again, the answer is no for this specific style of fried clams. Littleneck and cherrystone clams are different species from steamer clams. They possess a much chewier texture and a distinct flavor profile that simply doesn’t compare to the tender, sweet, and unique taste of a properly fried steamer clam. The “whole belly” experience is exclusive to steamers.
Steamer clams are known by several regional names, reflecting their popularity and origin. You might hear them referred to as soft-shell clams, due to their brittle shells, Ipswich clams (a nod to the famous clam shacks of Ipswich, Massachusetts), or simply Maine clams, highlighting their abundance in the waters of Maine.
Corn flour is a key ingredient for achieving the perfect crispy coating for fried clams. It is essentially a very finely milled flour made from the entire kernel of corn—including the germ, bran, and endosperm. It is crucial not to confuse it with cornmeal, regardless of its grind (coarse, medium, or fine), as cornmeal’s coarser texture will not yield the same delicate crispness. An excellent substitute for corn flour is masa harina, which is readily available in the Latin American section of most major supermarkets. A word of caution for our friends in the UK, Australia, and Canada: what you typically call “corn flour” (or “cornflour”) is synonymous with “cornstarch” in American English. Cornstarch, made solely from the corn’s endosperm, creates a very different, often gummy, coating and is not suitable for this fried clams recipe. Trust us on this – the proper corn flour (or masa harina) is essential for that authentic, light, and airy crunch.
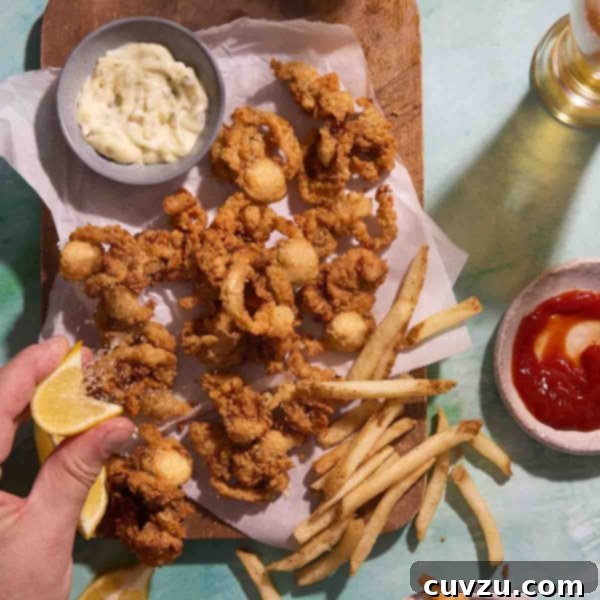
Clam Shack-Style Fried Clams
David Leite
Video
Courtesy: Capt. John’s Bar in Maine
Equipment
-
Deep-fry or candy or instant-read thermometer or an electric deep fryer, a wire-mesh skimmer or a pasta basket, a pair of tongs
Ingredients
For the New England style fry mix
- 1 cup corn flour, (not cornmeal; see FAQ above)
- 1 cup all-purpose flour
- 1 teaspoon fine sea salt or table salt
- 1/2 teaspoon freshly ground black pepper
- 1/4 teaspoon cayenne pepper
For the clams
- 1 1/2 pounds of shucked whole belly steamer clams
- About 6 cups peanut, canola, or other vegetable oil, for deep-frying
- 1 cup buttermilk, (either low-fat or full-fat)
- New England-Style Fry Mix, (above)
Instructions
Make the New England style fry mix
-
In a large mixing bowl, combine the corn flour, all-purpose flour, fine sea salt (or table salt), freshly ground black pepper, and cayenne pepper. Whisk thoroughly until all ingredients are evenly distributed. This mixture is your New England-Style Fry Mix. You will likely have more mix than needed for this recipe. Store any leftover mix in an airtight glass container in the refrigerator, where it will remain fresh for several weeks or even longer, ready for your next batch of delicious fried seafood.
Fry the clams
-
To ensure your fried clams stay perfectly crispy, you’ll be frying them in batches, which prevents overcrowding the fryer and keeps the oil temperature stable. Prepare for this by lining a baking sheet with a clean brown paper bag (or several layers of paper towels) to absorb excess oil. Preheat your oven to a low 250ºF (121°C); this will keep your initial batches warm while you finish frying the rest.
-
Pour about 3 inches of your chosen oil (peanut, canola, or other vegetable oil) into a 4- to 5-quart Dutch oven or a dedicated deep fryer. Heat the oil over medium heat until it reaches a precise temperature of 375°F (190°C). A deep-fry, candy, or instant-read thermometer is essential here for accuracy. Maintaining the correct oil temperature is crucial for perfectly golden and crispy clams.
-
While the oil is heating, prepare your clams for coating. Pour the buttermilk into one large bowl and place your New England-Style Fry Mix (prepared in the previous step) into another large bowl. Gently drop a small batch of shucked clams (roughly half of what you plan to fry) into the buttermilk, stirring gently to ensure each clam is fully moistened. Using a wire-mesh skimmer or a slotted spoon, carefully lift the clams, allowing any excess buttermilk to drip back into the bowl before proceeding to the dry mix.
-
Transfer the buttermilk-coated clams into the bowl with the fry mix. Gently toss them to ensure they are evenly coated on all sides. It’s important to be gentle to avoid damaging the delicate clam bellies. Quickly dry off your skimmer or slotted spoon to prevent any moisture from getting into the hot oil.
-
Once your oil has reached the target temperature of 375°F (190°C), carefully lift the coated clams out of the fry mix with your clean skimmer. Give them a gentle shake to remove any excess flour, then slowly and carefully slip them into the hot oil. Avoid dropping them from too high, as this can cause splashing.
-
Ensure you do not overcrowd the pot; frying in small batches is critical. Spread the clams out as much as possible to minimize the chance of them sticking together. The first few moments of frying are crucial: allow the clams to cook undisturbed for 15 to 20 seconds. Resisting the urge to move them (or the fryer basket) immediately prevents the delicate breading from falling off, which could lead to greasy clams.
☞ EXPERT TIP: Maintaining initial stillness for those crucial seconds allows the coating to set properly, forming a perfect seal around the clam and ensuring maximum crispiness without sogginess.
-
After the initial 15-20 seconds, gently stir the clams to encourage even cooking and to loosen any pieces that might have adhered to each other or the bottom of the pot. Continue frying for an additional 1 to 1 1/2 minutes, or until the clams are beautifully golden brown and crispy. Remain present at the fryer, occasionally moving the seafood to ensure consistent doneness and color. The total cooking time for each batch should be around 1.5 to 2 minutes.
-
Using your wire-mesh skimmer, promptly transfer the perfectly fried clams from the hot oil to your paper-bag-lined baking sheet to drain any residual oil. This step is essential for maintaining their crispiness. If you are frying in multiple batches, place the baking sheet with the drained clams into the preheated 250ºF (121°C) oven to keep them warm while you repeat the frying process with the remaining clams.
-
Once all batches are fried to golden perfection, transfer the hot, crispy clams to a serving platter. Garnish generously with fresh lemon wedges, which offer a bright contrast to the rich fried flavor, and sprigs of fresh parsley for a touch of color and herbaceousness. For the ultimate **clam shack experience**, don’t forget to serve them alongside classic accompaniments like a generous pile of crispy French fries, creamy coleslaw, and plenty of tangy tartar sauce. Enjoy the taste of New England in every bite!

Adapted From
The Summer Shack Cookbook
Buy On Amazon
Nutrition
Nutrition information is automatically calculated, so should only be used as an approximation.