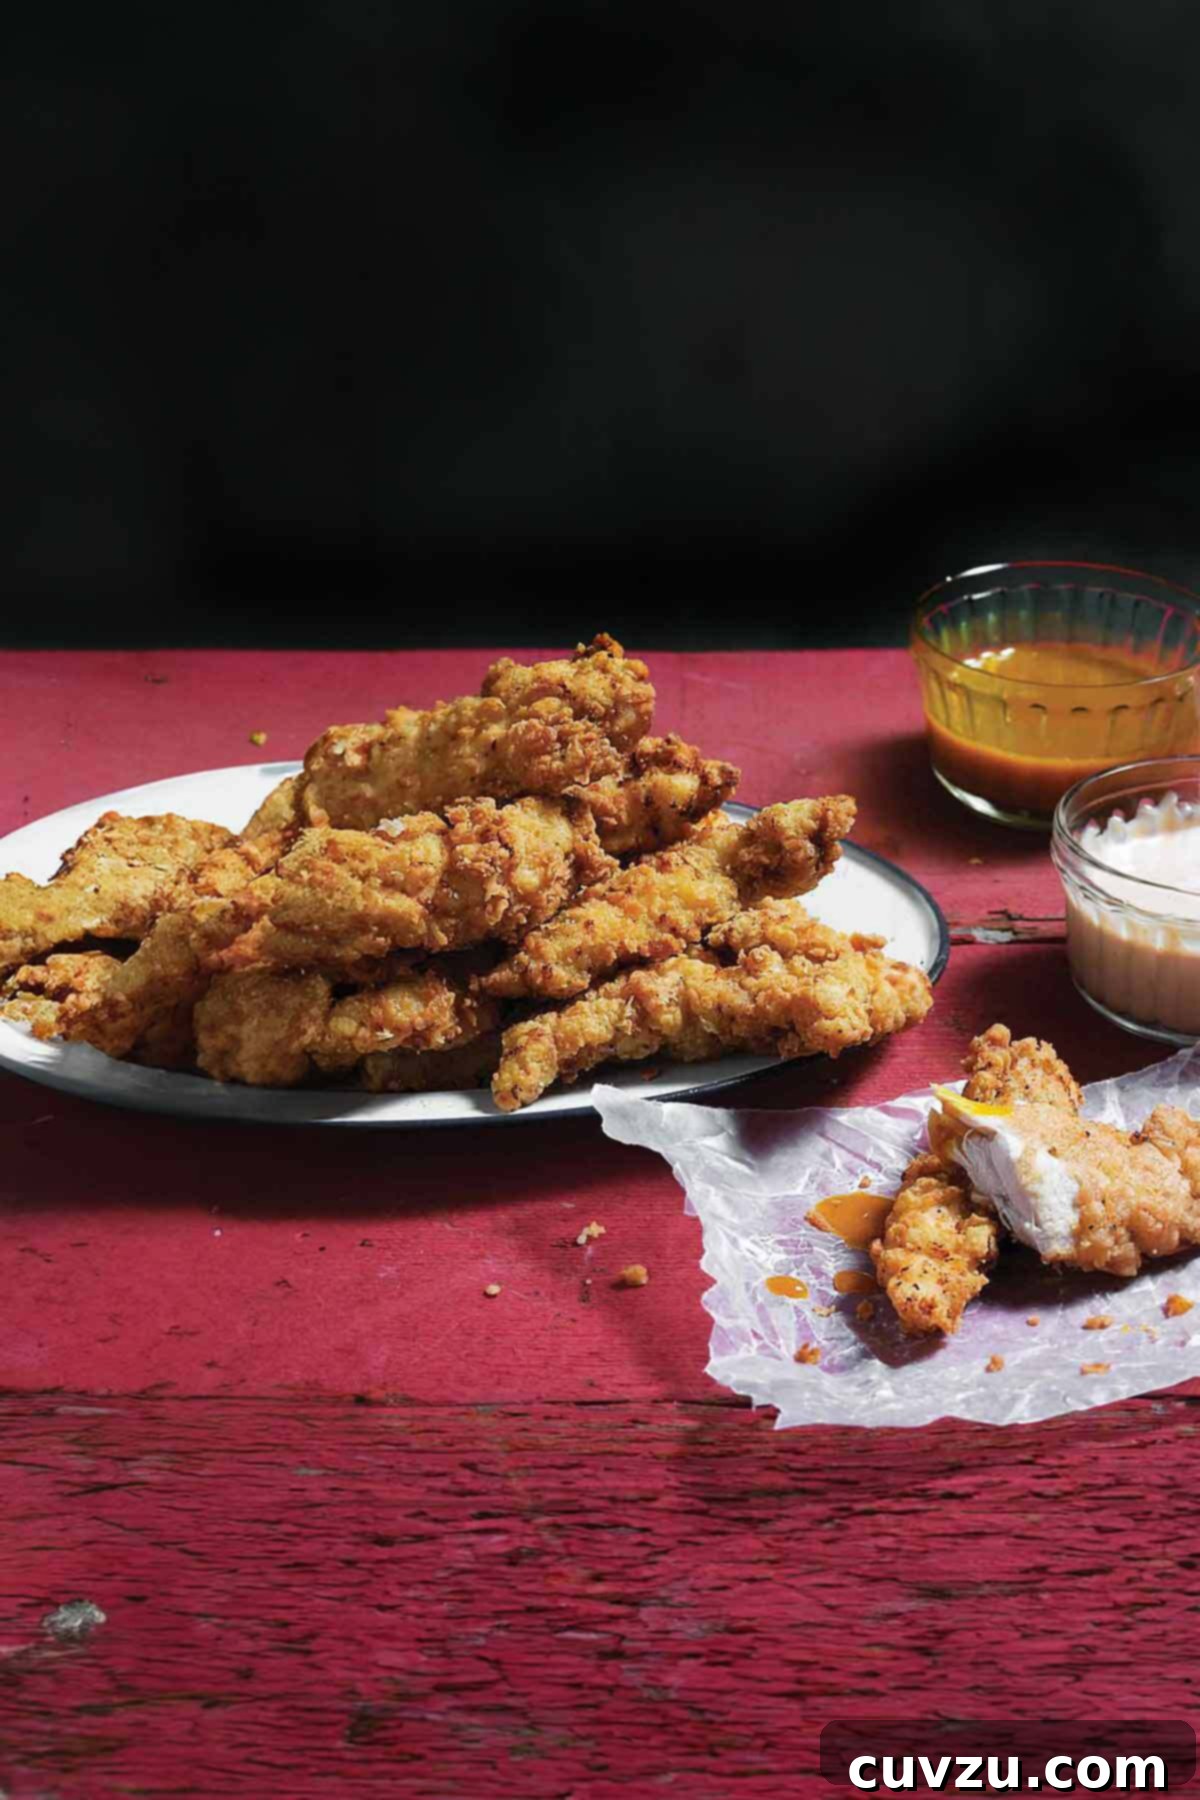
Welcome to the ultimate guide for crafting the most delectable homemade chicken strips, also affectionately known as chicken fingers! Forget the processed, bland versions you find in the freezer aisle. This recipe is designed to deliver a burst of flavor and a satisfying crunch that will quickly become a cherished family favorite. Perfect for a quick weeknight dinner, game day snack, or even a casual weekend lunch, these crispy delights promise to respect and elevate your ‘yum factor’ to new heights. We’re talking about juicy, tender chicken enveloped in a perfectly seasoned, golden-brown crust.
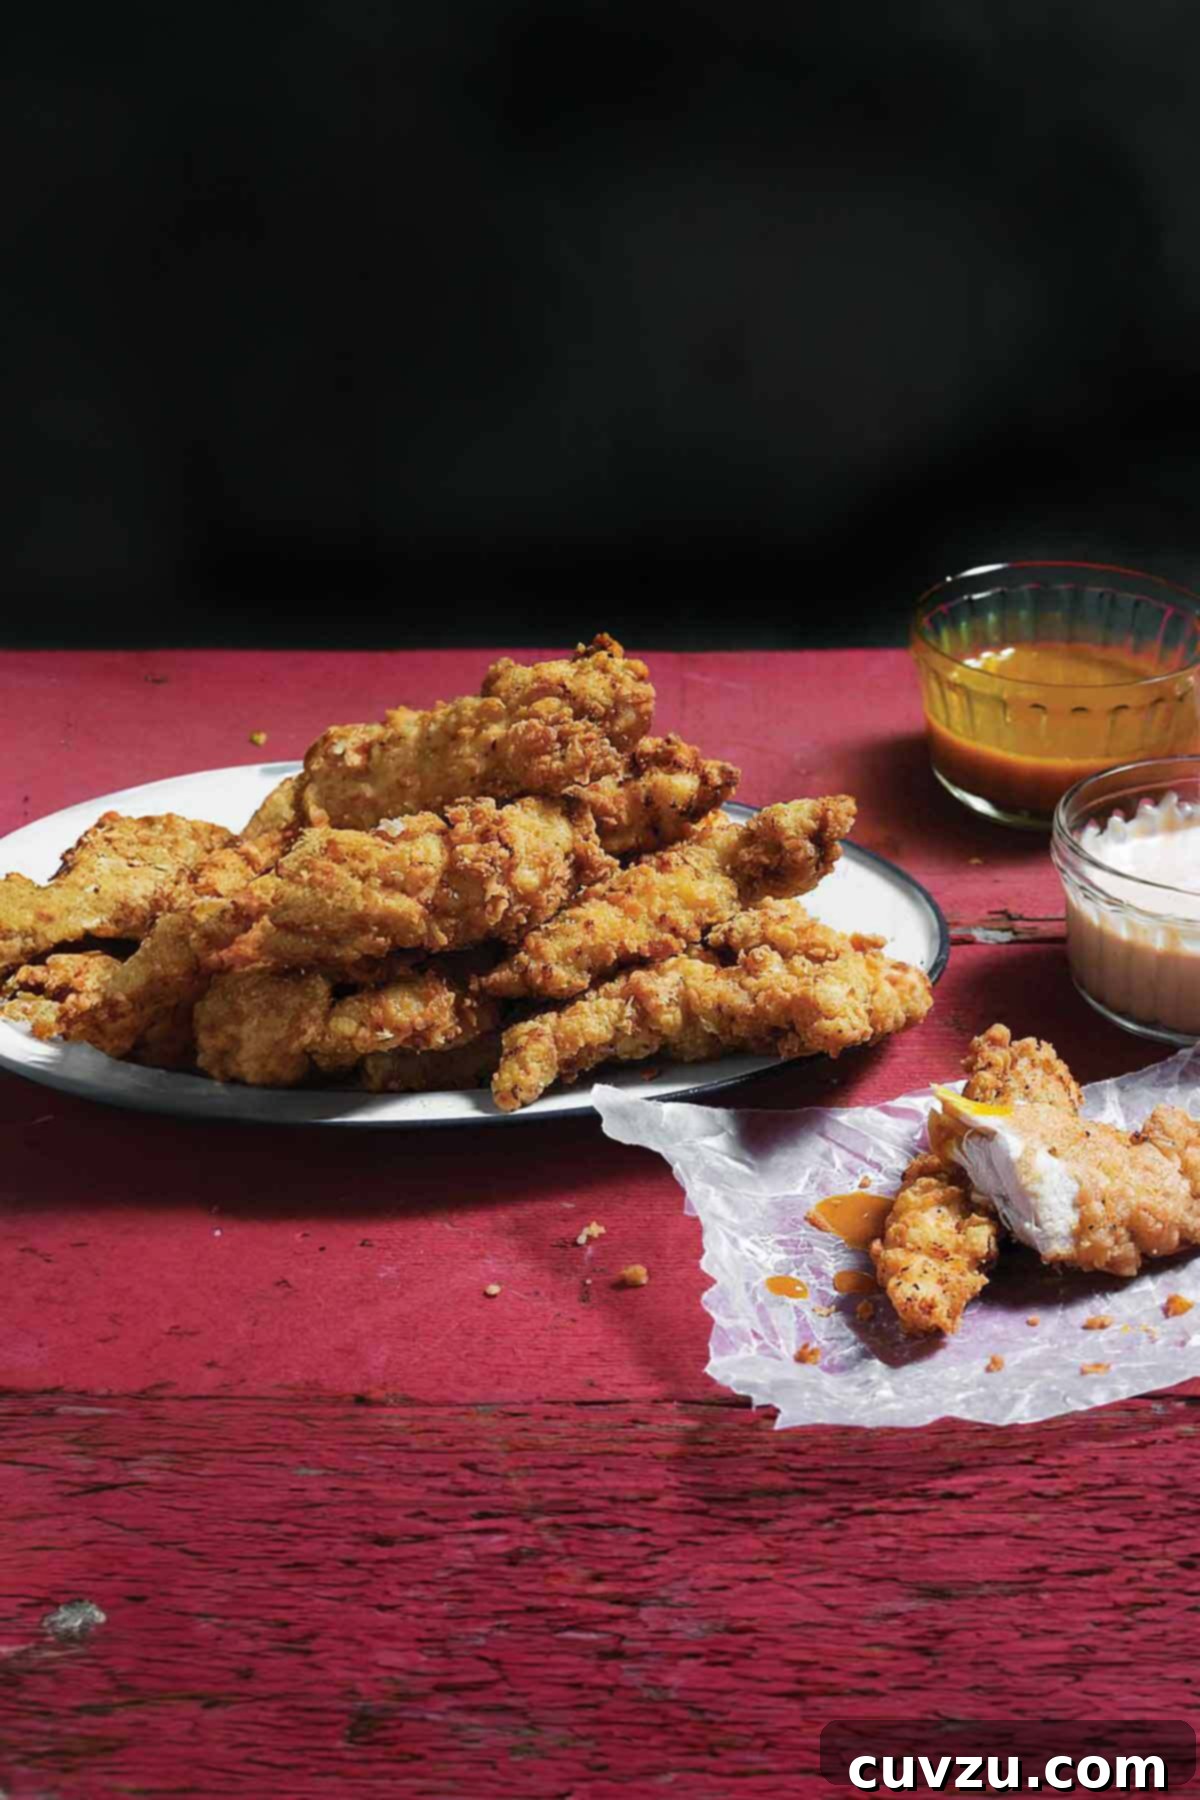
The inspiration behind this incredible homemade chicken fingers recipe originated with a mom who grew tired of scrutinizing lengthy ingredient lists on processed chicken strip packages. Determined to provide her family with a healthier, more delicious alternative, she developed this recipe, and the results have been nothing short of sensational. The resounding feedback speaks for itself: “This is my new go-to chicken recipe, thanks in part to my kids’ ‘These are yummy!’ statements,” praises one happy parent. Another reviewer raves, “Crisp and not at all greasy,” highlighting the perfect texture. And for those who appreciate quality even on day two, a tester noted, “I ate one cold the next day, and it wasn’t even soggy.” Such endorsements make it clear why these homemade chicken strips are a must-try for anyone seeking a superior poultry experience.
The Allure of Homemade Chicken Strips: Why Make Your Own?
There’s an undeniable charm and satisfaction that comes with preparing food from scratch, and homemade chicken strips are no exception. Beyond the sheer joy of cooking, there are several compelling reasons to choose the homemade route over store-bought alternatives. Firstly, health. When you make chicken strips at home, you have complete control over the ingredients. You can select high-quality, lean chicken, use fresh spices, and choose healthier oils for frying, or even opt for baking or air frying methods. This eliminates the need for artificial preservatives, excessive sodium, and unknown additives often found in commercially prepared products.
Secondly, the flavor and texture are simply unmatched. Freshly prepared chicken, marinated in buttermilk, and coated in a carefully seasoned breading, offers a depth of flavor and a delightful crispness that pre-packaged versions can’t replicate. The chicken remains tender and juicy on the inside, while the exterior achieves a golden, crunchy perfection. This level of freshness makes a significant difference, turning a simple meal into a memorable culinary experience.
Lastly, homemade chicken strips are often more cost-effective. Buying whole chicken breasts or tenders and a few pantry staples is typically cheaper than purchasing convenience-packaged frozen options, especially when feeding a family. Plus, the ability to customize seasonings means you can cater to everyone’s preferences, from a mild, herby flavor to a zesty, spicy kick. It’s a versatile dish that provides both value and exceptional taste.
Your Chicken Fingers Questions Answered
Chicken tenders, also known as chicken fingers, are derived from the pectoralis minor muscle, a small, lean strip of meat naturally found attached to the underside of the chicken breast. This particular cut is prized for its tenderness and quick-cooking properties, making it ideal for the “finger” format. You might occasionally find them sold separately as “stir-fry strips” in some grocery stores, indicating their versatility for various cooking methods. Alternatively, if you’re working with boneless chicken breasts, you can easily separate the tenders yourself. Simply locate the loose strip of meat on the underside and gently pull it away. These can be used immediately or frozen for future use, allowing you to amass enough for a full chicken finger feast whenever the craving strikes.
The humble yet iconic chicken finger has a precise origin story, traceable back to 1974 at The Puritan Backroom restaurant in Manchester, New Hampshire. Faced with the task of innovatively utilizing the tenderloin (the pectoralis minor muscle) – a small, naturally tender strip of meat on the underside of a chicken breast – the restaurant’s culinary team conceived the idea of separating, breading, and frying it as a standalone item. This simple yet brilliant concept of serving it as a “finger” rapidly created a culinary icon, offering a new, convenient way to enjoy chicken.
The chicken finger proved to be an instant sensation. Its appeal grew exponentially through the 1980s and ’90s as American families increasingly sought convenient and kid-friendly meal options. Major poultry producers like Tyson and Perdue quickly recognized this burgeoning market and began to mass-market chicken tenders nationally, cementing their place in popular cuisine. While often confused with chicken nuggets, there is a fundamental distinction: a true chicken finger or tender is made from a whole, intact piece of chicken meat, maintaining its natural fibrous structure. In contrast, chicken nuggets are typically produced from ground chicken that has been processed, shaped, and formed, often leading to a less authentic meat texture. The choice between a whole cut and a formed product is clear for those seeking genuine chicken flavor and texture.
Perfecting the Golden Crunch: Tips for Frying Homemade Chicken Strips
Achieving the perfect golden-brown, crispy exterior and tender, juicy interior for your homemade chicken strips requires attention to a few key details. The process itself is straightforward, but these tips will elevate your results from good to absolutely fantastic.
- **Oil Selection and Temperature:** Using the right oil is paramount. Olive oil is suggested in this recipe, but other neutral oils with high smoke points, such as canola, vegetable, or peanut oil, are excellent choices for deep frying. The ideal oil temperature of 325°F (163°C) is crucial. Too cold, and your chicken will absorb excess oil, becoming greasy. Too hot, and the exterior will burn before the inside cooks through. An accurate deep-fry or candy thermometer is your best friend here.
- **Dredging Technique:** For maximum crispness, ensure each chicken strip is thoroughly coated first in buttermilk, allowing any excess to drip off, and then in the flour mixture. Patting the chicken dry before dipping helps the buttermilk adhere better. When dredging in the flour mixture, press firmly to ensure a thick, even coating. Stir the flour mixture frequently to prevent the bread crumbs from settling at the bottom, ensuring a consistent coating for every piece.
- **Batch Frying:** Overcrowding the skillet is a common mistake that lowers the oil temperature significantly, leading to soggy chicken. Cook the chicken strips in small batches, allowing enough space for them to fry evenly and maintain the oil temperature. This usually means no more than 3-4 strips at a time, depending on the size of your skillet.
- **Maintaining Oil Temperature:** As you add chicken to the oil, its temperature will naturally drop. It’s important to monitor your thermometer and adjust the heat as needed to keep the oil between 315°F to 325°F (157°C to 163°C). Be patient and allow the oil to return to the target temperature between batches before adding more chicken.
- **Draining and Seasoning:** Once cooked to a beautiful golden brown and the internal juices run clear, transfer the chicken strips to a wire rack placed over a rimmed baking sheet. This allows excess oil to drip off, preventing them from getting soggy on the bottom. For an extra boost of flavor, lightly sprinkle the hot chicken strips with a pinch of salt immediately after they come out of the oil. This helps the salt adhere and enhances the overall taste.
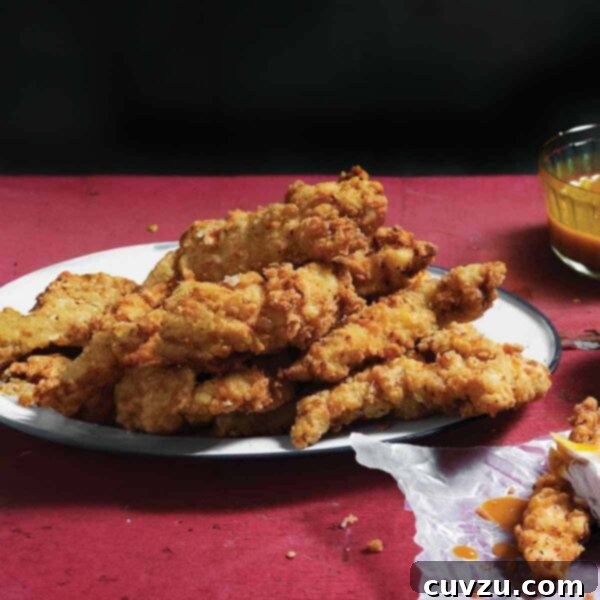
Homemade Chicken Strips
★
★
★
★
David Leite
- PIN
Print Recipe
Equipment
-
Deep-fry or candy or instant-read thermometer (essential for accurate oil temperature)
-
Large heavy skillet or Dutch oven
-
Wire rack and rimmed baking sheet
Ingredients
- Olive oil, for frying (or other neutral oil with a high smoke point)
- 2 cups all-purpose flour
- 1/2 cup unseasoned dry bread crumbs
- 2 teaspoons sea salt
- 1/2 teaspoon freshly ground black pepper
- 2 cups buttermilk, (either low-fat or full-fat, or a homemade substitute: 2 cups milk + 2 tbsp lemon juice/vinegar, let sit 5 mins)
- 1 3/4 pounds chicken tenders, (about 18 tenders) or chicken breast meat cut into slender strips of similar size for even cooking
- Ketchup, (optional, for dipping)
- Barbecue Sauce, (optional, for dipping)
Instructions
-
Prepare your frying station: Pour enough olive oil (or your chosen frying oil) into a large, heavy skillet or Dutch oven to reach a depth of 1/2 inch. Place the skillet over medium heat and allow the oil to heat up gradually. Using a deep-fry, candy, or instant-read thermometer, monitor the temperature until it registers a precise 325°F (163°C). While the oil heats, place a wire rack over a rimmed baking sheet and position it conveniently alongside your stove. This setup will be used to drain the cooked chicken strips and keep them crisp.
-
Set up dredging stations: In a shallow bowl, whisk together the all-purpose flour, unseasoned dry bread crumbs, sea salt, and freshly ground black pepper until well combined. In a separate shallow bowl, pour the buttermilk. These two bowls will form your essential dredging stations.
-
Coat the chicken: Pat the chicken tenders thoroughly dry with paper towels; this step is crucial for the breading to adhere properly. Working with half the strips at a time to prevent overcrowding and maintain cleanliness, dip each piece first into the buttermilk, allowing any excess to drip off briefly. Immediately transfer the buttermilk-soaked chicken to the flour mixture. Dredge them thoroughly, turning to coat all sides evenly. Make sure to press the coating onto the chicken firmly. Remember to stir the flour mixture often between coating strips to prevent the bread crumbs from settling to the bottom of the bowl, ensuring a consistent blend for each tender.
-
Fry the chicken: Carefully place a few coated chicken strips into the hot oil, ensuring not to overcrowd the skillet. Cook, turning them often with tongs, until the coating achieves a beautiful golden brown color, the juices run clear when pierced, and the chicken is thoroughly cooked through. This typically takes between 6 to 10 minutes, depending on the thickness of the strips. It is absolutely essential to monitor and adjust the heat during frying to maintain an oil temperature between 315°F to 325°F (157°C to 163°C). If the temperature drops too low, the chicken will absorb oil and become greasy; if it gets too high, the outside will burn while the inside remains undercooked. After each batch, allow the oil temperature to return to 325°F (163°C) before adding the next set of strips. Once cooked, transfer the crispy strips to the prepared wire rack to drain any excess oil. Repeat this process with the remaining chicken.
-
Serve and enjoy: Serve your delicious homemade chicken strips immediately while they are hot and at their crispiest. Offer a selection of dipping sauces on the side, such as classic ketchup or a robust barbecue sauce, to complement their savory flavor.
Notes & Variations
Homemade Chicken Strips Variation: Healthier & Flavorful Alternatives
Even Healthier Homemade Chicken Strips: For a nutritional boost and added fiber, you can easily modify the breading. Replace the all-purpose flour and bread crumbs with a mixture of 1 cup all-purpose flour, 1 cup whole-wheat flour, and 3 tablespoons of ground flaxseeds. The whole-wheat flour adds heartiness, while ground flaxseeds provide beneficial omega-3 fatty acids and a subtle nutty flavor.
Baked or Air-Fried Chicken Strips: If you prefer to avoid deep frying, these chicken strips can be baked or air-fried for a lighter option. After coating the chicken, arrange them in a single layer on a parchment-lined baking sheet or in your air fryer basket. Lightly spray with cooking oil. Bake at 400°F (200°C) for 20-25 minutes, flipping halfway, or air fry at 375°F (190°C) for 12-18 minutes, shaking the basket occasionally, until golden brown and cooked through.
Spicy Kick: For those who love a bit of heat, mix 1/2 teaspoon of cayenne pepper or a pinch of smoked paprika into the flour and bread crumb mixture.
Herbaceous Delight: Elevate the flavor with dried herbs. Add 1 teaspoon of dried Italian seasoning or a mix of dried thyme and rosemary to the flour mixture for an aromatic twist.
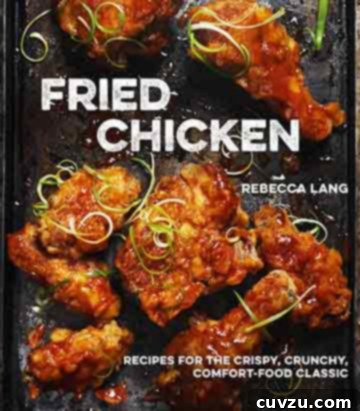
Adapted From
This recipe is an adaptation from the highly acclaimed “Fried Chicken” cookbook, a testament to timeless culinary techniques and exceptional flavor.
Buy On Amazon
Explore More with AI
Nutrition
Nutrition information is automatically calculated and provided for informational purposes only; it should only be used as an approximation. Individual results may vary based on exact ingredients and preparation methods.
Beyond the Fryer: Serving Suggestions & Pairings
While homemade chicken strips are undoubtedly a star on their own, pairing them with the right dipping sauces and side dishes can elevate the meal from simple to spectacular. Experiment with a variety of accompaniments to find your perfect combination:
- **Dipping Sauce Extravaganza:** Beyond the classic ketchup and barbecue sauce, consider a creamy ranch or blue cheese dressing, a zesty honey mustard, a tangy sriracha mayo, or even a homemade aioli. For an adventurous twist, try a sweet chili sauce or a vibrant chimichurri.
- **Classic Side Dishes:** Crispy French fries or sweet potato fries are a natural fit. For a lighter option, a fresh garden salad with a light vinaigrette offers a refreshing contrast. Creamy coleslaw provides a cool, crunchy element, while macaroni and cheese offers comforting indulgence.
- **Vegetable Sides:** Roasted broccoli, green bean casserole, or corn on the cob make excellent vegetable sides that complement the chicken without overpowering it.
- **Complete Meal Ideas:** Serve chicken strips in warm tortillas with shredded lettuce, diced tomatoes, and a drizzle of sauce for quick chicken tacos. They also make fantastic additions to a hearty salad, or can be chopped and added to a wrap for a satisfying lunch.
Storing & Reheating Your Homemade Chicken Strips
Have leftovers? No problem! Properly storing and reheating your homemade chicken strips ensures they remain delicious and, ideally, crispy. Store cooked and cooled chicken strips in an airtight container in the refrigerator for up to 3-4 days. To reheat and restore their crispness, avoid the microwave, which tends to make them soggy. Instead, preheat your oven to 350°F (175°C) and bake for 10-15 minutes, or until heated through and crisp. An air fryer is also an excellent option; reheat at 350°F (175°C) for 5-7 minutes. This method helps the breading regain its delightful crunch.
Recipe Testers’ Reviews
Don’t just take our word for it – our dedicated team of recipe testers put these homemade chicken strips through their paces, and their glowing reviews confirm this recipe’s excellence. Here’s what they had to say about their experience:
Anya L.
This is my new go-to chicken strips recipe, thanks in part to my kids’ “these are yummy” statements. Fast and easy input, very tasty and tender output. It took less than 5 minutes to pull together all the ingredients, but because the chicken was cooked in batches, the full cooking time was 15 minutes. About 6 minutes was sufficient time to cook each batch.
Virginia L.
I’ll admit that when my kids were little (more than 20 years ago) and my husband and I were going out on a Saturday night, I reached for Perdue chicken nuggets for their dinner. If I had this recipe then, I would have been (nutritionally-speaking) a much better mother. These chicken strips are delicious, and they’re a breeze to prepare. I used prepared chicken tenders, and I followed the basic recipe. I was a little nervous about the olive oil for frying since I only had extra-virgin, but the oil didn’t burn. To be honest, I didn’t take the temperature of the oil. I just let it heat up until it was shimmering, and then put in the chicken. The cooking time was 8 to 10 minutes. The strips were crisp and not at all greasy. I ate one cold the next day, and it wasn’t even soggy.
Mackenzie Campbell
These proved to be a good weeknight meal option. The batter was crisp and clung to the chicken well. Each piece took about 10 minutes to cook through and turn golden brown. The recipe did not state to salt the chicken while still hot out of the oil, but it should.
With these comprehensive details and helpful tips, you’re now equipped to create truly sensational homemade chicken strips that will impress everyone at your table. This recipe proves that convenience doesn’t have to sacrifice quality or flavor. Enjoy the process of crafting these crispy, tender delights and savor every bite!