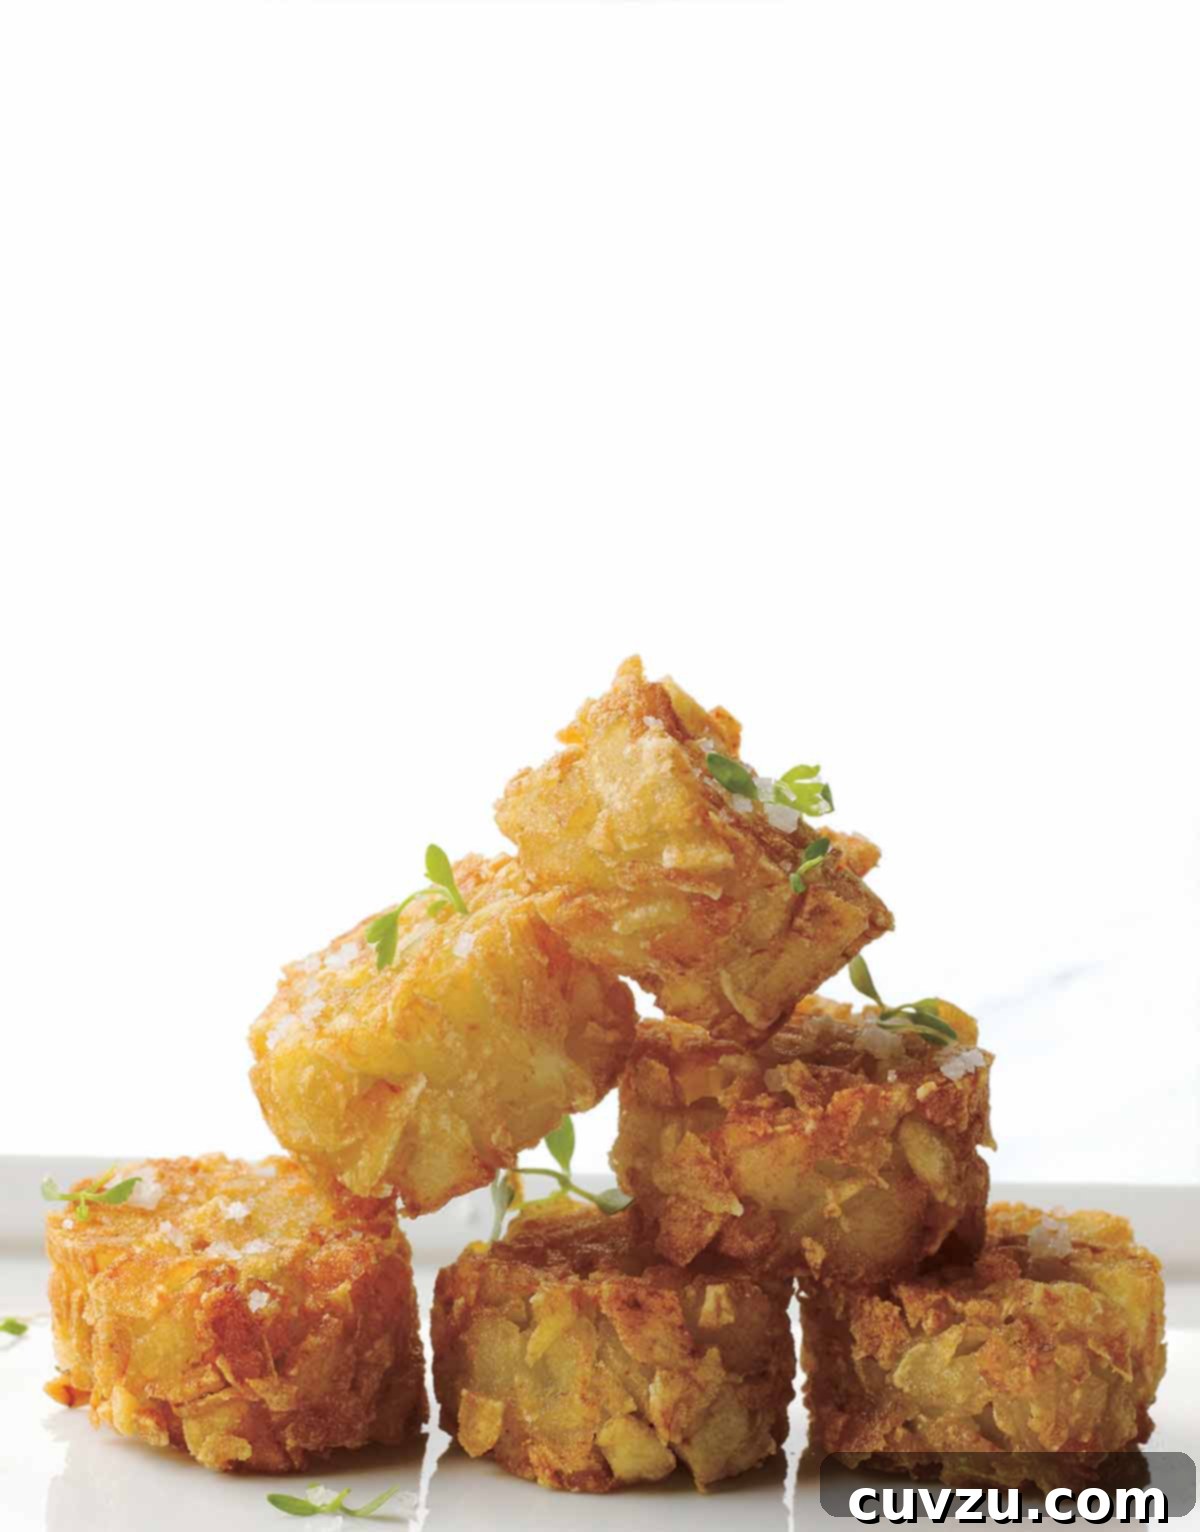
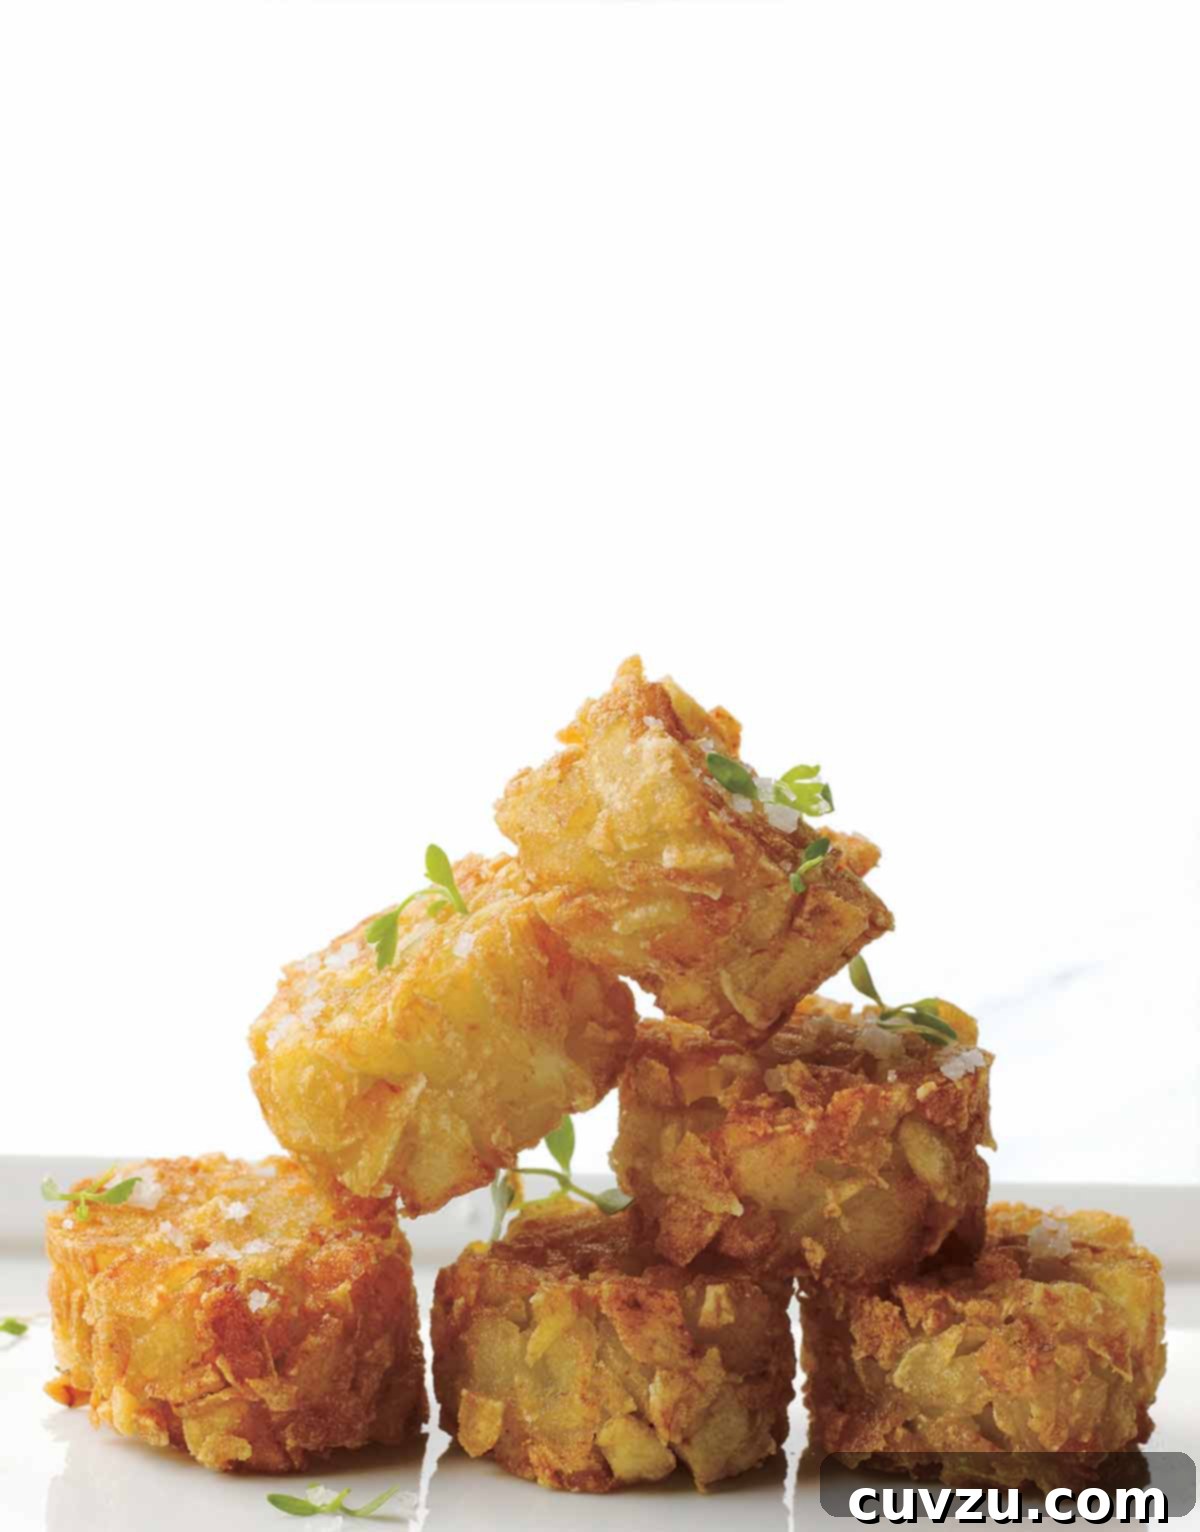
Welcome to the ultimate guide for crafting homemade tater tots, affectionately dubbed “Spuddies” in our culinary circle. Forget the frozen potato bites of your childhood; these are Chef Michel Richard’s sophisticated reinvention, elevating a humble snack into an extraordinary culinary experience. Imagine a golden-crisp exterior giving way to a fluffy, flavorful interior, dotted with delightful crunchy potato bits—that’s the magic of Spuddies. This recipe doesn’t just recreate a classic; it transforms it into a gourmet indulgence that promises to impress. Prepare to dive into the ingenious techniques that make these homemade delights truly exceptional, making store-bought versions a distant memory.
Chef Michel Richard, a luminary in the culinary world known for his playful yet precise approach to French cuisine, had a knack for transforming everyday comfort foods into gastronomic masterpieces. His vision extended beyond traditional fine dining, often reimagining classic American staples with a unique, refined twist. While his venture into “Meatballs” in Washington, D.C.’s Penn Quarter has since concluded, it exemplified his whimsical philosophy. Richard delighted in taking concepts literally, crafting side dishes that echoed the round, inviting forms of his namesake meatballs—and perhaps even his own jovial persona.
It was this creative spirit that led him to develop the concept of “Spuddies,” his gourmet take on the familiar tater tot. Instead of adhering strictly to the stereotypical squashed cylindrical shape, Richard explored the versatility of potato preparations, often presenting them as elegant orbs or meticulously shaped nuggets. While the recipe below provides instructions for the traditional tater tot shape, don’t hesitate to experiment. You could easily form these delicious potato mixtures into small balls, saving a bit of shaping time and adding a unique touch to your serving. The beauty of Chef Richard’s method lies in its adaptability, allowing you to honor the classic form or embrace a more contemporary, spherical presentation. The choice is entirely yours, inviting you to put your own creative spin on these delightful potato morsels.
Unveiling the Secrets to Perfect Homemade Tater Tots: Spuddies Explained
The name “Spuddies” is a clever portmanteau, a playful blend of “spud” (a colloquial term for potato) and “buddy,” signaling a friendly and approachable take on a beloved classic. Given that the trademarked “Tater Tot™” name was already claimed, “Spuddies” perfectly captures the essence of these homemade potato delights. The ultimate tater tot, whether store-bought or handcrafted, is characterized by its irresistibly crisp exterior and a beautifully smooth interior. However, Chef Richard’s Spuddies elevate this standard by incorporating delightful, tiny crunchy potato bits throughout the tender core, adding an extra dimension of texture that sets them apart.
The ingenuity behind achieving this unique texture lies in a brilliant technique: introducing a small amount of water into the food processor alongside the potatoes. When the processor is activated, these potato bits are suspended and tumble freely within the water, preventing them from settling at the bottom and becoming uniformly puréed. This ensures a varied texture, where some potato pieces remain slightly larger, contributing to those desirable crunchy pockets within the soft interior. This seemingly simple step is a game-changer, moving the Spuddies far beyond the homogenous texture of typical frozen tater tots.
Another crucial element in the Spuddies’ structural integrity and unparalleled crispness is the use of gelatin as a binder. Unlike starches that can create a gummy texture, gelatin performs a remarkable culinary trick. When the Spuddies are chilled, the gelatin sets, holding the potato mixture firmly together. Then, during the frying process, as the gelatin gently melts away, it creates tiny pathways for the hot oil to penetrate the potato mass. This allows the flour within the mixture to crisp up more effectively and ensures that those delicate potato bits become beautifully crunchy. The result is a tater tot that boasts an astonishingly delicate yet robust crispness, holding its shape beautifully while delivering an explosion of texture in every bite.
Beyond the fundamental potato, water, and gelatin, Spuddies offer a fantastic canvas for flavor experimentation. While delicious on their own, don’t shy away from infusing them with aromatic spices and herbs. A hint of ground coriander can add a warm, citrusy note, while a touch of curry powder can introduce an exciting exotic flair. For a more classic savory profile, consider finely minced garlic or onion, or fresh herbs like parsley, chives, or even rosemary. These additions can transform your Spuddies to complement a variety of meals or stand out as a sophisticated appetizer. Imagine serving a batch seasoned with smoked paprika alongside a barbecue spread, or garlic-and-herb infused Spuddies with a gourmet burger. The possibilities are truly endless, limited only by your imagination.
Entertaining and Freezing Tips for Homemade Spuddies
One of the many advantages of Chef Richard’s Spuddies recipe is its adaptability for entertaining. If you’re hosting a gathering, you can prepare the potatoes through their initial frying stage several hours in advance. This crucial first fry sets the structure and begins the cooking process. Then, just before your guests arrive or when you’re ready to serve, you can perform the second and final crisping fry. This two-stage frying process ensures that your Spuddies are served perfectly hot, golden, and exceptionally crispy, making you look like a culinary wizard with minimal last-minute fuss. It’s a nifty trick that allows you to focus on your guests while delivering a freshly fried treat.
For even greater convenience, especially for busy weeknights or unexpected cravings, Chef Richard also shares brilliant instructions for freezing these delightful Spuddies. Imagine walking into the kitchen after a long, harried day, and having a batch of gourmet tater tots ready to be pulled from the freezer and popped into the oven. The freezing method is designed to preserve both the texture and flavor, ensuring that even after storage, your Spuddies emerge wonderfully crisp and satisfying. The detailed how-to for freezing and reheating can be found within the recipe instructions below. This prep-ahead strategy truly makes homemade tater tots a feasible and enjoyable addition to your regular meal rotation, proving that gourmet flavors can indeed fit into a busy lifestyle.
Why Choose Homemade Tater Tots? The Spuddy Advantage
In a world overflowing with convenience foods, you might wonder, “Why bother making tater tots from scratch?” The answer lies in an unparalleled difference in taste, texture, and quality that mass-produced versions simply cannot match. Homemade Spuddies offer a culinary experience that elevates the humble potato to new heights, far surpassing the often-greasy and bland frozen counterparts.
Firstly, control over ingredients is a significant advantage. By making Spuddies yourself, you know exactly what goes into them – fresh, high-quality potatoes, pure water, and natural binders, free from artificial additives, preservatives, or excessive sodium often found in commercial products. This makes them a healthier and more wholesome snack for your family.
Secondly, the texture is simply superior. Chef Richard’s unique method of pulsing potatoes with water in a food processor, combined with the gelatin binder and double-frying technique, creates a crispy exterior that shatters with each bite, revealing a luxuriously fluffy interior punctuated by delightful, crunchy potato bits. This complex textural interplay is a hallmark of gourmet cooking and a sensation rarely achieved in frozen foods. The freshness of the potatoes and the precise cooking steps ensure a light, airy quality that resists the dense, sometimes mealy texture of factory-made tots.
Lastly, homemade Spuddies offer endless customization possibilities. As mentioned earlier, you can infuse them with a variety of herbs and spices, tailoring the flavor profile to your meal or personal preference. Imagine spicy chili-lime Spuddies for taco night, or parmesan-and-rosemary tots for a sophisticated side. This level of personalization is impossible with store-bought options, allowing you to truly make these potato bites your own signature dish. Embracing the Spuddy advantage means choosing superior flavor, texture, and quality every time.
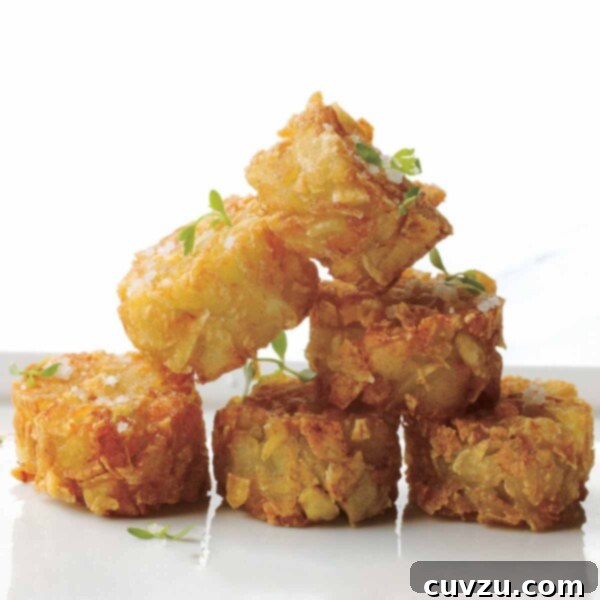
Homemade Tater Tots ~ Spuddies
Authored by David Leite
Side Dish, Snack
American, French Inspired
20 spuddies
37 kcal
45 minutes
35 minutes
30 minutes
1 hour 50 minutes
Ingredients
- 1 1/2 pounds baking potatoes, approximately 3 large potatoes
- 2 cups cold water
- 1 tablespoon unflavored gelatin
- 2 tablespoons Wondra, or other instant flour
- Salt, to taste
- Peanut or canola oil, for deep-frying
- Fleur de sel, or other flaky sea salt, for finishing
Instructions
-
Begin by preheating your oven to 250°F (121°C). Position an oven rack in the very center of the oven to ensure even heating.
-
Carefully peel and thoroughly rinse the baking potatoes. Cut each potato lengthwise into halves, and then halve each section again lengthwise, yielding 4 wedges per potato. Next, cut each wedge crosswise into 4 smaller, roughly even pieces. Transfer these potato chunks into a food processor along with the 2 cups of cold water. Pulse the food processor until the potato chunks are approximately 1/4 inch in size. The goal is to achieve small, distinct potato bits rather than a smooth purée, so be cautious not to overprocess them.
-
Drain the potato mixture in a colander and rinse it meticulously under cold running water, shaking the strainer vigorously to remove as much excess water as possible. Spread the rinsed potatoes onto a clean kitchen towel. Inspect for any larger “rebellious” potato pieces exceeding 1/4 inch and manually cut them into smaller, more uniform chunks. Place another clean towel on top of the potatoes, then roll up both towels tightly, pressing firmly to extract all remaining moisture. This step is crucial for achieving crispy Spuddies.
-
Spread the dried potatoes in a single, even layer on a baking sheet. Using a small, dry sieve or tea strainer, sprinkle the unflavored gelatin evenly over the potatoes. Place the baking sheet into the preheated oven for 4 to 5 minutes, or until the gelatin has completely melted. Don’t be alarmed if the potatoes appear slightly oily; this is a normal and desired effect from the melted gelatin. Remove the pan from the oven and allow it to cool slightly.
-
Transfer the cooled potatoes into a mixing bowl. Use a rubber spatula to mix them thoroughly, ensuring the melted gelatin is evenly distributed throughout the potato mixture. Incorporate the instant flour and season generously with salt to taste. Mix until well combined.
-
Lightly moisten your clean work surface with water to help anchor the plastic wrap. Lay a piece of plastic wrap, at least 18 inches long, on the moistened surface, with the shorter end facing you. Place half of the potato mixture onto the plastic, positioning it about 6 inches (15 cm) from the edge closest to you. Using your hands, firmly shape the mixture into a compact log, approximately 8 inches (20 cm) in length, pressing the potatoes together to ensure cohesion. Lift the near edge of the plastic wrap up and over the log, bringing it down on the far side of the potato mixture. Roll the log tightly, using a ruler or the flat side of a chef’s knife to press against the roll as you compress it. If any air pockets are visible, gently squeeze the plastic at the ends to further compact the mixture. The finished log should be about 1 1/2 inches (4 cm) in diameter. Twist the ends of the plastic wrap securely and tie them tightly with kitchen twine. If you notice any visible air spaces within the potato logs, carefully prick a small hole in the plastic wrap to release the trapped air. Repeat this entire process with the remaining potato mixture to create a second log.
-
Place the prepared potato logs into the freezer. Chill them just until they are firm enough to slice easily, which typically takes between 30 to 60 minutes. It is important not to freeze the potatoes for too long, as prolonged freezing can cause them to discolor or turn brown.
-
For the initial frying stage, heat the peanut or canola oil in a deep fryer or a heavy-bottomed pot to 375°F (190°C). Remove the potato logs from the freezer. Using a sharp knife, trim and discard the ends of each roll, slicing directly through the plastic wrap. Then, cut each roll, still encased in plastic, into 3/4-inch-thick slices, yielding approximately 10 slices per roll. Carefully remove and discard the plastic wrap from each individual Spuddy. Fry the Spuddies in small batches to avoid overcrowding the fryer, until they achieve a beautiful golden-brown color, which should take about 3 minutes per batch. Transfer the fried Spuddies to a plate or tray lined with paper towels to drain excess oil.
-
For the second and final frying, reduce the oil temperature to 325°F (163°C). Fry the potatoes once more, again in small batches, for about 2 minutes. During this stage, they will deepen in color, becoming richly browned and delightfully crisp. Drain the finished Spuddies on fresh paper towels and generously sprinkle them with fleur de sel for a perfect salty finish. Watch them vanish quickly! To freeze Spuddies for future enjoyment: Cook them for approximately one minute less than directed in the second frying step. Then, arrange the partially cooked potatoes in a single layer on a baking sheet and transfer them to the freezer until solid. Once frozen, transfer the Spuddies to resealable plastic freezer bags. To serve from frozen: Spread the frozen potatoes on a baking sheet and allow them to defrost at room temperature for about 30 minutes. Warm them in a 400°F (204°C) oven until they are thoroughly hot and wonderfully crisp, typically 5 to 8 minutes.

Adapted From
Happy in the Kitchen by Michel Richard
Buy On Amazon
Nutrition Information
Serving: 1 spuddy
Calories: 37 kcal
Carbohydrates: 7 g
Protein: 1 g
Fat: 1 g
Saturated Fat: 1 g
Trans Fat: 1 g
Sodium: 4 mg
Fiber: 1 g
Sugar: 1 g
Nutrition information is automatically calculated, so should only be used as an approximation.
Perfect Pairings for Your Gourmet Spuddies
While Spuddies are undeniably delicious on their own, especially when seasoned with a sprinkle of delicate fleur de sel, they truly shine when paired with complementary sauces and main courses. For a classic experience, a rich, tangy ketchup is always a crowd-pleaser, providing a nostalgic counterpoint to their gourmet crunch. However, don’t limit yourself! Consider serving them with a creamy garlic aioli, a spicy sriracha mayo, or a vibrant chimichurri for an elevated dipping experience. For main dishes, Spuddies make a fantastic upgrade to any burger or hot dog night, adding a touch of sophistication to backyard barbecues. They’re also an excellent accompaniment to grilled steak, roasted chicken, or even a hearty vegetarian chili, soaking up flavors and adding a delightful texture. Imagine them alongside fish and chips for a French-American fusion, or as a fun appetizer with a variety of dips at your next cocktail party. Their versatility knows no bounds, making them a perfect addition to almost any meal or gathering.
Recipe Testers’ Reviews: Real Feedback on Homemade Spuddies
Curious about how these homemade Spuddies truly perform in a home kitchen? Our dedicated recipe testers put Chef Michel Richard’s creation to the test, offering invaluable insights and enthusiastic endorsements. Read on to discover their experiences, tips, and why these potato nuggets have become a new favorite.
Natalie Reebel
There isn’t a better potato snack in the world than a frozen and reheated tater tot—unless you can make them from scratch at home. These were, without a doubt, the best potato nuggets I’ve ever had. They were perfectly crisp on the outside, wonderfully light and fluffy on the inside. Truly such a treat!
While you could certainly serve these with chili and cheese on top, I honestly don’t think you’d want to detract from their incredible standalone flavor. They’re magnificent on their own. I don’t think I can ever go back to store-bought tater tots again after experiencing these. During the rolling of the potato mixture, I encountered a minor frustration as my logs developed an air pocket or two. However, this proved to be no problem at all. Simply ensure they go into the freezer, and they will firm up perfectly for slicing.
Elie Nassar
I’ve consistently found excellence in recipes from this particular cookbook, and these tater tots are absolutely no exception. I must admit, they are a bit labor-intensive in terms of preparation, but the wonderful news is that much of the prep work can be done well ahead of time. The final product is truly impressive and results in a fantastically crunchy and flavorful treat that appeals to everyone – both kids and adults thoroughly enjoy them. I personally love serving them with a selection of different dips, although, of course, they are perfectly delicious with just classic ketchup.
Cindy Zaiffdeen
I have to admit that I was initially taken aback a bit by the perceived length of the recipe instructions; however, once you actually get started and get into the rhythm of it, it’s not nearly as daunting as it appears. Michel Richard does a truly excellent job of describing each step of the method with clarity and precision. You really can’t make a mistake if you diligently follow his directions. I initially made these with the suggested 1/4 teaspoon of ground coriander, but I found that the flavor wasn’t noticeable at all, so next time I would simply leave the tater tots as is, seasoned just with salt and pepper to highlight the potato’s natural taste.
I personally found it significantly easier to roll the tots into logs when I divided the mixture into four rather than just two logs as suggested in the original recipe. The rolling technique required a bit of practice to get right, but after the first log, it went fairly smoothly. It was genuinely fascinating to witness the transformation of the frozen tater tots into such a delightful potato experience—a wonderfully crunchy outside encasing a moist and tender inside. The addition of fleur de sel at the finish is an absolute must; it truly elevates the flavor. I served these as a perfect side dish with steak, but I can very easily see the immense attraction of serving these as an elegant appetizer at a cocktail party. I even tried them dipped in ketchup—and they were absolutely fantastic!
In conclusion, Chef Michel Richard’s Homemade Tater Tots, or “Spuddies” as we affectionately call them, are more than just a snack—they’re a culinary revelation. This recipe transforms the nostalgic tater tot into a sophisticated, exceptionally crispy, and utterly delicious potato bite that promises to impress. By following these detailed steps, embracing the unique techniques of water-processing and gelatin binding, and experimenting with your favorite flavors, you can recreate this gourmet experience in your own kitchen. Whether served as a stellar side, a memorable appetizer, or a comforting treat, these Spuddies are destined to become a beloved staple in your recipe collection. Don’t hesitate any longer; gather your ingredients and prepare to savor the unparalleled joy of homemade, gourmet tater tots.