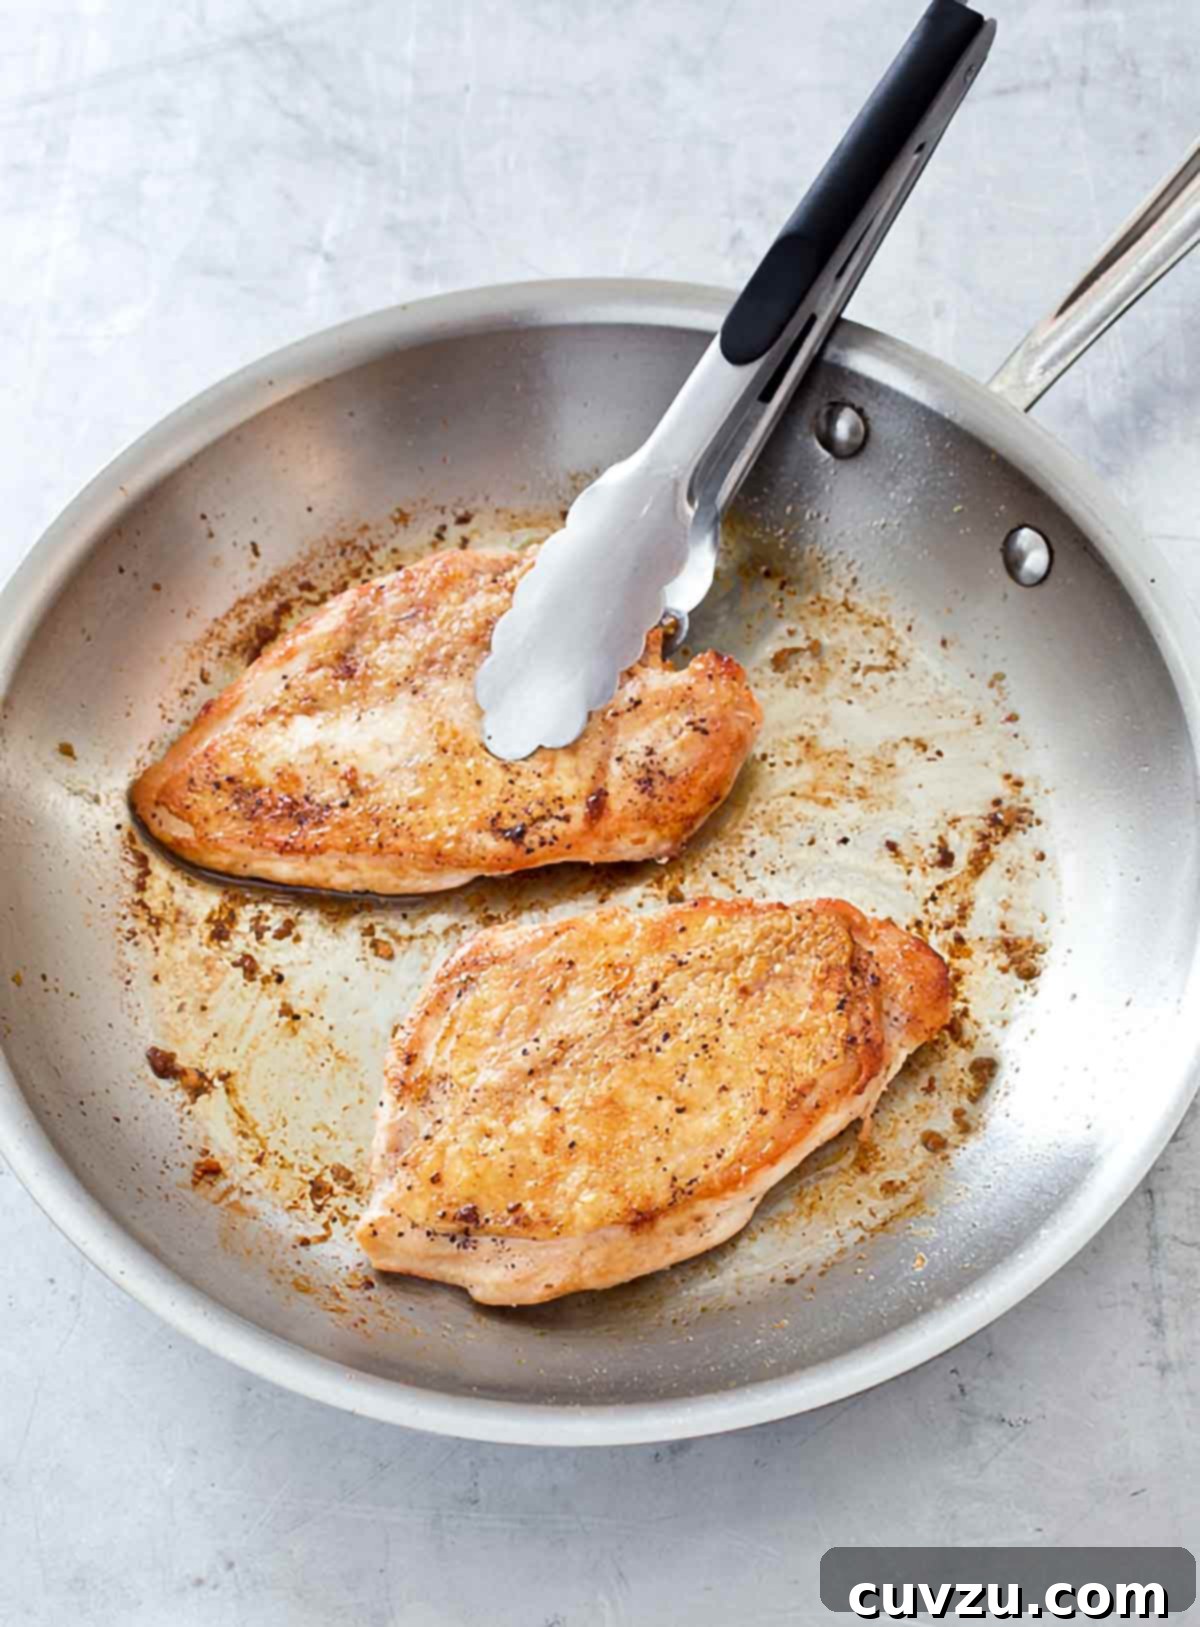
The Ultimate Pan-Seared Chicken Breast: Achieve Restaurant-Quality Crispness at Home
Prepare to revolutionize your weeknight dinner routine with this extraordinary pan-seared chicken breast recipe. Hailing from the culinary masters at Cook’s Illustrated, this method requires a mere four core ingredients—chicken, olive oil, salt, and pepper—yet yields results that consistently impress. Imagine chicken breasts with unbelievably crisp, golden-brown skin, incredibly tender and juicy meat, all while leaving your stovetop remarkably splatter-free. This isn’t just a recipe; it’s a technique that promises to elevate your home cooking to new heights, delivering a restaurant-quality meal with minimal fuss and maximum flavor.
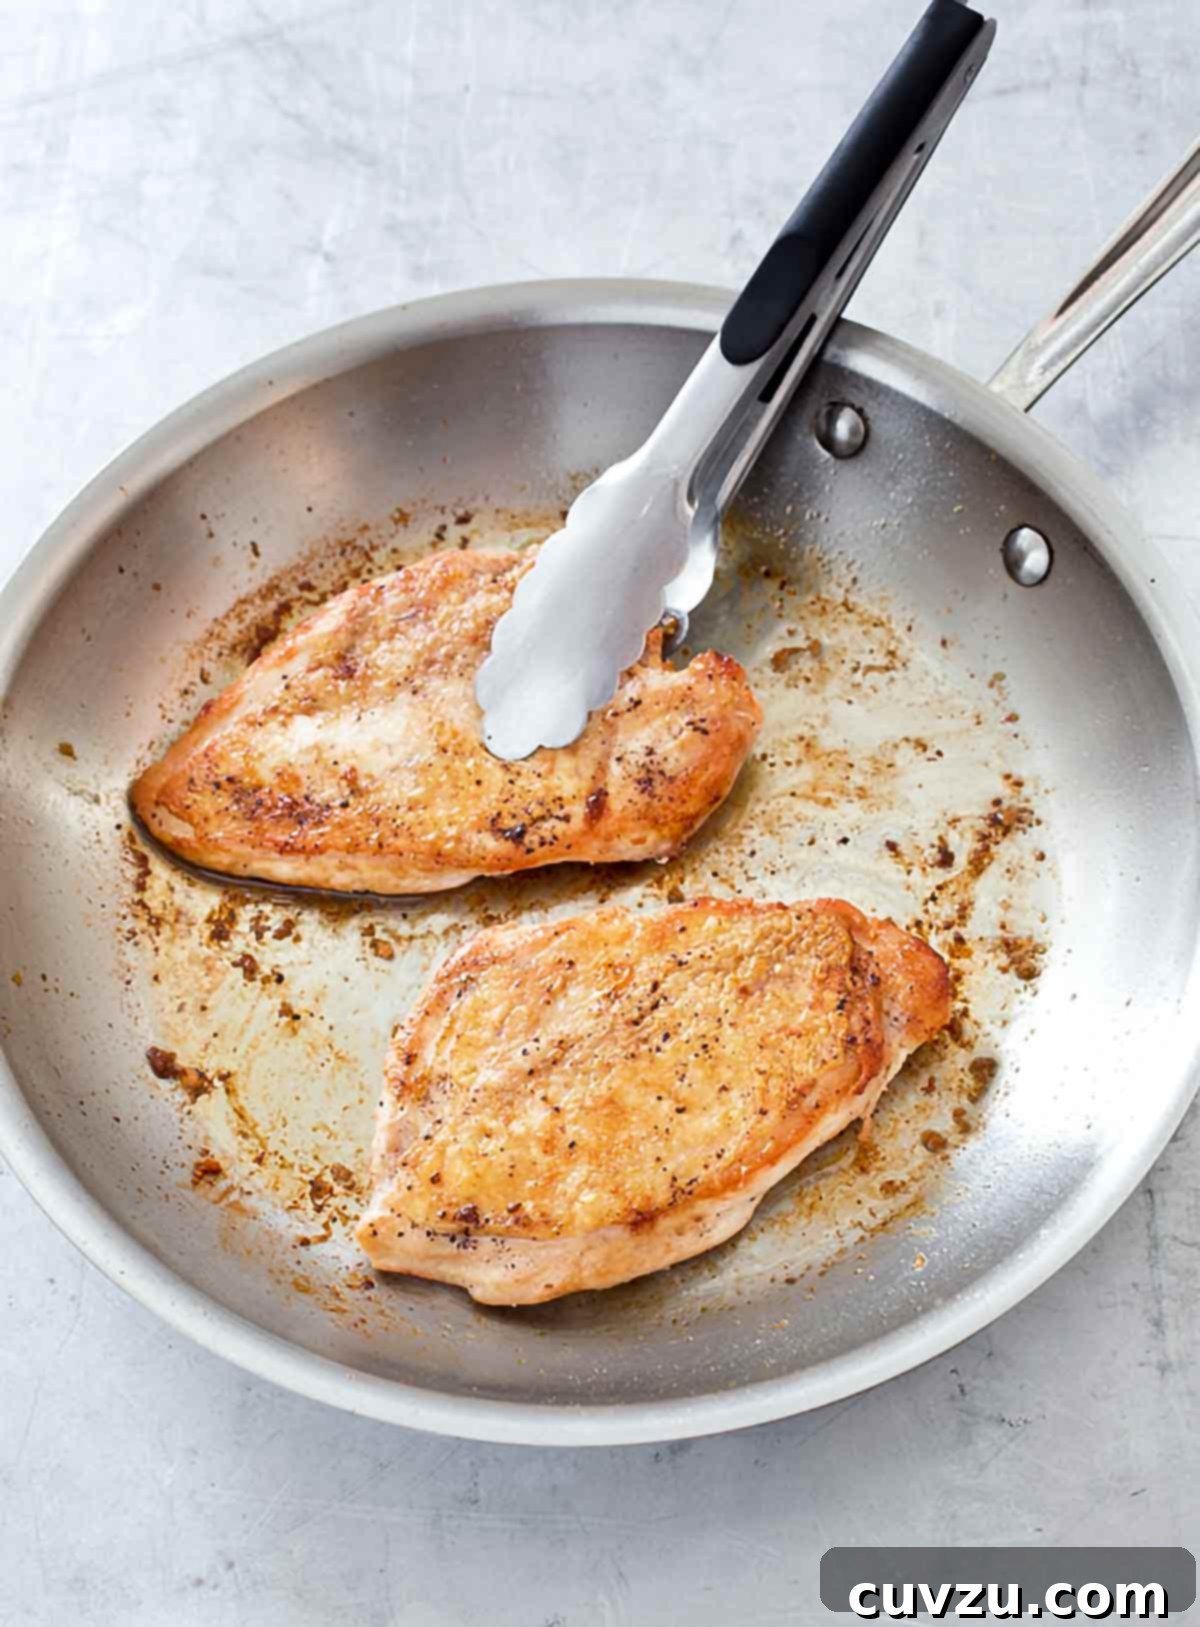
Why This Pan-Seared Chicken Breast Recipe is a Game-Changer
If chicken is a staple in your kitchen, you know the quest for the perfect chicken breast can be elusive. Often, pan-searing leads to rubbery meat, soggy skin, or a messy kitchen. This recipe, however, is truly life-altering. It’s not only budget-friendly and quick to prepare, but it’s also incredibly forgiving, ensuring success even for novice cooks. The “wow” factor comes from the harmonious combination of simple ingredients and clever techniques that result in the best pan-seared chicken breast you’ll ever make.
The secret lies in a few key steps: proper preparation of the chicken, a unique cooking method that starts in a cold pan, and precise temperature control. These elements work in concert to render fat efficiently, crisp the skin without burning, and cook the meat evenly, ensuring every bite is moist and flavorful. You’ll be amazed at how such a simple approach can deliver such profound results, making this your go-to recipe for delicious, crispy-skinned chicken.
The Science Behind the Crispy Skin and Juicy Meat
This recipe isn’t just a set of instructions; it’s an application of culinary science designed for optimal results. The process begins with deboning the chicken breast and pounding it to an even thickness. This crucial step ensures uniform cooking, preventing the thinner parts from overcooking while the thicker parts reach temperature. The removal of the bone allows the entire surface of the skin to make full, even contact with the hot pan, which is absolutely essential for achieving that coveted “shatteringly crisp” texture.
Next, the chicken undergoes a dry brine—a process of salting the chicken and letting it rest uncovered in the refrigerator. This step draws moisture from the skin, leading to superior crispness, and seasons the meat deeply. The salt also helps the protein strands relax, contributing to the chicken’s tenderness. Starting the chicken in a cold skillet, rather than a preheated one, allows the fat under the skin to render out slowly and consistently. This gradual rendering is key to crisping the skin without burning it and minimizing splattering. Applying weight to the chicken during the initial cooking phase further enhances skin contact with the pan, ensuring maximum browning and crispness across the entire surface. This methodical approach is what distinguishes this recipe from ordinary pan-fried chicken.
Pan Seared Chicken Breast
By David Leite
Mains
American
2
servings
435
kcal
15 minutes
10 minutes
25 minutes
Ingredients
- Two (10- to 12-ounce) bone-in, skin-on, split chicken breasts
- Salt and freshly ground black pepper
- 2 tablespoons olive oil
Instructions
At least 1 hour before cooking
-
You’ll need to remove the bone from each split chicken breast. It’s surprisingly easy. To do this, grasp a sharp paring knife in your dominant hand. Place one chicken breast, skin side down, on your cutting board with the ribs oriented away from your knife hand.
-
Starting at the thickest part of the breast, carefully run the tip of your knife between the breastbone and the meat. Angle the blade slightly, following the curve of the rib cage and cartilage all the way toward the thinner end of the breast. Repeat this cutting motion a few times to fully detach the ribs and breastbone. Then, run your knife tip along both sides of the small wishbone remnant at the top edge of the breast to free it from the meat. Carefully remove the tenderloin and set it aside for another culinary use, being mindful not to cut into the delicate skin. Repeat this process with the second chicken breast.
-
Using the very tip of your paring knife, gently poke the skin on each chicken breast 30 to 40 times, aiming for even distribution across the surface. Flip the breasts over and poke the thickest portion of each breast 5 to 6 times to help with even cooking. Cover the prepared breasts loosely with plastic wrap. Using a meat pounder, rolling pin, or even a heavy skillet, gently pound the thick ends of the chicken until the entire breast achieves a uniform thickness of approximately 1/2 inch.
-
Thoroughly pat each chicken breast dry with paper towels. Sprinkle each breast with 1/2 teaspoon of kosher salt. Arrange the breasts, skin side up, on a wire rack set within a roasting pan. Cover the chicken loosely with plastic wrap and refrigerate for a minimum of 1 hour, or up to 8 hours. This dry brining step is crucial for achieving that superior crispy skin.
Just before cooking
-
Remove the chicken from the refrigerator. Pat the chicken breasts dry once more with paper towels to eliminate any residual moisture. This extra step is vital for maximum crispness. Sprinkle each breast with 1/4 teaspoon of freshly ground black pepper.
-
Pour the 2 tablespoons of olive oil into a 12-inch skillet (cast iron is highly recommended for its even heat distribution) and tilt the pan to evenly coat the entire cooking surface. Place the chicken breasts into the cold skillet, skin side down. Position the skillet over medium heat. To ensure maximum skin contact and uniform crisping, place a heavy skillet or a Dutch oven directly on top of the chicken breasts to weight them down and keep them perfectly flat. Cook the chicken in this manner until the skin turns a rich golden brown and the meat along the edges begins to appear opaque, which typically takes 5 to 9 minutes. While it might be tempting to increase the heat for speed, maintaining medium heat is crucial for slowly rendering the fat and achieving optimal crispness without burning.
-
Carefully remove the weight from the chicken. Continue cooking over medium heat. During this phase, the skin will deepen in color and become incredibly well browned and very crisp. This usually takes an additional 6 to 8 minutes. Monitor closely to prevent over-browning.
-
Flip the chicken breasts over to the second side. Reduce the heat to medium-low. Continue cooking until the second side is lightly browned and a meat thermometer inserted into the thickest part of the chicken registers an internal temperature of 160° to 165°F (71 to 74°C). This final cooking phase typically takes 2 to 5 minutes. Once cooked, immediately transfer the perfectly sautéed chicken breasts to individual plates. Allow them to rest for a few minutes before slicing and serving. This resting period allows the juices to redistribute throughout the meat, ensuring a remarkably tender and moist result.

Adapted From
The Complete America’s Test Kitchen TV Show Cookbook
Buy On Amazon
Nutrition Facts
Serving: 1 portion
Calories: 435 kcal
Protein: 38 g
Fat: 31 g
Saturated Fat: 7 g
Monounsaturated Fat: 17 g
Trans Fat: 1 g
Cholesterol: 116 mg
Sodium: 114 mg
Nutrition information is automatically calculated, so should only be used as an approximation.
Tips for Pan-Searing Success
- Pan Choice Matters: A heavy-bottomed skillet is your best friend for pan-searing. Cast iron is ideal because it retains and distributes heat incredibly evenly, which is crucial for uniform crisping. Stainless steel can also work effectively.
- Don’t Crowd the Pan: For truly crisp skin, avoid overcrowding the skillet. Cook one or two chicken breasts at a time, allowing plenty of space around each piece. This ensures proper air circulation and prevents steaming, which leads to soggy skin.
- Monitor Heat: The recipe calls for medium heat for a reason. Too high, and the skin will burn before the fat renders or the meat cooks through. Too low, and you won’t achieve that deep golden crisp. Adjust as needed, but try to keep it consistent.
- The Cold Pan Start: While counter-intuitive for many searing methods, starting in a cold pan is key here. It allows the chicken skin and its underlying fat to gradually come up to temperature, slowly rendering the fat and maximizing crispness while minimizing splatter.
- Weight it Down: Don’t skip the step of weighting the chicken. This ensures maximum contact between the skin and the hot pan, promoting even browning and crisping across the entire surface.
- Patience is a Virtue: Resist the urge to peek or flip too early. The chicken needs undisturbed time to develop that beautiful crust. Trust the process and the timing guidelines.
- Rest Your Meat: Always allow the cooked chicken to rest for at least 5 minutes before slicing. This allows the juices to redistribute throughout the meat, resulting in a more tender and moist final product.
Serving Suggestions and Flavor Variations
This perfectly pan-seared chicken breast is a versatile main course that pairs beautifully with a wide array of side dishes. For a classic meal, serve it alongside creamy mashed potatoes or a vibrant green salad with a light vinaigrette. Roasted asparagus, sautéed green beans, or a simple rice pilaf also make excellent accompaniments. Don’t forget a squeeze of fresh lemon juice over the finished chicken to brighten the flavors.
While the recipe excels in its simplicity, you can certainly explore flavor variations to suit your palate. Before cooking, consider rubbing the chicken with a blend of herbs like thyme, rosemary, or sage for an aromatic touch. A pinch of garlic powder or onion powder can also enhance the savory notes. For a slight kick, add a dash of cayenne pepper to your salt and pepper seasoning. You could also create a quick pan sauce in the skillet after removing the chicken by deglazing with a splash of white wine or chicken broth, then stirring in a knob of butter and fresh herbs.
Frequently Asked Questions About Pan-Seared Chicken Breast
Q: Why is deboning and pounding the chicken so important?
A: Deboning allows the chicken breast to lie completely flat against the pan, ensuring even cooking and full contact for crisping the entire skin. Pounding it to an even 1/2-inch thickness prevents thinner parts from drying out before thicker sections are cooked, guaranteeing uniformly tender meat.
Q: Can I use boneless, skinless chicken breasts for this recipe?
A: While you can pan-sear boneless, skinless chicken breasts, this specific recipe is designed to maximize the crispness of skin-on chicken. The cold-pan method and weighting technique are optimized for rendering fat and achieving that signature shatteringly crisp skin. Boneless, skinless breasts would cook much faster and require different timing; they would also lack the rich flavor and texture that comes from the skin.
Q: What kind of oil is best for pan-searing chicken?
A: Olive oil is specified in the recipe and works well. Other high-smoke-point oils like canola oil, grapeseed oil, or avocado oil can also be used. Butter can burn at higher temperatures, so it’s generally best to stick to oils for searing, or add butter at the very end for flavor if desired.
Q: How do I know when the chicken is fully cooked?
A: The most accurate way is to use an instant-read meat thermometer. Insert it into the thickest part of the chicken breast, avoiding the bone (if applicable) or the pan. The chicken is fully cooked when it reaches an internal temperature of 160° to 165°F (71 to 74°C). The resting period will allow the temperature to rise slightly to the safe final temperature of 165°F (74°C).
Q: Can I prepare the chicken ahead of time?
A: Yes, the dry brining step can be done up to 8 hours in advance. After patting dry and salting, place the chicken on a wire rack in the refrigerator, uncovered or loosely covered, for optimal results. This actually enhances the crispness of the skin.
Tried this recipe?
Mention @leitesculinaria or tag #leitesculinaria!
Recipe Testers’ Reviews
Review from a Home Cook
I honestly didn’t think it was possible to achieve such magnificent pan-seared chicken breast with so little spatter on the stovetop. But I stand corrected! Every detail in this recipe proved accurate—from the typical size of a bone-in, skin-on chicken breast, to the precise instructions on how to debone it, the visual cues for what to expect during searing, and the cooking times. Most importantly, it delivered on its promise of “shatteringly crisp skin” and remarkably tender, juicy chicken breast meat. It’s genuinely impressive how simple ingredients can transform into something so restaurant-worthy with this technique.
I’ve incorporated this recipe into my regular rotation on numerous occasions. When I’m truly short on time, I sometimes skip the extended salting-and-refrigeration step, and the results are still nothing short of incredible. While the longer dry brine definitely enhances the crispness, even a shorter version or skipping it entirely still yields superior results compared to other methods. This recipe truly is a game-changer for weeknight chicken. I wholeheartedly swear by it; you won’t be disappointed.
Review from an Enthusiastic Beginner
As someone who always struggled with getting chicken skin crispy without burning it, this recipe felt like a revelation! The detailed deboning instructions were incredibly clear, and I managed it on my first try. The idea of starting the chicken in a cold pan was completely new to me, but it made perfect sense once I saw how little splatter there was and how gradually the skin crisped up. The weighting step felt professional and truly made a difference in achieving a perfectly flat, evenly browned surface. My family couldn’t believe I made such a beautiful and delicious chicken at home. The meat was so juicy, and the skin was indeed shatteringly crisp, just as promised. This has become my absolute favorite way to cook chicken breasts.
I highly recommend this recipe to anyone, especially those who might feel intimidated by pan-searing. It breaks down each step into manageable parts and gives you confidence in the kitchen. I’ve even started experimenting with different herbs in the salt mix, and each time, the chicken turns out phenomenal. It’s comforting to know I can rely on such a foolproof method for a healthy, delicious, and impressive dinner any night of the week. This recipe has truly elevated my cooking skills and confidence.