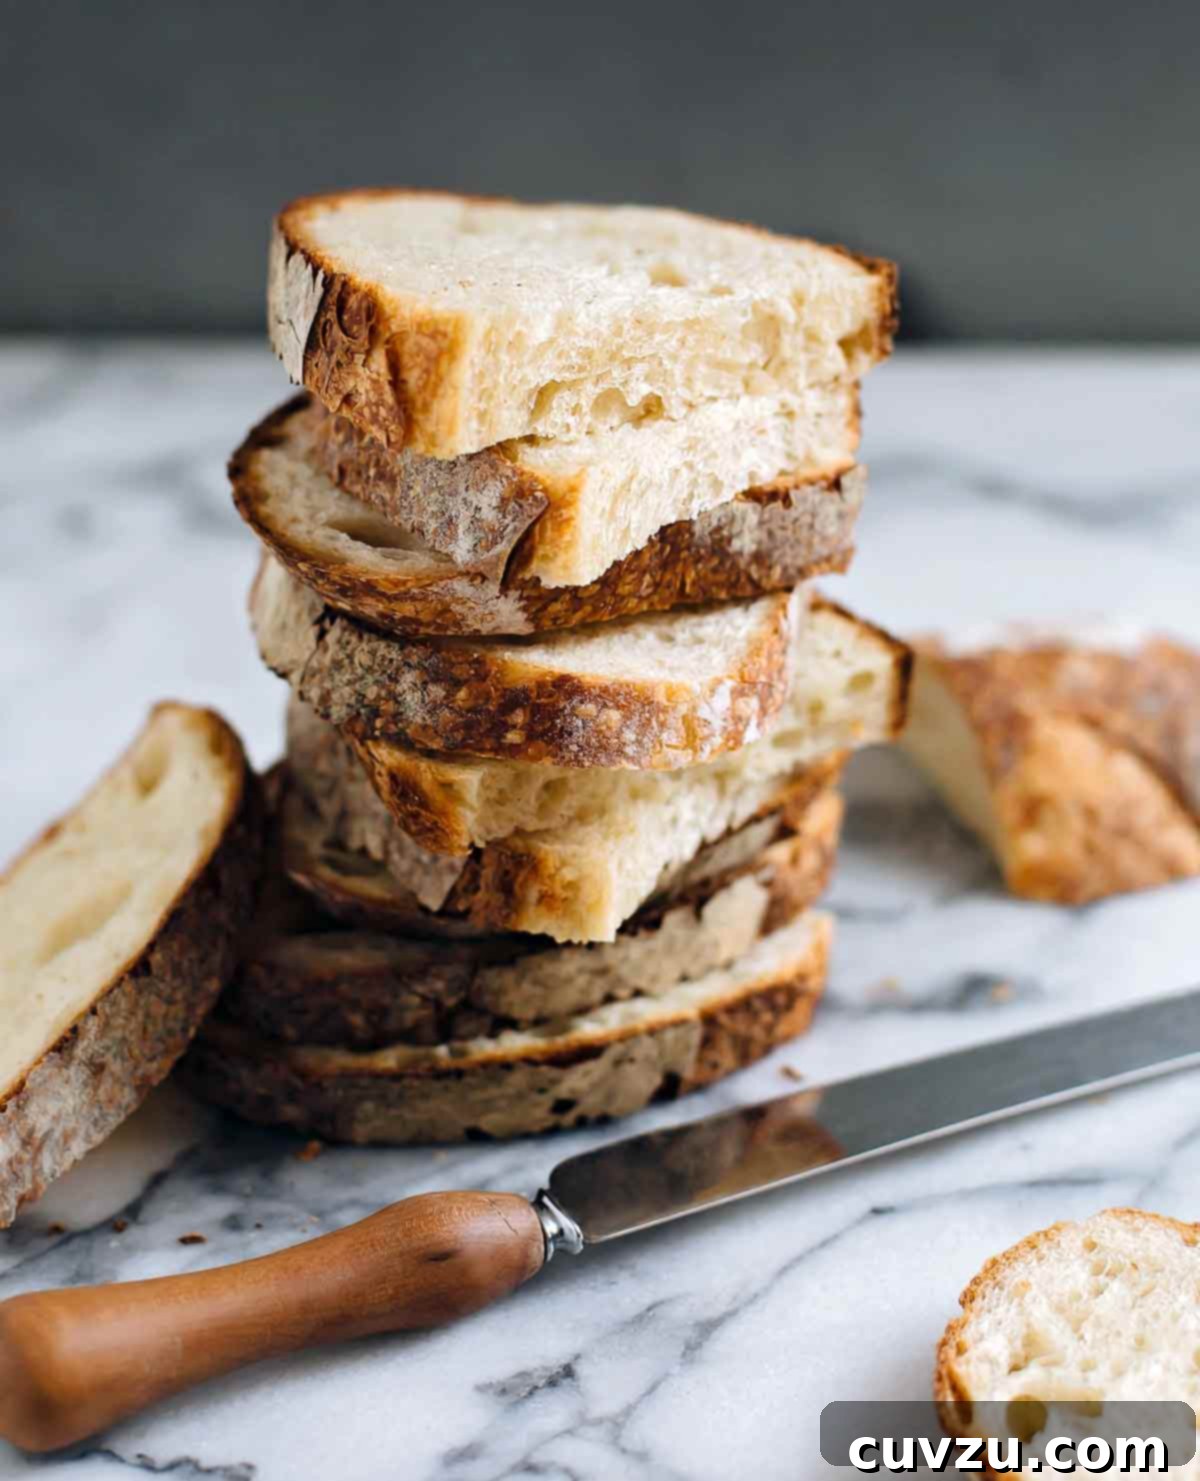
Embark on your journey to baking exquisite homemade sourdough bread with this incredibly simple, yet highly rewarding recipe. Crafted with only four fundamental ingredients – active sourdough starter, quality bread flour, pure water, and a touch of salt – this method yields a truly artisan loaf featuring that coveted crunchy crust and a delightfully tender, airy crumb. Forget the intimidation often associated with sourdough; we’re here to guide you through every step to achieve bakery-quality results right in your own kitchen.
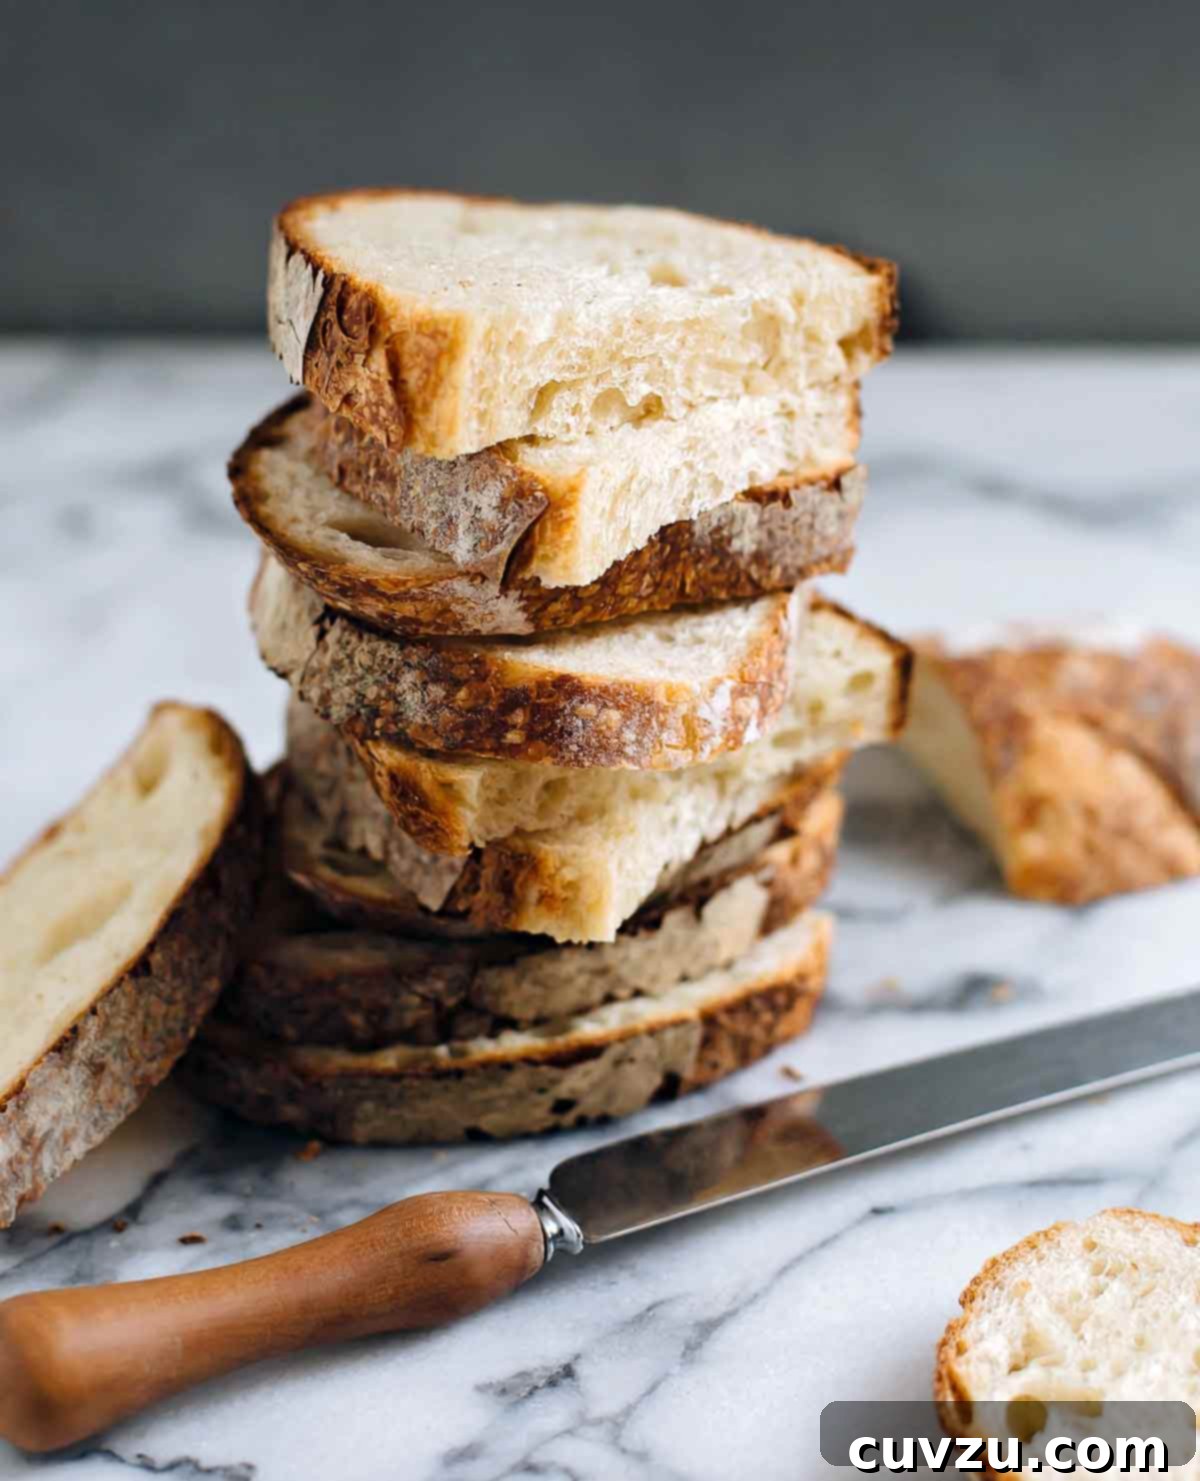
The world of sourdough baking often appears to be filled with complex techniques and lengthy processes, making it daunting for novice bakers and, at times, impractical for even the most seasoned home cooks. Many recipes demand intricate folding schedules, precise temperature controls, and specialized equipment that can discourage anyone from even attempting to bake their own rustic loaves. However, we believe that achieving an authentic artisan sourdough should be accessible to everyone.
This exceptional sourdough recipe stands apart by distilling the art of bread making into its most essential and manageable form. Requiring less than 30 minutes of active hands-on time, it simplifies the process without compromising on the signature characteristics of a classic artisan sourdough: that satisfyingly crunchy exterior and a soft, chewy interior. It’s designed to fit seamlessly into your busy schedule, often incorporating an overnight rise that works while you sleep, ensuring you wake up to dough ready for baking. Whether you’re a complete beginner eager to master the basics or an experienced baker seeking a less fussy approach, this recipe delivers outstanding results that will impress both your palate and your guests.
☞ LEARN MORE, READ: HOW TO DRY SOURDOUGH STARTER
WHY DO I HAVE TO WAIT BEFORE SLICING FRESH-BAKED SOURDOUGH?
The temptation to slice into a warm, fragrant loaf of freshly baked sourdough is almost irresistible, a true test of patience for any baker. We understand the eagerness; however, resisting this urge is absolutely crucial for the quality of your bread. It’s not just an arbitrary rule but a fundamental principle of baking science. You absolutely must allow your sourdough loaf to cool for at least one hour, and ideally longer, before cutting into it.
During the baking process, even after the bread is removed from the oven, it continues to cook through a phenomenon known as “carryover cooking.” The internal temperature of the loaf remains high, and the starches within the crumb are still gelatinizing and setting. Slicing too soon interrupts this vital process, causing the internal moisture to rapidly evaporate. This premature release of steam can lead to a gummy, dense, or soggy texture in the center of your loaf, rather than the tender, airy crumb you’ve worked so hard to achieve. Furthermore, rapid cooling and moisture loss can cause the bread to dry out prematurely, impacting its overall freshness and shelf life. While it may feel like an unreasonable wait, trust us – the science behind it guarantees a superior texture, flavor, and lasting quality for your beautiful artisan sourdough. Embrace the patience, and your reward will be a perfectly structured and utterly delicious loaf.
Sourdough Bread
David Leite
Sides
American
12
slices
155
kcal
30
55
12
30
Ingredients
-
1/4
cup
bubbly, active starter -
1 1/3
cups plus 2 tablespoons
warm water -
4
cups plus 2 tablespoons
bread flour (or, in a pinch, you can substitute all-purpose flour),
plus more for the work surface -
1 1/2
teaspoons
fine sea salt
Instructions
-
In a large bowl, combine the active sourdough starter and warm water. Whisk them together thoroughly with a fork until well incorporated. Next, add the bread flour and fine sea salt to the bowl. Mix with the fork until a stiff, shaggy dough begins to form, which should take approximately 1 minute. Finish the mixing by hand, ensuring all the flour is fully incorporated. The dough will feel dense and sticky at this stage, clinging to your fingers. Use a bench scraper, if available, to scrape off any dough adhering to your hands and the bowl, minimizing waste.
☞ TESTER TIP: Plan your baking schedule! This sourdough recipe requires a substantial rising time—more than 12 hours from start to finish. It’s ideal to begin the mixing process either early in the morning for an evening bake, or in the evening to allow for an overnight bulk fermentation, culminating in fresh bread the following day.
-
Cover the bowl containing the dough with a damp towel. Allow the dough to rest undisturbed for 30 minutes. This resting period, often called autolyse, allows the flour to fully hydrate and gluten development to begin naturally, making the dough easier to work with later.
-
While your dough rests, take a moment to care for your sourdough starter. Replenish it with fresh flour and water according to your preferred feeding ratio. Once fed, store your starter appropriately, whether at room temperature or in the refrigerator, depending on how frequently you bake.
-
After the rest, perform a series of gentle folds to develop the dough’s strength. Grab a portion of the dough from the side, gently stretch it upwards, and fold it over towards the center of the bowl. Press your fingertips into the center to secure the fold. Rotate the bowl slightly and repeat this process, folding and pressing, working your way around the dough. Continue for at least 15 seconds, or until the dough begins to tighten and form a somewhat smoother, more cohesive ball.
-
Re-cover the bowl with the damp towel. Now, let the dough undergo its bulk fermentation at room temperature. For an ambient temperature of 70°F (21°C), this will typically take between 8 to 12 hours. In warmer climates, this process might accelerate, potentially finishing in as little as 6 hours. The dough is ready when it has visibly doubled in size and no longer appears dense; instead, it should look noticeably puffy and aerated.
☞ TESTER TIP: The beauty of an overnight rise is that it removes the temptation to constantly check on your dough. Since it’s fermenting while you sleep, you’re less likely to disturb it or rush the process, leading to a perfectly proofed loaf without any unnecessary fuss.
-
Once the dough has successfully doubled, gently turn it out onto a lightly floured work surface. To begin shaping it into a round (a boule), start at the top edge of the dough and fold a section over towards the center. Rotate the dough slightly, then repeat the folding motion with the next section, continuing until you have completed a full circle. Flip the dough over so the seam side is down, and allow it to rest on the work surface for 5 to 10 minutes. This short rest helps the gluten relax, making the final shaping easier.
-
While the dough rests, prepare your proofing vessel. Line an 8-inch (20-cm) bowl with a clean kitchen towel and generously dust it with flour. Return to your dough: with floured hands, gently cup the dough and, using a circular motion, pull it towards you to further tighten its shape and create surface tension. Carefully transfer the shaped dough into the prepared bowl, ensuring the seam side is facing upwards. This allows the dough to hold its shape during the final proof.
-
Cover the bowl once more and let the dough undergo its final proof, or “second rise,” for 30 minutes to 1 hour. During this stage, the dough should appear puffy and have risen slightly, but it will not double in size as it did during the bulk fermentation. This shorter proof prepares it for optimal oven spring.
-
Preheat your oven to 450°F (230°C). Place a large, lidded baking pot, such as an enamel-coated Dutch oven or a clay pot, inside the oven as it preheats. Adjust your oven rack so that the Dutch oven or pot fits comfortably beneath the top of the oven when its lid is on. Cut a sheet of parchment paper to fit the bottom of your baking pot, leaving enough excess paper around the sides to easily lift the bread in and out.
-
Place the cut parchment paper over the dough in the proofing bowl. Carefully invert the bowl to release the dough onto the parchment. Gently sprinkle the top surface of the dough with a little flour and rub it lightly with your hands. This dusting helps achieve a beautiful crust and prevents the scoring knife from sticking.
-
Using the tip of a small, serrated knife or a sharp razor blade, and holding it at a slight angle to the dough, score the surface of your loaf. A simple cross-cut pattern is classic, but feel free to get creative with any design you prefer. The scoring allows the bread to expand predictably in the oven. Using the parchment paper, carefully transfer the scored dough into the preheated baking pot.
-
Place the lid on your baking pot and transfer it to the center rack of your preheated oven. Bake the dough, covered, for 20 minutes. After 20 minutes, carefully remove the lid from the pot and continue baking for another 25 to 30 minutes. This initial covered bake traps steam, which helps achieve that desirable crunchy crust. Finally, remove the loaf from the pot (using the parchment paper to lift it out) and place it directly on the oven rack. Continue baking for an additional 5 to 10 minutes, or until the crust is wonderfully crisp and deeply golden brown.
-
Once baked to perfection, use the parchment paper to transfer the hot bread to a wire rack. It is absolutely essential to allow the loaf to cool for a full hour before attempting to slice into it. This cooling period is critical for the internal structure and texture to set properly, preventing a gummy crumb. While sourdough is undeniably best enjoyed on the day it’s baked, this magnificent specimen will certainly disappear quickly! To preserve any leftovers, ensure the loaf is completely cool, then store it at room temperature in a plastic bag for up to one day, maintaining its freshness and delightful texture.
Adapted From
Artisan Sourdough Made Simple
Buy On Amazon
Nutrition
Serving: 1 slice
Calories: 155 kcal
Carbohydrates: 31 g
Protein: 5 g
Fat: 1 g
Saturated Fat: 1 g
Sodium: 293 mg
Fiber: 1 g
Sugar: 1 g
Nutrition information is automatically calculated and should be used as an approximation only.
Tried this recipe?
Mention @leitesculinaria or tag #leitesculinaria!
Recipe Testers’ Reviews
Christi B.
Christi B. enthusiastically declared this to be “the sourdough you’ve been looking for!” After numerous attempts with other sourdough recipes that yielded disappointing results, she finally found success with this method. She highlights the perfect balance of an “amazingly chewy and crunchy crust” combined with a “wonderfully chewy, airy interior,” which are the hallmarks of truly good sourdough. While acknowledging that it’s not a quick recipe due to the necessary overnight rise and starter feeding, she firmly believes the phenomenal results make it more than worth the planning.
Christi utilized a well-established, active starter, confident in its 1:1:1 feeding ratio. She noted that both the initial mixing and the subsequent dough turning took roughly 90 seconds, indicating the recipe’s efficiency. To avoid losing dough to her fingers, she wisely employed a bread scraper during the turning process. Given her cooler house temperature, she allowed the dough to rise for a full 12 hours, starting it before bed and completing the process the following morning. She confirmed the necessity of a covered baker, using a 3 1/2-quart enameled cast-iron Dutch oven, which she preheated with the oven. A minor adjustment to the oven rack height would have prevented the bottom from becoming slightly darker than desired, a simple fix for future bakes.
The final loaf was a visual and culinary triumph, sporting beautiful “ears”—the characteristic crunchy spikes formed from proper scoring—and a gorgeous golden color. She experienced a slight inconvenience with the parchment paper disintegrating upon removal, necessitating a direct transfer to the oven rack, but considered it a small price for such a magnificent result. The most challenging part, she confessed, was the obligatory hour-long wait before slicing into the fresh bread. Christi estimated that the loaf could easily provide 12 servings, though she humorously added that it wouldn’t last that long in her household due to its irresistible nature.
Jessie Hagan
Jessie Hagan found this sourdough bread recipe remarkably straightforward to execute, highlighting the dough’s pleasant pliability. She noted that unlike some excessively sticky doughs that prove challenging to handle and remove from resting containers, this particular dough was “quite velvety, even in the early shaggy stage,” making it a joy to work with. A unique step in the recipe involved cooking the loaf on a bare oven rack for the final 10 minutes, a technique Jessie hadn’t encountered before. She credits this step for imparting an extra “blast of heat” that contributed to the crust’s desired “crispy, chewy texture.”
While the crust met her expectations for sourdough, Jessie observed that the interior crumb was denser than she preferred, lacking the signature delightful air pockets. She speculated that this might be attributed to her substitution of all-purpose flour for the recommended bread flour, or potentially the minimal kneading time. Despite this, her dough showed impressive activity, puffing up significantly within just one hour. Facing a cold house, Jessie innovatively kept her “bread baby” close for warmth during the last 30 minutes of proofing, a testament to her dedication. She used a 10-inch Le Creuset pot for baking and scored the top with a graceful leaf cut using a razor blade, finding the baking time to be perfectly accurate.
Craig Relyea
Craig Relyea, having rediscovered the joys of baking sourdough during the pandemic, was keen to try this recipe, noting its unique approach compared to other “no-knead” methods he’d used. He pointed out that many recipes require simultaneous preheating of the pot and a sheet pan, followed by the delicate task of dropping risen dough into a hot pot and adding hot water for steam—a process he found riskier. This recipe, in contrast, proved to be “much safer, and just as easy, with the same results” in his opinion, making it a preferable method for achieving excellent sourdough.
While Craig typically bakes with a 75:25 ratio of white to whole wheat bread flour, he adhered strictly to the recipe’s instructions for his first attempt. He reported that all the ingredients came together effortlessly, resulting in a “wonderfully crusty bread with a nice crumb and not too many air pockets.” His personal starter, which he had maintained since 2012, was used for this bake. He also shared a valuable tip: if bakers feel adventurous enough to experiment with other flours, they should ensure a larger percentage of white bread flour is used over more exotic grains like rye or flaxseed, which can significantly alter the dough’s structure and handling properties.
Craig was impressed by the minimal time commitment, estimating his total hands-on time at just 15 minutes. The overall process, including an overnight rise, extended to about 2 hours plus close to 12 hours for fermentation. He used a Romertopf clay pot with its top for baking, highlighting the versatility of baking vessels suitable for this recipe.
Heidi V.
Heidi V., a seasoned sourdough baker, typically follows a more “finicky” and hands-on process that takes twice as long as this recipe. Intrigued by the promise of a simpler, shorter version, she was eager to compare it to her usual style. She routinely bakes, slices, and freezes her loaves, always using organic flour, with a preference for King Arthur bread flour combined with heirloom wheat varieties like einkorn. Her trial of this recipe produced truly impressive results: “an incredible crunchy crust, an interior that isn’t dense but modestly open, and the glorious flavor and texture” of her chosen flour blend (50% einkorn and 50% Dove Farms organic bread flour).
Heidi noted that the active prep time was minimal, taking about 15 minutes to activate her starter and then mix all the ingredients. Another 15 minutes were spent shaping the bread for its second rise and preparing it for the oven. She detailed the overall timeline: 3 hours for starter activation, 6 hours for the dough to double, and an additional hour of resting before baking for another hour. Heidi adjusted her schedule, starting the process in the morning and baking in the evening, rather than an overnight proof. This was due to the significantly warmer Caribbean climate she lives in (about 10°F warmer than the recommended proofing temperature), prompting her to monitor the dough’s rise by feel rather than strict timing, as an 8-10 hour ambient proof seemed too long for her environment.
Despite her adjustments, the outcome was “certainly worthy.” For future bakes, Heidi plans to modify the bake times to prevent the crust from getting too dark on the bottom and the “ears” from burning. She suggested keeping the lid on for 25 minutes, then baking for 25 minutes with the lid off, and a final 5 minutes out of the pan, for a total of 55 minutes at 450°F. She used a 12-inch ceramic-coated cast iron pan for baking. She also considered experimenting with higher hydration by adding an extra 50g to 150g of water, which would require increasing the initial dough working time to a minute or two of “slap and folds” followed by a stretch and fold 15 minutes later, making it “a little needier” but still relatively easy. Heidi concluded by praising the recipe as “wonderful” but cautioned bakers to adapt based on their environmental temperatures and oven intensity. She confirmed that her round loaf, cut in half and then into 12 slices per half, yielded 12 servings.
Peter Quick
Peter Quick immediately labeled this recipe as “a definite keeper,” appreciating its simple, basic ingredients and its independence from commercial yeast, relying solely on the natural power of sourdough starter. The end result for him was a “delicious loaf of bread,” so appealing that two people consumed over half of it during dinner. Peter was also impressed by the minimal effort required, noting that despite the time commitment, the overnight rise made it an excellent “time-management method” for busy schedules.
Utilizing his own starter, cultivated since 2012, Peter observed that the recipe called for a smaller quantity of starter compared to his other sourdough recipes. He suspected this might have impacted the dough’s rise, as it never quite doubled in size during the bulk fermentation. He meticulously checked the dough at 8, 10, 12, and even 14 hours, seeing only about 1.5 times its original volume, rather than a full doubling. However, he noted significant additional rise during the actual baking process. For his next attempt, Peter plans to adjust the recipe slightly, using a bit more starter and slightly less water in hopes of achieving a more robust rise during proofing. He used an enamel-coated cast-iron Dutch oven for baking, estimating its size to be 8 quarts, despite the illegible marking on the bottom.
Megan Salazar-Walsh
Megan Salazar-Walsh emphasized that “if you have the virtue of patience, you, too, will be rewarded with a chewy, airy loaf and an oh-so-satisfying crust.” She found the sourdough’s flavor to possess a pleasant depth without being overly sour, making it a versatile base for both savory and sweet accompaniments. Megan confidently recommends this recipe as an “easy, almost foolproof place to start your sourdough adventure” for anyone with a little bread-baking experience looking to expand their repertoire.
Having successfully made the recipe three times, Megan attested to its consistent beauty. She even experimented with all-purpose flour and once substituted about 100g of whole wheat flour, finding the recipe to be “pretty forgiving” and still yielding a delightful loaf. Her experience confirmed the minimal active hands-on time—less than 30 minutes total. As she put it, “Go to bed, let it do its thing, et voila, 15 hours later, you end up with a gorgeous loaf.” She used Trader Joe’s All-Purpose flour and the starter linked from the original recipe.
Megan shared several crucial tips for a successful loaf:
- Most importantly, ensure you have a mature and active starter. A simple float test—dropping a spoonful into water—will confirm its readiness if it floats.
- Measure all ingredients by weight for the highest accuracy, a common best practice in baking.
- Pay attention to visual cues for dough readiness, as environmental factors like temperature can affect timing. In her very warm climate, her dough doubled in less than 8 hours, much faster than the recipe’s general estimate.
- Be extremely generous when flouring your towel for proofing. The dough remains very sticky and can cling, potentially ruining the loaf’s shape. She found it easier to wrap the dough in the floured towel on the countertop before placing it into the bowl.
- If possible, preheat your baking pot. She used a 5-quart cast-iron Dutch oven and preheated it for at least 30 minutes to ensure optimal oven spring and crust development.
- Finally, she humorously advised eating a snack while the bread bakes, as the aroma is “torture,” and waiting a full hour for cooling can be maddening. She encourages bakers to “enjoy the fruits of your labor and brag to all your friends, they don’t need to know how easy this was to make!”