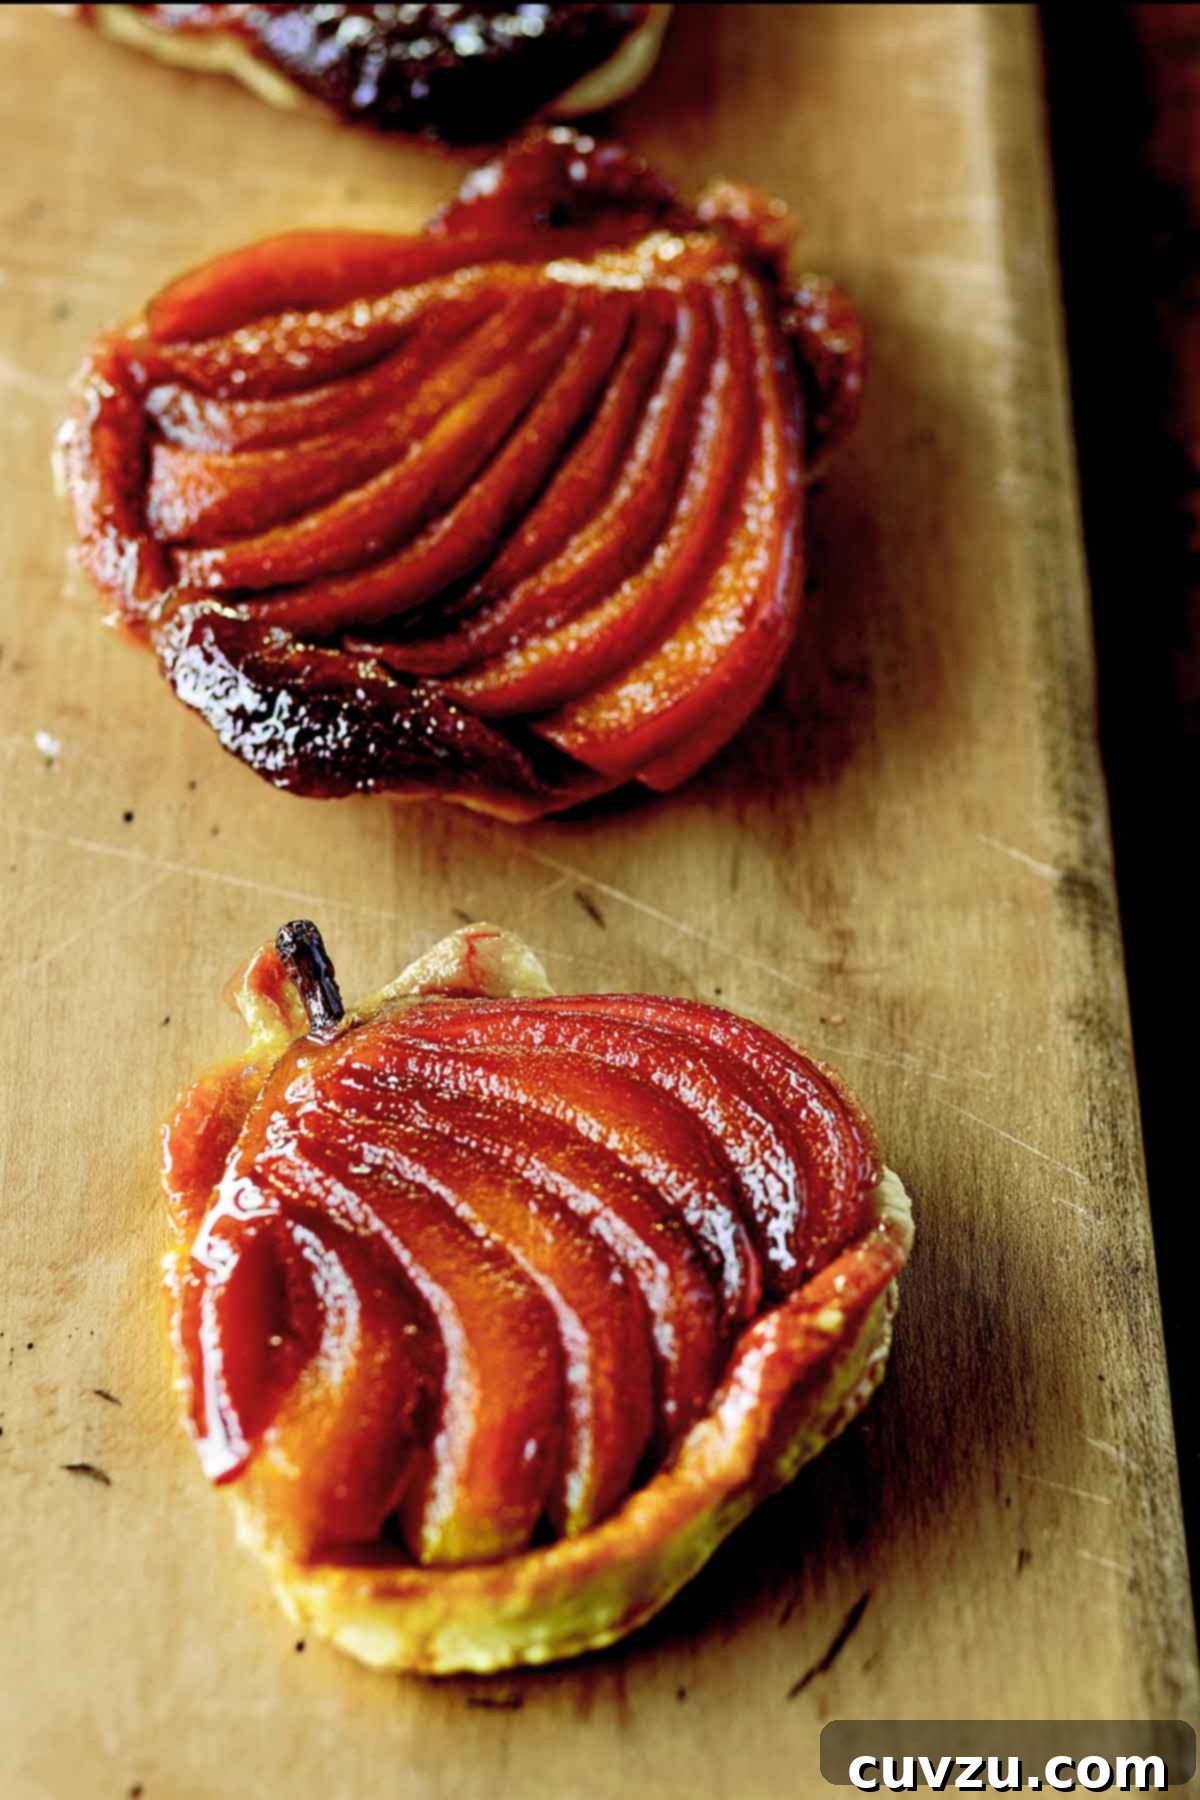
Few desserts capture the essence of autumn quite like these enchanting caramel pear tarts. Inspired by the timeless French tarte Tatin, this recipe transforms simple ingredients into an elegant culinary masterpiece. Imagine succulent pears, bathed in a rich, buttery caramel, all crowned with a golden, flaky puff pastry. The best part? They are incredibly easy to make, relying on just a handful of staple items: a couple of ripe pears, granulated sugar, unsalted butter, and convenient store-bought frozen puff pastry. Prepare to impress with minimal effort – that’s the promise of easy elegance.
Quick Glance: Your Caramel Pear Tarts at a Glance
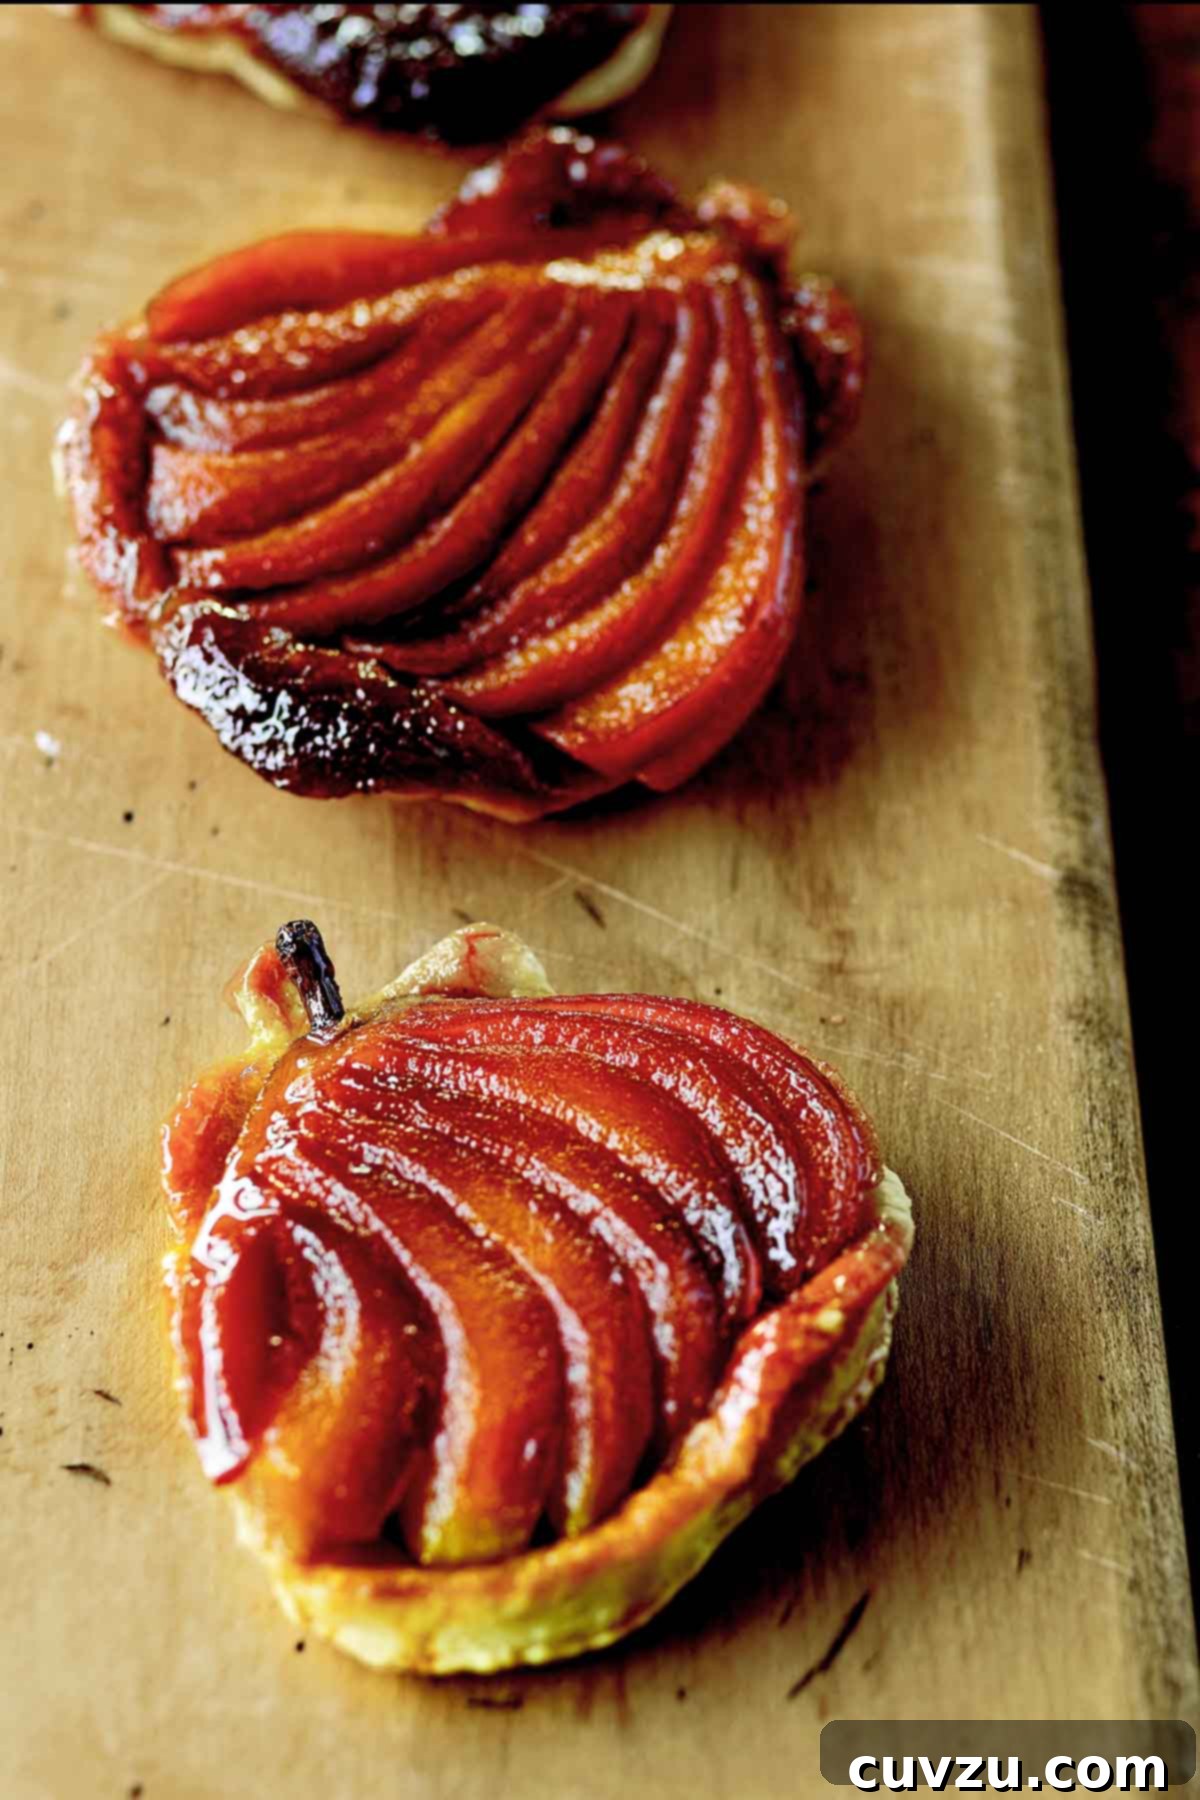
- What You’ll Discover: These individual French-inspired tarts are a symphony of flavors and textures, featuring fresh pear halves artfully fanned over a luscious, deep-amber caramel, all baked to perfection beneath a crisp, flaky puff pastry crust.
- Why These Tarts Are a Must-Try: You’ll adore this dessert for its stunningly elegant presentation combined with an incredibly straightforward preparation. It requires just a few essential ingredients, making it an ideal and decadent treat for any fall gathering or holiday celebration.
- Simple Steps to Perfection: The process is surprisingly simple: create a quick, glistening caramel in a small saucepan, pour it into individual tart molds, artfully arrange the fanned pear halves, then top with a round of puff pastry. Bake until golden and bubbly, then invert to reveal your beautiful creation.
The Story Behind the Sweetness: Caramel Pear Tarts Unveiled
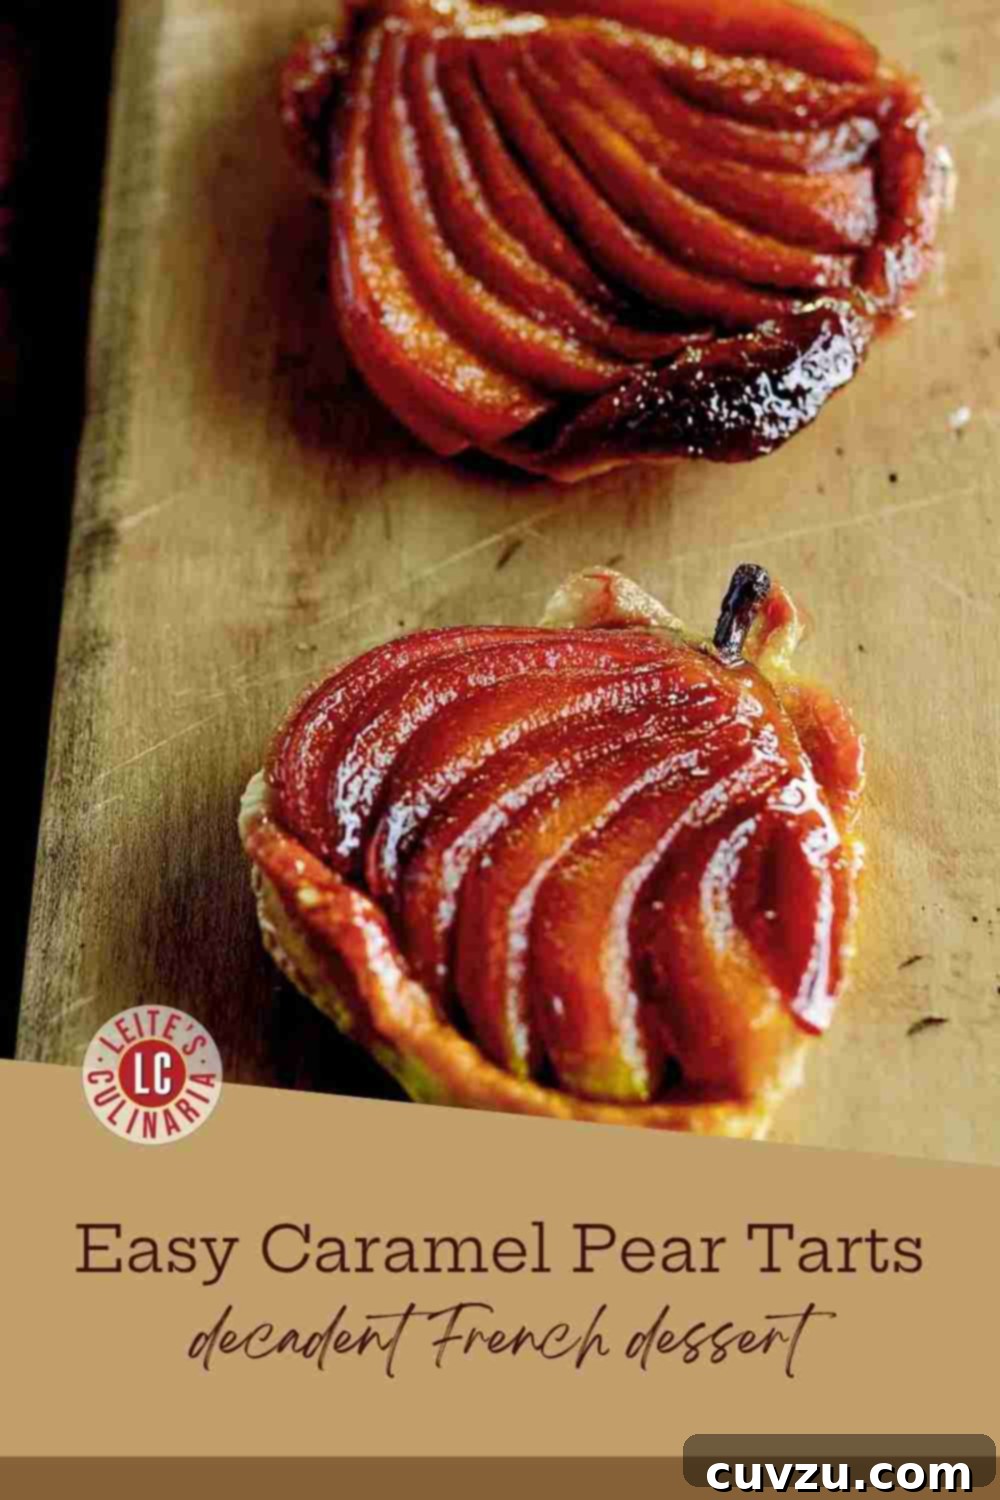
These individual pear tarts are a brilliant take on the world-renowned French tarte Tatin, a dessert celebrated for its charming upside-down presentation. While traditionally made with apples, our pear version offers a uniquely tender and aromatic experience, particularly during autumn when pears are at their peak. Each tart is a testament to culinary artistry, where sweet pear halves are delicately cradled by a rich, buttery pastry, with their stems peeking out from beneath—a truly elegant and surprisingly simple dessert that brings a touch of Parisian patisserie to your home kitchen.
Featured Review
I made these yesterday, and they are very delicious. Now I want to try a tarte tatin recipe to compare which one is more delicious.
Jeff
Why You’ll Fall in Love with Caramel Pear Tarts
There are countless reasons why these individual caramel pear tarts will become a cherished recipe in your repertoire. Beyond their striking beauty, they offer a perfect blend of convenience, delightful flavors, and a comforting warmth that is hard to resist.
Effortless Elegance for Any Occasion
Despite their sophisticated appearance, these tarts are remarkably easy to prepare, making them ideal for both impromptu weeknight treats and impressive holiday desserts. The use of store-bought puff pastry significantly cuts down on prep time without compromising on the flaky, buttery texture that makes them so special. Each tart serves as a perfect individual portion, eliminating the need for slicing and ensuring a beautiful presentation every time.
A Seasonal Delicacy Highlighting Pears
Pears truly shine in this recipe. As a fall fruit, their subtle sweetness and slightly grainy texture are perfectly complemented by the rich, deep notes of caramel. Unlike apples, pears soften beautifully during baking, offering a melt-in-your-mouth experience that is both comforting and luxurious. This dessert is a wonderful way to celebrate the bounty of the autumn harvest.
The Irresistible Allure of Homemade Caramel
Creating your own caramel might sound intimidating, but this recipe simplifies the process, guiding you to a perfect, deep-amber sauce. The combination of sugar, water, and a touch of vinegar (which helps prevent crystallization) transforms into a glossy, intensely flavored base that coats the pears and infuses every bite with a sticky, sweet richness. This homemade caramel elevates the entire tart, setting it apart from any store-bought version.
Versatile Serving Options
While heavenly on their own, these caramel pear tarts are even more delightful when paired with a scoop of vanilla bean ice cream, a dollop of crème fraîche, or a cloud of freshly whipped cream. The contrast of the warm tart with cold, creamy accompaniments is simply divine, making it a versatile dessert that can be customized to your preference.
Mastering the Art of Caramel Pear Tarts: A Step-by-Step Guide
Creating these delightful individual tarts is a rewarding experience. Follow these detailed steps to ensure a flawless and delicious result.
Essential Equipment for Your Culinary Adventure
- 4- to 5-inch Individual Tart Pans: These are crucial for achieving the perfect individual portions and classic tarte Tatin shape. If you don’t have these, a muffin tin or a larger oven-safe skillet could be improvised for a similar effect, though the shape will vary.
- Small Saucepan: For making the caramel. A light-colored pan allows you to better monitor the caramel’s color.
- Baking Sheet with Parchment Paper or Silicone Mat: Essential for easy cleanup and preventing spills from sticking to your oven.
- Sharp Knife and Cutting Board: For preparing the pears.
- Tongs or Hot Pads: For safely handling the hot tart pans during inversion.
Gathering Your Ingredients: The Heart of the Tart
Quality ingredients are the foundation of any great dessert. Here’s what you’ll need and some tips for selection:
- Flour: A small amount for dusting your work surface when rolling out the pastry.
- Puff Pastry: Using store-bought, frozen puff pastry (like Dufour) is a fantastic time-saver. Ensure it’s thawed according to package directions, but still cold enough to handle easily. Alternatively, a chilled Pate Brisée offers a more rustic, buttery crust.
- Pears: Two medium-sized pears are perfect for four individual tarts. Bosc, Anjou, or Bartlett varieties are excellent choices as they hold their shape well and develop a lovely tender texture when baked. Choose firm, ripe pears free from blemishes. Peel them thoroughly before slicing.
- Granulated Sugar: The star of the caramel. You’ll need 3/4 cup for that rich, amber hue.
- Cold Water: 1/4 cup plus 2 tablespoons. Used to initiate the caramelization process and to temper the hot caramel at the end.
- White Vinegar: 3/4 teaspoon. A secret ingredient that helps prevent the sugar from crystallizing during the caramel-making process, ensuring a smooth, glossy result.
- Unsalted Butter: 3 tablespoons (1 1/2 oz), cut into 8 pieces and at room temperature. Butter adds richness and a delightful flavor to the caramel base. Using unsalted butter allows you to control the overall saltiness of the dessert.
Crafting the Perfect Caramel Pear Tart: Instructions
Instructions
-
1. Preheat and Prepare: Adjust your oven rack to the lower third position. Preheat your oven to a robust 400°F (204°C). Line a baking sheet with a sheet of parchment paper or a nonstick silicone baking mat. This step is crucial for catching any bubbling caramel and ensuring easy cleanup.
-
2. Roll the Pastry: If using a larger sheet of puff pastry or homemade dough, divide it into quarters. On a lightly floured work surface, gently roll each portion of dough into a neat circle, about 1⁄8 to 1/4 inch thick. Aim for a size that will comfortably cover your pear halves and tuck into the tart pans. Carefully transfer the rolled pastry rounds to your prepared baking sheet and refrigerate them while you prepare the pears and caramel. Keeping the pastry cold is key to a flaky crust.
-
3. Prepare the Pears: Begin by slicing each peeled pear in half lengthwise, from stem to base. Then, with a sharp knife, slice each pear half lengthwise into four or five 1/4- to 1/2-inch-thick slices. It’s important to start cutting at the rounded bottom and go almost, but not quite, all the way through to the stem end. The goal is for the pear slices to remain attached at the stem end, allowing them to fan out. Place each pear half cut-side down on your work surface and, using the palm of your hand, gently press down to beautifully fan out the slices, creating an elegant presentation for your tarts.
-
4. Craft the Caramel: In a small, heavy-bottomed saucepan, combine the granulated sugar, 1/4 cup of the cold water, and the white vinegar. Place the saucepan over medium-high heat. Bring the mixture to a boil, gently tilting the pan to swirl the sugar mixture and help it dissolve evenly. Avoid stirring with a spoon, as this can cause crystallization. Continue to boil until the sugar fully dissolves and the mixture transforms into a deep, rich amber color. This process typically takes 5 to 10 minutes. As soon as the caramel reaches the desired color, immediately remove the pan from the heat. Carefully, and standing back as it will bubble and spit, add the remaining 2 tablespoons of cold water. Tilt the pan gently to swirl the caramel and water together. If the caramel seizes and hardens, don’t panic; simply return the pan to medium heat and warm it gently until the caramel liquefies and becomes smooth again.
-
5. Assemble the Caramel Base: Working quickly while the caramel is still fluid, carefully pour the hot caramel into your four individual tart pans, dividing it as evenly as possible among them. Immediately after pouring, place 2 chunks of the room-temperature unsalted butter onto each glistening puddle of caramel. The butter will melt and integrate beautifully with the caramel.
-
6. Add Pears and Pastry: With utmost care (the caramel is hot!), arrange one fanned pear half, rounded-side down, directly in the center of each caramel puddle in the tart pans. Ensure the pear is well-seated. Next, retrieve your chilled puff pastry rounds from the refrigerator. Place a pastry round on top of each pear, stretching it gently as needed to completely cover the pear and carefully tucking the edges of the pastry in between the pear and the inner side of the tart pan. This creates a neat seal. Once assembled, place the tart pans back onto your lined baking sheet.
-
7. Bake to Perfection: Transfer the baking sheet with the tarts to the preheated oven. Bake for approximately 30 to 35 minutes, rotating the baking sheet about two-thirds of the way through the baking time to ensure even browning. The tarts are ready when the puff pastry crust is cooked through and beautifully golden brown, the caramel is bubbling invitingly, and the pears are tender. To check for tenderness, carefully peek beneath the dough and gently pierce a pear slice with the tip of a sharp knife. If the crust appears to be browning too quickly before the pears are tender, loosely cover the tarts with a sheet of aluminum foil. Once baked, remove the baking sheet from the oven and allow the tarts to rest in their pans for 5 to 10 minutes. This crucial resting period allows the intensely hot, roiling caramel to calm down, thicken slightly, and set, preventing a sticky mess when you invert them.
-
8. Invert and Serve: This is the grand finale! Using tongs or sturdy hot pads, carefully invert each tart pan onto a wire rack that has been placed over a piece of parchment paper. The parchment will catch any stray drips of glorious caramel. Carefully lift the tart pans away from the tarts, revealing the beautifully caramelized pears and golden pastry. Immediately transfer the warm tarts to individual serving plates. Any caramel clinging to the inside of the pans should be scraped out and drizzled over the pears. Serve these exquisite caramel pear tarts at once, ideally while still warm, to fully enjoy their tender fruit, rich caramel, and flaky crust.
Featured Review
Delicious and simple to make! I’m glad I had both the fruit and the right pans! Thank you this easy to follow recipe!
Christine
Pro Tips for Unforgettable Caramel Pear Tarts
While the recipe is straightforward, a few expert tips can elevate your caramel pear tarts from delicious to truly unforgettable.
- Choose the Right Pears: Select pears that are firm but ripe. Overly soft pears will turn mushy, while very hard ones won’t tenderize sufficiently. Bosc, Anjou, or Bartlett are excellent choices for baking.
- Mastering Caramel Confidence: The key to caramel is patience and attention. Do not stir the sugar mixture once it starts boiling; gently swirl the pan if needed. Watch its color diligently – it transitions from clear to pale gold to deep amber quickly. Remove it from the heat as soon as it reaches a deep amber to prevent burning, which can make it bitter.
- Safety First with Hot Caramel: Always exercise extreme caution when working with hot caramel. It is very hot and can cause severe burns. When adding the cold water to temper it, stand back as it will bubble and spit vigorously.
- Keep Pastry Cold: Puff pastry performs best when it’s kept very cold. This helps create those desirable flaky layers. Work quickly when handling it and return it to the refrigerator if it starts to get too warm.
- Don’t Skimp on Resting Time: The 5-10 minute resting period after baking is crucial. It allows the caramel to cool slightly and thicken, making the inversion process much cleaner and preventing the caramel from running everywhere.
- Serve Warm for Best Experience: While delicious at room temperature, these tarts are truly magnificent when served warm, allowing the caramel to be perfectly fluid and the pastry to retain a slight crispness.
Beyond the Basics: Serving Suggestions & Pairings
These caramel pear tarts are magnificent on their own, but they also welcome a variety of delicious accompaniments that enhance their flavor profile and create a more decadent dessert experience.
- Classic Creamy Companions: A scoop of high-quality vanilla bean ice cream is a match made in heaven. The cold, creamy vanilla contrasts beautifully with the warm, rich tart. Alternatively, a dollop of tangy crème fraîche or a cloud of softly whipped cream provides a lovely counterpoint to the sweetness of the caramel and pears.
- A Touch of Salt: A tiny sprinkle of flaky sea salt (like Maldon) over the finished tart before serving can surprisingly enhance the caramel’s depth, bringing out its complex flavors.
- Warm Beverages: Pair these tarts with a freshly brewed cup of coffee, a comforting spiced chai tea, or a delicate herbal infusion for a cozy autumn treat.
- Dessert Wines: For a more sophisticated pairing, consider a dessert wine such as a Late Harvest Riesling or a Muscat, whose sweet notes will harmonize with the caramel and fruit.
Frequently Asked Questions (FAQ) about Caramel Pear Tarts
Q: Can I use different fruits instead of pears?
A: Absolutely! While pears are wonderful, this recipe is incredibly versatile. You could substitute apples (like Granny Smith or Honeycrisp for a tart contrast), peaches, or even plums when they are in season. Adjust baking times slightly depending on the fruit’s firmness.
Q: Can I make one large tart instead of individual ones?
A: Yes, you certainly can! If you prefer a single large tarte Tatin, use a 9 or 10-inch oven-safe skillet or a round baking dish. You may need to adjust the cooking time, potentially extending it slightly, and ensure the caramel fully covers the bottom. The principles remain the same.
Q: How do I store leftover tarts?
A: Leftover tarts can be stored at room temperature for up to 24 hours, or refrigerated in an airtight container for 2-3 days. Note that the pastry may lose some of its crispness when stored. For best results, gently reheat in a warm oven (around 300°F/150°C) for 5-10 minutes to refresh the crust and warm the caramel.
Q: What if my caramel hardens when I add the water?
A: This is a common occurrence, especially if the water is very cold. Don’t worry! Simply return the pan to low-medium heat and gently stir. The hardened caramel will gradually melt and become fluid again. Be patient and keep an eye on it to prevent burning.
Q: Can I make the caramel ahead of time?
A: While you can make the caramel ahead of time, it’s generally best made just before assembly. If you do make it in advance, store it in an airtight container at room temperature. You will need to gently reheat it to liquefy it before pouring into the tart pans.
Caramel Pear Tarts
David Leite
- PIN
Equipment
-
4- to 5-inch Individual tart pans
Ingredients
- Flour for the work surface
- 1/2 recipe Pate Brisée, chilled, or store-bought puff pastry, such as Dufour, thawed
- 2 pears, any variety, peeled
- 3/4 cup granulated sugar
- 1/4 cup plus 2 tablespoons cold water
- 3/4 teaspoon white vinegar
- 3 tablespoons (1 1/2 oz) unsalted butter, cut into 8 pieces, at room temperature
Adapted From
The Seasonal Baker
Buy On Amazon
Explore More with AI
Nutrition
Nutrition information is automatically calculated, so should only be used as an approximation.
Recipe Testers’ Reviews
Linda Pacchiano
This dessert is essentially a tarte Tatin, but with pears stepping in for apples and served in charming individual portions. My tasters were absolutely enamored with this dessert, especially when I served it alongside a decadent scoop of vanilla bean ice cream. I opted for store-bought puff pastry over pate brisée, and it truly yielded a beautiful result, both in terms of its elegant appearance and its wonderful flavor.
The main hurdle I encountered with this recipe was finding the right individual tart pans. However, once I did, the baking process was smooth. I baked the tarts for 30 minutes, which was almost perfectly timed, though one tart ended up just slightly overdone – thankfully, not burned!
Kate S.
I must admit, I was initially skeptical about how the milder flavor of pear would compare to the tart apples I typically choose for traditional tarte Tatins. However, I was genuinely delighted by how beautifully the sweet caramel, earthy pear, and rich, buttery dough harmonized, creating a truly fantastic dessert. The naturally less crisp texture of the pear also proved to be a convenient advantage, as it didn’t require any pre-cooking to achieve that desirable tenderness in the finished tart.
I baked the individual tarts in small cast-iron pans, and they performed wonderfully. If you don’t have small pans, don’t fret – you can easily make one larger tart in a 10-inch cast-iron skillet or a traditional glass pie plate. For serving my individual tarts, I simply inverted them out of their pans and then placed them crust-side down right back into the same pans. Just a note: if you opt for this method, serve them immediately to prevent the crust from becoming soggy. This trick not only saved me from dirtying more plates but also ensured that everyone enjoyed every last drop of the delicious caramel clinging to the bottom of the pans.
While I absolutely adore this tart unadorned, I could definitely be persuaded to top it with a luscious scoop of vanilla bean ice cream. Furthermore, even though it’s not traditional, I’m already planning to try this recipe again with half a teaspoon of cinnamon incorporated into the pate brisée – I simply can’t resist adding cinnamon to all things fall-inspired!
More Stunning Pear Dessert Recipes
Cinnamon Pear Tarts with Puff Pastry
40 mins
Pear Turnovers
2 hrs
Pear Tart with Blue Cheese and Honey
1 hr
Pear Almond Tart
2 hrs
Write a Review
If you make this recipe, or any dish on LC, consider leaving a review, a star rating, and your best photo in the comments below. I love hearing from you.–David