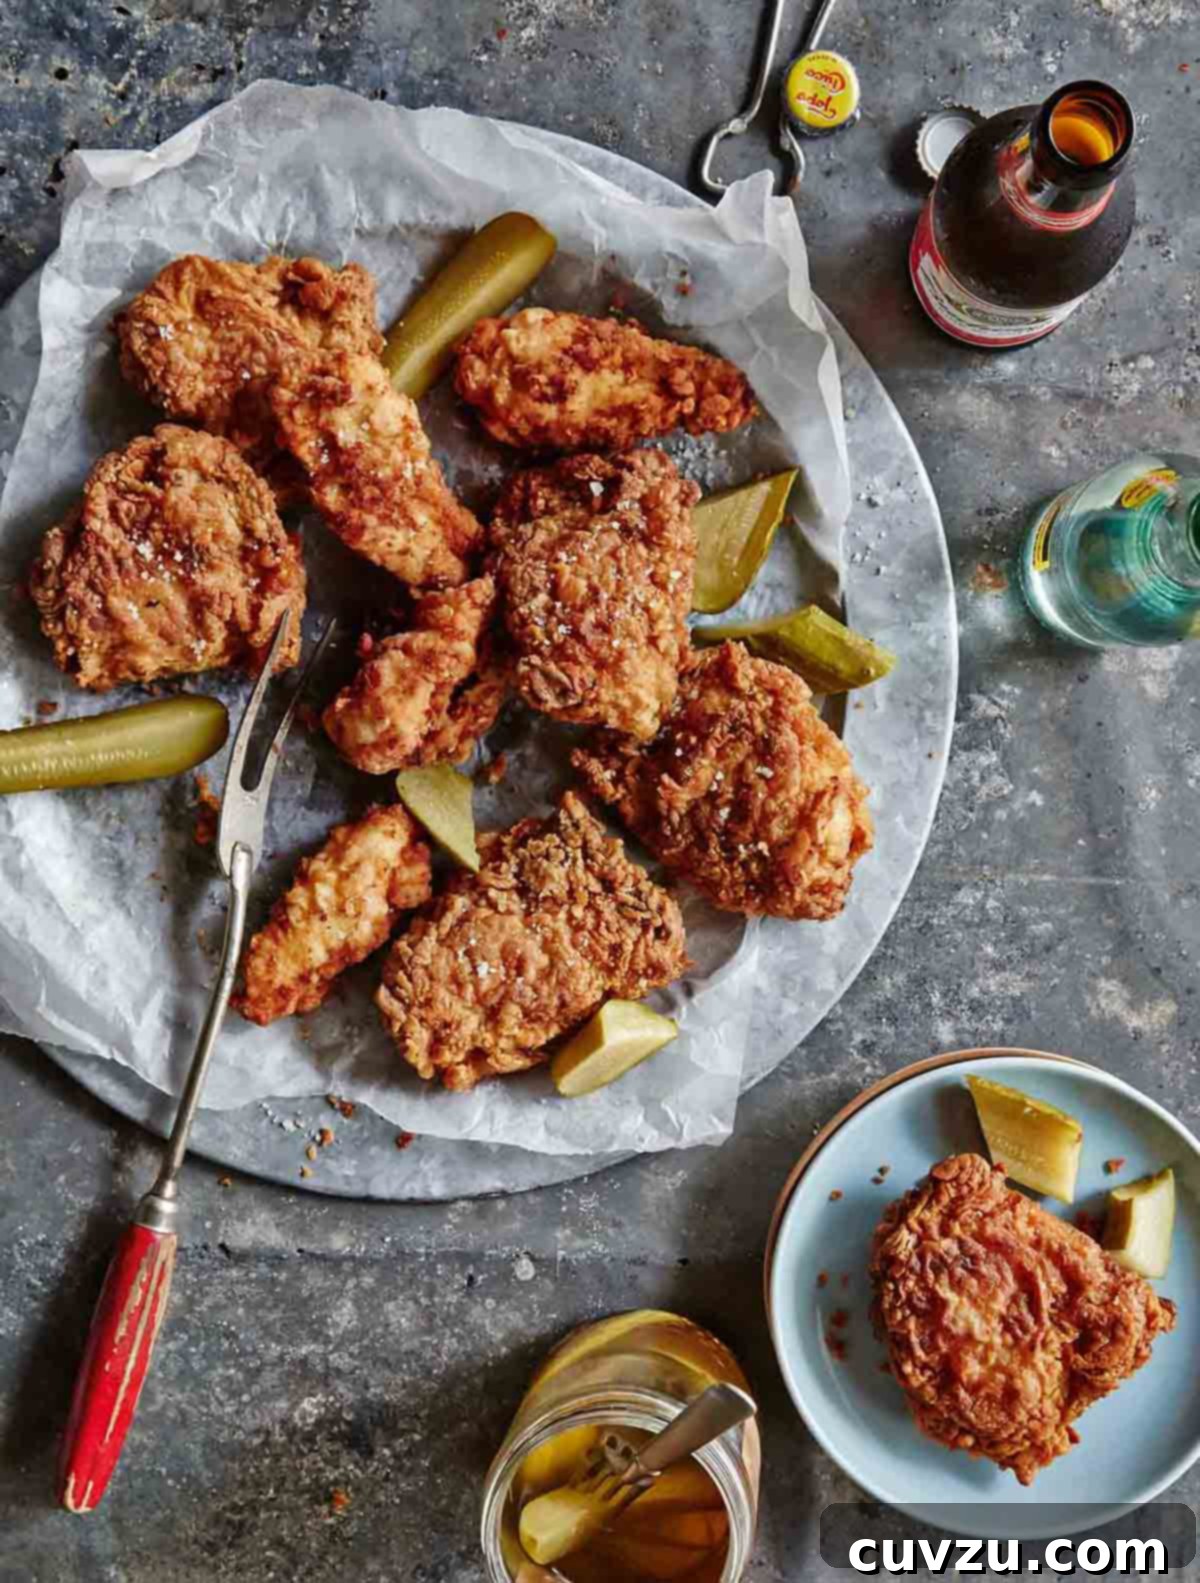
Experience the Ultimate Flavor Transformation: Pickle-Brined Fried Chicken! Prepare your taste buds for an extraordinary culinary adventure. We’ve taken classic fried chicken and elevated it to new heights with a secret ingredient that food enthusiasts are hailing as pure perfection: a savory pickle brine. This isn’t just any fried chicken; it’s a tender, succulent, and incredibly flavorful experience that perfectly balances a subtle tang with the satisfying crunch of expertly fried chicken. To complete this masterpiece, we serve it with a vibrant, spicy Sriracha honey dipping sauce, offering a harmonious blend of sweet heat that will have you coming back for more.
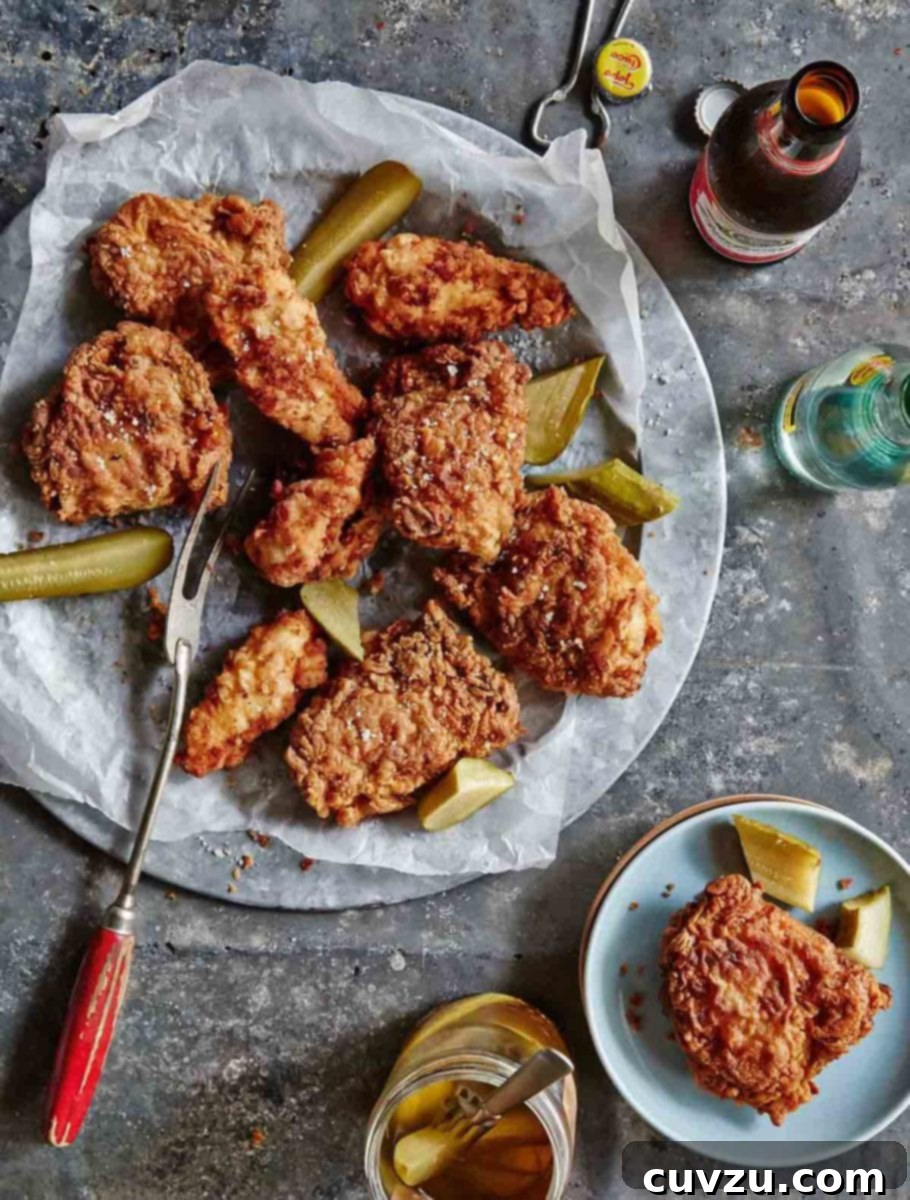
The magic behind this delectable pickle-brined fried chicken lies in harnessing the delightful, palate-tingling sourness of pickle juice. This isn’t about creating an overwhelmingly “pickle-y” chicken; rather, the brine imparts a wonderfully delicate vinegary undertone that tenderizes the meat and infuses it with a complex flavor profile. The result is a remarkably moist interior and a perfectly crisp exterior, making every bite a revelation. This nuanced tang is then beautifully complemented by a homemade Sriracha honey sauce, a sweet and spicy concoction designed for drizzling generously or for an irresistible dip, adding layers of flavor that will truly tantalize your senses.
While you might be tempted to reach for a jar of store-bought pickle juice, our recipe goes the extra mile by guiding you through crafting a pickle brine from scratch. This allows for precise control over the flavor, ensuring the perfect balance of spices, acidity, and salt that elevates the chicken without overpowering it. However, for those seeking a quicker route, we also address how to successfully use leftover pickle liquid from your favorite jar of pickles. This recipe, perfected by David Leite, promises a fried chicken experience unlike any other.
Pickle-Brined Fried Chicken FAQs: Your Questions Answered
Absolutely, using leftover dill pickle juice from your favorite store-bought brand is a convenient alternative. However, it’s important to note that the flavor profile of your fried chicken may vary slightly from our homemade brine recipe. Our scratch-made brine is carefully balanced with specific spices and a precise vinegar-to-water ratio for optimal flavor infusion. If opting for store-bought juice, you’ll need a substantial amount—likely around three cups—to ensure your chicken pieces are adequately submerged and can thoroughly absorb the briny goodness. We always recommend trying a new recipe as written for your initial attempt to fully grasp its intended flavor, then feel free to experiment with substitutions in subsequent batches to discover your preferred taste. This method can still yield delicious results, but be prepared for a slightly different nuance.
Yes, boneless chicken is perfectly suitable for this recipe and can even speed up the brining and frying process. Boneless cuts, such as chicken breasts or tenders, are generally thinner and possess a greater surface area exposed to the brine. This means they will absorb the flavors more quickly and cook in less time compared to bone-in chicken. If you choose boneless pieces, be mindful to adjust your brining and frying times accordingly to prevent over-brining or overcooking. For a fantastic and easy variation on this recipe, consider making hot honey chicken tenders, which would beautifully adapt the pickle brine and Sriracha honey sauce components of this dish. Ensure your boneless pieces are cut to a uniform size for even cooking.
Our pickle-brined fried chicken is a star on its own, but it truly shines when paired with complementary sides that enhance its unique flavor. We highly recommend serving it alongside crisp, golden waffle fries for that satisfying textural contrast. A generous helping of our tasty classic coleslaw provides a refreshing, creamy counterpoint to the richness of the fried chicken. For a heartier meal, baked macaroni and cheese is always a crowd-pleasing favorite, offering comforting indulgence. To balance the meal, consider adding a vibrant side of fresh fruit or a simple green salad. If you’re aiming to recreate a full, delightful restaurant experience in the comfort of your home, complete the feast with a tall glass of cool homemade lemonade and finish with a classic chocolate chip brownie for dessert. These pairings ensure a well-rounded and unforgettable meal.

Pickle-Brined Fried Chicken
David Leite
Main Dish
Southern
4
servings
952
kcal
45
minutes
45
minutes
5
hours
6
hours
30
minutes
Equipment
-
Instant-read thermometer
Ingredients
For the pickle juice brine
- 1 tablespoon yellow mustard seeds
- 1 tablespoon coriander seeds
- 1 teaspoon whole black peppercorns
- 1 teaspoon whole cloves
- 2 tablespoons white wine vinegar
- 1/4 cup kosher salt
- 1/4 cup granulated sugar
- 2 cups cold water
- 1 tablespoon dill seeds
- 1 bunch fresh dill leaves, chopped, or 1 tablespoon dried dill
For the fried chicken
- 6 small, bone-in, skinless chicken thighs
- 2 small, boneless, skinless chicken breast halves, cut into halves or thirds so the pieces are the same size
- 2 cups buttermilk, well-shaken
- 2 cups all-purpose flour
- 1 teaspoon sea salt
- 1/2 teaspoon freshly ground black pepper
- Pinch of ground cayenne pepper
- Several cups vegetable oil, for frying
- 1/4 cup store-bought or homemade Sriracha
- 2 tablespoons honey
Instructions
Make the pickle juice brine
-
Toss the mustard seeds, coriander seeds, peppercorns, and cloves in a dry skillet over medium heat. Toast, stirring constantly, until the seeds become wonderfully aromatic, typically within about 2 minutes. This step awakens their flavors, preparing them for the brine.
-
In a separate small saucepan, combine the white wine vinegar, kosher salt, granulated sugar, and cold water. Bring this mixture to a boil, stirring continuously until both the salt and sugar have completely dissolved. Once dissolved, add this hot liquid to the skillet with the toasted spices, along with the dill seeds. Remove the skillet from the heat and stir in the fresh dill. Allow this flavorful brine to cool completely before proceeding.
Brine the fried chicken
-
Carefully transfer the cooled brine to a large bowl. Add the chicken pieces, ensuring they are fully submerged. If needed, add a small amount of additional cold water to completely cover the chicken. Cover the bowl tightly and refrigerate for a minimum of 3 hours, or ideally, up to overnight. The longer the chicken brines, the more intense the pickle flavor and the deeper the saltiness will penetrate, so adjust brining time according to your preference.
-
When you are ready to begin frying the chicken, preheat your oven to a low 200°F (93°C). This warm oven will be used to keep batches of fried chicken hot and crispy while you finish cooking the rest. Remove the chicken from the brine and rinse each piece thoroughly under cool running water. This step is crucial to remove any excess salt, loose seeds, or dill clinging to the chicken, which can otherwise lead to an overly salty or unevenly coated final product. Pat the chicken dry with paper towels.
-
In a large bowl, pour the buttermilk and add the rinsed, dried chicken pieces. Turn the chicken to ensure each piece is evenly coated in the buttermilk. This liquid forms the essential base for your crispy coating.
-
In a separate large, shallow bowl or a sturdy plastic bag, combine the all-purpose flour, sea salt, freshly ground black pepper, and a pinch of ground cayenne pepper. Stir or shake the mixture vigorously to ensure all ingredients are well combined.
For a thin, delicate batter coating on your fried chicken, place the buttermilk-coated chicken into the plastic bag with the flour mixture and shake until evenly coated.
For a thick, robust batter coating on your fried chicken, use a bowl and your hands to dredge the chicken in the flour mixture, pressing the coating onto each piece to create a substantial crust. -
Pour enough vegetable oil into a large cast-iron skillet or Dutch oven to achieve a depth of at least 1/4 inch. The oil level should reach approximately 1/3 of the way up the side of your cooking vessel, which should be deep enough to partially submerge the chicken pieces (note that the oil level will rise slightly once the chicken is added). Place the skillet over medium-high heat. Carefully monitor the oil temperature with an instant-read thermometer until it reaches a consistent range between 360°F and 375°F (182°C and 191°C). Maintaining the correct oil temperature is key to perfectly fried chicken.
-
Work in small batches to avoid overcrowding the skillet and lowering the oil temperature too much. Begin with the larger chicken pieces. Remove one piece of chicken at a time from the buttermilk, allowing any excess to drip off. Then, dredge or shake it thoroughly in the flour mixture, turning to coat it evenly on all sides. Gently shake off any excess flour before placing it into the hot oil.
-
Still working in small batches, carefully place the coated chicken into the preheated oil. Fry each piece until it turns a beautiful golden brown and is thoroughly cooked through. For breast meat, an instant-read thermometer inserted into the thickest part (without touching bone) should register 165°F (74°C). This typically takes about 5 to 7 minutes per side, turning once halfway through cooking. It’s crucial not to overcrowd the skillet, as this will drop the oil temperature and prevent even frying, resulting in greasy chicken. If you notice the chicken browning too quickly, reduce the heat slightly or use tongs to turn the pieces onto their thinner sides for more even cooking. Always allow the oil to return to the desired temperature range before adding the next batch of chicken.
-
Once fried to perfection, transfer the cooked chicken pieces to a wire rack positioned over a rimmed baking sheet. This allows excess oil to drain off, keeping the chicken crisp. Lightly season with additional salt and pepper to taste, if desired. Remember to be judicious with the salt, as the brine already imparts significant seasoning. Keep the fried chicken in the warm oven you preheated earlier while you continue to fry the remaining batches, ensuring every piece stays hot and delicious.
-
While the chicken is cooking, prepare the irresistible Sriracha honey sauce. In a small bowl, combine the Sriracha and honey, stirring well until thoroughly blended. Taste the sauce and, if necessary, adjust the balance by adding a smidgen more Sriracha for extra heat or a touch more honey for added sweetness, according to your personal preference. Serve the pickle-brined fried chicken either hot, straight from the oven, or at room temperature, with the Sriracha honey sauce presented on the side for guests to drizzle or dip as they please. Enjoy this incredible flavor sensation!

Adapted From
Foster’s Market Favorites
Buy On Amazon
Nutrition Facts
Serving:
1
portion
Calories:
952
kcal
Carbohydrates:
76
g
Protein:
64
g
Fat:
42
g
Saturated Fat:
12
g
Monounsaturated Fat:
16
g
Trans Fat:
0.2
g
Cholesterol:
255
mg
Sodium:
7040
mg
Fiber:
3
g
Sugar:
25
g
Nutrition information is provided as an estimate and should be used as an approximation only.
Tried this recipe?
Mention @leitesculinaria or tag #leitesculinaria!
Recipe Testers’ Reviews: Real Feedback from Our Kitchens
Our dedicated team of recipe testers put this pickle-brined fried chicken recipe through its paces, and the feedback has been overwhelmingly positive. Their experiences offer valuable insights and tips for home cooks looking to recreate this phenomenal dish.
Jo Ann Brown
Jo Ann’s review highlights a truly intriguing observation: this fried chicken recipe might just rival some of the most famous establishments known for their fried chicken! She found that marinating the chicken for 8 hours was more than sufficient for achieving a robust, dill-heavy flavor from the brine. While she initially tried the bag method for coating, she found it resulted in a thinner crust than desired. Her recommendation for a thicker, more satisfying batter is to opt for the classic hand-dredge method. For bone-in breasts, which tend to be the thickest, Jo Ann achieved perfect doneness by frying them for 5 minutes on the first side (when the oil is hottest) and an additional 6 minutes on the second side. Her conclusion is clear: “Pickle brining is where it’s at, my friends. I am now a disciple of this brine-spice combination.” Her experience underscores the importance of technique in achieving the desired crust and the undeniable impact of the pickle brine.
Lila Ferrari
Lila was initially captivated by the allure of the Sriracha honey dip, but it was the crisp, flavorful pickle-brined fried chicken itself that ultimately won her over. She found the recipe straightforward and manageable, despite the required time investment for brining. A common concern with brining is that it might interfere with the chicken’s natural flavor or lead to a spongy texture, but Lila confirmed that this pickle juice brine avoided both pitfalls. She brined her chicken for approximately 4 hours, finding this duration perfectly adequate. Her experience confirmed the recipe’s accuracy regarding timing and technique, noting that the coating remained delightfully crisp and adhered well after frying. The Sriracha honey sauce, as expected, added a wonderful kick, and the chicken remained beautifully moist throughout, proving the success of the brining process in tenderizing the meat without compromising its texture.
Anya L.
Anya’s journey with this recipe started with a serendipitous encounter at the grocery store, where a cashier’s comment hinted at the deliciousness to come. From the initial aromatic experience of preparing the brine to the final bite of tender, fluffy meat, Anya confirmed the cashier’s prediction. She praised the recipe for delivering both tenderness and a pleasing fluffiness in the chicken, indicating excellent moisture retention. The Sriracha honey drizzle was, for Anya, not just an accompaniment but “a great addition,” perfectly complementing the unique flavors of the fried chicken. Her review highlights the sensory journey this recipe provides, from the fragrant brine to the satisfying texture of the cooked chicken, making it a truly memorable dish.
Joel Jenkins
Joel’s experience with the pickle-brined fried chicken came at the perfect moment, providing a delicious homemade alternative to fast food during his wife’s travels. He brined his chicken for about 4 hours, which he felt was “enough but just barely,” suggesting that an overnight brine might yield an even more pronounced flavor for those who prefer a stronger tang. Joel also noted that his chicken turned out “a bit salty,” advising others to slightly reduce the initial salt in the brine and then season further after frying if necessary. Despite these minor adjustments, he definitively labeled the recipe “a keeper,” appreciating the distinctive tartness from the pickling liquid that made the fried chicken so interesting and unique. His review offers practical advice for fine-tuning the brine to individual taste preferences, particularly regarding salt levels.