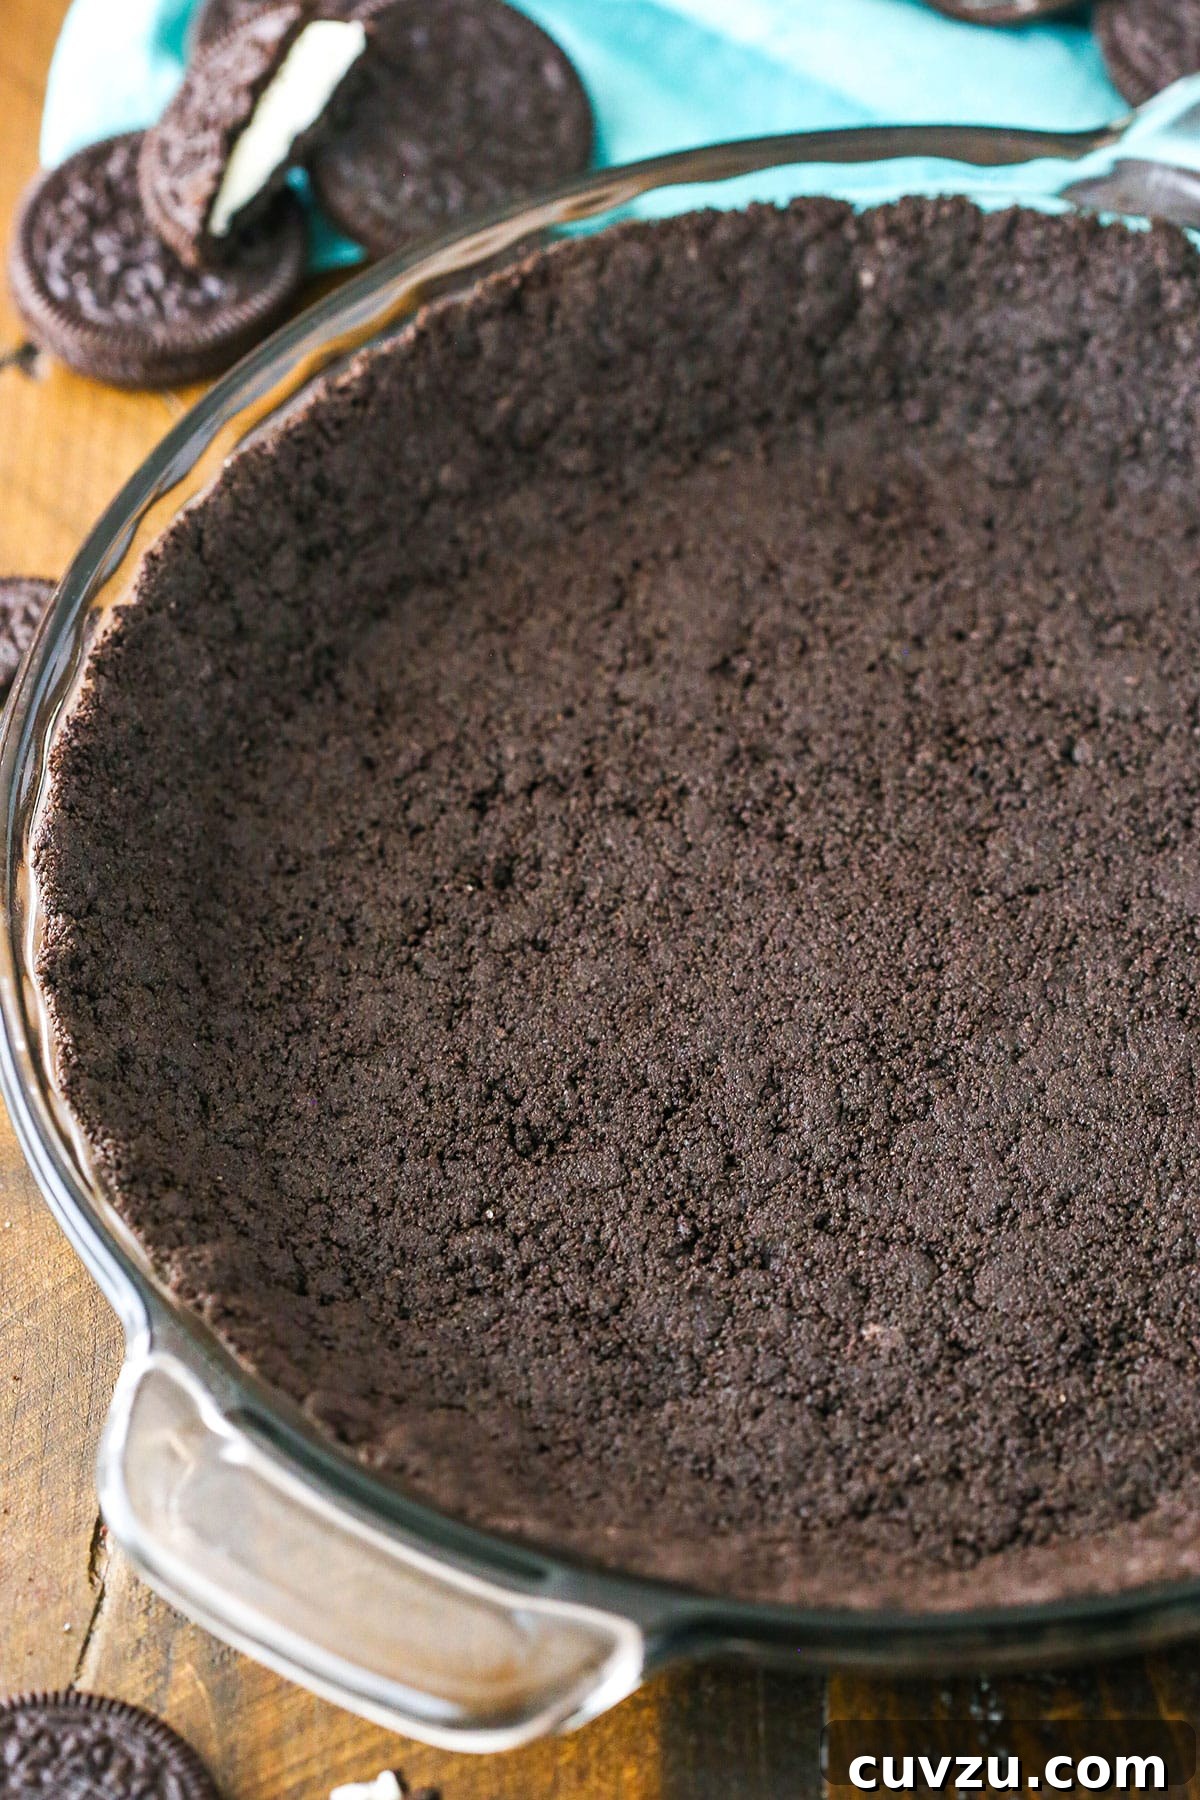
Easy Homemade Oreo Cookie Crust: The Ultimate Foundation for Your Favorite Desserts
Imagine a dessert that begins with a rich, chocolatey, and perfectly crunchy base. That’s precisely what you get with an Easy Oreo Cookie Crust. Crafted from just two simple ingredients, this versatile crust is an absolute game-changer for anyone looking to elevate their homemade pies, cheesecakes, and dessert bars. Whether you prefer a baked foundation or a quick no-bake option, this recipe delivers consistent, delicious results every time, proving that the best things often come from the simplest preparations.
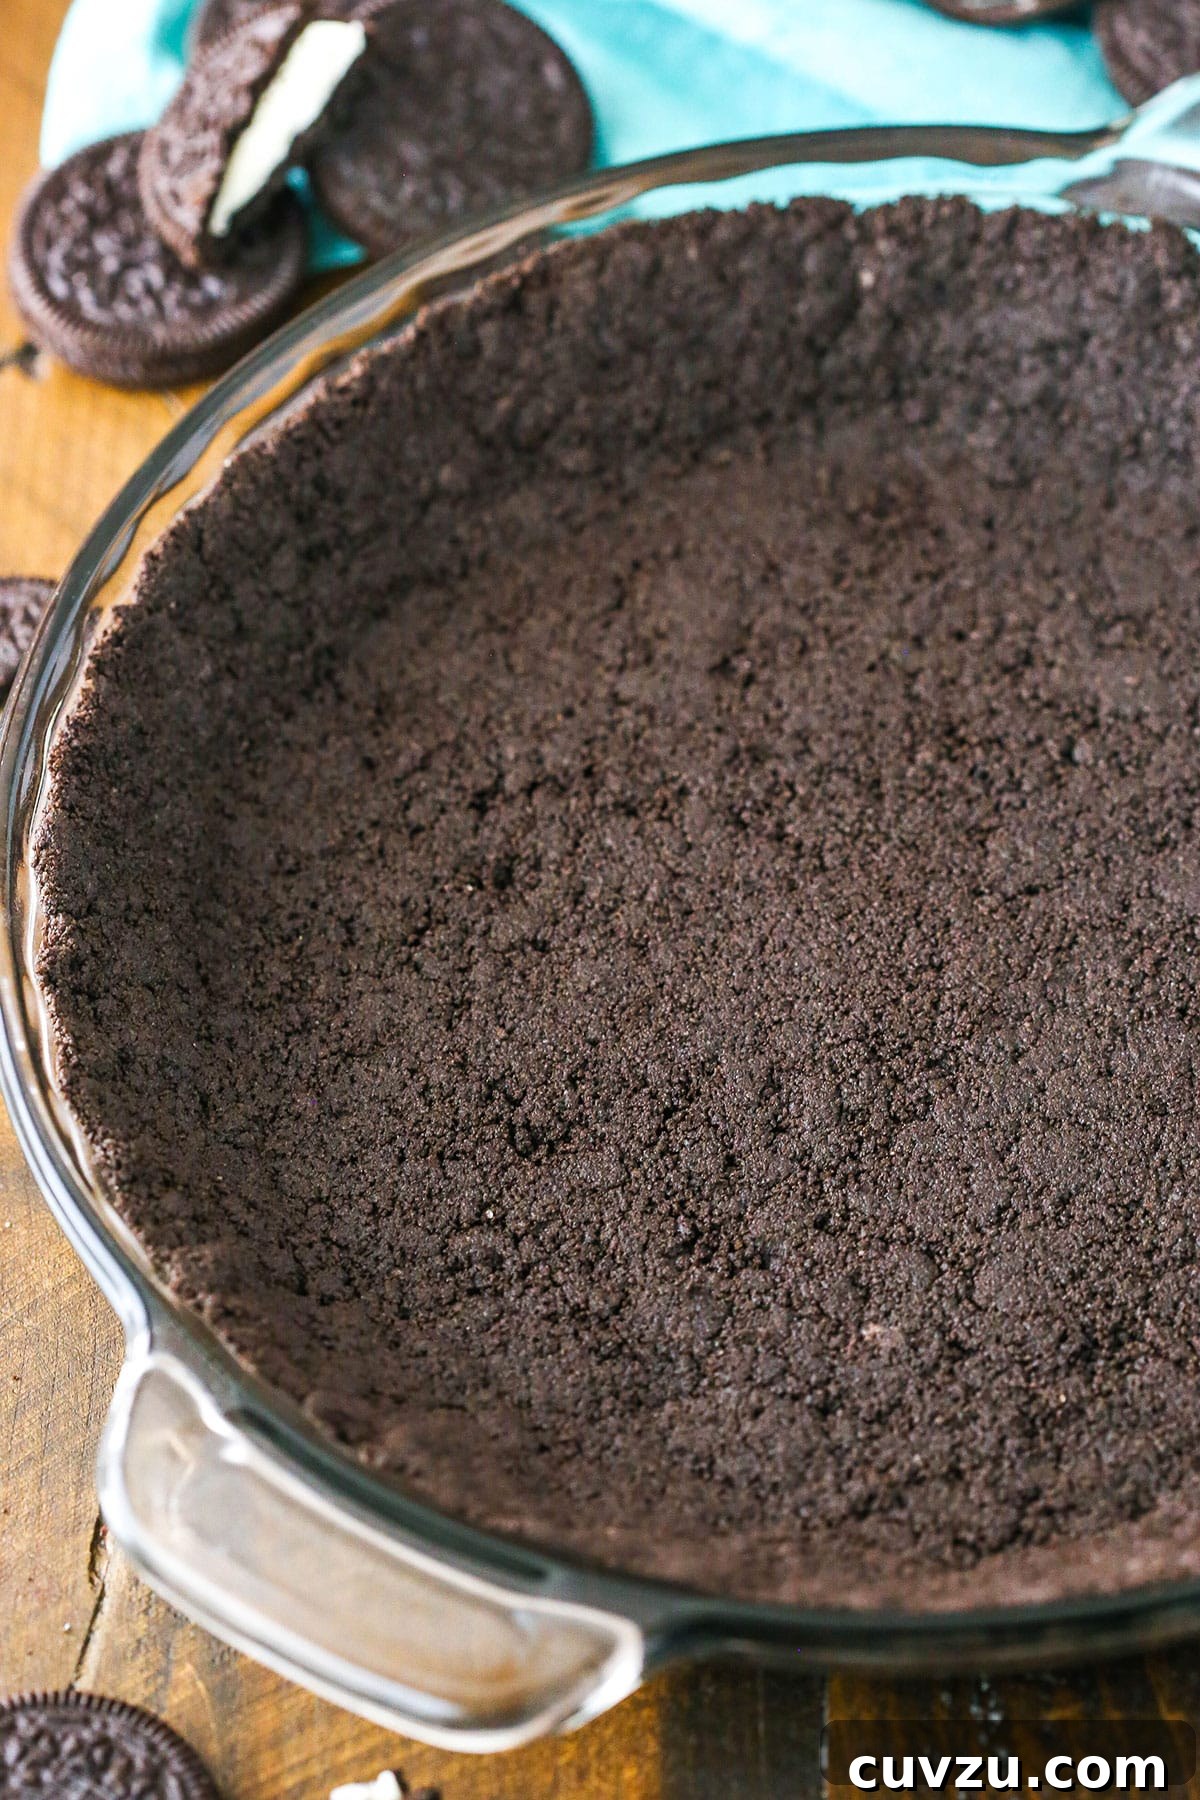
Why Homemade Oreo Crust Always Triumphs Over Store-Bought
For years, I’ve bypassed the pre-made Oreo crusts lining grocery store aisles. While they offer convenience, they simply can’t compare to the fresh taste, perfect texture, and customizable nature of a homemade version. Beyond the superior flavor, there’s an undeniable charm in presenting a dessert in your own beautiful pie plate or springform pan, rather than the generic aluminum foil container. Crafting your own crust takes minimal effort – often less than 10 minutes of active prep time. That’s quicker than a trip to the store and back, giving you more time to focus on the delicious filling and the joy of baking.
The beauty of making your own Oreo crust lies in its simplicity and the control it gives you. You dictate the quality of ingredients, the fineness of the crumbs, and the thickness of the base. This ensures a fresh-from-the-oven aroma and a texture that’s perfectly tailored to your dessert. A homemade crust offers a sturdier, more uniform base, which is crucial for holding together delicate fillings like those found in cheesecakes or creamy pies. It’s a small step that makes a monumental difference in the overall experience of your dessert.
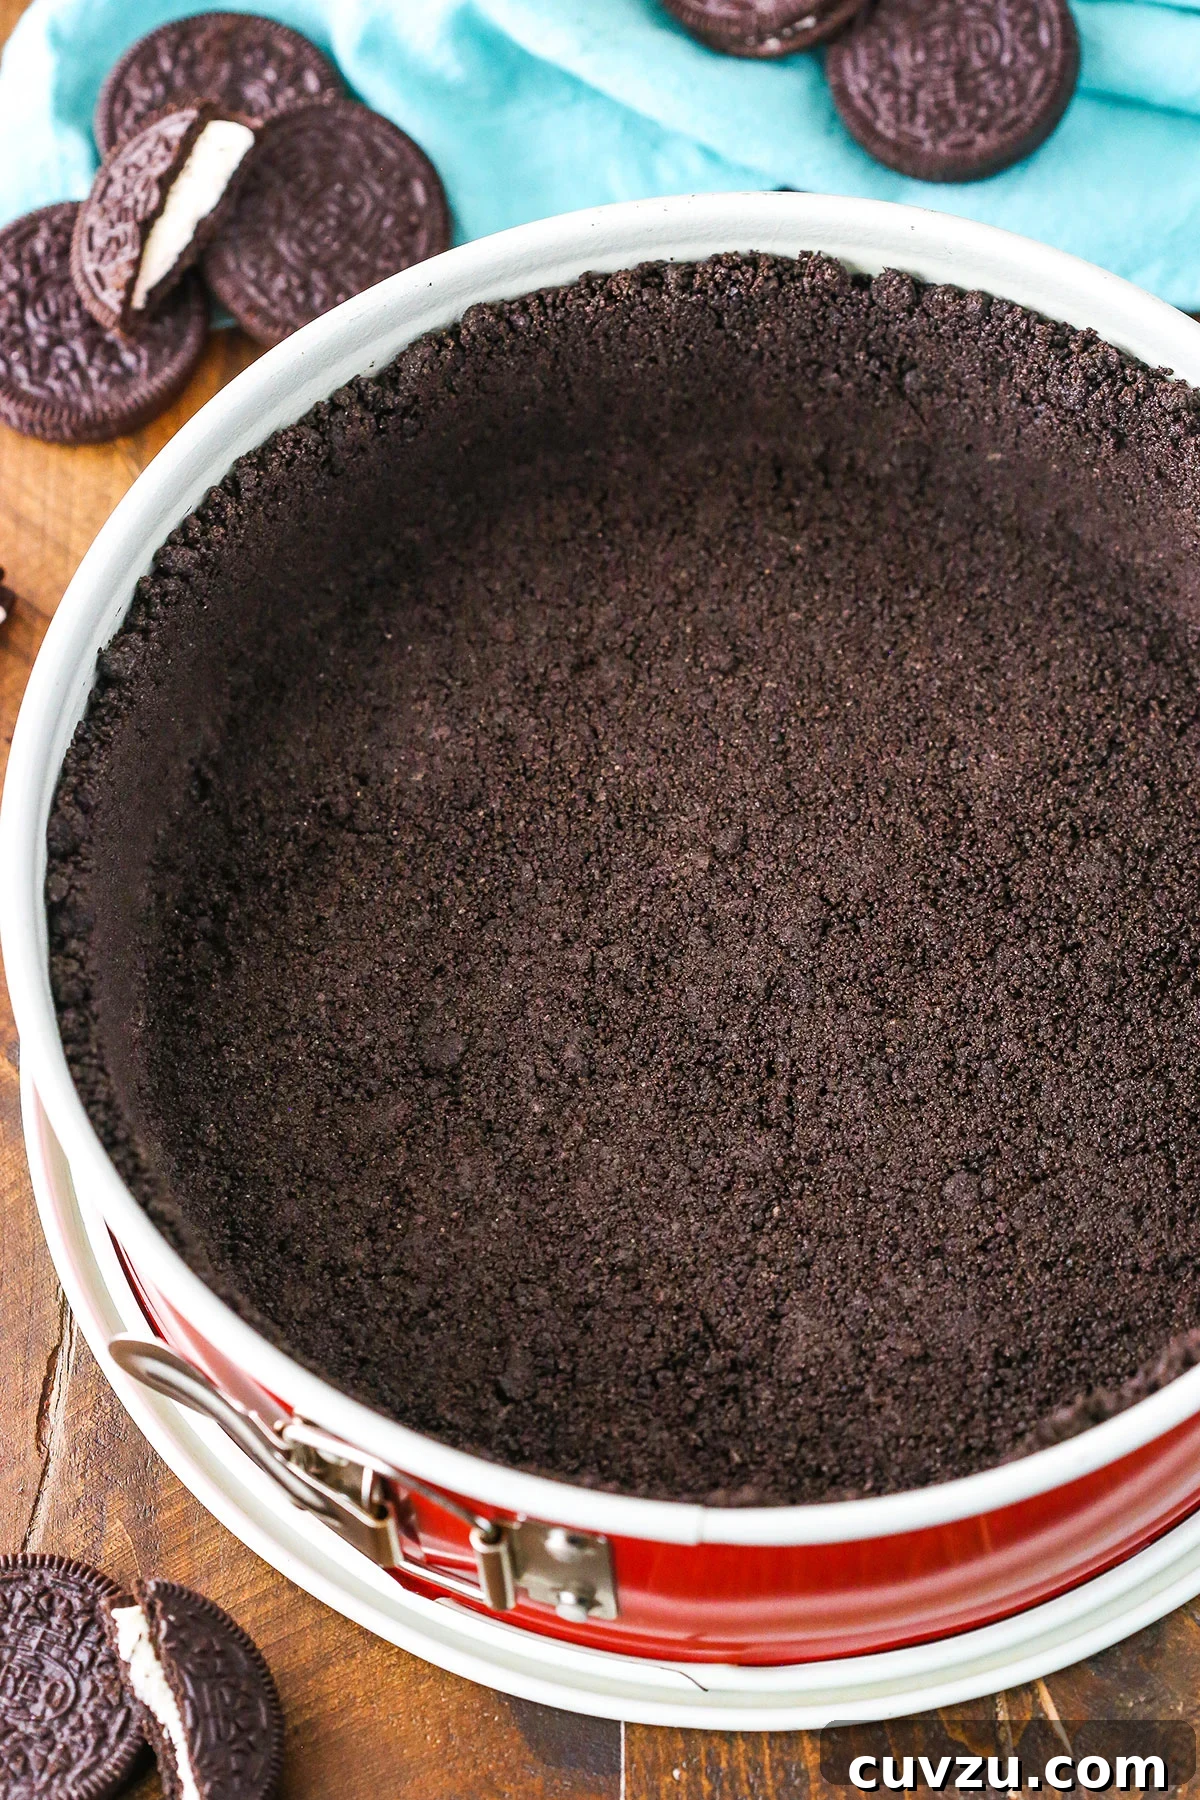
Mastering Your Homemade Oreo Cookie Crust: The Simple Steps
Creating this irresistible crust requires only two essential ingredients: classic Oreo cookies and unsalted butter. Yes, that’s right – just two! There’s absolutely no need to painstakingly remove the creamy filling from the Oreos. The filling is your secret weapon, contributing not only to the signature rich flavor but also acting as a crucial binder, helping the crumbs adhere together beautifully. This inherent binding quality of the Oreo filling is precisely why this recipe calls for significantly less butter than you might use in a traditional graham cracker crust. The Oreos do a lot of the work for you, creating a robust and flavorful base.
Choosing Your Oreos Wisely
While you can technically experiment with different Oreo flavors, I strongly recommend sticking to regular Oreos for the most consistent and reliable results. Varieties like Double Stuf or Mega Stuf Oreos contain an excess of filling, which can introduce too much moisture and potentially lead to a slightly greasy crust, especially when baked. This can sometimes result in butter leaking out during the baking process, particularly problematic for cheesecakes where a perfectly set crust is desired. The classic Oreo provides the ideal balance of cookie and cream for a flawless crust every time.
The Art of Crushing and Combining
Once you’ve selected your Oreos and have your butter melted and ready, the first step is to transform those cookies into fine crumbs. The easiest and most efficient way to achieve this is by using a food processor. Simply add the whole Oreos (filling and all) into the food processor and pulse until you have a consistently fine, sand-like texture. Fine crumbs are key here; they bind together much better than coarser crumbs, resulting in a more stable and less crumbly crust.
If you don’t own a food processor, don’t despair! You can still make this crust. Place the Oreos in a sturdy zip-top bag, remove as much air as possible, and then use a rolling pin or a heavy object (like the bottom of a glass) to smash them into fine crumbs. While it requires a bit more effort to achieve truly fine crumbs this way, it’s definitely doable. Just be patient and ensure the crumbs are as uniform as possible.
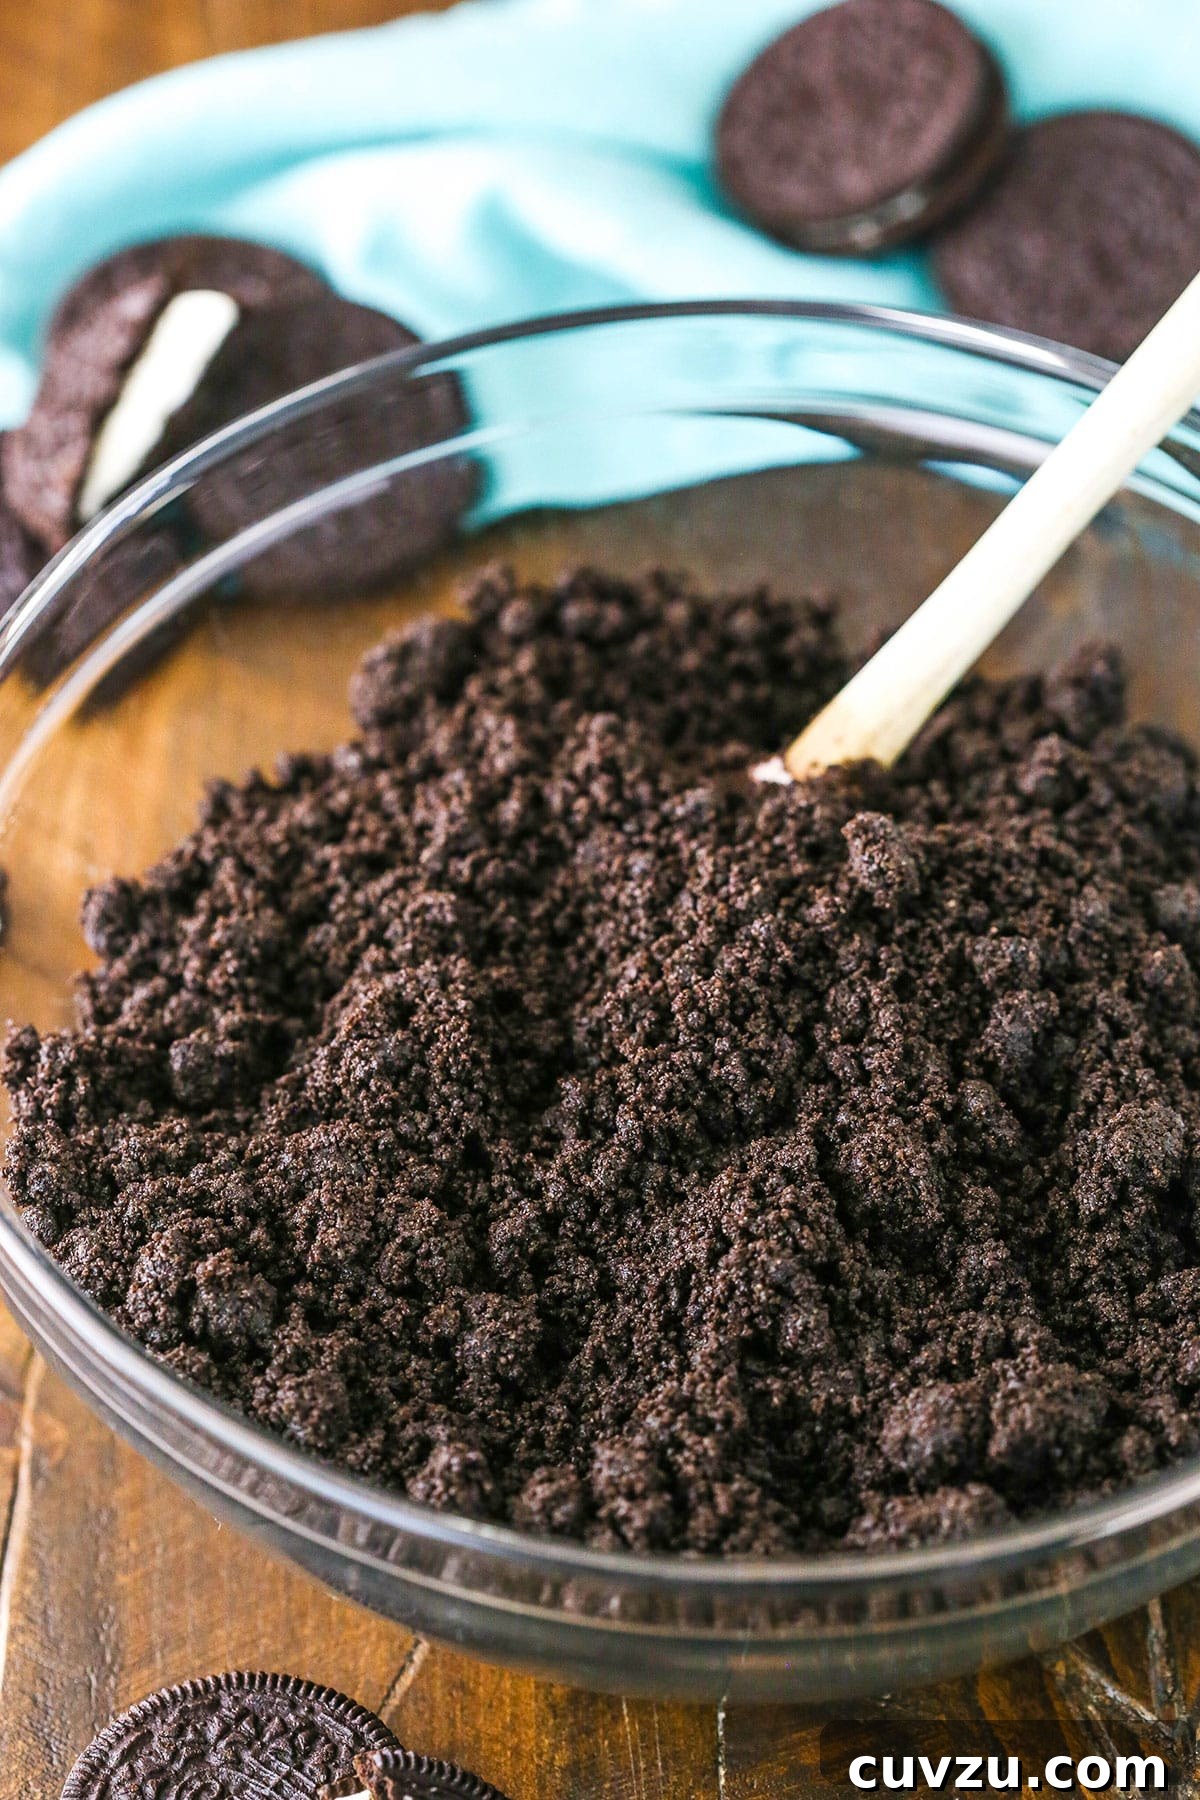
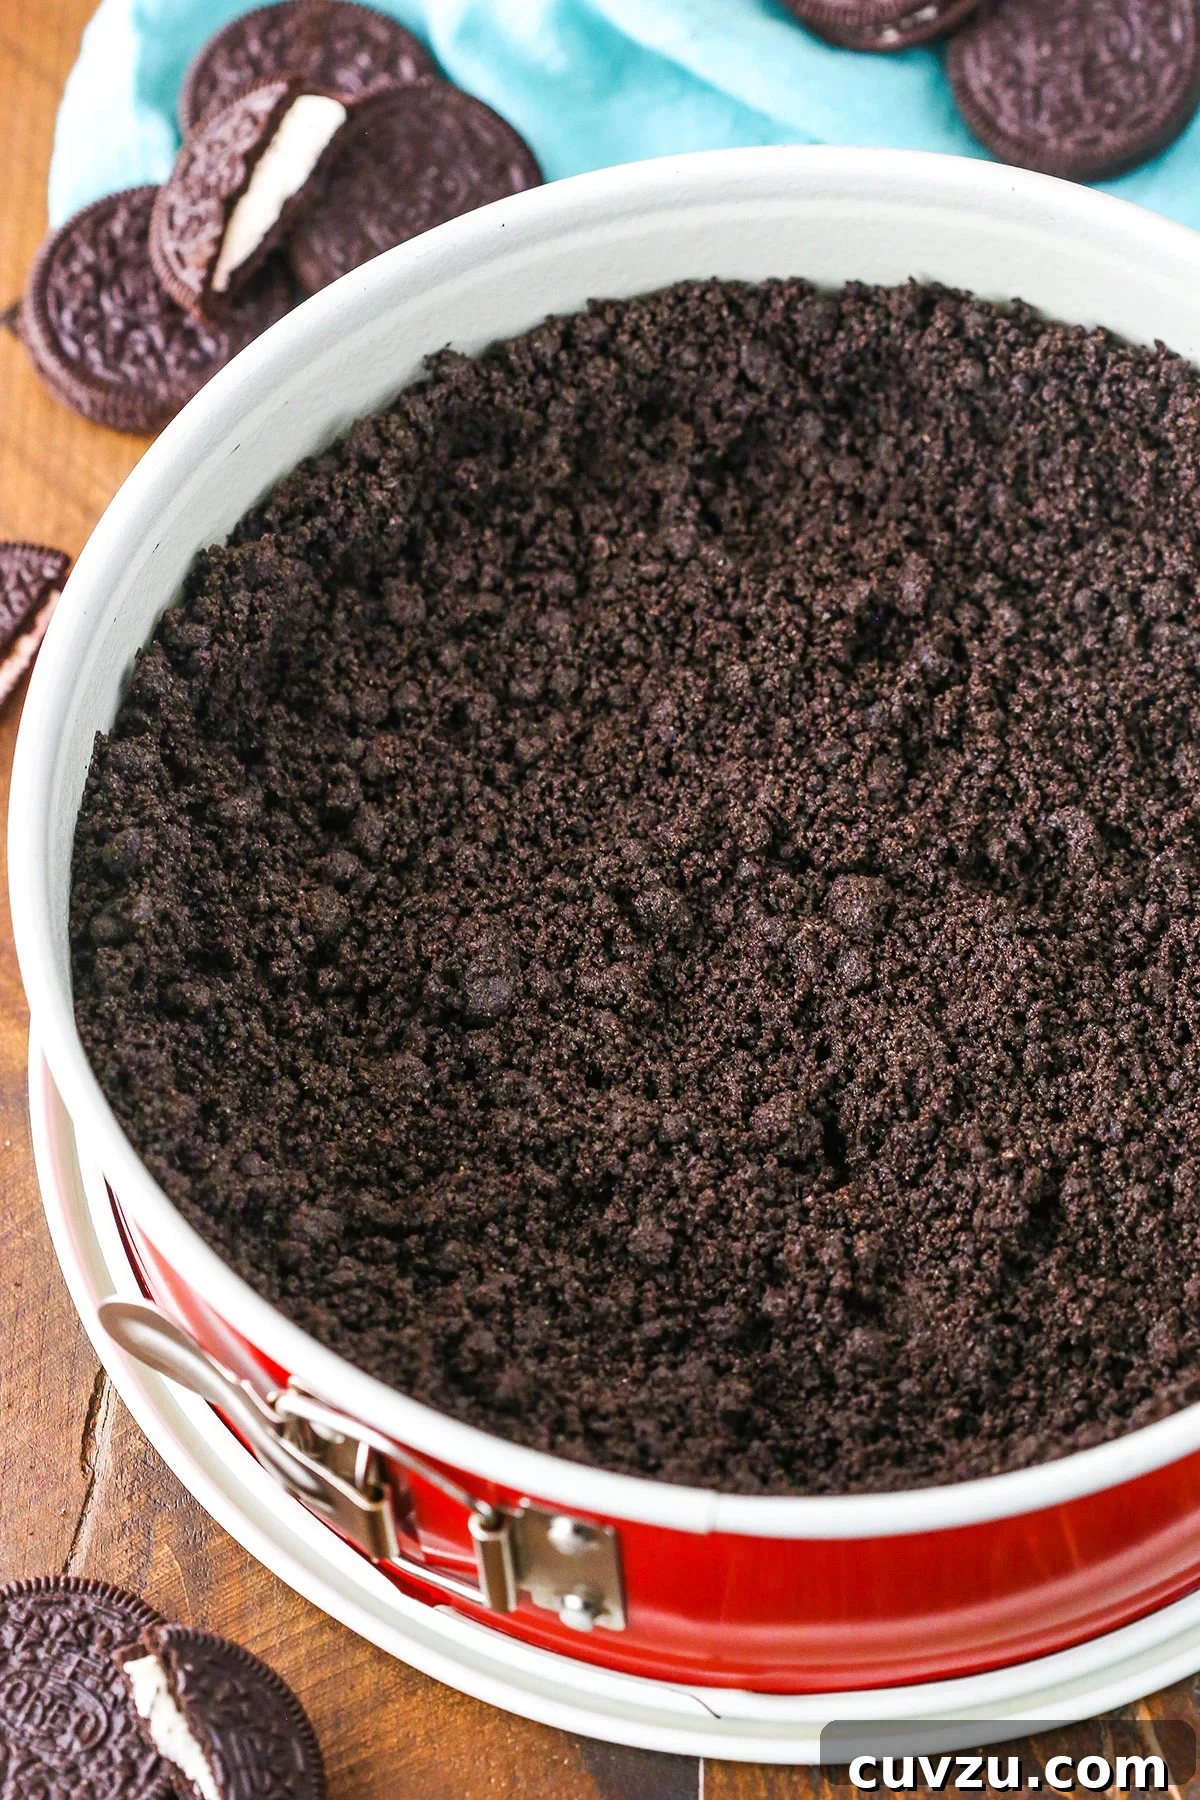
Once your Oreo crumbs are perfectly fine, transfer them to a mixing bowl. Pour the melted butter over the crumbs and stir thoroughly until they are uniformly moistened. The mixture should resemble wet sand and hold together when pressed. This is your cue that the butter has fully incorporated, ready to form the foundation of your dessert.
Pressing for Perfection
Now it’s time to create your crust. Transfer the buttery Oreo mixture into your chosen pie plate or springform pan. For best results and to ensure easy removal, I always recommend lightly greasing your dish with a non-stick cooking spray or a thin layer of butter. This creates a protective barrier, preventing any sticking.
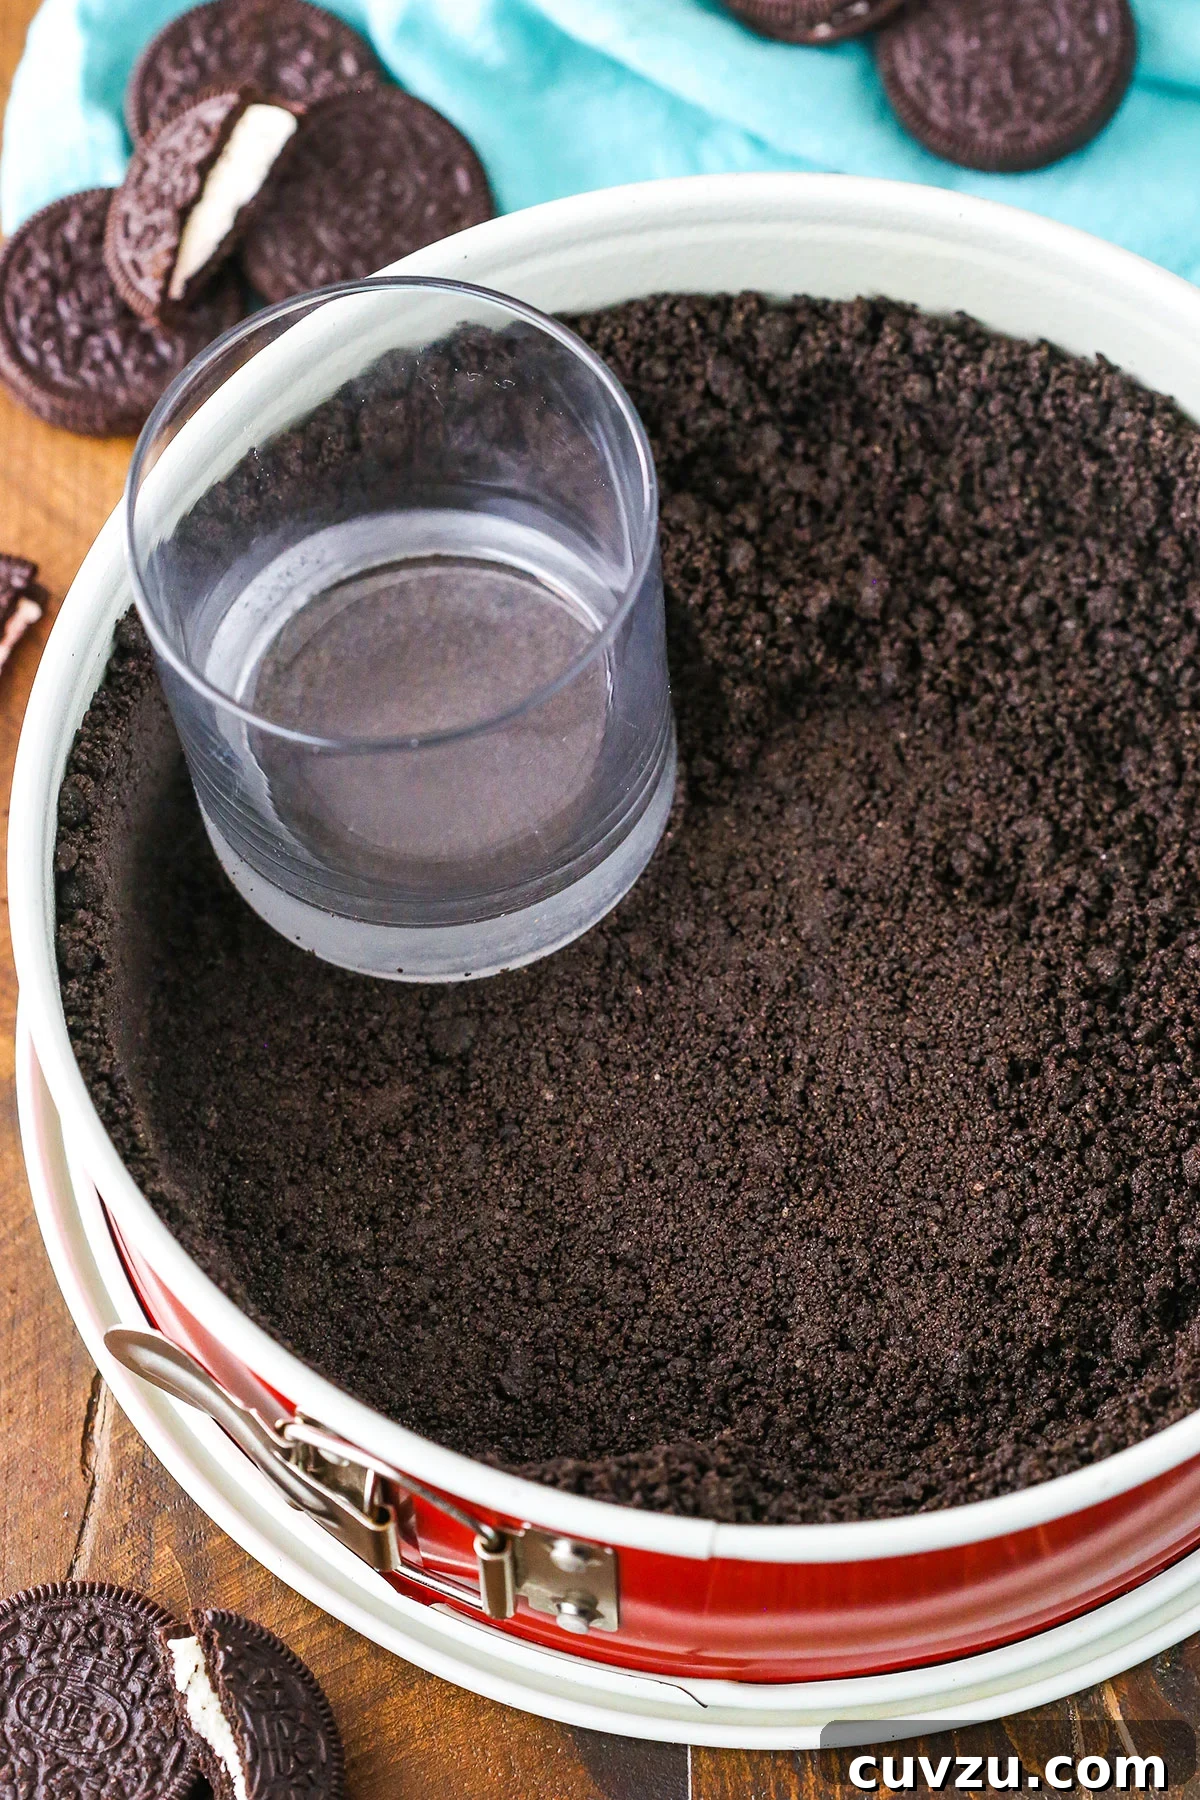
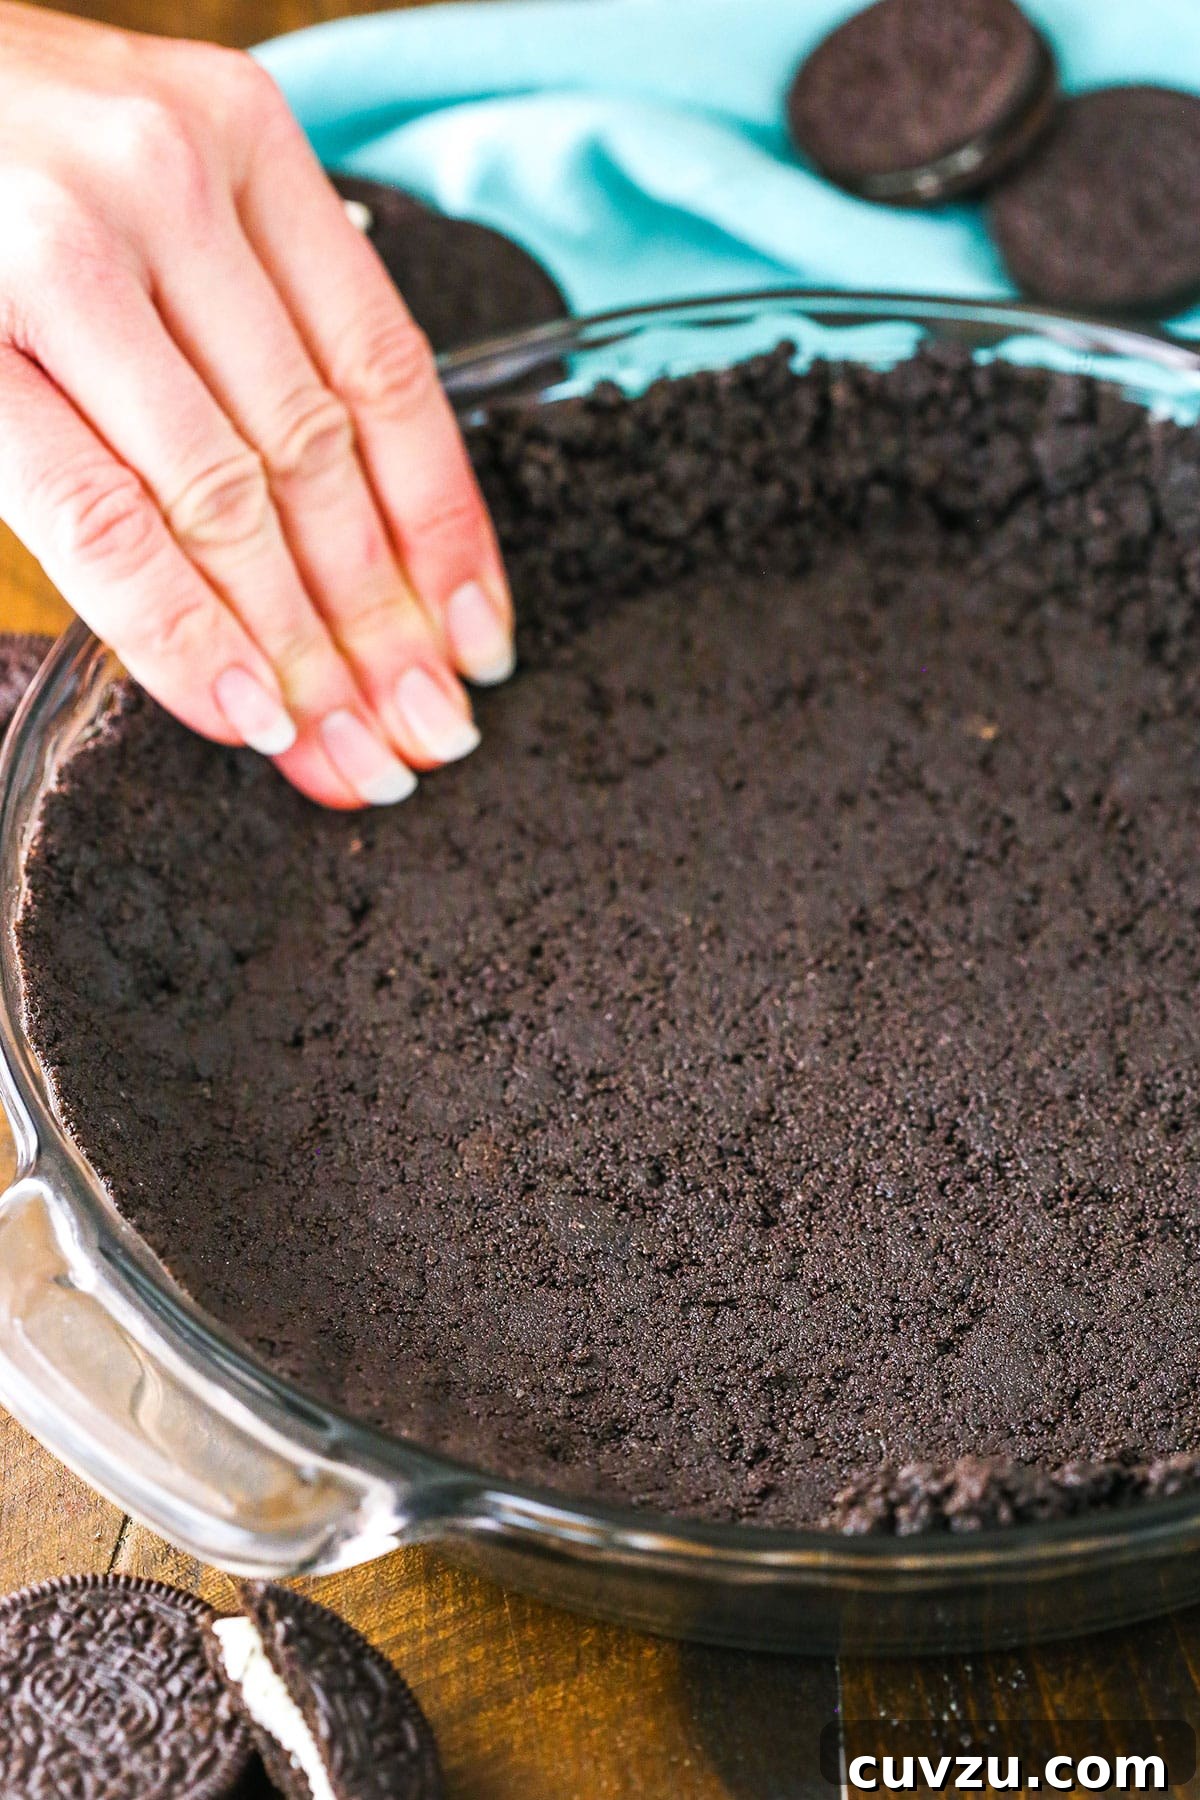
Using the bottom of a clean glass, a flat-bottomed measuring cup, or even your clean fingers, firmly press the mixture into an even layer across the bottom of the pan and, if desired, up the sides. Applying firm, consistent pressure is crucial for a compact and stable crust that won’t crumble when sliced. Pay extra attention to the corners and edges to ensure a uniform thickness throughout.
To Bake or Not to Bake: Understanding Your Oreo Crust Options
One of the fantastic features of this Oreo Cookie Crust is its versatility. It can be prepared as a no-bake crust, ideal for chilled desserts, or baked to achieve a slightly firmer, more pronounced texture. The choice depends entirely on your recipe and personal preference.
No-Bake Brilliance
For no-bake pies, cheesecakes, or layered desserts, simply refrigerate the pressed crust for at least 30 minutes (or longer, up to an hour) before adding your filling. Chilling allows the butter to solidify, binding the crumbs together and creating a firm, sliceable base. This method is perfect for recipes where you want a soft yet stable crust that melts in your mouth.
Baked Stability
If your dessert recipe calls for a baked crust, or if you simply prefer a crispier, more stable foundation, baking is the way to go. A quick bake in the oven helps to set the crust, preventing it from becoming soggy when filled with moist ingredients. It also enhances the chocolate flavor of the Oreos, adding another layer of deliciousness to your final dessert. Follow the specific baking instructions provided in the recipe for the perfect pie or cheesecake crust, typically a short bake at moderate temperature.
Expert Tips for an Unforgettable Oreo Cookie Crust
Achieving the perfect Oreo crust every time is easy with a few key considerations:
- Crust Ratios for Success: You’ll notice different ingredient amounts listed for pie crusts versus cheesecake crusts in the recipe. This is intentional. A cheesecake often benefits from a slightly thicker, more substantial crust to support its rich, dense filling, hence needing more Oreos. For a pie, which is typically sliced and served more casually, a little extra butter ensures that the crust holds together exceptionally well, preventing crumbling when lifted from the pie plate. This slight adjustment in butter content makes a big difference in structural integrity.
- Embrace the Filling: Reiterate this golden rule: there is absolutely no need to remove the filling from your Oreos. It’s a flavor enhancer and a natural binder, simplifying your prep and boosting the deliciousness.
- Make Ahead and Freeze: If you’re a planner, this crust is your best friend. Prepare the crust, press it into your pan, and then cover it tightly with aluminum foil, followed by a layer of plastic wrap. It can be frozen for up to 2-3 months. Thaw in the refrigerator before using. This is a fantastic time-saver for busy holidays or unexpected dessert cravings.
- Tools for Even Pressure: To ensure your crust is tightly packed and uniformly thick, use the bottom of a flat-bottomed glass, a measuring cup, or a tart tamper. These tools help apply even pressure across the entire surface, preventing soft spots or thin areas that could lead to breakage.
- Don’t Overbake (if baking): If you opt to bake your crust, keep a close eye on it. Oreo crumbs contain sugar and can burn quickly. A light golden brown edge is usually sufficient, as the crust will continue to firm up as it cools. Over-baking can lead to a dry, hard, or burnt crust.
- Cool Completely: Whether baked or no-bake, always allow your crust to cool completely (or chill adequately) before adding your filling. A warm crust can melt your filling or create a soggy bottom, compromising the texture of your finished dessert.
- Flavor Variations: While classic Oreos are recommended, don’t be afraid to experiment once you’ve mastered the basic recipe. Try adding a pinch of sea salt to enhance the chocolate flavor, or a tablespoon of cocoa powder for an even deeper chocolate experience. You could even use other cream-filled sandwich cookies for different flavor profiles.
More Dessert Inspiration
Once you’ve mastered this easy Oreo cookie crust, a world of decadent desserts awaits. Here are some fantastic recipes that would be perfectly complemented by this rich, chocolatey base:
- Easy No Bake Chocolate Cheesecake
- No Bake Oreo Cheesecake
- Chocolate Covered Strawberry Cheesecake
- Baileys Chocolate Cream Pie
- Chocolate Lover’s Cheesecake
- No Bake Samoa Cheesecake
- Guinness Chocolate Cheesecake
- Snickers Cheesecake
- No Bake Nutella Cheesecake
- No Bake Brownie Batter Cheesecake
Easy Oreo Cookie Crust Recipe
5 from 9 reviews
- Author: Lindsay
- Prep Time: 10 minutes
- Cook Time: 10 minutes
- Total Time: 20 minutes
- Yield: 1 pie crust
- Category: Dessert
- Method: Oven
- Cuisine: American
Description
Make an Easy Oreo Cookie Crust at home with just two ingredients! This crust is perfect for both pies and cheesecakes and can be used as a baked or no-bake crust!
Ingredients
Scale
Oreo Cookie Pie Crust
- 24 Oreos (2 cups | 268g Oreo crumbs)
- 4 tbsp (56g) butter, melted (salted or unsalted is fine)
Oreo Cookie Cheesecake Crust
- 35 Oreos (3 cups |403g Oreo crumbs)
- 5 tbsp (70g) butter, melted (salted or unsalted is fine)
Instructions
1. Add the Oreos to a food processor or blender and grind into fine crumbs. You do not need to remove the filling from the Oreos.
2. Add the Oreo crumbs to a bowl and combine with the melted butter.
3. Pour the mixture into your pie pan or springform pan (I like to grease mine to ensure no sticking) and press into an even layer on the bottom and up the sides.
4. For a no-bake crust (pie or cheesecake), you can refrigerate it for 30 minutes before adding your filling. If you are going to bake it, bake at 350 degrees Fahrenheit for 8-10 minutes.
Nutrition
- Serving Size: – Full crust
- Calories: 381
- Sugar: 15.2 g
- Sodium: 585.7 mg
- Fat: 29.7 g
- Trans Fat:
- Carbohydrates: 27.7 g
- Protein: 1.9 g
- Cholesterol: 0 mg