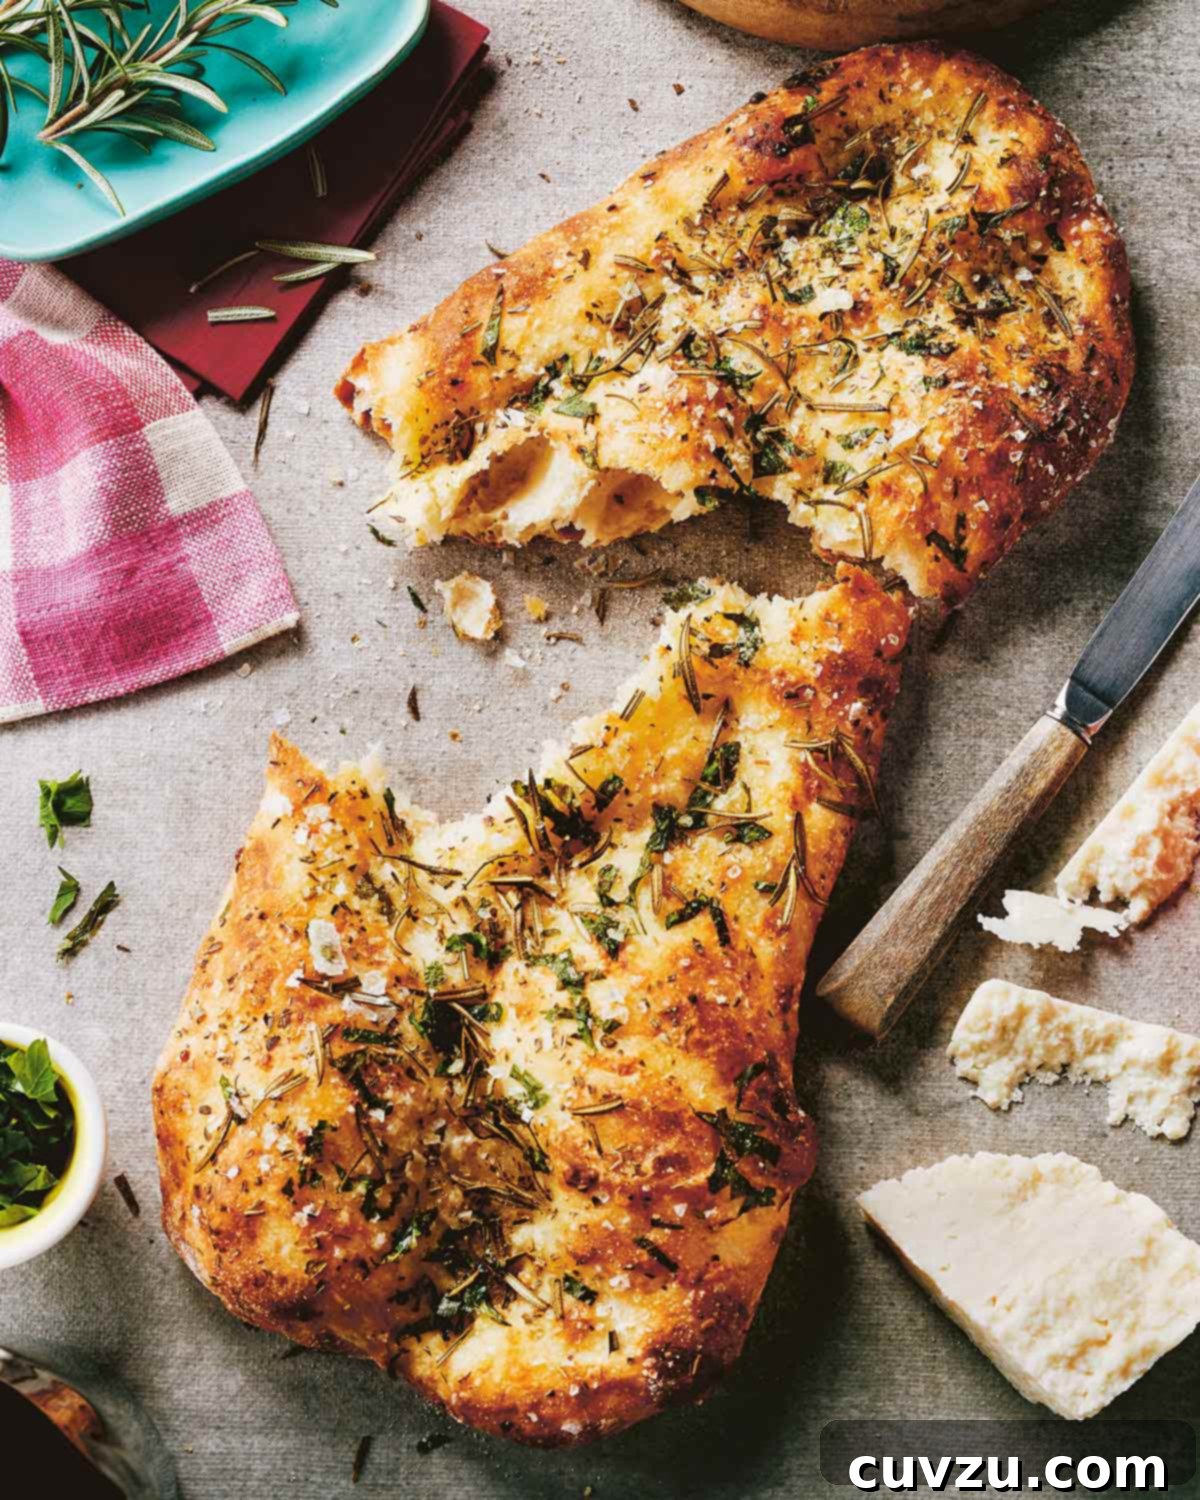
Mastering Homemade Focaccia: Your Guide to a Cheesy, Herb-Infused Italian Bread
There are few culinary delights as satisfying as freshly baked bread, and among them, focaccia stands out for its irresistible texture and versatile charm. Imagine a bread that is simultaneously chewy and crisp, imbued with the rich aroma of grated Pecorino Romano cheese and a medley of fresh, aromatic herbs, all bathed in golden olive oil. This is the magic of focaccia, and it’s surprisingly simple to create in your own kitchen. This comprehensive guide will walk you through crafting a truly divine focaccia that will become a staple in your baking repertoire.
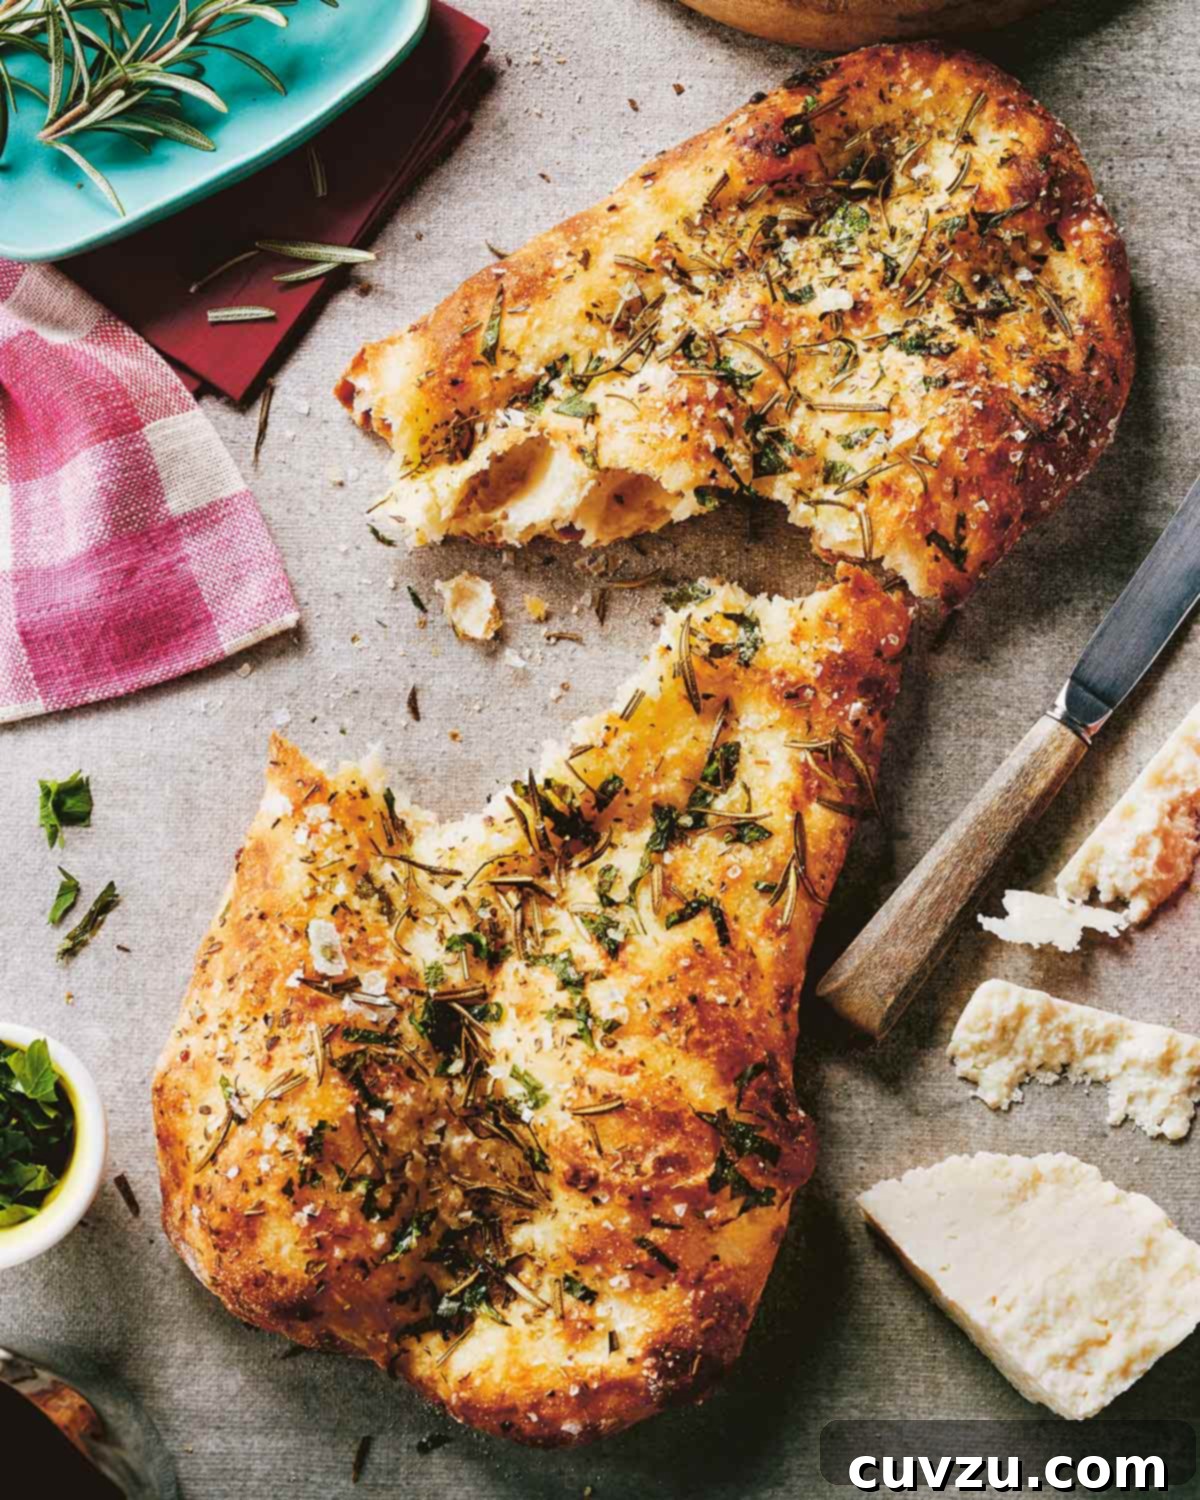
This exceptional recipe comes from Simon Blackwell, the visionary chef-turned-artisan baker behind Toronto’s renowned Blackbird Baking Co. Located in the vibrant Kensington Market, Blackbird Baking Co. is a beloved destination for locals seeking fresh baguettes, flaky croissants, and their signature sourdough loaves. Blackwell’s expertise shines through in this savory, herb-flecked focaccia bread, shared originally by Amy Rosen, making artisan-quality bread accessible to home bakers.
Focaccia FAQs: Unlock the Secrets to Perfect Bread
Before diving into the recipe, let’s address some common questions that arise when baking focaccia. Understanding the “why” behind each step can significantly enhance your baking success and help you achieve that coveted authentic Italian texture and flavor.
Why is it important to dimple focaccia dough?
Dimpling focaccia dough is much more than just an aesthetic touch; it’s crucial for the bread’s structure and overall quality. When you gently press your fingertips into the dough, you’re helping to release excess air that has accumulated during the proofing process. This action prevents the dough from rising too quickly and becoming overly airy or muffin-like in the oven. A well-proofed dough naturally develops many air bubbles, and dimpling helps redistribute these, ensuring your focaccia maintains its characteristic flat and chewy profile. Furthermore, these inviting dimples serve as tiny reservoirs for the generous olive oil coating and any toppings you might add. This allows the oil to soak deeply into the dough, contributing to that wonderfully crisp, golden crust and rich flavor that defines exceptional focaccia.
What’s the easiest way to transfer the delicate focaccia dough into a hot oven?
Transferring a delicate, proofed focaccia dough onto a blazing hot pizza stone can seem daunting, but there are straightforward methods to ensure success. The traditional approach often involves a swift, confident slide from a floured pizza peel onto the preheated stone. While this takes practice, it yields excellent results, particularly for a crispier bottom crust. However, if kitchen theatrics aren’t your preference, a simpler, less nerve-wracking alternative exists: assemble your focaccia directly on a piece of parchment paper. Once the dough is shaped and topped on the parchment, you can easily lift the entire sheet, dough and all, and place it directly onto your hot pizza stone or baking sheet. This method minimizes handling of the delicate dough and ensures a smooth transfer without risking any sticking or deformation.
How can I tell when my focaccia dough has perfectly proofed and is ready for baking?
Knowing when your focaccia dough is perfectly proofed is key to achieving its signature light and airy texture. The most obvious indicator is visual: the dough should have more than doubled in size and be noticeably puffy, with numerous small bubbles visible on its surface. Beyond appearance, a reliable test is the “poke test.” Gently press your finger into the dough about half an inch deep. If the indentation slowly springs back, leaving a slight mark, your dough is perfectly proofed and ready to bake. If the dough springs back quickly and completely, it needs a little more time to fully relax and develop. Conversely, if the indentation remains without any spring, the dough may be over-proofed, though for focaccia, a slightly over-proofed dough often still yields delicious results due to its forgiving nature.
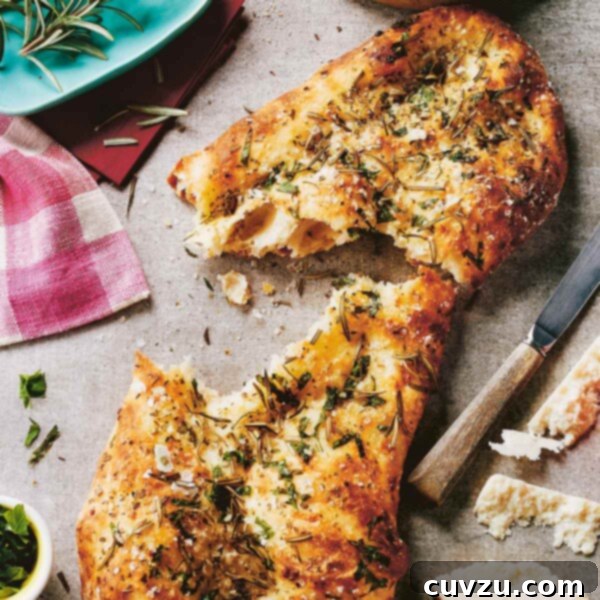
Pecorino Romano and Herb Focaccia
If you’ve ever dreamt of filling your home with the intoxicating aroma of fresh-baked bread but felt intimidated by complex techniques like shaping boules or maintaining a sourdough starter, this focaccia recipe is your ideal starting point. It’s remarkably forgiving, offering a straightforward path to an utterly delicious homemade loaf that’s perfect for slicing and eating plain, or for serving as the base for a gourmet pizza-style topping.
Recipe by David Leite, inspired by Simon Blackwell.
Sides, Appetizer, Snack
Italian
4 generous servings
368 kcal
20 minutes
20 minutes
Approximately 13 hours (includes extensive proofing time)
Ingredients
Gather your ingredients to create this flavorful focaccia. The quality of your components, especially the flour, olive oil, and fresh herbs, will significantly impact the final taste and texture.
- 2 1/2 cups all-purpose flour, plus extra for dusting your work surface and hands.
- 1 teaspoon kosher salt, essential for enhancing flavor.
- 1 teaspoon granulated sugar, to activate the yeast and add a hint of sweetness.
- 1/2 teaspoon instant yeast, for a reliable and active rise.
- 3/4 cup finely grated Pecorino Romano cheese, for a sharp, savory depth.
- 1 1/2 cups water, ideally lukewarm (around 105-115°F or 40-46°C) to help yeast activate.
- Olive oil, a generous amount for coating the dough and enhancing the crust.
- Coarse sea salt, for a delightful textural crunch and burst of salinity on top.
- 4 tablespoons chopped mixed fresh herbs, such as fragrant rosemary, vibrant parsley, and earthy oregano, for aromatic flavor.
Instructions
-
Prepare the Dough Base: In a generously sized bowl, combine the all-purpose flour, kosher salt, granulated sugar, instant yeast, and grated Pecorino Romano cheese. Stir these dry ingredients thoroughly to ensure they are well-integrated. Next, gradually add the 1 1/2 cups of water. Mix by hand until all the flour is incorporated and no dry streaks remain, then continue mixing for an additional minute. At this stage, expect the dough to be quite wet and very sticky—this high hydration is key to focaccia’s characteristic chewiness and open crumb.
-
First Proofing (Long and Slow): Lightly coat the inside of a large, clean bowl with olive oil to prevent sticking. Carefully transfer your wet, sticky dough into this oiled bowl. Cover the bowl tightly with plastic wrap or a damp kitchen towel. Allow the dough to rest and proof at room temperature for an extended period, typically 10 to 12 hours. This long, slow fermentation develops deep flavors and yields a highly bubbly, active dough that will have more than doubled in size.
-
Shape and Second Proofing: Generously dust a clean work surface with flour. Using a bowl scraper or a rubber spatula, carefully scrape the well-proofed dough out of the bowl in one piece, trying to disturb it as little as possible. With floured hands, gently fold the edges of the dough towards the center, creating a loose, shaggy ball. Avoid overworking it. Brush the top surface of the dough with a little olive oil and sprinkle a pinch of coarse sea salt. Cover the dough again and let it rest for its second proof, for 1 1/2 to 2 hours, until it has almost doubled in size once more and feels light and airy.
-
Preheat Oven and Stone: Approximately 30-45 minutes before you plan to bake, preheat your oven to a high temperature of 450°F (232°C). Position an oven rack in the middle slot. If you have a pizza stone, place it on this rack to warm thoroughly; alternatively, an upside-down sturdy baking sheet will work just as well to create a hot surface for your focaccia.
-
Dimple and Shape the Loaf: While the oven and stone are preheating, generously dust a pizza peel or a large, sturdy baking sheet with flour (or cornmeal) to prevent sticking. Carefully transfer the dough to the center of the peel or sheet. Working quickly and gently, use your fingertips to dimple the dough in an outward motion, pressing down but not tearing, to spread it into an even thickness across the peel. Continue dimpling until you’ve formed a roughly 10-inch (25-cm) long oval-shaped loaf. Remember the dimples are key for texture and oil retention.
-
Final Seasoning: Lavishly drizzle the dimpled dough with more high-quality olive oil, ensuring the oil pools attractively in the indentations. Evenly scatter the chopped mixed fresh herbs over the surface of the dough, followed by a generous sprinkling of coarse sea salt. Don’t be shy with the salt; it provides a crucial flavor and textural contrast.
-
Bake to Golden Perfection: Carefully slide the focaccia (either directly from the peel or on its parchment paper) onto the preheated pizza stone or baking sheet in the oven. Bake for 15 to 20 minutes, or until the crust achieves a beautiful deep golden-brown color and the interior is cooked through. Once baked, immediately slide the hot focaccia onto a wire cooling rack. Allow it to rest for a few minutes before slicing and serving. This brief resting period helps the internal structure set and makes for easier cutting.

Adapted From
This exquisite focaccia recipe is adapted from the celebrated cookbook, Toronto Eats, a culinary journey through one of Canada’s most vibrant food cities.
Buy On Amazon
Nutrition
The nutrition information provided is an approximation, calculated automatically, and should be used as a general guide.
Calories: 368 kcal
Carbohydrates: 62 g
Protein: 15 g
Fat: 6 g
Saturated Fat: 3 g
Cholesterol: 20 mg
Sodium: 512 mg
Fiber: 3 g
Sugar: 1 g
What Our Recipe Testers Thought: Real Feedback from Home Bakers
Our team of dedicated recipe testers put this Pecorino Romano and Herb Focaccia through its paces, sharing their honest experiences and invaluable insights. Read on to see how this recipe performed in various home kitchens and discover their tips for perfect results.

Callie M.
This magnificent focaccia, brimming with incredible flavor, comes together with surprisingly minimal effort for a truly maximum impact. Unlike many cheesy focaccia recipes that call for sprinkling the cheese on top—which can sometimes lead to it hardening or becoming an oily mess—here, the Pecorino Romano is cleverly incorporated directly into the dough alongside the flour and yeast. I opted for a Microplane grater to achieve finely shredded cheese, which melted seamlessly into the dough, leaving little trace other than its exquisite, savory essence. The resulting flatbread boasts the wonderful funk of aged cheese baked right in, making it absolutely divine with very little accompaniment. For my next attempt, I’m already planning to press some tender roasted garlic cloves into the top of the dough. Not because it needs them, but simply because I envision the combination being perfectly harmonious.
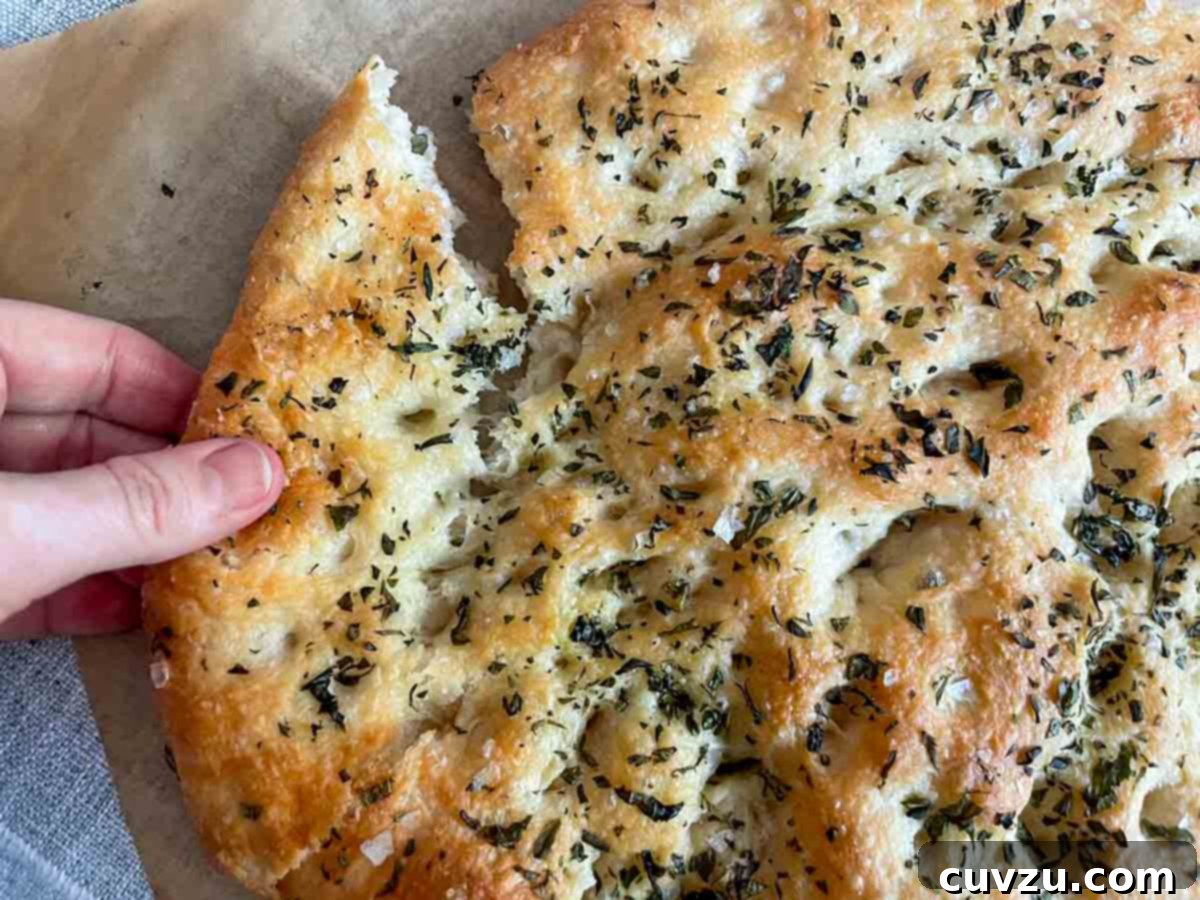
A crucial observation about this dough: it is exceptionally sticky and wet. Don’t be alarmed if it never quite achieves the smooth, elastic texture you might expect from a typical bread dough after a proper rest. I believe this unique texture is largely due to the generous amount of cheese, and critically, this high moisture content is precisely what contributes to its incredible lift and airy crumb when it bakes. To sidestep the challenge of transferring the dough from the work surface to a pizza peel, and then from the peel to the hot oven, I embraced a simpler method: doing the entire process on a piece of parchment paper. I scraped the dough directly from its overnight rise bowl onto a floured sheet of parchment, shaped it there, and allowed it to complete its second rise, covered by a large, overturned pot to prevent sticking. I then performed the dimpling directly on the same parchment paper and easily slid the entire setup onto the pizza stone.
I confess, I devoured a considerable portion of this warm focaccia for breakfast, entirely on its own, and it was absolutely magnificent. If any of it manages to last, I envision enjoying it later with some sharp cheddar, perfectly grilled sausage, and a fresh, crisp salad. Its versatility is truly impressive.

Jessie Hagan
Embarking on any bread-making journey is akin to nurturing a relationship—it requires commitment, patience, and optimistic caution. My personal journey with this focaccia began early one morning, accompanied by my indispensable coffee, facing a rather formidable blob of sticky dough. Our initial connection was admittedly a bit rocky; I found myself repeatedly lacing my fingers together, struggling to free them from the clingy embrace of the dough. Yet, I persisted. And as the day unfolded, our relationship matured and strengthened.
By early evening, I was prepared to re-engage with the dough, and I was genuinely surprised by how much it had transformed. We had established a newfound trust. It willingly eased itself out onto my cornmeal-dusted pizza peel. With a sense of playful determination, I dimpled the dough, almost as if giving it an intense massage. Then, I generously doused it with olive oil, which settled into the dimples like glistening liquid gold in miniature craters. Finally, I blanketed my beautifully dimpled dough with fragrant herbs and coarse sea salt. It slid effortlessly off the peel and onto my scorching hot pizza stone, and I took a 20-minute leap of faith, confident that our journey would culminate in a happy ending. Spoiler alert: my focaccia and I lived happily ever after! The result was an utterly amazing bread—crusty, perfectly salty, wonderfully cheesy, aromatic with herbs, and richly oiled. A true triumph!

Angie Zoobkoff
This particular focaccia recipe presented a notably different approach from any I had encountered or baked before. However, upon comparing my finished product with the recipe’s accompanying photograph, they were identical, which was a reassuring sign that I must have executed the steps correctly! Initially, I harbored a slight uncertainty about whether this recipe merited a “Testers Choice” recommendation. That hesitation vanished, however, when I placed the loaf out at the beginning of dinner, only to find the entire thing had vanished by the meal’s conclusion. The unanimous approval of my diners was the ultimate endorsement.
The recipe itself proved to be remarkably easy, demanding minimal hands-on time, which is always a bonus for busy home bakers. The resulting bread boasted a satisfyingly chewy interior, complemented by an exquisitely crisp crust, and a wonderfully developed flavor profile thanks to the long proofing and Pecorino Romano. One minor adjustment I made was in the transfer method: the dough was far too sticky to attempt sliding it directly onto the pizza stone. Instead, I carefully stretched it out on a baking sheet and simply placed that baking sheet directly on top of my preheated pizza stone. This technique worked perfectly, ensuring a crisp bottom without the stress of a precarious transfer.

Annie A.
Believe it or not, despite the widespread baking craze during quarantine, I had never before ventured into making focaccia! But after experiencing this incredibly inviting, herb-packed, and Pecorino-infused recipe, I can confidently say that focaccia will now be a firm fixture in my regular baking rotation. This surprisingly easy recipe accomplishes two wonderful things: a) it transforms your house into an aromatic haven, smelling deliciously of cheesy bread heaven, and b) it is genuinely so simple to follow, making it accessible even for novice bakers. And here’s the best part? Focaccia pairs beautifully with practically EVERYTHING! Consequently, I consider this recipe to be an absolute kitchen essential.
In my amateur opinion, this recipe yielded a truly beautiful focaccia. We enjoyed it as part of a delightful spread alongside creamy hummus, briny olives, assorted cheeses, and savory stuffed grape leaves, and it was an absolute hit with all the finger foods. Depending on the hunger levels of your guests and their ability to resist a fresh, cheesy, and herby flatbread, I believe this recipe would comfortably provide 4 to 6 generous servings. It’s a crowd-pleaser that disappears quickly!

Amy Iacopi
On my initial attempt, my dough wasn’t quite cooperative when it came to shaking it from the pizza peel onto the hot stone. The result was a rather charmingly misshapen “amoeba” that took approximately 30 minutes to fully bake and brown. Fortunately for both me and my ten dinner guests, a simple slice into portions meant no one was none the wiser about my minor kitchen mishap! I’ve encountered similar transfer issues when making pizza in the past and have successfully resolved them by using cornmeal as a sort of “ball bearing” on the peel, which works like magic every single time.
Following this experience, I consulted with my Italian friends, who wisely recommended utilizing a cast-iron pan. Their reasoning was simple yet brilliant: it guarantees that wonderfully crisp bottom crust characteristic of focaccia while entirely circumventing the tricky transfer process. This alternative technique was FANTASTIC—both in terms of flavor and ease of execution. I preheated my oven with two 9-inch cast-iron pans positioned inside during the second rise of the dough. For this rise, I split the dough into two loaves and let them proof on a cutting board, covered with plastic wrap. After their 80-minute rise, both halves had beautifully doubled in size. I then lightly scooped them up with floured hands, carefully peeling back the Saran Wrap, and directly placed them into the hot, olive oil-coated cast-iron pans. Using my fingers, I gently spread the dough toward the edges of each pan, effectively shaping them right in their baking vessel.
This method was a total winner, and I can confidently say I’ll be making this focaccia again and again! It was absolutely delicious served plain, and equally delightful alongside a vibrant assortment of vegetable crudités, creamy hummus, and briny olives. The cast-iron pan approach is a game-changer for foolproof focaccia.