The Ultimate Guide to Homemade Pop Tarts: A Nostalgic Treat for Grown-Ups
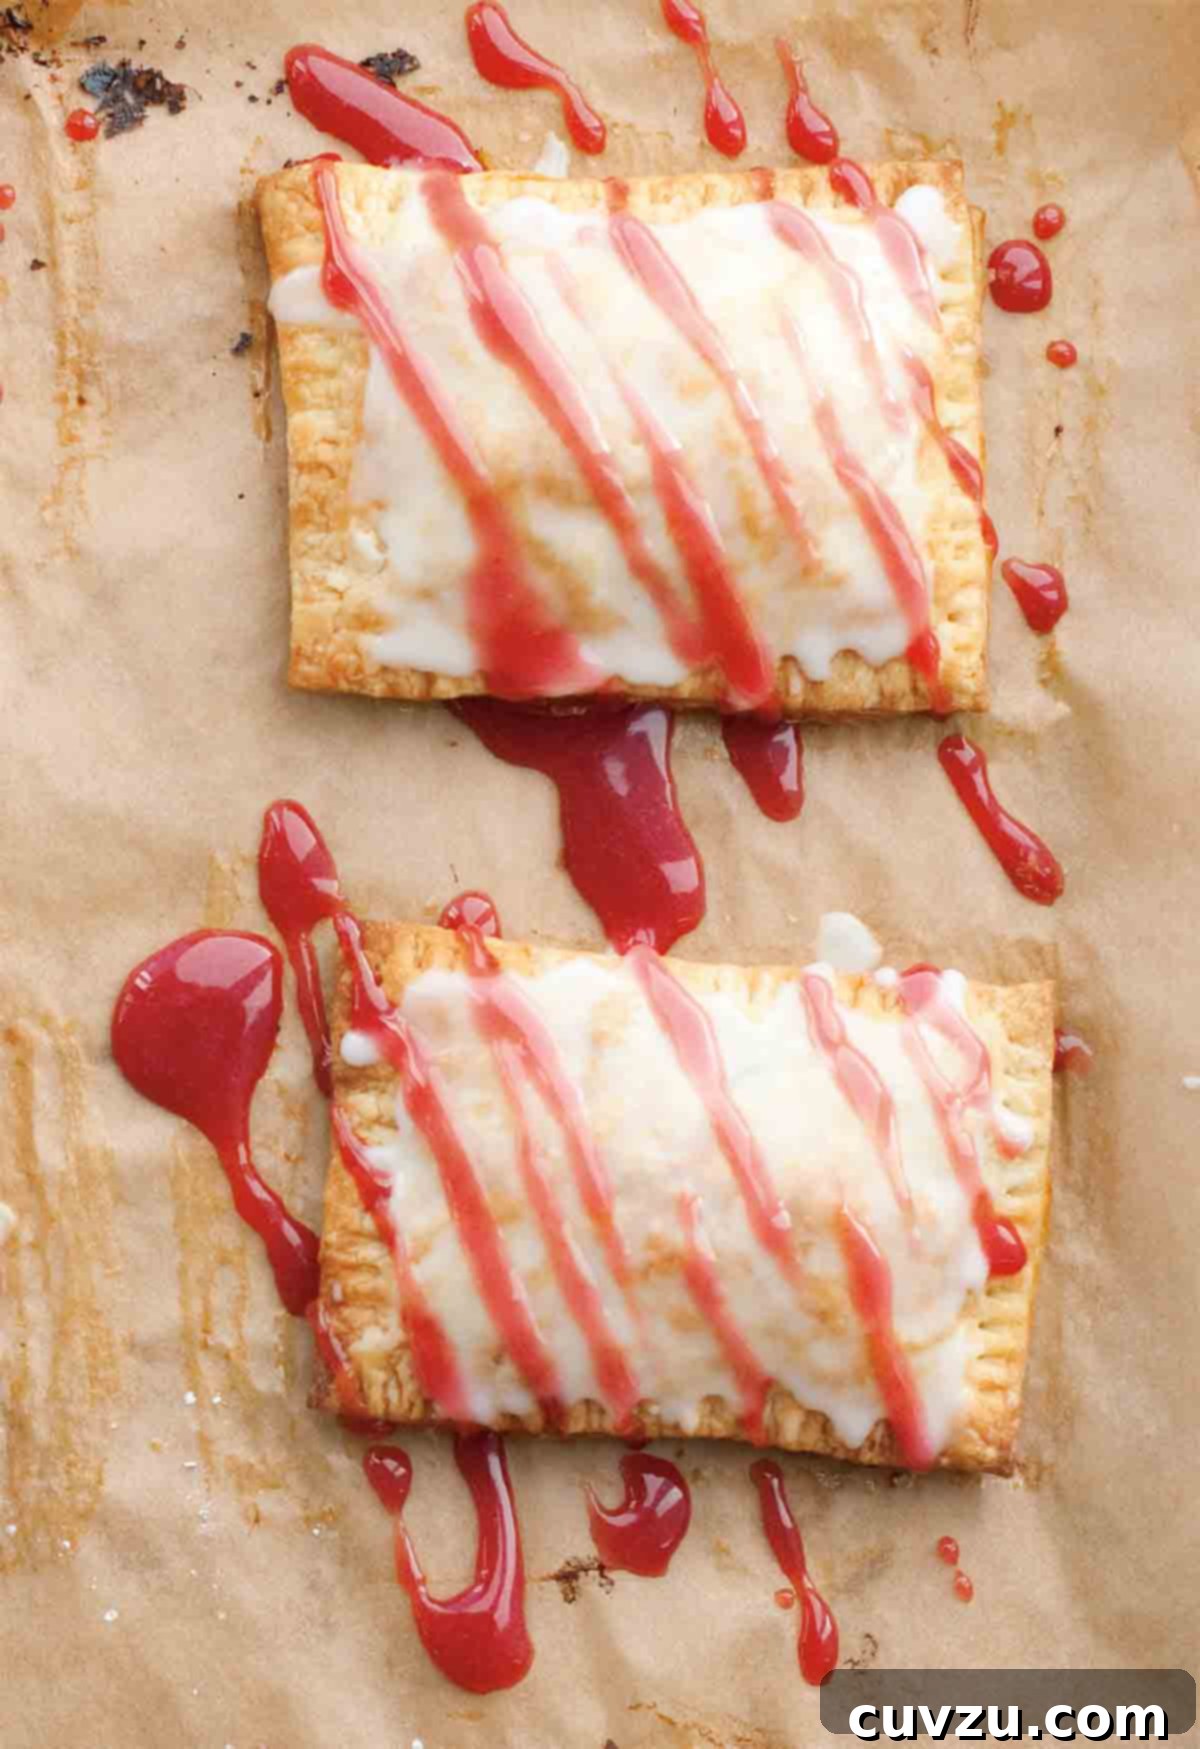
Reimagine your favorite childhood breakfast indulgence with these incredible homemade Pop Tarts. Forget the boxed, preservative-laden versions; this recipe transforms them into a sophisticated, yet equally comforting, treat that adults will truly crave. Picture a golden, flaky pastry—essentially a perfected pie crust—enveloping a luscious, not-too-sweet filling, all crowned with a delicate drizzle of glaze. They’re surprisingly simple to make, highly customizable, and undeniably delicious. Prepare to elevate your breakfast game or satisfy that nostalgic sweet tooth with a homemade touch.
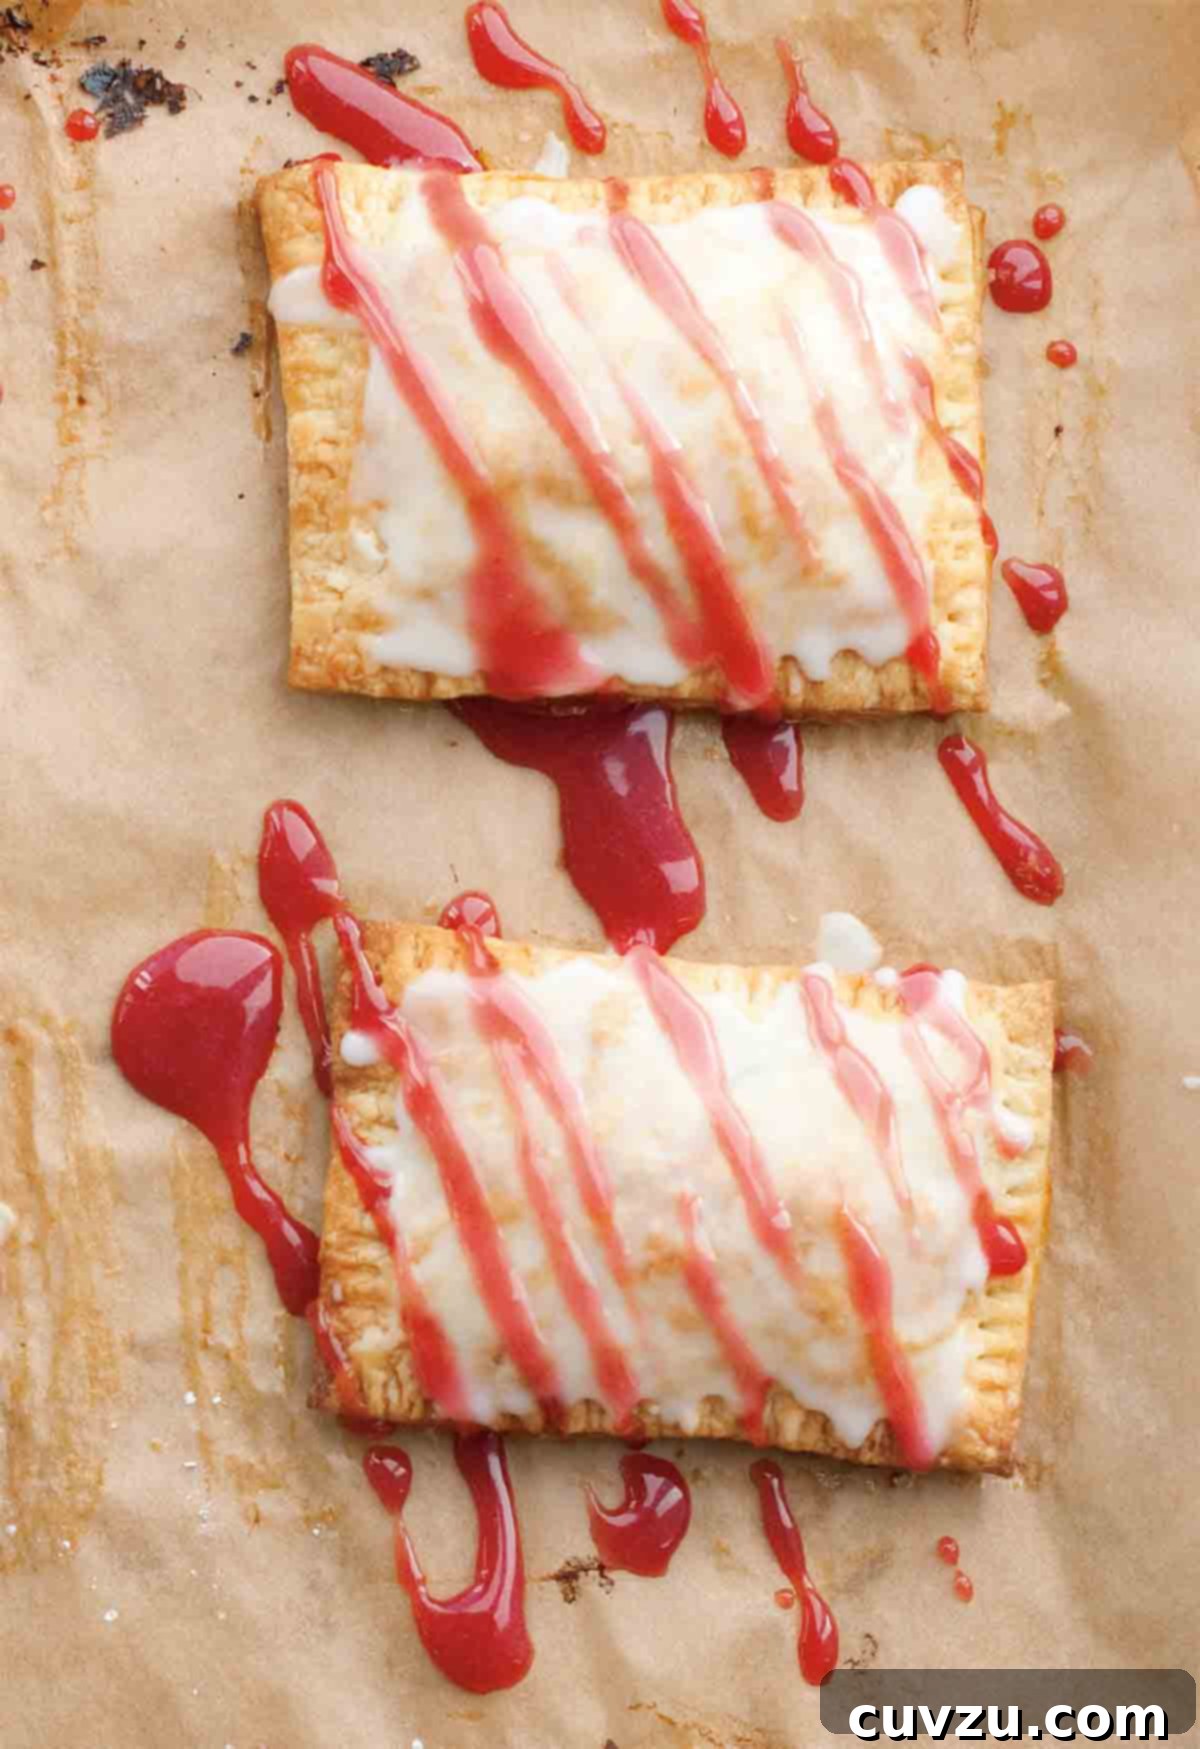
Even if the thought of mass-produced toaster pastries never quite captured your imagination as a child, this from-scratch rendition promises to intrigue. What makes these homemade toaster pastries so captivating? Beyond the superior taste and texture, it’s the sheer joy of creating something so beloved with fresh, wholesome ingredients. One of our dedicated recipe testers found them so irresistible, she whipped up three batches in as many weeks! Don’t be intimidated by the idea of making them yourself; these are remarkably easy to assemble. Plus, the possibilities for customization are endless. We’ve heard whispers that a Nutella filling creates a particularly swoon-worthy experience, should that pique your interest.
Why Choose Homemade Pop Tarts?
In a world full of convenient, pre-packaged foods, taking the time to craft something from scratch often feels like a luxurious endeavor. But when it comes to homemade Pop Tarts, the effort is minimal and the rewards are immense. Here’s why these DIY toaster pastries are an absolute game-changer:
- Unmatched Flavor and Texture: The difference is night and day. Our recipe features a buttery, flaky pastry that’s akin to a perfect pie crust, far superior to the often dry and brittle store-bought alternatives. The fillings are vibrant and fresh, bursting with natural fruit flavors or rich chocolate notes, without any artificial aftertaste.
- Wholesome Ingredients: You control what goes into your Pop Tarts. Say goodbye to hydrogenated oils, high-fructose corn syrup, and a laundry list of unpronounceable preservatives. With fresh butter, quality flour, and your favorite jams, you’re making a treat you can feel good about.
- Endless Customization: This is where the fun truly begins! While the recipe suggests jam, the sky’s the limit. Experiment with different fruit preserves, make a decadent brown sugar cinnamon filling, or even try a chocolate ganache. The glaze can also be flavored or colored to match your mood or occasion.
- A Fun Family Project: Involving kids in the kitchen can be a wonderful experience. Rolling out the dough, spooning in fillings, and decorating with sprinkles turns baking into a delightful activity for all ages.
- Nostalgia, Elevated: Rekindle those childhood memories, but with an adult palate in mind. This recipe takes a beloved classic and refines it, offering a more sophisticated and deeply satisfying experience. It’s the Pop Tart you wished you had as a kid, now made real.
The Anatomy of a Perfect Toaster Pastry
Achieving that iconic Pop Tart experience relies on three key components: the pastry, the filling, and the glaze. Each element plays a crucial role in creating a harmonious and utterly delicious treat.
The Flaky Pastry Dough
The foundation of our homemade Pop Tarts is a remarkably forgiving and delicious pastry dough. Think of it as a simplified pie crust – rich, tender, and incredibly flaky when baked. The secret to its success lies in using cold butter and not overworking the dough. When the butter is cold, it creates pockets of steam in the oven, leading to those desirable flaky layers. This dough is sturdy enough to hold generous fillings yet delicate enough to melt in your mouth.
The Luscious Filling
While classic Pop Tarts often feature fruit fillings, the beauty of homemade is your freedom of choice. Our recipe suggests your favorite jam, and for good reason: it’s simple, flavorful, and readily available. However, don’t stop there! Consider:
- Sweet Fruit Jams: Strawberry, raspberry, blueberry, apricot, or even exotic flavors like guava. Cooking the jam slightly with cornstarch ensures it thickens beautifully and doesn’t ooze out during baking.
- Creamy Spreads: Nutella, peanut butter, or a mixture of cream cheese and fruit zest for a cheesecake-like filling.
- Spiced Delights: A classic brown sugar and cinnamon mixture, perhaps with a touch of softened butter.
- Savory Adventures: For the truly adventurous, imagine a lightly seasoned cheese filling, or even a pesto and sun-dried tomato for a savory pastry that breaks all the rules!
The Irresistible Glaze
No Pop Tart is complete without its signature sweet glaze. Our simple recipe calls for confectioners’ sugar, milk, corn syrup, and vanilla extract. The corn syrup is key for that shiny, smooth finish that hardens slightly but remains delightfully sweet. And, of course, a shower of colorful sprinkles is always optional but highly encouraged for that authentic, playful touch!
More Amazing Breakfast Recipes
Griddle Cakes
45 mins
Homemade Muesli
10 mins
Akuri Masala ~ Parsi-Style Scrambled Eggs
30 mins
Berliners ~ Jelly Doughnuts
3 hrs
Homemade Pop Tarts
David Leite
Breakfast
American
12
servings
288
kcal
45
50
1
35
Ingredients
For the pastry
-
2
cups
all-purpose flour,
plus more for the work surface -
1/4
cup
confectioners’ sugar,
sifted -
1/2
teaspoon
kosher salt -
10
tablespoons (5 oz)
unsalted butter,
cold, cut into chunks -
1
large
egg yolk -
1/3
cup plus 2 tablespoons
whole milk
For the filling
-
3/4
cup
your favorite flavor jam,
(the author relies on sour cherry; we’re partial to rhubarb) -
2
teaspoons
cornstarch,
mixed with 1 teaspoon cold water -
1
teaspoon
egg,
beaten with 1 teaspoon warm water
For the glaze
-
1
cup
confectioners’ sugar,
sifted -
2
teaspoons
whole milk -
2
teaspoons
corn syrup -
1/2
teaspoon
vanilla extract -
Sprinkles,
(optional)
Instructions
Make the dough
-
In a food processor, combine the flour, confectioners’ sugar, and salt, and process until blended. Add the butter and process again just until the mixture looks like coarse crumbs. Add the egg yolk and milk and process until the dough just comes together. Dump the dough onto a double layer of overlapping sheets of plastic wrap. Press the dough into a disk, wrap it with the plastic wrap, and refrigerate for at least 30 minutes and up to overnight.
Make the filling
-
In a small saucepan over medium heat, cook the jam and cornstarch, stirring quite frequently but not constantly, until slightly thickened and bubbly. Let cool.
Assemble the toaster tarts
-
Line 2 baking sheets with parchment paper. On a lightly floured work surface, divide the dough in half and form each portion into a rough rectangle. Roll one rectangle until it measures about 16 by 9 inches. Using a ruler and a pizza cutter, cut the rectangle into 12 small rectangles, each about 3 by 4 inches. Set the rectangles on a baking sheet and refrigerate while you repeat with the remaining dough.
-
Lightly brush half the rectangles with the beaten egg. Place a tablespoon dollop of the filling in the center of each egg-brushed rectangle and use the back of the spoon to spread it evenly over the dough, leaving a border of about 1/2 inch. Top each filling-slathered rectangle with a plain rectangle and press the edges together with your fingertips to seal, being careful not to let the filling ooze out the sides. Crimp the edges with the tines of a fork. Place 6 tarts on each baking sheet, spacing them evenly, Prick the tarts all over with the fork. Refrigerate while the oven preheats.
-
Preheat the oven to 375°F (190°C) and position 2 oven racks in the upper and lower third of the oven. Bake the tarts, rotating the pans once halfway through, until golden brown, 15 to 18 minutes. Let cool on a wire rack.
Make the glaze
-
Meanwhile, whisk together the confectioners’ sugar, milk, corn syrup, and vanilla until smooth. Set aside at room temperature until needed.
-
Stir the glaze to recombine. Drizzle or smear the glaze on the cooled tarts. If desired, decorate with sprinkles.
Adapted From
Williams-Sonoma: Home Baked Comfort
Buy On Amazon
Nutrition
Serving:
1
tart
Calories:
288
kcal
Carbohydrates:
45
g
Protein:
3
g
Fat:
11
g
Saturated Fat:
7
g
Monounsaturated Fat:
3
g
Trans Fat:
1
g
Cholesterol:
44
mg
Sodium:
111
mg
Fiber:
1
g
Sugar:
24
g
Nutrition information is automatically calculated, so should only be used as an approximation.
Tried this recipe?
Mention @leitesculinaria or tag #leitesculinaria!
Tips for Perfect Homemade Pop Tarts
To ensure your homemade Pop Tarts turn out perfectly every time, keep these essential tips in mind:
- Keep Ingredients Cold: For a truly flaky crust, it’s crucial that your butter, egg yolk, and milk are very cold. This prevents the butter from fully incorporating into the flour, allowing it to create pockets of steam during baking that result in those desirable layers.
- Don’t Overmix the Dough: Process the dough just until it comes together. Overmixing develops gluten, which can lead to a tough pastry. A slightly shaggy dough is perfectly fine.
- Chill Thoroughly: Refrigerating the dough twice (once after making, and again after assembling the tarts) is vital. Chilling helps the butter solidify, relaxes the gluten, and makes the dough easier to handle and less prone to shrinking.
- Seal the Edges Well: When pressing the top and bottom pastry rectangles together, use your fingertips to create a firm seal. Then, crimp with a fork. This prevents the delicious filling from oozing out during baking.
- Don’t Overfill: A tablespoon of filling per tart is usually sufficient. Too much filling can make sealing difficult and increase the chances of leakage.
- Prick the Tops: Use a fork to prick holes in the top pastry of each tart. This allows steam to escape, preventing the pastry from puffing up excessively and ensuring an even bake.
- Rotate Baking Sheets: If using two baking sheets, remember to rotate them halfway through baking for even browning.
- Cool Before Glazing: Always allow your Pop Tarts to cool on a wire rack before applying the glaze. Applying glaze to warm tarts will cause it to melt and run off, rather than set properly.
Serving and Storage Suggestions
One of the best things about homemade Pop Tarts is their versatility in how they can be enjoyed:
- Warm from the Oven: The ultimate indulgence! A freshly baked Pop Tart, still warm with a slightly gooey filling, is pure bliss.
- Toasted to Perfection: For that classic experience, pop a cooled homemade Pop Tart into a toaster oven (not a conventional toaster, as the glaze can make a mess!) until the pastry crisps up and the filling warms through. The glaze might bubble slightly, adding to the charm.
- At Room Temperature: These are also delightful cooled down, making them perfect for on-the-go breakfasts or lunchbox treats.
To store your homemade Pop Tarts, place them in an airtight container at room temperature for up to 3 days. If you’ve used a perishable filling (like fresh fruit or cream cheese), it’s best to refrigerate them. You can also freeze unbaked Pop Tarts for up to 3 months. Simply wrap them tightly in plastic wrap and then foil. When ready to bake, thaw slightly and bake as directed, or bake directly from frozen, adding a few extra minutes to the baking time.
Recipe Testers’ Reviews
What Our Recipe Testers Thought
Annie Barron
My coworker summed this one up: “These taste like Pop Tarts should taste.” I went for my childhood favorite, strawberry, slightly pink icing, and pink sprinkles. The tarts were good warm from the oven, weren’t particularly impressive cold, and perfect toasted in a toaster oven until the iced tops blistered a bit.
Kara Vitek
Oh my!!! These homemade Pop Tarts are so fun and so delicious; if you could only have seen my boyfriend’s dance in my kitchen when he tried these–they are that good.
The pastry dough is incredibly easy to make and is velvety with nice bits of butter. Although the recipe seems a little lengthy with a lot of steps, these tarts come together quickly. I didn’t get exactly 12 tarts but close to it. I used a raspberry jam, and it was delicious.
I wouldn’t change a thing but to try other flavors of jam. These would be fun to bring to a gathering and wow my friends!
Tracey G.
I have a real soft spot for DIY versions of treats from my youth. How I loved the crisp crust of the Pop Tart dough followed by the warm, oozing strawberry filling. However, my adult brain cringes at the amount of preservatives that must have been in those pastries.
I don’t always have an easy time with pastry dough, but this dough was easy to prepare and rolled out easily. The finished dough was light and flaky. I filled most of my tarts with strawberry preserves from the farmer’s market and also filled a few with Nutella. These toaster tarts fulfilled my nostalgia and also pleased my adult tastes.
Nancy A. Mosher
It’s always a delight to discover a recipe for a childhood food made right! I was never a fan of the packaged toaster “pastries” as a child, but could see their potential and am happy to find this recipe that brings all their potential out. I can’t wait to try a dozen different fillings.
Lori Widmeyer
I remember trying Pop Tarts as a child but never loving them. I rarely, if ever, buy them, because my husband and kids feel the same way, but for some reason I still wanted to try this homemade recipe. I am so glad I did! They were a huge hit!
I made several varieties: brown sugar cinnamon, strawberry, Nutella, and almond. All were great! I couldn’t find sour cherry jam, but I think it would be wonderful, too.
Natalie Reebel
While this is a fun recipe, it’s one that takes a significant amount of time. The results are really worth it. When I finished the processing, the refrigerating, the making of the filling and glaze, the rolling, the forking, and the baking, I had the coolest homemade “Pop Tart” in my hand. Everyone really enjoyed the strawberry preserves in the center. The crust was flaky and flavorful.
These tarts also made for a great opportunity to use my seasonal sprinkles. I liked that I could decorate them with my family in any fashion we desired and for any occasion. This is a fantastic family project that has the benefit of being way better than the boxed version.
Larry Noak
I don’t even know where to begin. I’ve always been a fan of the idea of Pop Tarts yet I’ve never really enjoyed them—until now. Everything that was wrong with the original has been corrected. The pastry is flavorful and you can use as much or as little filling as you wish. I make them normal Pop Tarts-size and I also make them about half the normal size and lovingly refer to them as Tartlets. You really should make a double batch for good measure.
I fill mine with my homemade jams but, any jam you like will suffice. My latest fantasy Pop Tart? A batch filled with this wonderful Meyer Lemon Marmalade!
Embrace the Joy of Baking Your Own Toaster Pastries
There’s a unique satisfaction that comes from recreating a beloved classic in your own kitchen, especially when the homemade version far surpasses the original. These homemade Pop Tarts are more than just a breakfast item; they’re a testament to the simple pleasures of baking, the joy of customization, and the magic of transforming familiar flavors into something extraordinary. Whether you’re aiming to impress brunch guests, delight your family with a special treat, or simply indulge in a moment of nostalgic bliss, this recipe delivers on all fronts. So, roll up your sleeves, choose your favorite filling, and get ready to experience the true potential of the toaster pastry. Happy baking!