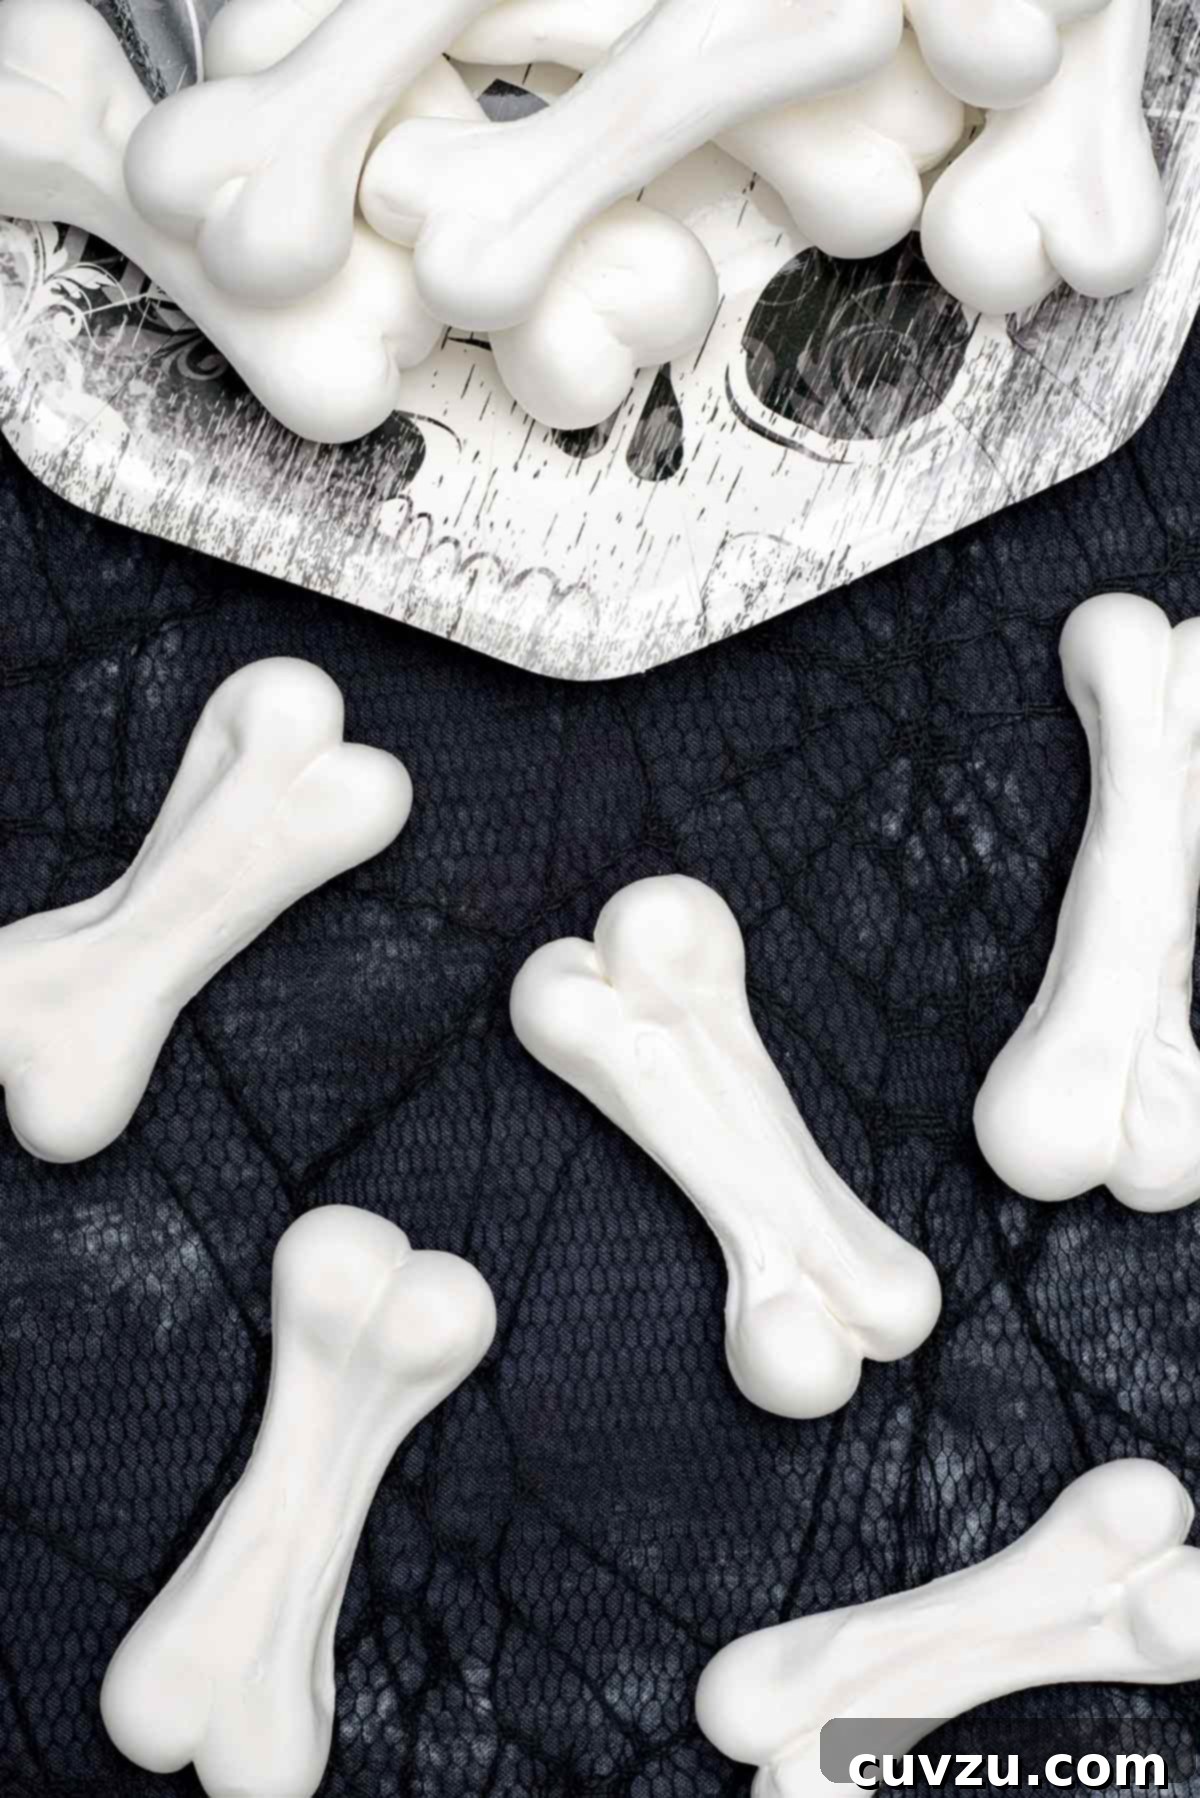
Halloween Meringue Bones are more than just a sweet treat; they are a delightfully spooky confection perfect for adding a touch of ghoulish charm to any autumnal gathering. Whether artfully arranged on a dessert table, used as haunting cake toppers, or passed out to trick-or-treaters at your All Hallow’s party, these crisp, ethereal bones are guaranteed to be a hit with kids and adults alike. Get ready to summon some culinary magic with this simple, naturally gluten-free recipe that transforms basic ingredients into an unforgettable Halloween delight.
Quick Overview: Your Halloween Meringue Bones Guide
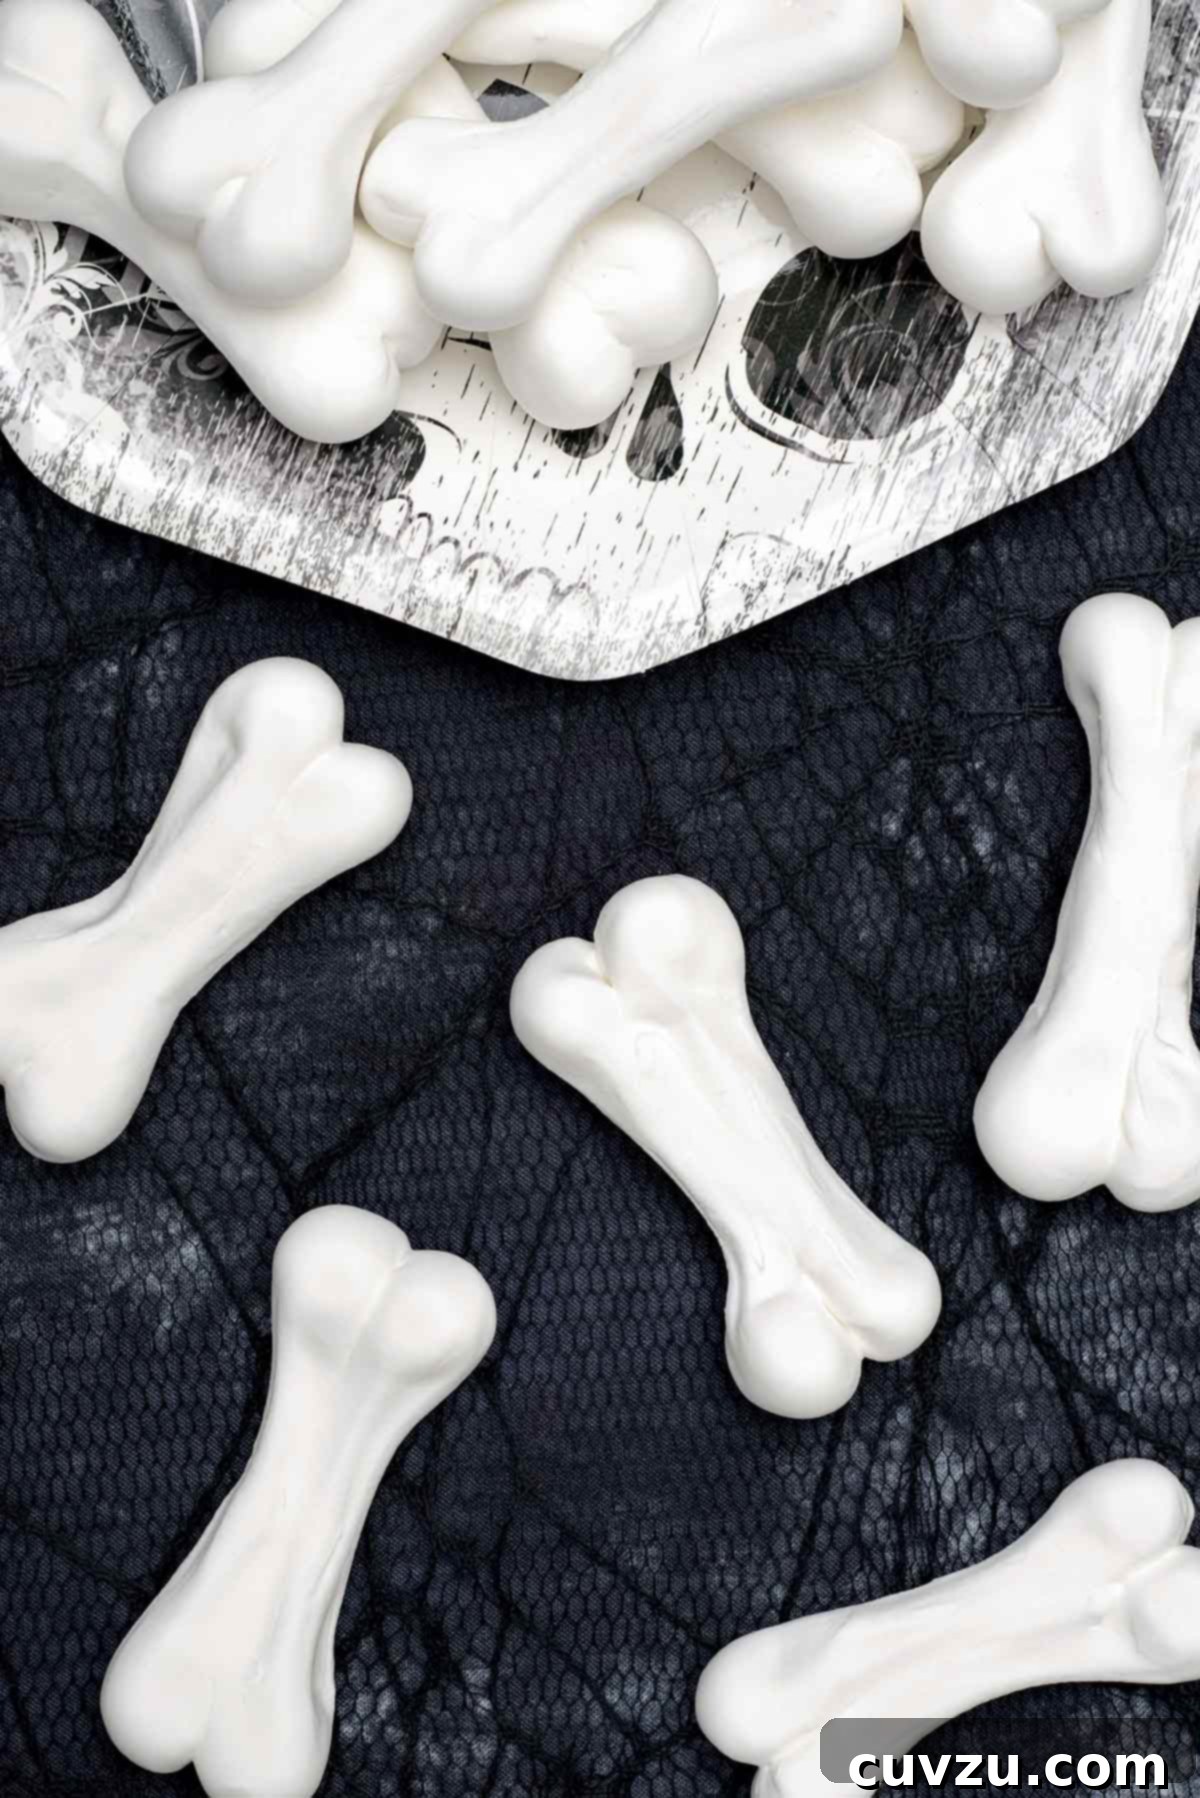
- What They Are: Spooky, sweet, and satisfyingly crisp meringue cookies, expertly piped into playful bone shapes. They’re ideal for adorning Halloween cakes or serving as a standalone hauntingly delicious treat.
- Why You’ll Love Them: This incredibly simple, naturally gluten-free recipe requires just a few pantry staples—typically four ingredients—making it an accessible and fun activity. It’s a fantastic, kid-friendly project for your next Halloween party or an All Hallow’s Eve bash, ensuring smiles all around.
- How to Make Them: The process involves whisking egg whites with heated superfine sugar until a stiff, glossy meringue forms. This airy mixture is then piped into distinct bone shapes and baked low and slow until perfectly dry and crisp. The magic concludes with cooling them completely within the oven for optimal texture.
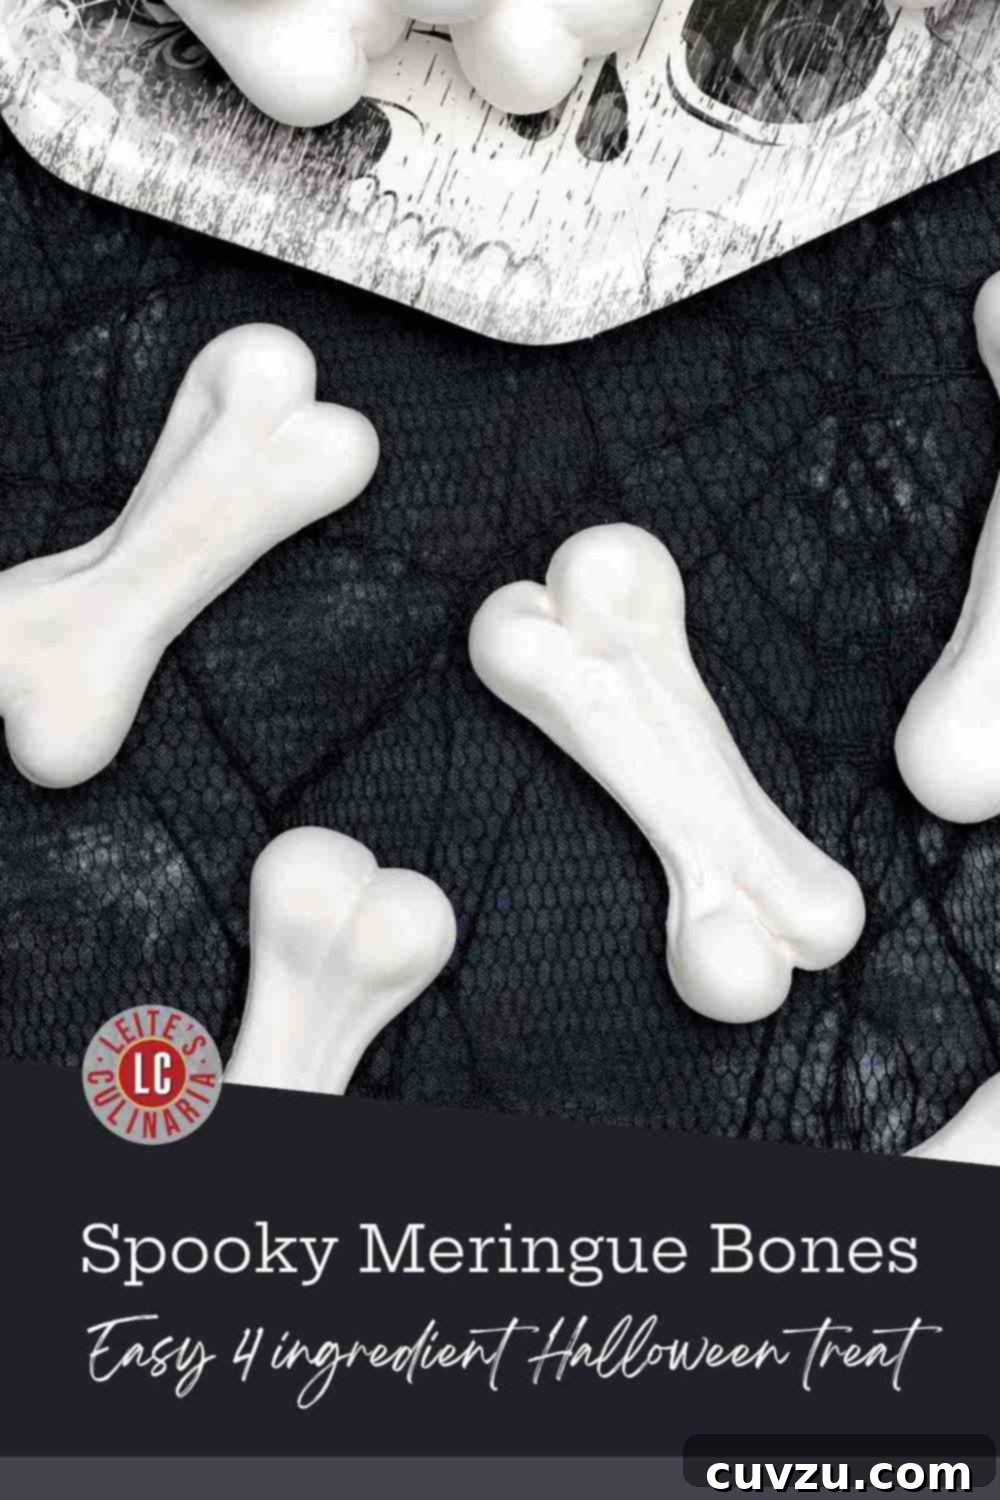
These Halloween meringue bones possess a unique charm, arguably even spookier than a full skeleton. Imagine: disembodied bones, meticulously crafted from a delicate meringue mixture, baked at a low temperature until they achieve an exquisite, dry-to-the-touch crispness. The visual impact alone is enough to inspire playful shivers, evoking images of old graveyards and forgotten tales. As you prepare and serve these eerie delights, you might even find yourself humming along to classic tunes like the Delta Rhythm Boys’ “Dem Bones,” distributing these wonderfully “dry bones” to an eager audience of little ghosts and goblins.
One critical factor for successful meringues, particularly these bone-chilling beauties, is battling humidity. Humidity is, quite frankly, a “killer” of crisp meringues, transforming them from airy delights into chewy, sticky disappointments. To preserve their delicate structure and delightful crunch, ensure your freshly baked meringue bones are stored tightly wrapped in an airtight container and kept in a cool, dry place. This simple storage tip is key to enjoying their perfectly crisp texture for days to come, ensuring your spooky treats remain spectacular.
Meringues, in general, are a testament to the transformative power of sugar and egg whites. This recipe utilizes the Swiss meringue method, where sugar is gently heated with egg whites before whipping. This technique results in a more stable, glossy, and durable meringue, perfect for piping intricate shapes like these haunting bones. The heat helps to dissolve the sugar completely, minimizing the risk of a grainy texture and creating a remarkably smooth and fine-textured meringue that holds its shape beautifully through baking.
Your Meringue Bones Questions, Answered.
Ideally, meringues should possess a light, crisp shell with a subtle, airy chewiness at their very center. If your meringues have veered into a more marshmallow-like or stubbornly gooey texture, there are typically two main culprits. The first is simply insufficient baking time; they might be slightly underbaked. Meringues require a prolonged, low-temperature bake to thoroughly dry out. The second, and often more challenging, factor is humidity. High moisture in the air can prevent meringues from ever achieving their desired crispness, even with adequate baking. If you reside in a particularly humid environment, you might find your meringues resisting that ultra-crisp finish.
To remedy gooey meringues, you can often save them by returning them to a preheated 200°F (95°C) oven for an additional 10 to 20 minutes, or even longer if they are very large. Allow them to cool completely in the switched-off oven afterward. In highly humid conditions, consider adding a tiny pinch of cream of tartar (1/8 teaspoon per egg white) to your egg whites to aid in stability, or even a tablespoon of cornstarch mixed with the superfine sugar, which can absorb excess moisture.
Proper storage is paramount for maintaining the dry, ethereal crispness of your meringues. To keep them at their best, store them at room temperature in an airtight container. A well-sealed container protects them from ambient moisture, which is the primary enemy of meringue crispness. Avoid storing them in the refrigerator, as the cold, moist environment will quickly turn them sticky. Meringue bones, when stored correctly, will retain their delightful texture for up to 3 days. If they start to soften slightly, a quick refresh in a 200°F (95°C) oven for 5-10 minutes can often restore their crunch.
Write a Review
If you make this recipe, or any dish on LC, consider leaving a review, a star rating, and your best photo in the comments below. I love hearing from you.–David

Halloween Meringue Bones
David Leite
Dessert
American
12
bones
69
kcal
20
40
1
Equipment
-
Piping bag fitted with a plain 3/8-inch tip (alternatively, a large resealable plastic bag with a corner snipped off works well)
-
Stand mixer with a whisk attachment or a handheld electric mixer
-
Two large baking sheets
-
Parchment paper
-
Small baking dish for heating sugar
Ingredients
-
1
cup
superfine sugar,
(or simply pulse granulated sugar in a blender or food processor until finely ground but not powdery. This helps it dissolve faster.) -
3 1/2
ounces (from 3 to 4 large eggs)
egg whites,
(ensure they are at room temperature for optimal volume) -
Pinch
of salt - (Optional: 1/8 teaspoon cream of tartar for extra stability, especially in humid conditions)
Instructions
-
Prepare your oven and baking sheets: Preheat your oven to a high 400˚F (200˚C). While the oven preheats, line two large baking sheets with parchment paper. Parchment paper is crucial here to prevent the meringues from sticking and ensures easy removal of your delicate bones.
-
Heat the sugar: Pour the superfine sugar evenly into a small, oven-safe baking dish. Slide the dish into the preheated 400˚F (200˚C) oven for approximately 4 minutes. The goal is for the sugar to become hot to the touch, which helps it dissolve faster and more completely in the egg whites, leading to a more stable meringue. Carefully remove the hot sugar from the oven and immediately reduce the oven temperature to a very low 225˚F (110˚C). This is the ideal temperature for slow-baking meringues.
-
Start whipping the egg whites: In the clean, dry bowl of a stand mixer fitted with a whisk attachment (or using a handheld electric mixer), begin whisking the room-temperature egg whites and the pinch of salt on medium speed. Continue to whisk until the egg whites become foamy and soft peaks start to form. Ensure your bowl and whisk are free of any grease, which can prevent the egg whites from whipping properly.
-
Create the meringue: With the mixer running on medium-high speed, quickly and carefully tip all of the hot sugar into the bowl with the foamy egg whites. Continue to whisk vigorously for 6 to 8 minutes. You’ll know the meringue is ready when it is very thick, incredibly glossy, and pure white. It should hold stiff, firm peaks, and if you’re feeling brave enough to invert the bowl over your head, the meringue should remain firmly in place. This indicates proper incorporation and stability.
-
Pipe the bone shapes: Carefully spoon the stiff meringue into your prepared piping bag fitted with a plain 3/8-inch round tip. If you don’t have a piping bag, a large resealable plastic bag with one bottom corner snipped off will work just as well. On your parchment-lined baking sheets, pipe a straight strip of meringue about 4 inches long. Then, pipe two small, rounded blobs of meringue onto each end of the strip to form the recognizable bone shape. Don’t worry if your first few attempts aren’t perfect; a little practice goes a long way. Repeat the piping process, ensuring to leave a decent amount of space between each meringue bone to allow for even airflow during baking.
-
Bake to perfection: Place the baking sheets with your piped meringue bones into the preheated 225˚F (110˚C) oven. Bake for approximately 40 minutes, or until the meringue bones are completely crisp and dry to the touch. The baking time can vary slightly depending on the size and thickness of your bones; larger or thicker meringues will require a longer bake to achieve full dryness. They should feel very light and hollow.
-
Cool in the oven: Once the meringues are baked and feel dry, turn off the oven. Crucially, leave the meringue bones inside the oven with the door slightly ajar until they have cooled completely to room temperature. This slow cooling process prevents cracking and helps to ensure a perfectly crisp texture throughout. Once cooled, the meringue bones will keep beautifully in an airtight container for 1 to 2 days, ready for your Halloween festivities.

Adapted From
Halloween Treats
Buy On Amazon
Nutrition
Serving:
1
bone
Calories:
69
kcal
Carbohydrates:
17
g
Protein:
1
g
Fat:
1
g
Sodium:
14
mg
Sugar:
17
g
Nutrition information is automatically calculated, so should only be used as an approximation.
Tried this recipe?
Mention @leitesculinaria or tag #leitesculinaria!
Recipe Testers’ Reviews
Beth Price
These meringue bones are a cinch to make and perfect for decorating your Halloween table with or gobbling by your little ghosts and gremlins. For added reality, you could dip the ends in strawberry jam to simulate a gruesome touch or toss the bones in a pile of crushed chocolate-cookie “dirt” for an excavated graveyard effect. These little details elevate them from mere sweets to truly immersive Halloween props.
A crucial tip for success: be sure to whip the meringue until truly stiff, soft peaks form. This ensures the bones retain their distinct skeletal shape, preventing them from spreading too much during baking. And remember to bake them until they are completely dry to the touch—any lingering moisture will compromise their crispness. Happy baking, and boo!