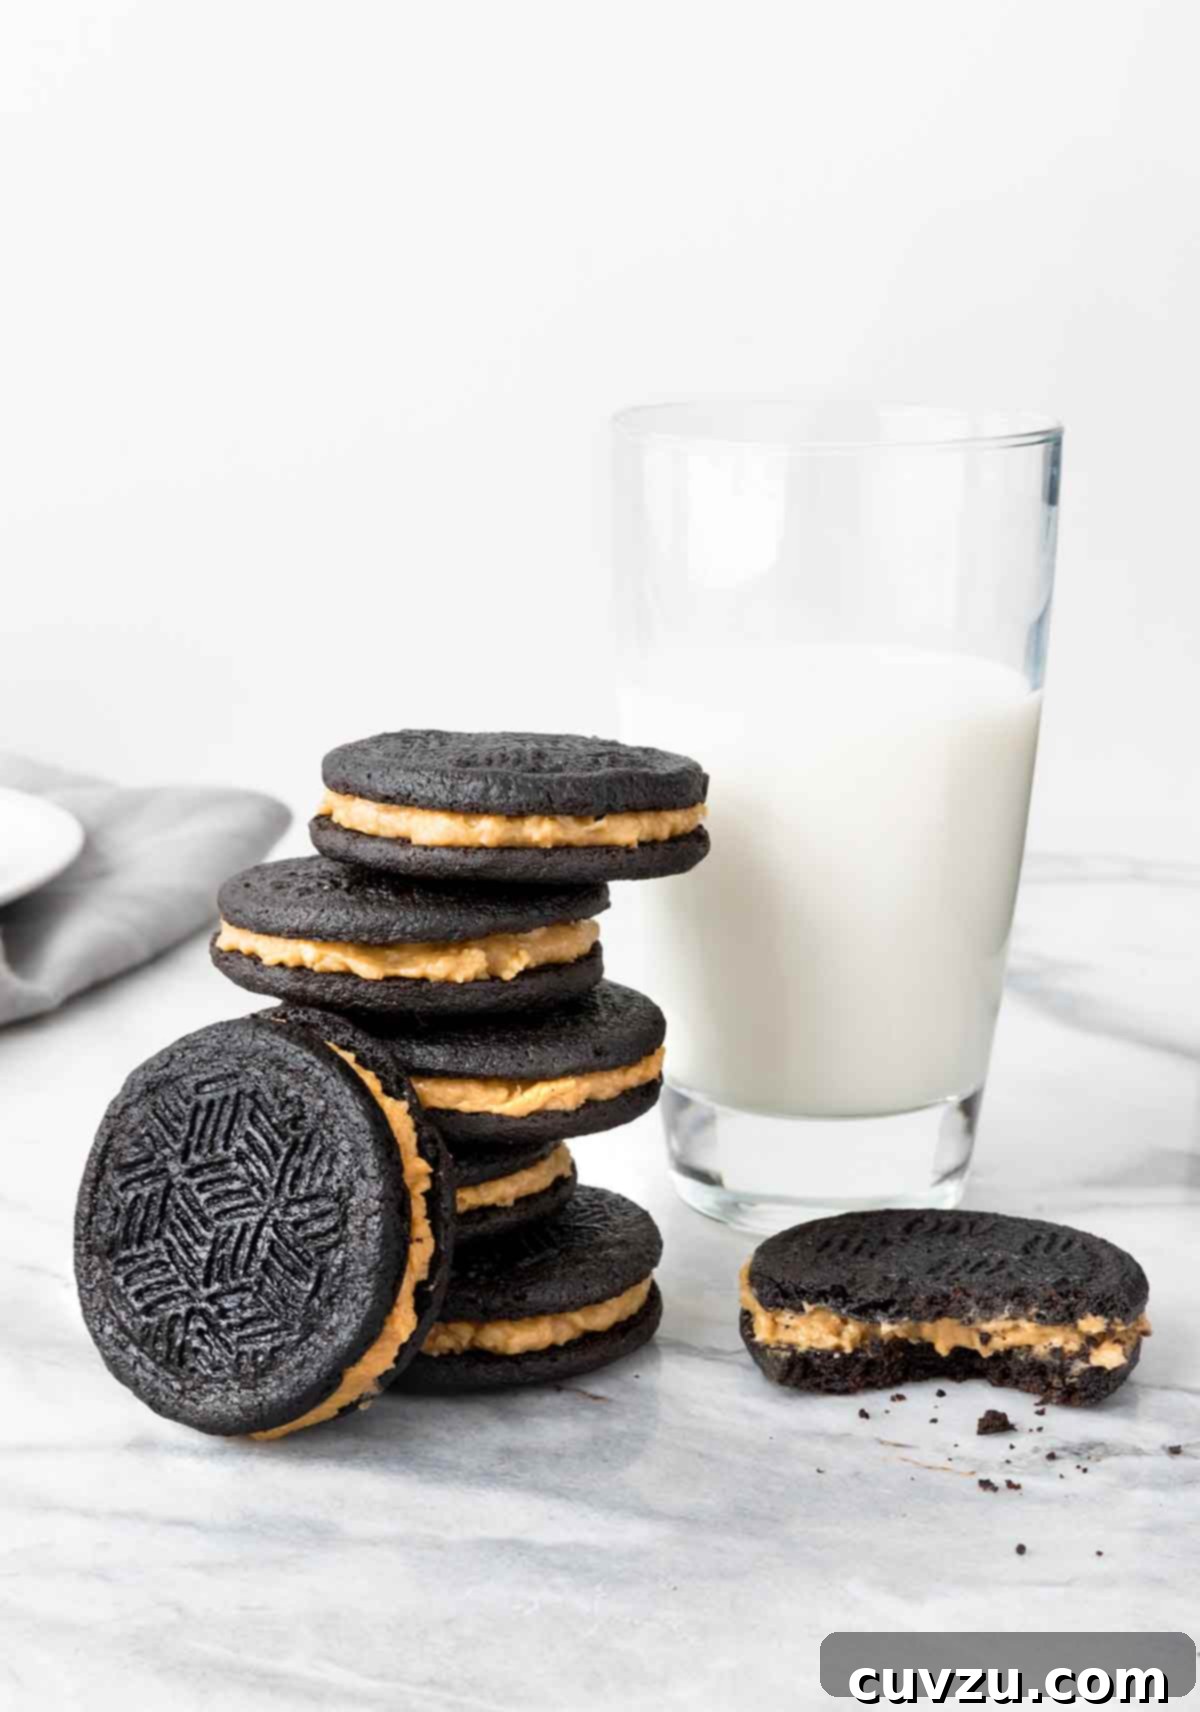
Irresistible Homemade Caramel-Coconut Oreos: A Decadent Copycat Recipe
Prepare to elevate your cookie experience with these exquisite homemade caramel-coconut Oreos. Forget everything you thought you knew about packaged cookies, because this recipe delivers a sublime combination of rich chocolate wafers, a luscious caramel filling, and the tropical whisper of coconut that’s truly in a league of its own. Each bite promises a symphony of textures and flavors – a crisp, dark chocolate cookie embracing a smooth, sweet, and slightly salty caramel, all enveloped in delicate coconut flakes. These aren’t just cookies; they’re a culinary revelation, infinitely superior to their store-bought counterparts.
Why Homemade Caramel-Coconut Oreos Are a Must-Try
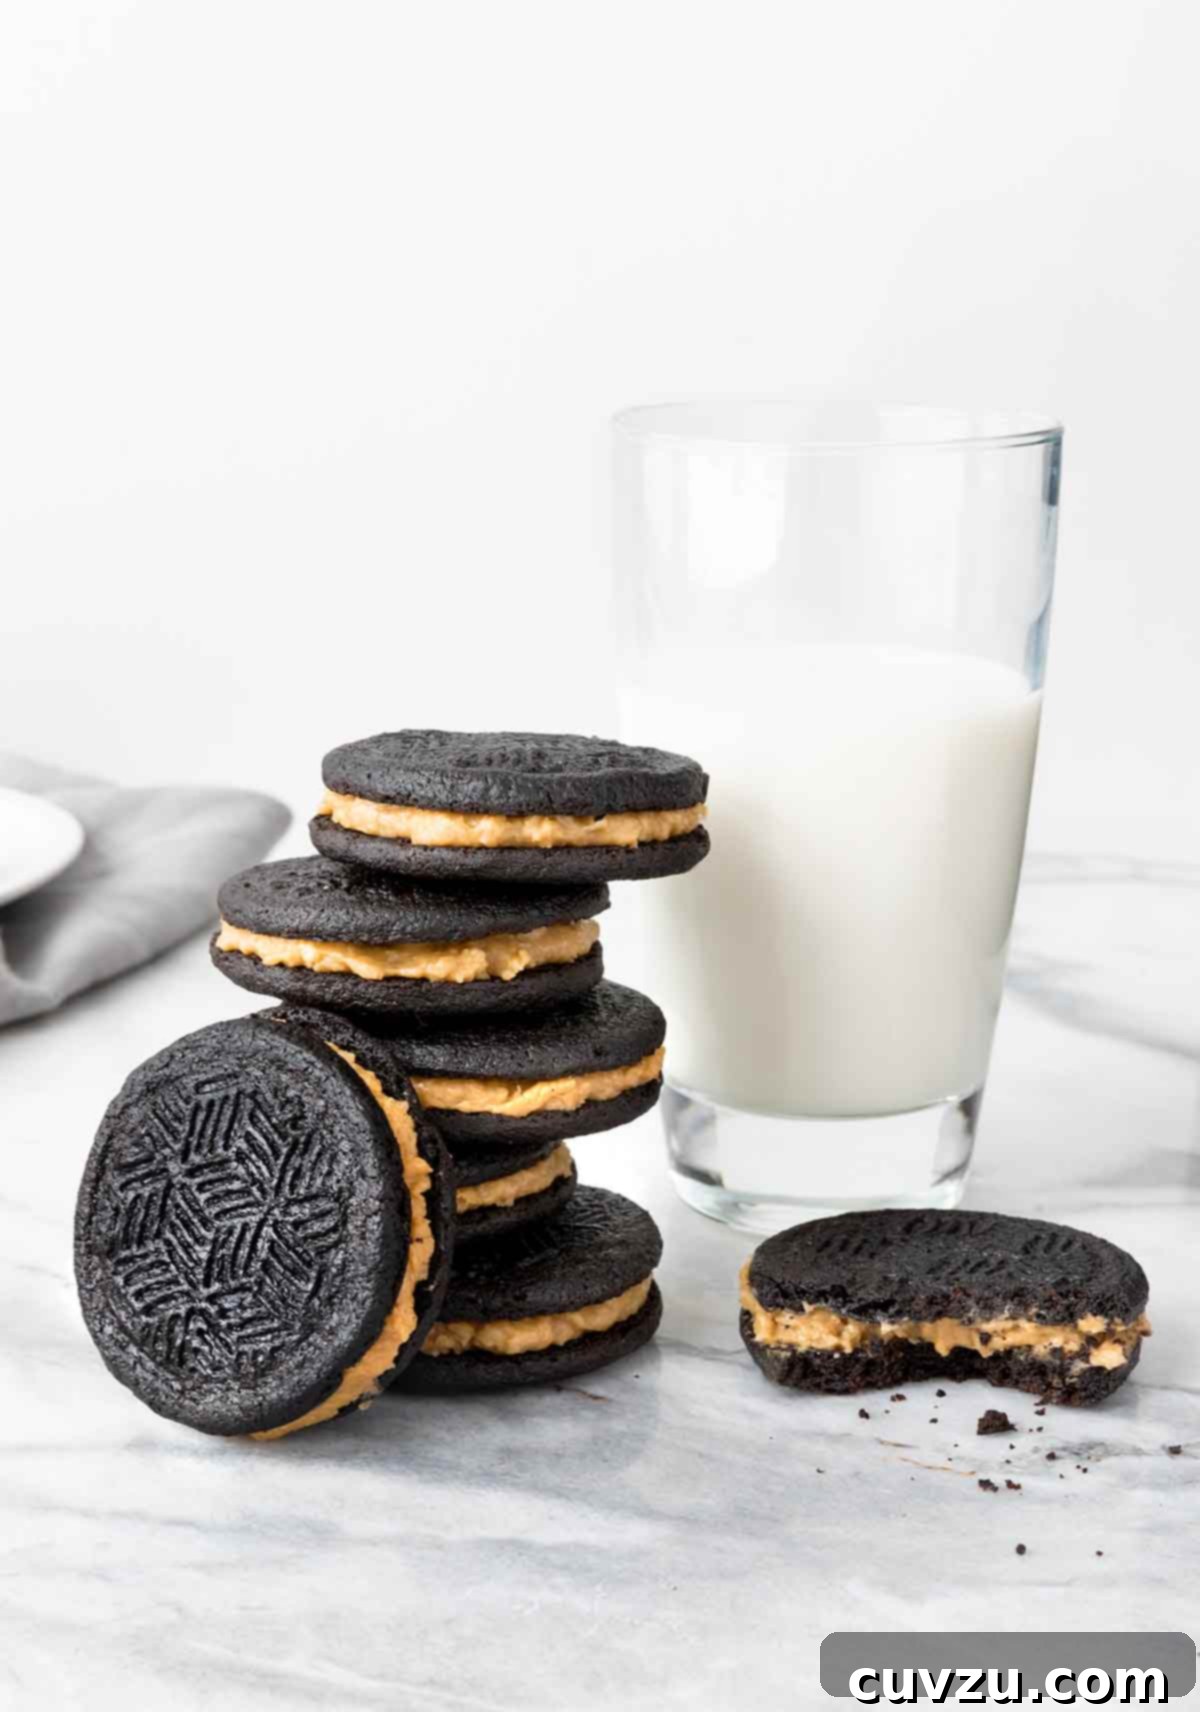
Just when you thought the classic Oreo couldn’t be improved upon, along comes this spectacular recipe for a homemade caramel-coconut rendition. Our enthusiastic recipe testers unanimously declared them “decadent and delicious,” and we couldn’t agree more. The joy of baking these at home lies not only in the superior taste and texture but also in the satisfaction of creating something truly special from scratch. You control the quality of every ingredient, ensuring a fresh, vibrant flavor that simply cannot be replicated by mass-produced alternatives. As Angie Zoobkoff notes, these cookies are a true upgrade, transforming a familiar treat into an unforgettable gourmet experience.
Demystifying Black Cocoa Powder and Cookie Storage
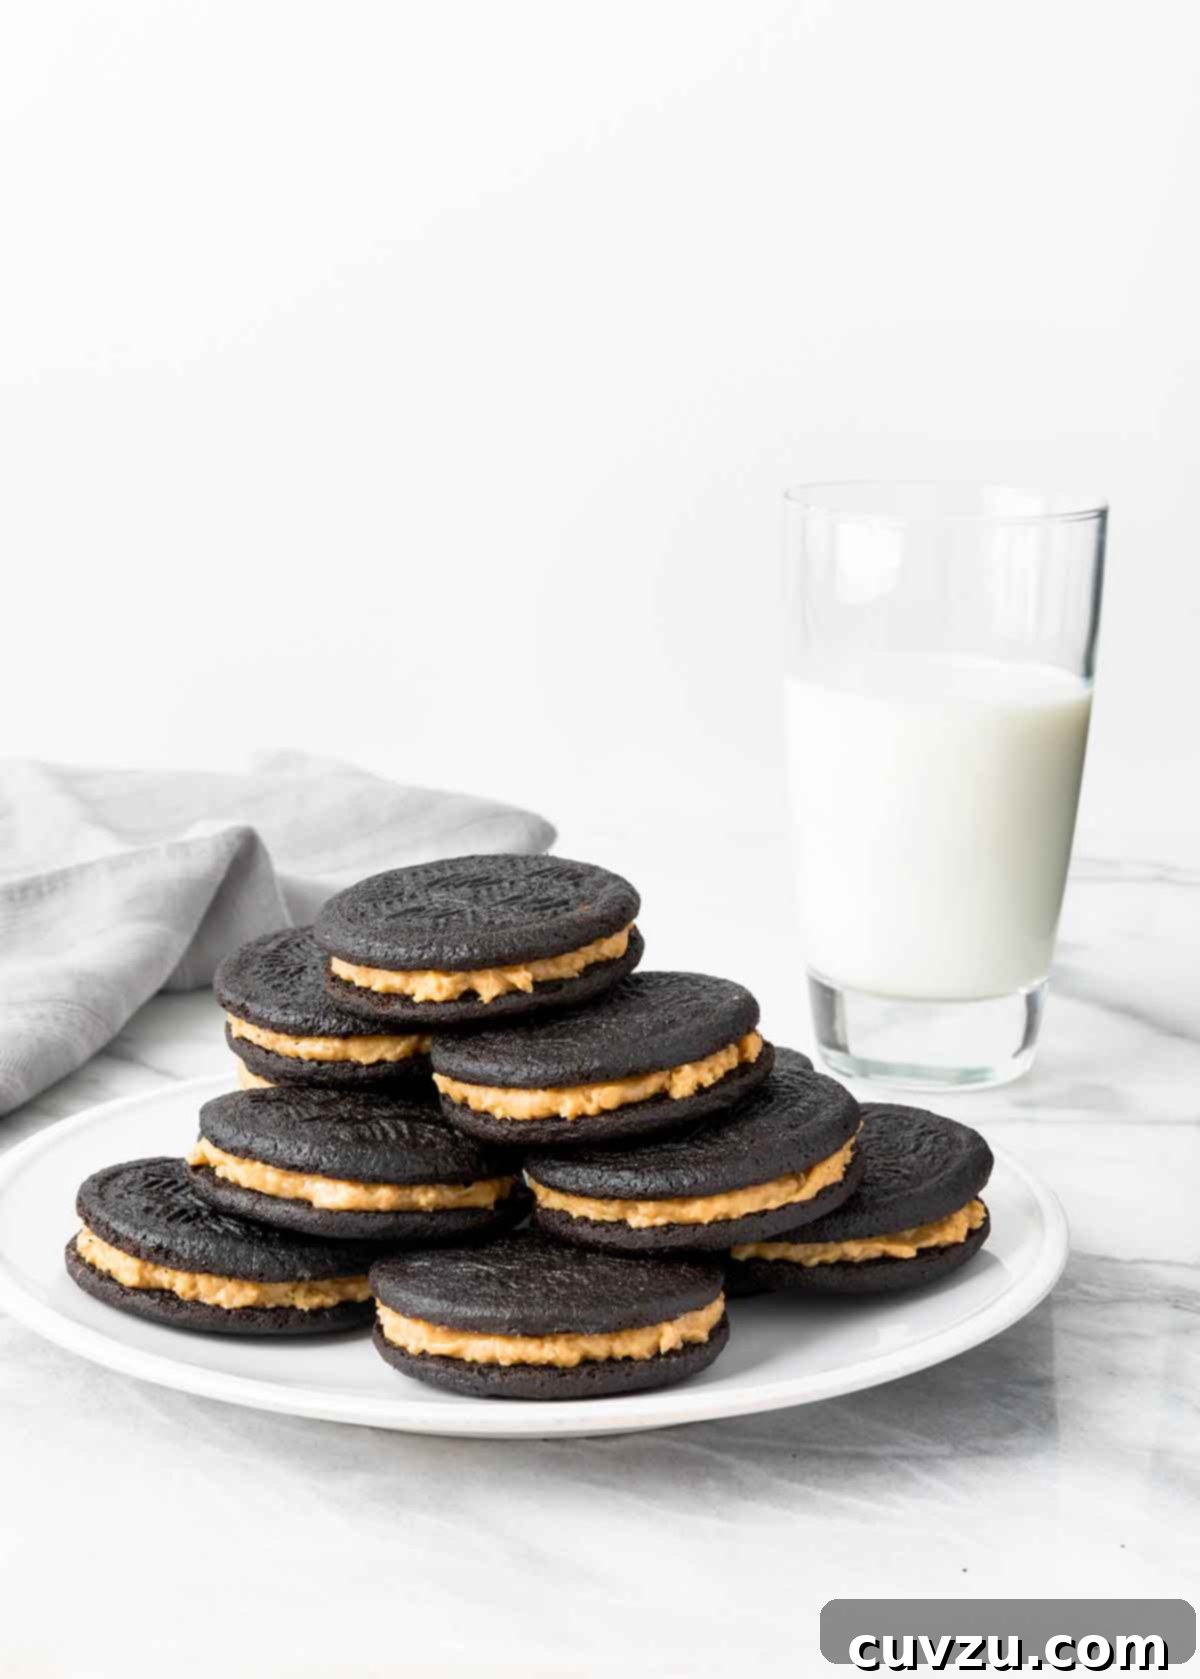
Black cocoa powder is a deeply Dutch-processed cocoa powder. This intense processing results in a cocoa that boasts an incredibly dark, almost black color and a smooth, less bitter flavor compared to natural or regular Dutch-process cocoa. It’s the secret ingredient behind the iconic dark hue of store-bought Oreos and is fantastic for achieving dramatic color in baked goods without adding extra bitterness. It contributes to the authentic “Oreo” taste profile in our homemade wafers, offering a distinct flavor that’s both robust and mellow.
While these delectable cookies are truly at their peak when enjoyed the day they are made, you can certainly store them for longer if you wish. To prevent the chocolate wafers from softening due to the moisture in the caramel filling, we highly recommend storing the baked chocolate cookies and the caramel-coconut filling in separate airtight containers. The cookies can be kept at room temperature, while the filling should be refrigerated. When you’re ready to indulge, simply bring the filling to room temperature for easier handling and assemble your caramel-coconut Oreos just before serving. This method ensures the best possible texture for both components.
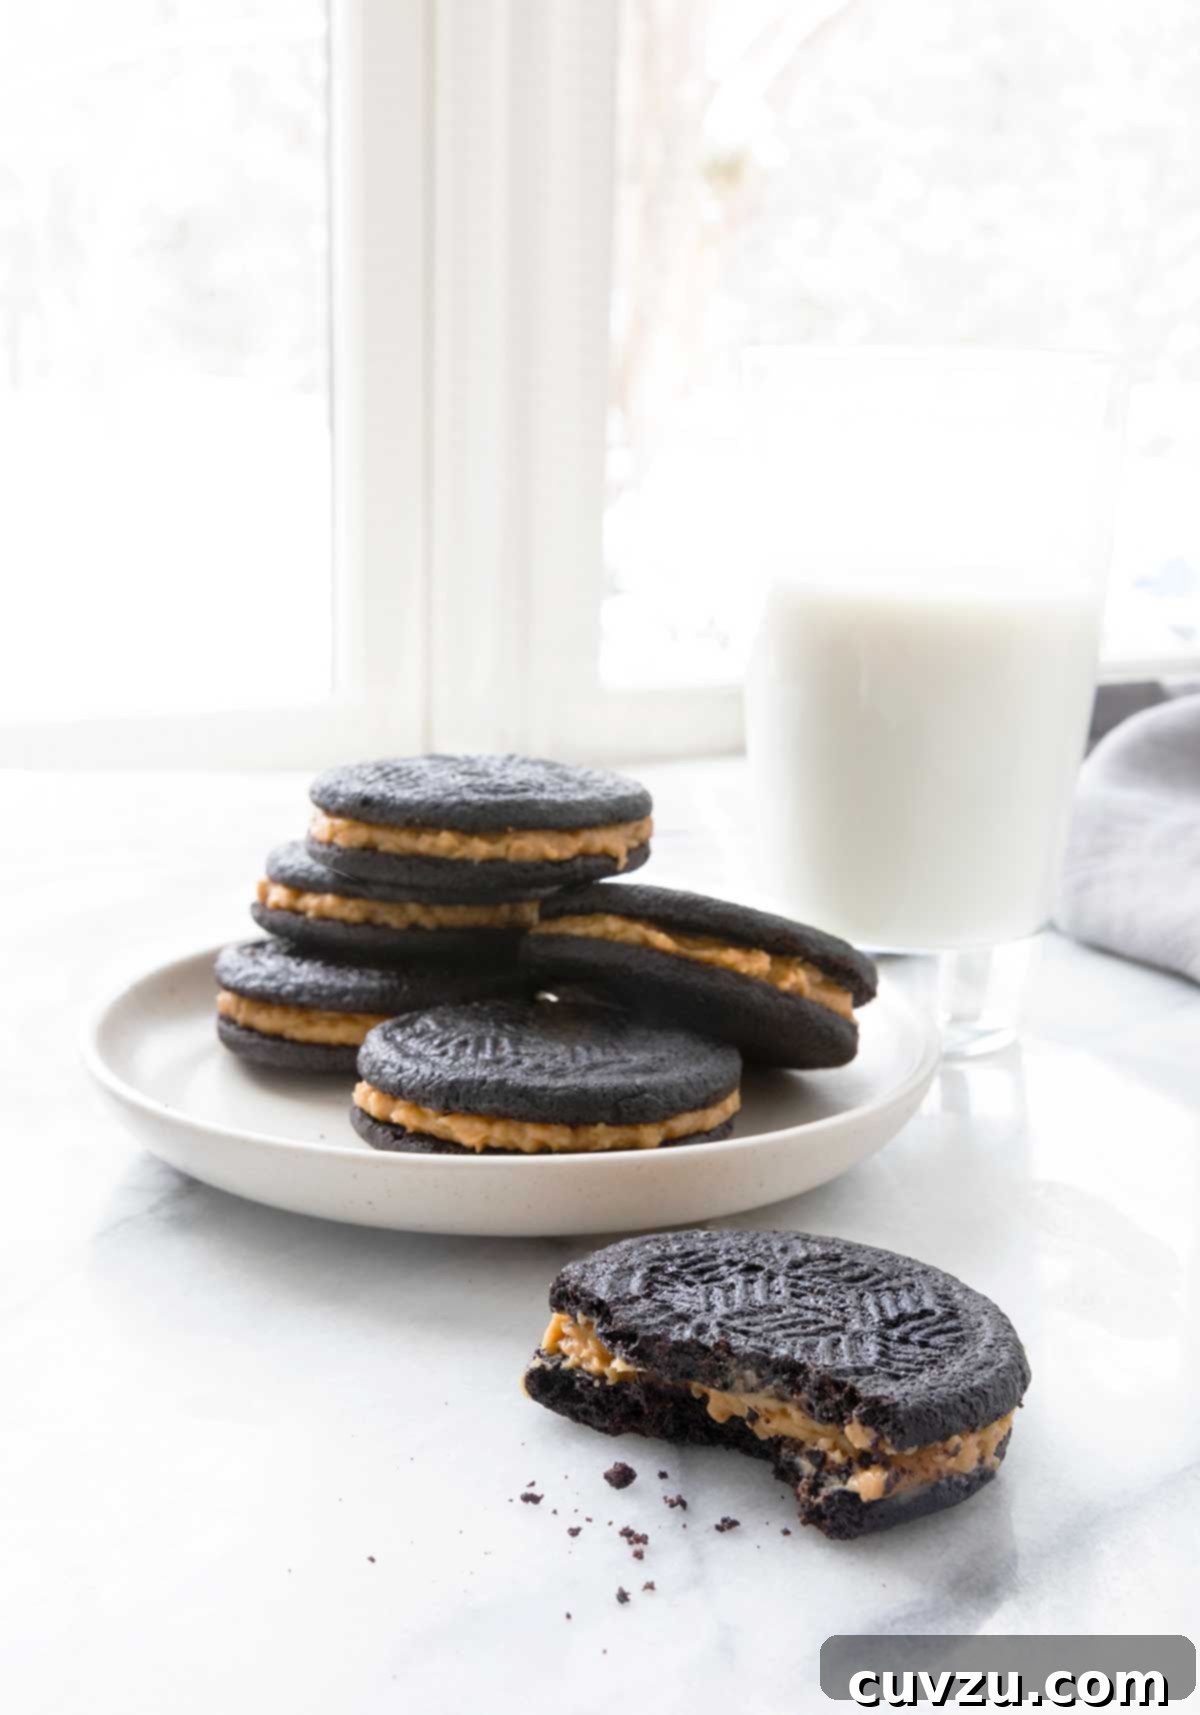
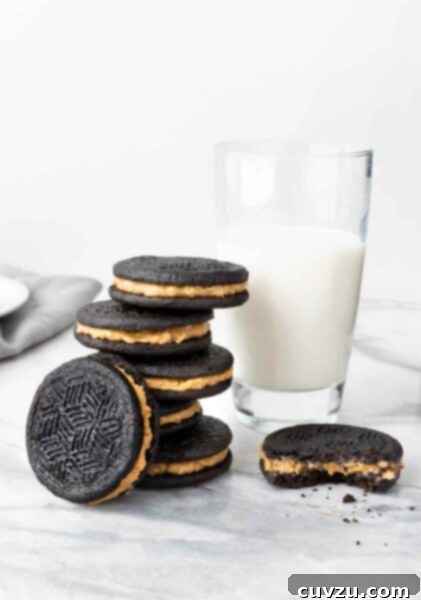
Homemade Caramel-Coconut Oreos
★
★
★
★
Recipe by David Leite
Print Recipe
Dessert
American
24
Oreos
287
kcal
45
minutes
30
minutes
2
hours
Ingredients
For the Caramel-Coconut Filling
- 1 cup dark brown sugar
- 1 stick (4 oz) unsalted butter
- 1/2 cup heavy cream
- 1 teaspoon vanilla extract
- 1 1/2 teaspoons flaky sea salt, such as Maldon, or to taste
- 1 1/4 cups confectioners’ sugar
- 1 cup unsweetened shredded coconut
For the Chocolate Oreo Wafers
- 1 1/4 cups all-purpose flour
- 1/2 cup Dutch process cocoa powder, plus more for cutting
- 1/4 cup black cocoa powder
- 1/2 teaspoon fine sea salt
- 12 tablespoons (6 oz) unsalted butter, at room temperature
- 1 1/4 packed cups light brown sugar
- 1 large egg
- 2 teaspoons vanilla extract
- 1 cup unsweetened shredded coconut, for decorating
Instructions
Make the Caramel-Coconut Filling
-
In a medium saucepan, combine the dark brown sugar, unsalted butter, and heavy cream over medium heat. Stir these ingredients occasionally as you bring the mixture to a full boil. Once boiling vigorously, continue to cook for exactly 2 minutes. After 2 minutes, reduce the heat to medium-low and allow it to simmer gently for approximately 2 minutes more, still stirring occasionally to prevent sticking. This controlled boiling ensures the caramel reaches the perfect consistency.
-
Carefully remove the saucepan from the heat. Stir in the vanilla extract and flaky sea salt. Allow the caramel mixture to cool completely to room temperature. This cooling process is crucial for the filling to thicken properly.
-
Once cooled, transfer the caramel to the bowl of a stand mixer fitted with the paddle attachment. Add the confectioners’ sugar and mix on low speed. Continue mixing until the mixture is completely smooth and well combined, which typically takes about 1 minute. Next, add the unsweetened shredded coconut and mix just until it is fully incorporated into the caramel. Scrape the finished filling into a separate bowl. Don’t be alarmed if the filling seems a bit loose at this stage; it will firm up considerably as it continues to sit and cool.
Make the Chocolate Oreo Wafers
-
Prepare two large rimmed baking sheets by lining them with parchment paper. This will prevent sticking and make for easy cleanup.
-
In a medium bowl, thoroughly whisk together the all-purpose flour, Dutch process cocoa powder, black cocoa powder, and fine sea salt. Ensure these dry ingredients are fully combined to guarantee even flavor distribution in your cookies.
-
In the bowl of a stand mixer fitted with the paddle attachment, cream together the room-temperature unsalted butter and light brown sugar on medium speed. Beat until the mixture becomes visibly light and fluffy, which should take approximately 1 minute. Remember to stop and scrape down the sides of the bowl with a flexible spatula as needed, ensuring all ingredients are fully incorporated.
-
Reduce the mixer speed to low. Add the large egg and vanilla extract to the creamed mixture. Continue to mix just until these ingredients are well combined, about 1 minute. Again, scrape the bowl as necessary to ensure a uniform batter.
-
Add all of the dry ingredients from the medium bowl into the wet ingredients in the stand mixer at once. Mix on low speed just until the dry ingredients are fully incorporated and no streaks of flour remain. Be careful not to overmix, as this can lead to tough cookies.
-
The dough will be quite sticky, and this is perfectly normal. Use your hands or a flexible spatula to briefly knead or stir the dough to bring it together. Divide the dough into four equal quarters. Place one quarter of the dough onto a large sheet of parchment paper.
-
Place another large sheet of parchment paper directly on top of the dough quarter. Using a rolling pin, roll the dough out evenly between the two sheets of parchment paper until it is approximately 1/4-inch (6-mm) thick. Have a small bowl of extra Dutch process cocoa powder ready beside you for dipping your cookie cutter.
-
Carefully remove the top layer of parchment paper. Begin cutting out 2-inch (5-cm) circles from the rolled-out dough using your cookie cutter. Dip the cookie cutter into the cocoa powder each time before pressing it into the dough; this prevents sticking and helps maintain clean edges. Once you’ve cut as many circles as possible from this section, place the parchment sheet with the cut dough onto a baking sheet and transfer it to the freezer. Chill for 20 minutes. This step is crucial for achieving crisp wafers that hold their shape.
-
Retrieve the chilled dough rectangle from the freezer. Gently begin removing the individual chocolate wafers. You may need to carefully peel the parchment paper away from the underside of each wafer. Arrange the wafers on your prepared parchment-lined baking sheets, leaving a small amount of space between them as they don’t spread much. Aim for about 24 wafers per tray. Gather all the dough scraps and set them aside.
-
Repeat the rolling, cutting, and chilling process with the remaining three dough quarters and all collected scraps. Consolidate scraps as needed, re-rolling between parchment.
-
Once all the wafers have been cut and placed on baking sheets, return the sheets to the freezer for a final chill of 20 minutes. This extra chill helps the cookies maintain their shape and crispness during baking.
-
While your wafers are chilling for the last time, preheat your oven to 350°F (177°C).
-
Bake one tray of wafers at a time. Bake until the cookies have flattened slightly and are just beginning to crisp, typically about 15 minutes. For even baking, rotate the baking sheet halfway through the cooking time. Due to the dark color of the black cocoa, browning edges will not be easily visible, so rely on the specified baking time. Allow the wafers to cool completely on the baking sheets before handling or filling them. They will crisp up further as they cool.
Assemble and Fill the Homemade Caramel-Coconut Oreos
-
Pour the remaining unsweetened coconut for decorating into a small, shallow bowl. Take half of your cooled chocolate wafers and turn them upside down. Using a tablespoon-sized cookie scoop (if available) or simply a spoon, place a generous tablespoon of the caramel-coconut filling onto the underside of each wafer. Take another chocolate wafer and gently press it down on top of the filling, sandwiching the caramel until it just begins to peek out evenly from the sides of the cookies.
-
Carefully roll the exposed caramel filling sides of each assembled Oreo in the shredded coconut until they are fully coated. This adds a beautiful finish and an extra layer of coconut flavor. Repeat this process with all remaining wafers and filling.
-
Serve your homemade caramel-coconut Oreos immediately for the best crispy cookie experience. If you plan to store them, place them in an airtight container at room temperature for up to 3 days. As mentioned, the cookies are truly best enjoyed on the day they are crafted, so consider assembling only what you’ll eat and storing components separately for maximum freshness.

An LC Original
This recipe is an original creation from the Leite’s Culinaria kitchen, a testament to our passion for unique and delicious homemade treats.
View More Original Recipes
Nutrition
Serving: 1 Oreo
Calories: 287 kcal
Carbohydrates: 35 g
Protein: 2 g
Fat: 17 g
Saturated Fat: 12 g
Monounsaturated Fat: 3 g
Trans Fat: 1 g
Cholesterol: 40 mg
Sodium: 209 mg
Fiber: 2 g
Sugar: 27 g
Nutrition information is automatically calculated, so should only be used as an approximation.
Tried this recipe?
Mention @leitesculinaria or tag #leitesculinaria!
Expert Tips for Homemade Oreo Success
Creating these incredible caramel-coconut Oreos at home is a rewarding endeavor. To ensure your baking journey is as smooth and successful as possible, consider these expert tips gleaned from our experience and the valuable feedback of our recipe testers:
- Precision with Ingredients: Baking is a science, especially for cookies. Measure your ingredients accurately, ideally using a kitchen scale for flour and cocoa powders, to ensure the correct texture and consistency.
- The Power of Chilling: Do not skip or rush the chilling steps for the chocolate wafer dough. This is absolutely critical for preventing spread, maintaining the crispness of the cookies, and achieving those perfect Oreo-like edges. Cold dough yields the best results.
- Even Dough Thickness: As highlighted by our tester Jenny, rolling the dough to an even 1/4-inch thickness is key. Uneven dough can lead to some wafers being too thick and soft, while others become thin and brittle. Using two sheets of parchment paper as a guide helps immensely.
- Cocoa-Dipped Cutter: Dipping your cookie cutter in cocoa powder before each cut prevents sticking and ensures clean, precise wafer shapes, contributing to a professional finish.
- Caramel Consistency: Pay close attention to the boiling and simmering times for the caramel filling. Allowing it to cool completely before mixing in the confectioners’ sugar and coconut is essential for achieving a stable, creamy consistency that won’t be too runny.
- Smart Storage: To enjoy the crispest cookies, consider assembling only the Oreos you plan to consume immediately. Store the remaining wafers in an airtight container at room temperature and the caramel filling separately in the refrigerator. Bring the filling to room temperature for easier spreading when ready to assemble.
- Embrace the Scraps: Don’t discard your dough scraps! As Nadine Bonda observed, you can re-roll them to make a surprising number of additional cookies. Simply gather, gently knead, re-roll between parchment, chill, and bake.
Recipe Testers’ Reviews: What They Loved
Our team of dedicated recipe testers put these homemade caramel-coconut Oreos through their paces, and their feedback was overwhelmingly positive. Here’s a summary of their experiences and why these cookies are truly special:
Nadine Bonda
Nadine Bonda raved about the sheer decadence of these cookies, noting that the thin chocolate wafers were delicious even on their own. She emphasized that the caramel-coconut filling takes them “over the top,” making for a rich, sweet experience best enjoyed in moderation. Her clever tip for storage – filling only the cookies to be eaten that day and storing components separately – is a game-changer for maintaining optimal texture over several days. She concluded that these Oreos are perfect for any occasion, from a casual lunch to a special dessert.
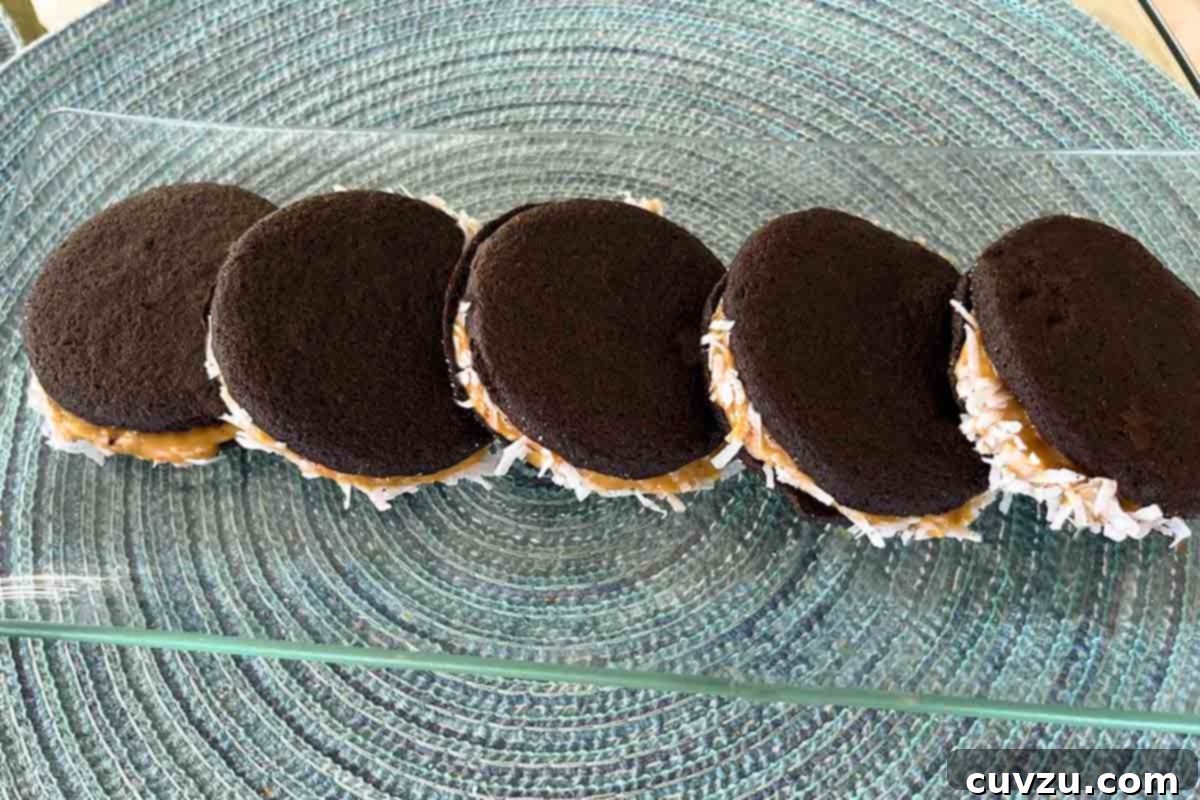
Her advice to utilize all dough scraps to make more cookies is also highly recommended, as they yield a surprising number of additional treats.
Jenny Latreille
Jenny Latreille found these caramel-coconut “Oreos” to be so good that she instantly regretted giving so many away! She highlighted the “absolute perfection” of the crisp, dark chocolate biscuits paired with the sweet, salty, coconut-caramel filling. The black cocoa powder was a standout, making the biscuits taste genuinely like upgraded Oreos. Jenny emphasized the importance of rolling the dough out evenly for consistent results, though she noted that even slightly softer cookies on the second day were still delightful. She also experimented with and without the coconut coating, finding both appealing.
Melissa D.
Melissa D., an experienced baker of homemade “Oreos,” declared this recipe to be the closest in texture to an actual Oreo, attributing its success to the crucial chilling steps. She acknowledged the process was a bit more time-consuming due to the multiple freezes but affirmed that the results were well worth the effort. The black cocoa made assessing doneness tricky, but following the precise baking time yielded perfectly cooked cookies. She shared these with friends and family, receiving rave reviews for their sophisticated sweet/salty caramel filling with coconut, elevating them beyond a simple cookie.
Conclusion: Your New Favorite Homemade Treat
These homemade caramel-coconut Oreos are more than just a copycat recipe; they are an invitation to indulge in a truly superior cookie experience. The perfect balance of deep chocolate, rich caramel, and aromatic coconut creates a flavor profile that is both comforting and sophisticated. While they require a little love and patience, the reward is a batch of cookies so decadent and delicious, you’ll wonder why you ever bought them from a package. Gather your ingredients, follow these detailed steps, and prepare to impress your taste buds and loved ones with these unforgettable gourmet sandwich cookies.