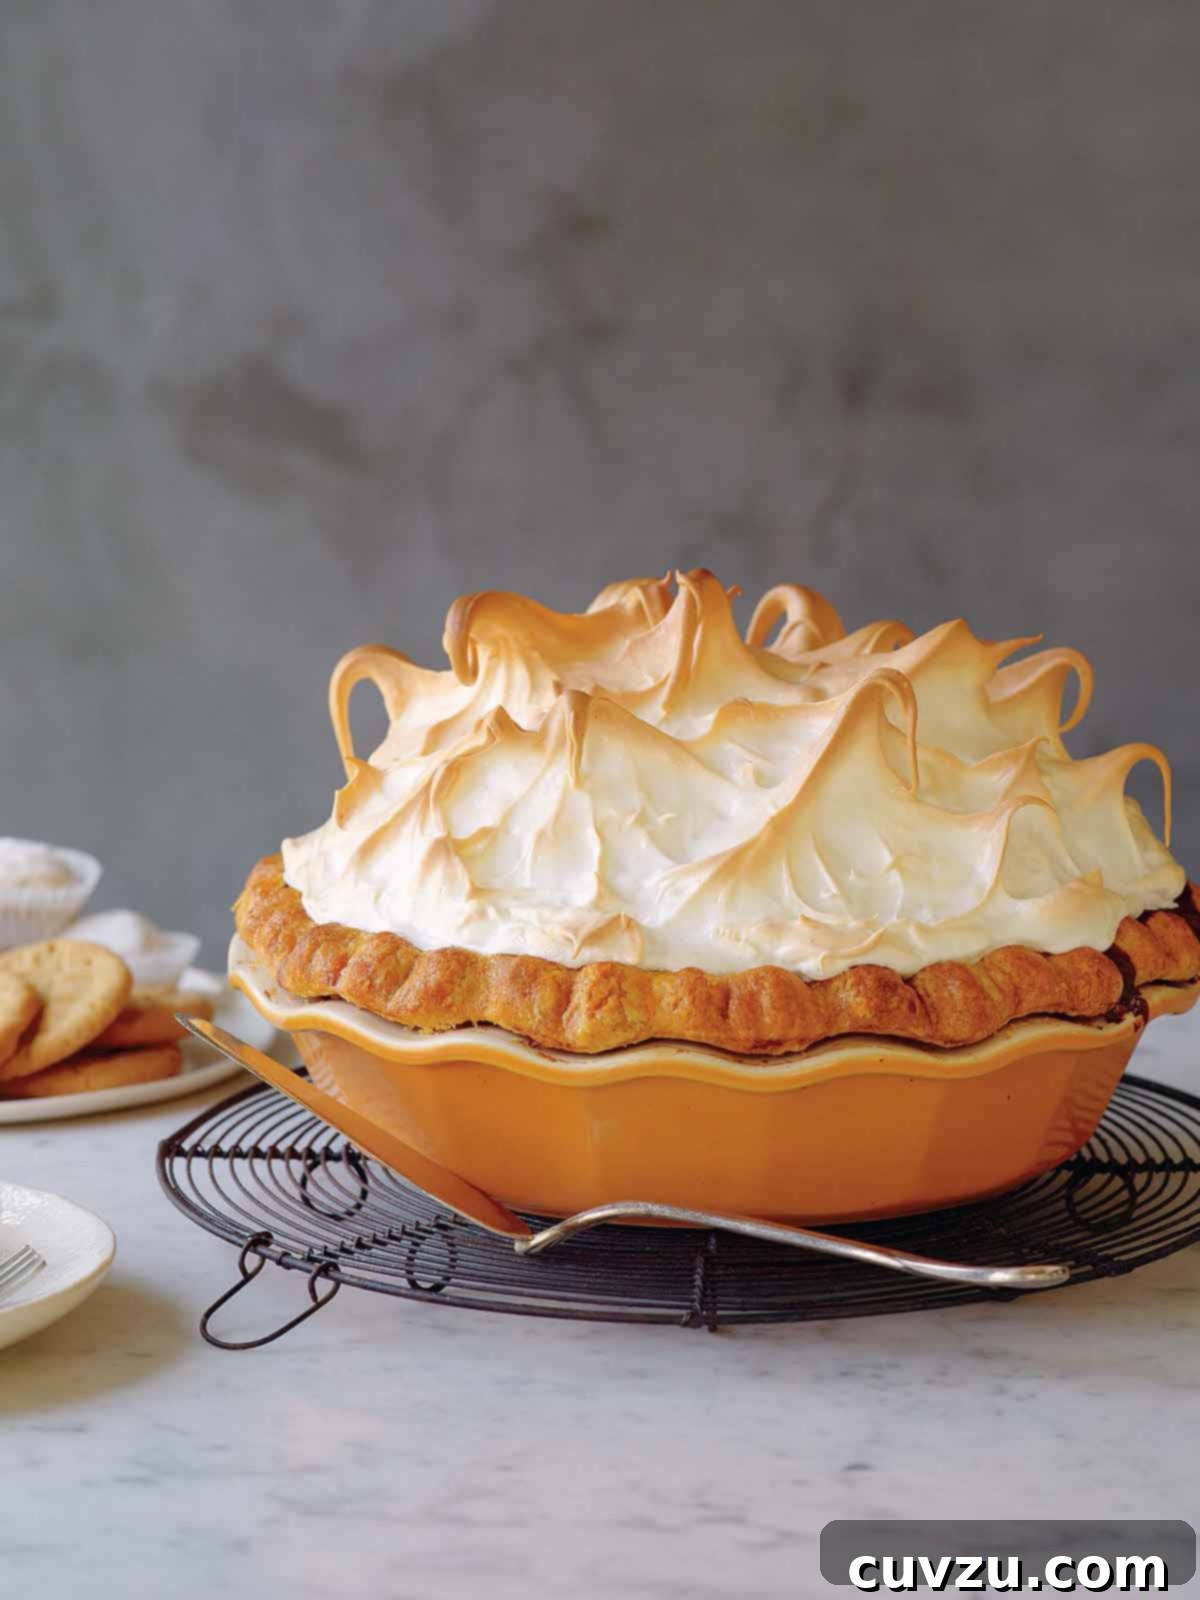
Pumpkin Meringue Pie: An Elevated Classic for Unforgettable Gatherings
TL;DR (Quick-Answer Box)
- What it is: A stunningly sophisticated reimagining of the traditional Thanksgiving dessert, featuring a smooth, richly spiced pumpkin filling baked in a golden, flaky crust, crowned with a majestic swirl of light, toasted meringue. It’s a dessert that stands proudly on its own, needing no extra embellishment.
- Why you’ll love it: This pie offers an exquisite contrast of textures—the creamy, dense pumpkin filling beautifully complemented by the ethereal, airy meringue. It’s an ideal make-ahead option, as the pumpkin filling can be prepared and chilled days in advance, simplifying your holiday baking. Its towering meringue peaks create a dramatic presentation guaranteed to impress your guests.
- How to make it: Begin by baking a prepared pie crust until partially set, then fill it with the flavorful pumpkin mixture and bake until firm. Allow the pie to cool completely, a crucial step for setting the filling. Just before serving, prepare the light-as-air meringue, spread it generously over the cooled pie, and toast the peaks to a beautiful golden brown for that signature finish.
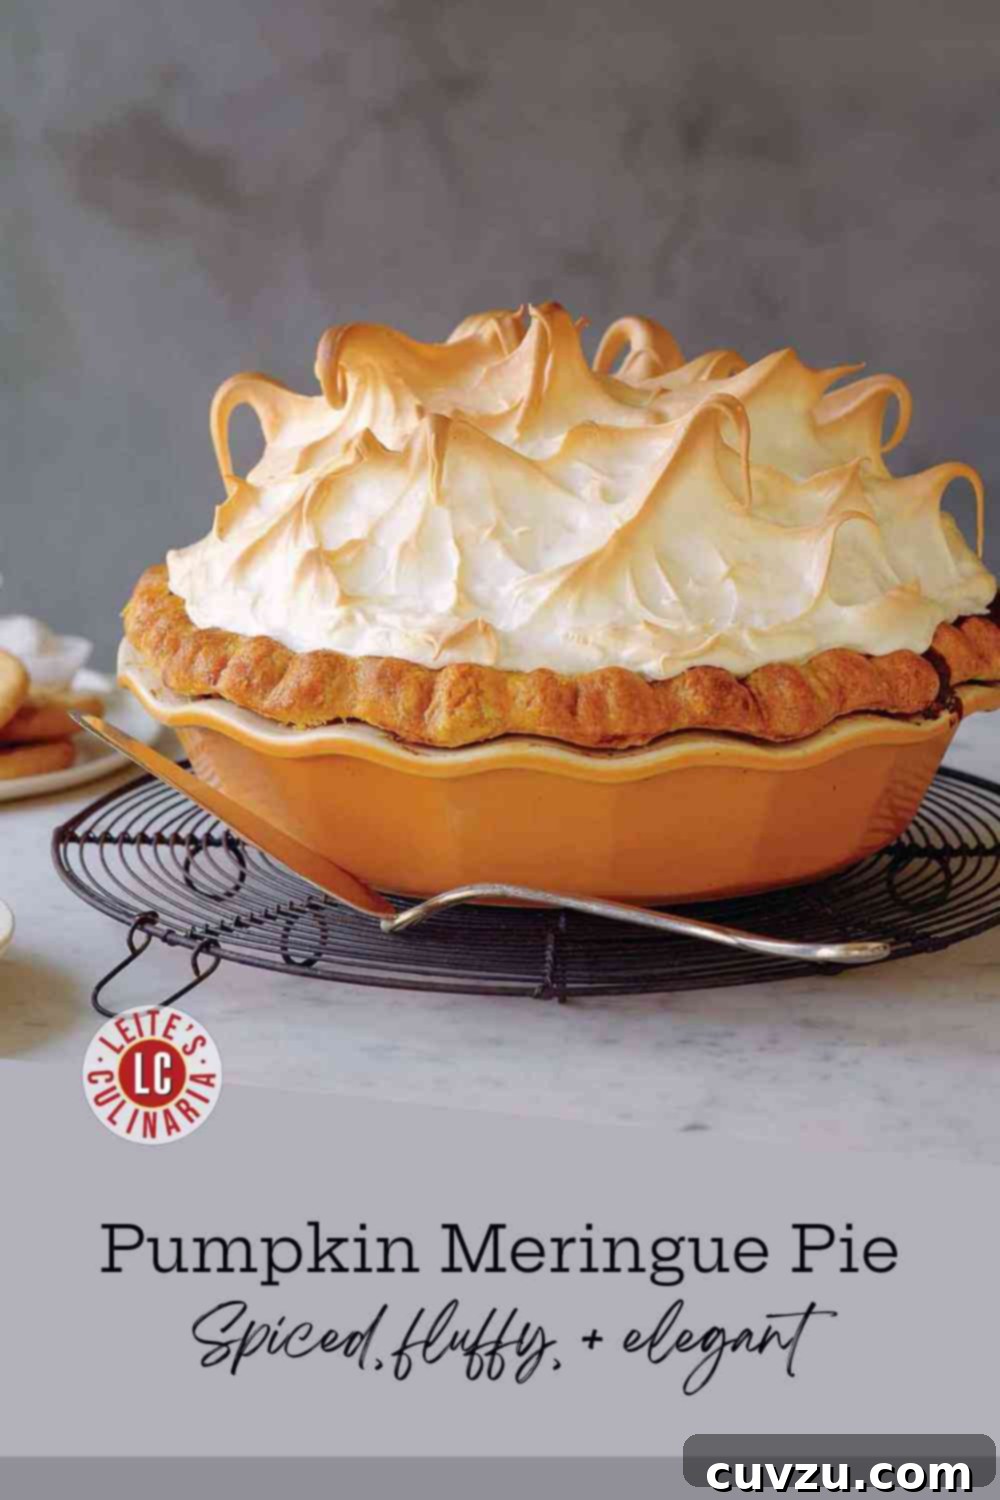
This pumpkin meringue pie is a culinary masterpiece that elevates the classic pumpkin dessert to new heights of sophistication. It skillfully combines the beloved, comforting flavors of traditional pumpkin pie with an unexpectedly airy, cloud-like meringue topping. The pairing of rich pumpkin and delicate meringue, much like the delightful surprise in a well-executed
coconut cream pie, creates a harmonious blend of textures and tastes that is truly exceptional. It’s a far more elegant and satisfying conclusion to a meal than a simple dollop of store-bought whipped cream. While you could technically prepare this pumpkin pie without the meringue and still enjoy a delicious dessert, we strongly encourage you to embrace the meringue – it truly transforms the experience. For those looking for an adventurous twist, you can even explore a
pumpkin meringue pie in ice cream form, adding another layer of indulgence.
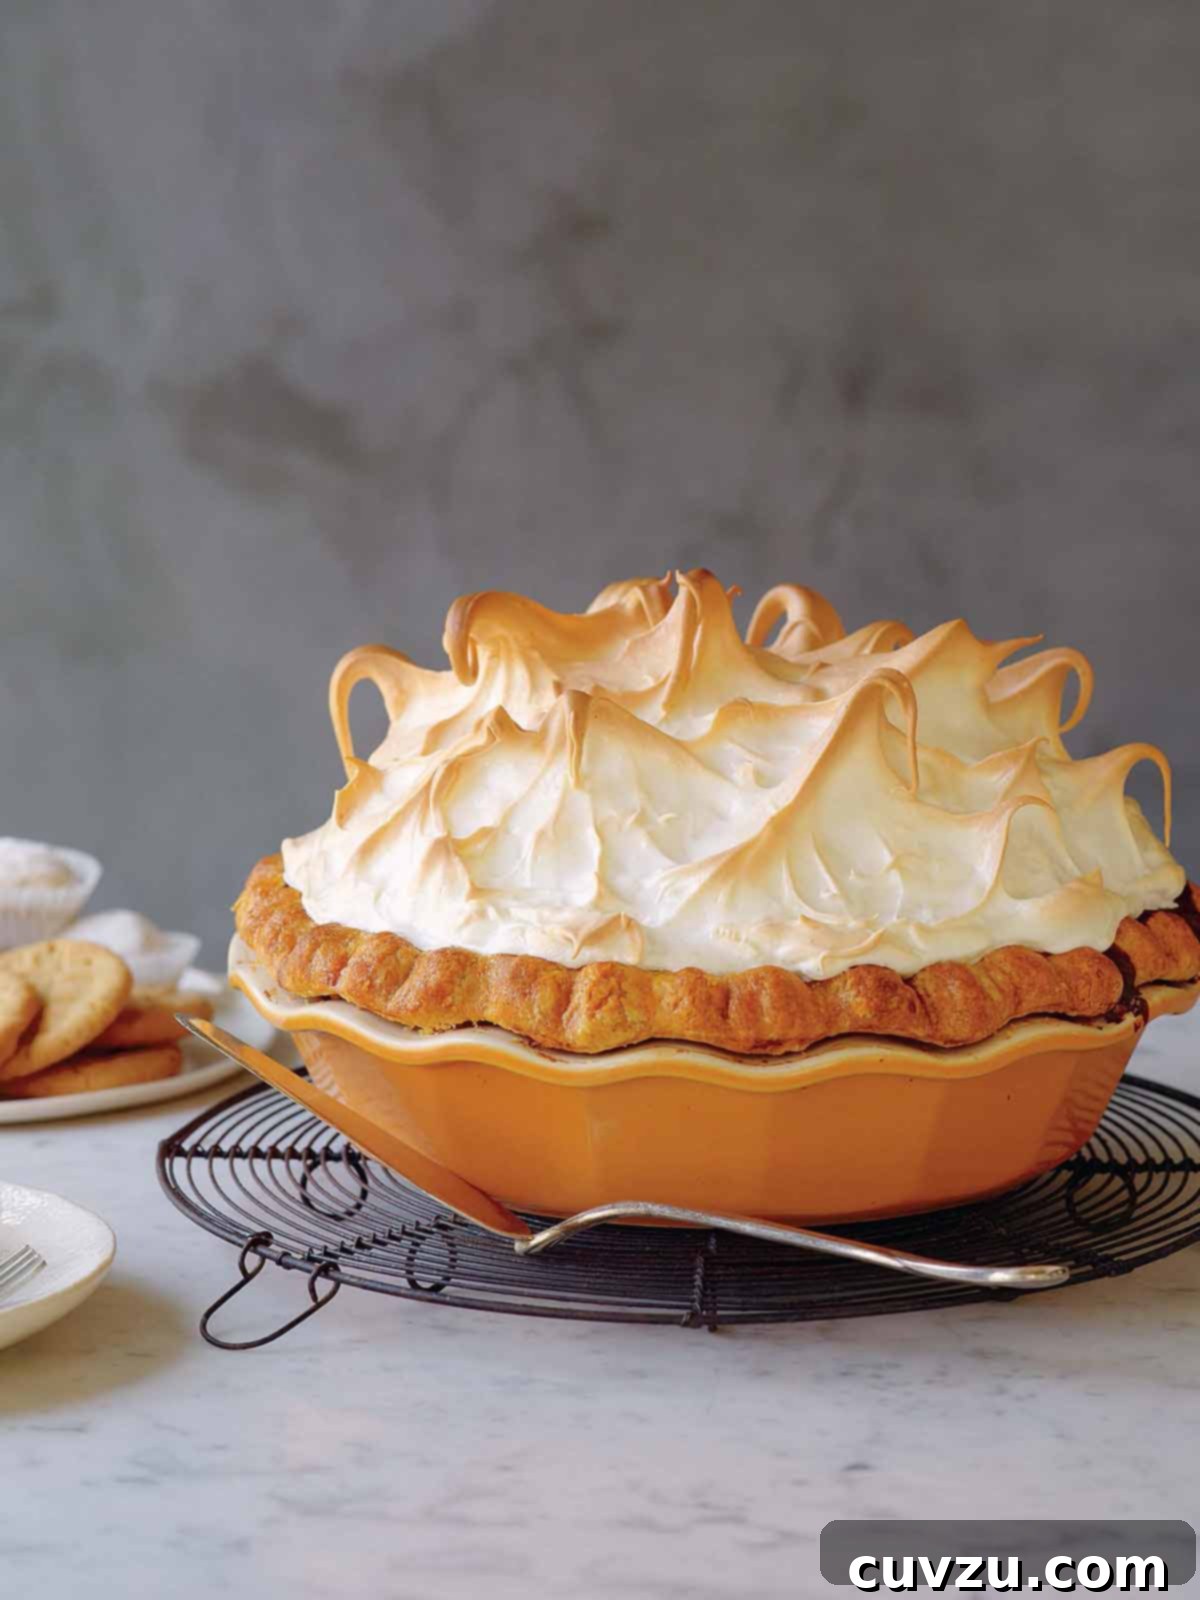
The allure of pumpkin meringue pie lies in its multi-faceted appeal. Visually, it’s a showstopper, with its golden crust, deep orange filling, and dramatic, toasted white peaks. Taste-wise, it offers a symphony of spices—cinnamon, nutmeg, and hints of brown sugar—that perfectly complement the earthy sweetness of pumpkin. But it’s the textural interplay that truly sets it apart: the tender, flaky crust, the creamy, smooth pumpkin filling, and the light, slightly crisp, and wonderfully chewy meringue. This combination ensures every bite is a delightful journey for the senses, making it an ideal centerpiece for holiday gatherings or any occasion where you want to impress.
The Perfect Holiday Centerpiece
When planning your holiday menu, consider this pumpkin meringue pie not just as another dessert, but as a statement. Its impressive height and elegant appearance make it a natural focal point on any dessert table, especially during Thanksgiving or Christmas. Beyond its beauty, the ability to prepare the pumpkin pie filling in advance is a tremendous advantage for busy hosts. This allows you to spread out your baking tasks, reducing stress on the big day. Imagine pulling a freshly baked, perfectly toasted meringue pie from the oven just hours before serving, filling your home with an irresistible aroma that signals pure indulgence.
Mastering the Art of Stiff Meringue
The dramatic, sky-high topping that crowns this pumpkin pie is meringue, a delicate concoction of foamy egg whites and sugar. If you’re new to making meringue, the process might seem intimidating, but with a few key techniques and a little confidence, you’ll be whipping up perfect peaks in no time. The secret to achieving those impressive, stable swirls lies in ensuring your meringue is stiff enough to hold its shape until it’s toasted to perfection.
First and foremost, always start with impeccably clean equipment. Any trace of grease or egg yolk can prevent the egg whites from whipping properly. Use a clean, dry metal or glass bowl (plastic bowls can sometimes retain grease) and clean beaters. Ensure your egg whites are at room temperature; this helps them achieve maximum volume. Separate your eggs carefully, making sure no yolk whatsoever gets into the whites.
Begin by gently beating the egg whites on a low to medium speed until they become foamy, much like soapy water. This initial slow beating incorporates air without over-agitating the proteins. At this stage, the whites are still relatively loose, making it easier for the sugar to dissolve evenly later. Once you see a good amount of foam, add a pinch of salt and the cream of tartar. Cream of tartar is a crucial ingredient here; it stabilizes the egg whites, helping them achieve and maintain stiff peaks.
Now, increase the mixer speed to medium-high. Gradually add the granulated sugar, one tablespoon at a time, allowing each addition to dissolve before adding the next. This slow incorporation is vital, as it prevents the meringue from becoming grainy and ensures a smooth, glossy texture. Continue beating until glossy stiff peaks form. The meringue should look bright white and shiny.
To test the consistency, lift the beaters out of the bowl. The peaks of the meringue that form on the beaters and in the bowl should stand straight up, without drooping. Tilt the bowl – properly beaten meringue will be firm and won’t slide around, and you shouldn’t see any clear, watery egg white at the bottom. Finally, rub a small amount of meringue between your fingers; it should feel silky smooth, indicating that all the sugar has dissolved. If it feels gritty, continue beating for another minute or two and re-test.
Once your meringue has reached the desired stiff, glossy consistency, work quickly. Meringue is delicate and can begin to soften and sag if left to sit for too long. Transfer it immediately to the cooled pumpkin pie, sculpt it into beautiful swirls and peaks, and get it into the oven (or under the broiler/torch) to toast. This swift action ensures the meringue maintains its volume and stunning appearance.
Pumpkin Meringue Pie
David Leite
6
to 8 servings
558
kcal
25
minutes
1
hour
3
hours
15
minutes
Ingredients
For the pie crust
- Flour, for the work surface
-
shortcut pie crust dough
- 1/4 cup heavy cream, for glazing
For the pumpkin pie filling
- 1 cup canned or fresh pumpkin purée
- 2 large eggs, beaten
- 1/2 cup firmly packed dark brown sugar
- 1 teaspoon ground cinnamon
- 1/2 teaspoon salt
- 1/4 teaspoon ground nutmeg
- 1 1/2 cups heavy cream
For the meringue topping
- 4 large egg whites, at room temperature
- 1/4 teaspoon cream of tartar
- Pinch salt
- 1/2 cup granulated sugar
-
1 teaspoon
vanilla extract
Instructions
Make the pie crust
-
Preheat the oven to 375°F (190°C) and adjust an oven rack to the middle position. Line a rimmed baking sheet with parchment paper. This parchment paper will make cleanup easier and help catch any potential spills.
-
On a clean, lightly floured work surface, use a lightly floured rolling pin to roll out your pie dough until it forms a 10-inch circle. Gently fold the circle in half, then carefully place it into a 9-inch pie plate, aligning the fold with the center. Unfold the dough to completely cover the pie plate, allowing the edges to drape over the rim. Using your thumb and index finger, crimp the edges of the pie shell to create a decorative border. Lightly brush the crimped edges of the pie shell with heavy cream; this simple step will ensure a beautiful, golden-brown finish when baked. Set the prepared crust aside while you prepare the pumpkin pie filling.
Make the pumpkin pie filling
-
In a large bowl, using an electric mixer on medium speed, combine the pumpkin purée and beaten eggs. Beat them until they are thoroughly mixed and smooth. Next, add the dark brown sugar, ground cinnamon, salt, and ground nutmeg to the mixture. Continue mixing the ingredients together, making sure to scrape down the sides of the bowl several times with a spatula to ensure everything is fully incorporated. Finally, pour in the heavy cream and mix once again until all the ingredients are thoroughly combined and the filling is uniform in texture and color. Carefully pour this rich pumpkin mixture into your unbaked pie shell. Gently slide the pumpkin pie onto the prepared baking sheet.
-
Bake the pumpkin pie in the preheated oven for 45 to 55 minutes, or until the filling is set around the edges but still has a slight wobble in the very center when gently shaken. The center will firm up as it cools. Carefully transfer the baked pie to a wire rack and allow it to cool completely for at least 2 hours. This cooling period is crucial for the pie to set properly. If preparing in advance, you can loosely cover the cooled pumpkin pie and refrigerate it for up to 2 days before topping it with the meringue.
Make the meringue topping
-
Just before you are ready to serve the pie, preheat the oven to 400°F (204°C).
-
Using an electric mixer on high speed, begin to beat the room-temperature egg whites in a clean, dry bowl. Continue beating until they become foamy and light. Add the cream of tartar and a pinch of salt, then continue mixing until soft peaks begin to form. At this point, gradually add the granulated sugar, one tablespoon at a time, beating well after each addition to ensure it dissolves. Once all the sugar has been incorporated, add the vanilla extract and beat for another 30 seconds. The meringue should be light, fluffy, and glossy, forming firm, stiff peaks. To test for the desired consistency, insert a spatula into the mixture and quickly pull it out; if it forms little peaks that stand up straight and do not fall, your meringue is ready.
Assemble the pumpkin meringue pie
-
Using a spatula, carefully spread the freshly made meringue over the cooled pumpkin pie. Mound the meringue generously in the center of the pie, then use the back of the spatula to create beautiful swoops, swirls, and dramatic peaks. It’s important to spread the meringue all the way to the edges of the crust, ensuring it completely covers the pumpkin pie filling. This is because the meringue will shrink slightly during baking.
-
Place the pumpkin meringue pie on the middle oven rack and bake for 6 to 10 minutes, or until the meringue peaks achieve your desired golden-brown color. It is crucial to check the meringue frequently, especially once the very tops of the peaks begin to change color, as it can brown quickly. (Alternatively, if you have a kitchen torch, you can use it to toast the meringue, being careful to move the flame evenly across the entire surface for a uniform golden finish.) For the best experience, this pumpkin meringue pie is ideally served the same day it’s made, allowing you to enjoy the fresh contrast of textures and flavors.
Adapted From
Perfect Pies & More
Buy On Amazon
Nutrition
Serving: 1 portion
Calories: 558 kcal
Carbohydrates: 55 g
Protein: 8 g
Fat: 35 g
Saturated Fat: 19 g
Monounsaturated Fat: 12 g
Trans Fat: 1 g
Cholesterol: 157 mg
Sodium: 406 mg
Fiber: 2 g
Sugar: 36 g
Nutrition information is automatically calculated, so should only be used as an approximation.
Tried this recipe?
Mention @leitesculinaria or tag #leitesculinaria!
Recipe Testers’ Reviews
Amy Iacopi
Amy Iacopi found this pumpkin meringue pie to be a delightful and delicious twist on the traditional pumpkin pie. She, her husband, and their two French guests absolutely loved it, noting that it struck a perfect balance—not overly sweet or heavily spiced, but wonderfully pumpkin-y and light, thanks to the meringue. Amy mentioned that she could have baked the pumpkin pie longer for a firmer set, more like a classic pumpkin pie, but actually appreciated the texture as a lovely custard or pudding.
The pie dough was straightforward to prepare in the mixer, presenting no problems. The meringue also proved simple to make. Amy observed a common characteristic of meringue: it shrank as it cooled. Initially, it reached the very edges of the crust, but then pulled back about two inches, revealing some of the pumpkin filling. Despite this natural shrinkage, she concluded that it was an amazing dessert that everyone thoroughly enjoyed.
Ralph Knauth
Ralph Knauth, self-proclaimed “not a pie expert,” confessed that this pumpkin meringue pie recipe completely transformed his relationship with pies, calling it “that good!” He baked the pumpkin pie for the full 55 minutes, ensuring the center was perfectly set. Ralph opted for a make-ahead approach, baking the pie the day before, refrigerating it overnight, and then preparing the meringue topping about two hours before serving. The meringue-topped pie required approximately 8 minutes in the oven to achieve a beautiful, golden brown. His meticulous adherence to the recipe, despite his novice pie-making status, resulted in a truly great pie.
Jeanie McCallister
Jeanie McCallister declared this pumpkin meringue pie recipe a “keeper.” She praised its quick assembly, the readily available ingredients, and the stunning presentation of the finished product, deeming it a perfect addition to any Thanksgiving pie spread. The recipe itself was straightforward to put together, and Jeanie even used a pre-made pie crust (a convenient shortcut!) without significantly detracting from the overall quality. Instead of the oven, she opted to brown the meringue with a kitchen torch, finding it to be a quicker and equally effective method. She affirmed that the pie was quite tasty, with the meringue adding a lovely, refined finish to the dessert.
Adrienne Lee
Adrienne Lee took a personalized approach to this pumpkin meringue pie by using fresh pumpkin—specifically a Long Island Cheese pumpkin, harvested just days before by a local farmer. She meticulously roasted the pumpkin, cleaned out the seeds, scooped out the flesh, and then puréed it to measure the exact amount for the recipe. The pumpkin pie portion of the dessert, made with this fresh pumpkin, was “fantastic,” with Adrienne noting that she didn’t miss the traditional addition of ginger or cloves.
While she found the meringue on top to be good, she personally felt it was somewhat extraneous, suggesting the pumpkin filling was strong enough to stand alone. The meringue took her about 5 minutes to prepare and toast. She offered a helpful safety tip: always remember not to touch the pie plate with bare hands after it comes out of the oven, even if it’s only been in for a short time, as it will be very hot. Her experience highlights the versatility of the recipe and the quality of the pumpkin filling itself.
Summary of Tester Feedback
The collective feedback from our recipe testers overwhelmingly confirms that this Pumpkin Meringue Pie is a remarkable dessert, earning high praise for its unique combination of textures and sophisticated flavor profile. Testers highlighted its elegance and impressive presentation, making it an ideal choice for special occasions and holiday tables. The ability to prepare the pumpkin filling in advance was a significant convenience, easing the pressure of last-minute baking. While the meringue adds a dramatic and delightful contrast for most, one tester noted the strength of the pumpkin filling itself, proving its robust flavor. Overall, this recipe is celebrated for being easy to follow, using readily available ingredients, and delivering a truly memorable culinary experience.