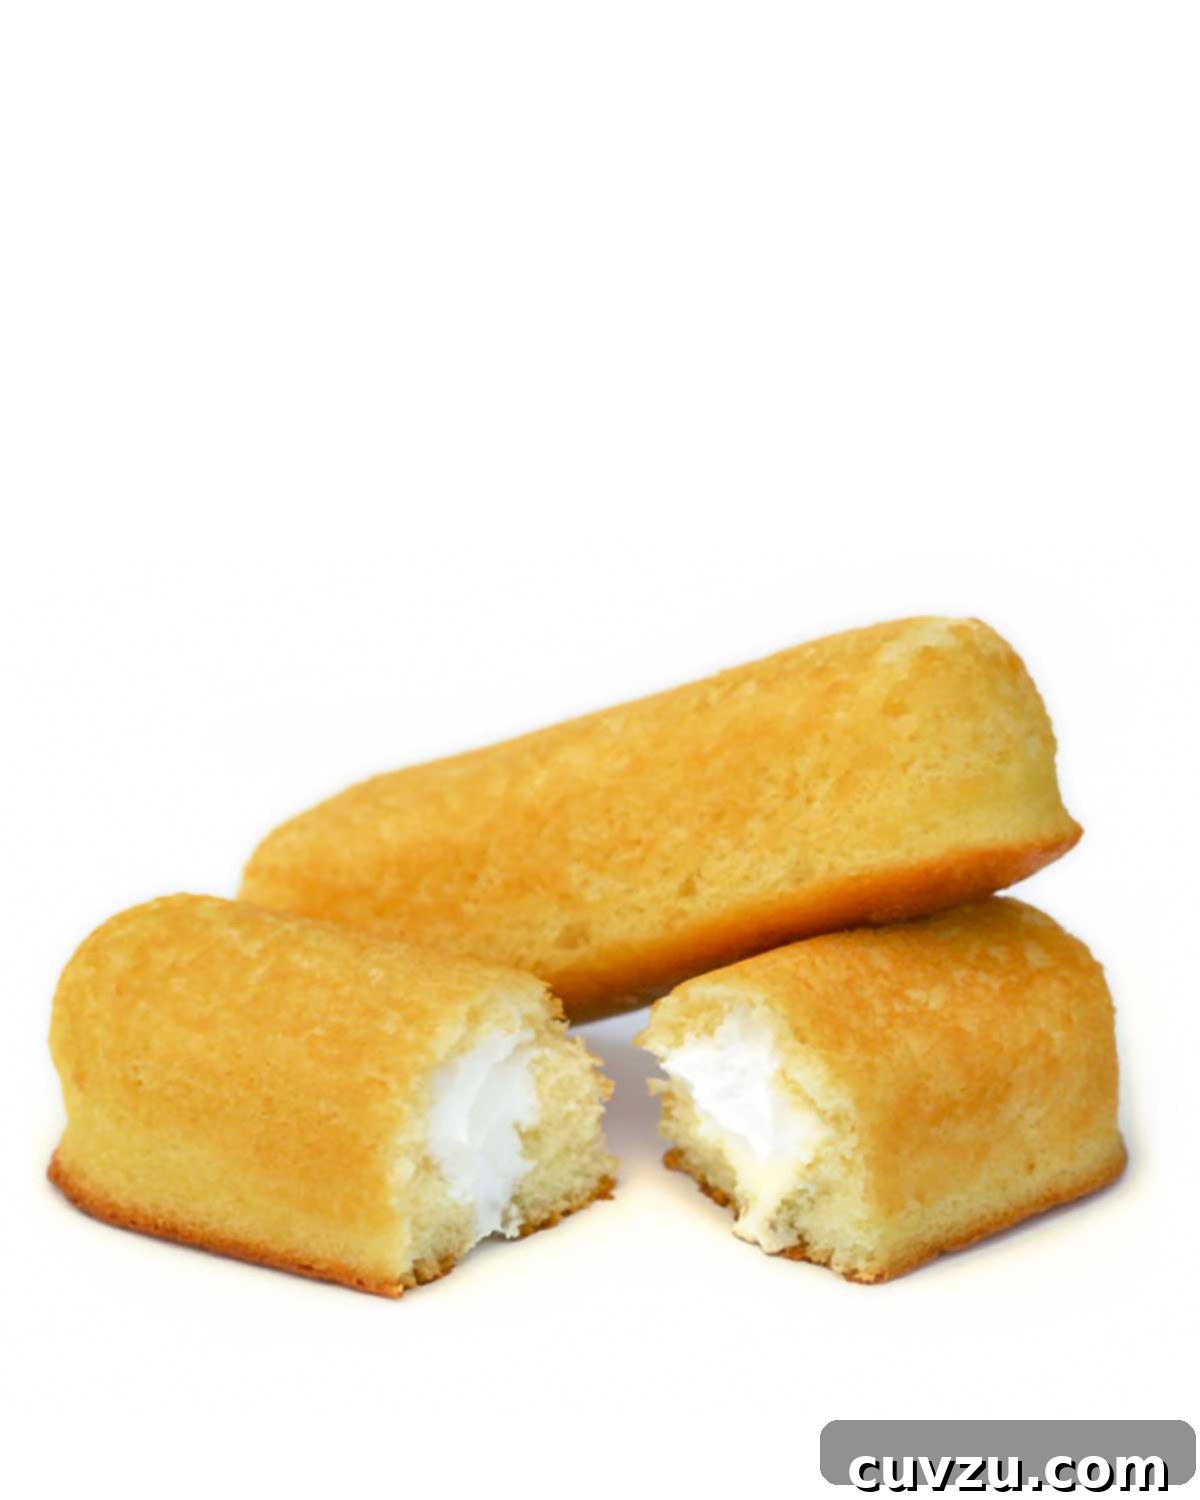
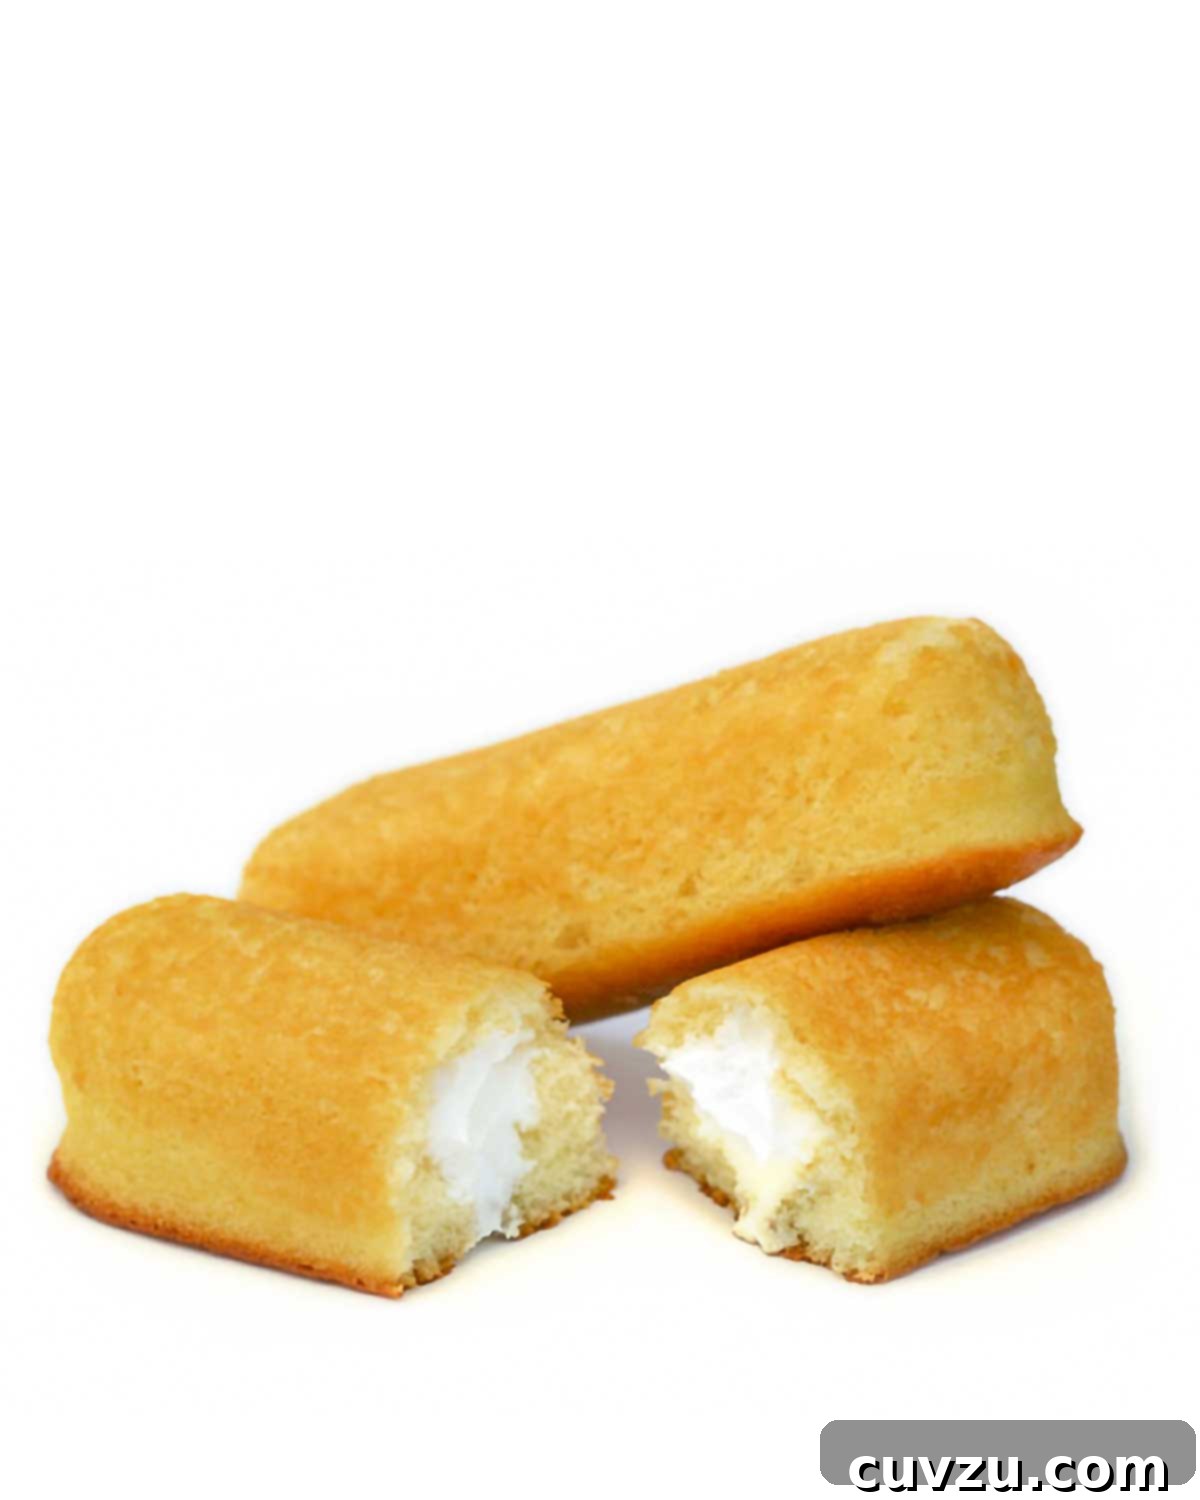
Welcome to the definitive guide for crafting the ultimate homemade Twinkies – a dessert that not only rivals but, dare we say, surpasses the nostalgic Hostess classic. Prepare to embark on a culinary journey back to your childhood, where fluffy cream filling meets tender, golden sponge cake, all made with love in your own kitchen. These aren’t just Twinkie look-alikes; they are an elevated experience, bursting with fresh flavor and an irresistible texture that factory-made versions simply can’t match.
Reclaiming a Childhood Classic: Why Go Homemade?
There’s an undeniable charm to recreating beloved childhood treats at home. The process itself becomes a heartwarming trip down memory lane, but the results are often far superior. This homemade Twinkies recipe, a personal riff by Erin Carlman Weber, captures the essence of the iconic snack while infusing it with unparalleled freshness and quality ingredients. Forget the preservatives and artificial flavors; here, we celebrate the pure, simple joy of baking. From the moment the golden sponge cake emerges from the oven to the generous piping of the ethereal cream filling, every step is a testament to the magic of homemade goodness.
What makes these Twinkies truly special? It’s the harmonious interplay between a perfectly moist, flavorful sponge cake and a “seven-minute frosting” transformed into an airy, meringue-like cream. This isn’t just a snack; it’s a gourmet rendition of a comfort food staple. Even for those who might not have held a deep reverence for the original snack cake, like our recipe creator, the allure of this divine little ditty is outright irresistible. Especially when enjoyed slightly warm, a luxury you’ll never experience with a straight-from-the-wrapper commercial Twinkie, these homemade delights offer a taste of pure bliss.
Unveiling the Perfect Sponge Cake: The Heart of Your Homemade Twinkie
The foundation of any great Twinkie is its cake, and for this recipe, we turn to the elegant and versatile sponge cake. Unlike typical butter cakes, sponge cakes are celebrated for their incredibly light, airy, and delicate texture. This characteristic comes from a unique leavening process, making them distinct from their baking powder and baking soda-reliant counterparts.
What Makes a Sponge Cake Special?
Technically speaking, a classic sponge cake (like a Genoise) doesn’t rely on chemical leavening agents such as baking powder or baking soda. Instead, its impressive rise and airy structure are achieved by meticulously whipping egg whites, sometimes whole eggs, to incorporate a significant amount of air. This trapped air expands during baking, creating a delicate, open crumb that is the hallmark of a true sponge. There are several types of sponge cakes, including Genoise, Angel Food, and Chiffon, each with subtle variations in their fat content and preparation, but all share that coveted airy texture. This characteristic also makes sponge cakes excellent candidates for soaking with syrups or, in our case, generously stuffing with a rich, fluffy filling, as they readily absorb moisture without becoming soggy.
For our homemade Twinkies, this natural airiness provides the ideal contrast to the creamy filling. The cake needs to be light enough to yield to the filling but sturdy enough to hold its iconic oblong shape. The careful balance of flours (cake and all-purpose) combined with the whipped egg technique ensures a tender crumb that melts in your mouth, perfectly complementing the sweet meringue filling. It’s this precise balance that elevates our homemade version far beyond any packaged alternative.
The Irresistible Creamy Filling: A Meringue-Like Dream
No Twinkie is complete without its signature cream filling, and for our homemade rendition, we turn to the magical “seven-minute frosting.” This isn’t just any frosting; it’s a light, glossy, and intensely sweet meringue-based creation that perfectly mimics the iconic Twinkie interior, but with a much fresher, more natural flavor and texture.
Seven-minute frosting gets its name from the approximate time it takes to prepare over a double boiler. Egg whites, sugar, and often cream of tartar are whisked together over simmering water until heated and thickened, then beaten vigorously until cool, fluffy, and voluminous. The result is a cloud-like confection that holds its shape beautifully while remaining incredibly airy. It’s stable enough to be piped into the cake yet melts delightfully on the tongue. This filling provides that essential contrast to the delicate sponge, offering a satisfying burst of sweetness and a velvety texture that brings the entire homemade Twinkie experience together. We aim to cram as much of this delightful filling into each sponge cake as possible, without causing any delicious explosions!
Crafting Your Twinkie Masterpiece: Step-by-Step Guide
Ready to create these legendary treats? This recipe guides you through every step, from preparing your unique Twinkie molds to baking the perfect sponge cake and filling it with the iconic creamy goodness. With a little patience and attention to detail, you’ll be enjoying your very own homemade Twinkies in no time.
Recipe Overview: Homemade Twinkies
Homemade Twinkies
Erin Carlman Weber
- PIN
Dessert
American
12
Twinkie look-alikes
144
kcal
50 minutes
15 minutes
1 hour
15 minutes
Equipment
- Twinkie mold OR spice jars; chopstick; piping bag or gun
Ingredients
- Nonstick cooking spray or vegetable oil
- 1/2 cup cake flour
- 1/4 cup all-purpose flour
- 1 teaspoon baking powder
- 1/4 teaspoon salt
- 2 tablespoons milk, preferably whole
- 4 tablespoons (2 oz) unsalted butter
- 1/2 teaspoon vanilla extract
- 5 large eggs, at room temperature
- 3/4 cup granulated sugar
- 1/4 teaspoon cream of tartar
- Seven-Minute Filling
Instructions
-
Preheat the oven to 350°F (175°C) and adjust the oven rack to the lower-middle position.
-
To make your shiny, single-use Twinkie molds, start with a piece of aluminum foil, preferably heavy-duty, that’s approximately 14 inches long. It should be just a little longer than it is wide. Fold the foil in half lengthwise, then fold it in half again to create a rectangle that’s about 6 inches long and 7 inches wide. Repeat to make a dozen rectangles.
-
Place 1 sheet of folded foil on your work surface, with the long side facing you. Place a standard-size plastic or glass spice jar on its side in the center of the foil, the jar’s long side also facing you. Bring the long sides of the foil up around the jar. The foil won’t reach all the way around, and that’s okay. Fold the foil in around both top and bottom ends of the spice jar, nice and tight. You’ll end up with a sort of trough situation. (Cookbook author Todd Wilbur has a video of the process here; if you’re impatient, fast forward to 1:10, where the action starts.) Repeat until you have 12 foil Twinkie molds. Spritz the molds with an obscenely generous amount of nonstick spray or use your fingertips to coat the molds with vegetable oil. Place the Twinkie molds on a baking sheet or in a roasting pan.
-
Whisk the flours, baking powder, and salt together in a bowl.
-
In a small saucepan over low heat, heat the milk and butter until the butter melts. Remove from the heat add the vanilla. Cover to keep warm.
-
Separate the eggs, placing the whites in the bowl of a standing mixer fitted with the whisk attachment (or, if using a hand mixer or whisk, a large mixing bowl) and reserving the yolks in another bowl. Beat the whites on high speed until foamy. Gradually add 6 tablespoons of the sugar and the cream of tartar and continue to beat until the whites reach soft, moist peaks.
-
Dump the beaten egg whites into a large bowl and add the egg yolks to the standing mixer bowl—there’s no need to clean the bowl (or, if using a hand mixer or whisk, simply place the egg yolks in a separate large bowl). Beat the egg yolks with the remaining 6 tablespoons sugar on medium-high speed until the mixture is very thick and a pale lemon color, about 5 minutes. Add the beaten egg whites to the yolks, but do not mix.
-
Sprinkle the flour mixture over the egg whites and then mix everything on low speed for just 10 seconds (or, if using a hand mixer or whisk, until blended but not thoroughly combined). Remove the bowl from the mixer, make a well in one side of the batter, and pour the melted butter mixture into the bowl. Fold gently with a large rubber spatula until the batter shows no trace of flour and the whites and yolks are evenly mixed, about 8 strokes.
-
Immediately scrape the batter into the prepared molds, filling each with about 3/4 inch batter. Bake until the cake tops are light brown and feel firm and spring back when touched, 13 to 15 minutes. Transfer the pan containing the molds to a wire rack and allow the cakes to cool in the molds.
-
Just before filling, remove each cake from the foil. Using the end of a chopstick, poke three holes in the bottom of each cake, just like in the bottom of real Twinkies. Wiggle the tip of the chopstick around quite a lot to make room for the filling. (Again, you can see this in action, beginning at minute 3.)
-
Scoop frosting into a pastry bag fit with a small tip about 1/4 inch across. Pipe the frosting into the holes you created in the bottom of the cakes. As you fill each cake, hold it in your palm and gently exert pressure on it so you can feel the cake expand, taking care not to overfill the cake, which would make it crack.
-
Unlike real Twinkies, these won’t last indefinitely. They’re best served still slightly warm.
Explore More with AI
Substitutions
Scale
Summarize
Expert Tips for Homemade Twinkie Perfection
Achieving bakery-quality homemade Twinkies involves a few key techniques and considerations. Here are some pro tips to ensure your baking endeavor is a resounding success:
- **Room Temperature Ingredients:** Especially for eggs and butter, bringing ingredients to room temperature is crucial. This allows them to emulsify properly, creating a smooth batter and a light, consistent cake texture.
- **Accurate Flour Measurement:** Baking is a science. Too much flour can lead to a dry, dense cake. Use a kitchen scale for the most accurate measurement, or if using cups, spoon the flour into the measuring cup and level it off with a straight edge rather than scooping directly from the bag.
- **Gentle Folding:** After combining the wet and dry ingredients, and especially when incorporating the whipped egg whites, fold gently with a spatula. Overmixing can deflate the air in the egg whites, resulting in a tough cake. The goal is to just combine until no streaks of flour remain.
- **Mastering the Foil Molds:** While dedicated Twinkie pans exist, the spice jar and foil method is a brilliant hack. Ensure your foil molds are well-greased with nonstick spray or vegetable oil to prevent sticking and ensure a clean release. Take your time to shape them tightly around the spice jar for a consistent oblong form.
- **The Art of Filling:** This is where the magic happens! Don’t be shy with the filling, but be mindful not to overfill. Holding the cake gently in your palm as you pipe allows you to feel it expand, giving you a tactile cue to stop before it cracks. Practice makes perfect, and even a slightly cracked Twinkie tastes delicious!
- **Serving Warm:** Unlike their commercial counterparts, these homemade delights are truly exceptional when served slightly warm. A quick zap in the microwave for a few seconds can bring out their fresh-baked flavor and make the filling even more tender.
Beyond the Twinkie: Versatility of the Sponge Cake
While the goal here is to create incredible homemade Twinkies, the sponge cake recipe itself is a versatile gem that deserves a permanent spot in your baking repertoire. Its light and airy nature makes it adaptable to many other desserts, opening up a world of culinary possibilities beyond the familiar oblong shape.
Consider using this very same sponge cake for:
- **Tiramisu:** The delicate crumb is perfect for soaking up espresso and liqueur, forming the foundational layers of this classic Italian dessert.
- **Jelly Rolls (Swiss Rolls):** Its flexibility allows it to be rolled without cracking, making it ideal for creating elegant jelly rolls filled with jam, cream, or chocolate. Victoria Filippi, one of our recipe testers, even preferred her sponge cake with a jam filling!
- **Trifles:** Layer pieces of sponge cake with custard, fruit, and whipped cream for a stunning and delicious trifle.
- **Layer Cakes:** While perhaps a more delicate choice than a butter cake, a well-made sponge can create incredibly light and elegant layer cakes, especially when paired with fruit curds or light mousses.
Embrace the sponge cake for its adaptable qualities, and you’ll find yourself reaching for this recipe again and again, not just for Twinkies, but for a host of other delightful sweet creations.
Nutrition Information
Nutrition
Serving:
1
portion
Calories:
144
kcal
Carbohydrates:
19
g
Protein:
4
g
Fat:
6
g
Saturated Fat:
3
g
Monounsaturated Fat:
2
g
Trans Fat:
0.2
g
Cholesterol:
88
mg
Sodium:
80
mg
Fiber:
0.2
g
Sugar:
13
g
Nutrition information is automatically calculated, so should only be used as an approximation.
Tried this recipe?
Mention @leitesculinaria or tag #leitesculinaria!
What Our Recipe Testers Say
Our dedicated team of recipe testers put this homemade Twinkies recipe through its paces, offering valuable insights and enthusiastic feedback. Their experiences highlight the versatility of the sponge cake and the delightful results of this recipe.
Tamiko Lagerwaard
These homemade Twinkies were so much fun to make and eat. I took the easy way out and made them into muffins instead of the traditional Twinkie shape, even converting the recipe to be gluten-free. The results were delightfully tasty, although not quite the way I remembered commercial Twinkies tasting—but then, it’s been a long while. The sponge cake was wonderfully light and airy, and the filling was truly delightful. The batter was quite thick, requiring me to spoon it into the muffin cups rather than pour. Since I adapted it to be gluten-free, I’m curious if this is typical for the regular version. My baking time was also a bit longer, clocking in at 20 minutes. To fill these, I simply inserted a pastry tip into the bottom of each cupcake. These sweet treats disappeared quickly, and everyone was thrilled to enjoy them!
Steve Subera
Even if you’re not typically a fan of Twinkies, this homemade Twinkies recipe is a definite keeper, if only for the fantastic sponge cake alone. It was remarkably easy to make, tasted absolutely superb, and I can already envision countless future applications for this versatile cake base. I opted to pour the batter into a muffin tin, and the results were perfect. The filling came together incredibly fast, in about 3 minutes, though I let it beat for the full 5 minutes just to observe the effect. While the filling did become somewhat chunkier, it had no adverse impact on the final texture when piped into the cakes. There was more than enough filling to go around, and perhaps a third less could still be ample. I even had some leftover cake batter, which I wisely poured into a couple of bouchon molds, providing a charming approximation of the classic Twinkie shape. Highly recommended!
Victoria Filippi
This homemade Twinkies recipe yielded one of the best sponge cake recipes I’ve ever had the pleasure of trying. It’s truly fantastic because it strikes a perfect balance: incredibly light, yet remarkably moist. The 7-minute frosting, used as our mock-Twinkie filling, was surprisingly easy to whip up and performed admirably. In comparison to store-bought Twinkies, these homemade versions are notably less sweet and possess a more delicate, authentic spongy texture, a welcome departure from the overtly sugary and sometimes rubbery commercial ones. My kids, surprisingly, preferred the sponge cakes plain, without any filling, while I absolutely loved them with a simple jam filling and a dusting of confectioner’s sugar, reminiscent of my mother’s delicious jelly rolls. I would make this fabulous sponge cake again (and again and again) for its sheer deliciousness and versatility; it would also be perfect for a homemade tiramisu!