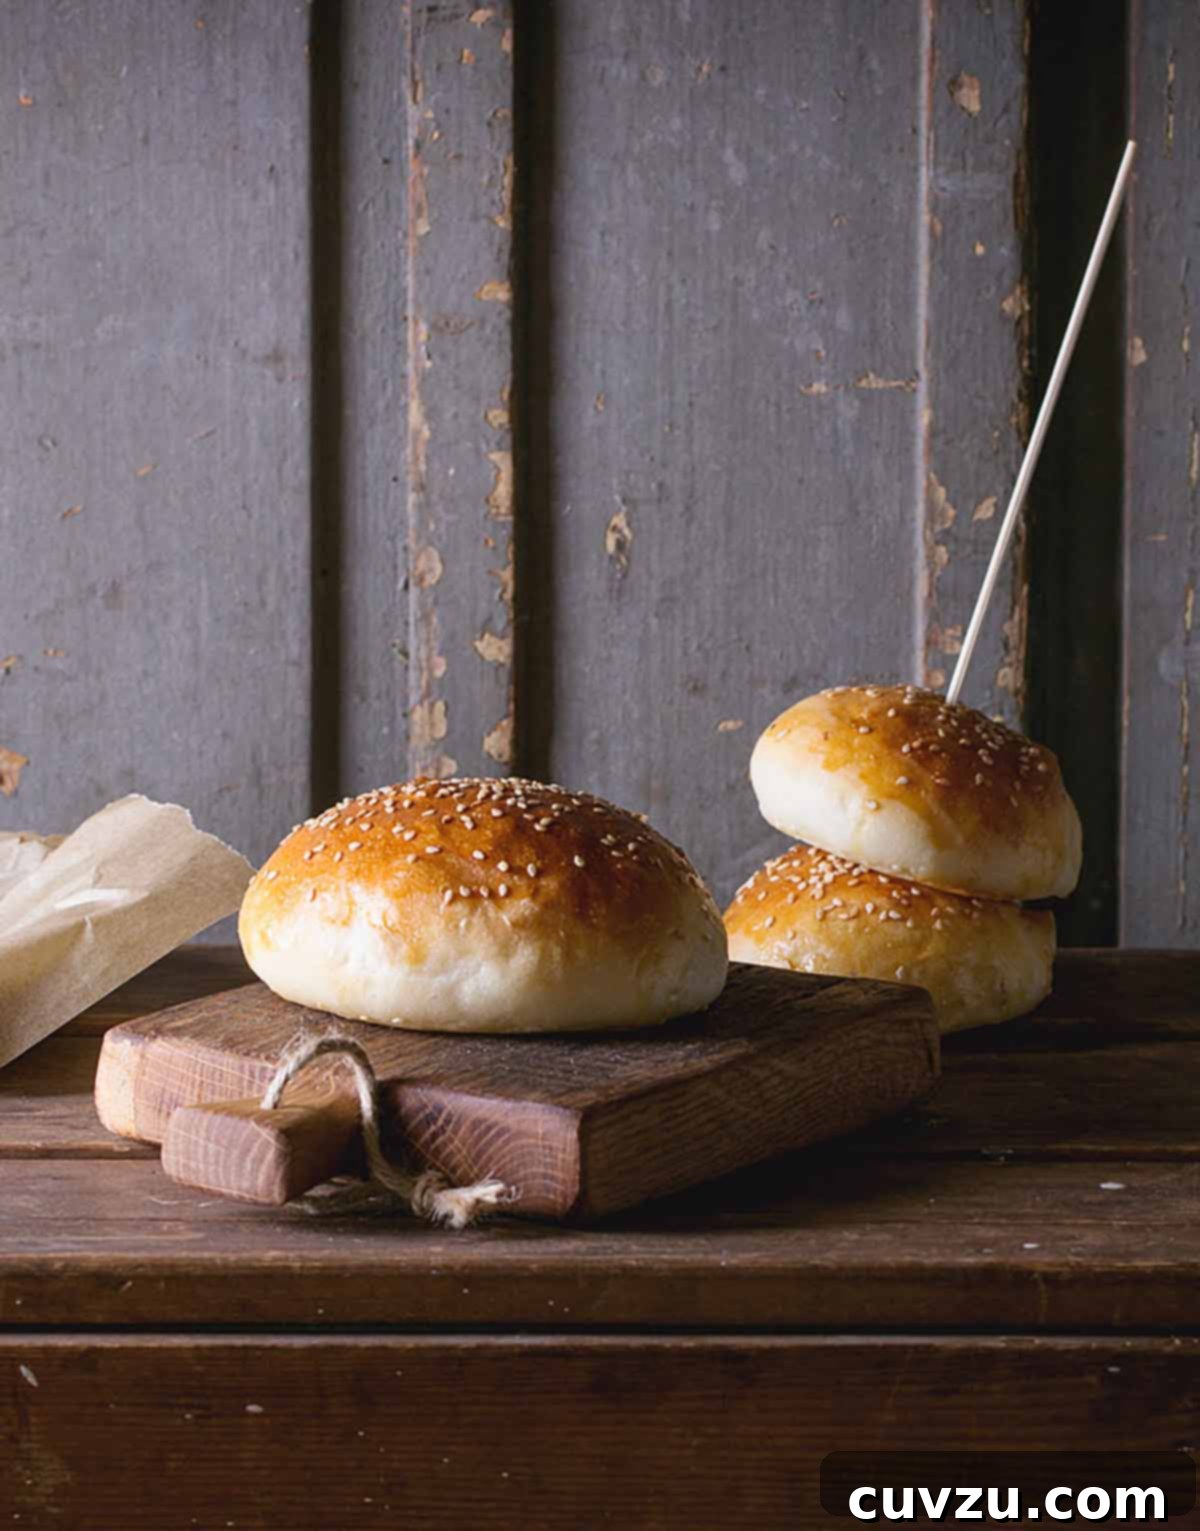
The Ultimate Guide to Baking Irresistible Homemade Burger Buns
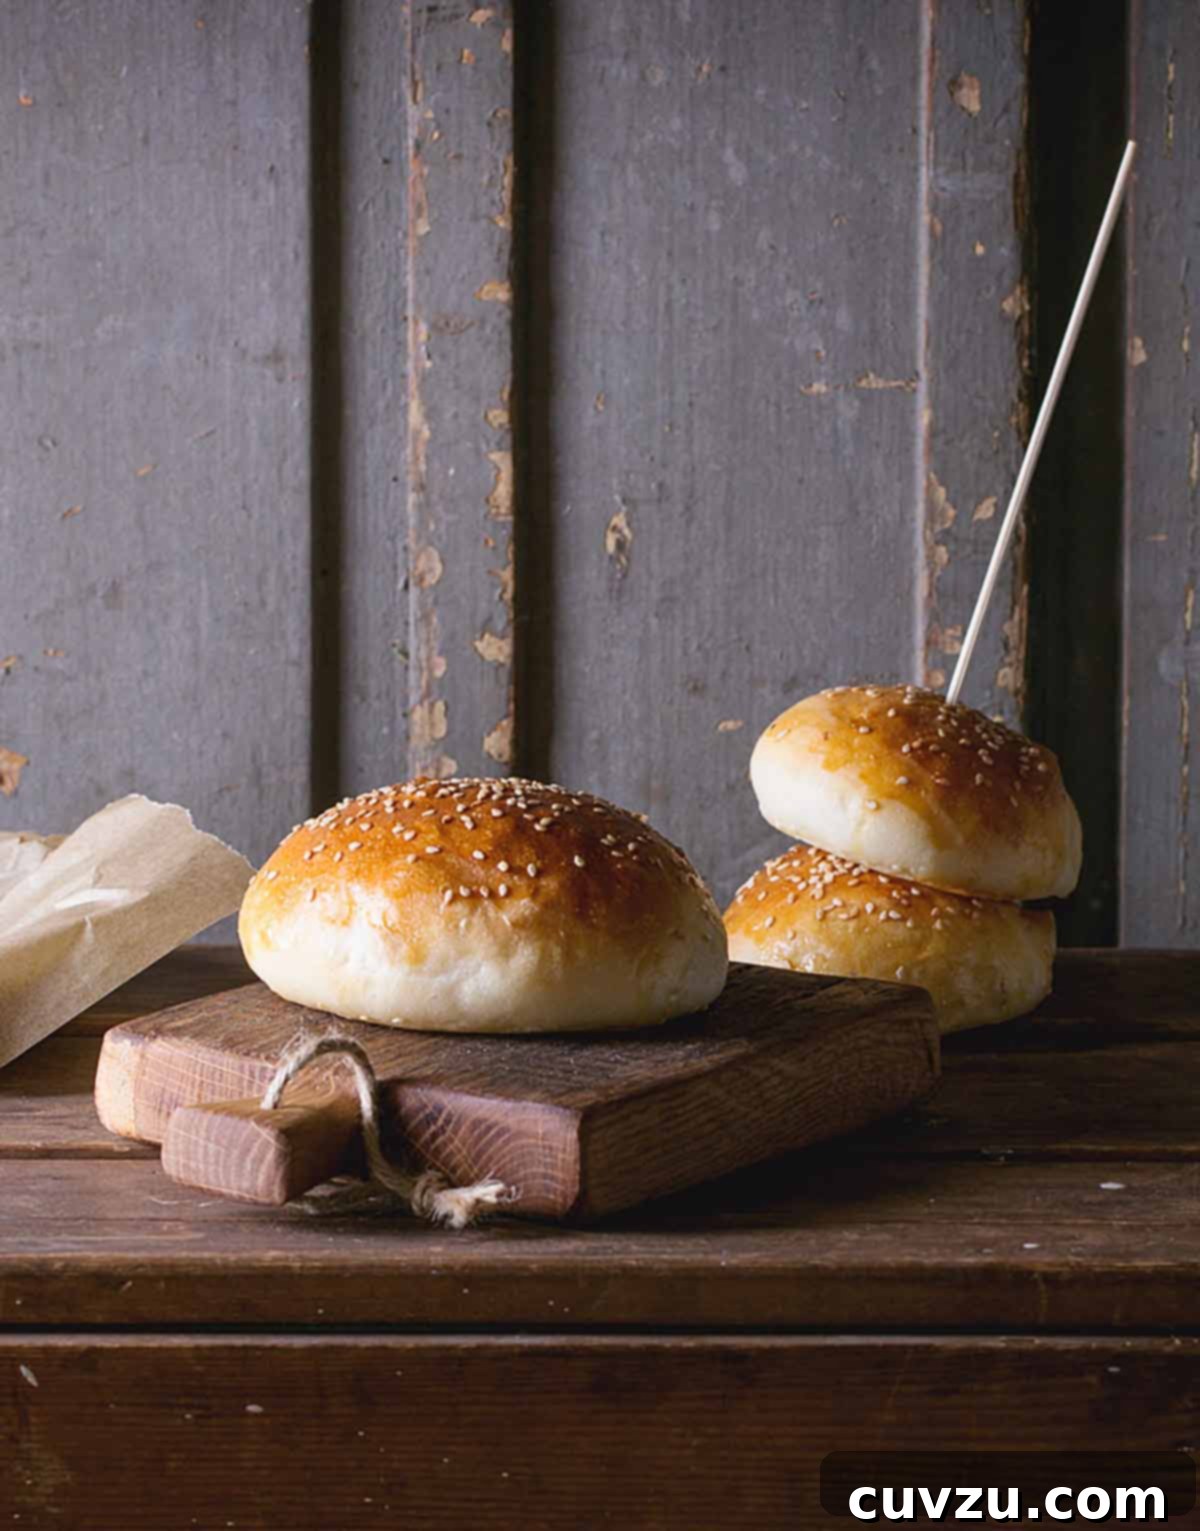
There’s a universally acknowledged truth among culinary enthusiasts: a truly great burger starts with an exceptional bun. While store-bought options serve their purpose, nothing elevates a burger experience quite like a perfectly crafted homemade bun. Imagine a bun that’s soft, subtly sweet, and rich with butter, yet sturdy enough to cradle your juiciest burger without yielding. This isn’t just a dream; it’s the reality you can achieve with our sensational homemade burger bun recipe, inspired by the baking maestros at King Arthur Flour.
This recipe isn’t just good; it’s legendary. When first shared online, it quickly garnered an outpouring of praise from home cooks and professional bakers alike, consistently being dubbed “THE BEST.” And we wholeheartedly agree. Our team of 17 recipe testers raved about their buttery texture, golden hue, and satisfying brioche-like qualities. If you’re ready to transform your burger nights, read on to discover the secrets behind these extraordinary buns.
Why Homemade Burger Buns Are a Game-Changer
Opting for homemade burger buns over their store-bought counterparts offers a multitude of benefits that profoundly impact your dining experience. Beyond the undeniable freshness, making your own buns gives you complete control over ingredients, allowing you to tailor them to your taste and dietary preferences. You avoid artificial preservatives and often excessive sugar found in commercial breads, resulting in a cleaner, more wholesome product.
Furthermore, the texture of homemade buns is simply incomparable. Commercial buns are often too airy, bland, or collapse under the weight of a hearty burger. Our recipe, however, yields buns that boast a delightful balance—light and tender on the inside, with just the right amount of chew and a sturdy crust that holds up to all your favorite toppings and condiments. The rich, buttery flavor and hint of sweetness complement both savory beef and plant-based burgers, enhancing every bite. The satisfaction of pulling a tray of golden, aromatic buns from your own oven is a culinary reward in itself.
Perfecting Your Bun Finish: Options and Tips
The final touch before baking can significantly alter the appearance, texture, and even flavor of your burger buns. Here are a few excellent options to consider:
- Butter Brush: Brushing your buns with melted butter, as this recipe suggests, imparts a gorgeous soft, golden-brown finish with a subtle sheen. The butter also contributes to a tender crust and an irresistible buttery aroma. Apply it before baking for a rich color and immediately after for a satiny, soft crust that stays supple.
- Naked Finish: For a more rustic appearance and a drier, flour-dusted texture, you can choose to leave your buns unbrushed. This approach results in a less shiny crust, often preferred for heartier sandwiches where a softer, more absorbent bun might be desired.
- Egg Wash (Egg Whites): If you desire a darker, shinier, and slightly crispier crust, an egg white wash is your best bet. Simply whisk an egg white with a tablespoon of water and brush it over the buns before baking. This method is also ideal for adhering toppings like sesame or poppy seeds, ensuring they stick firmly throughout baking. (See our Seeded Burger Buns variation below for more details.)
- Egg Wash (Whole Egg): For an even richer, darker, and glossier finish than egg whites alone, you can use a whole egg whisked with a splash of milk or water. This creates a beautifully burnished crust that stands out.
The Best Homemade Burger Buns Recipe
Burger Buns
Soft, vaguely sweet, and boasting a beautiful golden-yellow hue from the butter and egg, these simple buns are utterly perfect for any burger—whether classic beef, juicy chicken, or a satisfying plant-based patty. They also make fantastic carriers for your favorite sandwich fillings.
Recipe by David Leite
Course: Mains
Cuisine: American
Servings: 12 buns
Calories: 198 kcal (per bun)
Prep Time: 25 minutes
Cook Time: 15 minutes
Total Time: 1 hour 45 minutes
Ingredients
- 3/4 to 1 cup lukewarm water
- 2 tablespoons unsalted butter, cold, cut into pieces
- 1 large egg
- 3 1/2 cups King Arthur Unbleached All-Purpose Flour
- 1/4 cup granulated sugar
- 1 1/4 teaspoons salt
- 1 tablespoon instant yeast
- 3 tablespoons butter, melted, plus more for the baking sheet
Instructions
- Mix and knead all of the dough ingredients except for the melted butter by hand, mixer, or bread machine until a soft, smooth dough forms. The dough should be slightly tacky but not sticky enough to cling to your hands excessively.
- Cover the dough and let it rise in a warm place for 1 to 2 hours, or until it has nearly doubled in bulk. This first rise allows the yeast to develop flavor and the gluten to relax.
- Gently deflate the risen dough by pressing down on it to release the air. This makes it easier to handle and shape.
- Divide the dough into 12 equal pieces. For precise and uniform buns, you can weigh each piece to ensure they are consistent. Shape each piece into a round ball. Then, gently flatten each ball to a squat, round blob about 2 1/2 inches (8 cm) across. Alternatively, for an even easier method, gently deflate the dough and form it into a smooth 8-inch (20-cm) log. Using a serrated knife or dough scraper, slice the log into 12 pieces. Gently tug the edges of each piece underneath the ball of dough to form a squat, round bun.
- Place the shaped buns on a lightly buttered or parchment-lined baking sheet, ensuring they have enough space to rise without touching. Cover them loosely with plastic wrap or a clean kitchen towel and let them rise again for about an hour, or until they are noticeably puffy and almost doubled in size.
- While the buns are on their second rise, preheat your oven to 375°F (190°C).
- Once the buns are puffy, brush them generously with about half of the melted butter. This initial brush helps create a beautiful golden crust. Bake the buns for 12 to 18 minutes, or until they are golden brown on top and sound hollow when tapped on the bottom.
- As soon as you remove the baked buns from the oven, immediately brush them with the remaining melted butter. This final brush will give the buns a wonderfully satiny finish and a tender, buttery crust.
- Transfer the buns to a wire rack to cool completely. Allowing them to cool fully prevents them from becoming soggy and helps maintain their perfect texture. Proceed as desired with your burgers or sandwiches.
Notes & Variations
Seeded Burger Buns Variation
For those who love the classic touch of sesame or poppy seeds, this variation is for you. Instead of brushing the buns with melted butter prior to baking, prepare an egg wash (one egg white whisked with a tablespoon of water). Brush the buns with this egg wash, then generously sprinkle your chosen seeds on top. The egg wash acts as a natural adhesive, ensuring the seeds stick throughout the baking process. Bake as instructed. If you’re feeling extra indulgent, you can add an additional egg yolk to the dough in the initial mixing stage for a slightly richer bun, making sure to adjust the liquid slightly if needed.
Loaf Bread Variation
A clever adaptation of this recipe, affectionately dubbed “bun bread” by Leite’s Culinaria reader Sarah of The Cook’s Life, transforms these delicious buns into a versatile loaf. Simply follow the recipe through the first rise. Instead of dividing and shaping into individual buns, shape the entire batch of dough into one smooth loaf. Place it in a standard 9-by-5-inch loaf pan and bake at 350°F (175°C) for approximately 30 minutes, or until it’s deeply browned, sounds hollow when tapped, and registers an internal temperature of 190°F to 200°F (88°C to 93°C) with an instant-read thermometer. Keep an eye on the crust; if it starts to brown too quickly, you can loosely tent it with aluminum foil. For those who prefer a less sweet bread, Sarah suggests reducing the granulated sugar to 2 tablespoons or even 1 tablespoon without any other recipe adjustments. Sarah also experimented with substituting some all-purpose flour with white whole-wheat flour, a tweak we encourage adventurous bakers to explore!
Slider Buns Variation
We understand that one size doesn’t fit all when it comes to burger buns. Whether you’re making colossal burgers or miniature sliders, this recipe is incredibly adaptable. For slightly larger, more substantial buns (perfect for a hefty 1/3-pound patty), divide the dough into 8 pieces instead of 12. Adjust the baking time slightly, typically 15 to 18 minutes. If you’re catering to a crowd with adorable wee slider buns, aim for about 3 inches in diameter. Divide the dough into 24 pieces and bake for a shorter duration, usually 12 to 15 minutes. Always keep an eye on the color to ensure they don’t overbake, as smaller buns will cook faster.
Nutrition
Serving: 1 burger bun
Calories: 198 kcal
Carbohydrates: 32 g
Protein: 4 g
Fat: 6 g
Saturated Fat: 3 g
Monounsaturated Fat: 1 g
Trans Fat: 1 g
Cholesterol: 28 mg
Sodium: 275 mg
Fiber: 1 g
Sugar: 4 g
Nutrition information is automatically calculated and should only be used as an approximation.
Tried this recipe? Mention @leitesculinaria or tag #leitesculinaria!
What Our Recipe Testers Had to Say
Our dedicated team of recipe testers put these burger buns through their paces, and the feedback was overwhelmingly positive. Their experiences highlight the simplicity and exceptional results of this recipe, making it a favorite for many. Read on for their genuine insights and tips:
Natalie Reebel
These burger buns were an absolute hit at our last barbecue! The recipe is incredibly simple and easy to follow—no tricky water temperatures or elaborate proofing steps required. It’s essentially a stir, rise, shape, and bake process, which makes it perfect for bakers of all skill levels.
I utilized the roll-into-a-log-and-slice method for shaping the buns, and it truly couldn’t have been more effortless. The resulting buns bake up with a texture somewhere between a rustic ciabatta roll and a classic hamburger bun. The tops develop a delightful crunch, while the interior remains wonderfully light and airy. They are incredibly satisfying without overpowering the robust flavor of the burger itself. Everyone at the party adored them!
Caroline Chang
Let me be clear: this is not your ordinary grocery store bun. This burger bun recipe delivers dense, undeniably delicious, and visually appealing buns, making them a must-try for serious burger connoisseurs. They truly elevate the entire burger experience.
Regarding their density, they are indeed a bit more substantial than what the average burger eater might expect. My personal solution? A quick toasting on the grill grates or in a buttered skillet adds a lovely crispness. I chose to make 12 buns instead of the suggested 8, which proved to be the perfect size for our 1/4-pound bacon Swiss burgers.
Cindy Zaiffdeen
I’m genuinely impressed with this burger buns recipe. It stands out as one of the simplest yeast dough recipes I’ve ever attempted. The process is wonderfully straightforward: just toss all the ingredients into a mixer bowl and let it work its magic. The resulting dough is incredibly soft and silky, making it a pleasure to handle.
The most challenging part of the entire process is forming the buns themselves, and even that is quite easy because this dough is so “manageable” and cooperative. I brushed my buns with melted butter and topped them with a sprinkle of sesame seeds, which toasted up beautifully during baking, adding a subtle crunch to the bun. The finished buns emerged from the oven with a lovely brown color, and were wonderfully soft and just a little sweet.
These buns are so easy to make and are vastly superior to the often bland, pillowy buns you typically find at the grocery store. I will absolutely be making these again!
Jo Ann Brown
What I particularly appreciate about this burger buns recipe is that the bun possesses exquisite brioche qualities—richness and a tender crumb—without being overly dense or heavy. If you take a moment to break down the steps, you’ll quickly realize just how simple this recipe truly is. It’s not at all excessive, especially when you consider the pursuit of perfect burger bliss that these buns provide.
I find myself wanting to make these delightful buns every week for our regular Saturday night burger cook-offs. I highly recommend aiming for 12 smaller buns rather than just 8. Unless you’re consistently eating massive 3/4-pound burgers, it can be quite challenging to fill the larger buns edge to edge without a smaller size.
Anne Petito
This recipe is incredibly easy to follow and serves as an excellent introduction for anyone who might feel intimidated by the process of baking bread from scratch. It truly demystifies yeast baking.
It’s quite refreshing to encounter a bread recipe that doesn’t demand overly specific instructions and still yields fantastic results. The method of combining all the ingredients at the same time, as opposed to dissolving the yeast separately, makes the mixing process a cinch. The rolls still rise beautifully, and an added bonus is that cleanup is considerably easier. After taking a bite of one of the cooled rolls, I initially harbored a slight skepticism about their substantial nature, worrying they might be too heavy for burgers or sandwiches. However, I was happily proven wrong!
I used these wonderful buns for lamb burgers, and the sturdy buns soaked up all the delicious juices without ever getting soggy or falling apart. The subtle sweetness of the bread also complemented the savory lamb meat exceptionally well. This recipe is a keeper!
Raye Tiedmann
I once had a hamburger bun recipe that I swore by, considering it my absolute favorite. However, this King Arthur recipe has completely changed my mind. While my old recipe was easy, this one is undeniably far superior, producing truly beautiful buns.
I opted to make these in my bread machine using the dough cycle. After the first rise, I removed the dough and skillfully formed it into individual bun shapes. They rose up beautifully during their second proofing, which took about an hour. After basting them generously with melted butter, they baked to perfection in just 14 minutes. Simply perfect in every way.
I’m a huge fan of all King Arthur products. I even sent my husband on a special trip to Lake Charles just to get me bags of their flour because it wasn’t available in Lafayette at the time – that’s how dedicated I am!
Bette Fraser
This incredibly easy bun recipe should find a permanent place in everyone’s recipe box. It is superior in every conceivable way to any store-bought bun, and it genuinely makes your burger taste that much better. The dough comes together quickly, rises rather rapidly, and the finished bun is utterly delicious with a lovely crumb structure. Once you make these, you’ll undoubtedly be hooked and never go back to pre-packaged buns!
Sandy Hill
These beautiful burger buns truly live up to their name! They were exceptionally soft, moist, perfectly golden, and created delicious little pockets of bread. I divided the dough into 12 pieces and brushed them generously with melted butter both before and after baking, which contributed to their exquisite texture and appearance.
I initially served them as rolls alongside garlic and herb butter, which was a huge hit. We had four buns left over, and I was delighted to find that they were just as good the very next day, retaining their wonderful softness! These seem to be an incredibly “all-purpose” roll, adaptable for many uses, and they provide a perfect starting point for beginner bread makers. Thank you for this fantastic recipe; it has now earned a spot in my permanent recipe file!
Kristen Kennedy
As a novice bread maker, I found this recipe to be surprisingly straightforward and wonderfully simple to execute. If you’re fortunate enough to own a stand mixer, it removes even more of the manual effort, making the process even more enjoyable!
The recipe notes offered a helpful tip regarding water amount and weather conditions. I found that I needed to use the full cup of water during a particularly hot, humid 100°F Virginia day to achieve the correct dough consistency. I would also suggest adding the yeast and sugar to the lukewarm water and allowing it to sit for a few minutes to ensure the yeast is active and thriving. There’s nothing quite as disappointing as dedicating time to making a beautiful dough only to discover it doesn’t rise. I’m eagerly looking forward to trying this recipe again, experimenting with an egg-white wash and a sprinkle of both sesame and poppy seeds.
Adrienne Lee
I’ve been relying on this recipe for years, and these have become my absolute go-to rolls for everything, from classic burgers to delightful breakfast buns. They are incredibly versatile and consistently deliver fantastic results.
These buns taste superb and are neutral enough to pair with virtually any dish, yet they possess enough inherent flavor to be enjoyed on their own, perhaps alongside a bowl of pasta. The recipe provides guidance on using 3/4 versus 1 cup of water, which is helpful, but ultimately, the baker needs to pay close attention to the dough’s texture. It’s always easier to gradually add more flour than to try and incorporate more water into an overly wet dough. When I was first learning, I was taught not to add too much flour. Instead, you’re aiming for a dough that has sufficient flour to allow for good gluten development—meaning the dough will hold together cohesively without being runny.
While this version doesn’t specify mixing time, a good rule of thumb is about 5 minutes in a stand mixer and perhaps 8-10 minutes if kneading by hand. I typically peek into the bowl around the 3-minute mark and add flour (or water) if needed. When you believe it’s ready, gently press your hand onto the dough; it should come off without being excessively sticky. If your hand is wet with dough, add a bit more flour and continue kneading until it reaches the right consistency.
After the first rise, the dough should be manageable, not so sticky that it’s difficult to handle. (Although I’ve worked with wetter doughs, they can be very challenging to portion evenly if too wet.) My baking time was closer to 12 minutes, so I would advise checking after 8 minutes—and rotating the baking sheet for even browning. The results are consistently excellent!
Lila Ferrari
This is an incredibly easy bun recipe to make, and it yields truly fantastic results every time. We prefer a softer bun, but one that absolutely doesn’t fall apart, and this recipe delivers exactly that. These rolls proved to be excellent supporting actors, perfectly complementing the main filling without overshadowing it.
The bun was robust enough to hold up beautifully to the mayonnaise-based dressing in a lobster salad, without becoming soggy or being overly heavy. The delicate lobster salad wasn’t outshone by the bun, yet you definitely knew the bun was there, adding a wonderful textural and flavorful component. I took the suggestion to use a smaller amount of water, as it was a particularly humid day, and this adjustment worked perfectly. The only thing I would personally change is to use a burger mold or rings to achieve perfectly round buns for an even more polished presentation.
Sheri C.
Fluffy and rich, yet not quite as decadent as a full brioche, these buns are remarkably simple to prepare. They emerge from the oven beautifully soft and, thanks to a generous coating of melted butter on top, maintain that wonderful softness. We absolutely adored these buns and served them with our barbecue pork burgers, where they performed admirably.
Lydia Brimage
This recipe was a joy to follow, from accurately weighing out the ingredients to preparing and baking. The instructions were wonderfully clear and concise, providing just enough detail without being overwhelming. I was able to create 8 perfectly good-sized buns, which turned out slightly sweet and possessed a pleasingly dense crumb consistency. A great bonus: the buns kept exceptionally well until the next day, retaining their desirable softness beautifully.
Jean Moats
If you’re on the hunt for truly delicious burger buns, I wholeheartedly recommend trying this recipe for beautiful burger buns. It’s a very simple one to follow, yet it consistently creates an exquisite taste that elevates any meal.
Next time I prepare these, I plan to make the smaller buns, aiming for a yield of 12 instead of 8. This recipe is also fantastic for party planning, as you can easily make these buns the day before your event. Expect to dedicate about 4 hours in total, but the beauty of it is that the process is broken down, allowing you to handle the dough in stages and return later for the subsequent steps. I successfully made this recipe using my heavy-duty stand mixer, which made the kneading process a breeze.
Carol Mattox
This recipe for burger buns immediately appealed to me because most buns I typically purchase are often too airy and frankly, quite flavorless. While those might be acceptable for shredded chicken or pulled pork, for a substantial, hefty burger, I crave a bun with more substance and a richer flavor profile. I particularly appreciate that the recipe thoughtfully includes different portioning and baking times to allow for a variety of bun sizes, ranging from adorable sliders to generously sized, ‘BIG’ burger buns.
I am a frequent bread baker, and I usually prefer to make my dough by hand rather than relying on my mixer. For consistency, I chose to prepare this recipe by hand as well. Following the recipe’s note, I started with the smaller amount of water. As I gradually incorporated the flour, I found that the dough became wonderfully smooth and elastic even before I reached the specified total amount of flour. In fact, the amount of flour I ended up using was closer to 3 1/4 cups, and barely that. This highlights the importance of observing the dough’s texture over rigidly adhering to exact measurements, especially with varying humidity levels.
Normally, I brush melted butter on my baked bread only after it comes out of the oven. This recipe, however, instructed brushing with melted butter both before baking and again after, so I followed it precisely. I’m not entirely certain if this dual brushing resulted in significantly greater softness compared to just brushing after baking, but the buns were certainly delicious! I opted to make the 8 larger buns, and they baked up beautifully golden brown with a luxurious, satiny, buttery crust, exactly as the recipe described.
The texture was perfectly balanced—neither overly dense nor excessively airy. When I sliced the buns, there were no large holes or dry, crumbly bits. Crucially, these buns held up incredibly well to our 1/3-pound burgers, never getting soggy or falling apart, even until the very last bite. This is truly a reliable and satisfying recipe for burger enthusiasts!
Larry Noak
These are, without a doubt, my absolute go-to burger buns. Once you have this recipe in your repertoire, there’s truly no need to search for any other. Their versatility is fantastic; you can easily make them generously large for substantial burgers or scale them down perfectly for sliders. I’ve experimented extensively with egg washes and a variety of seeds, including classic sesame, distinctive caraway, and delightful poppy seeds, all with superb results. Beyond being a fantastic hamburger bun, they are also quite exquisite served straight from the oven with just a touch of butter, making for a simple yet indulgent treat.
Adriana Pecunia
This was a wonderfully simple recipe that proved incredibly easy to follow, even for those less experienced with bread making. The flavor profile is fantastic, and I actually found myself enjoying them most when we ate them warm from the oven, simply slathered with butter. A pure delight!
The use of instant yeast significantly speeds up the dough assembly and shortens the rising time, which is a huge convenience. I also deeply appreciate any bread recipe that doesn’t specifically call for bread flour, as my pantry space is limited, and I have to draw the line somewhere on specialized ingredients. The recipe didn’t specify whether the butter incorporated into the dough should be melted or softened, so I added it melted, anticipating its use for a later step, and it worked out perfectly fine.
I made 8 buns as per the initial recipe suggestion, and each weighed approximately 4 ounces. This felt like a significant amount of bread, especially when my burgers themselves typically weigh only 4 to 6 ounces. I would definitely opt to make the rolls smaller next time to achieve a better bun-to-burger ratio. Additionally, I wasn’t particularly fond of the step that called for slightly flattening the rolls after shaping. We all agreed that the rolls I chose not to flatten actually looked aesthetically better and retained a more natural, appealing dome. For sandwiches, I personally found the buns a bit too heavy and dense. However, I was in the minority within my group, as everyone else absolutely loved them with their burgers.
Despite my minor preferences, I will absolutely make these again, but I’ll make them smaller and serve them as versatile dinner rolls or for lighter sandwich fillings.