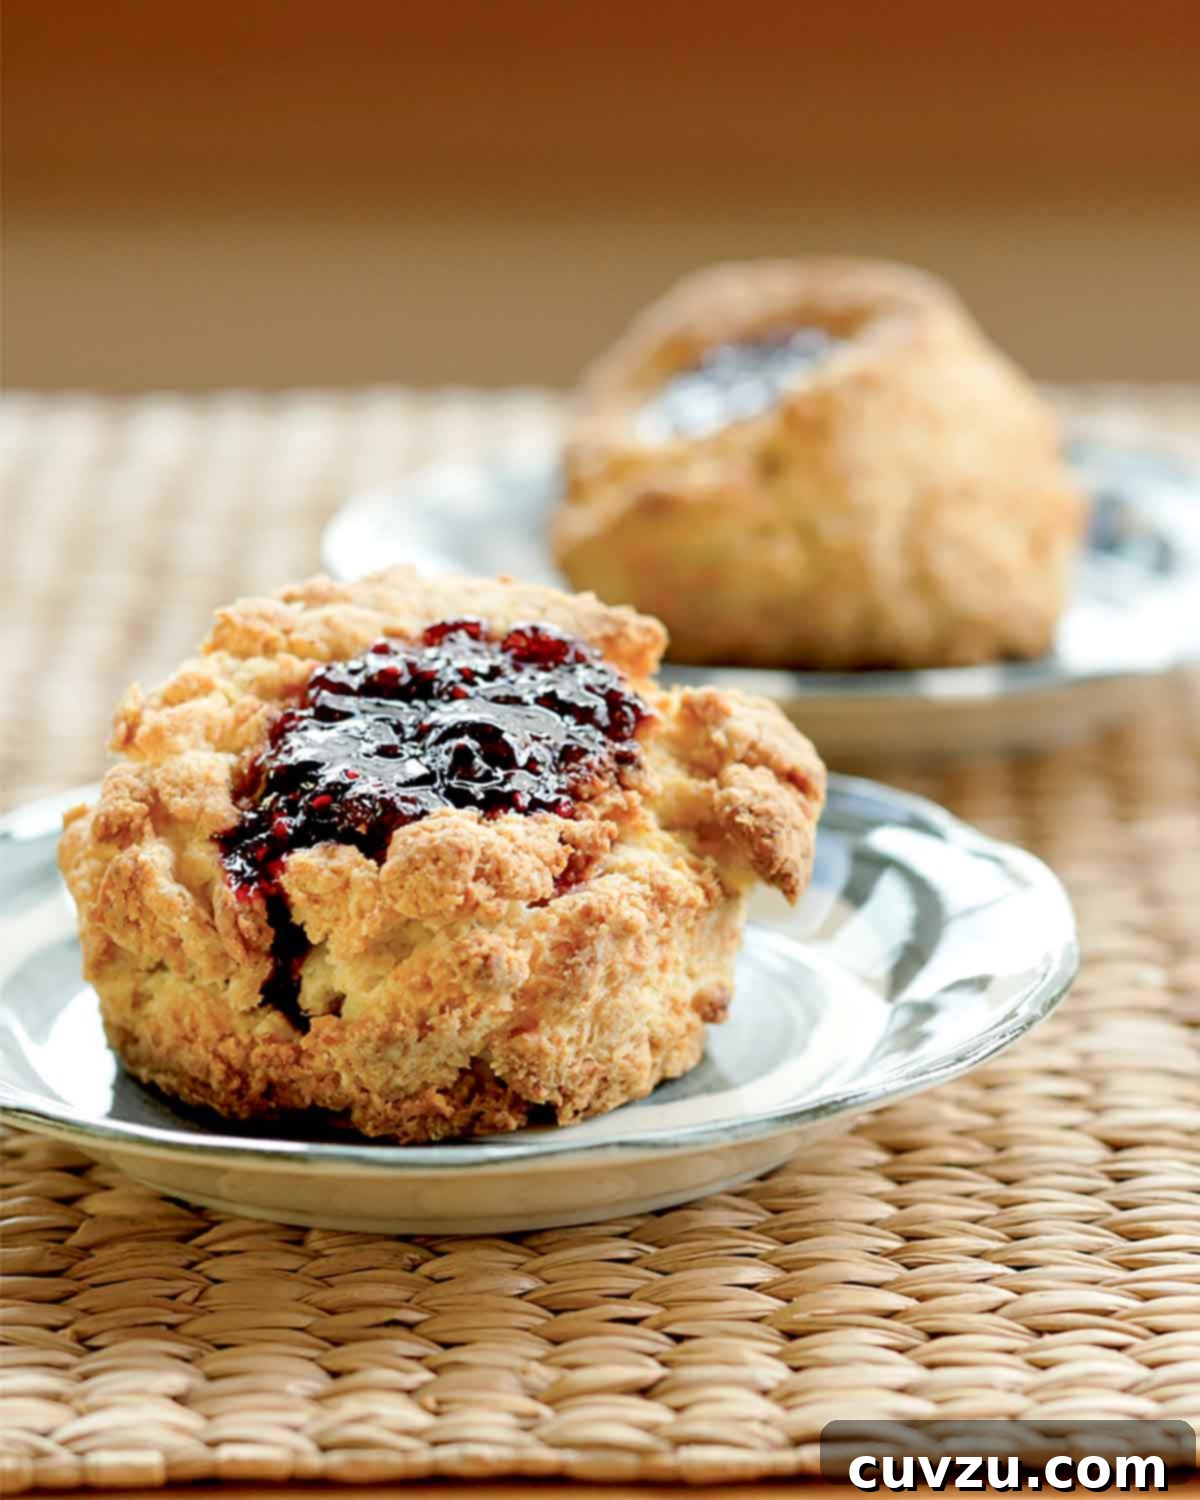
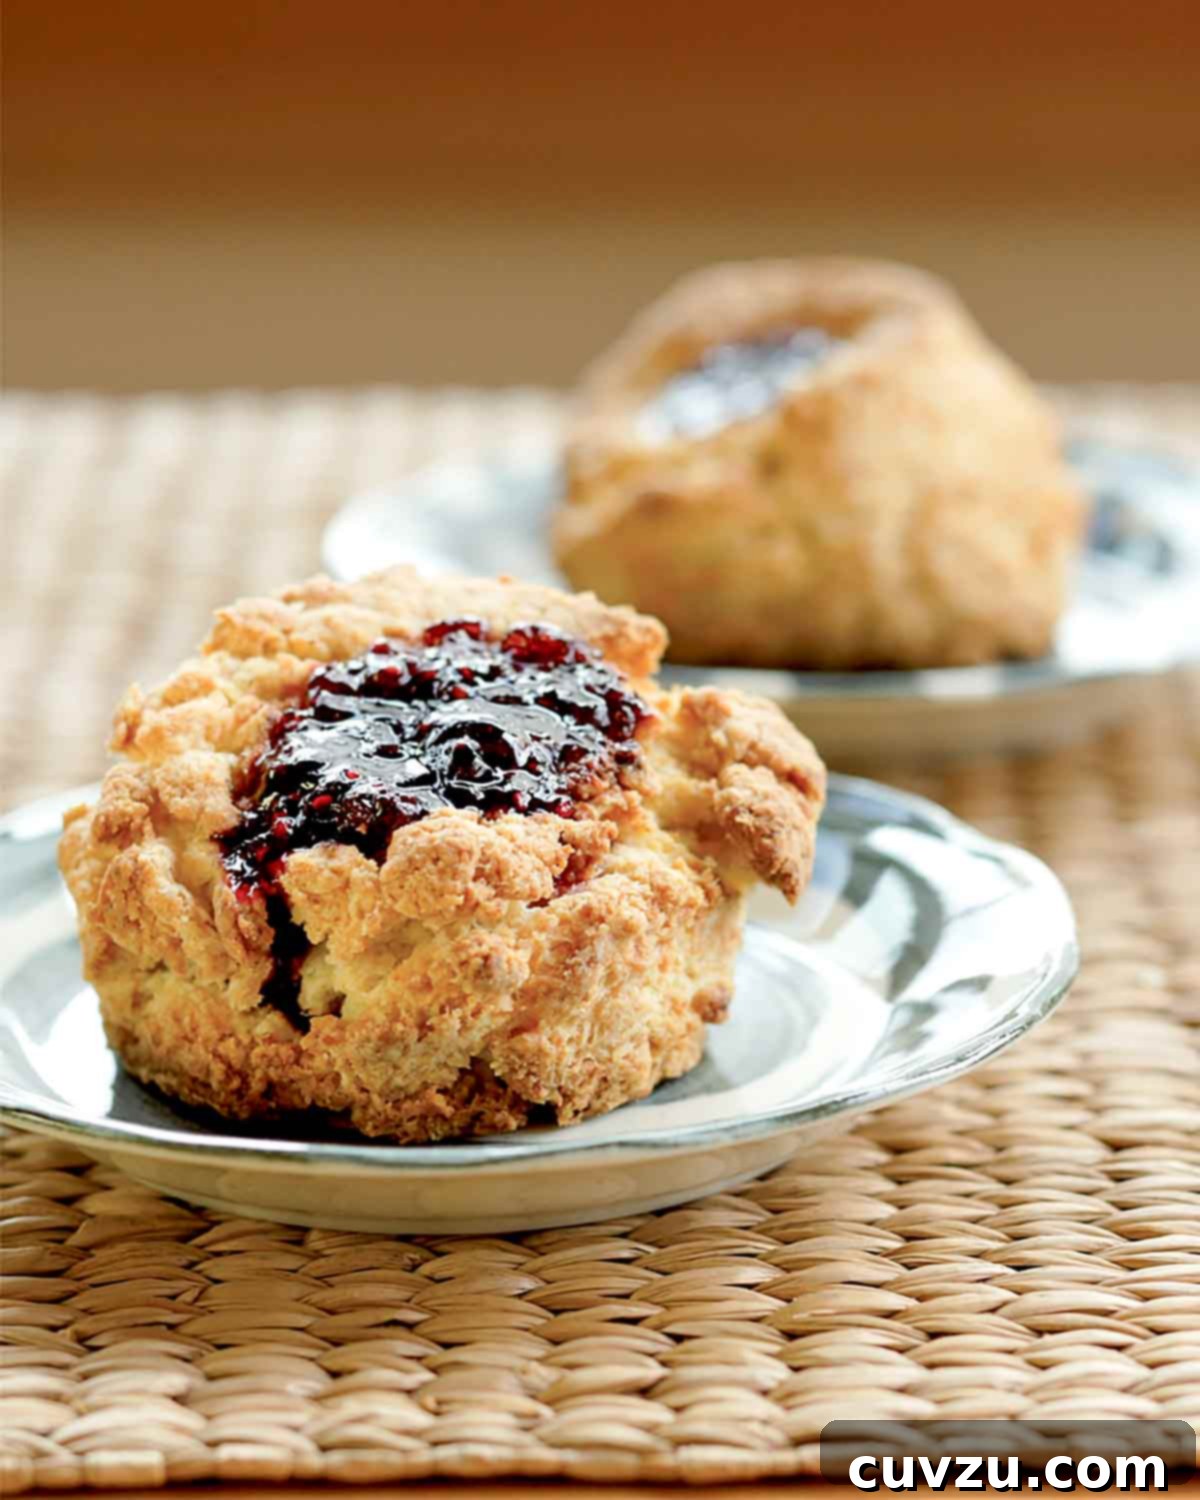
Welcome to a culinary journey inspired by the legendary Grand Central Bakery in Portland, Oregon. Today, we’re diving into the delightful world of their iconic **jammers recipe**. But what exactly are jammers? Imagine incredibly tender, flaky buttermilk biscuits, freshly baked to golden perfection, each cradling a luscious pool of warm, fruity jam that artfully spills over its edges. This recipe transforms a simple biscuit into an irresistible treat, making it a perfect centerpiece for breakfast, brunch, or an anytime indulgence.
TL;DR (Quick-Answer Box)
- What they are: A buttery, jam-filled biscuit featuring a tender, flaky interior and a slightly crisp crust, a beloved creation from a famous Portland, Oregon bakery.
- Why you’ll love them: This recipe makes achieving light, fluffy, and flavorful biscuits effortlessly. Each bite offers a harmonious balance of rich biscuit and sweet, gooey jam. Plus, with easy overnight prep options, you can enjoy these fresh from the oven even on a busy weekday.
- How to make them: Begin by incorporating cold butter into your dry ingredients. Gently bring the dough together, then cut it into circles. Create a small indentation in each biscuit to hold a generous spoonful of your favorite jam before baking.
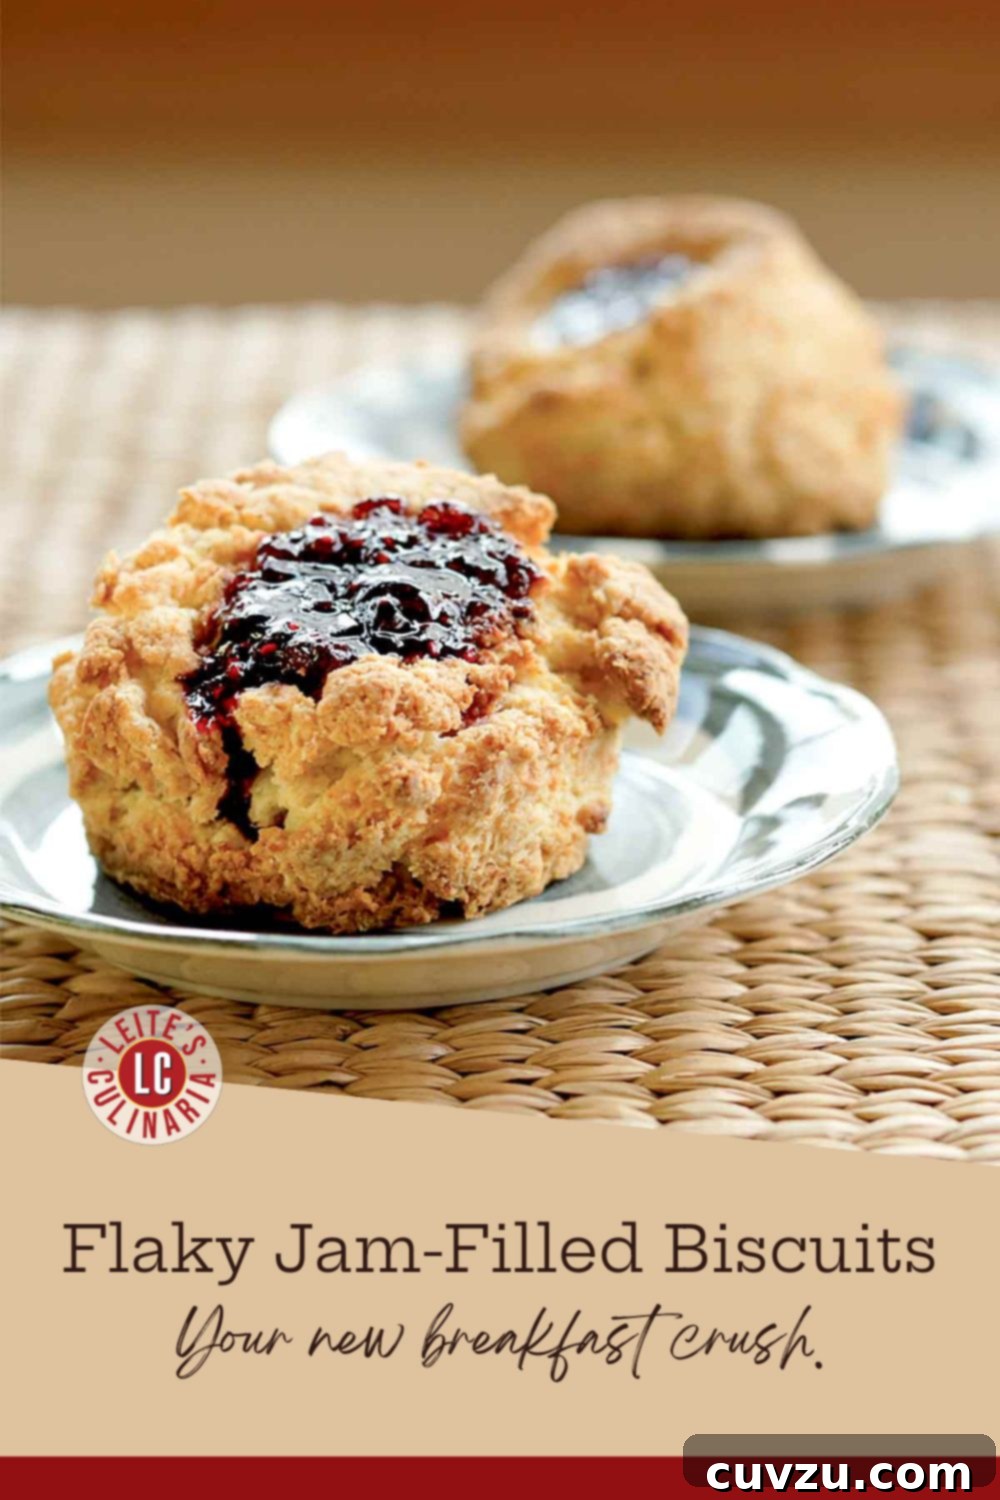
Few things compare to the joy of biting into a jammer, still warm from the oven. The biscuit yields with a tender crumbliness, while the jam center oozes with sweet, fruity goodness. The secret to achieving this ethereal flakiness lies in keeping your ingredients, especially the butter, ice-cold. For ultimate convenience, you can easily prepare the dry ingredients and cut in the butter the night before. The following morning, simply add the buttermilk, shape the biscuits, fill them with jam, and bake them to perfection, transforming your breakfast routine into a delightful ritual.
The Secret to Perfectly Flaky Jammers: Mastering Cold Butter
Creating biscuits that are wonderfully light and flaky is a culinary art, and the cornerstone of this art lies in one crucial ingredient: cold butter. The magic happens during baking when these chunky bits of butter melt, releasing steam that pushes apart the layers of dough, resulting in a gazillion delicate, airy flakes. To ensure this process unfolds beautifully, it’s paramount that every component of your dough—from the butter to the buttermilk and even the flour—remains as cold as possible. Start with chilled ingredients and work quickly during mixing and shaping to prevent the butter from softening.
There are several effective methods to incorporate cold butter. You can dice the butter into small cubes and quickly cut it into the dry ingredients using a pastry blender, two knives, or even your fingertips (though work fast to avoid warming the butter). For an even finer, more consistent distribution, some bakers prefer grating frozen butter directly into the flour mixture. Another excellent technique involves using a food processor, pulsing briefly until the butter is pea-sized. The key is to leave visible pieces of butter; don’t aim for a smooth, homogenous mixture. These pockets of butter are what will ultimately create those coveted flaky layers, making each bite of your jammer an unforgettable experience.
Choosing Your Jam: A Guide to Jammer Fillings
While the biscuit itself is a masterpiece, the jam filling is what truly defines a jammer. The choice of jam can transform the entire experience, offering a spectrum of flavors and textures. Traditionally, berry jams like strawberry, raspberry, or blueberry are popular choices, providing a sweet and slightly tart contrast to the buttery biscuit. However, don’t limit yourself!
- Classic Berries: Strawberry, raspberry, and blueberry jams are always a hit. Their vibrant flavors and often seed-studded textures provide a delightful burst with every bite.
- Stone Fruits: Apricot, peach, or cherry preserves offer a different kind of sweetness, often with a richer, deeper fruit flavor that pairs wonderfully with the biscuit’s richness.
- Exotic Flavors: For an adventurous twist, consider fig jam, passion fruit curd, or even a spicy pepper jelly for a savory-sweet surprise.
- Homemade vs. Store-Bought: While a high-quality store-bought jam works perfectly, homemade preserves can add an extra layer of love and unique flavor. If using homemade, ensure it’s not too runny, as this can make the jam prone to leaking during baking.
Consider the consistency of your chosen jam. Thicker jams or preserves with whole fruit pieces tend to hold their shape better within the biscuit’s indentation. If your jam is particularly runny, you might gently warm it and stir in a tiny pinch of cornstarch before filling to help it set during baking. No matter your preference, the right jam will elevate your jammers from good to absolutely glorious.
Essential Ingredients for Exceptional Jammers
Like many classic recipes, jammers rely on a few key ingredients, each playing a vital role in the final texture and flavor. Understanding their purpose can help you achieve the best possible results.
- All-Purpose Flour: The foundation of our biscuit, all-purpose flour provides the structure. Avoid over-measuring by spooning flour into your measuring cup and leveling it off, rather than scooping directly from the bag.
- Granulated Sugar: A modest amount of sugar sweetens the biscuit subtly and aids in browning, giving the jammers their appealing golden crust.
- Baking Powder & Baking Soda: These are our leavening agents. Baking powder provides an initial lift, while baking soda reacts with the acidity of the buttermilk to create additional carbon dioxide, resulting in a lighter, taller biscuit. Ensure your leavening agents are fresh for optimal rise.
- Salt: Essential for balancing the sweetness and enhancing the overall flavor of the biscuits.
- Cold Unsalted Butter: As discussed, cold butter is paramount for flakiness. Unsalted butter allows you to control the total sodium content in the recipe.
- Buttermilk: This acidic dairy product is crucial. It tenderizes the dough, reacts with the baking soda for leavening, and imparts a distinct tang and richness. If you don’t have buttermilk, you can easily make a substitute by adding 1 tablespoon of lemon juice or white vinegar to a liquid measuring cup, then filling the rest with regular milk to reach the required amount. Let it sit for 5-10 minutes until it slightly curdles.
Each ingredient works in harmony to create the perfect jammer. Using high-quality, fresh ingredients will undoubtedly make a noticeable difference in the taste and texture of your homemade jammers.
More Melt-in-Your-Mouth Biscuit Recipes
Ham and Cheddar Biscuits
Total Time: 50 mins
Quick Sticky Biscuits
Total Time: 1 hr 15 mins
Cat Head Biscuits and Gravy
Total Time: 1 hr
Sweet Potato Biscuits
Total Time: 45 mins
Were These Jammers Your Jam?
We’d love to hear about your experience with this recipe! What preserves did you choose to fill your biscuits? Did you share these delightful jammers at a cozy brunch, or perhaps enjoy them all to yourself? Please leave a review, a star rating, and if you’re feeling extra sweet, a photo of your warm, homemade biscuits. Your feedback helps us all, and I personally read every single one.—David
Featured Review
This jammer recipe turned out perfect! I’ve always enjoyed them at the bakery, and it’s fun to also make them at home. I don’t have a stand mixer, so I froze the butter for about an hour and then grated it with a cheese grater like I do for pie crust and just mixed everything with my fingers. They were flaky and beautiful.
Rose
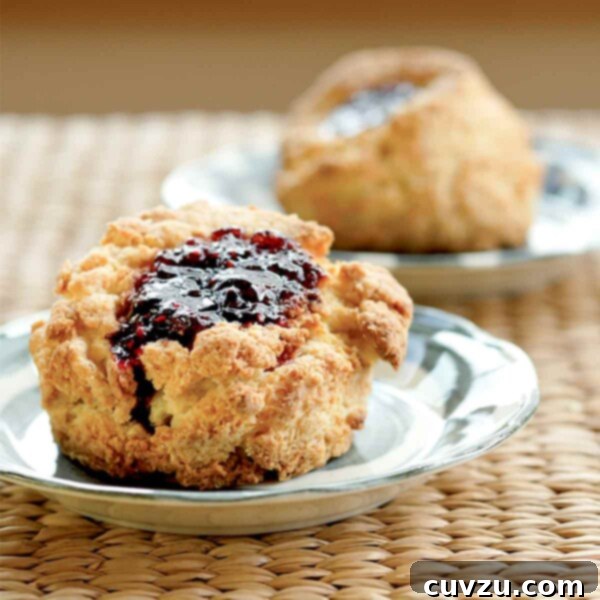
Grand Central Bakery Jammers
Rated 5/5 based on 4 votes
David Leite
- PIN
Ingredients
- 4 cups all-purpose flour
- 3 tablespoons granulated sugar
- 2 teaspoons baking powder
- 1 1/2 teaspoons salt
- 1 teaspoon baking soda
- 2 sticks (8 oz) cold unsalted butter, plus more for the baking sheet
- 1 1/4 to 1 1/2 cups buttermilk, (either low-fat or full-fat)
- 3/4 cup preserves or jam
Instructions
Prep the oven and pan
-
Preheat your oven to 350°F (175°C). Lightly butter a baking sheet, or for easy cleanup, line it with parchment paper. This ensures your jammers don’t stick and achieve a beautiful golden bottom.
Make the jammer dough
-
In a large bowl with high sides, or the bowl of a stand mixer, combine the 4 cups all-purpose flour, 3 tablespoons granulated sugar, 2 teaspoons baking powder, 1 1/2 teaspoons salt, and 1 teaspoon baking soda. Whisk these dry ingredients thoroughly to ensure they are well combined and evenly distributed. This step is crucial for an even rise.
-
Dice the 2 sticks (8 oz) of cold unsalted butter into 1/2-inch (12-mm) cubes. Add the butter to the dry ingredients. Using your hands, a pastry blender, or the paddle attachment of your stand mixer on low speed, blend the butter into the flour mixture. Continue until the texture changes from silky to distinctly mealy, with visible pieces of butter ranging from dime- to quarter-size still remaining. Remember, these chunks are key to flakiness. If preparing ahead, cover the bowl with plastic wrap and refrigerate the biscuit dough overnight.
-
Create a well in the center of the flour and butter mixture. Pour in 1 cup of the buttermilk all at once. Gently mix the dough just until it barely comes together. It will appear rough and somewhat scrappy, which is perfectly normal. Scrape any dry flour or dough from the sides and bottom of the bowl. Then, add another 1/4 cup of buttermilk and mix gently again to incorporate any remaining floury scraps. If using a stand mixer, most of the dough will gather on the paddle. Stop mixing as soon as the dough forms 2 to 3 large, messy clumps, leaving only minimal scraps around the bowl. The dough should still have visible chunks of butter and floury patches. If the dough appears excessively dry or crumbly, incorporate up to an additional 1/4 cup of buttermilk, adding it 1 tablespoon at a time and mixing just one rotation after each addition to avoid overworking the dough.
Shape the biscuits
-
Turn the dough out onto a lightly floured surface. Using the heels and sides of your palms, gently gather the dough and pat it into an oblong shape, about 1 1/2 to 2 inches (4 to 5 cm) thick. It will not be perfectly smooth or cohesive, and that’s exactly what you want for a rustic, flaky biscuit.
-
Using a biscuit cutter (ideally at least 2 1/2 inches, or 7 cm, in diameter), cut out the jammer circles. Try to cut straight down without twisting the cutter to ensure a good rise. Gather any leftover dough scraps, stack them gently on top of one another (avoid kneading), pat them out to the same 1 1/2 to 2-inch thickness, and cut additional circles.
Fill the biscuits
-
With your thumb, make a generous indentation, roughly the size of a fifty-cent piece, in the middle of each biscuit. While gently supporting the outside edge of the biscuit with your fingers, use your thumb to create a bulb-shaped hole that is slightly wider at the bottom and extends almost to the base of the biscuit (think of shaping a small pinch pot). It’s important to apply as little pressure as possible to the biscuit’s exterior to avoid compressing the delicate layers you’ve worked to create, which are essential for flaky jammers. Fill each indentation with 1 tablespoon of your chosen jam. Carefully place the filled jammers on your prepared baking sheet, ensuring there is about 1 1/2 inches of space between them to allow for expansion.
Bake
-
Bake the jammers in the preheated oven for 35 to 40 minutes. Halfway through the baking time, rotate the pan to ensure even browning. The jammers are ready when they achieve a deep, inviting golden brown color and the jam is bubbling and caramelized around the edges.

Adapted From
The Grand Central Baking Book
Buy On Amazon
Explore More with AI
Nutrition
Nutrition information is automatically calculated, so should only be used as an approximation.
What Our Recipe Testers Thought
We believe in recipes that truly deliver! That’s why we put our recipes to the test with real home bakers. Here’s what some of our trusted recipe testers had to say about making these Grand Central Bakery Jammers:
Tracey G.
This is a phenomenal jammer recipe! The jam-filled biscuits have a crunchy crust and a soft interior. I’ve often tried to make biscuits at home without achieving this balance, but I had no problems whatsoever with this well-written recipe. I love not only the flavor of the jams (I used homemade apricot jam and homemade blueberry jam) but the gorgeous jewel tones of the finished product. I plan to make these on a regular basis for breakfast and will also make an assortment of them when I have people over for brunch.
Trista C.
In the past, biscuits and I have had a troubled relationship. I want them to rise; they spread into flat pucks. I want them to be tender and flaky; they end up gummy and dense.
But these jammers—wow! Mine turned out more craggy than flaky, but they were tender and rose upward, not outward. The ingredients came together very easily using my stand mixer, and the directions were very clear and easy to understand.
I used homemade huckleberry jam to fill the biscuits. The only change I’d make would be to make the holes for the jam wider and shallower, so you get a more even mix of jam and biscuit in each bite.