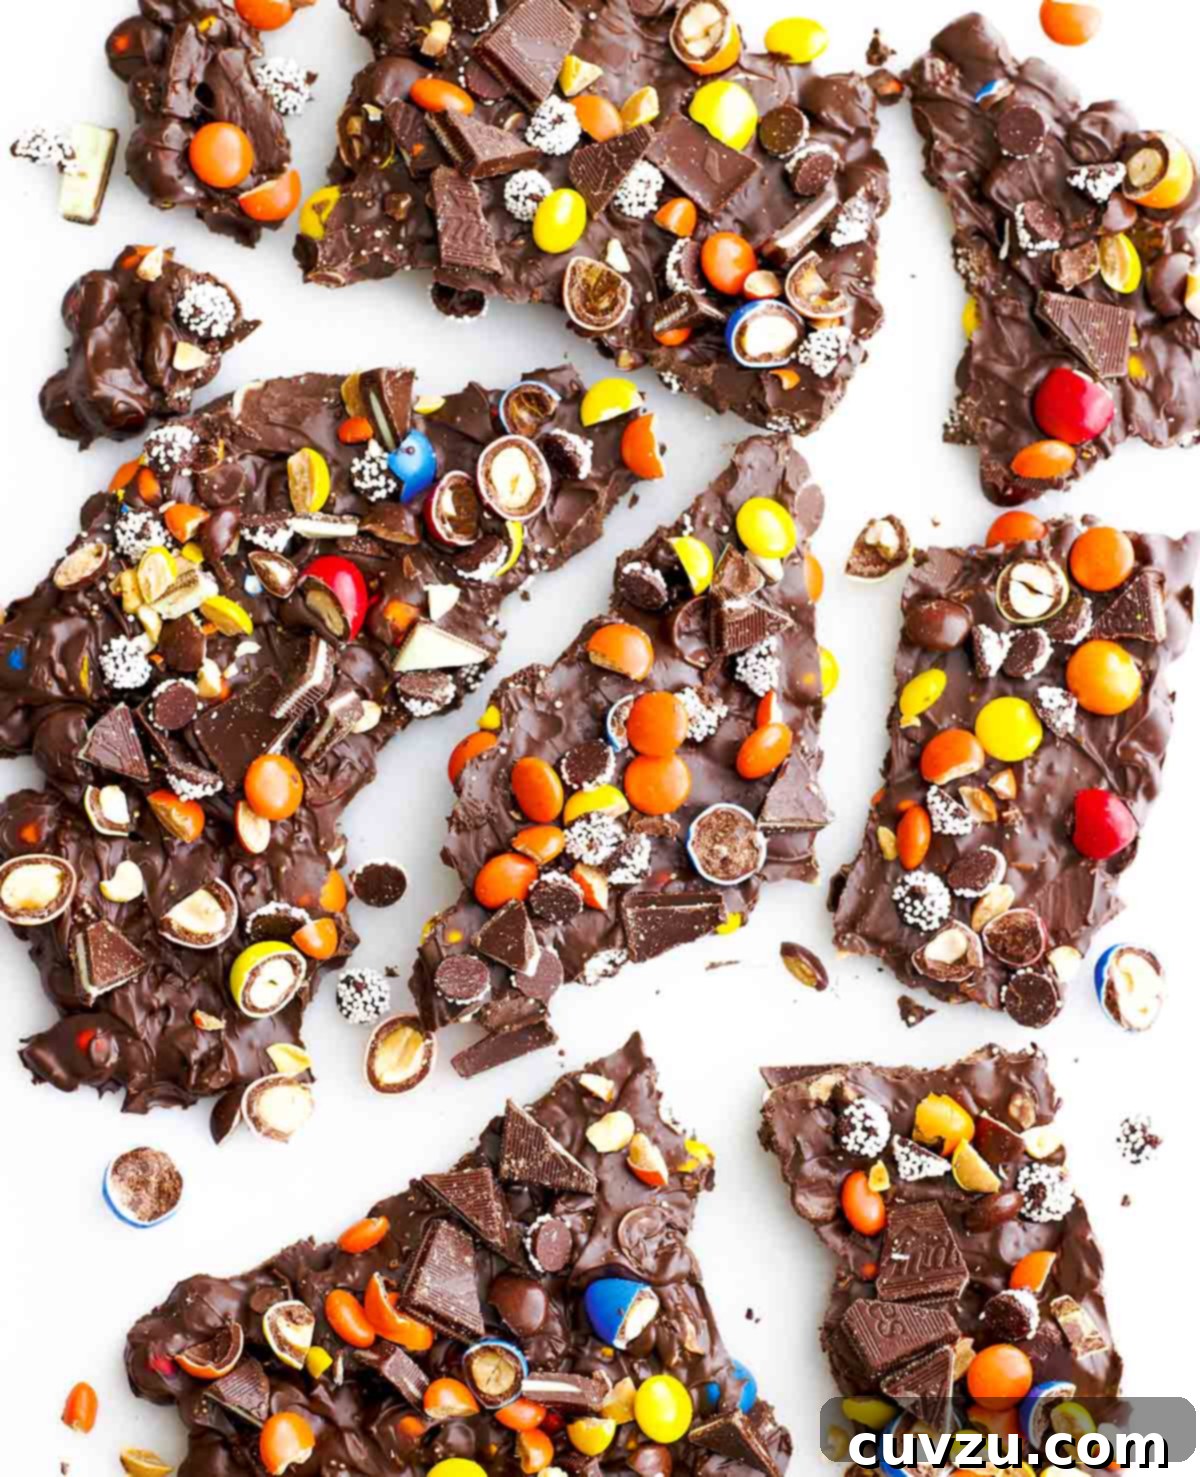
Leftover Halloween Candy Bark: A Spooktacular No-Bake Treat
Halloween brings a bounty of sweets, but what happens when the trick-or-treating is over and you’re left with a mountain of candy? Don’t let those delectable delights languish at the bottom of the bag! Our Leftover Halloween Candy Bark recipe transforms odds and ends into an inspired, dangerously addictive chocolate creation. Imagine a handful of miniature candy bars, a dash of fluffy marshmallows, and perhaps some crunchy pretzels, all united by a velvety smooth chocolate base. Ta-da! It’s pure magic, offering a delightful second life to your seasonal surplus and creating a treat that’s perfect for sharing, gifting, or simply enjoying yourself.
TL;DR (Quick-Answer Box)
- What it is: A remarkably easy, no-bake chocolate bark recipe crafted by melting rich semisweet chocolate and generously loading it with all your favorite leftover Halloween candies, cookies, and crunchy pretzels.
- Why you’ll love it: This is the ultimate no-fuss solution for repurposing that overflowing stash of trick-or-treat candy. It’s incredibly fast to prepare, completely customizable to your taste, and becomes an irresistibly addictive indulgence for any occasion, not just Halloween! (Think of it as a year-round treat, like Christmas candy bark!)
- How to make it: Simply melt chocolate in the microwave until smooth, stir in half of your chosen chopped candies, spread the mixture onto a baking sheet, and sprinkle the remaining delights on top. Chill until set, then break and enjoy!
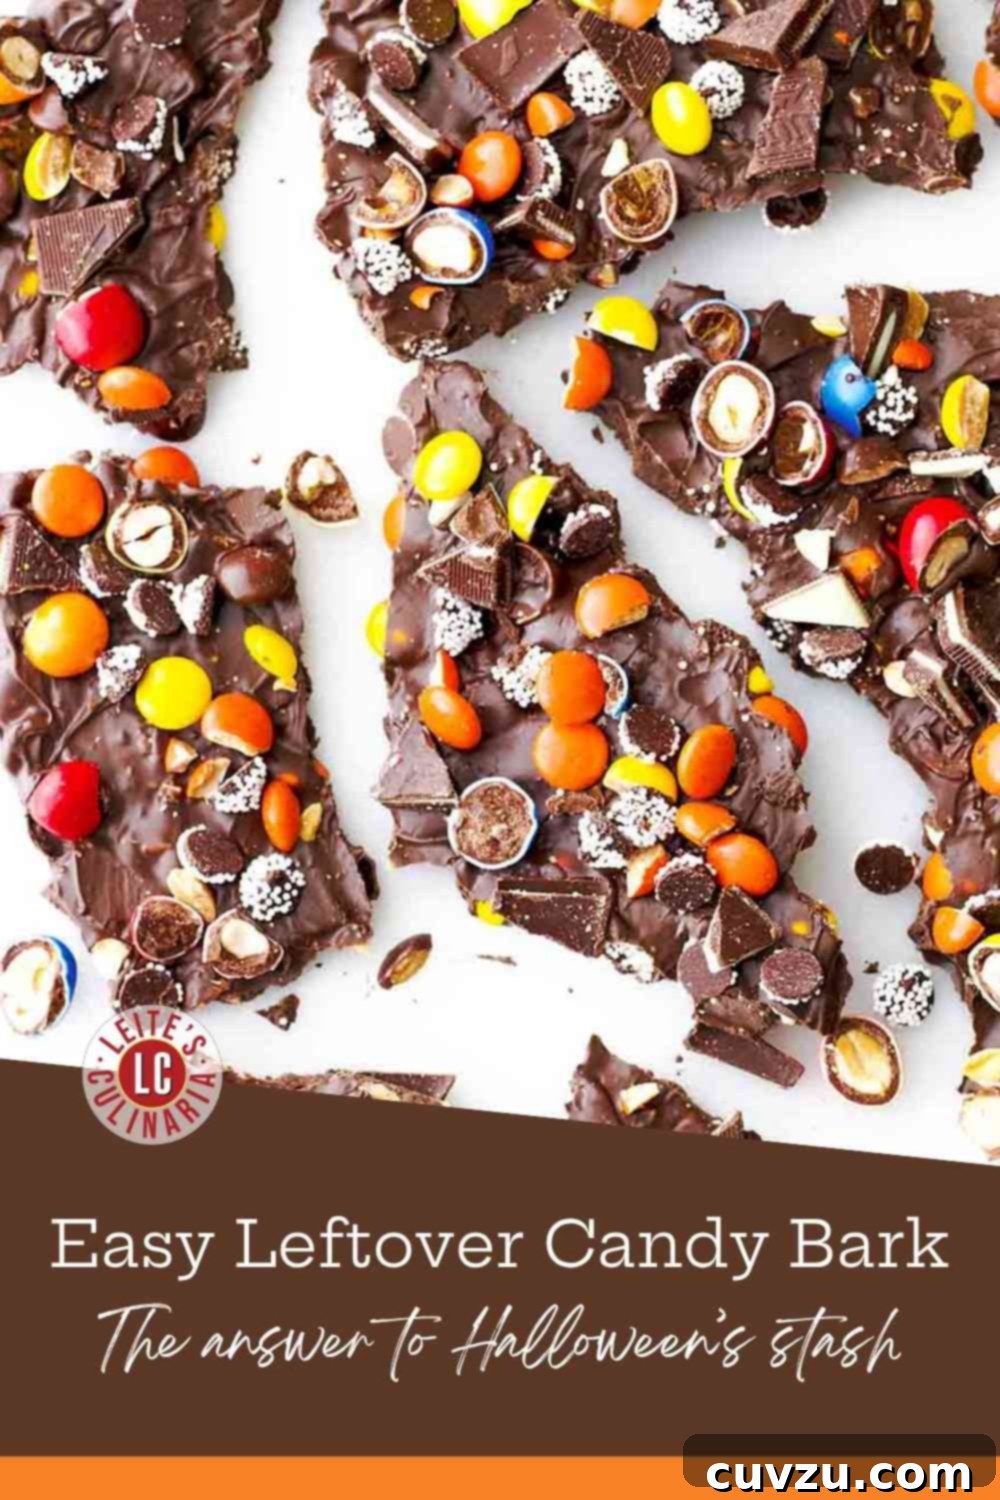
This Leftover Halloween candy bark recipe is a celebration of improvisation. You can use a delightful combination of candy bars, crunchy cookies, and chocolate-coated candies, or any other treats that catch your eye. The suggestions provided are merely a starting point—feel free to use your absolute favorites and experiment with exciting, unexpected combinations! –Jamie Geller
The Versatility of Candy Bark: Beyond Halloween
While this recipe brilliantly tackles your post-Halloween candy dilemma, the concept of candy bark is incredibly versatile and can be adapted for any season or celebration. It’s a fantastic no-bake dessert that requires minimal effort but delivers maximum impact. Imagine creating a festive batch for Christmas with peppermint candies and white chocolate, or a vibrant spring version with pastel M&M’s and dried fruit. Candy bark is not just about using up leftovers; it’s about culinary creativity and the joy of transforming simple ingredients into something extraordinary. Its customizable nature makes it a perfect activity for families, allowing everyone to contribute their favorite treats and create a truly unique confection.
Choosing Your Chocolate Base for the Perfect Bark
The foundation of any great candy bark is, of course, the chocolate. For this Leftover Halloween Candy Bark, we recommend a good-quality 60% cacao semisweet chocolate. This percentage strikes a perfect balance, offering a rich chocolate flavor that isn’t overly sweet, allowing the various candies and mix-ins to shine without being overshadowed. However, the world of chocolate is your oyster! You could opt for dark chocolate for a more intense, sophisticated flavor, milk chocolate for a sweeter, creamier base that kids often adore, or even white chocolate to create a striking contrast with colorful candies. High-quality chocolate melts smoother, sets better, and provides a far superior taste experience compared to compound chocolate or chocolate chips that contain stabilizers.
The Art of Mix-Ins: Beyond the Trick-or-Treat Bag
This is where the true fun begins! The beauty of Leftover Halloween Candy Bark lies in its endless customization. Don’t feel limited to just the candy you collected. Think about creating a symphony of textures and flavors. Here are some ideas to inspire your candy bark masterpiece:
Sweet Sensations
Classic Halloween candy bars like Snickers, Milky Way, Three Musketeers, and Twix are perfect candidates, providing chewy nougat, caramel, and crunchy bits. Miniature chocolate candies such as M&M’s, Reese’s Pieces, and Skittles add pops of color and bursts of flavor. Consider adding gummy bears for a chewy surprise, dried cranberries or cherries for a fruity tang, or even crumbled cookies like Oreos or shortbread for added texture.
Salty Surprises
To create a truly irresistible sweet and salty bark, incorporate ingredients like crushed pretzels or potato chips. The crispiness and saltiness cut through the richness of the chocolate and sweetness of the candy, creating an addictive contrast. Salted nuts, such as peanuts, almonds, or pecans, also work wonderfully, adding both crunch and a savory depth.
Texture Play
Mini marshmallows melt slightly into the chocolate, creating pockets of soft, chewy goodness. Baking chips in various flavors—butterscotch, peanut butter, or white chocolate—can be added for an extra layer of flavor. And for the adventurous, a sprinkle of Pop Rocks can provide an unexpected, delightful fizz! Don’t be afraid to mix and match; the more variety, the more interesting your bark will be.
Your Candy Bark Questions, Answered (FAQs)
The beauty of chocolate bark is its versatility! Our recipe testers had a fantastic time experimenting with a wide array of additions for this Halloween Leftover Candy Bark, some even going beyond just leftovers to include treats they bought specifically for the bark. Popular choices included chewy gummy bears for a burst of fruitiness, various dried fruits like apricots or cranberries for a tart counterpoint, and flavored baking chips (such as peanut butter or butterscotch) to enhance the chocolate base. For a truly exciting twist, many found that Pop Rocks added an unexpected, delightful fizz and pop! If you’re looking to create a Sweet and Salty Bark, consider swapping some of the candy for crushed pretzels or potato chips. The savory crunch perfectly balances the sweetness. Salted nuts, like peanuts or almonds, also make a wonderfully tasty addition, adding both flavor and texture.
While the microwave offers a speedy method, a double boiler is an excellent alternative that will yield beautifully smooth, melted chocolate. It might not be as quick as the microwave, but it’s still quite fast and provides more control. To set up a double boiler, partially fill the bottom pan with water and place it over low heat. A heat-safe bowl can be used in place of a top pot, as long as it completely covers the opening of the bottom pan to trap the steam effectively. Chop your chocolate into small, uniform pieces (this significantly speeds up the melting process), then place it in the top section or bowl of your double boiler. Allow the warm water to work its magic, gently melting the chocolate. It’s crucial not to let the water boil vigorously; a gentle simmer is all you need. Boiling water creates too much steam and can introduce moisture to your chocolate, which is the nemesis of perfectly melted chocolate, causing it to seize or become grainy. Stir occasionally with a clean, dry spatula until the chocolate is smooth and glossy.
Proper storage is key to keeping your delicious candy bark fresh. This bark can be stored at room temperature for up to 1 week. To maintain its quality and prevent sticking, place it in an airtight container, ensuring that each layer of bark is separated by a sheet of wax paper or parchment paper. This prevents the pieces from melding together and preserves their distinct flavors and textures. For longer storage, candy bark freezes exceptionally well. You can freeze it for up to 1 month by wrapping it tightly in plastic wrap or placing it in a freezer-safe, airtight container, again separating layers with parchment paper. When you’re ready to enjoy it, simply let it thaw at room temperature for a few minutes.
More Lip-Smacking Chocolate Candy Recipes
Hazelnut Pistachio Chocolate Bark
Prep and Chill Time: 2 hrs
Candy Cane Bark
Prep and Chill Time: 1 hr 30 mins
Chocolate Bark, Cardamom, Dried Fruits, and Nuts
Prep and Chill Time: 30 mins
Spiced Chocolate Truffles
Prep and Chill Time: 2 hrs 30 mins
Write a Review
If you make this recipe, or any dish on LC, consider leaving a review, a star rating, and your best photo in the comments below. I love hearing from you.–David
Leftover Halloween Candy Bark
David Leite
Ingredients
- 1 3/4 pounds good-quality 60% cacao semisweet chocolate, chopped
- 1/2 teaspoon vanilla extract
- 2 1/2 cups chopped assorted candy bar pieces, chocolate candy pieces, broken cookie pieces, crushed pretzels, or mini marshmallows
Instructions
-
Line a rimmed baking sheet with parchment paper. This will ensure easy removal of the bark once it’s set.
-
Place the chopped chocolate in a microwave-safe bowl. Melt it in the microwave using short intervals of 10-15 seconds, stirring thoroughly after each interval, until the chocolate is completely smooth and free of lumps. Be careful not to overheat it. Once melted, add the vanilla extract and stir it in well. Gently fold in half of your prepared assorted candy pieces, cookies, pretzels, or mini marshmallows into the melted chocolate.
-
Using a rubber spatula, carefully spread the chocolate mixture evenly onto the prepared baking sheet. Smooth the surface as best you can to create an even layer. Immediately sprinkle the remaining half of your candy, cookies, pretzels, or marshmallows over the top, pressing them in lightly so they adhere to the chocolate. Loosely cover the baking sheet (you can use aluminum foil or plastic wrap without pressing it directly onto the bark) and refrigerate until the chocolate is fully set and firm, which typically takes 2 to 4 hours.
-
Once completely chilled and solid, break the bark into irregular pieces of various sizes. Now, you can indulge in your homemade treat or package it up beautifully to gift to friends, family, or neighbors—a clever way to share the Halloween spirit (and get it out of your house before you eat it all!). You can store the bark in an airtight container, stacking the layers between sheets of parchment or wax paper, at room temperature for up to 1 week. Though, based on its deliciousness, we highly doubt it will last that long!

Adapted From
Joy of Kosher
Buy On Amazon
Explore More with AI
Nutrition Information
Nutrition information is automatically calculated, so should only be used as an approximation.
Recipe Testers’ Reviews: Real Feedback on Our Halloween Candy Bark
Curious about how this delightful bark holds up? Our dedicated recipe testers put the Leftover Halloween Candy Bark to the ultimate test, trying out various combinations and sharing their invaluable insights. Read on for their candid thoughts and creative suggestions!
Natalie Reebel
Warning: This Leftover Halloween Candy Bark is dangerously addicting! Natalie’s experience confirms what many suspect – this recipe is a runaway success. She noted how incredibly easy and quick it was to put together, making this candy bark a double threat: delicious and convenient. The choice of good quality chocolate for the base was a key factor, yielding a velvety smooth texture that was rich but not overly heavy. Natalie was initially surprised by the sheer volume of 1 3/4 pounds of chocolate, emphasizing the generous yield of the recipe.
Melting the chocolate in the microwave proved to be a flawless process. She highlighted the importance of a rubber spatula or scraper, which is essential for ensuring all chocolate is melted smoothly and for efficient mixing. While the process itself was straightforward, Natalie did find it a bit messy with all the stirring required for the melting chocolate, followed by incorporating the mix-ins, and finally spreading the mixture evenly on the baking sheet. Her chosen combination of Three Musketeers, Milky Ways, Snickers, Twix, a handful of potato chips, mini marshmallows, and M&M’s resulted in a beautiful and incredibly successful treat. She used 11 mini candy bars, 1/2 cup marshmallows, and 1/2 cup potato chips. This blend of sweet, salty, and chewy textures made it appropriate for any party or holiday gathering, proving to be a fantastic way to utilize leftover candy or those small amounts of potato chips or marshmallows at the bottom of the bag.
Kim Venglar
Kim found this recipe to be quick, simple, and praised its endless flavor combination possibilities. It was a perfect activity for her four grandchildren, who each got to pick their desired ingredients for four smaller batches. This hands-on approach made the experience even more enjoyable for the little ones.
Kim noted that while the recipe is very quick to make, the yield can vary significantly depending on the ingredients chosen. Candies tend to be heavier than other additions, and she playfully suggested that one or two of her grandkids might have gotten a bit carried away with their ingredient choices, resulting in a total of 3 1/2 pounds of bark across their batches!
Here’s a breakdown of their inventive creations:
- Pretzels, dried cranberries, and a sprinkle of pink salt: This batch offered a pleasant balance of sweet and salty, though Kim suggested dried cherries might be a delightful improvement for next time.
- Marshmallows and caramels: A truly decadent and sweet combination, highlighting the rich flavors.
- Pretzels and Heath Toffee Bars: A solid, enjoyable mix, showcasing the classic toffee crunch with chocolate and salt.
- Marshmallows and Andes Peppermint Baking Chips: This was the unanimous favorite! Kim describes it as a clever twist on traditional peppermint bark, delivering a wonderfully refreshing flavor profile that stood out from the rest.
Kim’s experience underscores the recipe’s adaptability and fun factor, especially for engaging younger helpers in the kitchen.
Helen Doberstein
Helen’s initial reaction, “What is leftover Halloween candy?”, perfectly captures the spirit of this recipe for those who usually devour their treats quickly! Despite not having actual leftovers, she enthusiastically bought Halloween candy to test the recipe. Her chosen mix-ins included pretzels, Peanut Butter Cups, Kit Kat bars, Coffee Crisps, and M&M’s. For a show-stopping topping, she bravely used Pop Rocks, intentionally omitting marshmallows from her concoction.
Helen made two batches, refining her technique along the way. She found that melting chocolate in 10-second intervals was a bit tedious. For her second batch, she started with 30-second bursts for the first couple of minutes, then reverted to checking and stirring every 10 seconds. This method proved more efficient, resulting in smoother melted chocolate with less overall stirring. She also shared a crucial tip: when mixing in the first half of the extras, stir quickly, as the chocolate may seize slightly upon adding the vanilla. Another excellent piece of advice was to spray a little cooking spray on her spatula; this allowed the chocolate bark to spread much more easily on the parchment-lined sheet.
To ensure her bark broke cleanly, Helen placed it in the freezer for a few minutes to harden completely. Since she couldn’t eat chocolate herself, she relied on others for taste testing. Her son took the bark to work, and the response was overwhelmingly positive. Comments like “Amazing,” “Inspired,” “Awesome,” and “When can I have the recipe?” poured in. The pieces topped with Pop Rocks were particularly popular, with everyone eager to get their hands on them. Helen highly recommends using Pop Rocks if you can find them!
Helen concluded that virtually anything would work as an inclusion for this versatile bark. For her next batch, she plans to experiment with potato chips, raisins, M&M’s, O’Henry bars, assorted gummies, and, of course, a generous topping of Pop Rocks. She rightly pointed out that this recipe is perfect for utilizing candy that goes on sale after Halloween, turning discount finds into gourmet delights.