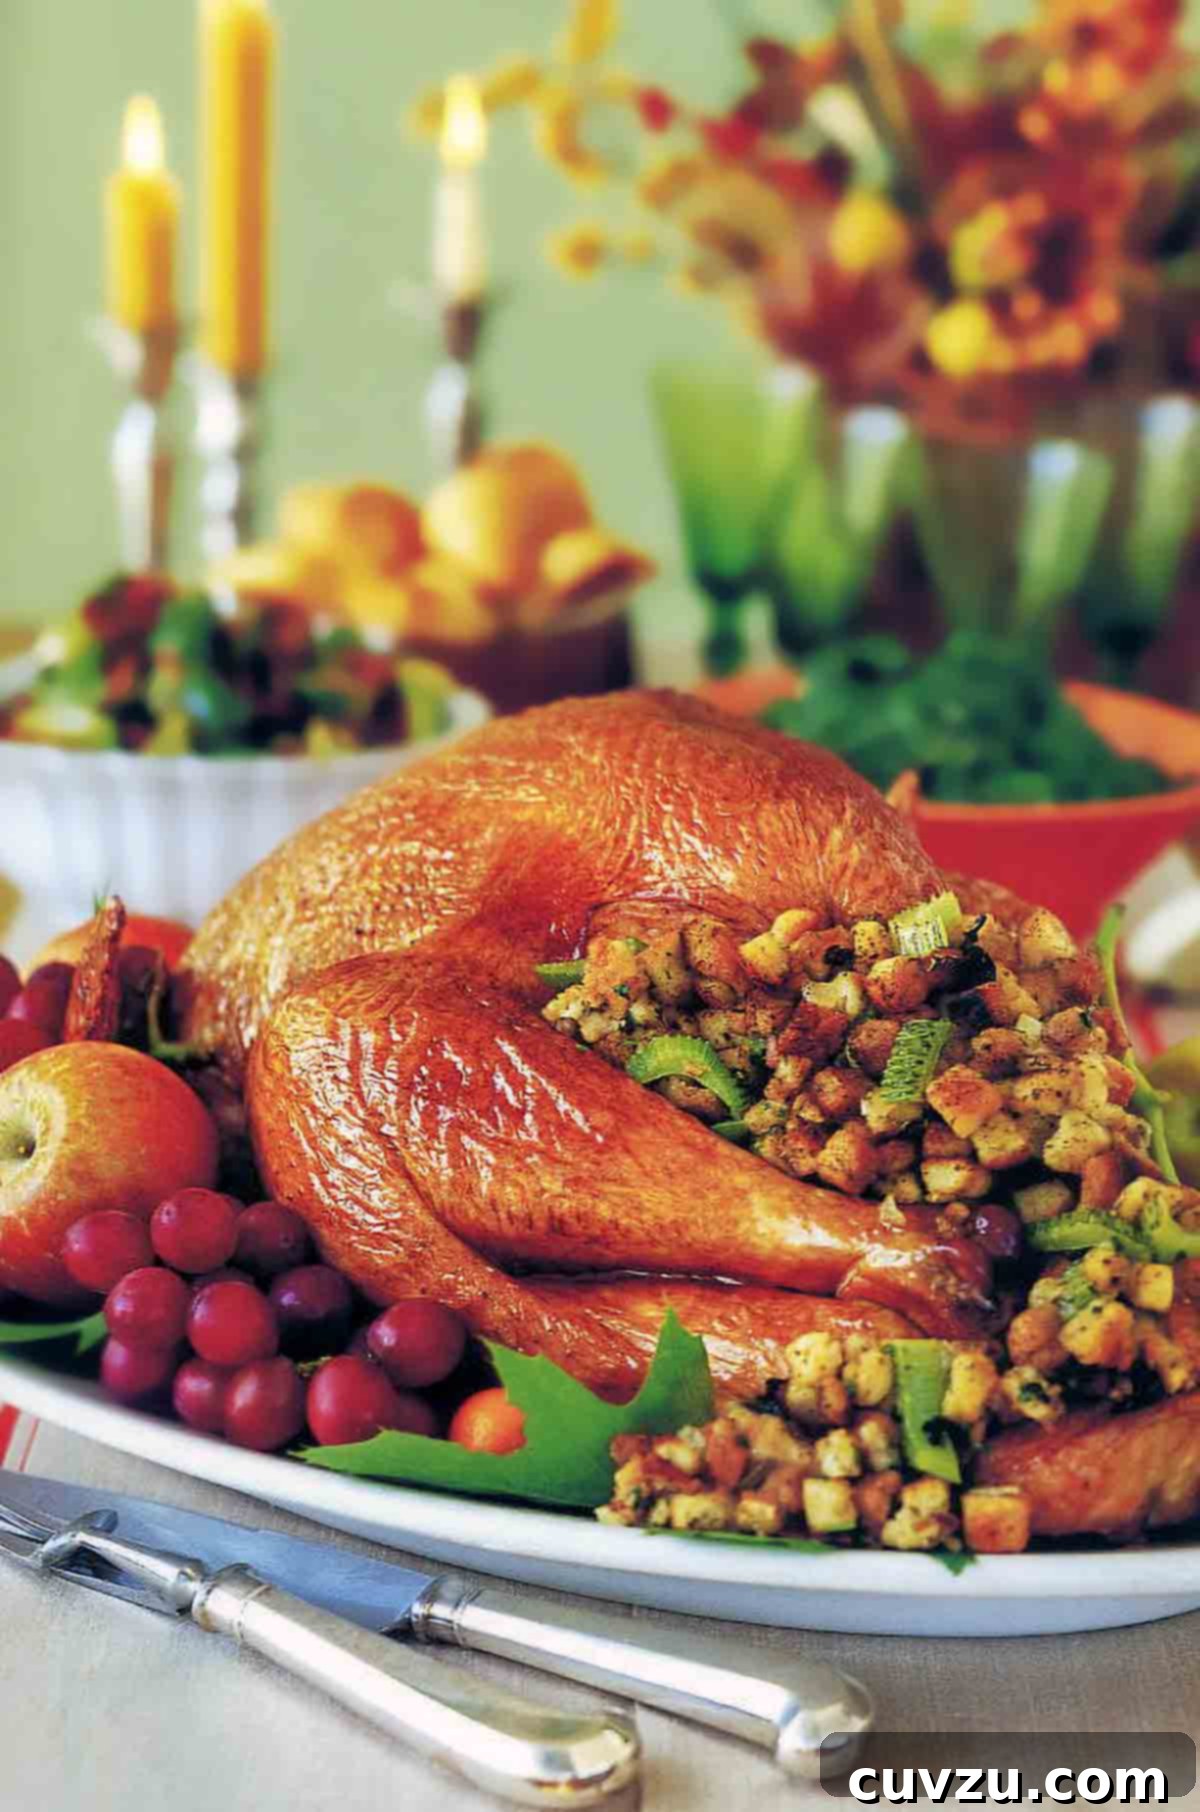
There are few dishes as universally cherished and awe-inspiring as a perfectly roasted turkey. While often associated with festive occasions like Thanksgiving, this magnificent centerpiece — complete with savory stuffing, tender roasted vegetables, and a rich, homemade gravy — is surprisingly approachable for any time of year. Imagine sinking your teeth into succulent, golden-brown turkey meat, infused with aromatic herbs, complemented by a rustic bread stuffing, and surrounded by sweet, caramelized root vegetables. This isn’t just a meal; it’s an experience, a celebration, and a source of comforting leftovers that will nourish you throughout the week. Forget the notion that roasting a whole turkey is daunting or reserved for special occasions. With our straightforward guide, you’ll master this classic dish, bringing joy to your table and proving that a delicious, moist roast turkey is within everyone’s reach, any day you choose.
Quick Overview: Your Perfect Roast Turkey
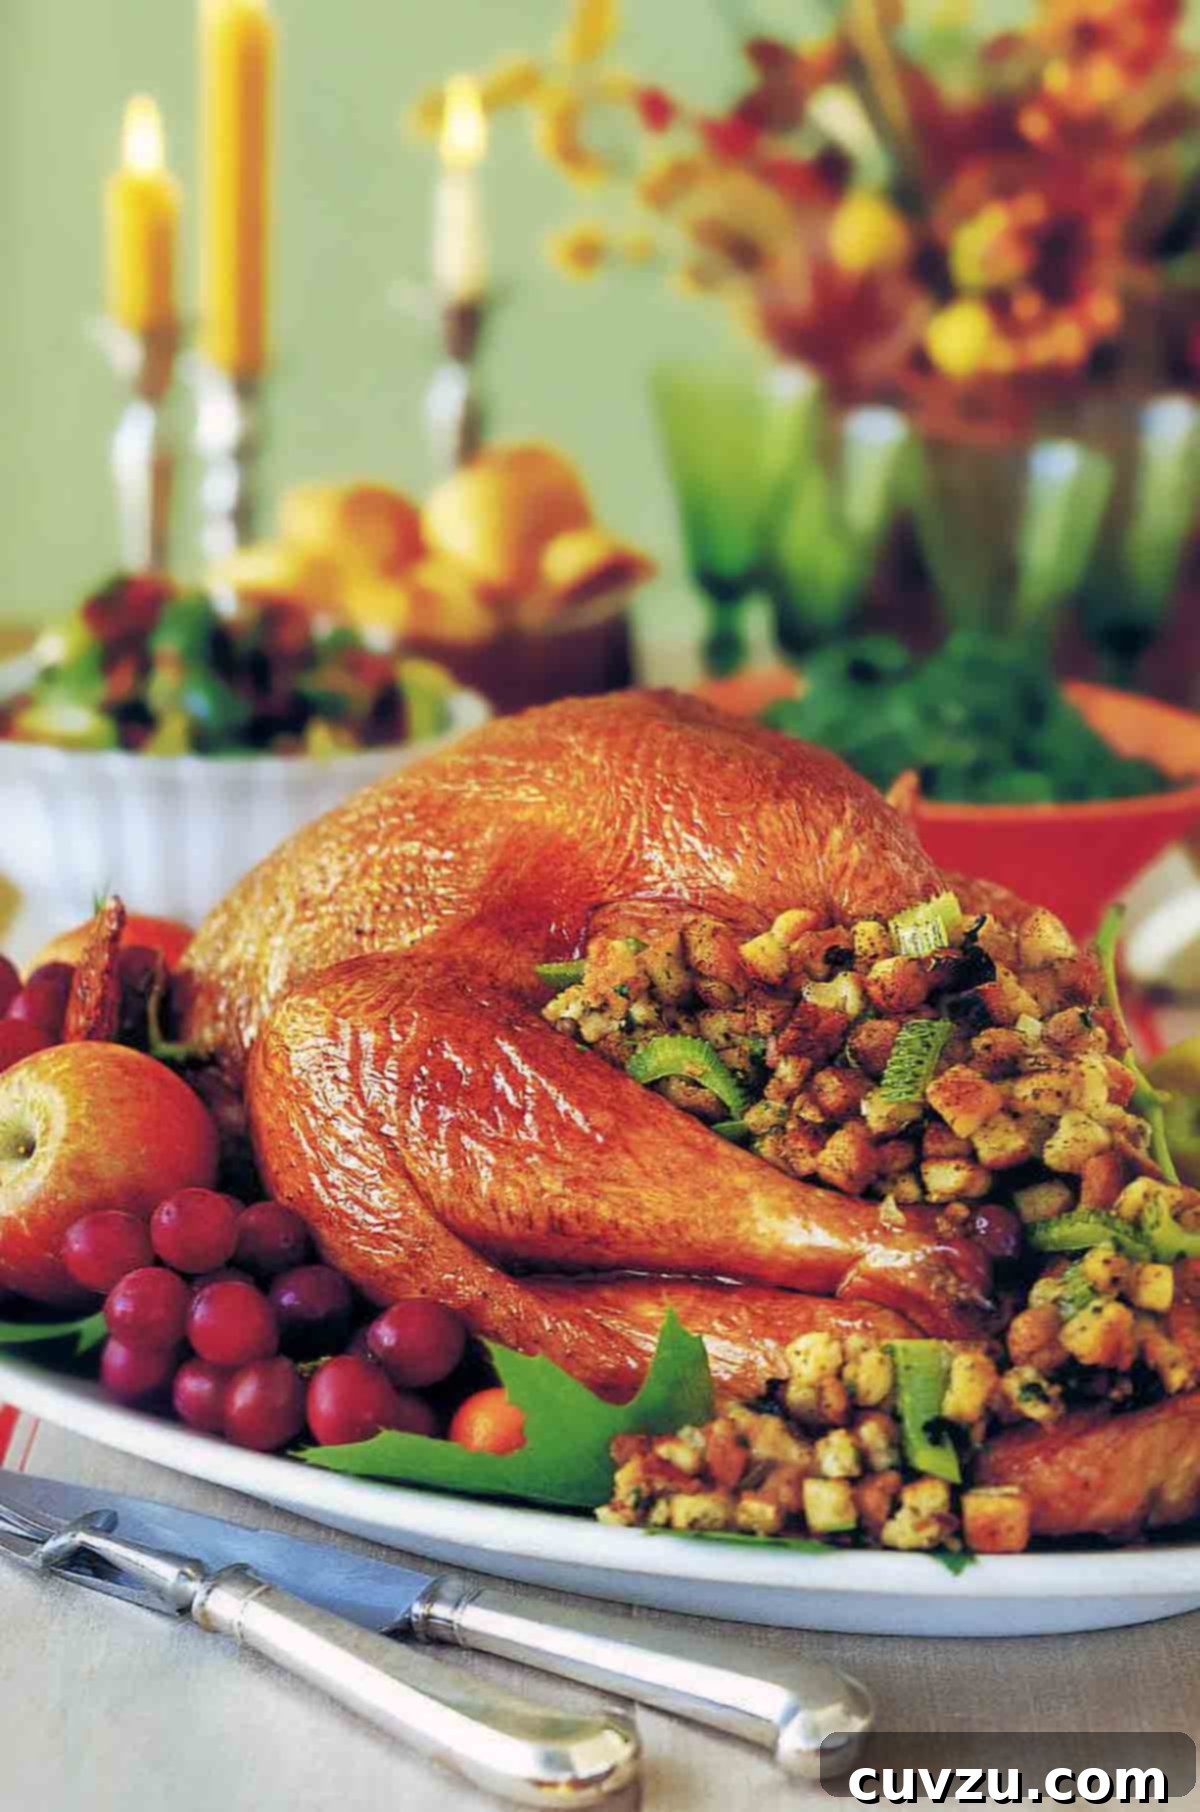
- The Dish: A stunning, deeply golden roast turkey, elevated by a classic herb-and-celery bread stuffing and perfectly roasted carrots, parsnips, and onions.
- Why You’ll Love It: This recipe delivers an incredibly tender, juicy turkey every time. The savory stuffing and a rich, foolproof gravy made from the turkey’s own drippings complete this ultimate holiday or celebratory meal.
- Simplified Steps: Begin by seasoning your turkey, then lightly fill it with stuffing. A generous basting of garlic butter ensures a crisp, flavorful skin. Roast the bird, adjusting heat, and add root vegetables during the final hour for a complete meal.
Featured Review
I’ve been obsessed with stuffed turkey recipes for the last 20 years, trying to perfect it year after year. This recipe is exactly what I was looking for!
Jessica
It is a genuine culinary oversight to reserve the exquisite pleasure of a perfectly roasted and stuffed turkey for a single annual feast. This incredibly flavorful and moist bird, often overlooked outside of traditional holiday gatherings, deserves a place on our tables far more frequently. We routinely enjoy turkey sandwiches and a multitude of other turkey-based dishes year-round, and few hesitate to roast a chicken regardless of the season. Yet, turkey has unfairly acquired a reputation for being a complicated, time-consuming, and even intimidating bird to prepare. We’re here to tell you: that reputation is entirely underserved.
In our household, we often seek out a modestly sized turkey and roast it even in the quiet chill of mid-February, when a little warmth and celebration are most welcome. The joy isn’t just in the grand meal itself, but in the bounty of delicious leftovers that follow. From hearty soups to quick sandwiches, the versatility of cooked turkey meat ensures that your efforts extend far beyond a single dinner, offering a week of delightful meals.
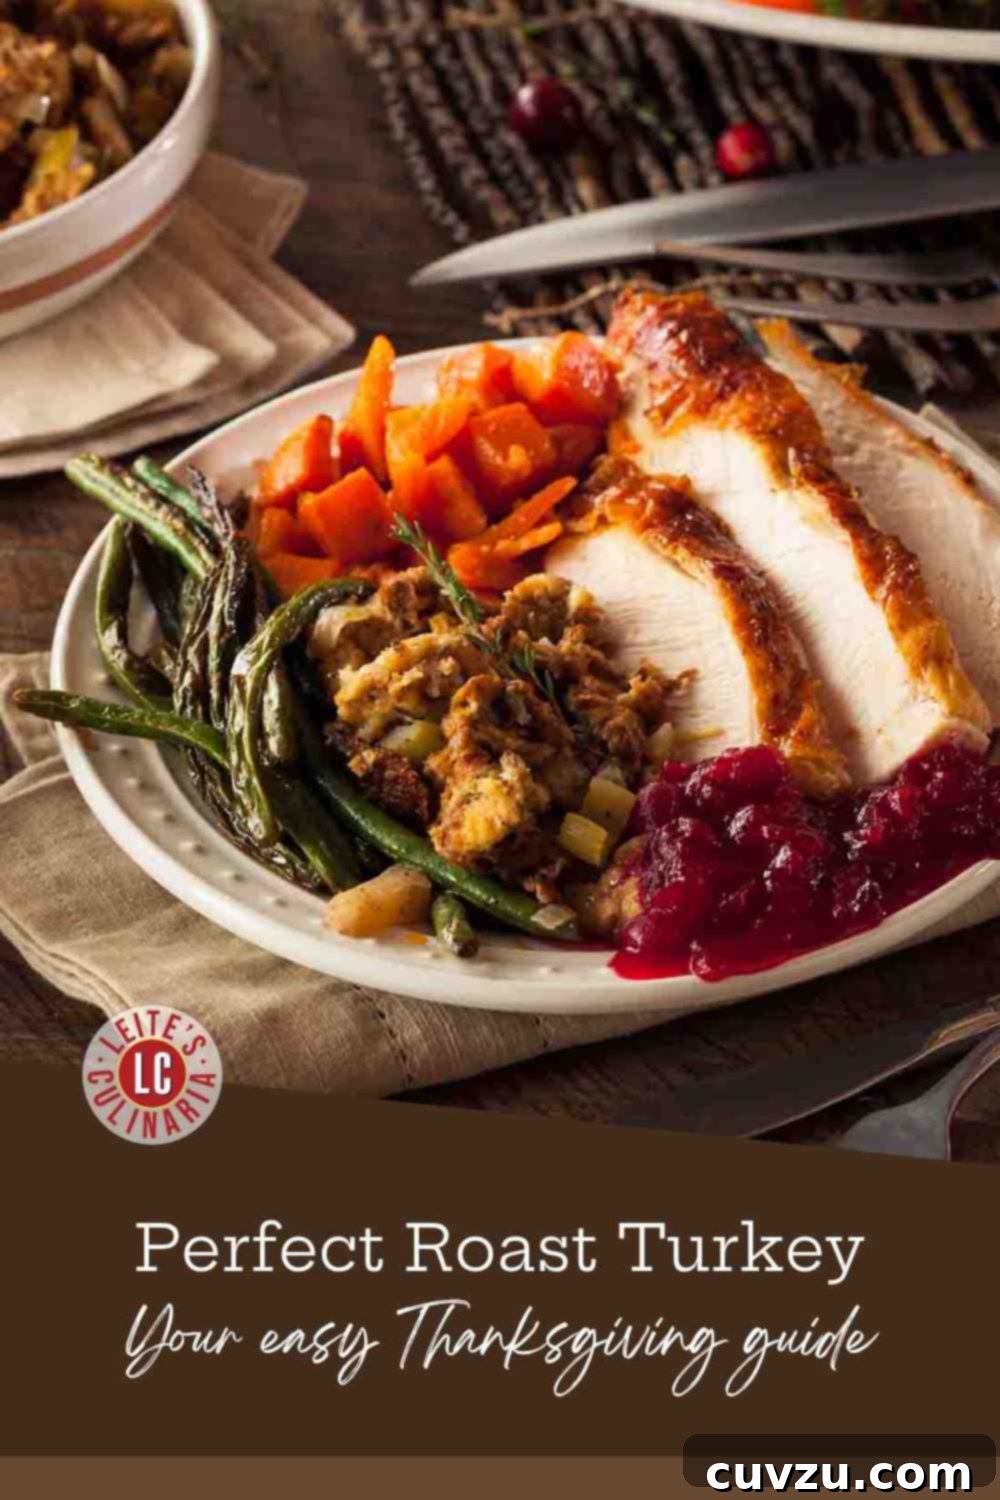
For this quintessential old-fashioned roast turkey recipe, we embrace simplicity and flavor. Our bird is generously filled with a classic bread stuffing, bursting with the aromatic essence of fresh herbs, the gentle sweetness of sautéed onions and garlic, and the satisfying crunch of celery. This savory interior perfectly complements the tender turkey meat. To complete the ensemble, we artfully arrange hearty chunks of peeled carrots, parsnips, and onions around the bird, allowing them to roast alongside, absorbing the rich pan drippings and caramelizing to perfection. The result is a harmonious symphony of flavors and textures, a testament to the timeless appeal of a truly great roast turkey.
Essential Ingredients for a Flawless Roast Turkey
- Whole Turkey: For this recipe, a 10-to-15-pound turkey is ideal. This size strikes a perfect balance, feeding a sizable gathering while ensuring there’s ample space for a generous amount of savory stuffing within its cavity. When purchasing, consider whether you want a fresh or frozen bird. If opting for a frozen turkey, remember to account for several days of thawing time in the refrigerator (approximately 24 hours per 4-5 pounds). A fresh, preferably organic, turkey often offers superior flavor and a more tender texture.
- Root Vegetables: Our preferred combination for roasting around the turkey includes carrots, parsnips, and onions. These vegetables sweeten and caramelize beautifully, absorbing the rich turkey drippings. However, feel free to customize based on your preferences or what’s in season. Excellent alternatives or additions include hearty turnips, Yukon Gold or russet potatoes, or sweet potatoes for a touch of added sweetness. Ensure all vegetables are peeled and cut into roughly 2-inch pieces for even cooking.
- Herbed Bread Stuffing: The heart of this roast is its simple yet profoundly flavorful bread stuffing. It features a robust blend of fresh herbs, finely diced and sautéed onions, minced garlic, and crisp celery. This combination not only adds incredible aroma and taste to the turkey but also helps keep the bird moist from the inside out. Prepare your stuffing according to your favorite recipe, or use our suggested Herbed Bread and Celery Stuffing.
- Garlic Butter & Paprika: A basting mixture of melted unsalted butter infused with whole garlic cloves, plus a sprinkle of sweet Hungarian paprika, is key. The butter promotes a beautifully golden, crispy skin, while the garlic infuses the turkey with a subtle, savory aroma. Paprika adds a lovely hue and mild, earthy notes.
- Gravy Essentials: Don’t discard the turkey’s giblets (neck, gizzard, heart)! These, along with a few common aromatics like carrots, onions, celery, parsley, bay leaves, and peppercorns, form the base of a rich, homemade turkey stock. This stock is then transformed into an unforgettable pan gravy with a touch of all-purpose flour for thickening, seasoned simply with salt and freshly ground black pepper.
Detailed Step-by-Step Guide to Roasting Your Turkey
- Prepare the Turkey for Roasting: About one hour before you plan to roast, remove the turkey from the refrigerator to allow it to come to room temperature. This promotes more even cooking. While it rests, preheat your oven to 450°F (230°C) and arrange the oven racks so the turkey can comfortably sit on the middle shelf. Thoroughly rinse the turkey under cold running water. Locate and remove the neck, gizzard, and heart, setting them aside for the gravy. Remove the liver and reserve it for another culinary use, if desired (it’s excellent lightly sautéed). Pat the entire turkey, inside and out, thoroughly dry with paper towels—this is crucial for crispy skin.
- Season and Stuff the Bird: Lightly grease the bottom of a large roasting pan with vegetable oil. Season the turkey generously both inside its cavity and all over the exterior with salt and freshly ground black pepper. Now, gently and loosely fill both the body and neck cavities with your prepared stuffing. Avoid overstuffing, as this can prevent the stuffing from cooking evenly and safely. To prevent the stuffing from escaping during roasting, gently press a slice of bread into the wide cavity opening. Place the stuffed turkey, breast side up, in the prepared roasting pan.
- Prepare and Apply Basting Butter: In a small skillet, melt the butter over low heat. Add the whole garlic cloves and cook for about 5 minutes, or until the butter is fully melted and the garlic cloves just begin to show a light golden hue. Remove from heat. Using a pastry brush, generously brush the turkey’s skin with some of this aromatic garlic butter, ensuring even coverage. Reserve the remaining garlic butter for basting later. Evenly scatter at least half of the garlic cloves around and on top of the turkey in the roasting pan. Finish by sprinkling the top of the turkey with sweet Hungarian paprika for color and a hint of smoky flavor.
- Tie and Initiate Roasting: To ensure the turkey cooks evenly and presents beautifully, use kitchen string to tie the legs together. This also helps prevent them from overcooking or touching the sides of the pan. Place the roasting pan in your preheated 450°F (230°C) oven. Roast at this high temperature for the first 30 minutes to encourage a golden-brown skin.
- Continue Roasting and Basting: After the initial 30 minutes, reduce the oven temperature to 350°F (175°C). Continue to roast, basting the turkey every hour with the reserved garlic butter and any accumulated pan drippings. The total roasting time will vary depending on the turkey’s weight and whether it was fresh or frozen; generally, allow 15 to 20 minutes per pound. For a 10-pound turkey, this means approximately 2 hours 30 minutes to 3 hours 20 minutes. For a 15-pound bird, expect 3 hours 45 minutes to 5 hours. Fresh turkeys typically cook faster.
- Add and Roast Vegetables: When your turkey has approximately one hour of roasting time remaining, prepare your chosen root vegetables (carrots, parsnips, onions). Toss them with a little salt and pepper in a bowl. Scatter these vegetables around the turkey in the roasting pan. If your pan is too full, transfer the vegetables to a separate well-oiled baking pan and place it on a rack below the turkey. Continue roasting for the final hour, stirring the vegetables once or twice to ensure they brown evenly and become tender. If the turkey’s skin starts to brown too quickly, loosely tent it with aluminum foil.
- Check for Doneness: The turkey is done when it boasts a beautiful golden-brown color. A reliable sign is when a drumstick wiggles easily in its socket. Crucially, use an instant-read thermometer. Insert it into the thickest part of the thigh, avoiding the bone, which should register between 170°F and 180°F (76°C and 82°C). The stuffing, if cooked inside the bird, must also reach a safe internal temperature of 165°F (74°C). When you pierce the skin directly above the wing, the juices should run clear yellow, not pink. Once done, gently transfer the turkey to a large serving platter, cover it loosely with aluminum foil, and allow it to rest for at least 20-30 minutes. This resting period is vital for the juices to redistribute, ensuring a moist and tender bird.
- Prepare the Turkey Stock for Gravy: While the turkey is roasting, or even up to 3 days in advance, make your stock. Place the reserved turkey gizzard, heart, and neck in a medium saucepan. Add one chopped carrot, one quartered onion, one chopped celery stalk, a few sprigs of flat-leaf parsley, one bay leaf, and six peppercorns. Cover generously with about 6 cups of cold water and add 1/8 teaspoon each of salt and pepper. Bring to a boil over high heat, then reduce the heat to low and simmer gently for 1 to 2 hours. This creates a flavorful, light turkey stock that forms the foundation of your rich gravy.
- Craft the Perfect Pan Gravy: Once the roasted turkey and vegetables are on their serving platter and resting, it’s time to make the gravy from the pan drippings. Tilt the roasting pan to one side and carefully skim off any excess fat from the drippings, being mindful to leave all the flavorful natural juices. Place the roasting pan over two burners set to moderate heat. Use a spatula to scrape up and loosen any browned bits clinging to the bottom of the pan; these are packed with flavor. Sprinkle 2 to 3 tablespoons of all-purpose flour into the pan drippings. Using a whisk, stir continuously for about 1 minute until the flour forms a smooth paste and begins to turn a pale golden color.
- Finish and Serve the Gravy: Slowly strain a little more than half of your prepared turkey stock directly into the roasting pan, whisking constantly to create a smooth, lump-free gravy. Bring the gravy to a simmer and cook for 5 to 10 minutes, stirring occasionally, until it thickens slightly and is deliciously flavorful. If the gravy becomes too thick, thin it to your desired consistency by adding more of the reserved turkey stock. Season the gravy to taste with additional salt and freshly ground black pepper. Keep it warm over low heat, stirring occasionally, until you are ready to serve.
- Carve and Serve Your Feast: Remove the stuffing from the turkey’s cavity and transfer it to a separate serving bowl. Now, it’s time to carve the magnificent turkey. Arrange the carved turkey alongside the golden-brown roasted vegetables, the savory stuffing, and a generous boat of your homemade hot gravy. Present your masterpiece and enjoy the delicious fruits of your labor!
Your Roast Turkey Questions, Answered
Ensuring your stuffing is cooked to a safe internal temperature is paramount, especially when baked inside the turkey. It absolutely must reach 165°F (74°C) to be safely consumed. The most reliable method to verify this is by using an instant-read thermometer. Insert the thermometer directly into the center of the stuffing, ensuring it doesn’t touch any bone or the turkey itself. If it hasn’t reached the target temperature, continue cooking the turkey until both the bird and the stuffing are safely done.
It’s quite common to have leftover stuffing. Don’t let it go to waste! Scoop any extra stuffing into a buttered baking dish. You have a couple of options: you can either bake it alongside the turkey for the final 45 minutes of roasting time, allowing it to develop a delicious crispy crust, or you can pop it into the oven while the turkey is resting after roasting. This ensures it’s piping hot and perfectly cooked when you’re ready to serve.
When planning your holiday meal or a large gathering, a good rule of thumb is to plan on at least 1 pound of uncooked turkey per person. This typically accounts for bone weight and ensures everyone gets a satisfying portion. If you’re hoping for ample leftovers – and who isn’t?! – then it’s wise to increase that number to 1 1/2 pounds of turkey per person. This will leave you with plenty of delicious meat for sandwiches, soups, and other creative post-feast meals.
Brining is an excellent technique that can significantly enhance the flavor and moisture of your roast turkey. While not strictly necessary for a delicious bird, a good brine (either a wet brine or a dry brine) helps the turkey absorb moisture and seasoning before cooking. This results in a noticeably juicier and more flavorful meat. If you have the time, we highly recommend exploring brining, especially for larger birds. It’s a simple step that yields impressive results.
Pro Tips & Troubleshooting for Perfect Roasting
- Secure Your Stuffing: To prevent your delicious stuffing from accidentally falling out of the turkey cavity during roasting, a simple trick is to gently press a slice of ordinary sandwich bread over the opening. This acts as a clever barrier, holding the stuffing snugly in place while allowing the flavors to meld beautifully with the turkey.
- Prepare Ahead with Turkey Stock: Save yourself valuable time on the day of your feast by preparing the turkey stock in advance. This flavorful foundation for your gravy can be made up to 3 days before you plan to roast your turkey. Simply prepare the stock, allow it to cool, then store it in an airtight container in the refrigerator. This small step can make your meal preparation much smoother and less stressful.
- Maximizing Leftovers: A roasted turkey dinner is renowned for its fantastic leftovers. To ensure they stay fresh and delicious, promptly transfer any remaining turkey meat, stuffing, roasted vegetables, and gravy into separate, sealed containers. Store these in the refrigerator, where they will keep safely for up to 4 days. These leftovers are perfect for sandwiches, turkey pot pies, casseroles, or transforming into entirely new meals.
- Achieving Crispy Skin: For that irresistible, golden-brown, crispy skin, ensure your turkey is thoroughly patted dry before seasoning and roasting. Moisture on the skin prevents browning. Additionally, rubbing butter or oil on the skin, as suggested in this recipe, and roasting at a higher initial temperature helps achieve that coveted crispness.
- The Importance of Resting: Once your turkey is cooked, resist the urge to carve it immediately. Transfer the turkey to a cutting board, cover it loosely with aluminum foil, and let it rest for at least 20-30 minutes (for smaller birds) or even longer for larger ones. This crucial step allows the juices to redistribute throughout the meat, ensuring every slice is incredibly moist and tender. Without resting, the juices will escape when you carve, leading to a drier turkey.
Discover More Delicious Turkey Recipes
Texas Style Smoked Turkey
3 hrs
Roasted and Braised Turkey
6 hrs 15 mins
Roast Turkey with Stuffing and Vegetables
5 hrs 30 mins
Dry Brine Turkey
1 d 4 hrs 20 mins
Share Your Experience
If you make this roast turkey recipe, or any dish from our collection, we’d love to hear from you! Please consider leaving a review, a star rating, and your best photo in the comments below. Your feedback means the world to us. –David
Classic Roast Turkey with Stuffing and Vegetables
Summary: This recipe delivers a succulent roast turkey, expertly paired with a simple, aromatic bread stuffing featuring herbs, sautéed onions, garlic, and crunchy celery. It’s surrounded by sweet, tender roasted carrots, parsnips, and onions, all brought together by a rich, homemade pan gravy. Perfect for a holiday centerpiece or a memorable family dinner.
Author: David Leite
Course: Mains
Cuisine: American
Servings: 8 to 10 servings
Calories: 911 kcal per serving (approximation)
Prep Time: 1 hour
Cook Time: 4 hours 30 minutes
Total Time: 5 hours 30 minutes
Ingredients
For the Roast Turkey
- One (10-to-15-pound) turkey, preferably organic
- 1 tablespoon vegetable oil
- Salt and freshly ground black pepper, to taste
- Herbed Bread and Celery Stuffing (prepared)
- 1 slice bread
- 1/4 cup unsalted butter
- 12 garlic cloves, peeled, left whole
- About 1 teaspoon sweet Hungarian paprika
For the Roasted Vegetables
- 8 medium carrots, peeled and cut into 2-inch pieces
- 8 medium parsnips, peeled and cut into 2-inch pieces
- 8 medium yellow or red onions, halved
- Salt and freshly ground black pepper, to taste
For the Gravy
- Turkey gizzard, heart, and neck (reserved from turkey)
- 1 medium carrot, chopped
- 1 medium onion, quartered
- 1 stalk celery, chopped
- A few sprigs flat-leaf parsley
- 1 bay leaf
- 6 peppercorns
- Salt and freshly ground black pepper, to taste
- 2 to 3 tablespoons all-purpose flour
Instructions
(Refer to the detailed step-by-step instructions above for comprehensive guidance.)
- Prepare the Turkey: Remove from refrigerator 1 hour before roasting. Preheat oven to 450°F (230°C). Remove giblets, rinse, and pat dry. Grease roasting pan.
- Season and Stuff: Season turkey inside and out. Loosely fill cavities with stuffing. Secure stuffing with a slice of bread. Place turkey in pan, breast side up.
- Baste with Garlic Butter: Melt butter with garlic cloves. Brush some over turkey skin, reserving the rest. Sprinkle with paprika and scatter garlic cloves.
- Roast Initial High Heat: Tie turkey legs. Roast at 450°F (230°C) for 30 minutes.
- Continue Roasting: Reduce oven to 350°F (175°C). Baste hourly with remaining garlic butter and pan drippings until internal temperature reaches 170-180°F (76-82°C) in thigh and 165°F (74°C) in stuffing.
- Add Vegetables: During the last hour of roasting, scatter seasoned carrots, parsnips, and onions around the turkey (or in a separate pan). Roast until tender. Tent turkey with foil if browning too quickly.
- Rest the Turkey: Once done, transfer turkey to a platter, tent loosely with foil, and rest for 20-30 minutes.
- Make the Stock: While turkey roasts, simmer giblets, carrot, onion, celery, parsley, bay leaf, and peppercorns in 6 cups of water for 1-2 hours to make stock for gravy.
- Make the Gravy: Skim fat from drippings. Place pan over moderate heat. Whisk flour into drippings. Strain half the stock into the pan, whisking until smooth.
- Thicken Gravy: Simmer gravy until thickened (5-10 minutes), adding more stock to thin if needed. Season to taste. Keep warm.
- Serve: Remove stuffing to a bowl. Carve turkey and serve with roasted vegetables, stuffing, and hot gravy.
Notes
- Baking extra stuffing: If your stuffing doesn’t all fit into the turkey’s cavity, place it in a buttered baking dish and cook alongside the turkey for the final 45 minutes, or while the turkey rests.
- Get ahead: The turkey stock can be prepared up to 3 days before cooking the turkey. Store refrigerated in a sealed container.
- Storage: Leftover turkey, stuffing, vegetables, and gravy can be stored in separate sealed containers in the fridge for up to 4 days.
Adapted From
Stonewall Kitchen Favorites
Buy On Amazon
Nutrition Information
(Please note: Nutrition information is an automatic approximation and should be used as a general guide.)
- Serving: 1 portion
- Calories: 911 kcal
- Carbohydrates: 51 g
- Protein: 101 g
- Fat: 34 g
- Saturated Fat: 11 g
- Monounsaturated Fat: 10 g
- Trans Fat: 1 g
- Cholesterol: 335 mg
- Sodium: 588 mg
- Fiber: 12 g
- Sugar: 17 g