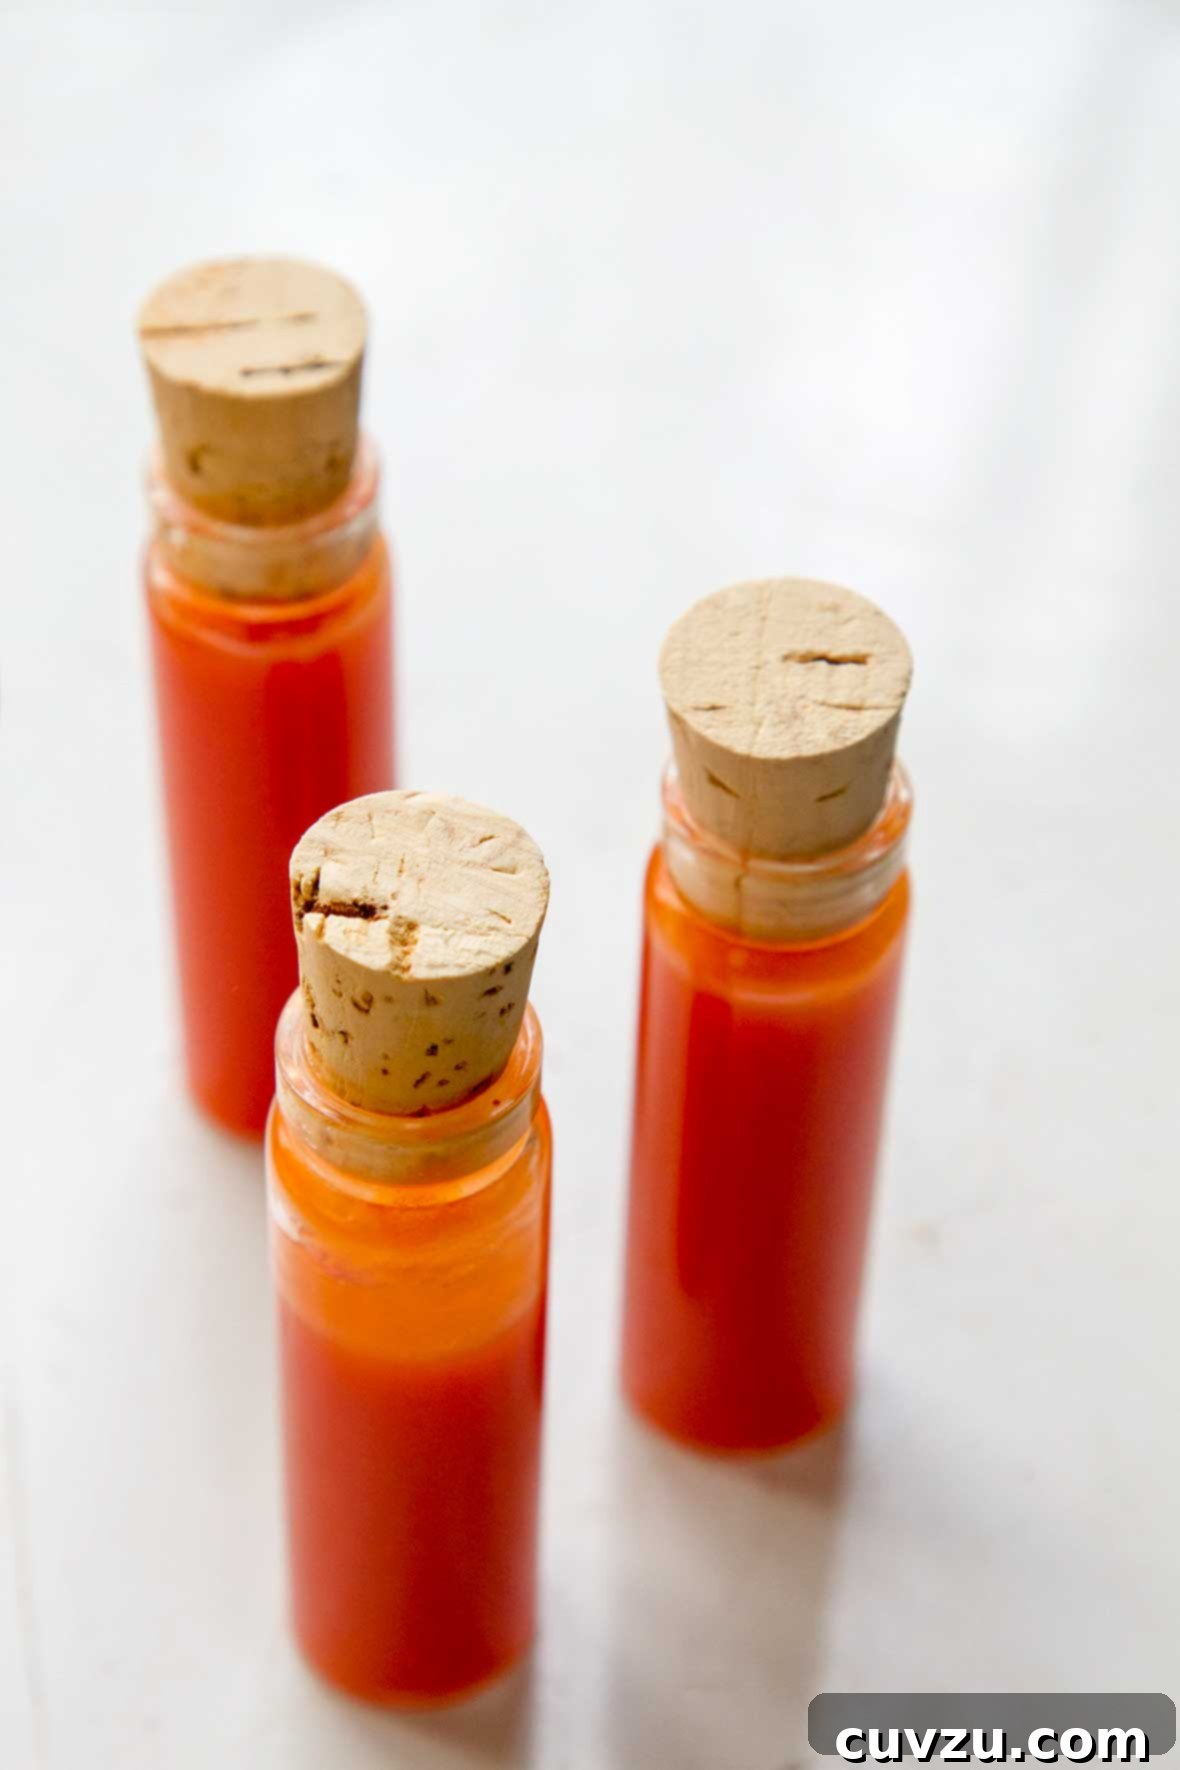
Elevate your culinary game by crafting your own homemade fermented hot sauce, a simple yet profoundly rewarding endeavor. This guide, featuring a meticulously tested recipe, reveals how a few basic ingredients—hot peppers, salt, and vinegar—combined with the magic of fermentation, transform into a condiment so “spectacular” and “complex” it will redefine your taste experience. Beyond just heat, you’ll unlock layers of flavor, natural probiotics, and the undeniable satisfaction of creating something truly extraordinary from scratch. Prepare to impress your palate and your friends with the best hot sauce you’ve ever made.
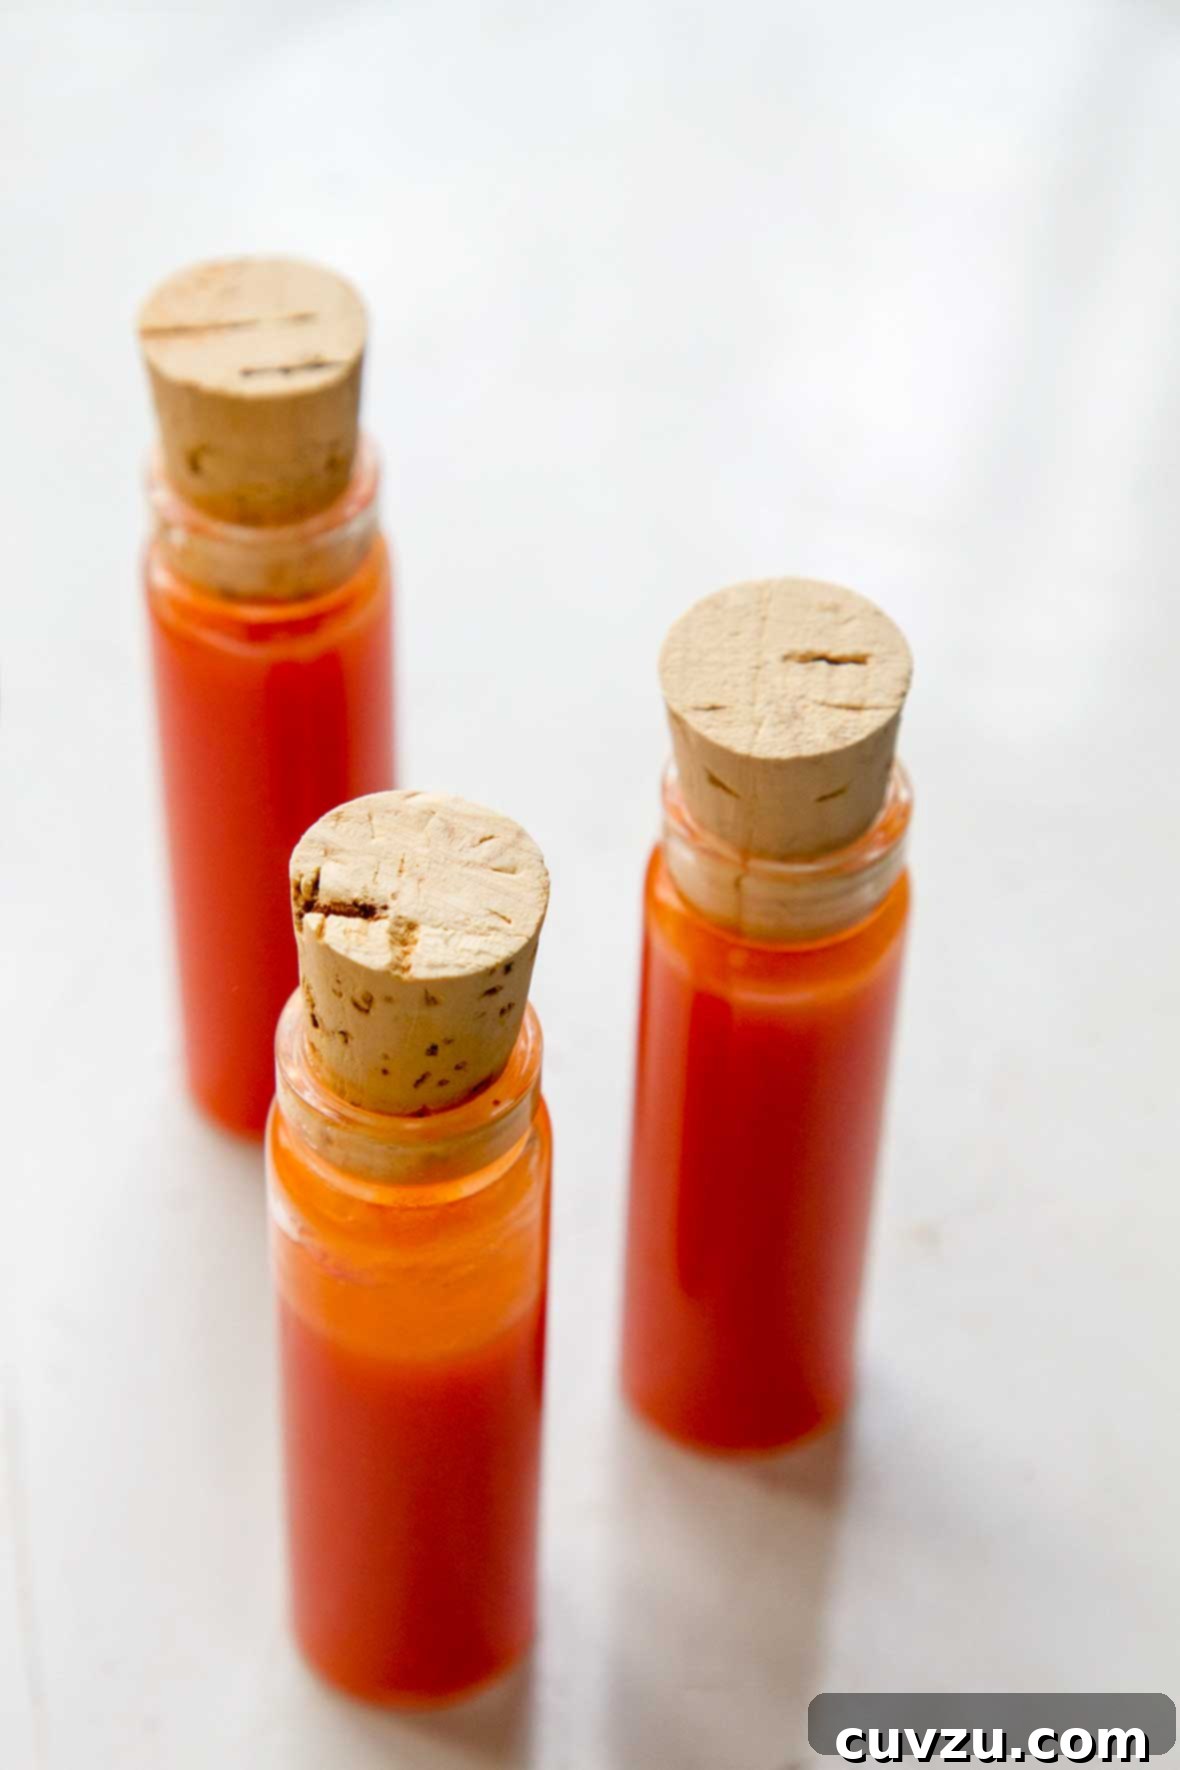
The Irresistible Appeal of Homemade Fermented Hot Sauce
Why embark on the journey of making your own hot sauce when countless varieties line grocery store shelves? The answer lies in the unparalleled depth of flavor, the health benefits, and the sheer joy of customization that only homemade fermentation can offer. Unlike vinegar-based hot sauces that deliver a sharp, sometimes one-dimensional tang, fermented hot sauces develop a nuanced, complex profile. The beneficial lactic acid bacteria, the same ones found in sauerkraut and kimchi, work diligently over time, breaking down sugars in the peppers and creating a symphony of tangy, umami-rich, and subtly sweet notes that complement the inherent heat.
This process not only deepens the flavor but also introduces probiotics, contributing to a healthier gut microbiome. It’s a natural form of preservation that has been cherished for centuries, transforming raw ingredients into a living, dynamic condiment. Our recipe testers consistently laud this particular recipe for its remarkable balance and intricate character. One enthusiast simply called it “a best-of-all-worlds hot sauce,” highlighting its versatility across different cuisines and preferences. Another praised its “completeness” and “complexity,” noting it stood apart from any other hot sauce they had ever encountered. By following this guide, you’re not just making hot sauce; you’re crafting a masterpiece that is both delicious and genuinely good for you.
Unlocking Flavor: The Essential Role of Pickling Salt in Fermentation
At the heart of any successful fermentation lies a crucial ingredient that might seem specialized but is, in fact, quite straightforward: pickling salt. Do not let this term deter you from creating your incredible homemade hot sauce. Pickling salt is simply pure granulated salt, distinguished by its lack of anti-caking agents, iodine, or other common additives found in most table salts. These seemingly innocuous additions can significantly hinder the delicate process of lactic acid fermentation.
Iodine, for instance, can inhibit the growth of the beneficial bacteria we want to encourage, potentially stalling your fermentation or even leading to spoilage. Anti-caking agents can also introduce cloudiness or unwanted textures into your final product. By using pure pickling salt, you create an optimal environment where the good bacteria can thrive unimpeded, ensuring a clean, vibrant, and predictable fermentation. This results in a hot sauce with impeccable flavor, clarity, and safety. You’ll typically find pickling salt in the canning and preserving aisle of larger grocery stores, or it’s readily available online. Acquiring this simple ingredient is a small step that makes a monumental difference in the quality of your homemade fermented hot sauce.
Homemade Fermented Hot Sauce
Recipe by David Leite
Condiments, Sauce, Fermented Food
Global, Tex Mex, American
64 tablespoons (approx. 4 cups)
4 kcal
25
7
7
Essential Equipment for Hot Sauce Fermentation
- Mason jars with lids (or simple canning jar rings and separate lids, or fermentation airlocks)
- Food processor or high-speed blender
- Fine-mesh sieve or cheesecloth for straining
- Large pitcher or bowl for collecting liquid
- Sterilized bottles or jars for the finished hot sauce
Ingredients for Your Flavorful Fermented Hot Sauce
The choice of peppers is paramount to the final character of your hot sauce. Cayenne peppers are a fantastic starting point, offering a balanced heat that’s universally appealing. However, don’t hesitate to explore other varieties. For a milder sauce, consider combining cayenne with sweet bell peppers; for an extra kick, introduce habaneros or even ghost peppers. Always ensure your chosen peppers are fresh, firm, and free from any blemishes or soft spots, as quality ingredients lead to the best results.
- 1 pound fresh cayenne peppers, stemmed (about 4 cups chopped)
- About 2 tablespoons filtered water (chlorine-free is crucial for fermentation success)
- 1 1/2 teaspoons pickling salt* (refer to “Understanding Pickling Salt” section above for details)
- 2 cups distilled white vinegar (essential for stabilizing and adding tang)
Step-by-Step Instructions: Crafting Your Fermented Hot Sauce Masterpiece
-
Prepare the Peppers for Fermentation: Begin by carefully stemming your fresh cayenne peppers. While optional, wearing gloves is highly recommended when handling hot peppers to prevent skin irritation. If you prefer a milder sauce, you can remove some or all of the seeds and internal membranes, as these contain much of the capsaicin (the heat compound). Place the stemmed peppers into a food processor. Add the filtered water, which helps to create a starter brine and allows the peppers to blend evenly. Pulse the peppers until they form a coarse, chunky mass—avoid over-processing into a fine paste at this stage. Next, add the pickling salt and pulse briefly to ensure it is thoroughly combined with the peppers. This initial salt concentration is critical; it aims for approximately 2.5% salinity by weight, which is ideal for encouraging beneficial lactic acid bacteria while deterring unwanted molds.
-
Set Up for Fermentation: Transfer the salted pepper mixture into a clean, large Mason jar. It’s important to leave at least one to two inches of headspace at the top of the jar to accommodate any expansion from gas production during fermentation. Cover the mouth of the jar with a clean square of paper towel or a coffee filter, then secure it firmly with the jar’s metal O-ring (the screw band). This setup allows carbon dioxide, a byproduct of fermentation, to escape while preventing airborne contaminants from entering. If you have one, a dedicated fermentation airlock can be used for superior protection against oxygen exposure and mold. Store the jar in a dark, consistent location where the temperature hovers around 70°F (20°C). A kitchen cabinet or pantry is often perfect. Allow the peppers to ferment undisturbed for the first 48 hours.
-
Monitor and Maintain Fermentation: After the initial 48-hour period, it’s time to begin daily monitoring. You should start to see visible signs of fermentation, such as small bubbles rising through the mixture, and you may detect a pleasant, slightly sour aroma. It’s also common for a thin, white film, known as kahm yeast, to form on the surface. This is harmless and indicates active fermentation. However, if you observe any fuzzy, colored mold (e.g., green, black, pink), carefully skim it off with a clean spoon and discard it. To ensure even fermentation and reduce the risk of mold, gently stir the peppers each day or every other day, pushing any solids submerged. Re-cover the jar with the paper towel and O-ring. Continue this skimming (if necessary) and stirring routine for an additional 5 days. The total fermentation time for this recipe is one full week, during which the flavors will intensely develop and mature.
-
Prepare for Blending: On the final day of fermentation, after a last inspection and skimming of any surface accumulation, carefully transfer the fully fermented pepper mash into your food processor or a high-speed blender. Pulse the mixture a couple of times. The goal here is to break down the peppers further and release their deep, complex flavors before the straining process. You’re aiming for a slightly smoother, but still somewhat textured, consistency that will make extraction easier.
-
Strain and Finish the Hot Sauce: Place a fine-mesh sieve or a colander lined with several layers of cheesecloth over a large pitcher or a deep bowl. Pour the pulsed pepper mixture into the sieve. Using the back of a sturdy spoon, a small silicone spatula, or even clean hands (with gloves!), press firmly on the solids to extract as much liquid as possible. This step is crucial for achieving a smooth, pourable hot sauce and requires patience to ensure all the flavorful brine is collected. Discard the remaining pepper pulp (or consider repurposing it as a flavor base for stocks or chili if you’re feeling adventurous). Once all the liquid is strained, add the distilled white vinegar to the collected hot sauce liquid and stir thoroughly to combine. The vinegar serves multiple purposes: it halts the fermentation process, adds a bright tangy counterpoint to the fermented peppers, and acts as a preservative, extending the shelf life of your sauce. Pour your finished homemade fermented hot sauce into clean, sterilized bottles or jars, seal them tightly with lids, and refrigerate. Your spectacular hot sauce is now ready to enjoy and will keep wonderfully for several weeks, or even months, in the cold environment of your fridge.
Expert Tips for Crafting Your Best Fermented Hot Sauce
- Embrace Pepper Diversity: While cayenne offers a classic heat, don’t be afraid to experiment! Combine different pepper varieties to fine-tune your heat level and flavor profile. Try smoky chipotles, fruity habaneros, or mild bell peppers for unique blends.
- Consistency in Temperature: A stable fermentation temperature, ideally around 70°F (20°C), is paramount. Significant temperature swings can stress the beneficial bacteria, leading to slower fermentation or favoring undesirable microbes.
- Hygiene is Non-Negotiable: Always use thoroughly cleaned and sterilized jars, equipment, and utensils. This minimizes the risk of introducing harmful bacteria that could spoil your batch.
- Distinguish Mold from Kahm Yeast: A thin, white film on the surface is likely kahm yeast, which is harmless. However, any fuzzy, colorful growth (green, black, blue, pink, or orange) is true mold. While small, isolated mold spots can sometimes be carefully skimmed off if the ferment below looks healthy, if mold covers a large area or penetrates deep, it’s safer to discard the batch and start fresh. “When in doubt, throw it out.”
- Salt is Your Friend: The 2.5% salinity is a good general guideline. If fermenting in very hot climates, a slightly higher salt concentration (up to 3-3.5%) might be beneficial. Always use a kitchen scale for precise salt measurements if you want to be exact.
- Consider an Air Lock System: For a more hands-off approach and reduced risk of surface growth, invest in fermentation lids with airlocks. These specialized lids allow fermentation gases to escape without letting oxygen (which promotes mold) into the jar.
- Infuse with Aromatics: Elevate your hot sauce by adding aromatics to the fermentation jar. Peeled garlic cloves, sliced onions, ginger, or even fruit like pineapple chunks can ferment alongside the peppers, adding incredible depth and complexity. Remove these solids before blending and straining.
- Adjust Consistency to Your Liking: If you prefer a thicker, more rustic hot sauce, you can choose not to strain all the pulp, or even omit straining altogether as one of our testers did. For a super smooth sauce, pass the strained liquid through a very fine mesh sieve or cheesecloth a second time.
- Safety First: If your ferment smells putrid, rotten, or distinctly “off” rather than pleasantly sour or tangy, it’s best to discard it. Trust your senses.
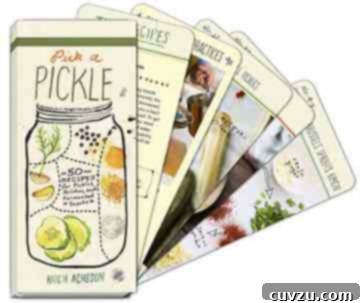
Adapted From
This recipe is lovingly adapted from “Pick a Pickle,” an invaluable resource for anyone passionate about fermented and preserved foods, offering timeless techniques and inspiration.
Buy On Amazon
Approximate Nutrition Facts
Serving Size: 1 tablespoon
- Calories: 4 kcal
- Carbohydrates: 1 g
- Protein: 1 g
- Fat: 1 g
- Saturated Fat: 1 g
- Monounsaturated Fat: 1 g
- Sodium: 55 mg
- Fiber: 1 g
- Sugar: 1 g
Disclaimer: Nutrition information is an estimation generated automatically and should be used as an approximation. Actual nutritional values may vary based on specific ingredient brands, exact measurements, and preparation methods.
Tried this recipe?
Share your creation! Mention @leitesculinaria or tag #leitesculinaria on Instagram. We’d love to see it!
Insights from Our Enthusiastic Recipe Testers
Our dedicated team of recipe testers rigorously evaluated this homemade hot sauce recipe, providing invaluable feedback that underscores its exceptional quality and broad appeal. Their experiences highlight the nuanced flavors and rewarding process of home fermentation, solidifying this recipe’s status as a true kitchen gem.

Larry Noak
Larry Noak, a veteran among our recipe testers, summed up his experience with a single, powerful word: “SPECTACULAR!” Lacking cayenne peppers, he boldly opted for a pound of intensely hot, small, green Thai peppers, meticulously preparing them for fermentation. He strategically placed his Mason jar in a high kitchen cabinet, providing a dark and stable environment. After two days, a thin layer of furry green mold appeared, which Larry efficiently scraped off and discarded—a normal part of monitoring a live ferment. Subsequent days showed minimal new mold, replaced by a surprisingly powerful and pleasant aroma emanating from the jar, signaling a healthy fermentation in progress.
After the full seven days, Larry processed the fermented peppers, noting the relatively small amount of liquid produced initially. He pureed the mixture to a desirable consistency before embarking on the most labor-intensive step: straining. Using a small sieve and a silicone spatula, he painstakingly pressed every drop of thick liquid from the pepper pulp, a process that took nearly twenty minutes but ensured maximum flavor extraction. His final touch involved pouring the two cups of vinegar through the remaining pulp and seeds, stirring until fully integrated. Reflecting on the week-long process, Larry affirmed it was “absolutely” worth the effort, declaring, “I have NEVER tasted a hot sauce so complete and, to use an overused yet perfect word to describe it, complex.” His detailed account underscores the deep, evolving flavors achievable through this recipe.

Kristel Poole
Kristel Poole, a true hot sauce connoisseur with a pantry brimming with international varieties, enthusiastically crowned this homemade fermented hot sauce “a best-of-all-worlds hot sauce.” Her personal adaptation involved using a diverse mix of hot and sweet peppers she had on hand, leaning heavily toward the spicier side, rather than strictly cayenne. She successfully used Penzey’s pickling salt and opted for a quart-sized Mason jar covered with cheesecloth, storing it in her pantry. Kristel was particularly pleased that her peppers fermented without any actual mold accumulating during the entire process, demonstrating the robustness of the recipe.
Upon reaching the end of the week, Kristel used a blender to combine all the ingredients. She was so captivated by the resulting flavor and texture that she decided against straining the sauce, preferring its slightly thicker, rustic consistency. This choice proved to be a resounding success; she brought approximately four cups of her hot sauce to a large gathering, and it vanished before dinner was even fully served. The remaining sauce, stored in her refrigerator, has become a versatile staple, enhancing everything from tacos and eggs to various Vietnamese dishes. Kristel is eager to recreate this recipe, anticipating the exciting flavor variations that will emerge as she experiments with different seasonal peppers.

Joel Jenkins
Joel Jenkins highlighted the straightforwardness and satisfying outcome of this homemade hot sauce recipe, noting it involved only about ten minutes of active preparation, followed by a week of patient anticipation. During the fermentation period, he observed a foam-like “growth” on the surface of his peppers, a common indication of active fermentation, which he easily skimmed away. Demonstrating clever resourcefulness, Joel took the pepper solids that remained after the initial straining—rather than discarding them—and mixed them with a cup of vinegar. Allowing this mixture to sit overnight, he ingeniously created a delicious secondary pepper sauce. Joel’s experience not only reaffirms the simplicity and gratifying results of this fermentation project but also showcases the potential for minimal waste and additional culinary creativity.
Mastering Serving and Storage of Your Homemade Hot Sauce
Once your homemade fermented hot sauce is bottled, a world of culinary possibilities opens up. Its complex, tangy, and spicy profile makes it an incredibly versatile condiment. Drizzle it generously over breakfast staples like scrambled eggs or avocado toast to kickstart your day. Transform your weeknight tacos, burritos, or nachos with a vibrant splash. It’s also an exceptional companion for grilled meats, roasted vegetables, or even mixed into a vibrant salad dressing. For a creative twist, stir it into creamy mayonnaise to craft a zesty aioli, or blend it with melted butter to create an unforgettable hot sauce glaze for chicken wings or seafood.
To ensure your handcrafted hot sauce maintains its peak flavor and potency, proper storage is key. Always transfer the finished sauce into clean, sterilized airtight bottles or jars. Store these containers in the refrigerator, where the cold temperature will significantly slow down any further microbial activity, preserving its quality. Thanks to the natural preservation of fermentation and the stabilizing effect of added vinegar, your homemade hot sauce will remain fresh and flavorful for several weeks, often even months. You might even notice subtle shifts in its flavor profile over time as the ingredients continue to meld. For best practices, always use clean utensils when serving to prevent contamination and extend its shelf life.
Embark on Your Journey to Unforgettable Flavor
Crafting your own fermented hot sauce is much more than a simple recipe; it’s an enriching journey into flavor development, natural preservation, and culinary self-sufficiency. This process culminates in a condiment that boasts a depth, complexity, and unique tang that store-bought varieties simply cannot match, all while delivering beneficial probiotics. From the careful selection of peppers to the patient art of fermentation, each step contributes to a spectacular hot sauce that is truly your own—a testament to your dedication and passion for good food. Embrace the process, trust in the magic of microbes, and prepare to elevate every meal with a condiment born from your hands. Enjoy the fiery, flavorful rewards!