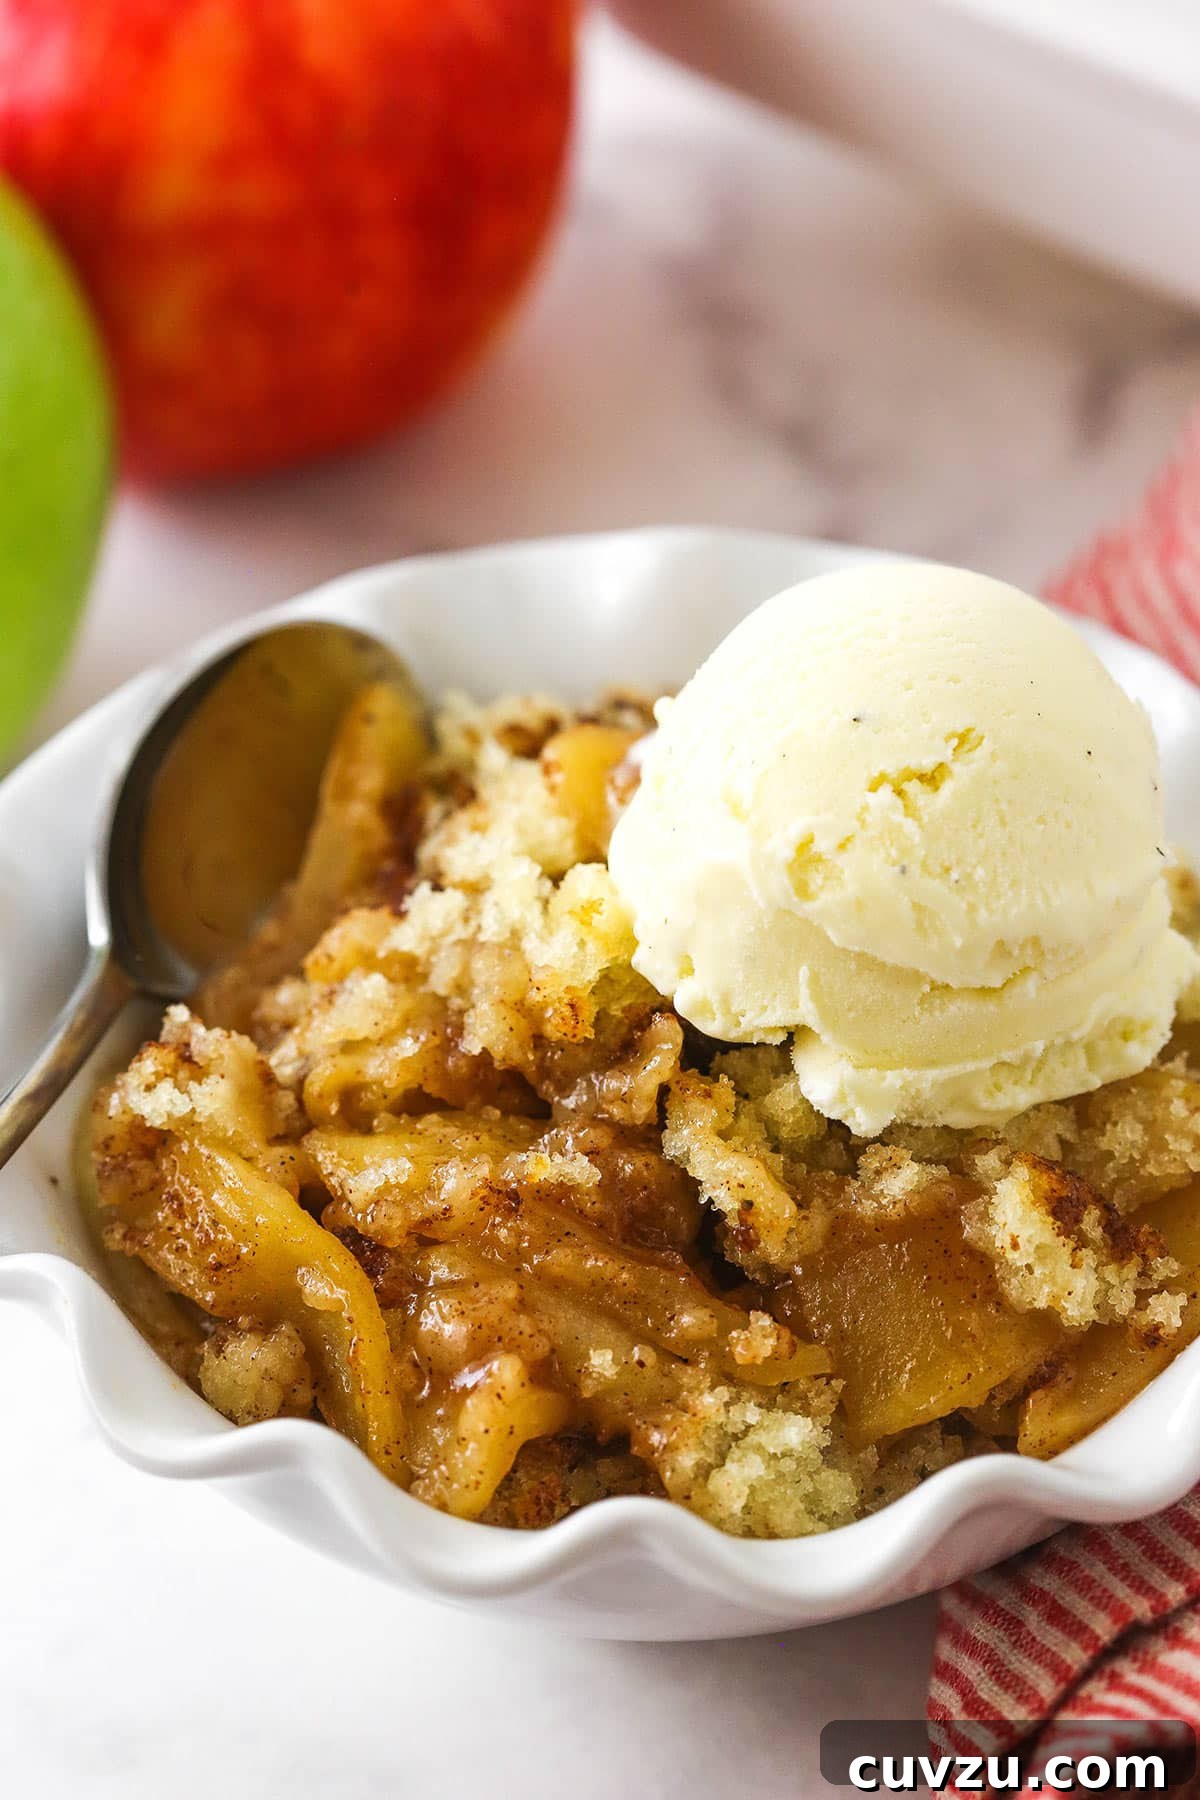
There’s nothing quite like the comforting aroma of a warm, spiced apple dessert baking in the oven. This homemade Apple Cobbler recipe captures that essence perfectly, elevating a classic with the rich notes of cinnamon and nutmeg. It’s a dessert that promises to be devoured by everyone lucky enough to try a bite, offering a delightful blend of tender, sweet apples crowned with a light, fluffy, golden-brown topping.
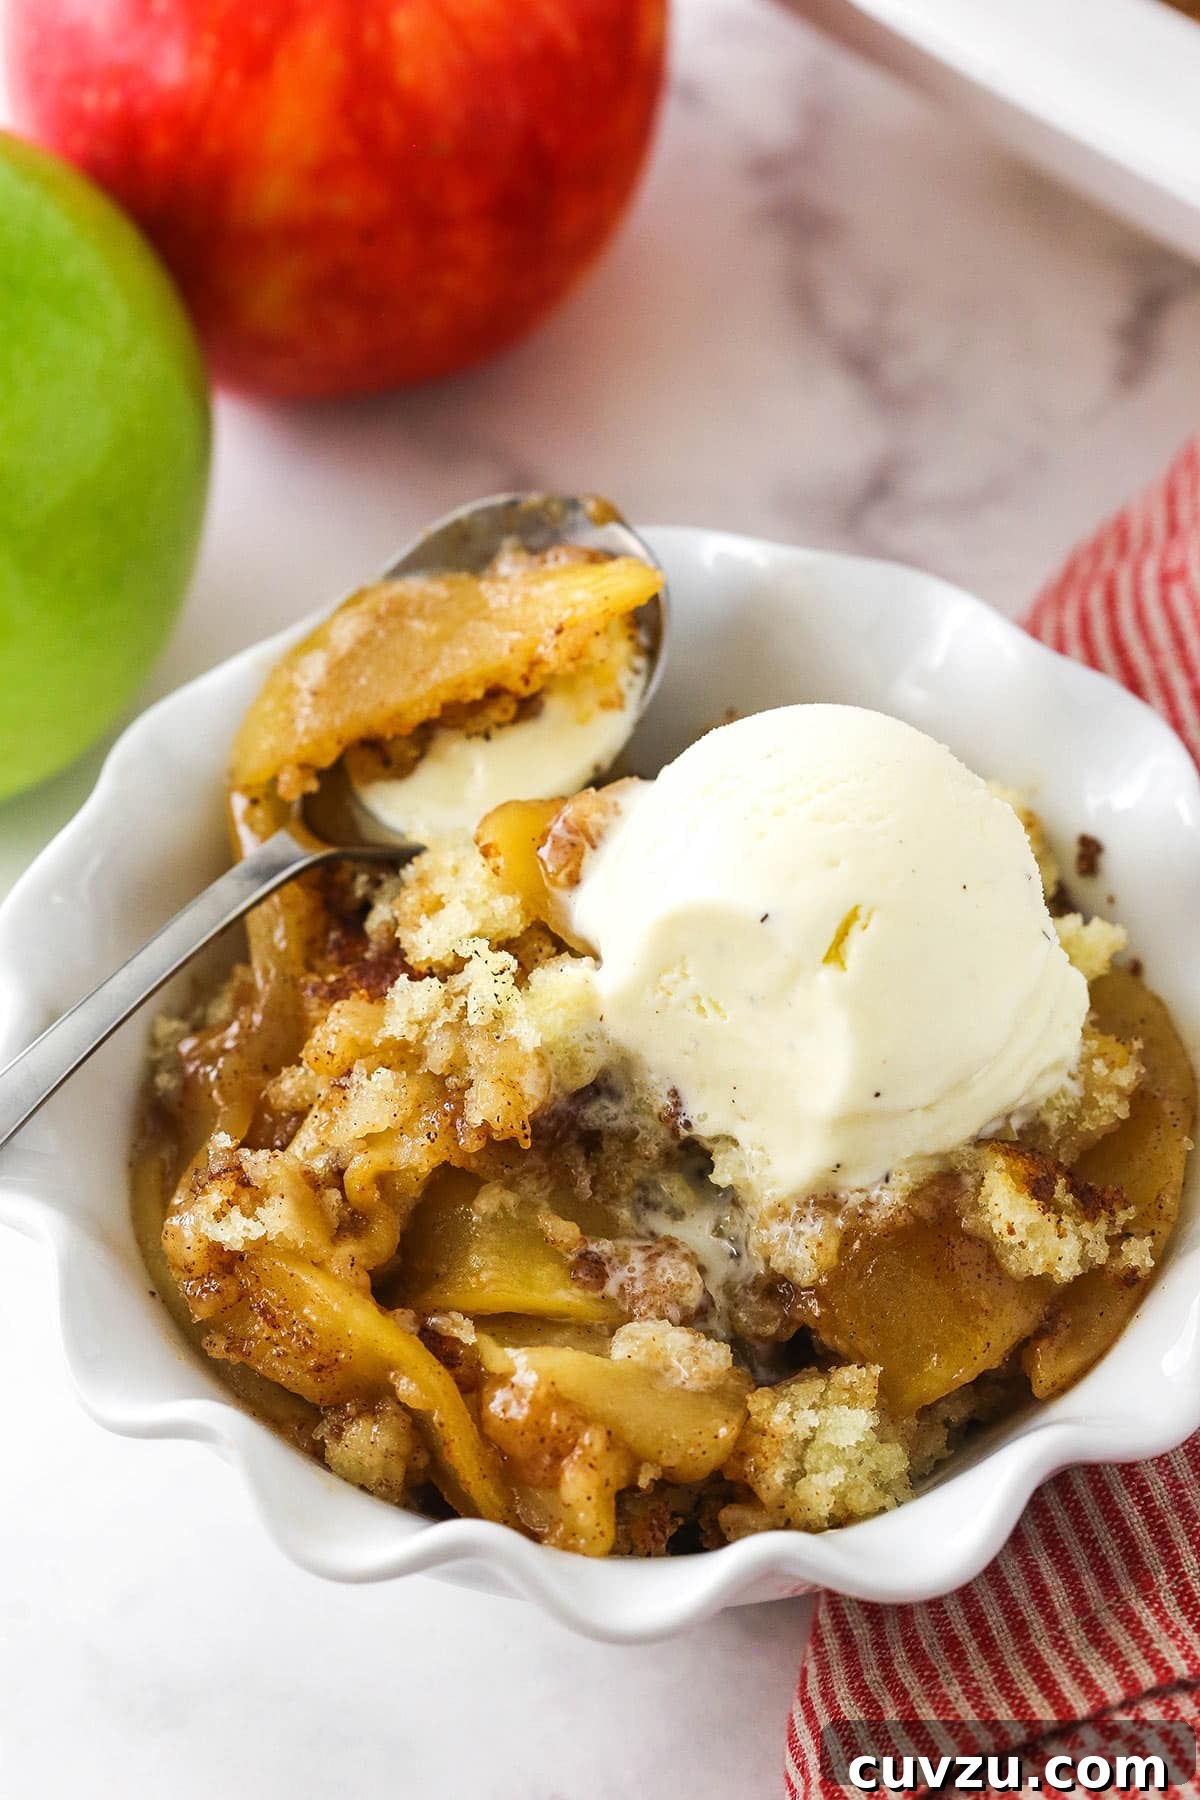
The Best Homemade Apple Cobbler: A Comforting Fall Dessert
Step into a world of cozy flavors with our ultimate homemade Apple Cobbler. This recipe transforms fresh, crisp apples into a warm, spiced filling, topped with a tender, cake-like batter that bakes to golden perfection. Perfect for family gatherings, holiday meals, or simply a comforting treat on a chilly evening, this cobbler is easy to make and guaranteed to be a crowd-pleaser. Forget complicated desserts; this apple cobbler brings pure, unadulterated joy with every spoon.
Why This Apple Cobbler Will Become Your New Favorite Fall Treat
As the leaves begin to turn and the air grows crisp, nothing signals the arrival of autumn quite like the scent of freshly baked apple desserts. This particular apple cobbler recipe isn’t just a dessert; it’s an experience. Here’s why you’ll find yourself reaching for this recipe again and again, making it a beloved staple in your fall baking repertoire:
A Symphony of Sweet & Spiced Flavors
At the heart of this cobbler lies a luscious filling made from fresh, thinly sliced apples, gently cooked until they’re melt-in-your-mouth tender. These aren’t just any apples; they’re infused with the quintessential fall spices – warm cinnamon and aromatic nutmeg. Each bite delivers a harmonious balance of natural apple sweetness and a comforting spice blend, creating a dessert that feels both indulgent and utterly familiar. The slight tartness from Granny Smith apples beautifully cuts through the sweetness, ensuring a perfectly balanced flavor profile that captivates the palate without being cloying.
Effortless Baking for Delicious Results
Don’t let the impressive outcome fool you; this apple cobbler is remarkably simple to prepare. It involves three straightforward components: a quick apple filling, a simple batter, and an optional (but highly recommended) cinnamon-sugar topping. These layers come together with minimal fuss, requiring just about 15 minutes of active preparation time. After that, your oven does most of the work, transforming humble ingredients into a spectacular dessert. There’s no intricate decorating, no tricky cooling periods, just pure, straightforward baking joy. This makes it an ideal recipe for both novice bakers and seasoned pros looking for a reliable, no-stress dessert.
The Ultimate Crowd-Pleaser for Any Occasion
If you’re looking for a dessert that appeals to almost everyone, this apple cobbler is it. Its universal charm lies in its comforting simplicity and delightful textures. The soft, juicy apple filling paired with the light, fluffy cake-like topping creates an irresistible combination. Even those who claim not to have a huge sweet tooth will find themselves reaching for seconds. The final flourish of a shimmering cinnamon-sugar veil on top adds an extra layer of flavor and visual appeal, guaranteeing that every plate will be scraped clean. Whether it’s a casual weeknight treat or the star of your holiday dessert table, this cobbler is sure to garner rave reviews.
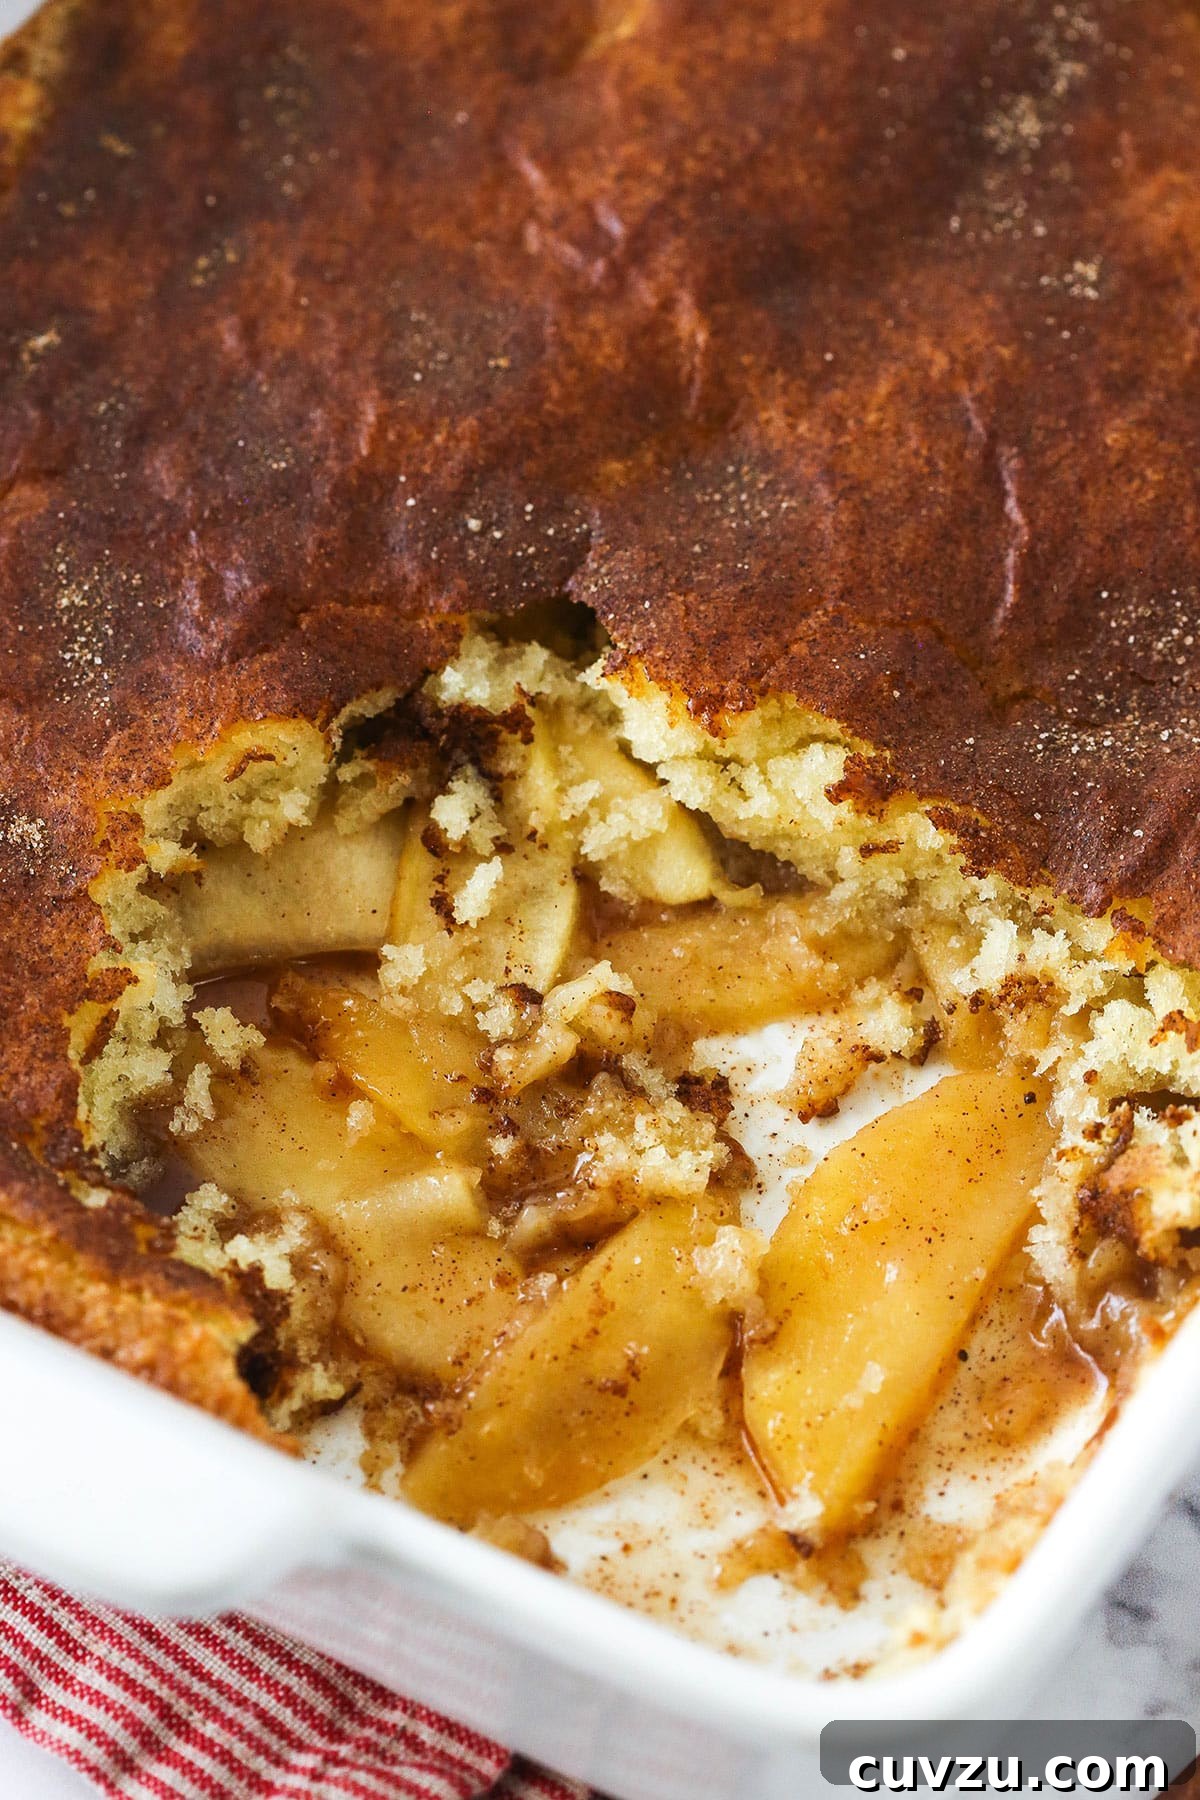
Essential Ingredients for Your Perfect Apple Cobbler
Crafting this incredible apple cobbler begins with selecting the right ingredients. Each component plays a vital role in achieving the perfect balance of flavor and texture. Here’s a detailed look at what you’ll need to assemble this delightful dessert. Remember, for precise measurements, always refer to the printable recipe card below.
For the Irresistible Apple Filling
The heart of any good apple cobbler is its filling. We aim for a mixture that is tender, richly flavored, and just the right consistency.
- Thinly Sliced Apples: We recommend a blend of Granny Smith and Honeycrisp apples. Granny Smiths provide a crucial tartness that prevents the cobbler from being overly sweet, and their firm texture holds up well during baking, avoiding a mushy filling. Honeycrisp apples offer a delightful sweetness and crisp texture, complementing the Granny Smiths perfectly.
- Brown Sugar: Packed tightly into your measuring cup, brown sugar contributes not only sweetness but also a deeper, molasses-rich flavor that pairs wonderfully with apples and spices. Its moisture content helps create a syrupy filling.
- All-Purpose Flour: This acts as a thickening agent for the apple juices released during cooking. It’s important not to pack the flour; spoon it lightly into the measuring cup or, even better, weigh it for accuracy to avoid an overly thick or gummy filling.
- Spices: Ground cinnamon and nutmeg are the stars here, infusing the apples with classic fall warmth. Feel free to adjust the amounts to your preference, or even add a pinch of allspice or cloves for more complexity.
- Salt: A small amount of salt (sea salt, table salt, or kosher salt) is crucial for enhancing all the other flavors, bringing out the sweetness of the apples and the warmth of the spices.
- Melted Butter: Slightly cooled melted butter adds richness and a smooth mouthfeel to the filling. It helps carry the spice flavors throughout the apples.
- Lemon Juice: Freshly squeezed lemon juice is paramount. It brightens the apple flavors, prevents the apples from browning excessively, and adds a subtle tang that balances the sweetness.
Crafting the Golden, Fluffy Batter
The topping of our cobbler is a tender, cake-like batter that puffs up beautifully as it bakes, creating a contrast to the soft apple filling.
- All-Purpose Flour: As with the filling, spoon and level the flour or use a food scale for accuracy. This ensures a light batter, rather than a dense one.
- Granulated Sugar: Unlike the brown sugar in the filling, granulated sugar provides clean sweetness and contributes to the crispness of the topping’s edges.
- Baking Powder: This leavening agent is key to achieving that desirable light and fluffy texture in the cobbler topping. It ensures the batter rises beautifully over the apples.
- Salt: A pinch of salt balances the sweetness in the batter and enhances the overall flavor profile.
- Milk: Any milk you have on hand will work, such as 1% or 2%. It adds moisture to the batter, creating a smooth consistency.
- Egg Yolk: We use only the egg yolk for added richness and a tender crumb, contributing to the golden color of the baked topping without making it too eggy or dense.
- Vanilla Extract: Pure vanilla extract provides a warm, aromatic base that complements both the apples and the buttery batter. Don’t skimp on quality here for the best flavor.
- Unsalted Butter, Melted: Melted butter binds the batter ingredients, adds moisture, and contributes to the rich, golden-brown crust. Using unsalted butter allows you to control the total salt content in the recipe.
The Optional, Yet Highly Recommended, Cinnamon Sugar Topping
This simple sprinkle adds an extra layer of flavor, texture, and a beautiful golden sheen to your cobbler.
- Sugar: You can use either granulated or brown sugar here. Granulated sugar provides a classic sparkling finish, while brown sugar offers a slightly deeper caramel note.
- Ground Cinnamon: This final touch of cinnamon amplifies the spice profile already present in the apple filling, tying all the flavors together. Adjust the amount based on how prominent you want the cinnamon flavor to be.
Choosing the Best Apples for Cobbler: Sweet & Tart Perfection
The choice of apples can significantly impact your cobbler’s final taste and texture. While many varieties work well, aiming for a balance of sweet and tart, along with apples that hold their shape during baking, is ideal.
Granny Smith, Honeycrisp, Pink Lady, and Gala apples are among the most popular choices for baked goods, and any of these would be excellent in this cobbler. However, for a truly nuanced flavor and perfect texture, I highly recommend using a combination of two: Granny Smith and Honeycrisp.
- Granny Smith Apples: These are a baker’s best friend. Their firm flesh means they won’t turn into a watery mush during the baking process, maintaining a pleasant texture in your cobbler. Furthermore, their distinct tartness is essential. It provides a much-needed counterpoint to the sweetness of the sugar and batter, ensuring the filling isn’t cloyingly sweet but rather bright and balanced.
- Honeycrisp Apples: On the sweeter side, Honeycrisp apples contribute a juicy sweetness and also maintain their structure well when baked. Their inherent crispness translates into a lovely tender-firm bite in the finished cobbler.
By combining Granny Smith and Honeycrisp, you truly get the best of both worlds: a delightful mix of tart and sweet, and apples that remain wonderfully tender yet distinct within the filling. If you only have one type of apple on hand, choose a firm, slightly tart variety or a sweet-tart variety. Avoid overly soft or mealy apples, as they will break down too much during baking.
Step-by-Step Guide: How to Make Apple Cobbler from Scratch
Creating a delicious homemade apple cobbler might seem like a daunting task, but it’s surprisingly simple. With just about 15 minutes of hands-on prep, your oven will handle the rest, filling your home with an irresistible aroma. Follow these easy steps to bring this comforting dessert to life.
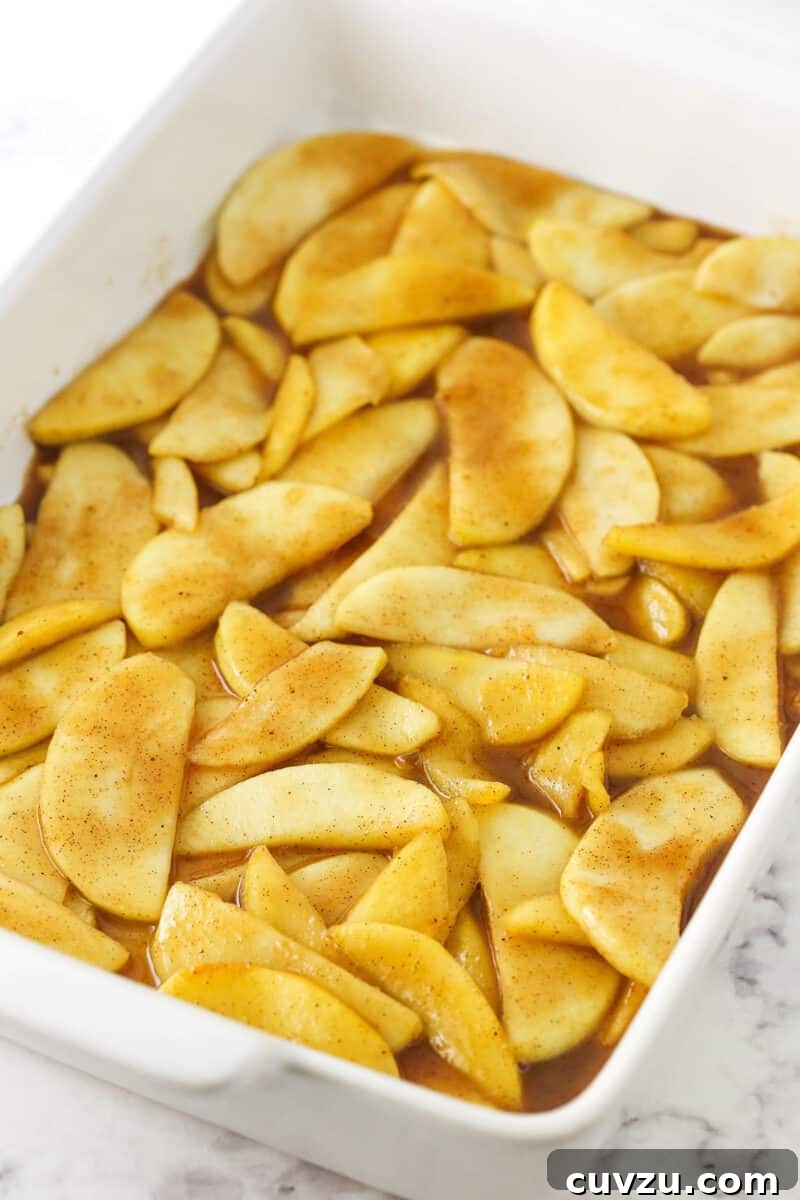
- Prepare Your Oven: Begin by preheating your oven to 375°F (190°C). This ensures the oven is at the correct temperature when your cobbler is ready to bake, leading to even cooking and a beautifully golden crust.
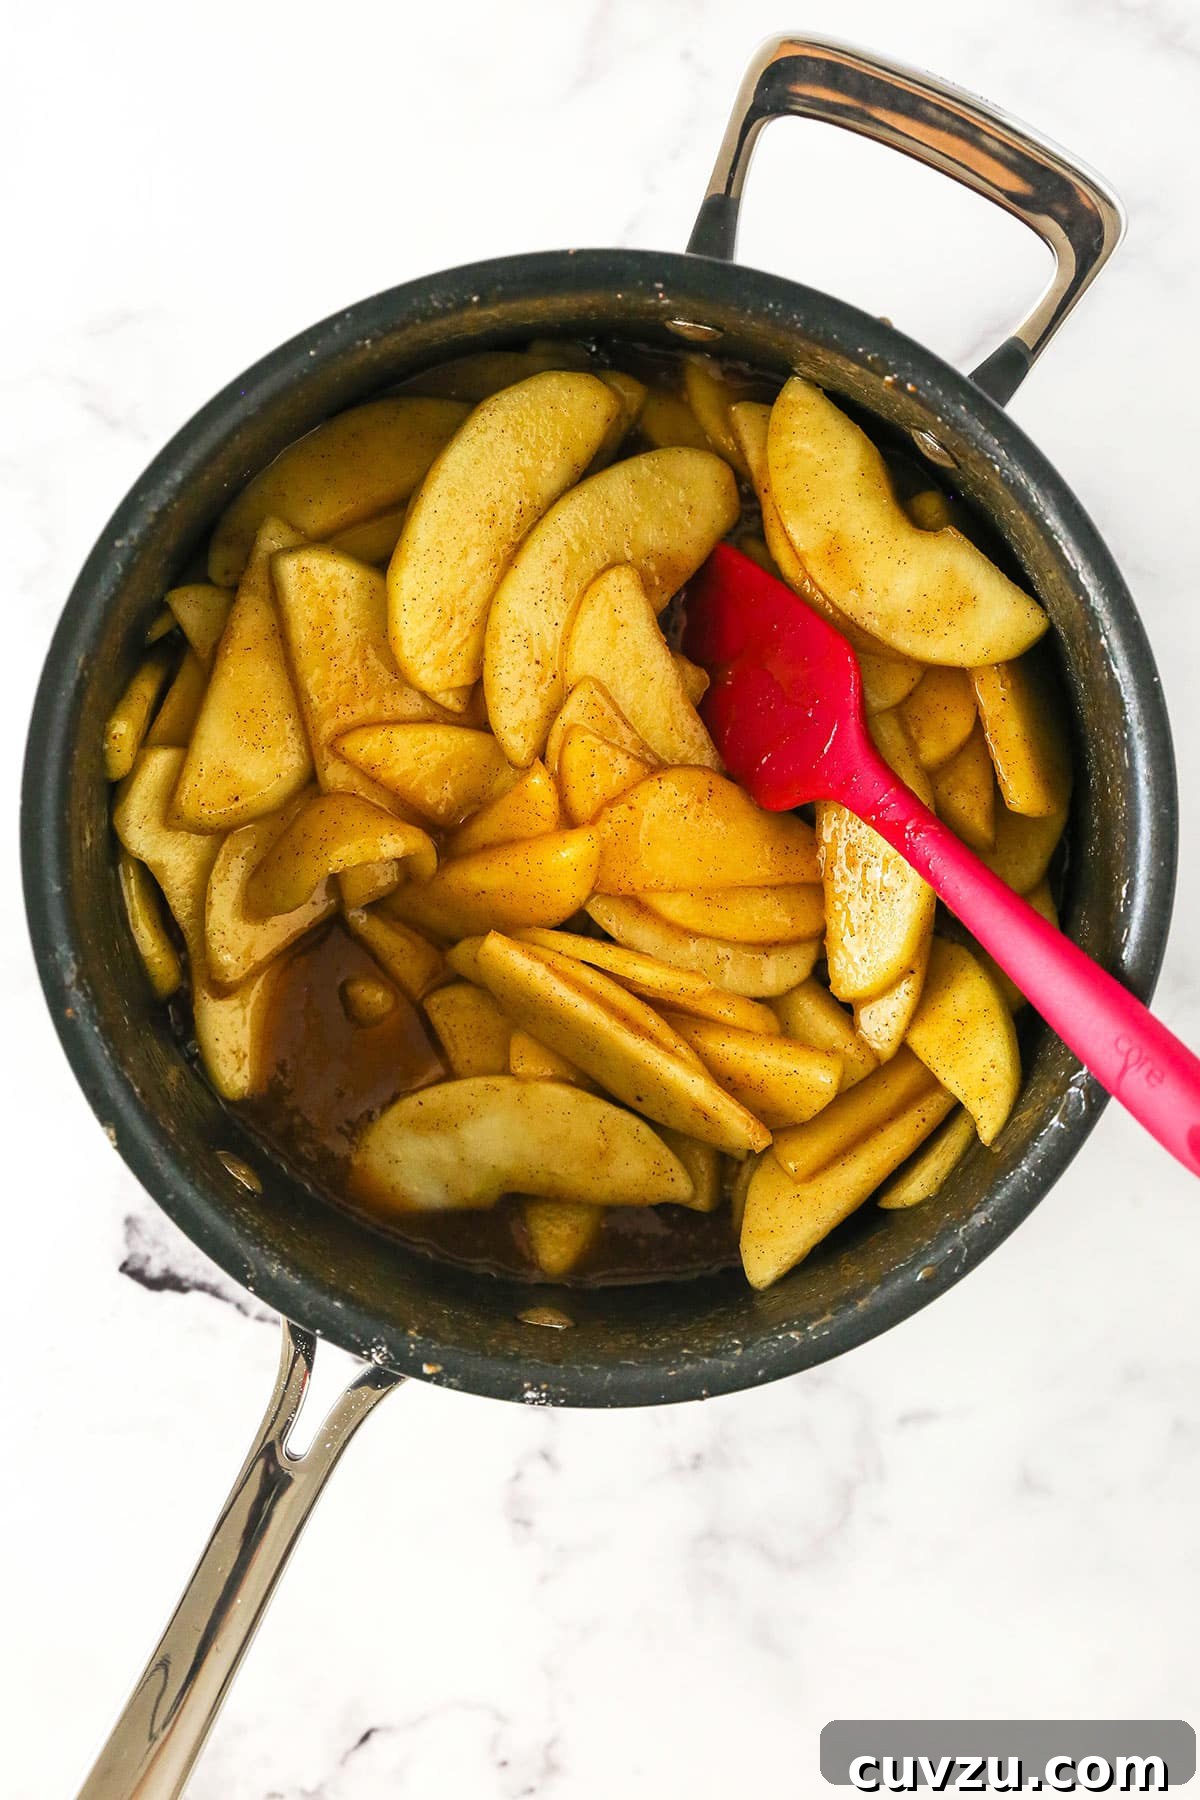
- Craft the Apple Filling: In a medium-sized saucepan, combine all the ingredients designated for the apple filling: thinly sliced apples, packed brown sugar, all-purpose flour, ground cinnamon, nutmeg, salt, melted butter, and fresh lemon juice. Stir everything together thoroughly until the apples are evenly coated with the spices and sugar mixture.
- Gently Cook the Filling: Place the saucepan over medium heat. Cook the apple mixture for 3-5 minutes, stirring frequently. This crucial step helps to melt the brown sugar, allowing it to dissolve into a luscious syrup, and starts to release the natural juices from the apples. This pre-cooking prevents a watery filling and ensures the apples are tender when baked.
- Transfer Apples to Baking Dish: Once the apples have softened slightly and the sauce has thickened, remove the saucepan from the heat. Carefully pour the warm apple filling into a 9×13-inch baking pan. Spread the apple mixture evenly across the bottom of the pan to create a uniform layer, then set it aside while you prepare the topping.
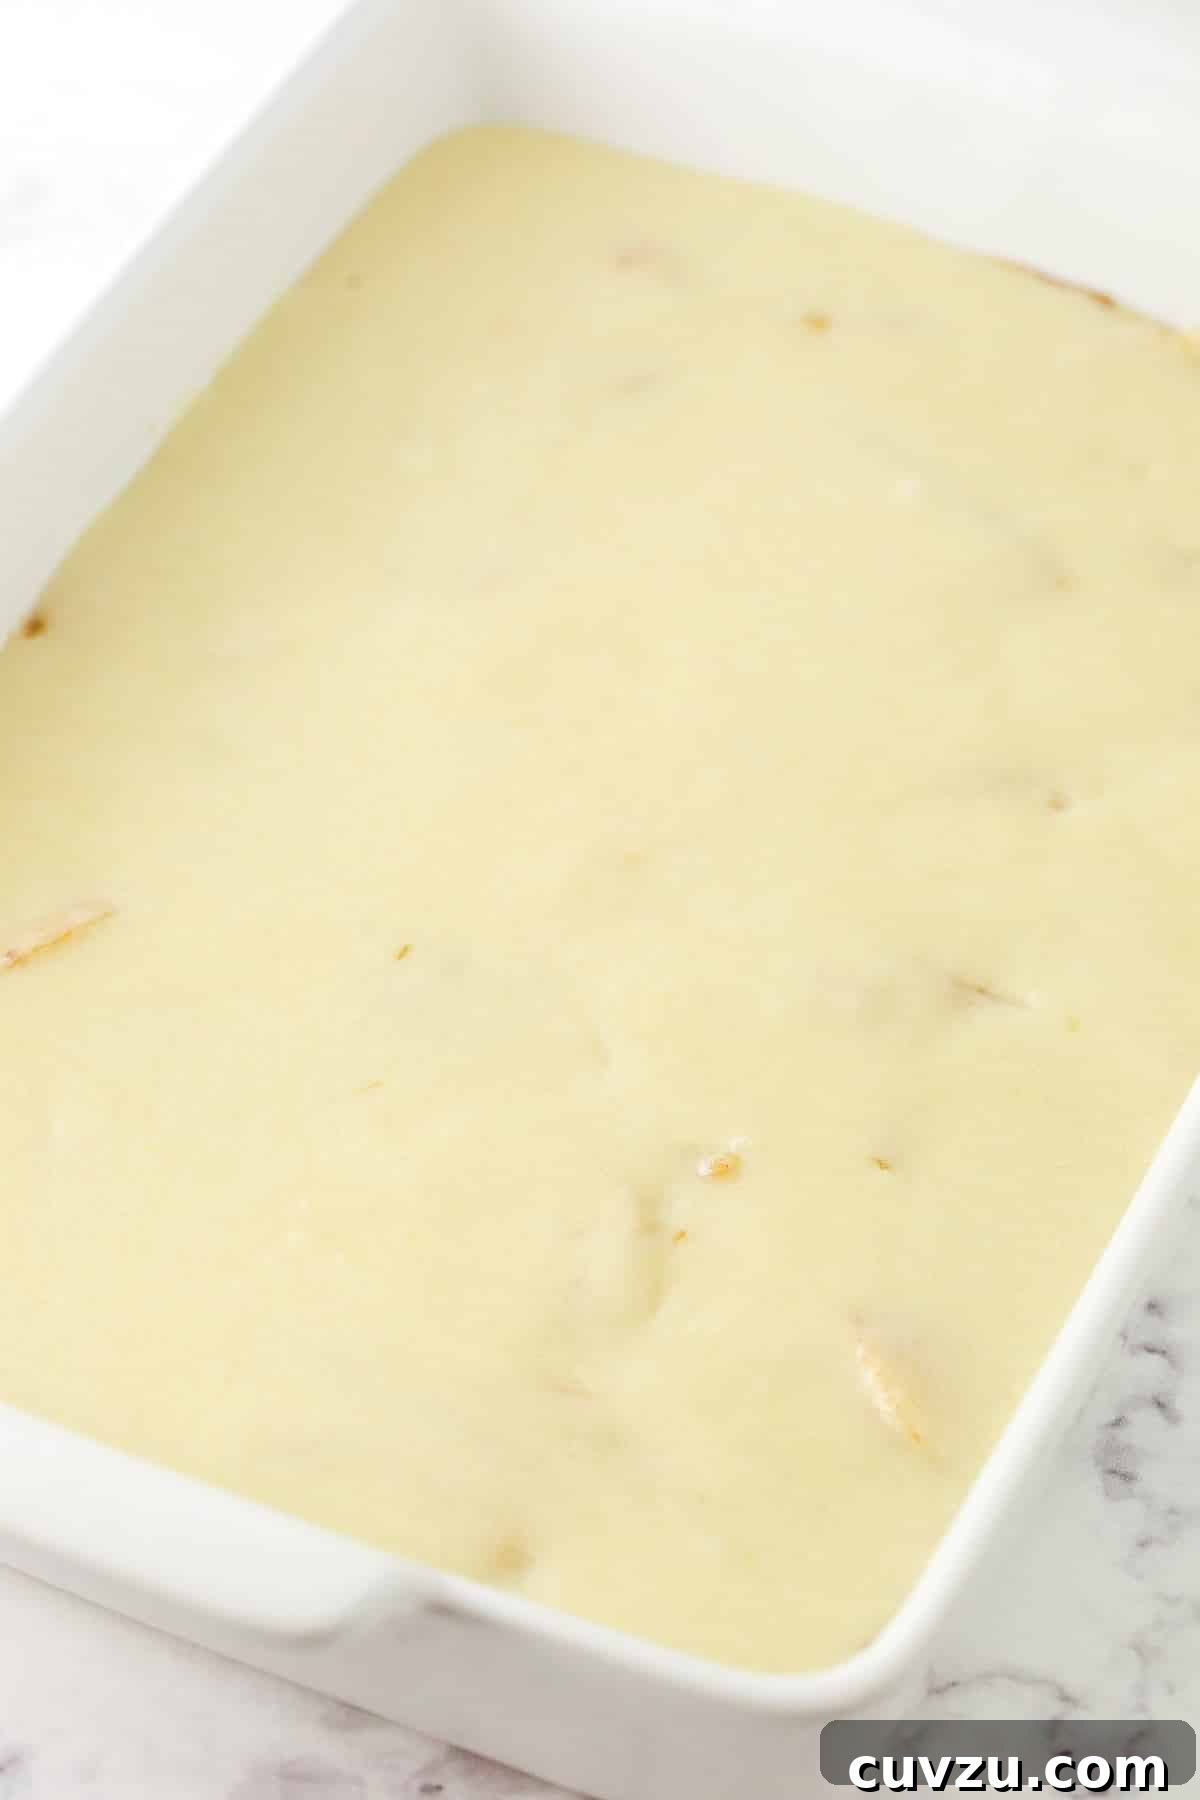
- Prepare the Cobbler Batter: In a separate large mixing bowl, combine the dry ingredients for the batter: all-purpose flour, granulated sugar, baking powder, and salt. Whisk them together to ensure they are well combined. Then, add the wet ingredients: milk, egg yolk, vanilla extract, and melted butter. Mix everything until the batter is smooth and just combined. Be careful not to overmix, as this can lead to a tough topping.
- Layer the Batter: Gently pour the prepared batter evenly over the pre-cooked apple filling in the baking pan. Use a spatula to spread it carefully to cover all the apples. The batter might seem thick, but it will spread and rise beautifully during baking.
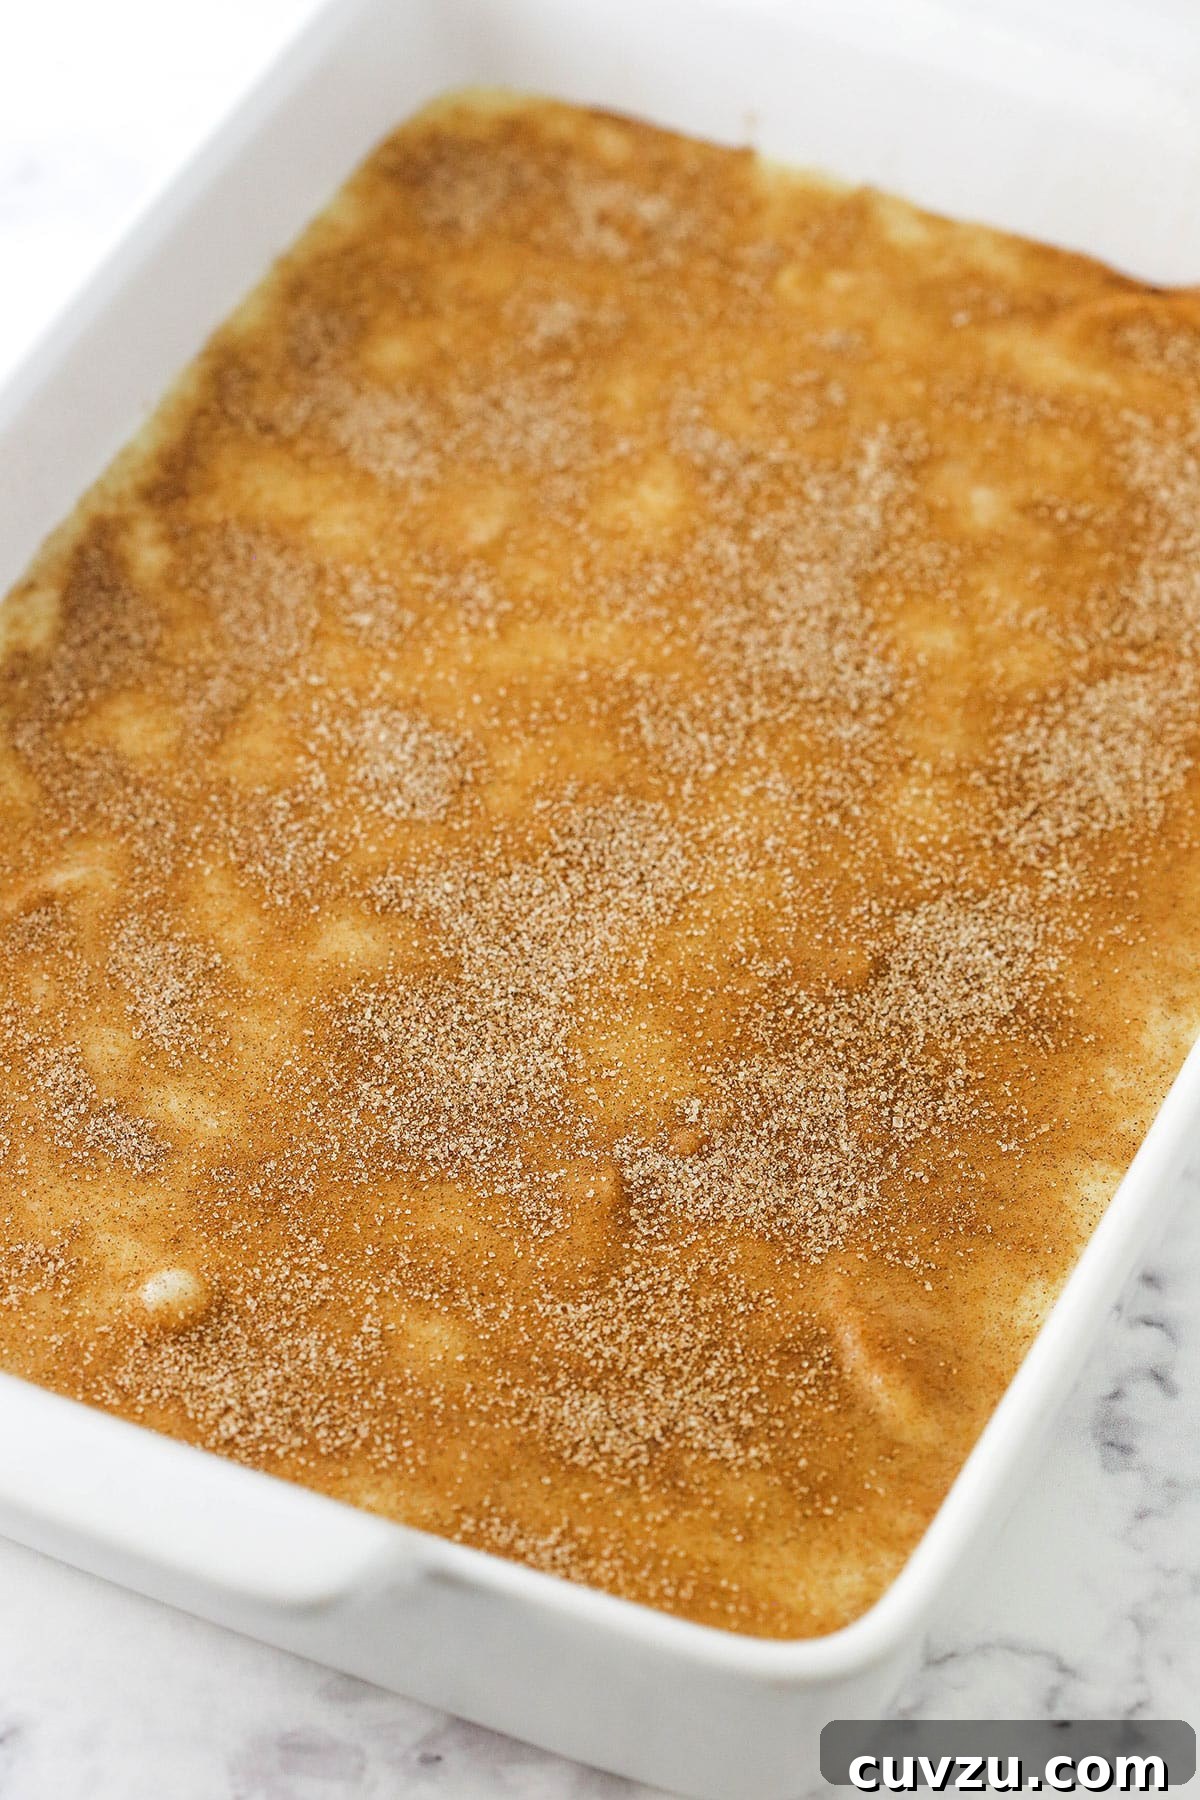
- Apply the Optional Topping: In a small bowl, combine the sugar and ground cinnamon for the optional topping. Sprinkle this delightful mixture generously and evenly over the top of the batter. This step adds a beautiful golden crust and an extra burst of cinnamon flavor.
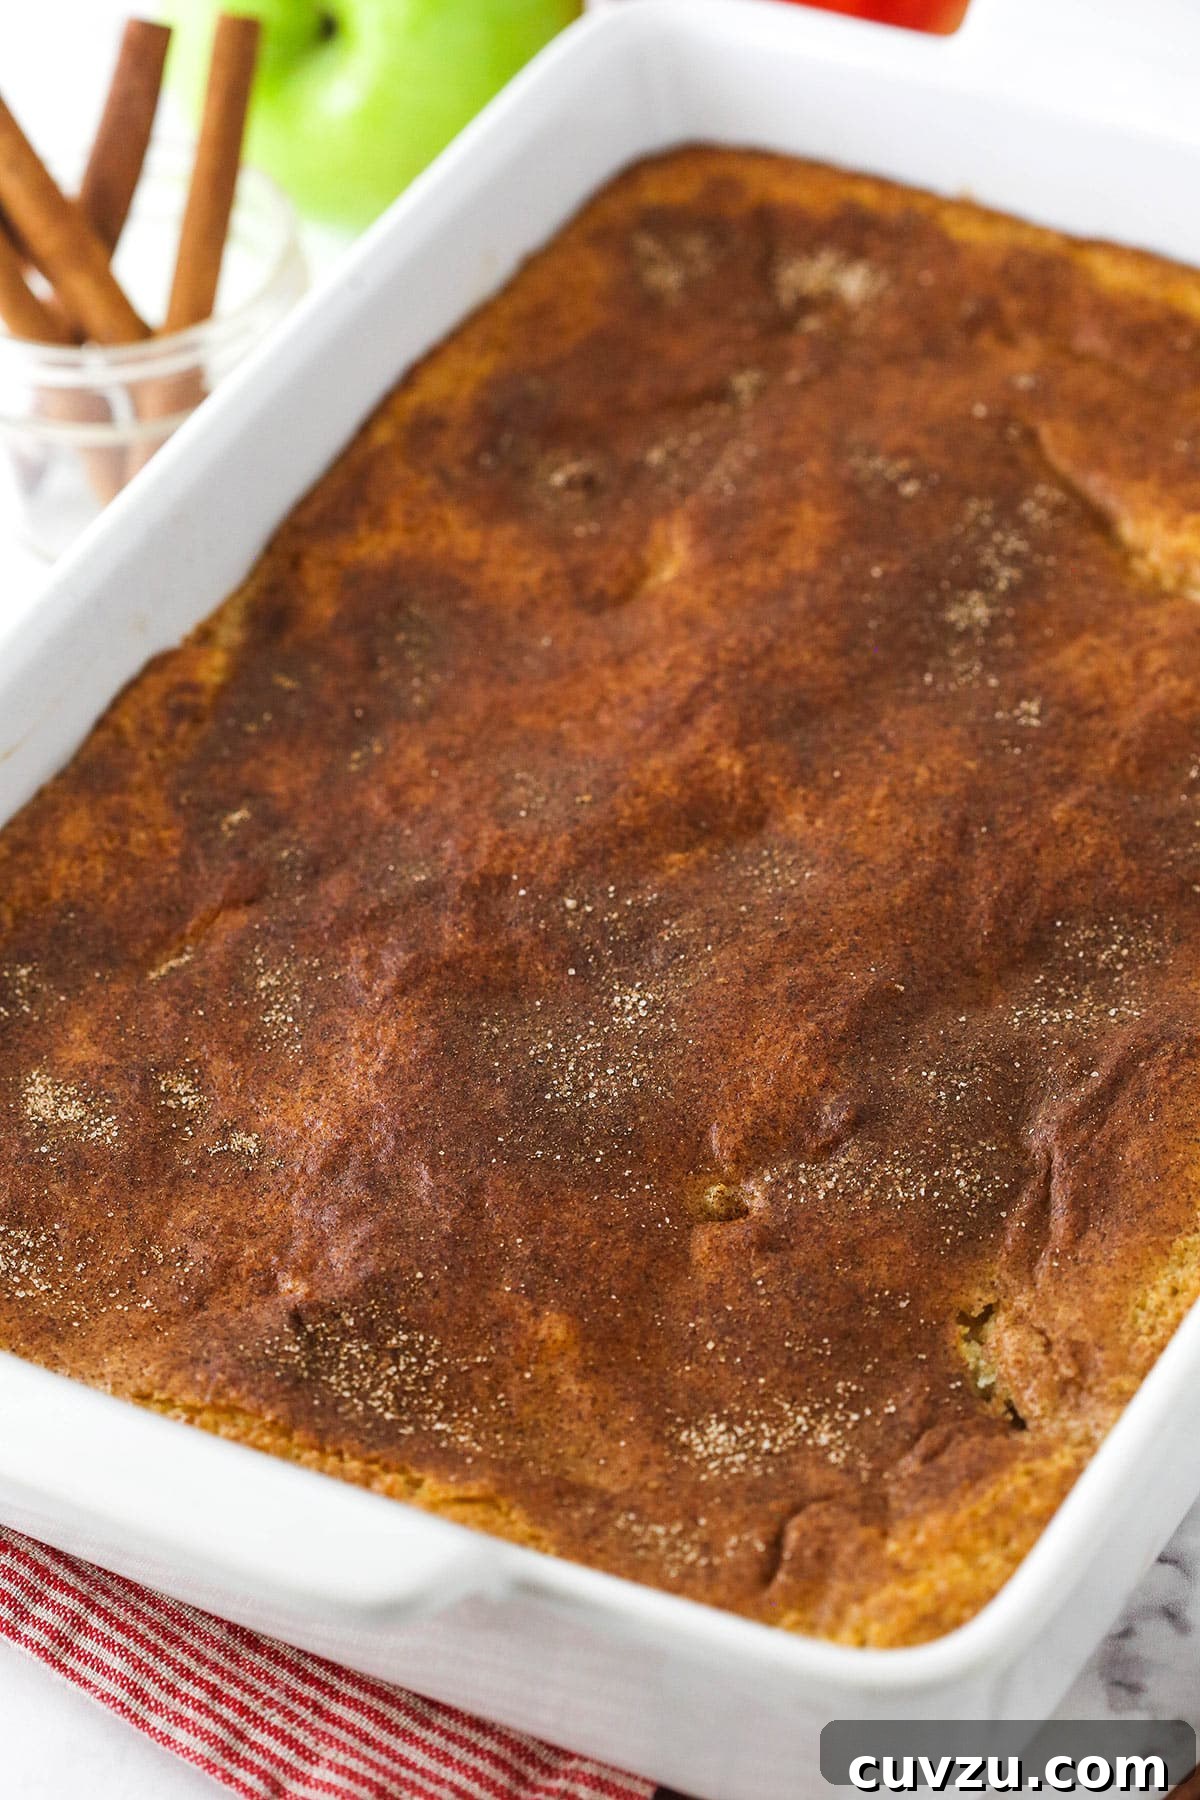
- Bake to Perfection: Place the baking dish into your preheated oven. Bake for 30-35 minutes, or until the cobbler topping is lightly golden brown, puffy, and a toothpick inserted into the cake-like topping comes out clean. The apple filling underneath should be bubbling gently.
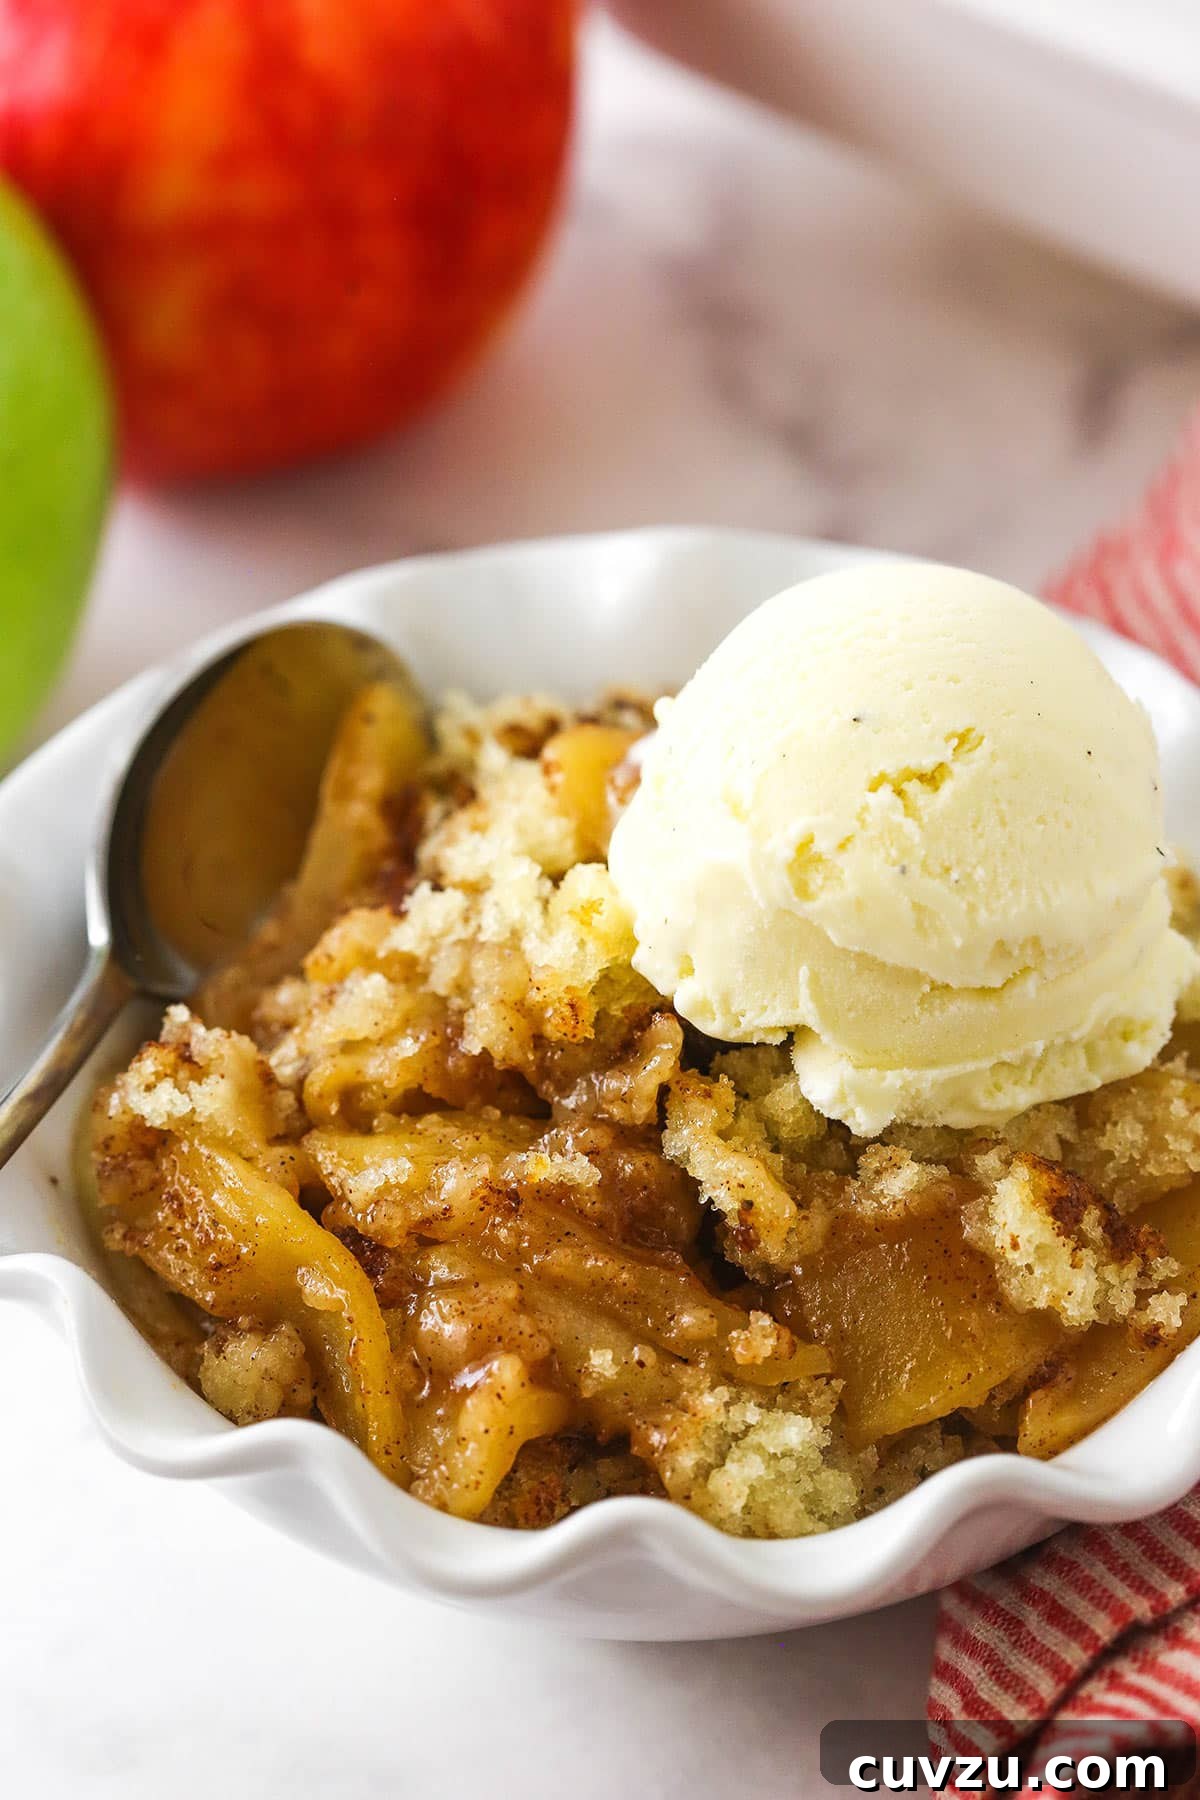
- Serve Warm and Enjoy: Once baked, remove the apple cobbler from the oven. Let it cool for 5-10 minutes on a wire rack before serving. This short cooling period allows the filling to set slightly, making it easier to serve. Serve it warm, perhaps with a scoop of vanilla bean ice cream or a dollop of fresh whipped cream, for an utterly blissful experience.
Expert Tips for the Best Apple Cobbler
While the recipe is straightforward, a few key tips can elevate your apple cobbler from good to absolutely unforgettable. Pay attention to these details for a truly perfect dessert every time.
Peel Your Apples for Superior Texture
This might seem like an extra step, but peeling your apples is highly recommended for an unparalleled cobbler texture. Apple skins tend to separate from the fruit flesh during baking, resulting in tough, chewy bits that detract from the otherwise tender and smooth filling. By peeling them, you ensure every bite of your apple filling is consistently soft and luscious, making the cobbler even more irresistible.
The Magic of the Cinnamon-Sugar Topping
While labeled “optional,” I strongly urge you not to omit the cinnamon-sugar topping. This simple mixture is more than just a garnish; it’s a flavor enhancer. The cinnamon harmonizes beautifully with the apple filling, while the sugar creates a slightly caramelized, sparkling crust that adds an appealing texture and visual pop. It truly ties all the delicious components of the cobbler together, adding that final touch of warmth and sweetness that makes all the difference.
Pre-Cooking the Filling: A Flavor Secret
You *could* technically add the raw apple filling directly to the pan, but taking a few extra minutes to pre-cook it on the stovetop makes a significant difference. This step is a game-changer for several reasons: it encourages the apples to release their juices, preventing a watery cobbler once baked. It also allows the sugar to fully dissolve and melt into a rich, syrupy sauce, infusing the apples with deeper flavor from the start. The result is a more intensely flavored and perfectly set apple filling that truly sings.
Mastering the Cobbler’s Rise: Adjusting Baking Powder
The amount of baking powder in the batter dictates how much the cobbler topping will rise. This recipe uses a full teaspoon, which results in a proudly puffed-up, cake-like topping that sits almost entirely above the apples. If you prefer a more integrated look, where the apples are nestled deeper within the cobbler topping rather than being fully covered, you can reduce the baking powder to ¾ teaspoon. Experiment to find your perfect balance!
Serve Warm for Unforgettable Comfort
While tempting to dig in immediately, allow your cobbler to cool for 5-10 minutes after removing it from the oven. This brief cooling period allows the filling to set slightly and prevents you from burning your mouth. However, don’t wait too long! Apple cobbler is undeniably at its absolute best when served warm, straight from the oven. The warm, spiced apples and tender topping are truly a treat. Enhance the experience even further by serving it with a scoop of cold vanilla bean ice cream, which creates a delightful contrast of temperatures and textures, or a generous dollop of freshly whipped cream.
Storing and Reheating Your Delicious Apple Cobbler
While apple cobbler is best enjoyed fresh and warm, you can certainly store leftovers and reheat them to savor its comforting flavors later. Proper storage ensures the best quality.
Room Temperature and Refrigerated Storage
- To Store at Room Temperature: If you plan to consume the cobbler within 24 hours, you can keep it at room temperature. Ensure the baking dish is tightly covered with plastic wrap or transfer individual servings to an airtight container. This helps prevent it from drying out.
- To Store in the Fridge: For longer storage, after 24 hours at room temperature, or immediately after cooling if preferred, transfer the cobbler to the refrigerator. Covered tightly in plastic wrap or stored in an airtight container, it will keep well for up to 4-5 extra days.
Reheating for Freshly Baked Taste
Reheating individual servings is quick and easy, bringing back much of that freshly baked warmth and flavor.
- Microwave Method: Place an individual serving in a heat-proof dish. Microwave on high for 20-30 seconds, or until warmed through. Be careful not to overheat, as this can make the topping rubbery.
- Oven Method (for larger portions): For a whole cobbler or a large portion, preheat your oven to 300°F (150°C). Cover the cobbler loosely with foil to prevent the topping from over-browning, and bake for 15-20 minutes, or until heated through.
Can You Freeze Apple Cobbler?
Yes, you can absolutely freeze apple cobbler! While it’s truly magnificent when fresh, frozen and reheated cobbler still offers a wonderful dessert experience, making it perfect for meal prep or saving for a busy day.
- To Freeze: Allow the baked apple cobbler to cool completely to room temperature. This is crucial to prevent ice crystals from forming. Once cooled, transfer the cobbler to a freezer-safe container. For best results, consider freezing individual portions for easier thawing and reheating. You can store it in the freezer for 2-3 months.
- To Thaw and Reheat: When you’re ready to enjoy it, transfer the frozen cobbler (or individual portions) to the refrigerator and allow it to thaw overnight. Once thawed, you can reheat it using either the microwave or oven methods described above. The texture might be slightly softer than freshly baked, but the flavors will still be delicious.
Frequently Asked Questions About Apple Cobbler
Have more questions about making the perfect apple cobbler? We’ve got answers!
Q: What’s the difference between cobbler, crisp, and crumble?
These terms are often used interchangeably, but there are distinct differences! A cobbler typically has a biscuit-like or cake-like topping dropped over the fruit, resembling a cobbled street (hence the name). A crisp usually features a topping made of oats, flour, butter, and sugar, which bakes to a crunchy texture. A crumble is similar to a crisp but generally doesn’t contain oats in its streusel-like topping, focusing more on a buttery, floury crumb.
Q: Can I use different fruits?
Absolutely! This cobbler recipe is incredibly versatile. While apple is classic, you can easily substitute or combine it with other fruits like peaches, berries (strawberries, blueberries, raspberries), or a mix of stone fruits. Adjust sugar levels based on the sweetness of your chosen fruit. Peaches are particularly popular for cobblers, offering a juicy and fragrant alternative.
Q: Can I make this gluten-free?
Yes, with a few modifications. You can substitute the all-purpose flour in both the filling and the batter with a good quality 1:1 gluten-free baking flour blend (ensure it contains xanthan gum). The texture might be slightly different, but it will still be delicious. Always check your baking powder to ensure it is also gluten-free.
Q: How do I know when the cobbler is done?
Look for a golden-brown and puffed-up topping. You can also gently press the topping; it should feel set and spring back slightly. For the filling, you should see it bubbling around the edges, indicating the fruit is hot and cooked through. If you insert a toothpick into the cake-like topping, it should come out clean.
Q: Can I prepare apple cobbler ahead of time?
You can prepare components in advance. The apple filling can be cooked and stored in the refrigerator for up to 2 days. The dry ingredients for the batter can be whisked together and stored in an airtight container. When ready to bake, simply combine the wet ingredients for the batter, assemble, and bake. Baking it completely ahead of time is possible, but it’s always best served warm and fresh for the optimal texture and flavor experience.
More Comforting Dessert Recipes You’ll Love
If you’ve fallen in love with the comforting warmth of this apple cobbler, you’ll surely enjoy these other delightful dessert recipes. Perfect for any season, these treats are guaranteed to satisfy your sweet tooth and bring joy to your table.
- Peach Cobbler
- Strawberry Rhubarb Crisp
- Easy Blueberry Crisp
- Triple Berry Crisp
Printable Recipe Card: Apple Cobbler
A classic homemade apple cobbler featuring tender, spiced apples topped with a light, fluffy cake-like batter and a hint of cinnamon sugar. Perfect for a comforting fall dessert!
Author: Lindsay
- Prep Time: 15 minutes
- Cook Time: 30 minutes
- Total Time: 45 minutes
- Yield: 8 servings
- Category: Dessert
- Method: Oven
- Cuisine: American
Ingredients
For the Apple Filling
- 5 cups (595g) thinly sliced Granny Smith apples (about 4 large apples) – a mix with Honeycrisp is highly recommended
- 1/2 cup plus 2 tbsp (140g) packed brown sugar
- 2 tablespoons (16g) all-purpose flour
- 1 teaspoon ground cinnamon
- 1/2 teaspoon nutmeg
- 1/4 teaspoon salt
- 2 tablespoons butter, melted and slightly cooled
- 1 tablespoon fresh lemon juice
For the Batter
- 1 cup (130g) all-purpose flour, spooned and leveled
- 1 cup (207g) granulated sugar
- 1 teaspoon baking powder
- 1/4 teaspoon salt
- 3/4 cup (180ml) milk (1% or 2% works well)
- 1 large egg yolk
- 1/2 teaspoon pure vanilla extract
- 1/4 cup (112g) unsalted butter, melted
For the Topping (Optional)
- 1 tablespoon granulated sugar
- 1 teaspoon ground cinnamon
Instructions
- Preheat your oven to 375°F (190°C).
- In a medium saucepan, combine all ingredients for the apple filling. Stir well to combine.
- Cook the mixture over medium heat for 3-5 minutes, stirring frequently, until the sugar melts and apples begin to release their juices.
- Remove apples from heat and pour the filling into a 9×13-inch baking pan, spreading it evenly. Set aside.
- In a large mixing bowl, whisk together the flour, granulated sugar, baking powder, and salt for the batter.
- Add the milk, egg yolk, vanilla extract, and melted butter to the dry ingredients. Mix until just combined and smooth, being careful not to overmix.
- Pour the batter evenly over the apple filling in the baking pan.
- In a small bowl, combine the 1 tablespoon sugar and 1 teaspoon cinnamon for the topping. Sprinkle this mixture evenly over the batter.
- B Bake for 30-35 minutes, or until the topping is lightly golden brown and a toothpick inserted into the center comes out clean.
- Remove from the oven and let cool for 5-10 minutes before serving warm.
Notes
- Nutrition facts provided include the optional topping.
- Storage: Tightly cover cooled cobbler with plastic wrap. Store at room temperature for up to 24 hours, or in the fridge for 4-5 days.
- Reheating: Microwave individual servings for 20-30 seconds. For larger portions, reheat in an oven at 300°F (150°C), covered with foil, for 15-20 minutes.
- Freezing: Allow cobbler to cool completely. Transfer to a freezer-safe container and freeze for 2-3 months. Thaw in the fridge overnight before reheating.
Nutrition
- Serving Size: 1 serving (approx. 1/8 of cobbler)
- Calories: 350 kcal
- Sugar: 46.5 g
- Sodium: 163.2 mg
- Fat: 9.6 g
- Carbohydrates: 64.1 g
- Protein: 3.4 g
- Cholesterol: 46.4 mg
Made this delicious recipe?
We’d love to see your creations! Share a photo on social media and tag us – we can’t wait to see what you’ve made!