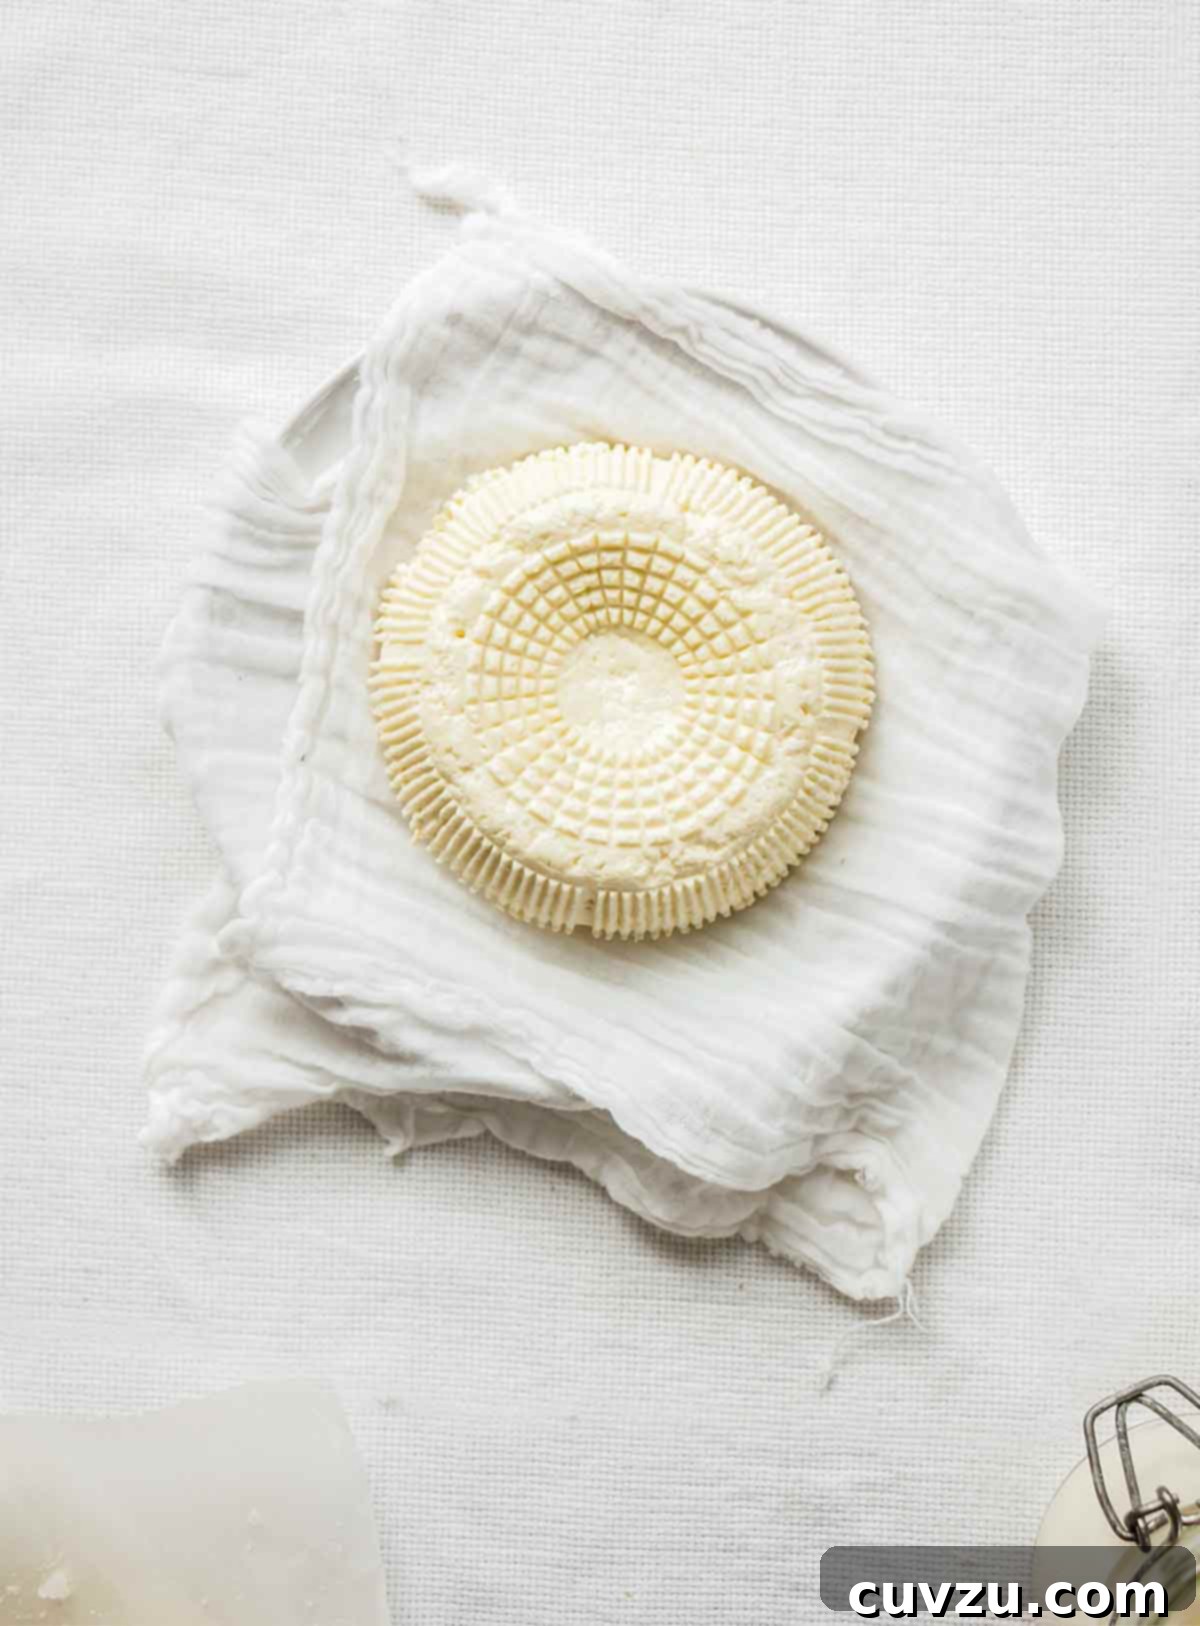
Master the Art of Homemade Farmer Cheese: Your Easy Guide to Creamy Perfection
Imagine a cheese so rich, so creamy, and so wonderfully versatile that it feels like a luxurious indulgence, yet requires minimal effort to create right in your own kitchen. This is the magic of homemade farmer cheese. Often likened to a “lazy person’s ricotta” due to its simple preparation, this fresh cheese is an absolute game-changer for home cooks and cheese enthusiasts alike. It’s an approachable introduction to the rewarding world of cheesemaking, transforming everyday ingredients into something truly extraordinary.
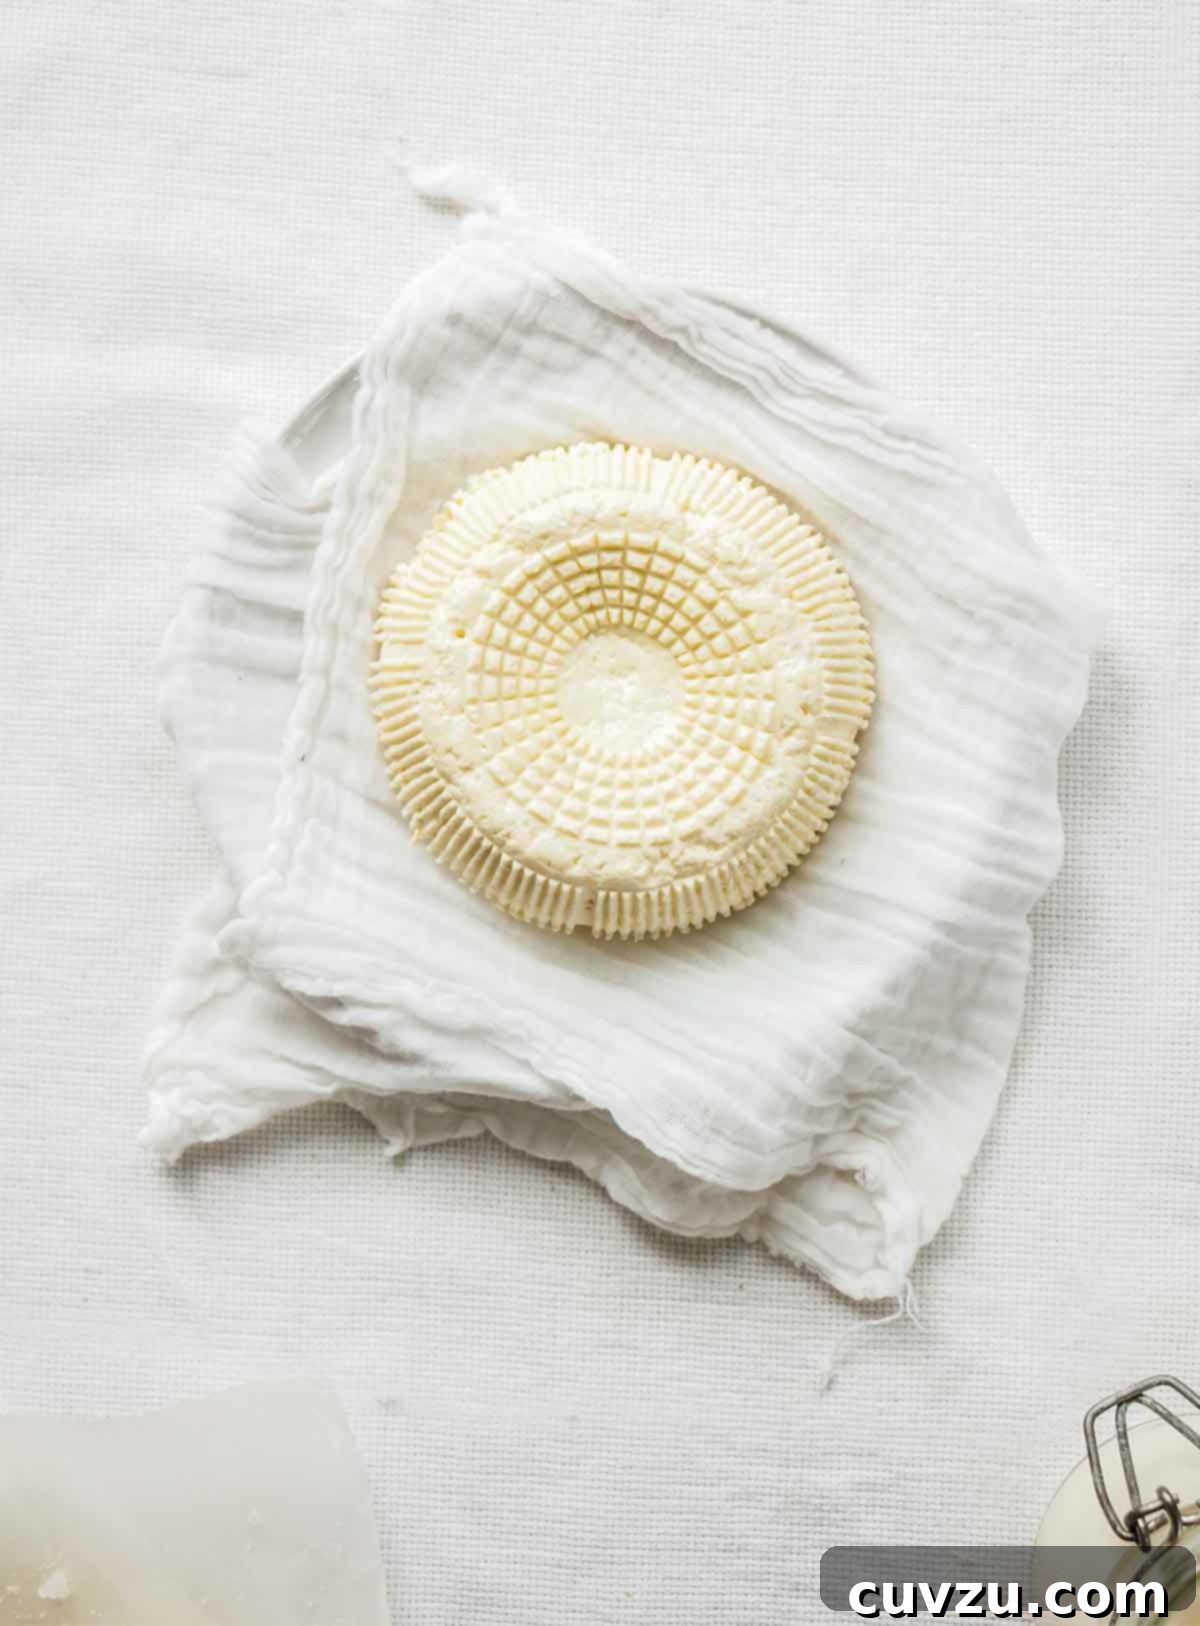
Our farmer cheese recipe stands out for its incredible simplicity, requiring neither special expertise nor exotic ingredients. You likely have everything you need already in your pantry and refrigerator. The result is a delightfully soft, light, and creamy cheese, subtly kissed with a hint of lemon that brightens its fresh flavor. While it shares similarities with ricotta, its unique texture and mild tang also make it an excellent stand-in for cream cheese in many applications. This culinary chameleon effortlessly elevates a wide array of dishes, making it an indispensable staple once you discover its charm.
Why Embrace Homemade Farmer Cheese?
Beyond the sheer satisfaction of making something from scratch, crafting your own farmer cheese offers a myriad of benefits:
- Unmatched Freshness and Flavor: Store-bought cheeses, while convenient, often lack the vibrant, clean taste of a freshly made product. Homemade farmer cheese, especially when made with high-quality local milk, delivers a superior flavor profile that is simply unparalleled.
- Control Over Ingredients: You dictate what goes into your cheese. No artificial additives, preservatives, or questionable ingredients – just pure, wholesome goodness.
- Economical: Making cheese at home can be surprisingly cost-effective, especially when you consider the price of gourmet fresh cheeses at the market.
- Simple Process: This recipe demystifies cheesemaking, proving that you don’t need a degree in dairy science or specialized equipment. It’s a fantastic entry point for anyone curious about DIY food projects.
- Versatility Personified: From sweet to savory, this cheese adapts beautifully. It can be a creamy filling, a delightful spread, or a texturizing agent in various dishes.
Your Culinary Canvas: Endless Uses for Farmer Cheese
Once you’ve experienced the joy of this homemade farmer cheese, you’ll find yourself reaching for it constantly. Its soft, fresh, and subtly flavored profile makes it incredibly adaptable. Here are just a few ideas, many inspired by our enthusiastic recipe testers:
- Pasta Perfection: Use it to generously stuff pasta shells, ravioli, or manicotti, infusing your Italian dishes with a creamy, fresh taste. A dollop over a simple marinara pasta adds a luxurious touch.
- Elevated Salads: Crumble or dollop it onto fresh green salads, grain bowls, or roasted vegetable medleys for a burst of creamy texture and mild flavor.
- Gourmet Pizza Topping: Spread it on a white pizza as an alternative to traditional mozzarella, perhaps with some fresh herbs and a drizzle of olive oil.
- Breakfast & Brunch Bliss: Serve it as a luscious spread on pancakes, waffles, or French toast. It’s also the essential filling for classic cheese blintzes. Try it on toast with pear slices, honey, and fresh thyme for an unforgettable breakfast.
- Savory Appetizers: Create elegant bruschetta by spreading the cheese on toasted bread rounds, then topping with prosciutto-wrapped figs and a honey drizzle. It’s also fantastic with shredded pickled beets or on sweet potato and corn cakes.
- Dessert Delights: Don’t limit this cheese to savory dishes! It can be the star of sweet treats like zeppole, where its light lemon flavor perfectly complements a dusting of confectioners’ sugar. Mix it with a bit of honey for a simple, delightful spread for homemade crêpes.
- Beyond the Obvious: Consider using it in pierogies, a rich cheese lasagna, or even whipped into a lemon cheese dip for parties. Its texture, a cross between ricotta and cream cheese but much lighter, lends itself to creativity.
For the absolute best flavor and longevity, we strongly encourage you to source local, fresh milk. The quality of your dairy will shine through in the final product.
Farmer Cheese
★
★
★
★
David Leite
PIN
Ingredients
- 3 cups whole milk
- 1 cup heavy cream
- 1/2 teaspoon coarse sea salt
- 3 tablespoons fresh lemon juice
Instructions
-
Pour the milk, cream, and salt into a 3-quart (2.8-liter) stainless steel saucepan. Place it over medium-low heat and gently warm the mixture to 190°F (88°C). Stir occasionally to prevent the milk from scorching at the bottom of the pan. This step can take up to 15 minutes, so patience is key. Keep a close eye on the thermometer, as the temperature tends to increase dramatically towards the very end.
-
Once the desired temperature is reached, remove the pan from the heat. Add the fresh lemon juice, stirring slowly just once or twice to incorporate. It’s crucial not to over-stir. Let the pot sit undisturbed for 5 minutes. During this resting period, the milk will visibly separate into very small curds and a watery, yellowish liquid known as whey. This separation is exactly what you want!
-
Prepare your straining setup by lining a sieve with cheesecloth and placing it over a large bowl to catch the whey. Carefully pour the curdled milk mixture into the prepared sieve. Allow it to strain at room temperature for at least 1 hour. The longer it strains, the firmer your cheese will be.
-
Once adequately strained, you can discard the drained liquid (whey) or reserve it for other culinary uses (see our tips below!). Gently remove the farmer cheese from the strainer. If you desire a decorative presentation, you can lightly press it into a mold. Otherwise, simply mound it on a plate or in a bowl. Cover the cheese and refrigerate for at least 1 hour. This chilling period allows the cheese to firm up slightly and enhances its texture. Enjoy your homemade farmer cheese immediately, or transfer it to an airtight container and store it in the refrigerator for up to 1 week.
Adapted From
The Farmette Cookbook
Buy On Amazon
Nutrition
Calories: 79 kcal
Carbohydrates: 3 g
Protein: 2 g
Fat: 7 g
Saturated Fat: 4 g
Monounsaturated Fat: 2 g
Cholesterol: 22 mg
Sodium: 94 mg
Fiber: 0.01 g
Sugar: 3 g
Nutrition information is automatically calculated, so should only be used as an approximation.
Tried this recipe?
Mention @leitesculinaria or tag #leitesculinaria!
Beyond the Recipe: Tips for Success
Making farmer cheese is straightforward, but a few expert tips can ensure your results are consistently perfect and inspire confidence in your cheesemaking journey.
Choosing Your Milk: The Foundation of Flavor
The quality of your milk and cream is paramount. For the most flavorful and richest farmer cheese, opt for fresh, whole milk from a local dairy if possible. Ultra-pasteurized milk, commonly found in grocery stores, has been heated to a higher temperature and may not curdle as effectively or yield as much cheese. While this recipe specifically calls for whole milk and heavy cream for a truly decadent result, you can experiment with different milk fat percentages. However, remember that fat content directly influences the creaminess and yield of your cheese. The addition of cream, though optional, is highly recommended for that desirable lush texture.
The Art of Coagulation: Patience is a Virtue
The heating process is delicate. Warming the milk and cream slowly over medium-low heat is crucial to prevent scorching, which can impart an unpleasant taste. Stir frequently, especially as it approaches 190°F (88°C). The temperature will rise slowly at first, then rapidly accelerate. Once the lemon juice is added, resist the urge to stir vigorously. A gentle swirl or two is sufficient. Over-stirring during the coagulation phase can break up the delicate curds, resulting in a lower yield and a less desirable texture. If you add the lemon juice and don’t see sufficient curd formation, it’s possible to gently reheat the mixture and add a tiny bit more acid, like a teaspoon of lemon juice or white vinegar, until curds appear.
Straining for Perfect Texture
The straining time is where you control the final consistency of your farmer cheese. A shorter straining time (around 15-20 minutes) will yield a softer, more traditional ricotta-like texture – very creamy and spreadable. Straining for the full hour, as directed in the recipe, will produce a denser, more crumbly farmer cheese, excellent for stuffing or molding. Some testers even preferred a slightly shorter drain time for maximum creaminess. Experiment to find your preferred texture! Using high-quality cheesecloth, or even a double layer if your cheesecloth has larger weaves, is essential to prevent curds from escaping with the whey. T-shirt material, which is denser, can also be an effective alternative to cheesecloth.
Making the Most of Whey: Don’t Discard this Liquid Gold!
The whey that drains from your cheese is far from waste; it’s a nutritional powerhouse and a versatile ingredient. While it can be discarded, many cooks find creative uses for it:
- Baking: Substitute whey for water or milk in bread, pancakes, muffins, or other baked goods. It adds tenderness, moisture, and a subtle tang, enhancing the flavor and texture of your creations.
- Smoothies: Use it as the liquid base for smoothies to boost protein and nutrients.
- Pets & Plants: A small amount can be beneficial for pets, and diluted whey can also be used to water acid-loving plants in your garden.
- Secondary Cheesemaking: For adventurous cheesemakers, whey can be used to make ricotta (whey ricotta) or Scandinavian “mesost,” though these processes are more time-consuming. If you plan to make whey ricotta, use the whey immediately after straining.
Storage and Freshness
Homemade farmer cheese is at its absolute peak when enjoyed fresh, ideally within a few days of making. While the recipe suggests it can last up to a week in an airtight container in the refrigerator, some testers found it to be creamiest and best-tasting in the first few days. Its delicate, fresh nature means it doesn’t have the extended shelf life of aged cheeses, so plan to savor it promptly.
Recipe Testers’ Reviews: Real Experiences, Real Inspiration
Our community of passionate recipe testers put this farmer cheese recipe to the test, offering invaluable insights and creative serving suggestions. Here’s what they discovered:
Recipe Testers’ Reviews
Linda B.
“Love this farmer cheese recipe! I’ve always wanted to make my own ricotta and this was easier and more delicious than I ever imagined. It’s so creamy and satisfying. I spread it on my morning toast, scooped a spoonful onto a bowl of pasta with marinara sauce, and dolloped it on white pizza.”
Linda noted that while the milk takes time to heat, the curds formed beautifully. She kept the whey for a few days but eventually discarded it, regretting not knowing its uses for pizza or bread dough at the time. She found the cheese creamiest and best at room temperature or slightly warmer, lasting for 5 days.
Linda Pacchiano
“This farmer cheese is delicious—creamy with a hint of lemon in the background. We ate most of the farmer cheese for lunch as part of a composed salad.”
Linda emphasized the importance of refrigerating the cheese for a while to allow it to set properly, stating that using it immediately might result in less structure. She also confirmed that the leftover portion stored well for several days in the refrigerator.
Trista Smith
“Making cheese at home was always one of those things that I thought was too much effort for a casual (read: lazy) home cook. But how wrong I was! This was easy, fun, fast, and made me feel like a kitchen wizard. You can MAKE cheese, you guys, and it’s delicious.”
Trista shared a practical tip for those without a digital thermometer, stating that an old-fashioned meat thermometer worked just fine for her. She also experimented with draining times, finding that straining for just one hour produced a preferred texture. She enjoyed the cheese dolloped onto pasta with sun-dried tomato pesto, on toast with pear slices, honey, and fresh thyme, and with shredded pickled beets, noting its versatility. The lemon flavor was more prominent right after draining but mellowed after chilling.
Kim Venglar
“I loved making this farmer cheese recipe so much that I made it twice. It’s simple to put together and takes almost no time at all. After 5 minutes, the curds were quite small, but it made for a very creamy end result. The end result is a nice, soft, lightly lemon-flavored cheese that you will find so many ways to serve.”
Kim used her first batch to create exquisite bruschetta with prosciutto-wrapped figs and honey, praising the fantastic combination of the cheese’s light lemon taste with salty and sweet flavors. Her second batch became delicious zeppole, highlighting the cheese’s adaptability to desserts.
Jennifer Bradley
“This recipe is for a very simple cheese that could be made by a novice. I’ve had some lessons and experience in cheesemaking and this is a great starter recipe.”
Jennifer, with her cheesemaking experience, confirmed that this is an excellent beginner-friendly recipe. She used milk and cream from a farmers’ market for superior results and enjoyed the cheese immediately on a sweet potato and corn cake, noting its good “farmer cheese” texture and pleasant mild flavor. She also planned to use the rest for pierogies.
Sarah Heend
“How cool is it to make cheese at home! And to make it with minimal effort and time investment is even better. In just a couple of hours (extended draining time while we went on a family hike), I made the creamiest, richest, best-way-to-showcase-the-milk ricotta-like cheese that I have ever eaten.”
Sarah emphasized the excitement and ease of making cheese at home. She used it plain, on crackers, and in the “best cheese lasagna” she ever made. She also highlighted the value of whey, advising not to discard it and listing its uses for bread, pancakes, and muffins. Sarah noted immediate and thorough curdling after adding lemon juice and stressed the importance of not stirring during the curdling step to maximize yield.
Elsa M. Jacobson
“Oh, cheese! I’ve been having a little love affair with fresh cheesemaking for the better part of a decade, and this cheese recipe is a great place to start. Be forewarned! The magic of cheesemaking can be habit-forming—before you impress your friends and family, you’ll likely impress yourself! There is simply nothing like homemade cheese!”
Elsa, an experienced cheesemaker, offered several invaluable tips: prioritizing fresh, least-processed milk; noting that vinegar can substitute lemon juice (though lemon yields a cleaner flavor); vigilance to prevent scorching milk; and advice on reinforcing cheesecloth. She further elaborated on straining times, suggesting 15-20 minutes for a softer ricotta-like texture, contrasting with a full hour for a denser farmer cheese. She echoed the importance of using whey for baking and smoothies but cautioned against a weeklong shelf life for this fresh cheese, recommending immediate consumption or use in dishes like Herbed Ricotta Dip with Vegetables, where its beauty can be showcased.
Robert Castagna
“The total time, with straining, was 1 hour and 20 minutes. It took about 25 minutes for the milk to come to 190°F. I let it stand for 10 minutes and then transferred the curds very slowly to a strainer. I added a little Baileys Irish Cream and used the cheese to stuff a chocolate stout cupcake. The filling was similar to that of a cannoli, so I made a hybrid cupnoli.”
Robert creatively incorporated his farmer cheese into a dessert, stuffing chocolate stout cupcakes with a Baileys Irish Cream-infused cheese filling, likening it to a “cupnoli.” This demonstrates the cheese’s potential in innovative sweet applications.
Frequently Asked Questions About Farmer Cheese
What is the primary difference between farmer cheese and ricotta?
Both farmer cheese and ricotta are fresh, unaged cheeses, but they differ in their origin and typical preparation. Ricotta (meaning “recooked” in Italian) is traditionally made from the whey leftover from cheesemaking, often from sheep, cow, goat, or Italian buffalo milk. Farmer cheese, on the other hand, is typically made by acidifying whole milk, causing the milk proteins to coagulate and form curds. While they can have similar textures, farmer cheese, especially when strained longer, tends to be denser and drier than a soft, fluffy ricotta. This recipe is considered a “lazy man’s ricotta” because it shares a similar ease of preparation and versatility, but technically it’s a farmer cheese.
Can I substitute other acids for lemon juice?
Yes, you can! While fresh lemon juice imparts a bright, clean flavor that complements the creamy cheese beautifully, other acidic agents can be used. White vinegar is a common substitute, typically used in similar quantities. Buttermilk can also be used, acting as both the dairy and the acid. However, the flavor profile will vary slightly with different acids. Lemon juice is generally preferred for its fresh, vibrant notes.
How long will homemade farmer cheese last?
For optimal freshness and flavor, homemade farmer cheese should be consumed within 3-5 days when stored in an airtight container in the refrigerator. While it can sometimes last up to a week, its delicate nature means it’s best enjoyed sooner rather than later. Always rely on your senses: if it smells off or shows any signs of spoilage, it’s best to discard it.
Can homemade farmer cheese be frozen?
While technically possible, freezing homemade farmer cheese is generally not recommended. Freezing can alter the delicate texture of fresh cheeses, making them more crumbly or grainy upon thawing. If you must freeze it, use it in cooked dishes where the texture change will be less noticeable, rather than as a fresh spread. Thaw it slowly in the refrigerator.
What equipment is essential for making farmer cheese?
You’ll need a few basic kitchen tools:
- A 3-quart (2.8-liter) stainless steel saucepan
- A whisk or spoon for stirring
- A reliable thermometer (digital is best for accuracy, but a meat thermometer can work in a pinch)
- Cheesecloth (multiple layers if thin, or a thicker t-shirt material)
- A fine-mesh sieve or colander
- A large bowl to collect the whey
Embark on Your Cheesemaking Adventure!
Making your own farmer cheese is a gratifying experience that promises delicious rewards. With just a few simple ingredients and minimal effort, you can transform milk and cream into a versatile, flavorful, and incredibly fresh cheese that will elevate your culinary creations. Don’t be intimidated by the idea of cheesemaking – this recipe proves just how accessible and enjoyable it can be. So, gather your ingredients, follow these easy steps, and prepare to impress yourself, your family, and your friends with the creamy perfection of homemade farmer cheese!