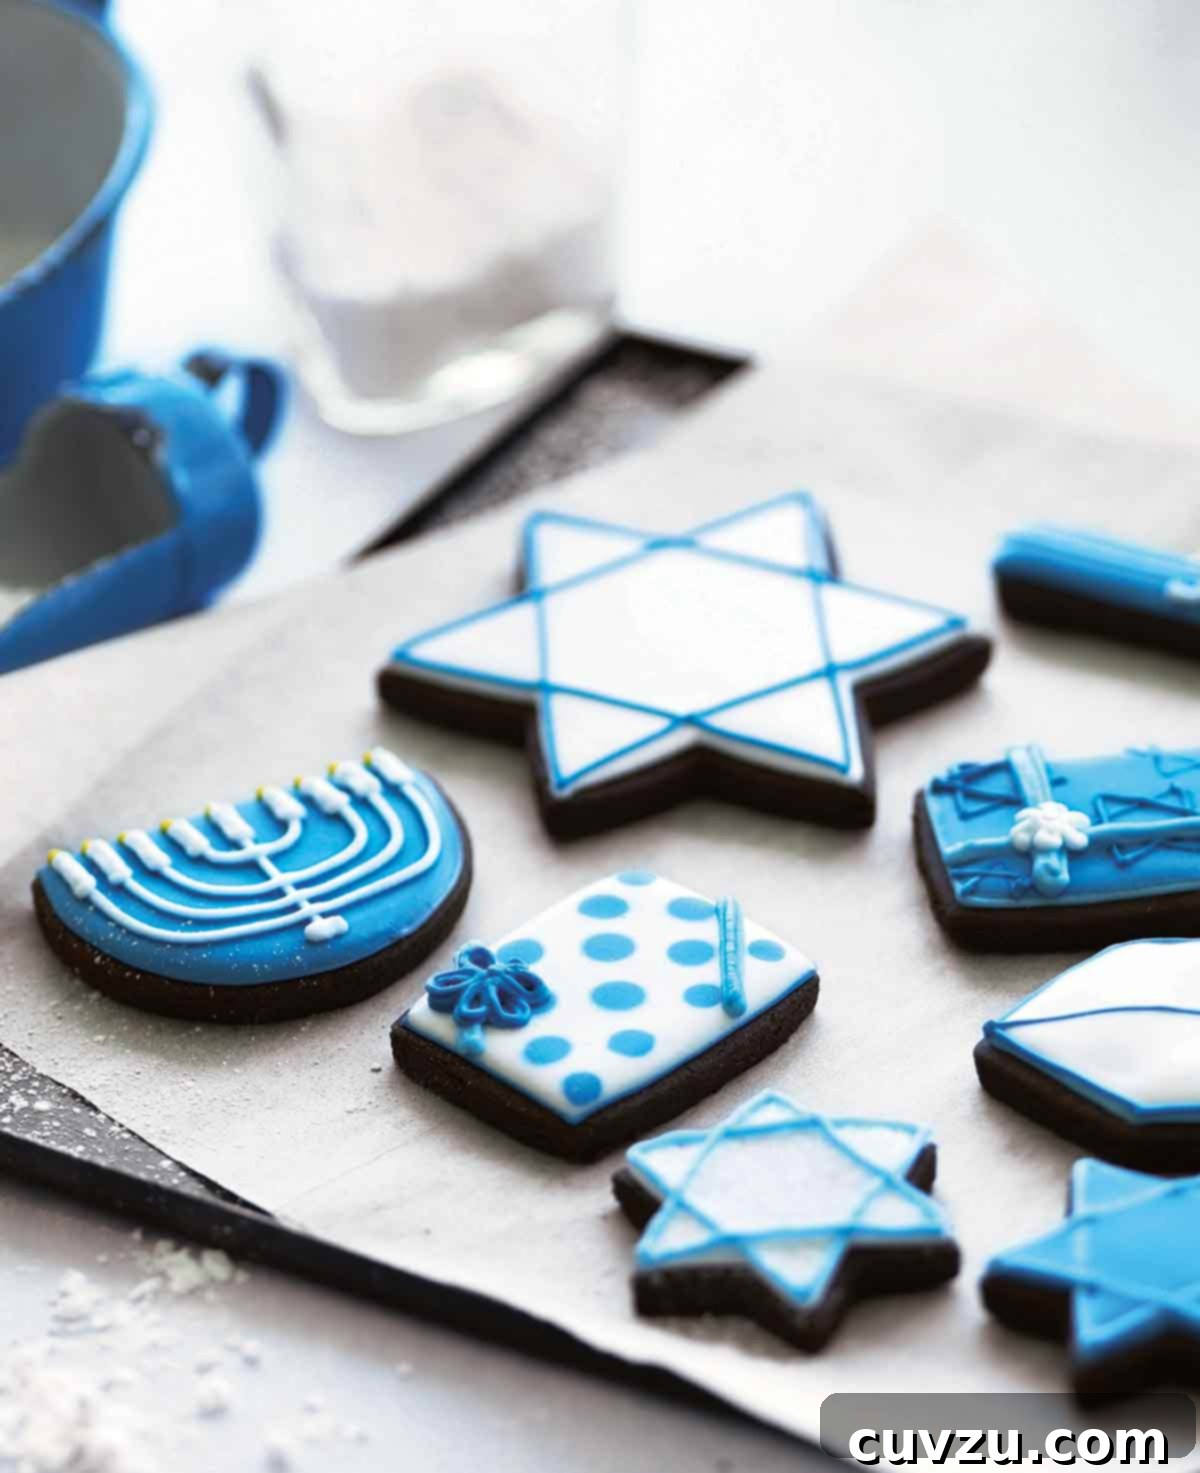
Hanukkah cookies are a cherished tradition during the Festival of Lights, bringing warmth, sweetness, and communal joy to homes everywhere. While the essence of these festive treats lies in their heartfelt decoration, creating them from scratch is a rewarding experience that unites families in celebration. This comprehensive guide will help you master the art of Hanukkah cookie decoration, transforming simple sugar, gingerbread, or shortbread dough into dazzling edible menorahs, dreidels, and Stars of David. Get ready to unleash your creativity with our expert tips and decorating techniques, ensuring your Hanukkah spread is as beautiful as it is delicious.
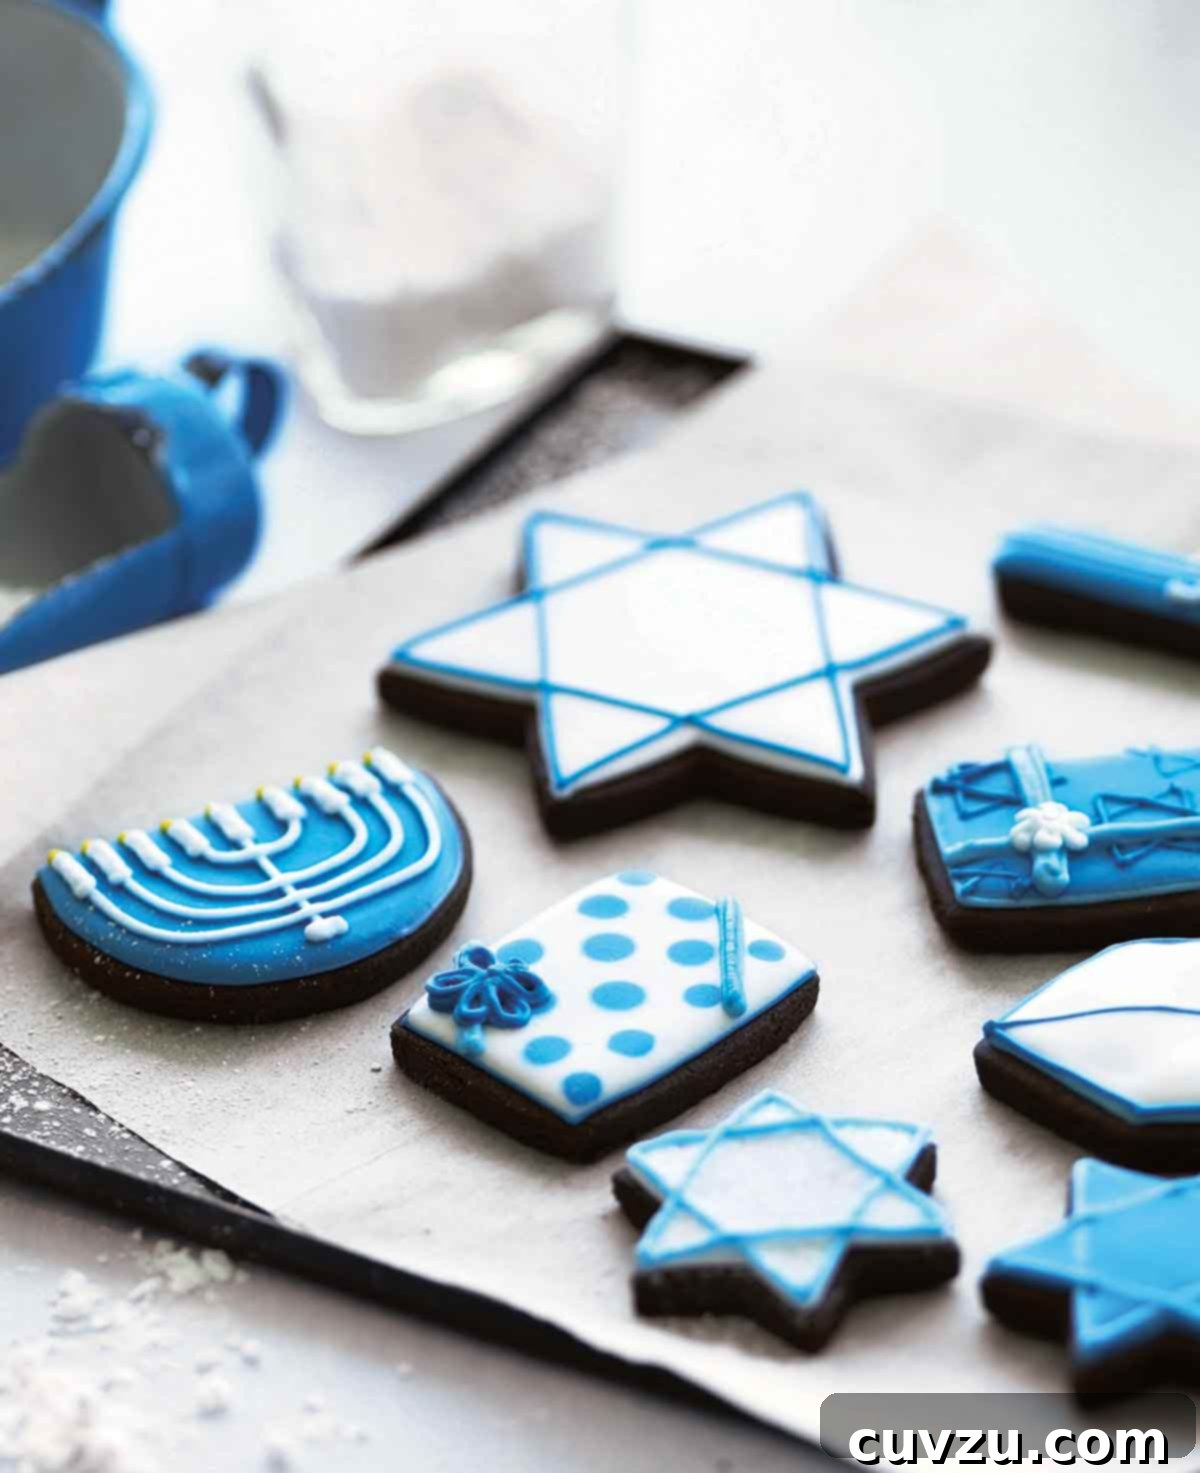
This Hanukkah cookie guide is more than just a recipe; it’s an invitation to explore the delightful world of festive cookie decorating. You likely already possess the baking prowess to create a perfect batch of cookies using your preferred roll-out cookie recipe. What we aim to provide here is the confidence and know-how to elevate those cookies into stunning, holiday-appropriate masterpieces. Don’t worry if detailed cookie decorating feels unfamiliar; with a little patience, a steady hand (which improves with practice!), and our detailed instructions, you’ll be piping like a pro in no time. We’ll cover everything you need, from essential tools to intricate design steps, building upon foundational techniques like those found in our recipe for basic royal icing.
The Significance of Hanukkah Cookies
Hanukkah, the Festival of Lights, is a time of miracles, gratitude, and delicious food. While latkes and sufganiyot often take center stage, decorated Hanukkah cookies offer a unique opportunity to express the holiday’s themes through edible art. Shaped like dreidels, menorahs, and the Star of David, these cookies are not just treats; they are symbols of the holiday’s story and traditions. Sharing them with family and friends adds a personal, heartwarming touch to any Hanukkah gathering, making them an anticipated delight for children and adults alike.
Why Decorate Your Own Hanukkah Cookies?
Beyond the festive appearance, decorating your own Hanukkah cookies offers a wealth of benefits. It’s a fantastic activity for families, creating lasting memories as you gather around the kitchen table, frosting and sprinkling together. Homemade cookies allow for complete customization—from choosing your favorite dough to selecting specific colors and designs that resonate with your family’s traditions. Moreover, the sense of accomplishment from presenting a tray of beautifully handcrafted cookies is incredibly satisfying, making your holiday celebrations even more special and personal.
Essential Ingredients for Perfect Hanukkah Cookies
- Cookie Dough: The foundation of any great decorated cookie is a reliable roll-out dough. While classic sugar cookie dough is a popular choice for its neutral flavor and smooth surface, don’t hesitate to experiment. Gingerbread dough adds a warm, spicy note, perfect for the winter season, while chocolate cookie dough can provide a rich contrast to the vibrant icing colors. Shortbread dough also offers a delightful buttery texture. The key is to choose a dough that holds its shape well during baking and provides a sturdy canvas for your artistic endeavors.
- Royal Icing: For decorating intricate details and achieving a smooth, professional-looking finish, royal icing is indispensable. Unlike other icings, royal icing sets firm and hard, preventing smudges and allowing for precise layering of colors. This durability also makes your decorated cookies easy to stack, store, and transport without damage. We strongly recommend using royal icing for its superior performance in cookie decoration; other icing types simply won’t yield the same crisp lines and lasting beauty. Ensure you have our basic royal icing recipe handy, as it provides the perfect base for tinting and various consistencies.
- Food Coloring or Gel: To bring your Hanukkah designs to life, you’ll need blue and/or yellow food coloring or food-color gel. Gentian blue (a rich, deep blue) and baby blue are excellent choices for Hanukkah themes, symbolizing the holiday’s colors. Yellow is perfect for menorah flames, and white forms a beautiful base. Food-color gels are often preferred over liquid food coloring as they provide more vibrant hues without significantly altering the icing’s consistency.
Detailed Decorating Instructions for Hanukkah Cookies
- Prepare and Bake Your Cookies:
- Roll out your chosen cookie dough on a lightly floured surface to an even thickness (typically about 1/4 inch). This ensures consistent baking and sturdy cookies.
- Use Hanukkah-themed cookie cutters (Star of David, dreidel, menorah, various sized rectangles for “gifts”) to cut out your shapes. Dip your cookie cutters in flour between each cut to prevent sticking and achieve clean, crisp edges.
- Carefully transfer the cut shapes to a baking sheet lined with parchment paper or a silicone mat.
- Bake the cookies according to your chosen dough recipe. Pay close attention to baking times to avoid over-baking, which can lead to brittle cookies.
- Once baked, cool the cookies completely on a wire rack before attempting to decorate. Warm cookies will melt or smudge your royal icing.
- Prepare and Apply Royal Icing:
- Prepare a batch of basic royal icing. Divide it into separate bowls and tint with food coloring as desired (gentian blue, baby blue, yellow, white).
- Achieve two main consistencies: medium consistency for outlining and details, and flooding consistency for filling in shapes. Our guide on How to Decorate with Royal Icing provides comprehensive tips on mastering these consistencies.
- Transfer medium-consistency icing to a pastry bag fitted with a small round tip (e.g., Wilton #2 or #3) or a resealable plastic bag with a tiny corner snipped off.
- Transfer flooding-consistency icing to squeezy bottles or another pastry bag with a slightly larger opening.
Specific Hanukkah Cookie Decorating Designs
Pipe the outline of the cookie using medium-consistency icing, typically in gentian blue or white. Allow the outline to set for a few minutes (5-10 minutes, depending on humidity). Then, flood the surface within the outline with flooding-consistency white or gentian blue icing. Use a toothpick to guide the icing to the edges and pop any air bubbles. Let this flood layer set completely (several hours or overnight) before adding further details. Once dry, pipe on additional details, such as patterns or Hebrew letters for the dreidel, using medium-consistency gentian blue icing.
Begin by piping the entire outline of the menorah cookie in medium-consistency gentian blue icing. Allow it to set. Next, flood the surface of the menorah with gentian blue flooding-consistency icing, ensuring full coverage. Let this layer dry completely. Once dry, switch to white medium-consistency icing to pipe on the candles, creating distinct vertical lines for each. Finish by piping tiny, delicate flames in yellow medium-consistency icing at the top of each candle, bringing the menorah to life.
Pipe the outline of the gift-shaped cookie in medium-consistency gentian blue icing. Allow this outline to set for a few minutes. Then, flood the entire surface of the cookie with white runny icing. Immediately after flooding, while the white icing is still wet, squeeze small dots of gentian blue runny icing onto the wet white surface. The colors will meld slightly, creating a smooth, integrated polka dot effect. Let the cookie set completely. Once dry, pipe on the ribbon and bow details using medium-consistency gentian blue icing to give the impression of a wrapped gift.
Outline the gift cookie with medium-consistency baby blue icing. Allow it to set for a few minutes. Flood the surface of the cookie with either gentian blue or baby blue flooding-consistency icing. Let this base layer dry thoroughly until completely hard. Once dry, pipe on intricate ribbon and bow details using a contrasting color of medium-consistency icing, such as white or yellow, to make the design stand out. You can also add small white or yellow stars for an extra festive touch.
Frequently Asked Questions About Hanukkah Cookie Decorating
Yes, you can absolutely make your own natural food coloring from ingredients like turmeric for yellow, spirulina for blue, or beet juice for pink. However, be aware that the resulting colors may not be as vibrant or consistent as those achieved with commercial artificial food colorings or food-color gels. Natural colors tend to be more muted and can sometimes fade over time. Test your natural colorings on a small amount of icing first to ensure you’re happy with the shade.
To get medium consistency for outlining, add water to your basic royal icing sparingly, until it flows smoothly but holds its shape when piped. For flooding consistency, continue adding water drop by drop until the icing is thinner and flows easily to fill a shape, but is not so thin that it runs off the cookie. A good test for flooding consistency is to drizzle a spoonful of icing back into the bowl; if the ribbon of icing disappears back into the main batch within 10-15 seconds, it’s perfect. Our comprehensive guide on How to Decorate with Royal Icing provides all the tips and tricks you need to master these consistencies and decorate successfully.
Once fully dried, royal icing acts as a preservative, helping your cookies stay fresh. Decorated Hanukkah cookies can be stored in an airtight container at room temperature for up to 5-7 days. For longer storage, you can freeze undecorated baked cookies for up to 3 months. If you wish to freeze decorated cookies, ensure the icing is completely dry and then layer them carefully in an airtight container with parchment paper between layers. Thaw at room temperature. The texture of the cookie might change slightly after freezing, but the decoration should hold.
Absolutely! Cookie decorating is a wonderful family activity for Hanukkah. Younger children can help with simpler tasks like flooding larger areas with icing or adding sprinkles (before the icing dries completely). Older children can try their hand at outlining or simple detail work. Provide plenty of colors and let their creativity shine. The memories made in the kitchen are often just as cherished as the cookies themselves!
Pro Tips & Troubleshooting for Hanukkah Cookies
- For Clean Edges: When cutting your cookies, lightly dip the cookie cutter in flour between each cut. This prevents the dough from sticking and helps achieve perfectly clean, sharp edges on your cookie shapes.
- Prevent Spreading: To ensure your Hanukkah cookie shapes hold their definition during baking, always chill your rolled-out cookie dough (or even the cut-out shapes on the baking sheet) in the refrigerator for at least 15-30 minutes before baking. Cold dough is less likely to spread.
- Icing Consistency Control: If your outlining icing is too thick, it will be hard to pipe smoothly; if too thin, it will run. Adjust consistency by adding more sifted confectioners’ sugar (for thickness) or a tiny drop of water (for thinness). Small adjustments make a big difference.
- Drying Time is Crucial: Patience is key in cookie decorating. Allow each layer of royal icing to dry completely before adding new layers or details. This prevents colors from bleeding and ensures a crisp, professional finish.
- Correcting Mistakes: Keep toothpicks or slender wooden skewers handy. If your outline gets a little sloppy, you can gently scrape off wet icing with the tip of a toothpick before it sets.
- Storing Decorated Cookies: Store fully dried, decorated cookies in an airtight container at room temperature for up to 5-7 days. Layer them gently with parchment paper in between to protect the delicate designs. Avoid refrigerating decorated cookies as condensation can affect the icing.
Beyond the Decoration: Flavor Variations for Your Hanukkah Cookies
While decoration is key, don’t forget the underlying flavor of your Hanukkah cookies! Elevate your dough by adding citrus zest (lemon or orange) to sugar cookies, a pinch of cardamom or allspice to gingerbread, or a touch of almond extract to shortbread. You can also experiment with flavored royal icing; a tiny amount of almond, vanilla bean, or peppermint extract can add another dimension to your festive treats. Always ensure the extracts are clear to avoid tinting your white icing.
More Great Hanukkah Recipes to Explore
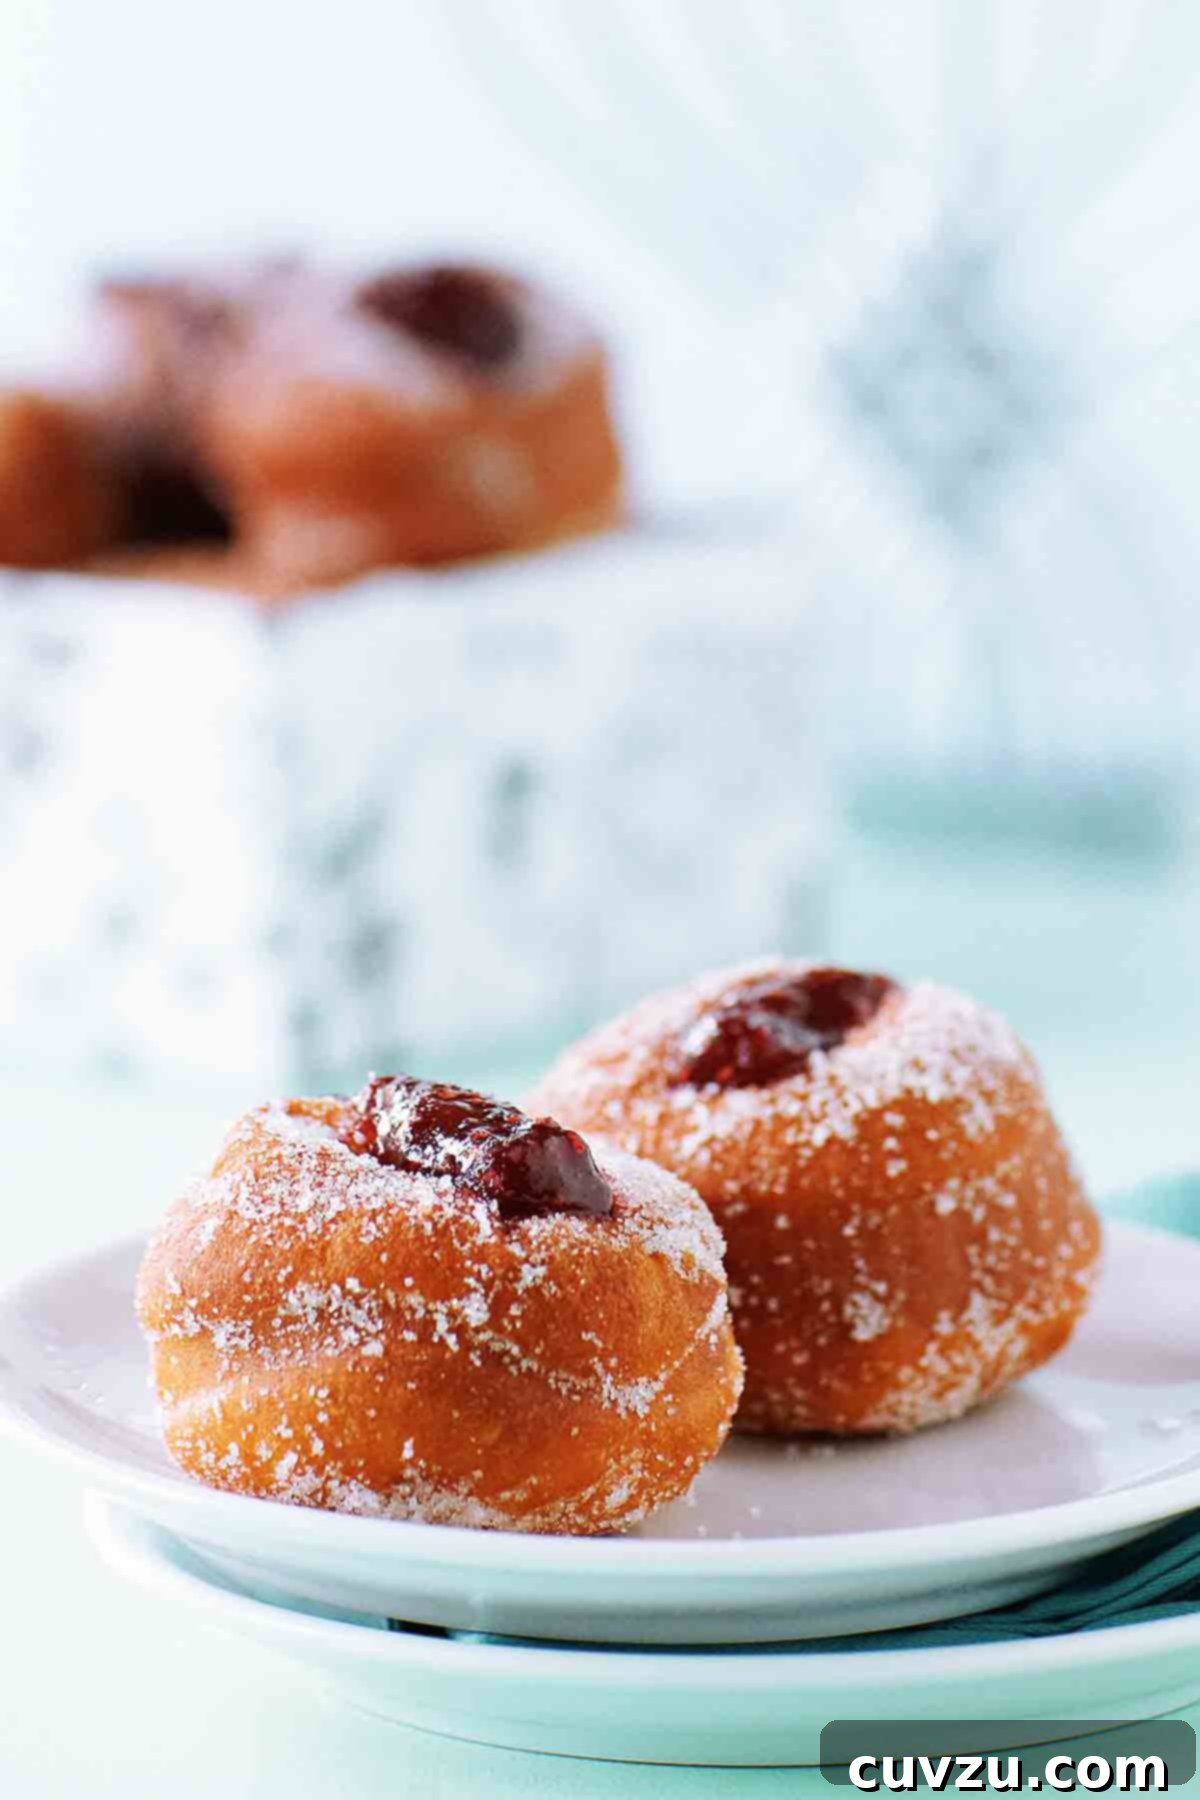
No Hanukkah celebration is complete without a spread of traditional and delightful dishes. Alongside your beautifully decorated cookies, consider adding these other festive treats to your holiday menu. These recipes offer a taste of classic Hanukkah flavors, from fried delights to sweet pastries, perfect for sharing with loved ones during the Festival of Lights.
Share Your Hanukkah Cookie Creations!
If you bake these delightful Hanukkah cookies, or any other recipe from Leite’s Culinaria, we’d love to see your results! Please consider leaving a review, a star rating, and your best photo in the comments section below. Hearing from you makes our day! – David
Decorated Hanukkah Cookies
David Leite
Saved
- PIN
Dessert
Jewish
24
servings
261
kcal
1 hour
1 hour
Equipment
-
Toothpicks or slender wooden skewers for small adjustments and fixing minor icing mishaps
-
Cookie cutters: Essential shapes like Star of David, dreidel, menorah, and various rectangles for gift designs
-
Pastry bags (with small round tips like Wilton #2 or #3) or resealable plastic bags with a snipped corner for precise piping and outlining
-
Squeezy bottles in any size for efficiently flooding cookies with royal icing
Ingredients
-
Your favorite roll-out cookie or shortbread dough (e.g., sugar, gingerbread, chocolate, or almond-flavored) -
Basic royal icing -
Blue (gentian blue, baby blue) and/or yellow food coloring or food-color gel
Instructions
-
Prepare and Bake Cookies: Roll out your cookie dough to an even thickness and cut out desired Hanukkah shapes using cookie cutters. Re-roll any scraps and cut more shapes until all dough is used. Bake the cookies according to your recipe’s directions until golden at the edges, then transfer to a wire rack to cool completely. Chilling the cut-out dough for 15 minutes before baking helps maintain shape.
-
Prepare Icing for Decorating: Prepare your basic royal icing. Divide it into several bowls and tint with blue, yellow, and white food coloring or gel to achieve your desired shades. Adjust the consistency of the icing: a medium consistency for outlining and detail work, and a thinner “flooding” consistency for filling in shapes. Transfer the different consistencies and colors to pastry bags or squeezy bottles.
-
Decorate with Hanukkah Themes: Follow the specific decorating instructions provided in the ‘Notes’ section below for creating Star of David, Dreidel, Menorah, and gift designs. Remember to allow each piped layer of icing to set for a few minutes before flooding, and allow flooded layers to dry completely before adding further details. This patience ensures clean, crisp designs.
Notes for Decorating Specific Designs
- To make the Star of David and Dreidel: Using medium-consistency icing (gentian blue or white), pipe the outline of the cookie. Let it set for a few minutes. Flood the interior surface with flooding-consistency white or gentian blue icing. Use a toothpick to guide the icing to the edges. Let this layer set completely. Once dry, add intricate details or Hebrew letters with medium-consistency gentian blue icing.
- To make the Menorah: Pipe the entire outline of the menorah cookie in medium-consistency gentian blue icing and let set. Flood the surface with gentian blue flooding-consistency icing and allow to dry thoroughly. Pipe the candles in white medium-consistency icing, and then finish by piping tiny yellow flames on top of each candle.
- To make the polka dot gift: Outline the cookie with medium-consistency gentian blue icing; let set. Flood the surface of the cookie with white flooding-consistency icing. Immediately, while the white icing is still wet, add small dots of gentian blue flooding-consistency icing onto the wet surface to create a “wet-on-wet” polka dot effect. Allow to set completely. Once dry, pipe on ribbon and bow details in medium-consistency gentian blue.
- To make the starry gift: Pipe the outline of the cookie in medium-consistency baby blue icing and let set. Flood the surface of the cookie with runny gentian or baby blue icing. Let this base layer dry completely until hard. When thoroughly dry, pipe on contrasting ribbon and bow details (e.g., in white or yellow) using medium-consistency icing for a refined finish.
Adapted From
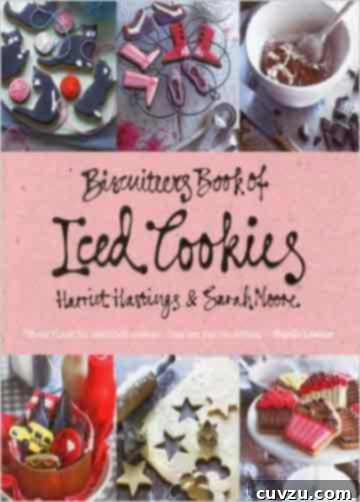
Biscuiteers Book of Iced Cookies
Buy On Amazon
Nutrition
Serving:
1
cookie
Calories:
261
kcal
Carbohydrates:
39
g
Protein:
1
g
Fat:
11
g
Saturated Fat:
3
g
Monounsaturated Fat:
5
g
Cholesterol:
4
mg
Sodium:
148
mg
Fiber:
0.3
g
Sugar:
30
g
Nutrition information is automatically calculated, so should only be used as an approximation and not a substitute for professional dietary advice.
Tried this recipe?
Mention @leitesculinaria or tag #leitesculinaria!