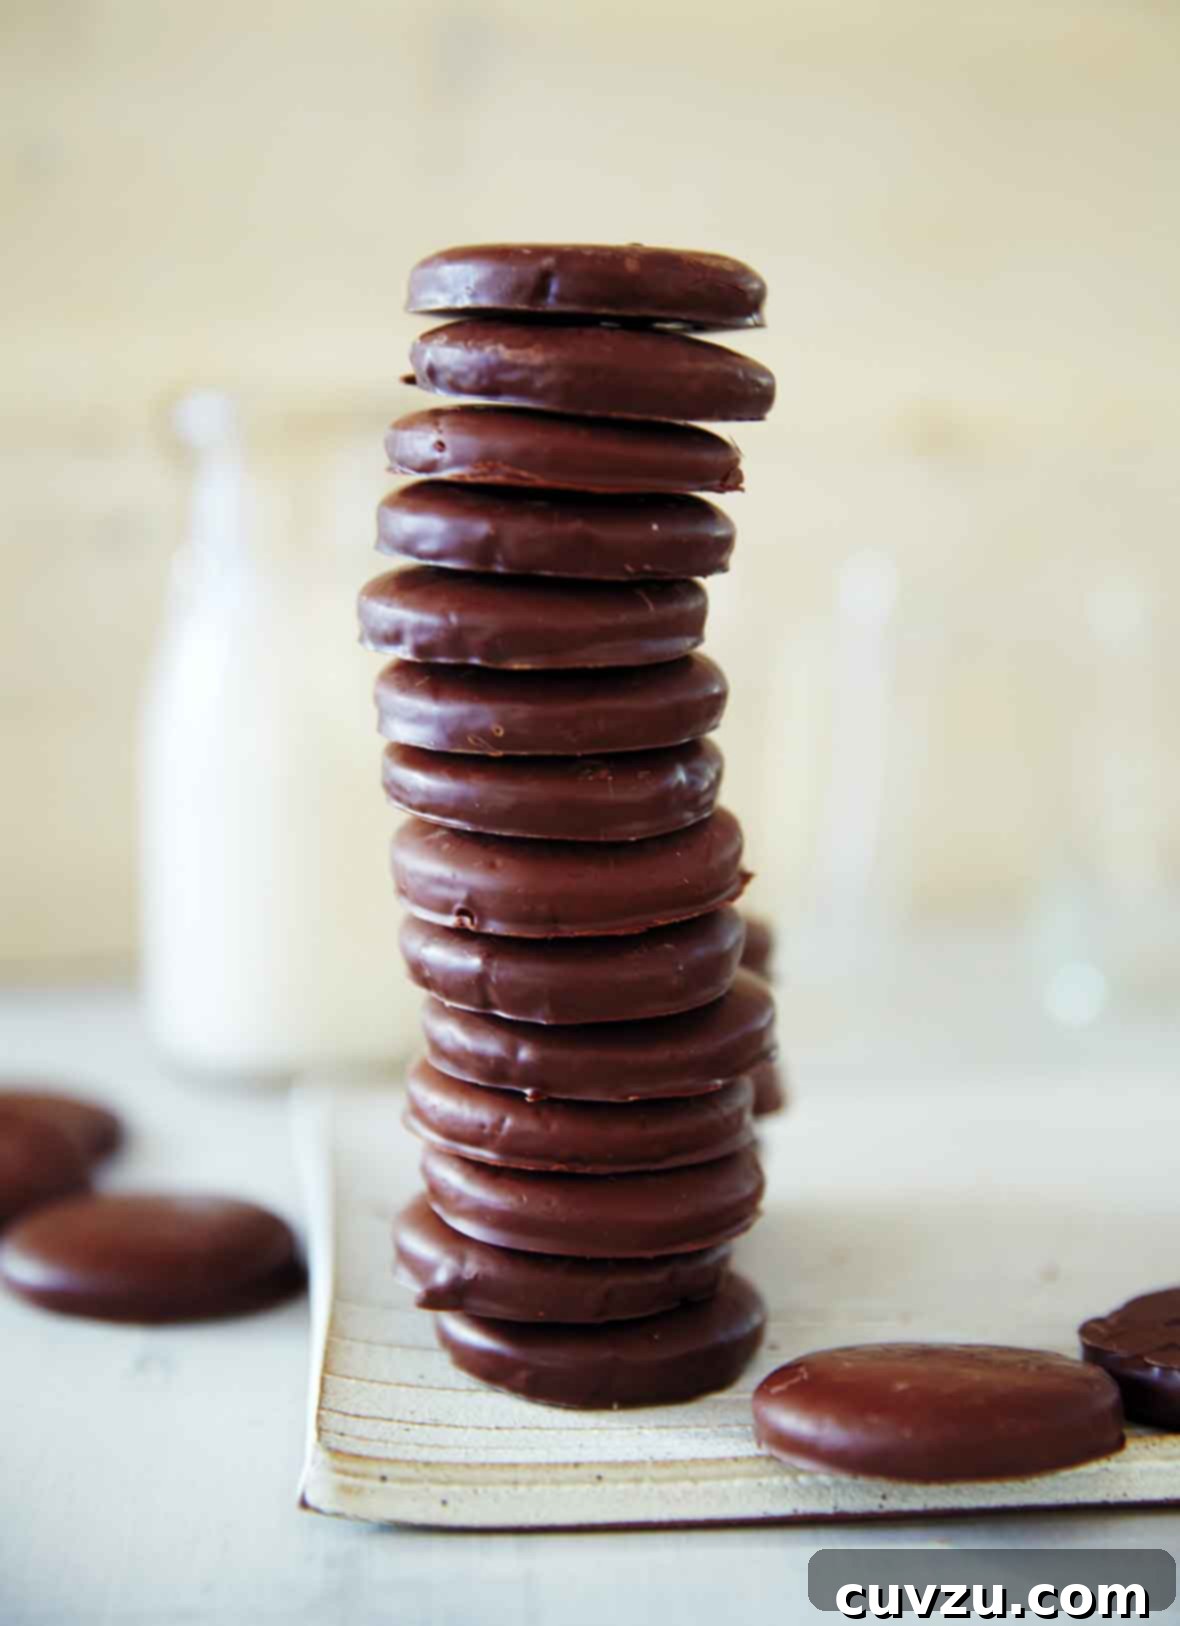
Homemade Thin Mints: The Ultimate Copycat Recipe for Chocolate Peppermint Perfection
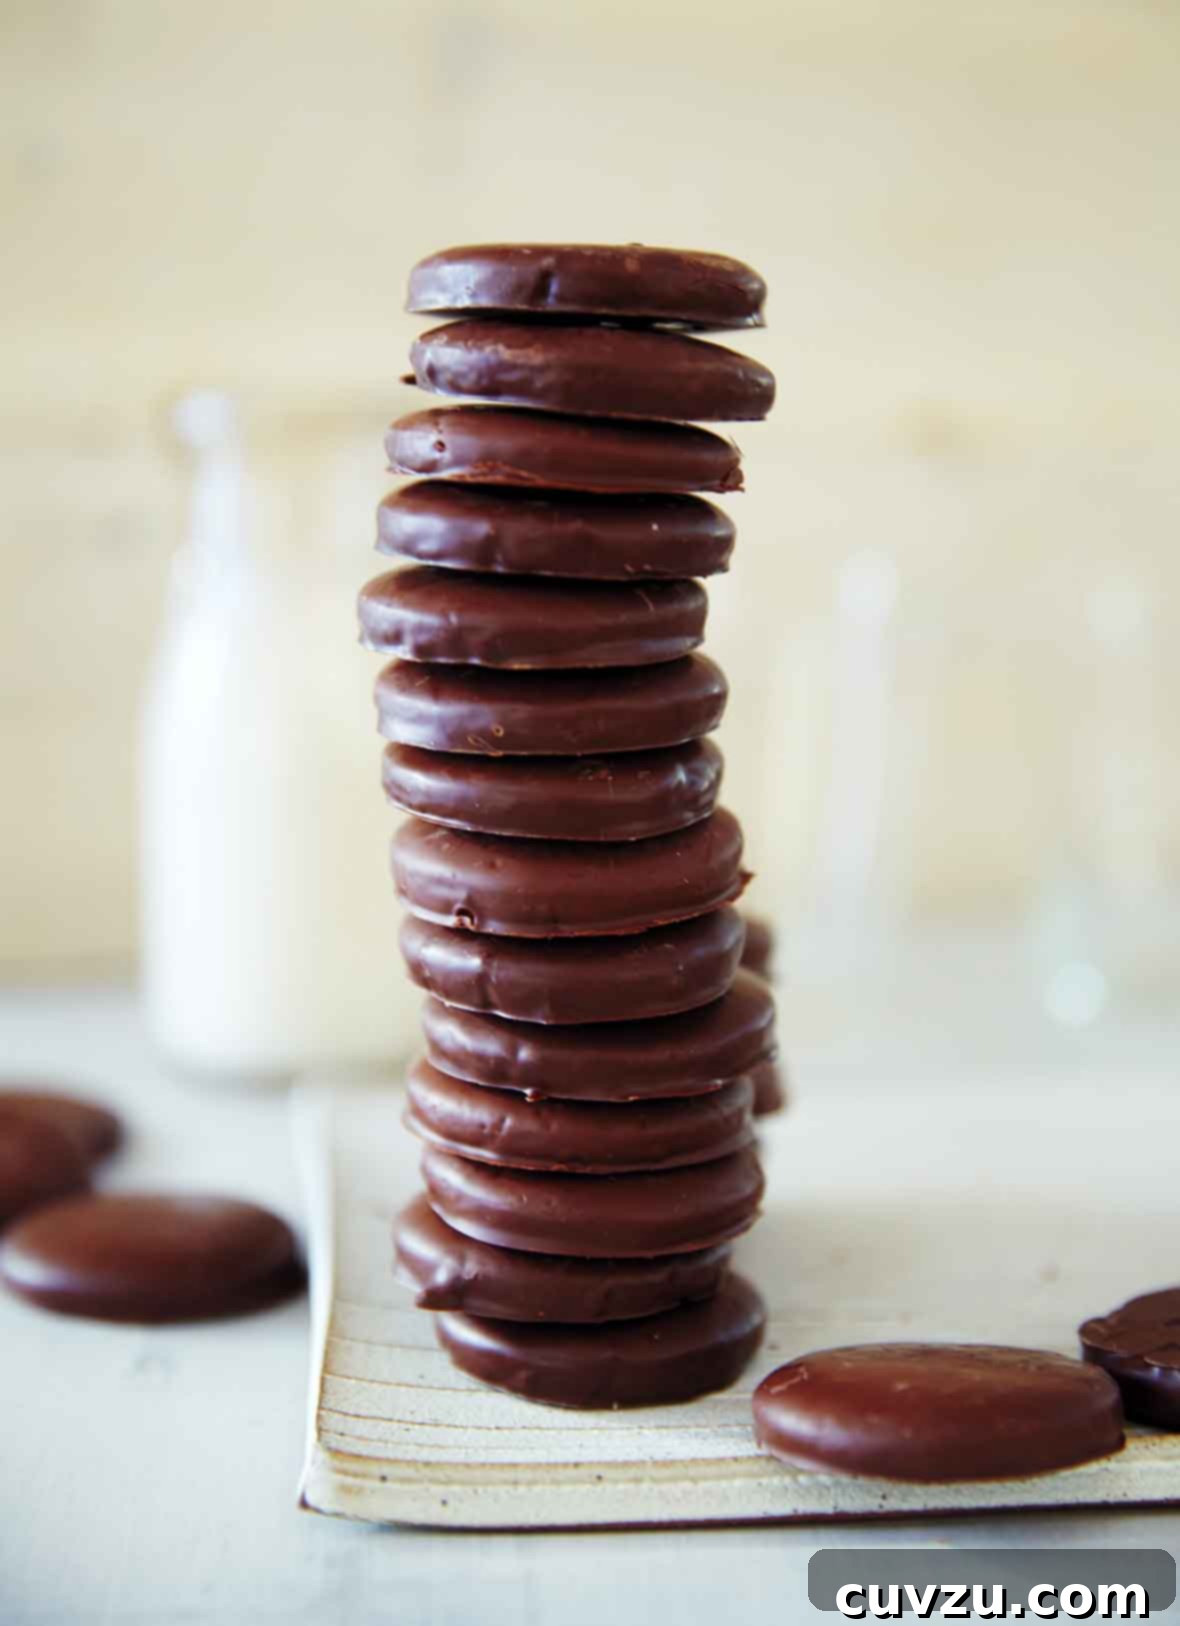
Craving that iconic, crispy, chocolate-mint delight? Look no further! This comprehensive guide reveals how to make perfect copycat Girl Scout Thin Mints right in your own kitchen. These homemade treats capture the beloved flavor and satisfying texture of the originals, featuring thin, chocolatey peppermint cookies enrobed in a shimmering, dark chocolate glaze. Best of all, this recipe includes thoughtful options for both gluten-free and dairy-free diets, ensuring everyone can enjoy this timeless classic.
Why Bake Your Own Thin Mints? Indulge Anytime, Anywhere!
Remember the anticipation? The annual wait for Girl Scout cookie season to roll around? The careful rationing of your secret stash to make those precious boxes last just a little longer? The despair when you ran out months before new cookies were available? Those days are officially over! With this incredible homemade Thin Mints recipe, you can experience the joy of your favorite cookie whenever the craving strikes, without the endless waiting or the guilt of depleting your supply. It’s a game-changer for any Thin Mint enthusiast.
Beyond convenience, making these delightful cookies at home offers several advantages:
- Freshness You Can Taste: Homemade always triumphs in terms of fresh ingredients and vibrant flavors.
- Customization to Your Liking: Adjust the mint intensity, choose your preferred chocolate, or even explore new flavor twists (as our testers delightfully discovered!).
- Dietary Flexibility: Our recipe provides clear instructions for gluten-free and dairy-free alternatives, making this beloved cookie accessible to more people.
- The Joy of Baking: There’s immense satisfaction in creating something so delicious from scratch, especially a cookie that evokes such fond memories.
The Homemade Thin Mints Recipe: Your New Go-To Chocolate Peppermint Cookie

Homemade Thin Mints
These homemade thin mints are the ultimate copycat Girl Scout cookies, crafted with readily available ingredients. Just like the original, they feature thin, crisp peppermint-infused chocolate cookies generously coated in a glossy, dark chocolate glaze. Prepare for a taste remarkably similar to your beloved Girl Scout favorites, complete with options for gluten-free and dairy-free dietary needs.
Recipe by David Leite
Dessert
American
50 cookies
76 kcal
45 minutes
50 minutes
1 hour 35 minutes
Equipment
- 1 1/2-inch round cookie or biscuit cutter
- Candy or deep-fry thermometer
- Stand mixer (optional, but recommended) or electric hand mixer
- Mixing bowls
- Parchment paper
- Baking sheets
- Wire racks
Ingredients
For the Homemade Thin Mint Cookies
- 1 cup gluten-free all-purpose flour mix (or substitute regular all-purpose flour)
- 1/2 cup unsweetened cocoa powder
- 1/2 teaspoon baking powder
- 1/2 teaspoon baking soda
- 1/2 teaspoon salt
- 3/4 cup granulated sugar
- 5 tablespoons (2 1/2 oz) shortening (or substitute unsalted butter), at room temperature
- 1 large egg plus 1 large egg yolk, at room temperature
- 1 teaspoon vanilla extract
- 1 1/2 to 2 teaspoons peppermint extract (adjust to your preferred mint intensity)
- Confectioners’ sugar, for dusting and rolling
For the Chocolate Glaze
- 12 to 16 ounces semisweet chocolate, such as high-quality brands like Guittard or Callebaut, finely chopped
Instructions
Making the Homemade Thin Mint Cookies
- Combine Dry Ingredients: In a medium bowl, thoroughly whisk together the flour, unsweetened cocoa powder, baking powder, baking soda, and salt. This ensures all dry ingredients are evenly distributed.
- Cream Sugar and Fat: In the bowl of a stand mixer fitted with the paddle attachment, or in a large bowl using an electric mixer on medium speed, beat together the granulated sugar and shortening (or butter). Continue beating until the mixture is creamy and well combined, which typically takes about 1 minute.
☞ TESTER TIP: If you’re using shortening, don’t expect the mixture to become as light and fluffy as it would with butter. This is perfectly normal and won’t impact the final cookie texture.
- Add Wet Ingredients: Reduce the mixer speed to medium-low. First, add the whole large egg, beating until fully incorporated. Then, add the egg yolk and beat again until well combined. Next, beat in the vanilla extract and, most importantly, the peppermint extract. Start with 1 1/2 teaspoons and taste a tiny bit of the dough (before adding flour) to gauge the mint level; add more if desired.
- Incorporate Flour: Gradually add the whisked dry ingredients to the wet mixture, beating slowly until just combined. Be careful not to overmix, as this can lead to tough cookies. The resulting dough will be noticeably sticky.
- Prepare for Chilling: Lightly dust the cookie dough, your hands, and a piece of parchment paper with confectioners’ sugar. Gently shape the sticky dough into a flat disk and place it on the prepared parchment paper. If the dough is excessively sticky and difficult to handle, refrigerate it for about 30 minutes first to make it more manageable.
- Chill the Dough: Wrap the dough disk tightly in plastic wrap and refrigerate it until it becomes firm. This process should take at least 30 minutes, but for best results and easier handling, chilling overnight is ideal. This chilling period prevents the cookies from spreading too much during baking and helps develop flavor.
- Preheat Oven & Prep Pans: Preheat your oven to 350°F (177°C). Adjust your oven racks to the middle and upper third positions to ensure even baking. Line two large baking sheets with fresh parchment paper.
- Roll Out Dough: On a lightly confectioners’ sugared surface (or between two sheets of parchment paper), roll out the chilled dough until it is uniformly 1/8 to 1/4 inch thick. If the dough is too firm to roll easily after refrigeration, let it sit at room temperature for a few minutes to soften slightly.
- Cut & Freeze Cookies: Using a 1 1/2-inch round cookie cutter, cut out your cookies from the rolled dough. Carefully place them about 1/2 inch apart on the prepared baking sheets. Gather any dough scraps, re-roll them, and cut out more cookies until all dough is used. Place the baking sheets with the cut cookies into the freezer for approximately 15 minutes. This quick freeze helps the cookies maintain their shape during baking.
- Bake Cookies: Bake the Thin Mints directly from the freezer. Halfway through the baking time, rotate the baking sheets from top to bottom and front to back to ensure even baking. Bake until the cookies appear dry, crisp, and firm around the edges. Baking time can range from 10 to 18 minutes, depending on the precise thickness of your cookies.
☞ TESTER TIP: The cookies will crisp up further as they cool. If, once cooled to room temperature, they are not crisp throughout, they may need a minute or two longer in the oven on subsequent batches.
- Cool Completely: Allow the baked cookies to cool slightly on the baking sheets for a few minutes before carefully transferring them to wire racks to cool completely. They must be entirely cool before glazing.
Preparing the Chocolate Glaze
- Melt Chocolate (Tempering Step 1): Create a double boiler by placing a heatproof bowl over, but not touching, a pan of gently simmering water. Add 2/3 of the finely chopped semisweet chocolate to the bowl. Heat, stirring occasionally, until it completely melts and registers 115°F (46°C) on a candy or deep-fry thermometer. Achieving the correct temperature is crucial for a glossy, stable glaze.
- Temper Chocolate (Tempering Step 2): Remove the bowl from the heat. Stir in the remaining 1/3 of the chopped chocolate. Let it sit, undisturbed, over the warm water for about 5 minutes, allowing the residual heat to melt the new chocolate. Then, stir well to fully combine and melt any remaining pieces. Remove the pan from the heat entirely and let the chocolate cool, stirring periodically, until it reaches 90°F (32°C). This tempering process will give your glaze a beautiful shine and a satisfying snap.
Coating the Homemade Thin Mints with Chocolate Glaze
- Dip and Coat: One by one, submerge a cooled cookie entirely into the melted chocolate glaze. Use the tines of a fork to carefully turn the cookie, ensuring all sides are evenly coated. Lift the cookie from the glaze, gently tapping the fork against the edge of the bowl to shake off any excess chocolate. Place the coated cookie onto a fresh piece of parchment paper. Repeat this process with all remaining cookies and chocolate glaze. If the glaze starts to thicken too much, gently rewarm it over the simmering water (or in short bursts in the microwave at 50% power) to maintain it as close to 90°F (32°C) as possible.
- Set the Glaze: Allow the coated cookies to rest, undisturbed, on the parchment paper until the chocolate glaze has fully set. This will take at least 30 minutes, or you can speed up the process by refrigerating them briefly (about 10-15 minutes). Once set, the chocolate will be firm and glossy. In theory, these delectable cookies will keep well, layered between sheets of parchment paper in an airtight container, for up to 1 week. Good luck keeping them around that long!

Adapted From
Silvana’s Gluten-Free and Dairy-Free Kitchen: Timeless Favorites Transformed
Buy On Amazon
Nutrition Facts
Calories: 76 kcal
Carbohydrates: 9 g
Protein: 1 g
Fat: 4 g
Saturated Fat: 2 g
Monounsaturated Fat: 1 g
Trans Fat: 1 g
Cholesterol: 4 mg
Sodium: 35 mg
Fiber: 1 g
Sugar: 6 g
Nutrition information is automatically calculated and should be used only as an approximation.
Tried this recipe? Share your creation on Instagram! Mention @leitesculinaria or tag #leitesculinaria! We love seeing your delicious results.
Recipe Testers’ Reviews: Insights and Tips
Our team of dedicated recipe testers put this homemade Thin Mints recipe through its paces, offering valuable feedback and clever tips to help you achieve perfect results. Their experiences highlight the versatility and deliciousness of this cookie.

Larry Noak
This rendition of the famous Girl Scout Thin Mint cookie is, in a word, UNBELIEVABLE. The flavor profile and texture are both incredible. I found the finished dough to be wonderfully soft, yet not at all sticky. Given limited refrigerator space for rolled sheets of dough, I opted to shape the dough into a log, approximately 2 inches in diameter. This method worked perfectly. I then wrapped the log tightly in plastic wrap and refrigerated it overnight. When it was time to bake, I simply sliced the log into cookies a bit under 1/4 inch thick.
I couldn’t locate a specific “chocolate coating,” so as a substitute, I melted 14 ounces of semisweet chocolate with 1 tablespoon of vegetable shortening. This alternative proved very effective, hardened beautifully, and provided a lovely sheen to the cookies. Now that I possess this MAGNIFICENT homemade Thin Mints recipe, I anticipate my status as a cookie baking god will be effortlessly elevated. Though, rest assured, there’s ample room in the cookie kingdom for everyone!

Natasha Taylor
This homemade Thin Mints recipe truly replicates the taste of the iconic Girl Scout Thin Mints. I found these to be slightly chewier and moister than the store-bought version, which I believe is characteristic of homemade baked goods due to fewer preservatives. The mint flavor was perfectly delightful, and the texture was spot on. The chocolate coating, in particular, solidified their resemblance to true Thin Mints. They were an absolute pleasure to make.
The recipe itself is quite straightforward and easy to follow. A few observations from my experience: firstly, I used regular white all-purpose flour instead of the gluten-free mix. Secondly, the sugar and shortening mixture, as noted in the recipe, did not achieve the light, fluffy consistency I typically see when using butter. Also, the dough was exceedingly sticky. I needed a generous amount of confectioners’ sugar on both my rolling pin and countertop to successfully roll out the dough without it sticking. I refrigerated the cookie dough overnight, and when I removed it the next morning, it was prone to cracking, requiring a bit of gentle handling. It’s worth noting that my first batch was simply topped with chocolate, not fully coated. The full immersion coating in my second batch made a substantial difference in both flavor and achieving the authentic Thin Mint experience.

Melissa Maedgen
Occasionally, a recipe comes along that truly captivates my imagination—the kind that, even before I’ve finished making it, inspires me to think of 50 different variations and eagerly anticipate returning to the kitchen to try them. This homemade Thin Mints recipe was precisely that kind of experience for me.
I utilized the author’s recommended gluten-free flour blend. I found this mixture to be very similar in its proportions to several commercial gluten-free flour blends, suggesting that you could confidently substitute your preferred store-bought blend. Since dairy-free wasn’t a priority for me, and I don’t typically keep shortening on hand, I opted for butter instead. The cookie dough was quite sticky—far too sticky to roll out easily at first. I initially used confectioners’ sugar for rolling, but it quickly became apparent that I would need to use so much that it would alter the dough’s flavor. So, I switched to dusting with the gluten-free flour blend instead. Rather than attempting to roll it to 1/8 inch thickness immediately, I shaped it into a disk and placed it in the freezer for about 15 minutes. After this brief chill, it became significantly easier to roll. Once rolled and cut, both baking sheets of cookies went back into the freezer for another 15 minutes before baking. This extra chilling step proved sufficient to keep them firm, ensuring they held their perfect shape beautifully during baking.
For the coating, I used Ghirardelli coating chocolate disks and discovered that 12 ounces was more than enough to fully coat the entire batch of cookies, with some chocolate remaining. What to do with the leftover chocolate? A cook’s treat! I poured it onto a piece of parchment paper and sprinkled it with some chopped nuts, dried fruit, and coconut flakes, allowing it to harden into delicious chocolate bark. The cookies themselves turned out beautifully. In the future, I think I would increase the peppermint extract a bit, as the rich chocolate coating tended to slightly overpower the mint flavor. I’m also eager to experiment with other variations of this base recipe. For instance, I imagine these would be fantastic with orange extract and zest replacing the mint. Alternatively, one could omit the cocoa powder, add a bit more flour, and flavor the cookies with lemon, then coat them in white chocolate. This recipe appears to be quite forgiving, offering a plethora of possibilities to explore!

Sofia Reino
This homemade Thin Mints recipe was an undeniable hit in our household! The cookies are remarkably comparable to the Thin Mints we all know and love, but in my opinion, they’re even better. They are less sweet, and the use of darker chocolate elevates their flavor profile beautifully.
This is a very easy recipe to follow. My only minor challenge was initially forming a disk from the dough, as it was quite sticky. I solved this by refrigerating the dough for about 20 minutes, after which it became much more manageable to shape. Once the dough was rolled out, my first batch of cut cookies chilled in the fridge for about 2 hours, while the second batch stayed overnight. Both methods resulted in cookies that were firm enough to handle without breaking apart when dipped into the chocolate glaze.
Regarding the melted chocolate, the specified temperatures worked flawlessly, leading to a perfectly tempered glaze. The most challenging aspect was the dipping process itself. I suspect it’s a matter of practice, as my fingers ended up thoroughly coated in melted chocolate! For those who might prefer a less intense dark chocolate flavor, a good idea would be to use a sweeter chocolate for the melting portion of the recipe.
This recipe is absolutely destined to become a household favorite for us, not just for personal enjoyment but also as delightful Christmas gifts and for parties. For the final batch, I decided to blend both semisweet and sweet chocolate for the coating, creating a unique flavor. My older daughter’s reaction perfectly sums it up: “WOW… how did you do this? They’re a cross between Thin Mints and Milano cookies. I LOVE them!”