How to Freeze Stock: The Ultimate Guide to Preserving Homemade Broth
Knowing how to effectively freeze stock is a culinary superpower. It transforms your kitchen into a hub of endless possibilities, ensuring you always have a comforting base for soups, stews, sauces, and risottos without a last-minute dash to the grocery store. This comprehensive guide will show you the exact methods for freezing both homemade and store-bought chicken, beef, or vegetable broth, alongside expert advice on choosing the best containers, from versatile freezer bags to sturdy Mason jars, and space-saving ice cube trays and muffin tins.
Why Freezing Stock is a Game-Changer in Your Kitchen
For home cooks and professional chefs alike, having a stash of quality stock on hand is indispensable. It’s the secret weapon that elevates everyday meals into extraordinary culinary experiences. Freezing stock isn’t just about convenience; it’s about maximizing flavor, reducing food waste, and saving money. Instead of relying on store-bought varieties that often contain excessive sodium and preservatives, you can craft your own rich, nutritious broth and preserve its goodness for months.
Imagine whipping up a quick weeknight soup with a deeply flavorful chicken stock that took hours to simmer, or enriching a pan sauce with a robust beef broth. These moments become effortless when your freezer is stocked with liquid gold. Many culinary enthusiasts, like us, believe that mastering stock freezing techniques should be a fundamental skill. It means you’re always prepared to create warming, restorative dishes, transforming simple ingredients into memorable meals. While keeping a large quantity of stock fresh in the refrigerator can be a logistical challenge due to limited space and shorter shelf life, freezing offers an ideal solution.
Essential Preparations Before Freezing Your Stock
Before you embark on freezing your precious homemade (or even leftover store-bought) stock, a few crucial steps ensure optimal safety, quality, and freezer efficiency. These simple preparations will make a significant difference in the longevity and usability of your frozen broth.
-
Cool Your Stock Completely
This step is non-negotiable. Hot liquid placed directly into the freezer can raise the internal temperature of your freezer, potentially thawing other foods and creating a breeding ground for bacteria. Furthermore, adding hot liquid to glass containers like Mason jars dramatically increases the risk of thermal shock, leading to cracked or shattered glass. Always allow your stock to cool to room temperature before transferring it to any freezer-safe container. To speed up the cooling process, you can place the pot of stock in an ice bath in your sink, stirring occasionally, or divide it into smaller, shallower containers.
-
Strain for Clarity and Purity
For a clear, refined stock, strain it through a fine-mesh sieve (or even cheesecloth) to remove any solids, such as bones, vegetables, or aromatics. This not only improves the texture and appearance of your finished dishes but also prevents any lingering solids from affecting the stock’s flavor or going rancid during storage.
-
Consider Reducing for Concentrated Flavor
If freezer space is at a premium, or if you simply want a flavor powerhouse, consider reducing your stock. Simmering it over medium-low heat until it thickens and intensifies in flavor is a fantastic way to create a highly concentrated stock. This “stock concentrate” takes up minimal space and can be reconstituted with water when needed. We’ll detail this method further in the ice cube tray and muffin tin sections.
-
Portion Wisely for Convenience
Think about how you typically use stock. Do you often need a cup for a sauce, or four cups for a large pot of soup? Freezing stock in various portion sizes will save you time and prevent waste. Small portions (like ice cubes) are perfect for sautéing vegetables or deglazing a pan, while larger portions are ideal for main dishes.
-
Label and Date Your Containers
It’s easy to forget what’s in your freezer, and when it went in. Always label your containers with the type of stock (chicken, beef, vegetable) and the date it was frozen. A permanent marker on freezer tape or directly on the container is your best friend here. Properly frozen stock can last for 4-6 months, but clear labeling ensures you use it at its peak freshness.
Optimal Freezing Methods for Every Kitchen
We’ve experimented with countless ways to freeze stock over the years, learning invaluable lessons about what works best for different needs and kitchen setups. Here are our top foolproof methods, detailing the best containers to use and how to execute each process for maximum convenience and longevity.
1. Resealable Plastic Freezer Bags: The Space Saver
Resealable plastic freezer bags are arguably one of the easiest and most space-efficient ways to store stock. Their flexibility allows them to conform to any freezer shape, and when frozen flat, they stack beautifully like books.
How to Freeze Stock in Freezer Bags:
- Cool Completely: Ensure your stock is cooled to room temperature.
- Prepare the Bag: Choose high-quality freezer-specific bags (which are thicker and more durable than regular storage bags). To make filling easier and prevent spills, place the bag inside a large bowl or pot and fold the top edges over the rim to prop it open.
- Fill and Seal: Carefully pour the cooled stock into the bag, filling it no more than three-quarters full. This leaves room for expansion as the liquid freezes.
- Remove Air: Before sealing, gently squeeze out as much air as possible from the bag. Excess air can lead to freezer burn, affecting the stock’s flavor and quality. You can partially seal the bag, then slowly lower it into a bowl of water, allowing the water pressure to push the air out before fully sealing.
- Freeze Flat: Lay the sealed bag flat on a baking sheet. Transfer the baking sheet (with the bag of stock) to the freezer, ensuring it remains level. This ensures the stock freezes into a uniform, flat block.
- Stack for Storage: Once the stock is frozen solid, remove the baking sheet. You can then stack the flattened bags vertically, like books on a shelf, or horizontally, conserving valuable freezer space.
Tips for Freezer Bags:
- Portion Control: Use different-sized bags (quart, gallon, or even sandwich-sized) to freeze stock in varying quantities, catering to different recipe needs.
- Double Bagging: For extra protection against leaks and freezer burn, consider double bagging your stock, especially for longer storage periods.
2. Mason Jars: The Eco-Friendly Option
For those who prefer to avoid plastic or simply love the aesthetic of glass, Mason jars are an excellent choice for freezing stock. However, freezing liquids in glass requires a bit of care to prevent cracking.
How to Freeze Stock in Mason Jars:
- Cool Thoroughly: As with freezer bags, the stock must be absolutely cooled to room temperature before pouring it into glass jars. This is crucial to prevent the glass from cracking due to thermal shock.
- Choose the Right Jars: While many jars can work, wide-mouth, straight-sided Mason jars are generally preferred. Their design tends to be more resilient to the expansion of freezing liquids compared to jars with curved “shoulders” near the lid.
- Leave Ample Headspace: This is the most critical rule for freezing in jars. Liquid expands as it freezes, and without enough space, the expanding ice will shatter the glass. Leave at least 2 to 3 inches of space from the top of the jar, or ensure the stock level is well below the “shoulder” if using jars with curved sides.
- Arrange Carefully: When placing filled Mason jars in the freezer, ensure they are not touching each other or bumping against other items. The jostling that occurs when opening the freezer door or rummaging for items can cause weakened glass to crack.
- Consider Protection: For an extra layer of caution, you can wrap each jar in a kitchen towel or even a clean sock. This provides insulation and cushioning, further minimizing the risk of cracking.
Tips for Mason Jars:
- Gradual Freezing: For very large jars, consider partially freezing the stock in an open jar in the fridge for a few hours before moving it to the freezer to allow a more gradual cooling process.
- Thawing: Always thaw frozen stock in Mason jars in the refrigerator or under cool running water to avoid sudden temperature changes.
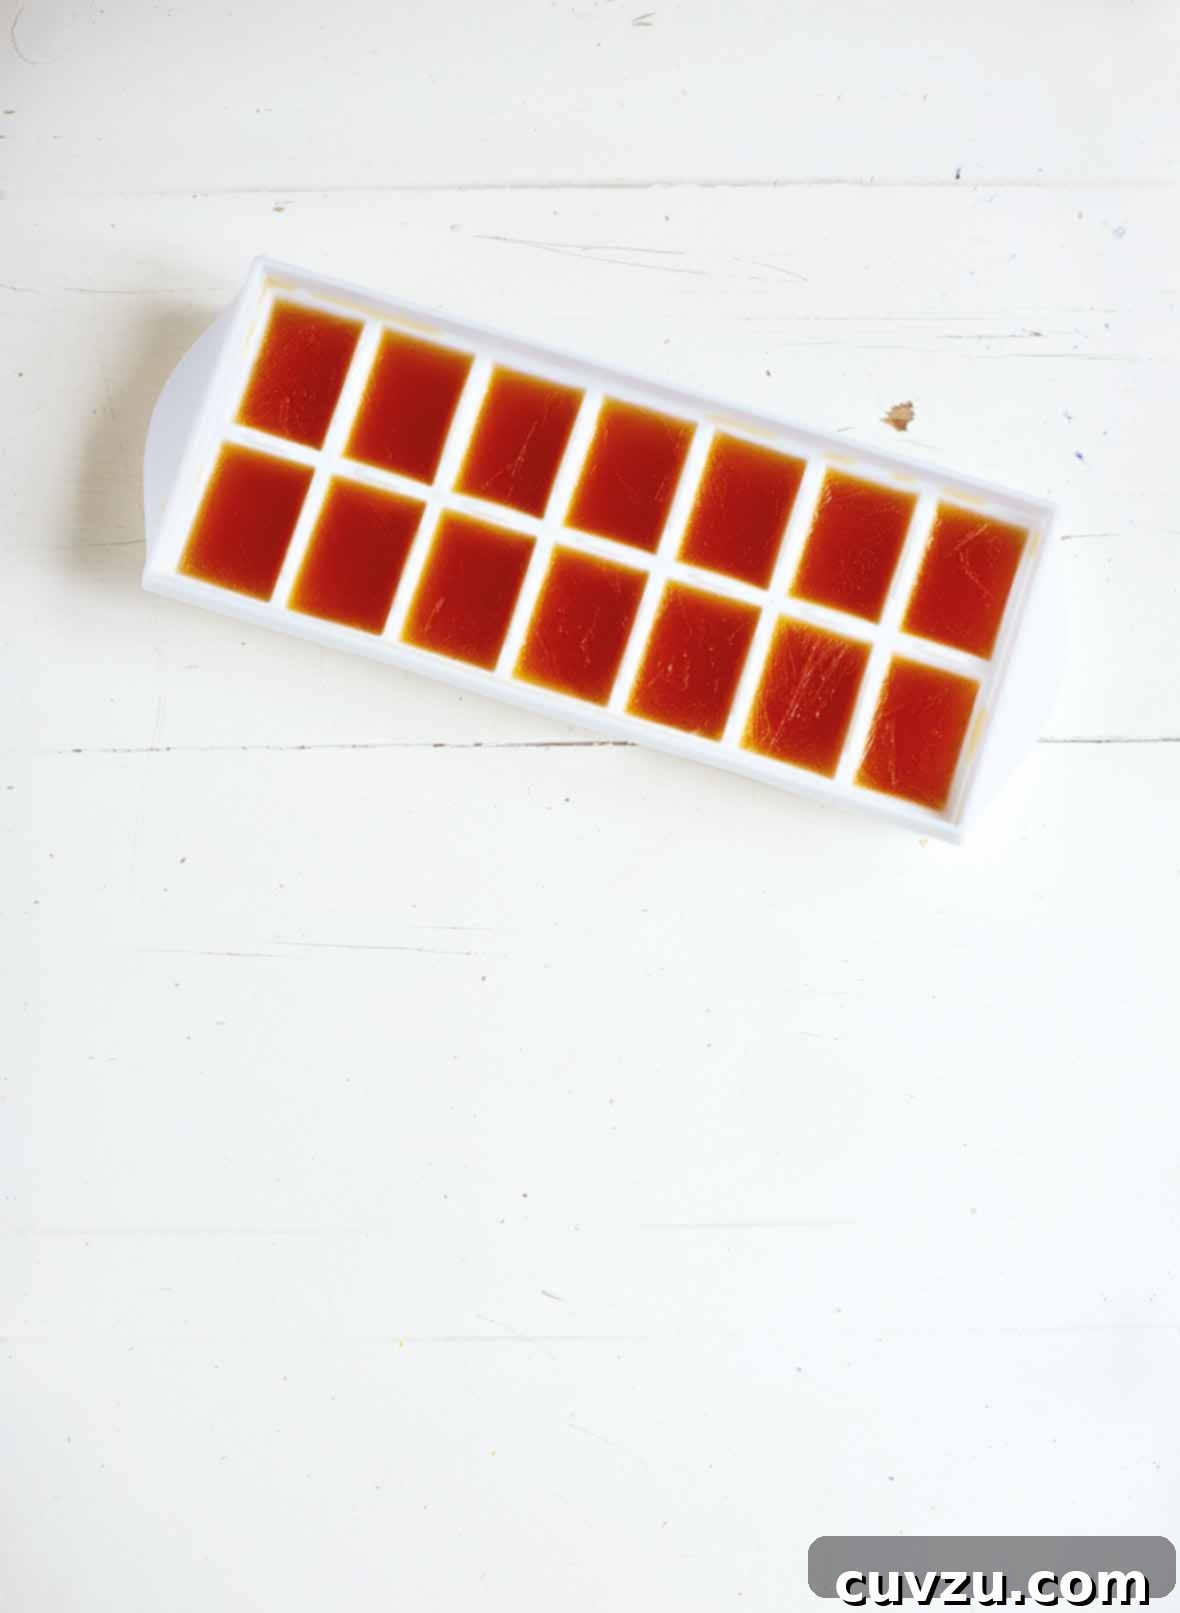
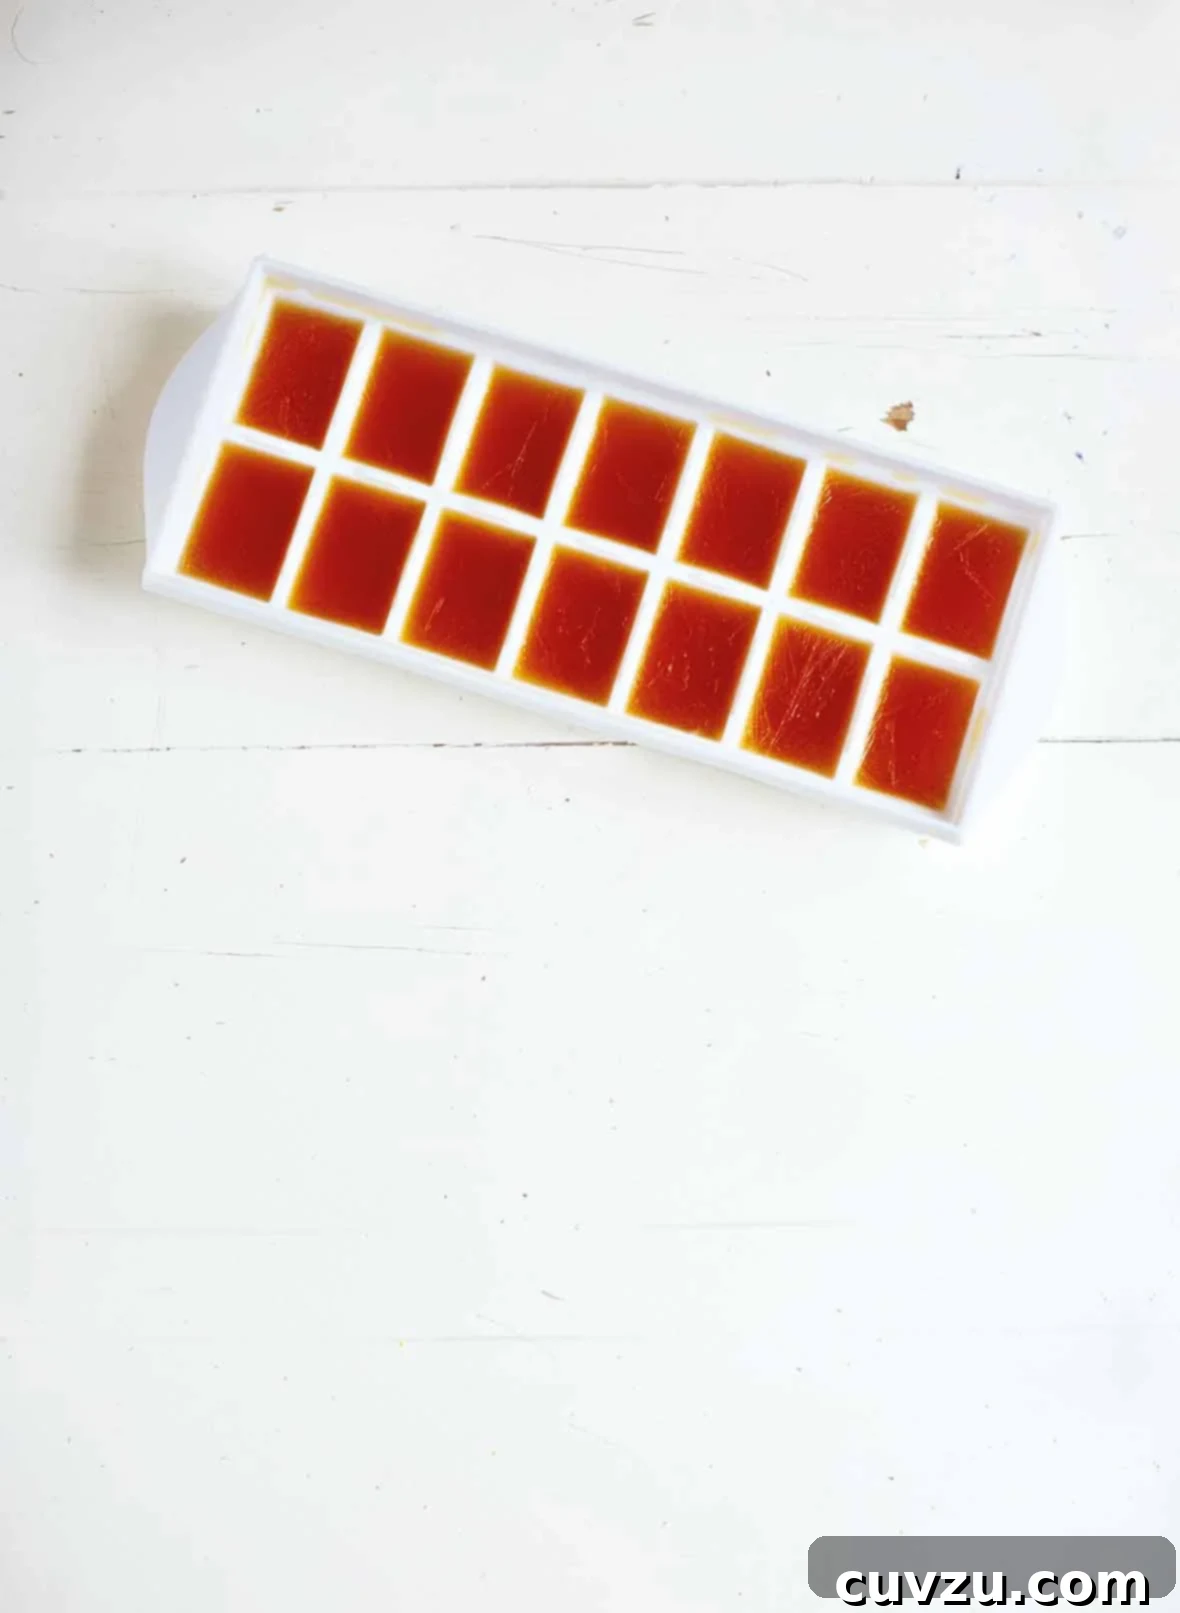
3. Ice Cube Trays: For Concentrated Flavor and Small Portions
Inspired by brilliant kitchen hacks like Rachel Khoo’s, freezing stock in ice cube trays is ideal for creating small, perfectly portioned, concentrated flavor bombs. This method is particularly effective if you first reduce your stock.
How to Freeze Reduced Stock in Ice Cube Trays:
- Reduce the Stock: Pour 4 1/2 cups of your desired stock (chicken, beef, or vegetable) into a large, wide saucepan. Bring it to a simmer over medium-high heat and then reduce the heat to medium-low. Let it gently simmer, uncovered, for about 45 minutes, or until the liquid has reduced significantly to about 3/4 cup. This process intensifies the flavor dramatically.
- Cool the Concentrate: Allow the highly concentrated stock to cool completely to room temperature.
- Fill Trays: Carefully pour the cooled, reduced stock into an empty ice cube tray.
- Freeze Solid: Place the ice cube tray in the freezer until the stock cubes are frozen solid.
- Transfer for Storage: Once frozen, pop the stock cubes out of the tray. Transfer them to a resealable plastic freezer bag or any other airtight, freezer-safe container. This frees up your ice cube tray for other uses.
- Label and Store: Label the container with the type of stock and the date. Reduced stock cubes can be stored for up to 2 months.
How to Use Reduced Stock Cubes:
- Reconstitution: When ready to use, simply add water as desired while reheating to achieve your preferred concentration. One cube might be perfect for a single serving of soup, or several for a larger dish.
- Direct Use: Drop a cube directly into pan sauces, gravies, or when sautéing vegetables for an instant boost of flavor.
- Nutrition Note: While a full batch of reduced stock is concentrated, a single cube (representing about 1/2 cup of original stock) typically contains very few calories, often around 6 kcal per serving, primarily from carbohydrates and natural sodium.
4. Muffin Tins: For Larger Concentrated Portions
Similar to ice cube trays, muffin tins offer a great way to freeze larger, pre-portioned amounts of concentrated stock. This method is perfect when you need a bit more than an ice cube, but less than a full jar or bag.
How to Freeze Reduced Stock in Muffin Tins:
- Reduce the Stock: Follow the same reduction process as for ice cube trays: simmer 4 1/2 cups of stock in a wide pan for about 45 minutes until reduced to approximately 3/4 cup of concentrated liquid.
- Cool Completely: Allow the reduced stock to cool to room temperature.
- Fill Tins: Pour the cooled, concentrated stock into the cups of an empty muffin tin. For easier removal, you can line the muffin cups with silicone liners or even paper cupcake liners.
- Freeze Solid: Place the muffin tin in the freezer until the stock portions are frozen solid.
- Transfer for Storage: Once frozen, remove the solid stock portions from the muffin tin. Transfer them to a resealable plastic freezer bag or an airtight, freezer-safe container.
- Label and Store: Label the container with the type of stock and the date. These larger reduced stock portions can also be stored for up to 2 months.
Tips for Muffin Tins:
- Silicone Tins: If you have a silicone muffin tin, it will make popping out the frozen stock much easier.
- Versatile Use: These larger portions are excellent for starting soups, enriching risottos, or making gravies, offering more concentrated flavor than a single ice cube.
Thawing and Using Your Frozen Stock
Once you’ve expertly frozen your stock, knowing how to thaw and integrate it into your cooking is the next step to culinary success. The method you choose will depend on how quickly you need it and what you’re making.
- Refrigerator Thawing: The safest and most recommended method is to transfer your frozen stock to the refrigerator 24-48 hours before you plan to use it. This allows for gradual thawing, maintaining optimal quality.
- Cold Water Thawing: For quicker thawing, place the sealed bag or container of frozen stock in a bowl of cold water. Change the water every 30 minutes until thawed. Do not use hot water, as it can encourage bacterial growth.
- Directly in Recipes: For many dishes, especially soups or stews, you can add frozen stock directly to a pot over low heat. The stock will slowly melt and incorporate into your dish. This is especially convenient for ice cube or muffin tin portions.
- Microwave Thawing: If you’re in a hurry, you can carefully thaw stock in the microwave using a microwave-safe container and a defrost setting, stirring occasionally. Be mindful not to overheat.
Remember that reduced stock cubes or portions will be much more concentrated. You can add water as it thaws to achieve your desired flavor intensity, or use it as a powerful base to build layers of flavor.
Types of Stock You Can Freeze
The beauty of these freezing methods is their versatility. You can apply them to almost any type of stock you make or buy:
- Chicken Stock/Broth: A kitchen staple, perfect for countless recipes.
- Beef Stock/Bone Broth: Rich and robust, ideal for gravies, stews, and braises.
- Vegetable Stock: A flavorful base for vegetarian dishes, or when a lighter touch is needed.
- Fish Stock: Essential for seafood risottos and paella, freezes well for future use.
Whether you’re making a classic roast chicken stock, a hearty beef bone broth, or a vibrant vegetable stock, these preservation techniques ensure your efforts are never wasted.
A Tester’s Perspective on Freezing Stock
Having made and frozen stock for decades, I’ve seen it all. I used to be a staunch advocate for the resealable bag method, though I admit my “lazy or rushed” tendencies often led to bags being haphazardly tossed into the freezer, resulting in oddly shaped blocks that hogged precious space. This changed completely when I discovered the “freeze-it-flat-and-stack-it-like-books” approach. It was genuinely life-changing! Now, I apply this technique to both large and sandwich-sized freezer bags, ensuring I always have precisely the right amount of stock, in an easy-to-defrost format, no matter what culinary creation I’m tackling. It’s a simple tweak that makes a monumental difference in freezer organization and efficiency.