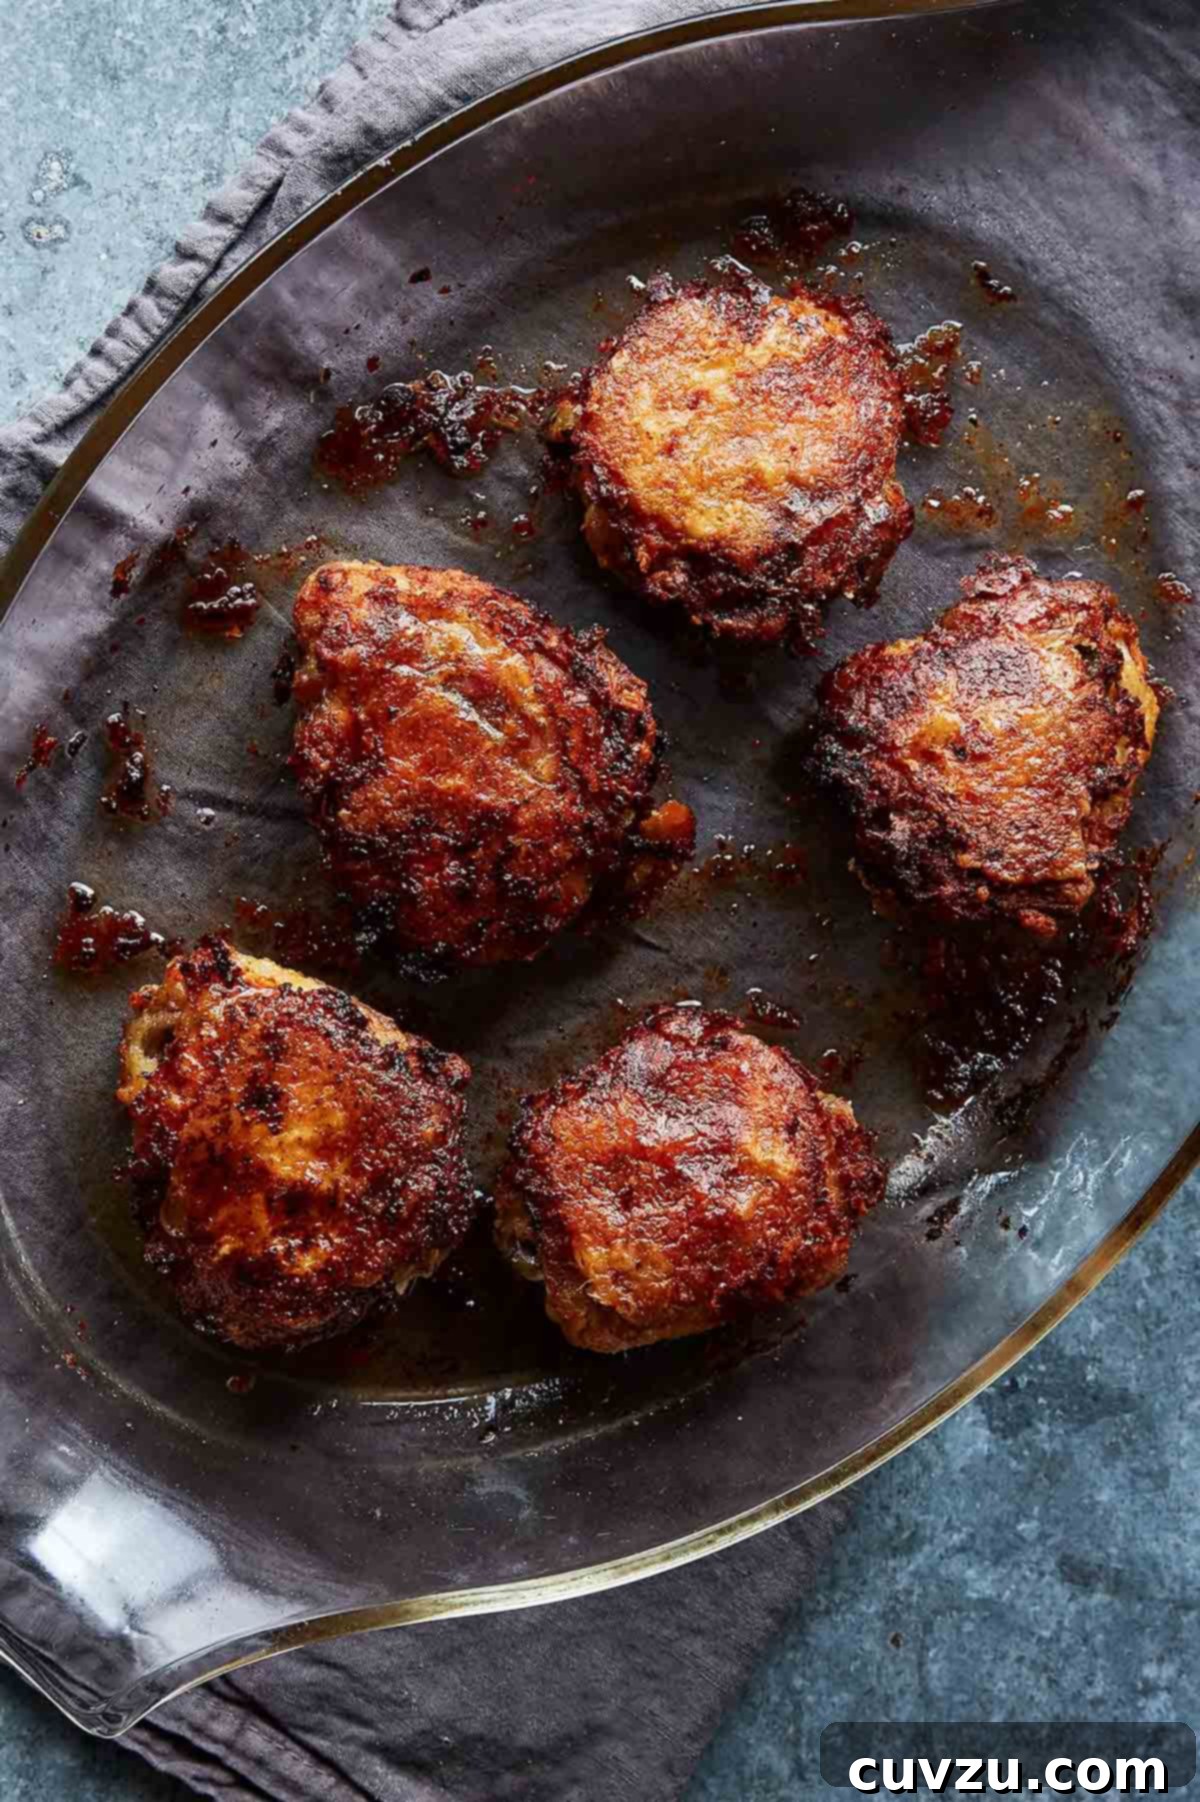
Unlock the secret to incredibly crispy, perfectly juicy chicken without the deep fryer with Judy Hesser’s Oven-Fried Chicken. This celebrated recipe, a cherished favorite of her daughter, renowned food writer Amanda Hesser, offers a sophisticated take on classic “Shake ‘n Bake” style chicken. It promises mouthwatering results with minimal fuss, transforming everyday chicken thighs into a show-stopping meal that’s both comforting and elegant. Prepared through a simple yet ingenious process of brining, coating, and baking, this dish consistently delivers golden-brown perfection and a crisp skin that rivals any traditional fried chicken, making it an ideal choice for a weeknight dinner or a casual gathering.
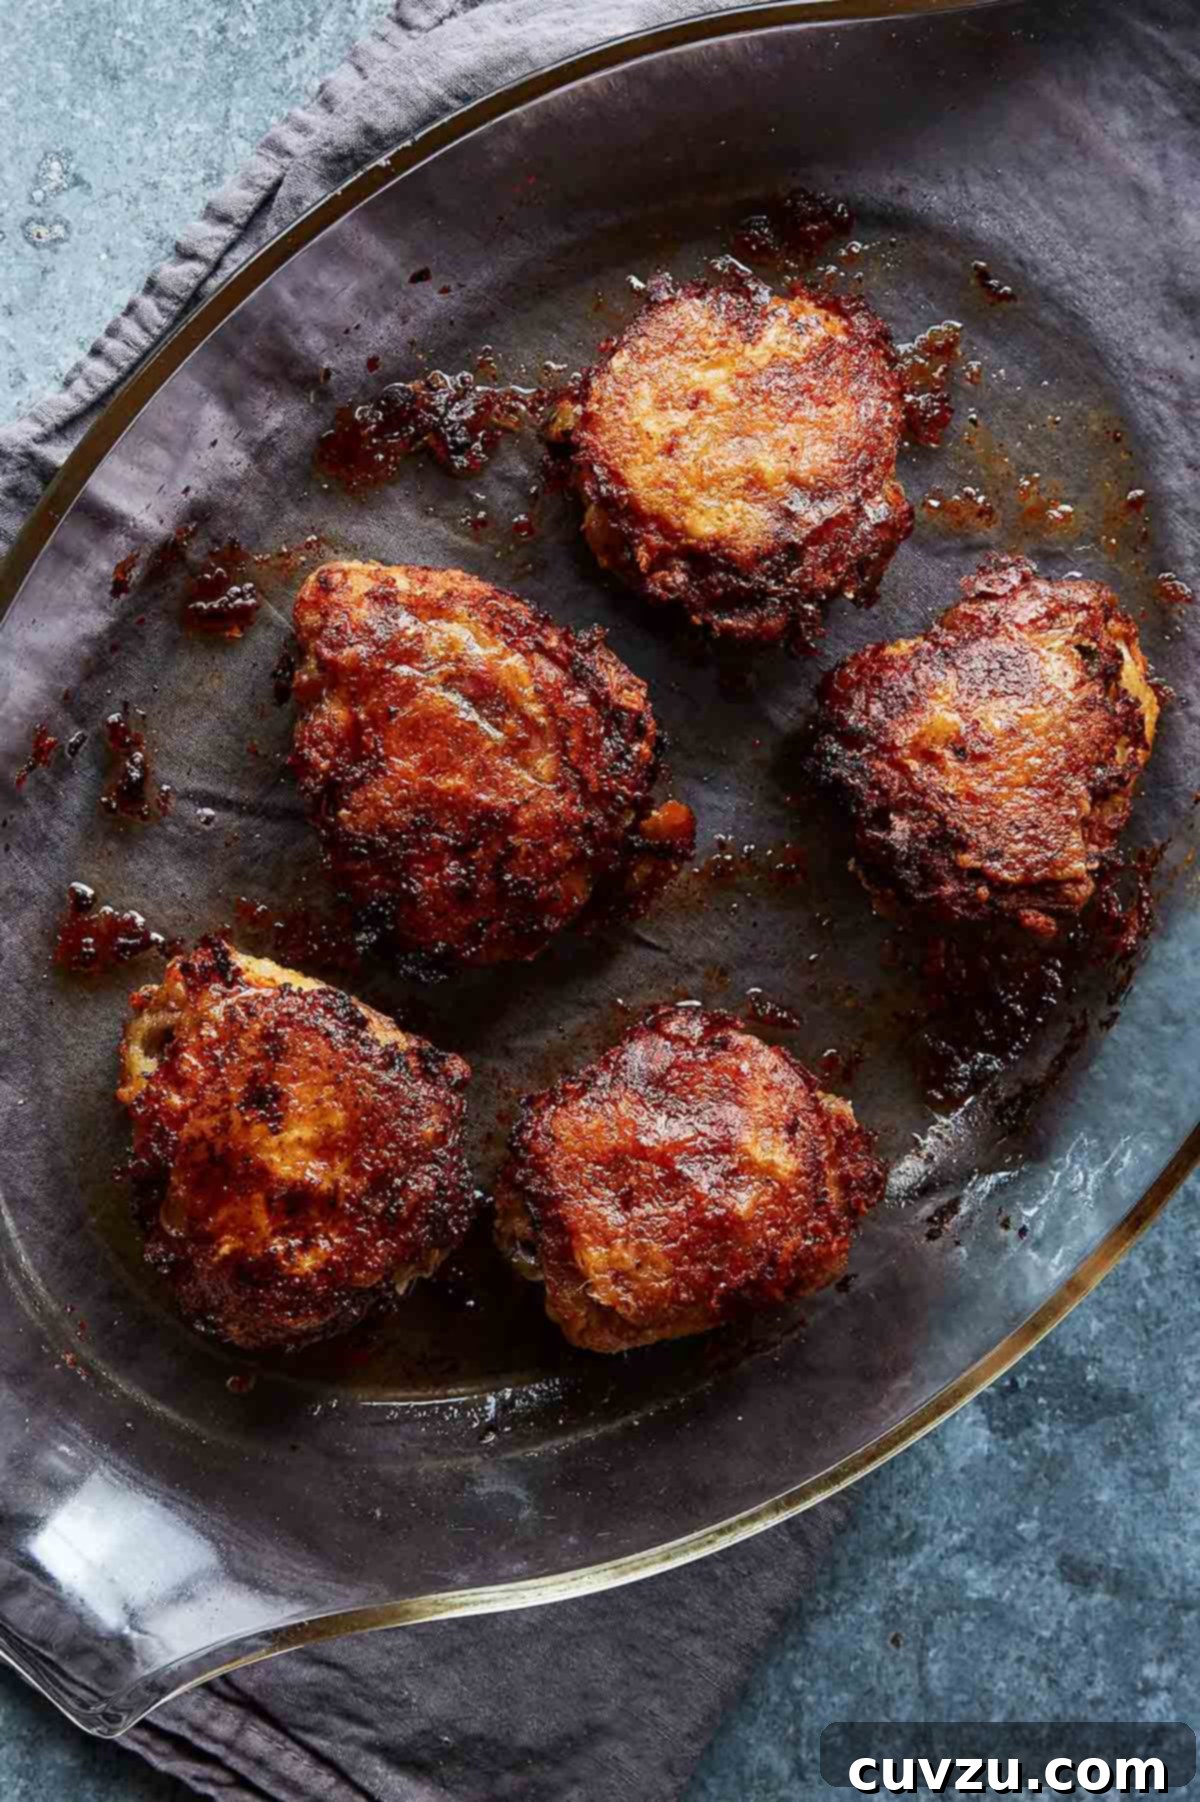
Before diving into the full recipe, let’s address the genius behind this much-ballyhooed dish. It hails from the kitchen of Judy Hesser, the mother of former *New York Times* food reporter Amanda Hesser. In a delightful contrast to the often intricate chef-driven recipes Amanda famously covered, her mother’s oven-fried chicken champions simplicity, relying on everyday ingredients and an incredibly straightforward technique. Amanda herself frequently champions her mom’s culinary wisdom, highlighting a few key principles that elevate this recipe from good to truly exceptional.
One cornerstone of Judy Hesser’s method is the brine. Far from being an optional step, brining is essential. It performs a dual function: it ensures the chicken meat remains astonishingly juicy throughout the baking process, and perhaps more surprisingly, it actively contributes to the skin’s incredible crispness. The salt in the brine helps to break down muscle fibers and allows the chicken to absorb moisture, leading to a tender, succulent interior. Simultaneously, it seasons the meat from within, building a foundational layer of flavor that permeates every bite.
Another crucial element, fiercely advocated by the Hesser family, is the use of incredibly high-quality chicken. Opting for organic or natural chicken thighs isn’t just about taste – though the flavor is undeniably superior. High-quality poultry typically boasts a far lower fat content compared to conventionally raised birds. This seemingly minor detail makes a significant difference during baking. As the chicken cooks, less excess fat renders out, preventing the chicken from essentially “soaking in a puddle of fat.” The result is a greaseless, deeply satisfying crispness that is often the elusive holy grail of oven-fried chicken, delivering that coveted integrity we all hope for in a perfectly cooked piece of fried chicken. –Renee Schettler
The Secrets to Crispy Baked Chicken Success
Achieving that coveted crunch in oven-fried chicken requires a few fundamental techniques. From preparing the chicken to the precise baking method, each step plays a vital role in ensuring your dish is nothing short of spectacular.
Why Brine Your Chicken? The Science of Juiciness and Crispness
Brining might seem like an extra step, but it’s the secret weapon in Judy Hesser’s arsenal. When chicken soaks in a saltwater solution, a process called osmosis occurs. The salt solution penetrates the chicken’s muscle fibers, causing them to absorb moisture and swell. This increased moisture content ensures that even with prolonged cooking, the chicken remains incredibly tender and juicy. Furthermore, the salt denatures some of the proteins on the chicken’s surface, which helps the skin crisp up more effectively in the oven by drawing out surface moisture and enhancing browning. This internal seasoning also means every bite is flavorful, not just the coating.
The Importance of Quality Chicken: A Foundation for Flavor and Texture
As emphasized in the original recipe, the quality of your chicken genuinely matters. Choosing organic or natural chicken thighs, free from added hormones or antibiotics, makes a palpable difference. These chickens often have a cleaner, more robust flavor profile. Crucially, they tend to have less excessive, watery fat compared to cheaper alternatives. When baking, this translates to chicken that renders its fat more efficiently, contributing to a truly crisp skin rather than leaving you with a greasy, unappetizing residue. The integrity of the meat itself also holds up better, resulting in a more satisfying texture.
The “Shake ‘n Bake” Method: Achieving the Perfect Crust
The coating process for this oven-fried chicken is wonderfully simple and effective. After brining and thoroughly drying the chicken, a simple mix of flour, salt, and pepper is combined in a gallon-sized resealable plastic bag. The key to success here lies in two simple actions: adding chicken pieces two at a time, shaking vigorously until evenly coated, and then, most critically, shaking off any excess flour as you remove each piece. This vigorous shake prevents the formation of a thick, gummy coating, ensuring that the flour forms a thin, even layer that will transform into a light, delicate, and shatteringly crisp crust in the oven. Resist the urge to overload the bag or leave too much flour, as this is the primary culprit behind a less-than-perfect result.
Mastering the Oven-Frying Technique for Golden Perfection
The beauty of Judy Hesser’s recipe lies not only in its simple ingredients but also in its clever use of the oven to achieve a “fried” texture without the mess and added fat of deep-frying. The process begins long before the chicken enters the oven.
First, preheat your oven to a robust 400°F (200°C). This high temperature is crucial for encouraging crispness from the start. As the oven preheats, melt two tablespoons of unsalted butter directly in a roasting pan large enough to accommodate all eight chicken thighs in a single layer. Placing the pan with the melted butter into the oven to preheat ensures that the chicken hits a hot, lubricated surface, immediately starting the searing and crisping process. This mimics the initial sizzle of deep-frying, preventing the chicken from stewing in its own juices and instead promoting a beautiful golden-brown crust.
Once the chicken thighs are thoroughly coated in the seasoned flour and excess shaken off, carefully arrange them in the preheated roasting pan, skin-side down. This initial placement is intentional, allowing the skin to achieve maximum crispness and deep color first. Oven-fry the chicken for approximately 40 minutes, though sometimes it can take up to an hour. The precise timing will depend on your oven and the thickness of your chicken. The visual cues are paramount: wait until the chicken is a rich chestnut brown color and unmistakably crisp on the bottom before even considering flipping. Patience here is a virtue – don’t rush this step! Use a thin metal spatula to gently scrape the chicken from the pan (it should release easily if properly crisped) and turn each piece over. Continue baking for another 20 to 40 minutes, or until the other side achieves the same glorious crispness and color. The internal temperature of the chicken should reach 165°F (74°C) for food safety.
As pieces finish cooking, remove them from the oven one by one and transfer them to a plate lined with paper towels to absorb any residual fat. Just before serving, a final flourish of freshly ground black pepper and a light sprinkle of sea salt will enhance the flavors and add another layer of texture. This oven-fried chicken is incredibly versatile, delicious served hot, at room temperature, or even cold straight from the fridge, making it excellent for meal prep or picnics.
Tips for the Crispiest Oven-Fried Chicken Every Time
To ensure your oven-fried chicken is consistently perfect, keep these expert tips in mind.
How to Keep Oven-Fried Chicken Crispy After Cooking
The golden rule for maintaining the crispness of any fried food, including oven-fried chicken, is to avoid stacking it or placing it on a flat surface immediately after cooking. Instead, transfer the cooked chicken to a cooling rack set over a baking sheet. This allows air to circulate around all sides of the chicken, preventing steam from accumulating and making the crust soggy. If you’re cooking multiple batches or need to keep the first batch warm while the rest finishes, you can place the entire setup (baking sheet with the cooling rack and chicken) in a low oven (around 200°F or 95°C). This gentle heat will keep the chicken warm without continuing to cook it or compromising its crisp texture.
Beyond Chicken Thighs: Adapting the Recipe for Different Cuts
While chicken thighs are recommended for their juiciness and forgiving nature, this oven-fried method can be adapted for other cuts. Boneless, skinless thighs will cook faster and may not achieve the same crispness as skin-on, bone-in pieces, but they will still be delicious. Chicken breasts, drumsticks, or even wings can be used. When using breasts, consider pounding them slightly to an even thickness for uniform cooking and reduce the cooking time to prevent drying out. For drumsticks or wings, cooking times will vary; monitor them closely and rely on internal temperature (165°F/74°C) to ensure they are fully cooked. Adjusting the initial skin-down cooking time will also be necessary based on the cut’s fat content and size.
Flavor Variations: Elevating Judy Hesser’s Classic
Judy Hesser’s recipe is a fantastic canvas for culinary creativity. Amanda Hesser herself mentions a delightful variation: adding finely grated Parmigiano-Reggiano cheese and lemon zest to the flour coating. The cheese adds a savory, umami depth and an extra layer of crispness, while the lemon zest introduces a bright, fresh aroma and flavor that beautifully cuts through the richness of the chicken. Other delicious additions to the flour mixture could include garlic powder, onion powder, smoked paprika, cayenne pepper for a little heat, or a blend of dried herbs like thyme or oregano. Experiment with your favorite spices to personalize this classic dish.
Storage and Reheating for Optimal Crispness
Leftover oven-fried chicken stores well in an airtight container in the refrigerator for up to 3-4 days. To reheat and restore its crispness, avoid the microwave, which will make the crust soggy. Instead, preheat your oven or a toaster oven to 375°F (190°C). Place the chicken on a wire rack set over a baking sheet and reheat for 10-15 minutes, or until warmed through and the skin has re-crisped. The broiler can also be used for a minute or two on each side, but watch it very carefully to prevent burning.
Judy Hesser’s Oven-Fried Chicken
David Leite
- PIN
Mains
American
4
servings
603
kcal
25 minutes
1 hour
10 minutes
9 hours
Ingredients
-
3
tablespoons
sea salt -
1
cup
warm water,
or a little more or less -
8
chicken thighs,
organic or natural, not Perdue or somesuch -
2
tablespoons (1 oz)
unsalted butter -
1/2
cup
all-purpose flour -
1
teaspoon
coarsely ground black pepper
Instructions
-
In the morning, combine 2 tablespoons salt and the warm water in a large bowl or container. Stir until the salt dissolves. Trim the chicken of any excess skin and fat. Add the pieces to the brine, add enough cold water to completely cover the chicken, and then add a tray of ice cubes and swish around with your hand to disperse them. Refrigerate until dinner time.
-
Preheat your oven to 400°F (200°C). Put the butter in a roasting pan large enough to fit the chicken thighs in a single layer. Place the pan in the oven to preheat.
-
Remove the chicken from the fridge and pat it completely dry with paper towels. In a 1-gallon resealable plastic bag, toss the flour, remaining 1 tablespoon salt, and the pepper. Seal the bag and give it a good shake. Add the chicken pieces, 2 at a time, and shake them until thoroughly coated. As you lift them out of the bag, shake them off vigorously to remove any excess flour. This is vital. You don’t want a gummy coating. Line them up on a plate and repeat with the remaining chicken thighs and flour.
-
Place the chicken pieces in the roasting pan, skin side down, and oven-fry until chestnut brown in color and crisp on the bottom, about 40 minutes (sometimes it takes as long as an hour). Don’t flip them until this happens. Use a thin metal spatula to scrape them from the pan and turn them. Then bake until the other side is the same way, 20 to 40 minutes more.
-
Remove the pieces from the oven as they finish cooking, and place on a plate lined with paper towels. Just before serving, grind fresh pepper over top and sprinkle lightly with sea salt. Serve hot, room temperature, or even cold straight outta the fridge.
Notes
Amanda Hesser’s Oven-Fried Chicken variation
Amanda Hesser mentions she sometimes glams up her mom’s recipe by adding finely grated Parmigiano-Reggiano and lemon zest to the flour coating.

Adapted From
Cooking for Mr. Latte
Buy On Amazon
Explore More with AI
Substitutions
Scale
Summarize
Nutrition
Serving:
2
thighs
Calories:
603
kcal
Carbohydrates:
13
g
Protein:
38
g
Fat:
43
g
Saturated Fat:
14
g
Trans Fat:
1
g
Cholesterol:
237
mg
Sodium:
5410
mg
Fiber:
1
g
Sugar:
1
g
Nutrition information is automatically calculated, so should only be used as an approximation.
Tried this recipe?
Mention @leitesculinaria or tag #leitesculinaria!
What to Serve with Your Oven-Fried Chicken
This crispy oven-fried chicken is a versatile main course that pairs wonderfully with a variety of side dishes, making it perfect for any occasion. For a classic comfort meal, consider serving it alongside creamy mashed potatoes or a hearty potato salad. A fresh, tangy coleslaw or a crisp green salad with a light vinaigrette will provide a refreshing contrast to the richness of the chicken. Steamed green beans, roasted asparagus, or sweet corn on the cob are excellent vegetable options. And for the ultimate Southern-inspired feast, don’t forget warm, flaky biscuits to soak up any delicious pan drippings.
Real Reviews from Our Recipe Testers
Don’t just take our word for it! Our dedicated recipe testers have put Judy Hesser’s Oven-Fried Chicken through its paces, and their feedback consistently highlights the recipe’s simplicity and delicious results. Read on to see what they loved most about this oven-baked marvel.
Recipe Testers’ Reviews
Raye Tiedmann
A big thank you for this oven-fried chicken recipe! I now have a great family dish I can go to again and again. It’s quick to make and everyone loved it. I used organic chicken thighs as Hesser said—except I had boneless thighs.
Brining the chicken is something I’m accustomed to, as I’ve brined turkeys many times, and it does make for more flavorful poultry. The thighs cooked for 30 minutes and were nicely crisp. And since the recipe calls for only 2 tablespoons butter, we weren’t feeling guilty. Now we can have fried chicken more often.
Jennifer V.
This a simple technique for oven-fried chicken and it works. It definitely needs the instructions to use good chicken—you really want the chicken to crisp up and not sit there baking in a ton of fat. I’d also consider adding some seasonings to the flour before using it to coat the chicken.
Frequently Asked Questions about Oven-Fried Chicken
Curious to learn more? Here are some common questions about making delicious oven-fried chicken.
Is Oven-Fried Chicken Healthier Than Deep-Fried?
Absolutely! One of the biggest advantages of oven-frying is that it significantly reduces the amount of oil used compared to traditional deep-frying. While deep-fried chicken can absorb a considerable amount of oil, oven-frying relies on a minimal amount of butter (just two tablespoons in this recipe) and the chicken’s natural fats to achieve a crispy exterior. This results in a dish with fewer calories and less saturated fat, making it a healthier alternative without sacrificing flavor or crunch.
Can I Prepare the Chicken Ahead of Time?
Yes, parts of this recipe can be prepared in advance. The brining step is ideally done several hours ahead, or even overnight, which makes it perfect for planning. You can prepare the brine and soak the chicken in the morning, then simply pat it dry and coat it closer to dinner time. However, it’s generally best to coat the chicken in the seasoned flour just before baking to ensure the crispest crust. If you coat it too far in advance, the moisture from the chicken can seep into the flour mixture, leading to a soggy coating rather than a crisp one.
What Kind of Roasting Pan is Best for Oven-Frying?
For the best results with oven-fried chicken, a sturdy, heavy-bottomed roasting pan or a large baking sheet with sides is ideal. A dark-colored pan can sometimes promote a darker crust, but any good quality metal pan will work. Ensure the pan is large enough to hold all the chicken thighs in a single layer without overcrowding. Overcrowding the pan can lead to steaming, which inhibits crispness. A good quality non-stick pan can also be helpful for easy flipping and cleanup, but if using a regular pan, ensure it’s adequately buttered and preheated.
Conclusion
Judy Hesser’s Oven-Fried Chicken isn’t just a recipe; it’s a testament to the power of simple, well-executed techniques to create truly memorable food. From the transformative brine to the ingenious “shake ‘n bake” coating and the strategic oven-frying, every step is designed to deliver maximum flavor and an unbelievably crisp texture without the hassle of deep-frying. It’s a healthy, easy, and utterly delicious way to enjoy “fried” chicken more often. We encourage you to try this timeless recipe and discover your new family favorite. Share your results and join the conversation by tagging @leitesculinaria and using #leitesculinaria!