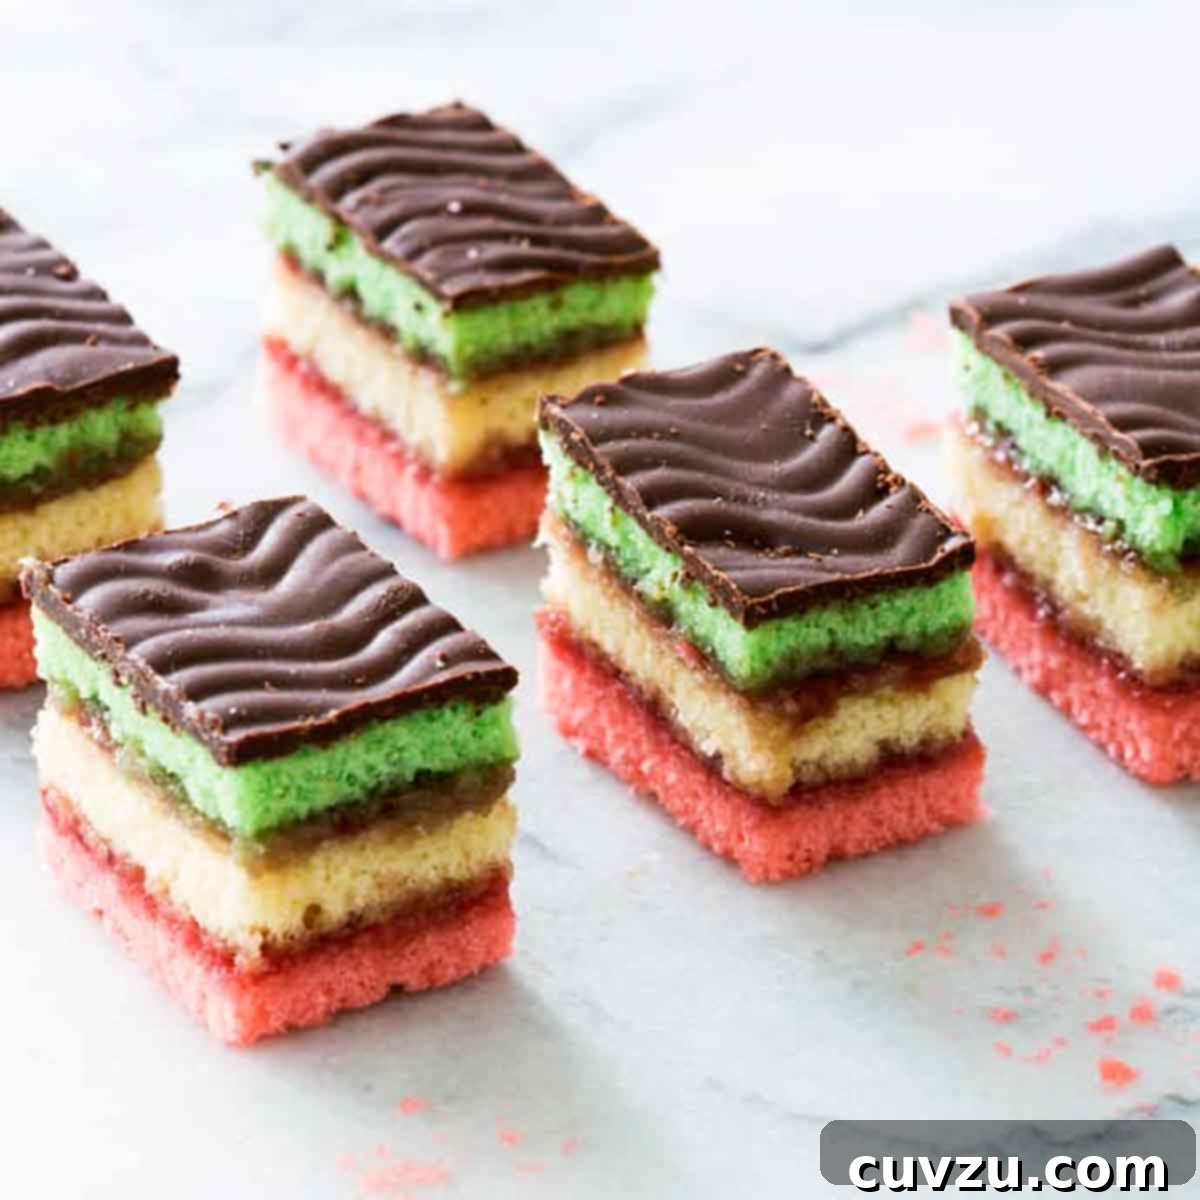
Classic Italian Rainbow Cookies: A Layered Delight for Every Occasion
Dive into the delightful world of Italian Rainbow Cookies, a truly iconic confection renowned for its vibrant, almond-infused layers, sweet raspberry filling, and luxurious dark chocolate coating. These visually stunning cookies, often mistaken for tiny cakes, are more than just a dessert; they are a celebration of color, flavor, and tradition. Perfect for sharing with loved ones during festive seasons, marking special occasions, or simply enjoying with a cup of coffee, their unique texture and rich taste make them an unforgettable treat. This comprehensive guide will walk you through crafting these beautiful cookies from scratch, ensuring a rewarding baking experience and a truly impressive outcome.
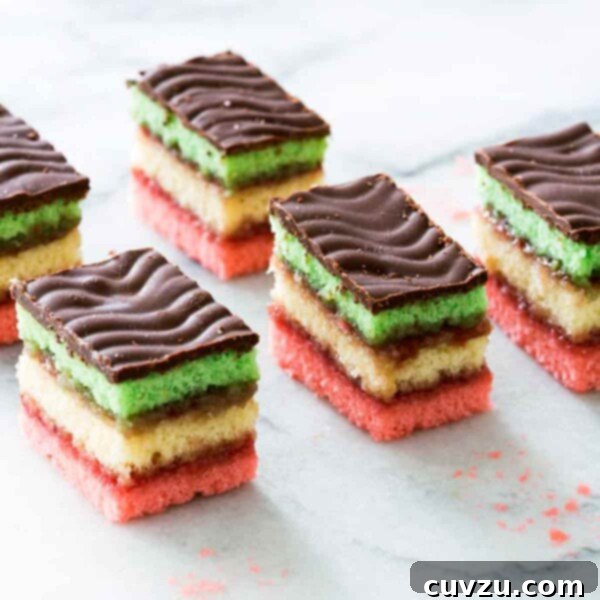
Italian Rainbow Cookies
Italian Rainbow Cookies, also known as Neapolitan or Venetian cookies, owe their name to the vibrant red, white, and green layers reminiscent of the Italian flag. While a popular feature at Christmas and other festive occasions, these almond-flavored delights also hold a special place during Passover, particularly when adapted using matzo cake meal. Their rich almond flavor, delicate cake-like texture, and beautiful presentation make them a cherished staple in Italian-American bakeries and homes.
By David Leite
Ingredients
- 12 ounces (1 1/2 8-ounce cans) almond paste
- 1 cup unsalted butter, slightly firm
- 1 cup sugar
- 4 large eggs, separated
- 1 teaspoon vanilla extract
- 2 cups all-purpose flour, spooned in and leveled or 1 1/2 cups sifted matzo cake meal, spooned in and leveled (for Passover)
- 1/2 teaspoon salt
- 6 to 8 drops green food color
- 8 to 10 drops red food color
- 1/4 cup seedless raspberry preserves
- Up to 1 cup apricot preserves
- 10 ounces semisweet chocolate, coarsely chopped
Instructions
Prepare the Cookie Layers
-
Position your oven racks in the upper and lower thirds of the oven for even baking. Preheat the oven to 350°F (175°C). Prepare three 12 1/4 x 8 1/4 inch disposable aluminum baking pans or three 1/4 sheet pans by lightly buttering their bottoms. Line each pan with parchment paper, then butter the parchment paper and the inner sides of each pan to ensure easy release of the delicate cake layers.
-
Break the almond paste into smaller pieces. Place these pieces into the work bowl of a food processor fitted with a steel blade. Process for 10 to 15 seconds, or until the almond paste is very finely chopped and crumbly. If you don’t have a food processor, you can achieve a similar result by shredding the almond paste on a box grater. This fine consistency is key for a smooth batter.
-
In the bowl of an electric stand mixer equipped with the paddle attachment, beat the slightly firm unsalted butter on medium-low speed until it becomes smooth and creamy. Increase the speed to medium, add the finely chopped almond paste, and continue beating for about 2 minutes, until the mixture lightens in color and becomes fluffy. Gradually pour in the sugar in a slow, steady stream, beating for an additional minute to fully incorporate it. Finally, add the egg yolks and vanilla extract, beating thoroughly until all ingredients are well combined. Remember to scrape down the sides of the bowl with a spatula as needed to ensure everything is evenly mixed.
-
In a separate small bowl, combine the salt with the all-purpose flour (or matzo cake meal if making for Passover). With the mixer on low speed, gradually add the flour mixture to the wet ingredients in three additions, mixing just until it is fully incorporated and no dry streaks remain. Overmixing at this stage can develop gluten, leading to a tougher cookie.
-
In a meticulously clean mixer bowl, attach the whisk attachment. Beat the reserved egg whites on medium speed until they become frothy and soft peaks begin to form. Increase the speed to medium-high and continue beating until firm, glossy peaks form. Using a large rubber spatula, gently fold about one-third of the beaten egg whites into the batter. This step helps to lighten the mixture. Then, carefully fold in the remaining egg whites in two more additions, being careful not to deflate the air you’ve incorporated. The goal is to keep the batter light and airy.

-
At this point, the batter should have a relatively stiff consistency, more akin to a soft dough than a liquid batter. This density is normal and crucial for creating distinct layers.
-
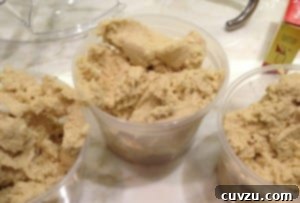
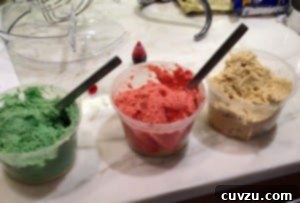
Divide the prepared batter evenly into three separate bowls. Each portion should measure approximately 1 2/3 cups. Precision here helps ensure uniform layers.
-
To achieve the signature rainbow colors, tint one portion of batter with the green food coloring. Mix gently until the color is evenly distributed throughout. Tint a second portion with the red food coloring, blending until a uniform pink hue is achieved. The final portion of batter should be left uncolored, representing the white layer. Use enough food coloring to achieve vibrant, distinct colors, as they can sometimes lighten during baking.
-
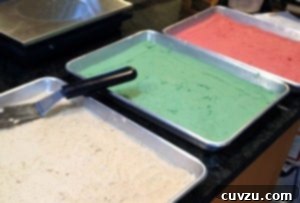
Carefully spread each colored batter into one of the prepared pans. Use a small offset spatula to meticulously push the stiff batter into all four corners of the pan, then smooth the surface as evenly as possible. It’s crucial for the batter to be distributed uniformly, especially into the corners, to create straight edges for your cookies. If the batter is difficult to spread, lightly moisten the back of your spatula with a very small amount of water to help glide it smoothly.
-
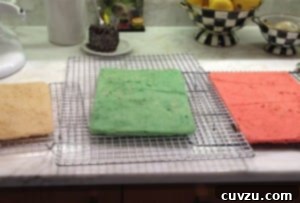
Bake the cake layers for 10 to 12 minutes. They are ready when the tops feel firm to the touch but have not yet begun to brown. It’s better to slightly underbake these layers than to overbake them, as overbaking can lead to dry, crumbly cookies. Once baked, let the cakes rest in their pans on wire racks until they are cool enough to handle comfortably. Then, carefully invert each pan and gently peel off the parchment paper.
Assemble and Press the Layers
-
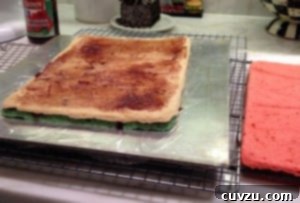
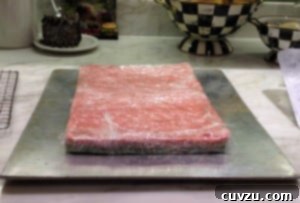
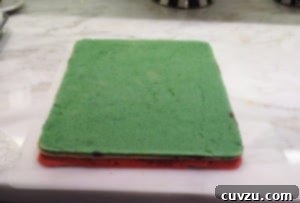
Prepare a large sheet of plastic wrap and lay it flat on a cookie sheet. Invert the green cake layer onto the plastic wrap, so its top side is now facing down. Using a small offset spatula, carefully spread 2 tablespoons of the seedless raspberry preserves evenly over the entire surface of the green layer. Next, place the uncolored (plain) cake layer directly on top of the raspberry preserves, again with its top side down. Align these two layers perfectly and gently press them together to seal. Spread another 2 tablespoons of raspberry preserves over the plain layer. Finally, place the pink cake layer on top, this time with its top side facing up. Ensure all three layers are precisely aligned, then press them together firmly once more.
-
Wrap the entire layered stack tightly with the plastic wrap, ensuring the ends are securely sealed. Place this wrapped stack back onto a clean cookie sheet.
-
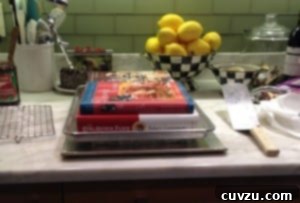
To compress the layers, place another cookie sheet directly on top of the wrapped stack. Weight it down with two or three heavy cookbooks or other flat, heavy objects. Allow the weighted stack to rest at room temperature for at least 24 hours. During this weighting period, it’s beneficial to turn the stack over once or twice to ensure even compression. This critical step fuses the layers together, creating a unified, dense cookie texture and preventing them from separating later.
Glaze and Finish the Cookies
-
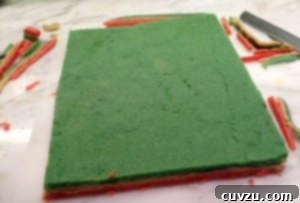
Once the resting period is complete, unwrap the compressed stack and carefully place it on a clean cutting board. Using a large, sharp serrated knife, trim approximately 1/4 inch from all four sides of the stack. This step creates clean, crisp edges, revealing the beautiful, distinct rainbow layers within.
-
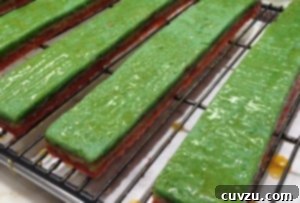
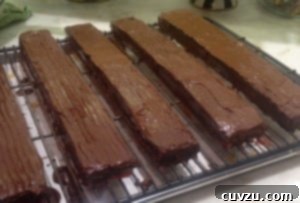
After trimming, cut the large stack into five equal strips, each measuring approximately 1 1/4 inches wide. Carefully separate these strips and arrange them on a large wire rack, which should be placed over a cookie sheet to catch any drips. For easier cleanup and to prevent sticking, you may lightly spray the rack with vegetable cooking oil spray or gently wipe it with a paper towel dampened with a neutral cooking oil.
-
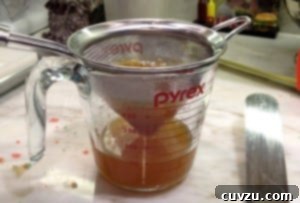
To prepare the apricot glaze, combine the apricot preserves and 2 tablespoons of water in a small saucepan. Bring the mixture to a boil over medium heat, then reduce to a simmer and let it cook for 1 minute. Carefully pass the warm glaze through a fine-mesh strainer into a clean bowl, discarding any fruit pulp. This glaze can be prepared in advance and gently reheated just before you’re ready to use it. The glaze adds a protective layer and a subtle fruity note, enhancing the overall flavor and appearance of the cookies.
-
Using a pastry brush, apply a thin, even layer of the warm apricot glaze to the tops and sides of each cookie strip. This glaze not only adds flavor but also seals the surface, creating a smooth base for the chocolate coating. You likely won’t use all of the glaze. Allow the strips to stand for at least 30 minutes, or longer, to allow the glaze to set.
-
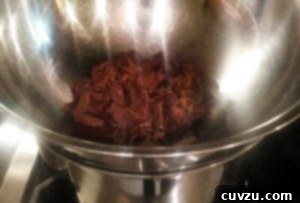
When you’re ready to coat the strips with chocolate, set up a double boiler. Fill a medium pot with about 1 inch of water and bring it to a gentle simmer. Place the coarsely chopped semisweet chocolate in a large, heatproof bowl and set the bowl over the simmering water, ensuring the bottom of the bowl does not touch the water. Allow the chocolate to melt gradually, stirring gently and occasionally with a rubber spatula. It’s crucial to watch the chocolate carefully to prevent it from overheating; excessive heat can cause chocolate to seize or burn. Once the chocolate is almost entirely melted, remove the bowl from the heat and let it stand, stirring occasionally, until it completely melts and becomes smooth, tepid, and has the consistency of chocolate syrup. If the chocolate becomes too thick during this process, simply return it to the double boiler over simmering water for a moment until it regains the correct consistency.
-
Working with one strip at a time, spoon approximately one-fifth of the melted chocolate down the entire length of the strip. Using your small offset spatula, carefully spread the chocolate evenly over the top and down the sides of the strip, ensuring all surfaces are smoothly coated. Repeat this process with the remaining strips. Allow the chocolate-coated strips to stand at room temperature until the chocolate hardens completely. This can take several hours, depending on the ambient room temperature and humidity levels. Once the chocolate is firm, use a sharp, thin knife to cut each strip into precise 5/8-inch slices, revealing the magnificent rainbow layers. Serve and enjoy!
Notes
Storage
For optimal freshness and flavor, store these Italian Rainbow Cookies in an airtight container. Layer them between strips of wax paper to prevent sticking. They will keep beautifully for up to 3 weeks at room temperature. Interestingly, these cookies are known to improve with age, allowing the flavors to meld and deepen. If you plan to store them longer, they may be frozen, preferably before slicing into individual cookies, for several months. Thaw at room temperature before serving for the best texture and taste.
Adapted From
Great Cookies by Carole Walter
Buy On Amazon
Nutrition
Calories: 88 kcal
Carbohydrates: 10 g
Protein: 1 g
Fat: 5 g
Saturated Fat: 2 g
Monounsaturated Fat: 2 g
Trans Fat: 1 g
Cholesterol: 16 mg
Sodium: 20 mg
Fiber: 1 g
Sugar: 6 g
Nutrition information is automatically calculated and should only be used as an approximation.
Tried this recipe?Mention @leitesculinaria or tag #leitesculinaria!
Insights from Recipe Testers

Ellen Fuss
These Italian rainbow cookies are truly wonderful, a testament to the effort and care put into their creation. While they do demand a good amount of time, a few specific ingredients, three baking pans, multiple mixing bowls, food coloring, and chocolate, the exquisite outcome makes every step worthwhile. I’ve had the pleasure of making these cookies using both all-purpose flour and matzah cake meal, specifically to accommodate Passover dietary restrictions, and I can confidently say that both versions turned out splendidly, with no significant difference in taste or texture. This recipe yields a product far superior to the often-dry, mass-produced commercial versions found in stores.
During my preparation, I took an extra step to weigh the batter into equal portions before incorporating the food coloring, ensuring perfectly even and beautiful layers. Yes, a touch of obsession certainly comes in handy when striving for baking perfection! On one occasion, a batch remained weighted down for nearly 48 hours due to a weekend getaway, and to my delight, it didn’t negatively impact the cookies in the slightest; if anything, the extra compression only enhanced their density and integrity. I did find myself with a substantial amount of leftover apricot jam after brushing the cookie strips, so next time, I would consider halving the quantity prepared for the glaze.
Regarding the food coloring, my initial attempt followed the recipe’s suggested lesser amount, but the colors weren’t as intense as I desired. For a more vibrant and authentic “rainbow” look, akin to those found in traditional Italian bakeries, I opted to use even more food coloring than suggested in subsequent batches. This adjustment brought the visual appeal to the level I was hoping for. These cookies store exceptionally well in an airtight container, layered with wax paper, and they truly do improve in flavor and texture over time as the almond and raspberry notes deepen. I also froze my leftover cookies (which were scarce, as everyone wanted to take some home!) and they maintained their fresh, delicious quality beautifully even after thawing. Utilizing a food processor for chopping the almond paste instead of a grater proved to be a convenient and efficient method.
My advice to anyone attempting this recipe: read through the entire set of instructions carefully beforehand. Don’t allow the multiple steps to overwhelm you. Approach it slowly, step by step, and the incredible rewards of these exquisite cookies will speak for themselves. The patience and precision invested are richly paid back with every flavorful bite.