
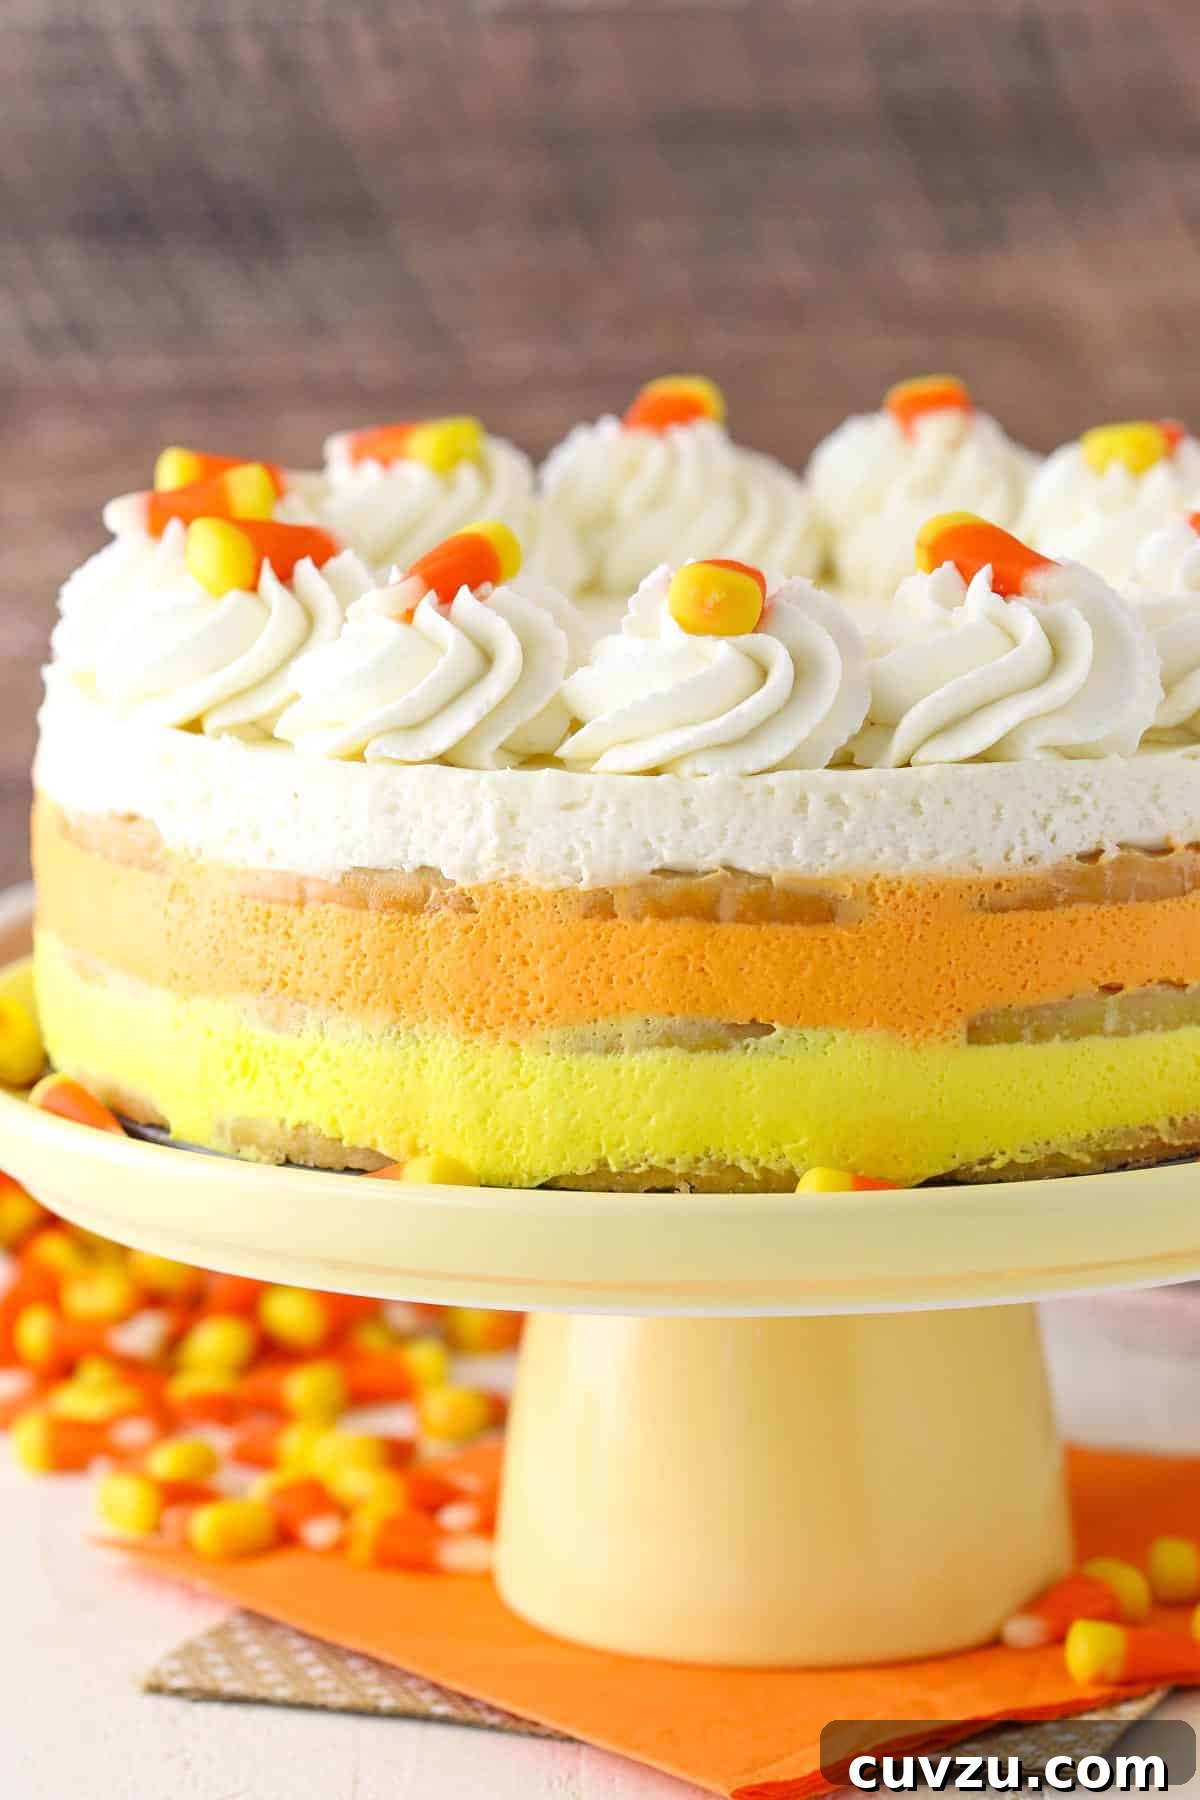
As the leaves begin to turn and a crisp chill fills the air, thoughts invariably drift to the enchanting festivities of Halloween. Beyond the costumes and haunted houses, the season beckons for delightful treats that capture its whimsical spirit. This year, why not enchant your family and friends with a dessert that’s as charming as it is effortless? Introducing the **Candy Corn Icebox Cake**: a no-bake masterpiece that perfectly blends creamy vanilla goodness with the buttery crunch of shortbread, all while showcasing the iconic colors of Halloween’s quintessential confection.
For those seeking another festive Halloween dessert that’s quick and delightful, be sure to explore my Easy Mummy Rice Krispie Treats!

Candy Corn Icebox Cake: Your Ultimate No-Bake Halloween Treat
This post is proudly sponsored by Walkers Shortbread, whose delightful cookies are a star ingredient in this recipe. Rest assured, all opinions expressed are genuinely my own.
Candy corn – it’s undeniably one of those polarizing Halloween candies. You either eagerly anticipate its arrival each fall, savoring its unique flavor, or you politely pass, opting for other spooky sweets. For me, the classic orange, yellow, and white candy corn, along with their adorable pumpkin counterparts, signal the true start of the Halloween season. There’s something undeniably nostalgic and fun about them, even if having them around can be a little *too* tempting!
Given my affection for these iconic colors, it felt only natural to channel that inspiration into a celebratory Halloween dessert. I’ve previously incorporated candy corn hues into delightful creations like this Candy Corn Chocolate Chip Cookie Cake and these festive Pumpkin Cheesecake Bars. Now, I’m thrilled to introduce you to this latest rendition: the Candy Corn Icebox Cake. This recipe is not just a feast for the eyes; it’s also incredibly simple to assemble, which is a major bonus, especially when Halloween happens to fall mid-week, as it often does. Its no-bake nature makes it an ideal candidate for preparing the night before, allowing you to relax and enjoy the spooky festivities without last-minute dessert stress.
Why This No-Bake Halloween Cake is a Must-Try
- Effortlessly No-Bake: Forget turning on the oven! This recipe saves you time and keeps your kitchen cool, making it perfect for busy schedules and warm autumn days.
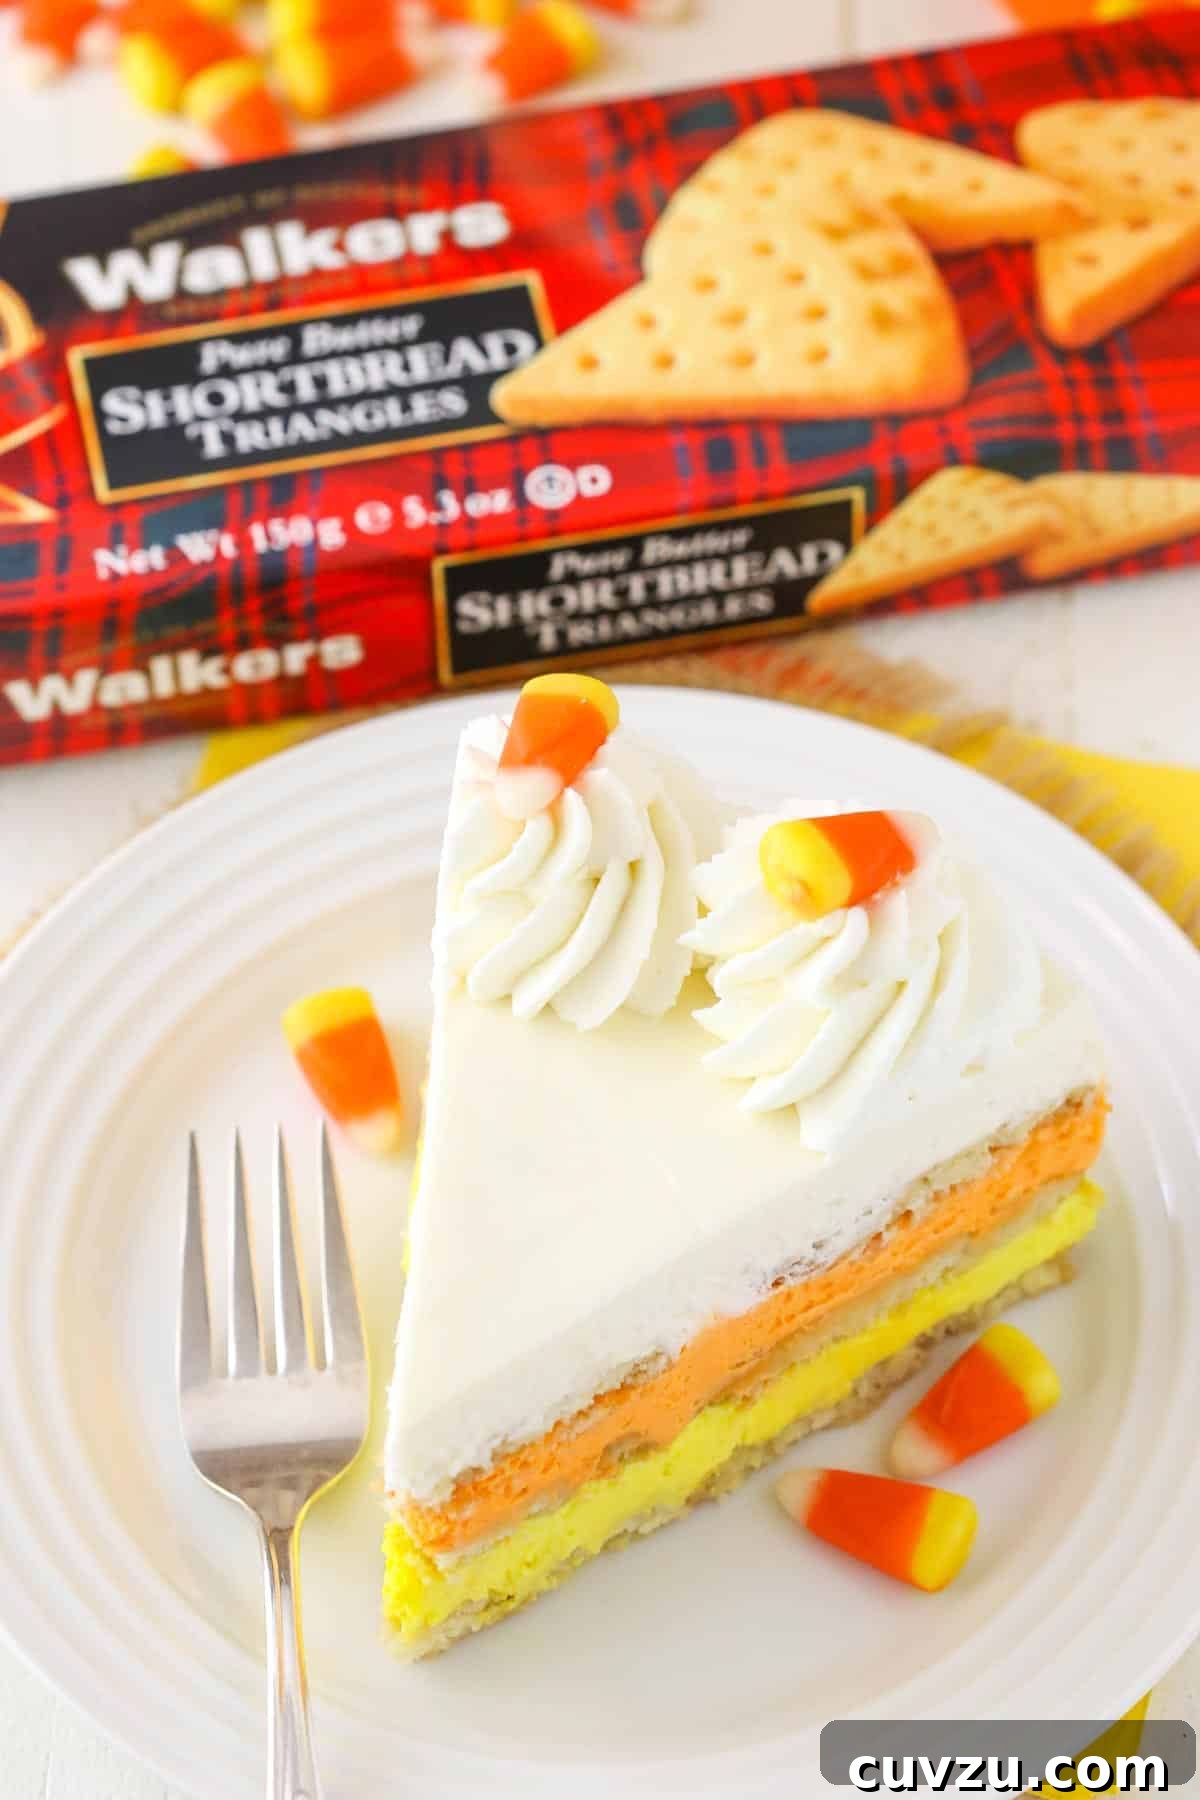
- Visually Stunning: The distinct layers of white, yellow, and orange mousse, separated by golden shortbread, create a striking resemblance to candy corn that will impress all your guests.
- Incredibly Delicious: A harmonious blend of rich cream cheese mousse, light whipped cream, and buttery shortbread cookies creates a flavor profile that’s both comforting and indulgent.
- Kid-Friendly & Fun: The playful colors and familiar candy corn theme make this a huge hit with children and adults alike.
- Make-Ahead Marvel: Prepare it the day before, let it chill overnight, and simply decorate before serving. This frees up your Halloween day for other fun activities.
- Simple Ingredients: You’ll only need a handful of readily available ingredients to bring this magical dessert to life.
Understanding the Magic of Icebox Cakes
An icebox cake is a classic no-bake dessert typically made by layering crisp cookies or wafers with whipped cream or pudding, then chilling the mixture in the refrigerator (or “icebox” in historical terms) until the cookies soften and the layers meld into a cake-like consistency. Originating in the early 20th century, these delightful creations gained popularity for their simplicity and the ingenious way they transform humble ingredients into something truly special without any baking required. The prolonged chilling time is crucial, allowing the cookies to absorb moisture from the creamy filling, softening them to a tender, cake-like texture while the flavors meld and deepen. This makes icebox cakes a fantastic option for entertaining, as they require minimal effort and can be prepared well in advance, leaving you more time to enjoy your event.
Key Ingredients Spotlight
Each ingredient in this Candy Corn Icebox Cake plays a crucial role in its delicious outcome:
- Cream Cheese: The foundation of our mousse, providing a delightful tang and creamy richness that balances the sweetness. Ensure it’s at room temperature for a lump-free mixture.
- Granulated Sugar & Powdered Sugar: Sweeten the mousse and whipped cream to perfection.
- Milk: A small amount is used in the mousse for consistency and a little extra is crucial for dipping the shortbread, helping it soften beautifully.
- Vanilla Extract: Essential for enhancing all the flavors and adding a warm, comforting note to the mousse.
- Heavy Whipping Cream: The secret to light, airy layers. Whipped to stiff peaks, it gives the mousse its cloud-like texture and forms the dreamy topping.
- Walkers Shortbread Triangles: As a proud sponsor, Walkers Shortbread is undoubtedly the star of the cookie layers. Their shortbread is renowned for its rich, buttery flavor and wonderfully crisp yet tender texture. These cookies don’t just act as a structural component; their exceptional quality infuses every bite with a luxurious, melt-in-your-mouth experience that elevates this icebox cake far beyond the ordinary. The triangular shape also makes for a neat and easy arrangement in the pan.
- Gel Icing Colors: For those vibrant candy corn hues! Gel colors are highly concentrated, meaning you need very little to achieve intense shades without thinning out your mousse, unlike liquid food colorings.
How to Assemble This Adorable Halloween Cake
Crafting this festive icebox cake is a straightforward and enjoyable process. Follow these steps for a perfectly layered and delicious treat:
1. Prepare Your Springform Pan: Begin by lining a 9-inch springform pan. It’s helpful to cut a piece of parchment paper to fit the bottom, and then strips to line the sides, allowing them to extend about an inch above the pan’s rim. This not only makes for easier removal but also helps support the layers.
2. Create the Cream Cheese Base for the Mousse: In a large mixing bowl, beat the room temperature cream cheese together with the granulated sugar until the mixture is incredibly smooth and free of any lumps. This foundational step is key to a silky mousse texture.
3. Incorporate Vanilla and Milk: Gradually add 2 tablespoons of milk and the vanilla extract to the cream cheese mixture. Continue beating until everything is thoroughly combined and perfectly smooth. Set this creamy base aside.
4. Whip the Heavy Cream: In a separate, chilled large mixer bowl (using a whisk attachment), pour in the cold heavy whipping cream and powdered sugar. Whip on high speed until stiff peaks form. Be careful not to overbeat, or you’ll end up with butter!
5. Fold in the Whipped Cream: Gently fold the freshly whipped cream into the cream cheese mixture. It’s best to do this in two or three additions to maintain the light and airy texture. The resulting mousse should be wonderfully fluffy and delicious enough to eat on its own!
6. Divide and Color the Mousse: Divide the prepared mousse evenly among three separate bowls. Leave one bowl uncolored for the white layer. In the second bowl, add a few drops of yellow gel icing color and mix until you achieve a vibrant, uniform yellow. Repeat this process for the third bowl, adding orange gel icing color until you have a rich orange shade. Gel colors are fantastic because they provide intense color without thinning out the mousse.
7. Prepare for Layering: Pour the remaining 1/2 cup of milk into a small, shallow bowl. This milk will be used to quickly dip each shortbread cookie, helping it soften for easier slicing later.
8. First Layer – Shortbread & Yellow Mousse: Arrange a single layer of Walkers Shortbread cookies in the bottom of your prepared springform pan. Before placing each cookie, give it a quick dip in the milk (just a second or two per side). Once the base is covered, evenly spread the yellow mousse mixture over the shortbread layer.
9. Second Layer – Shortbread & Orange Mousse: Place another layer of milk-dipped shortbread cookies directly on top of the yellow mousse. Follow this with the orange mousse, spreading it out into an even layer.
10. Final Layer – Shortbread & White Mousse: Complete the cookie layers with a third layer of milk-dipped shortbread. Finally, spread the white mousse evenly over the top, creating a smooth finish.
11. Chill to Perfection: This is arguably the hardest part – the waiting! Refrigerate the cake for a minimum of 4-5 hours, or ideally, overnight. This crucial chilling time allows the cookies to soften and all the flavors to beautifully meld together, resulting in a cohesive, cake-like texture.
Tips for Success & Creative Variations
- Room Temperature Cream Cheese is Key: Ensure your cream cheese is completely softened. This prevents lumps and ensures a smooth, silky mousse.
- Don’t Over-Dip the Cookies: A quick dip is all that’s needed. Too long, and the cookies will become soggy. We want them tender, not mushy!
- Even Layers for Visual Appeal: Take a moment to spread each mousse layer evenly. This will give your finished cake those distinct, beautiful candy corn stripes.
- Chill Time is Non-Negotiable: Resist the urge to cut into the cake early! The long chill time is essential for the cookies to soften and the cake to set firmly for clean slices.
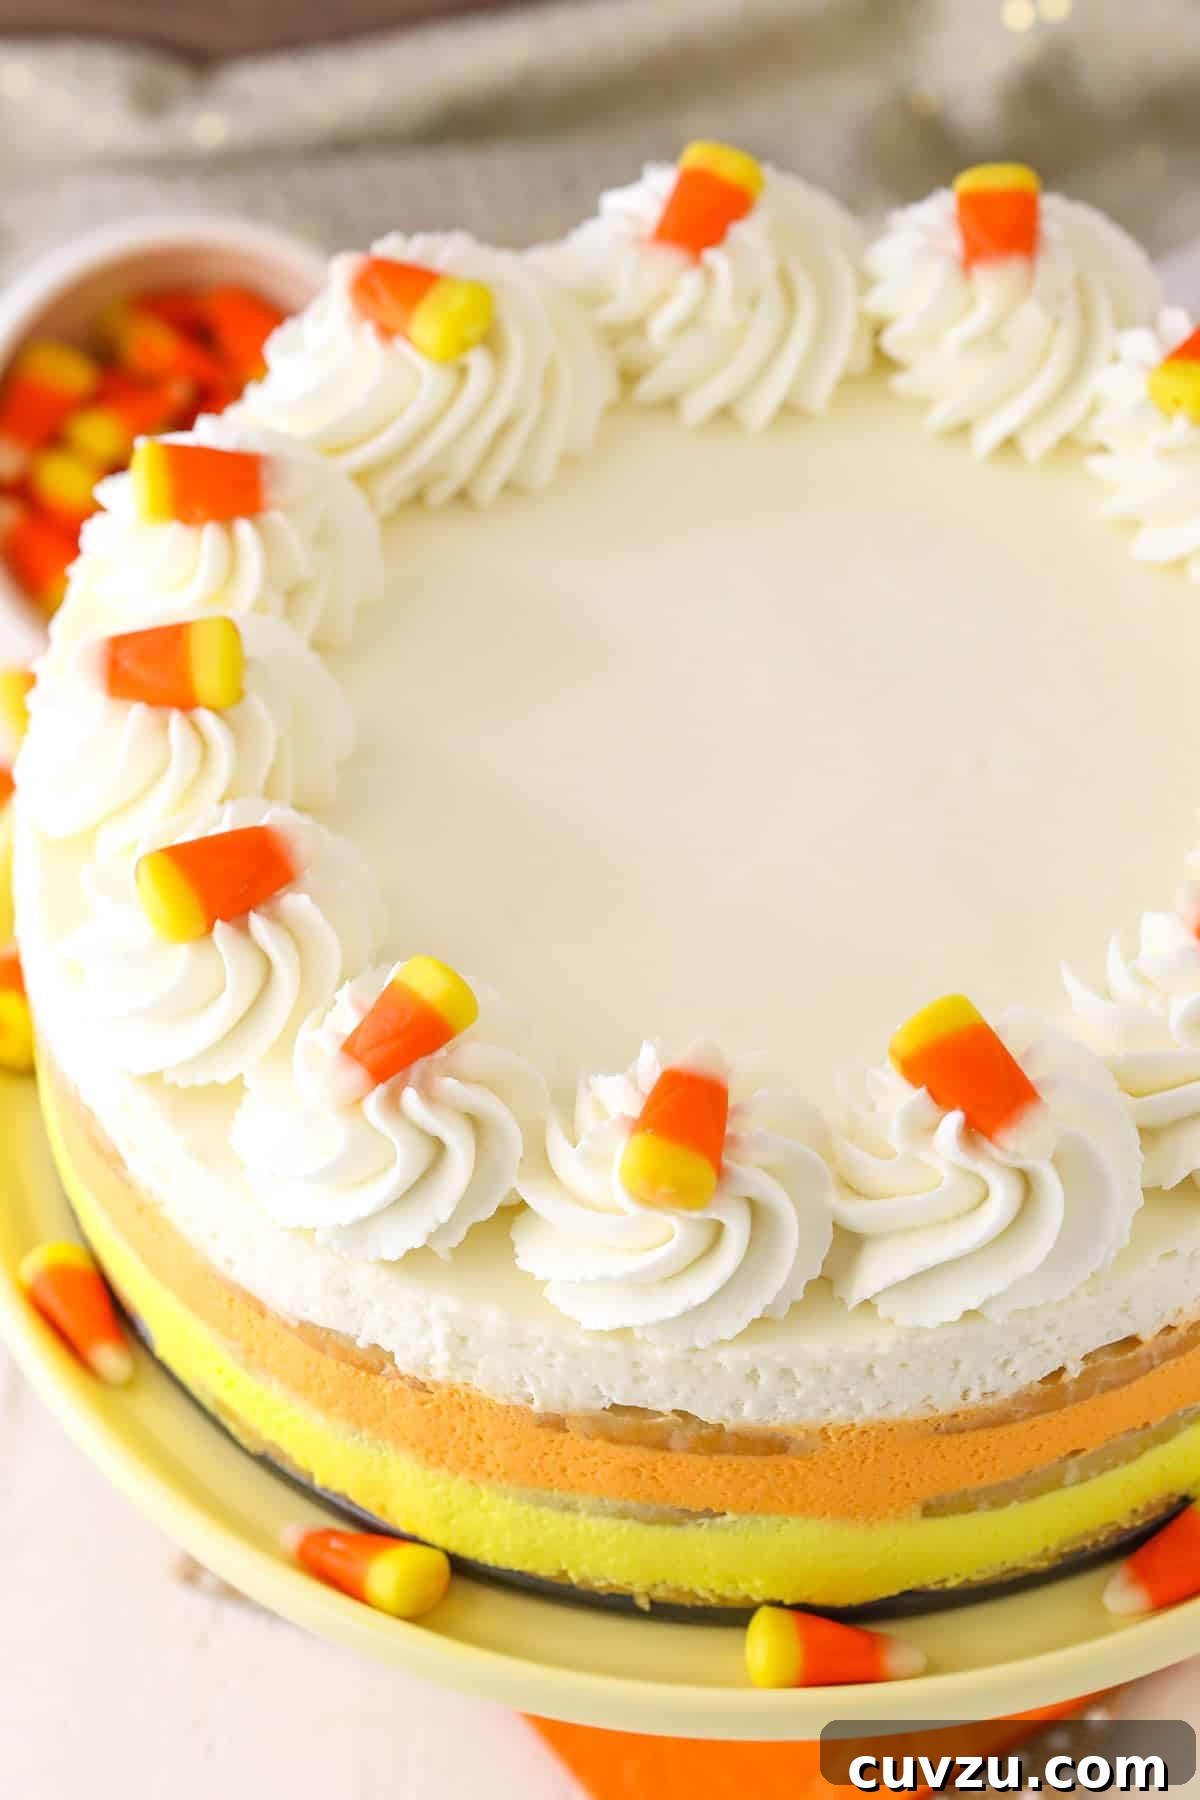
- Variations on the Topping: While piped whipped cream and candy corn are classic, feel free to get creative! Consider a drizzle of melted white or dark chocolate, Halloween sprinkles, or even small chocolate spiders for an extra spooky touch.
- Flavor Twists: Experiment with a touch of orange zest in the orange layer for a citrusy hint, or a hint of almond extract in the white layer for a different aroma.
- Cookie Alternatives: While Walkers Shortbread is highly recommended for its quality, other thin, crisp cookies like vanilla wafers or graham crackers could also be used for different flavor profiles.
Serving and Storage Suggestions
Once your Candy Corn Icebox Cake is perfectly firm, it’s ready for its grand reveal! Carefully run a thin knife around the edge of the springform pan before releasing the sides. Gently peel away the parchment paper. Transfer the cake to your chosen serving plate.
For the topping, whip together heavy cream, powdered sugar, and vanilla extract until stiff peaks form. You can pipe decorative swirls around the cake’s edge using a star tip or simply spread it across the top. Crown your creation with some classic candy corn pieces for that unmistakable Halloween flair. This cake is best served chilled. Any leftovers should be stored in an airtight container in the refrigerator, where it will remain fresh and delicious for 3-4 days.

More Spooktacular Halloween Cakes
If you’re planning a Halloween party or simply love festive baking, here are more cake ideas to inspire your spooky celebrations:
- Spiderweb Chocolate Cake with Vanilla Frosting
- Dirt Cake
- Chocolate Pumpkin Cheesecake Cake
- Candy Corn Cookie Cake
- Spooky Halloween Marble Cake
Print

Candy Corn Icebox Cake
5 Stars
4 Stars
3 Stars
2 Stars
1 Star
No reviews
- Author: Lindsay
Prep Time: 4 hours
Cook Time: 0 minutes
Total Time: 4 hours
Yield: 12–14 Slices
Category: Dessert
Method: No Bake
Cuisine: American
Description
This Candy Corn Icebox Cake is such a fun, cute and tasty Halloween dessert idea! It’s completely no bake, and it’s full of delicious vanilla and buttery shortbread!
Ingredients
Scale
For the Mousse:
- 12 oz (339g) cream cheese, at room temperature
- 3/4 cup (155g) granulated sugar
- 1/2 cup + 2 tbsp (150ml) milk, divided
- 1 tbsp vanilla extract
- 2 1/2 cups (600ml) heavy whipping cream, cold
- 1 1/4 cups (144g) powdered sugar
- 5 boxes (4.7 oz each) Walkers Shortbread Triangles
- Yellow and Orange gel icing color
For the Topping:
- 3/4 cup (180ml) heavy whipping cream, cold
- 6 tbsp (43g) powdered sugar
- 1 tsp vanilla extract
- Candy corn for garnish
Instructions
1. Prepare a 9-inch springform pan by lining the bottom with parchment paper and the sides with parchment paper strips extending about an inch above the pan’s edge.
2. To begin the mousse, beat the room temperature cream cheese and granulated sugar together in a large mixer bowl until the mixture is completely smooth and creamy.
3. Add 2 tablespoons of milk and the vanilla extract to the cream cheese mixture. Continue beating until fully incorporated and smooth. Set this mixture aside.
4. In a separate, large mixer bowl fitted with a whisk attachment, add the cold heavy whipping cream and powdered sugar. Whip on high speed until stiff peaks form. Be careful not to overbeat.
5. Gently fold the whipped cream into the cream cheese mixture in two or three additions until light and evenly combined.
6. Divide the cream cheese mousse mixture evenly between 3 separate bowls. Leave the first bowl plain (white). Add yellow gel icing color to the second bowl and mix until a vibrant yellow is achieved. Add orange gel icing color to the third bowl and mix until a distinct orange color forms. Gel colors are recommended for their intensity without altering consistency.
7. Pour the remaining 1/2 cup of milk into a small, shallow bowl. This will be used for dipping the shortbread cookies.
8. Arrange a single layer of Walkers Shortbread cookies in the bottom of the prepared springform pan, dipping each cookie briefly into the milk before placing it. Spread the yellow-colored mousse evenly over this first layer of cookies.
9. Place another layer of milk-dipped shortbread cookies on top of the yellow mousse layer.
10. Evenly spread the orange-colored mousse over the second layer of cookies.
11. Add a final layer of milk-dipped shortbread cookies on top of the orange mousse.
12. Spread the white mousse (the uncolored mixture) evenly over the top of the last cookie layer, smoothing the surface.
13. Refrigerate the cake for a minimum of 4-5 hours, or preferably overnight, to allow it to firm up completely and the cookies to soften.
14. Once the cake is firm, carefully remove the sides of the springform pan and gently peel away the parchment paper. Transfer the cake to a serving plate.
15. To make the whipped cream topping, combine the cold heavy whipping cream, powdered sugar, and vanilla extract in a large mixer bowl with a whisk attachment. Whip on high speed until stiff peaks form.
16. Pipe swirls of the whipped cream topping around the edge of the cake using a piping bag and star tip, or simply spread it across the top. Garnish with additional candy corn pieces. Refrigerate until you are ready to serve.
Nutrition
- Serving Size: 1 Slice
- Calories: 585
- Sugar: 36.7 g
- Sodium: 274.5 mg
- Fat: 36.7 g
- Carbohydrates: 57.5 g
- Protein: 7 g
- Cholesterol: 76.9 mg
I hope you and your loved ones enjoy this delightful Candy Corn Icebox Cake as much as we do. Happy Halloween!