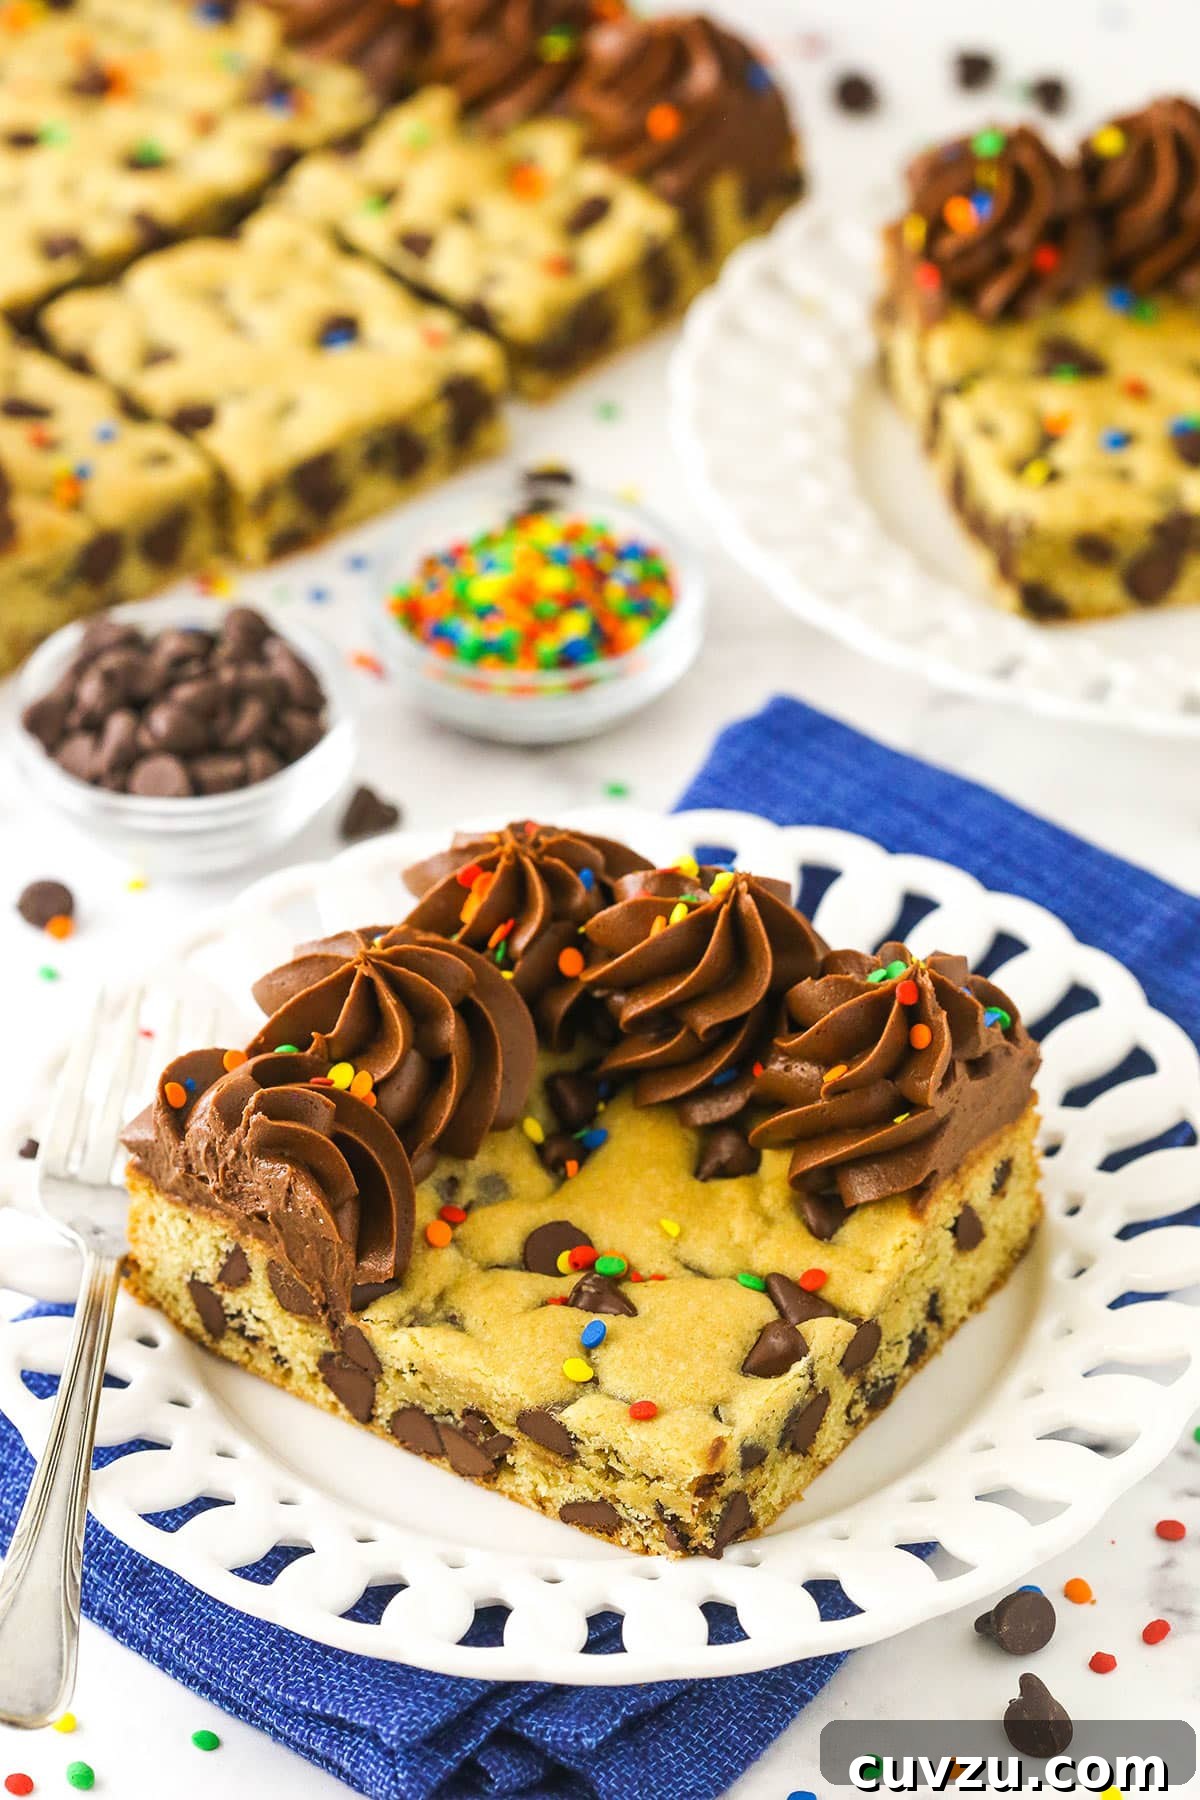
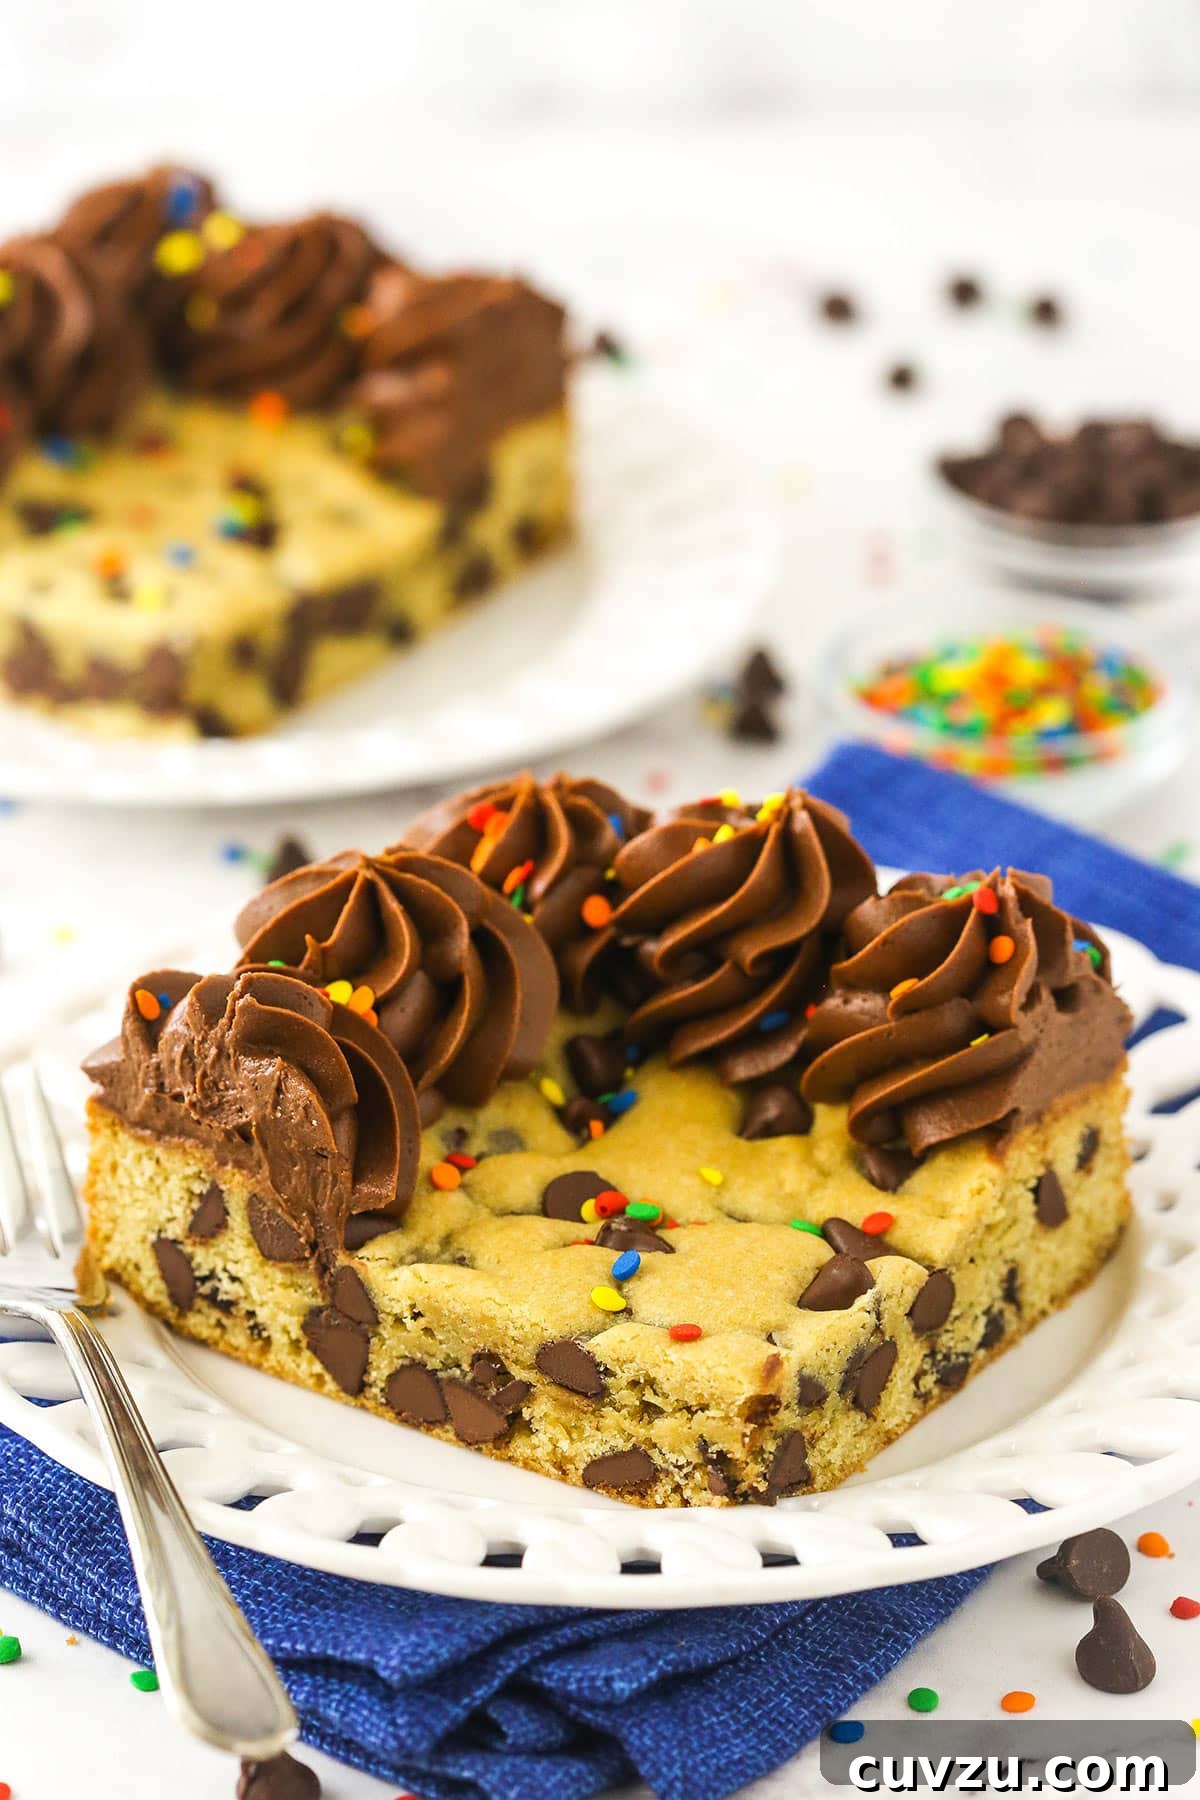
Indulge in the ultimate crowd-pleasing dessert: a thick, chewy, and utterly delightful Sheet Pan Chocolate Chip Cookie Cake. This incredible treat is generously loaded with classic chocolate chips and beautifully adorned with a luscious rim of creamy chocolate frosting, making it an undeniable showstopper at any gathering. Forget the fuss of individual cookies or traditional layer cakes; this easy-to-make sheet pan marvel guarantees plenty of servings and universal adoration. It’s perfect for birthdays, holidays, potlucks, or simply satisfying that irresistible cookie craving with minimal effort.
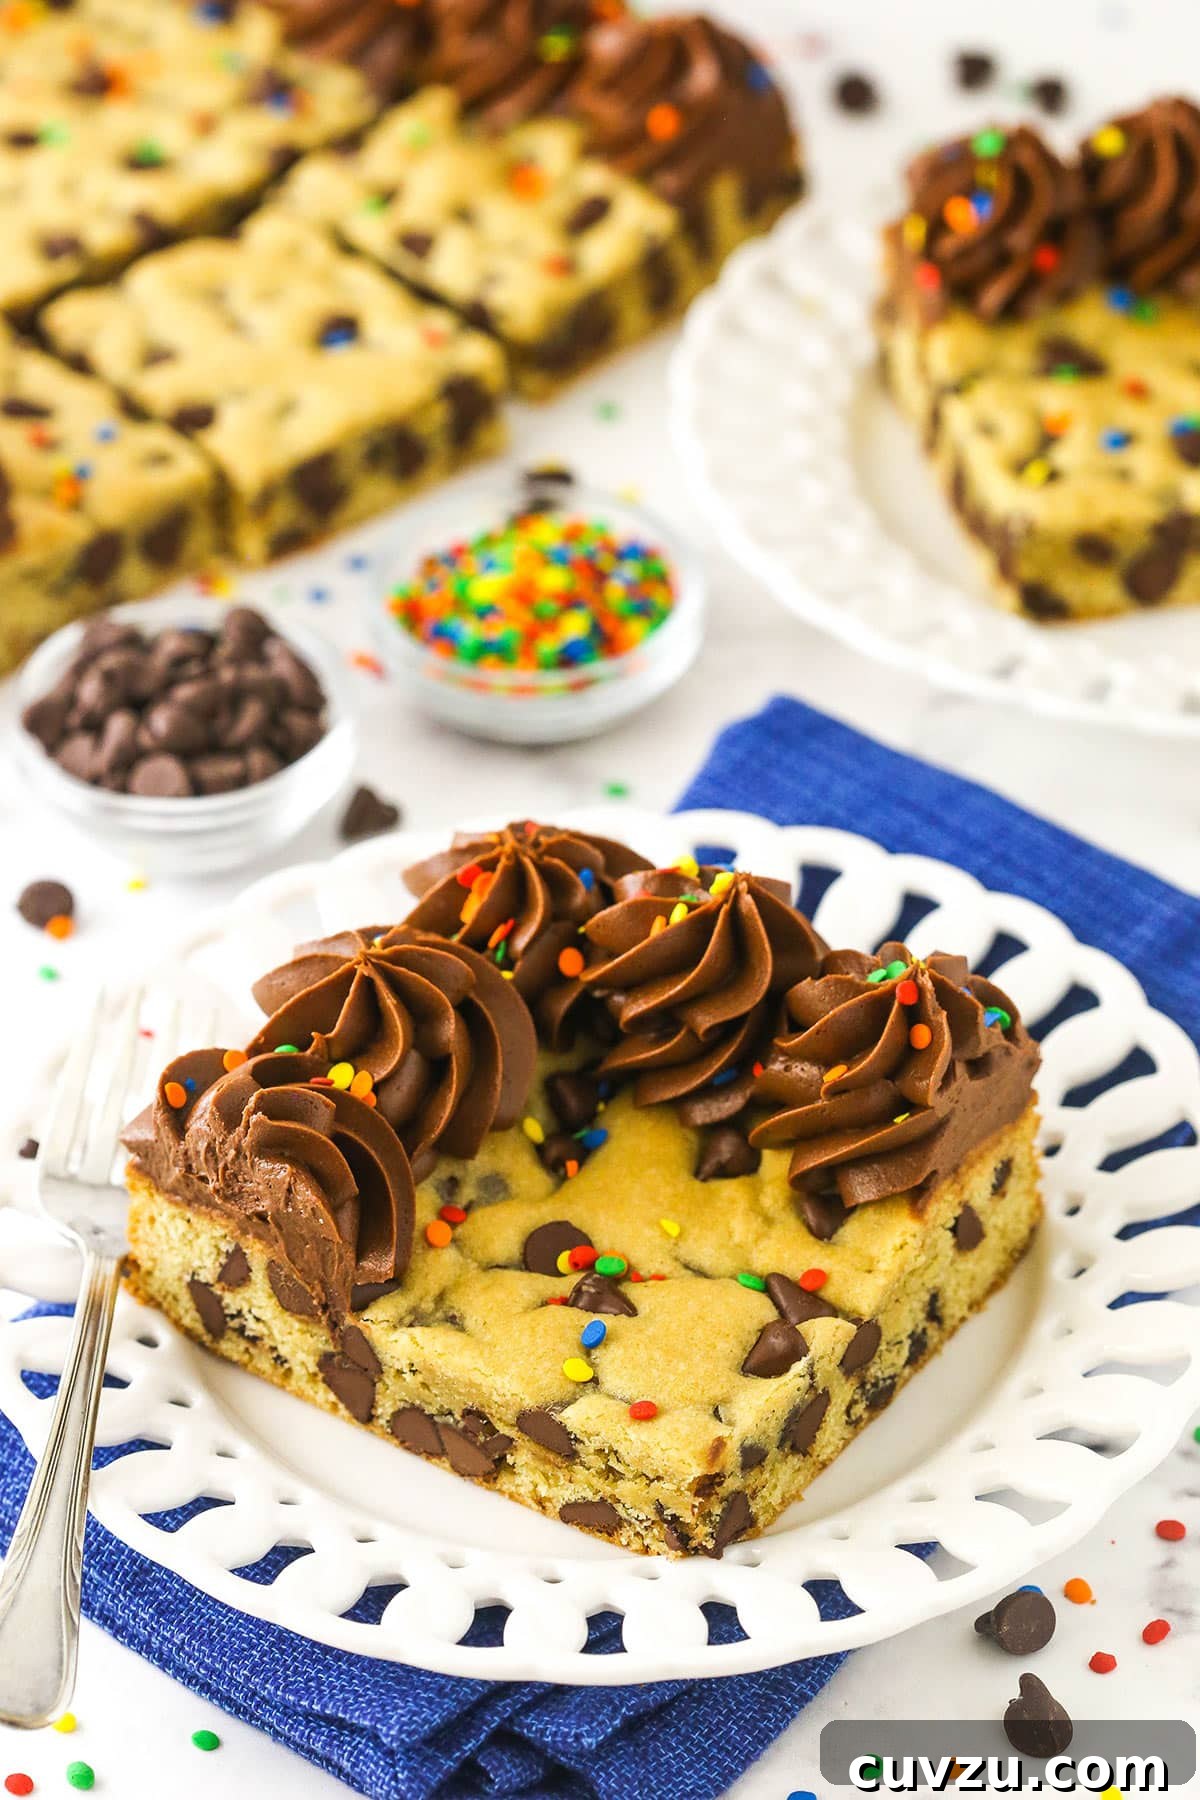
Why a Sheet Pan Cookie Cake is Your Go-To Dessert for a Crowd
For as long as I can remember, cookie cakes have been a staple at celebrations. From lively football tailgates to cherished birthday parties, these oversized cookies bring smiles to everyone’s faces. While the possibilities for different cookie flavors are endless, there’s an undeniable charm and comfort in a classic chocolate chip cookie cake, especially when it’s scaled up to feed a large group. This recipe elevates the beloved classic, transforming a simple chocolate chip cookie into a grand dessert event.
What makes a sheet pan cookie cake truly exceptional for serving a crowd? First, its sheer size. A single sheet pan yields numerous servings, making it incredibly efficient for large gatherings. Second, the ease of transport and serving. Unlike delicate layer cakes, a cookie cake is robust and simple to slice and distribute. Third, its universal appeal; who doesn’t love a warm, gooey chocolate chip cookie? This easy sheet pan recipe takes my classic chocolate chip cookie cake to an entirely new level, allowing you to satisfy many cookie lovers with minimal stress. It’s truly the perfect party dessert for those who prefer the comforting chew of a cookie over a traditional cake.
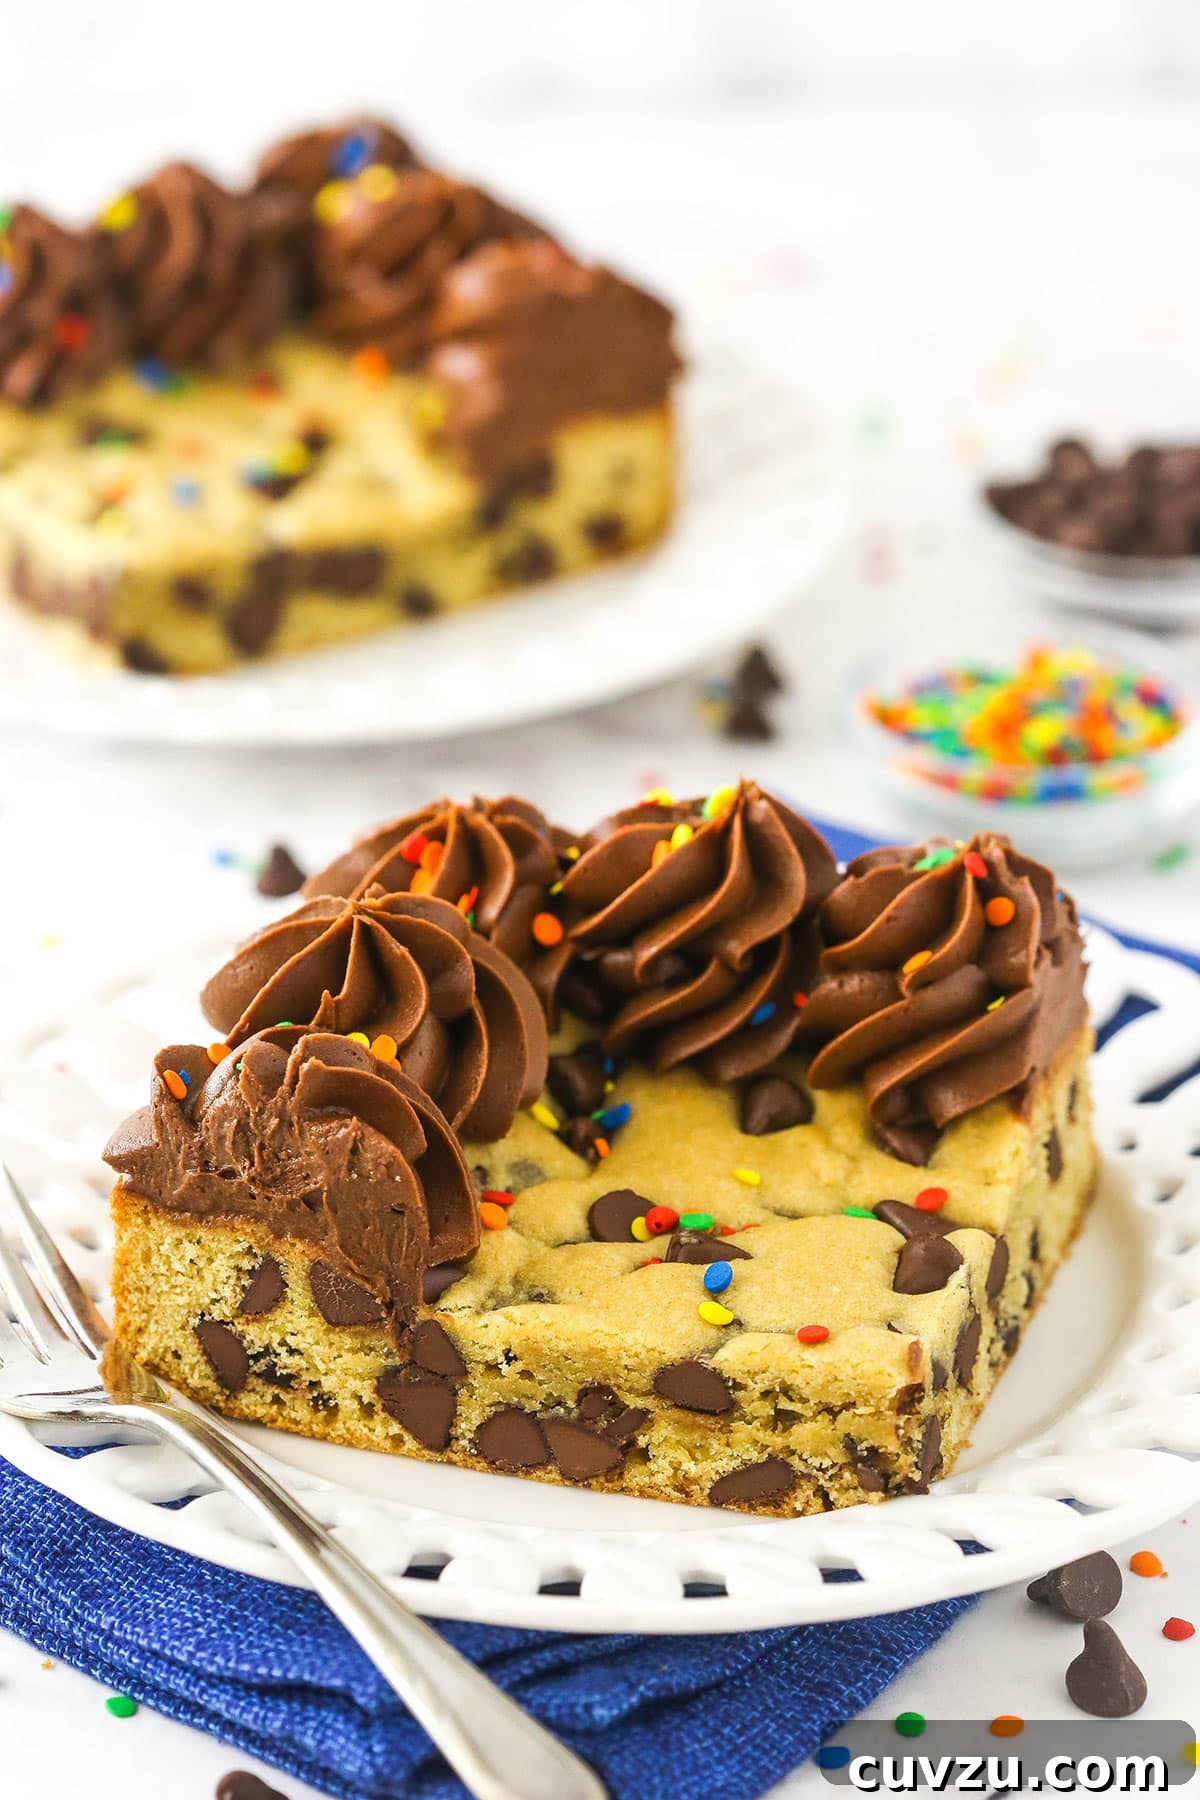
Nothing quite compares to the timeless pairing of a warm, tender chocolate chip cookie with the melt-in-your-mouth richness of homemade chocolate buttercream. The beauty of this dessert is that it caters to all preferences: those who adore frosting can enjoy a perimeter slice, while those who prefer less can easily grab a center piece. Once you experience the soft, chewy texture and rich flavor of this homemade cookie cake, you’ll undoubtedly want to reserve a few extra slices just for yourself!
Essential Ingredients for Your Perfect Cookie Cake
Crafting this epic dessert begins with a selection of basic, high-quality ingredients. For exact measurements, please refer to the detailed recipe card at the end of this post.
For the Irresistible Chocolate Chip Cookie Cake
- All-Purpose Flour: The foundational ingredient, providing structure. For a gluten-free option, a 1:1 gluten-free flour blend can be used.
- Baking Soda: Essential for giving the cookie its perfect rise and tender texture.
- Salt: A crucial flavor enhancer that balances the sweetness and brings out the rich chocolate notes.
- Unsalted Butter: Ensure it’s at room temperature for optimal creaming with the sugars, resulting in a lighter, fluffier dough.
- Light Brown Sugar: Packed into the measuring cup, this adds moisture and a delightful chewiness, contributing to the cookie’s classic texture.
- Granulated Sugar: Provides sweetness and helps create those slightly crispy edges that are so irresistible.
- Eggs: Act as binders, adding moisture and structure to the dough, and contributing to the rich flavor.
- Vanilla Extract: A splash of high-quality vanilla extract is paramount for a deep, aromatic flavor that complements the chocolate perfectly. Don’t skimp on this!
- Semi-Sweet Chocolate Chips: My personal preference for a balanced sweetness, but feel free to experiment with milk chocolate, dark chocolate, or even white chocolate chips for a twist.
For the Dreamy Chocolate Buttercream
- Unsalted Butter: The base for a rich and creamy buttercream. Make sure it’s softened for easy whipping.
- Powdered Sugar: Also known as confectioners’ sugar, it creates a smooth, melt-in-your-mouth frosting. If making a gluten-free cookie cake, verify that your powdered sugar is certified gluten-free.
- Cocoa Powder: Use natural and unsweetened cocoa powder (not Dutch-processed) for a classic, robust chocolate flavor in your buttercream.
- Vanilla Extract: Enhances the chocolate flavor and adds another layer of warmth to the frosting.
- Heavy Cream: This is key to achieving that wonderfully creamy, pipeable consistency. While water or milk can be used, heavy cream truly makes for a richer and more luxurious buttercream.
Step-by-Step Guide to Making Your Sheet Pan Chocolate Chip Cookie Cake
This recipe is designed for flexibility, allowing you to use either a 9×13-inch or a 10×15-inch sheet pan. The smaller pan will yield a cookie cake just under an inch thick, while the larger option creates more servings with a slightly thinner, half-inch thick cookie cake. The same recipe works beautifully for both sizes; the thicker version simply requires a touch more baking time.
Crafting the Perfect Cookie Cake Base
- Prepare for Baking: Begin by preheating your oven to 350°F (175°C). Lightly grease the sides of your chosen sheet pan (either 9×13-inch or 10×15-inch) and then line the bottom with a fitted piece of parchment paper. This ensures easy removal and prevents sticking.
- Combine Dry Ingredients: In a medium-sized bowl, whisk together the all-purpose flour, baking soda, and salt. Set this aside.
- Cream Butter & Sugars: In a large mixing bowl, using an electric mixer, cream together the softened unsalted butter, light brown sugar, and granulated sugar. Beat on medium-high speed for about 2-3 minutes until the mixture is light, fluffy, and pale in color. This step incorporates air, contributing to the cookie’s tender texture.
- Incorporate Eggs: Add the large eggs one at a time, mixing thoroughly after each addition until just combined. Avoid overmixing here.
- Add Vanilla: Stir in the vanilla extract until it is fully incorporated into the wet ingredients, infusing the dough with its signature aroma.
- Combine Wet & Dry Ingredients: Gradually add the dry ingredient mixture to the wet ingredients. Mix on low speed just until the flour streaks disappear and the ingredients are well combined. The dough will be noticeably thick and somewhat sticky at this stage.
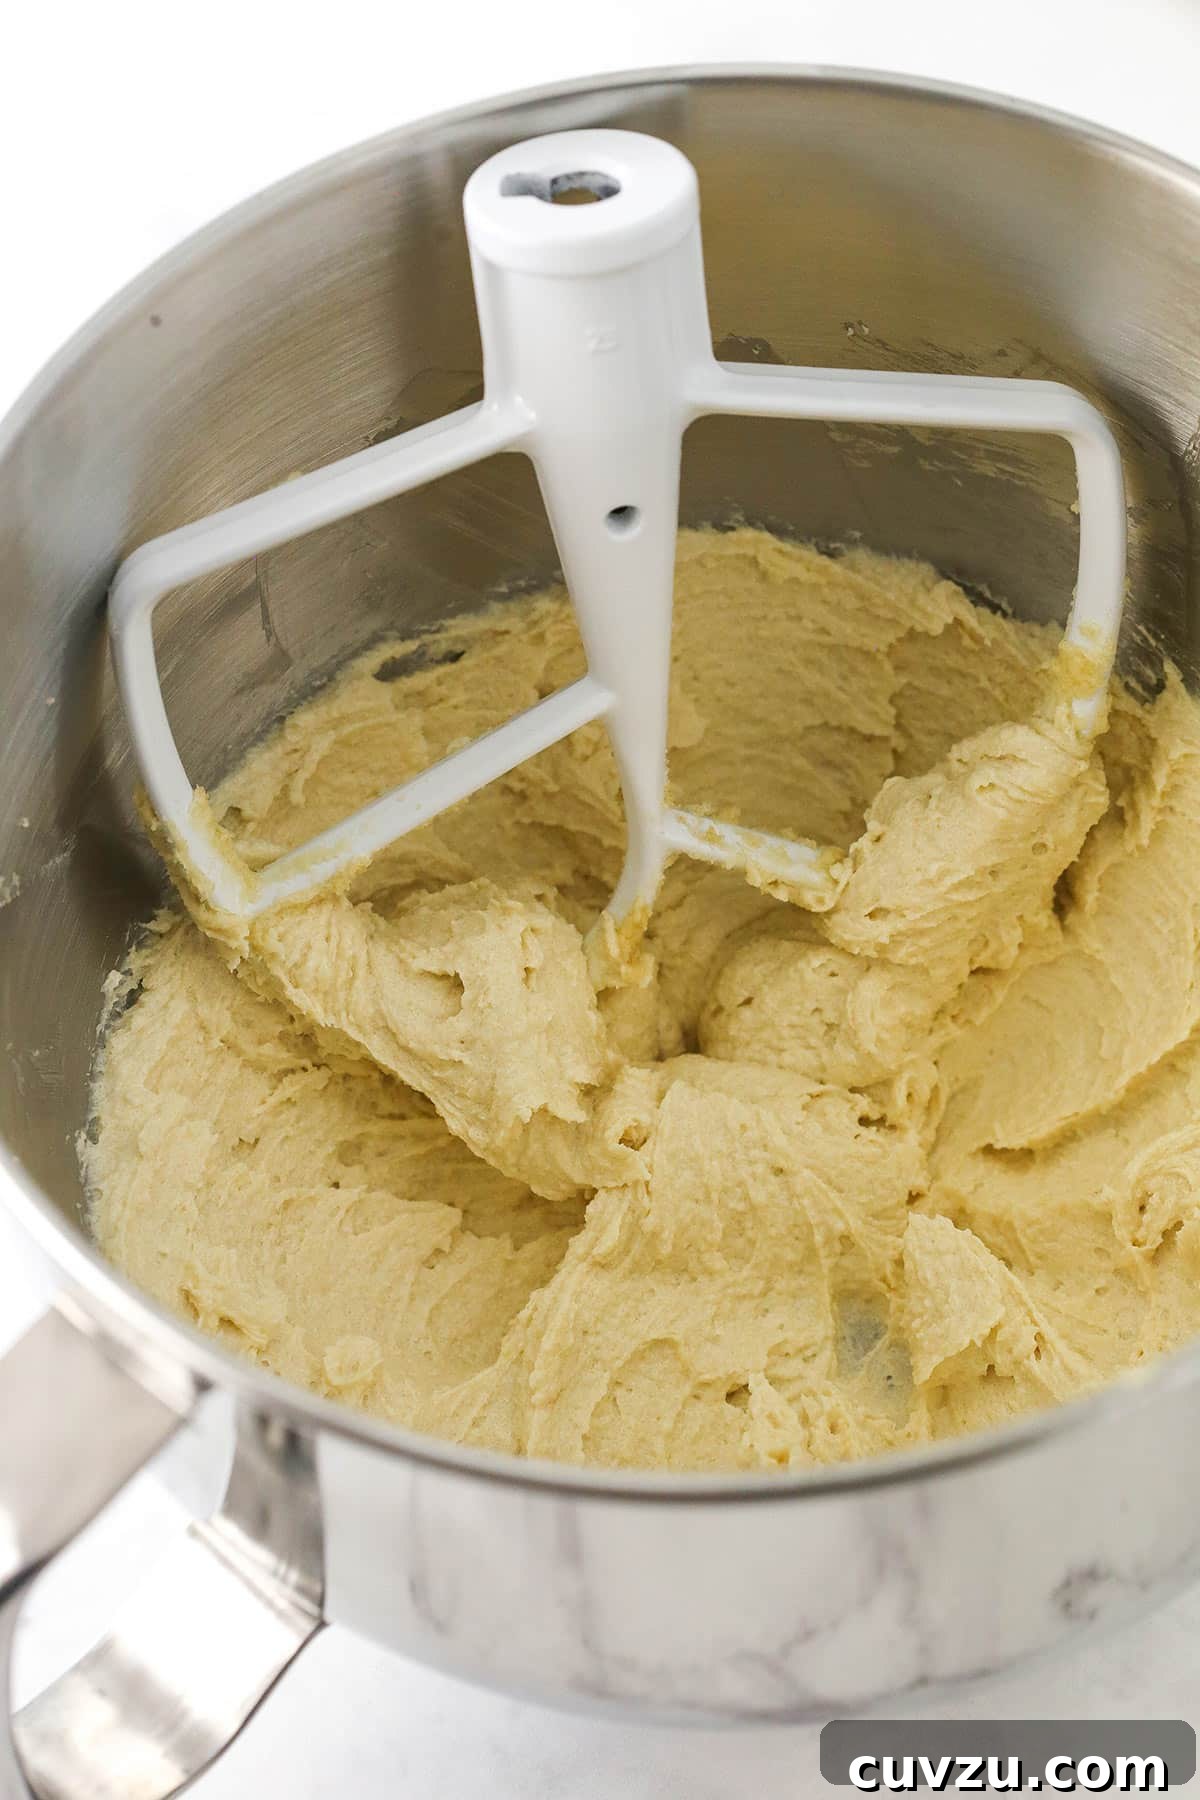
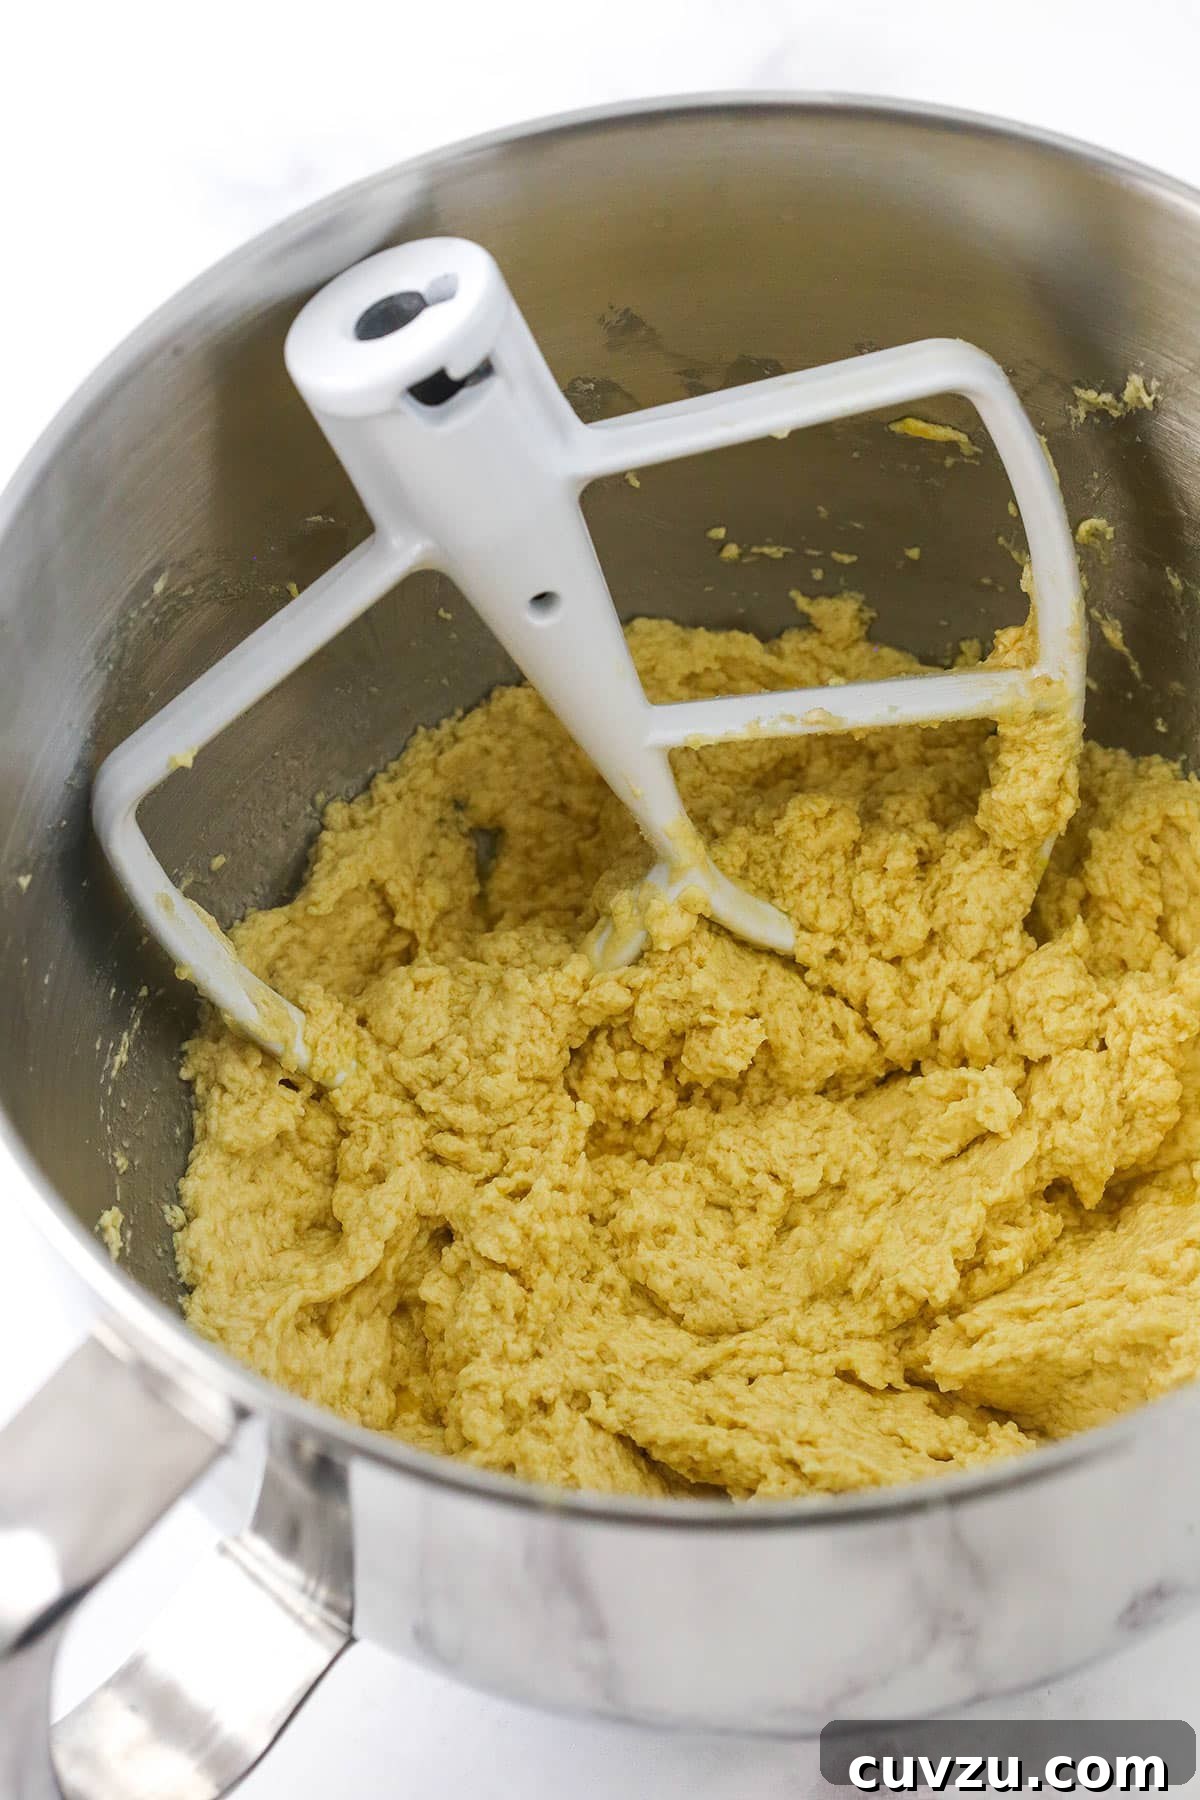
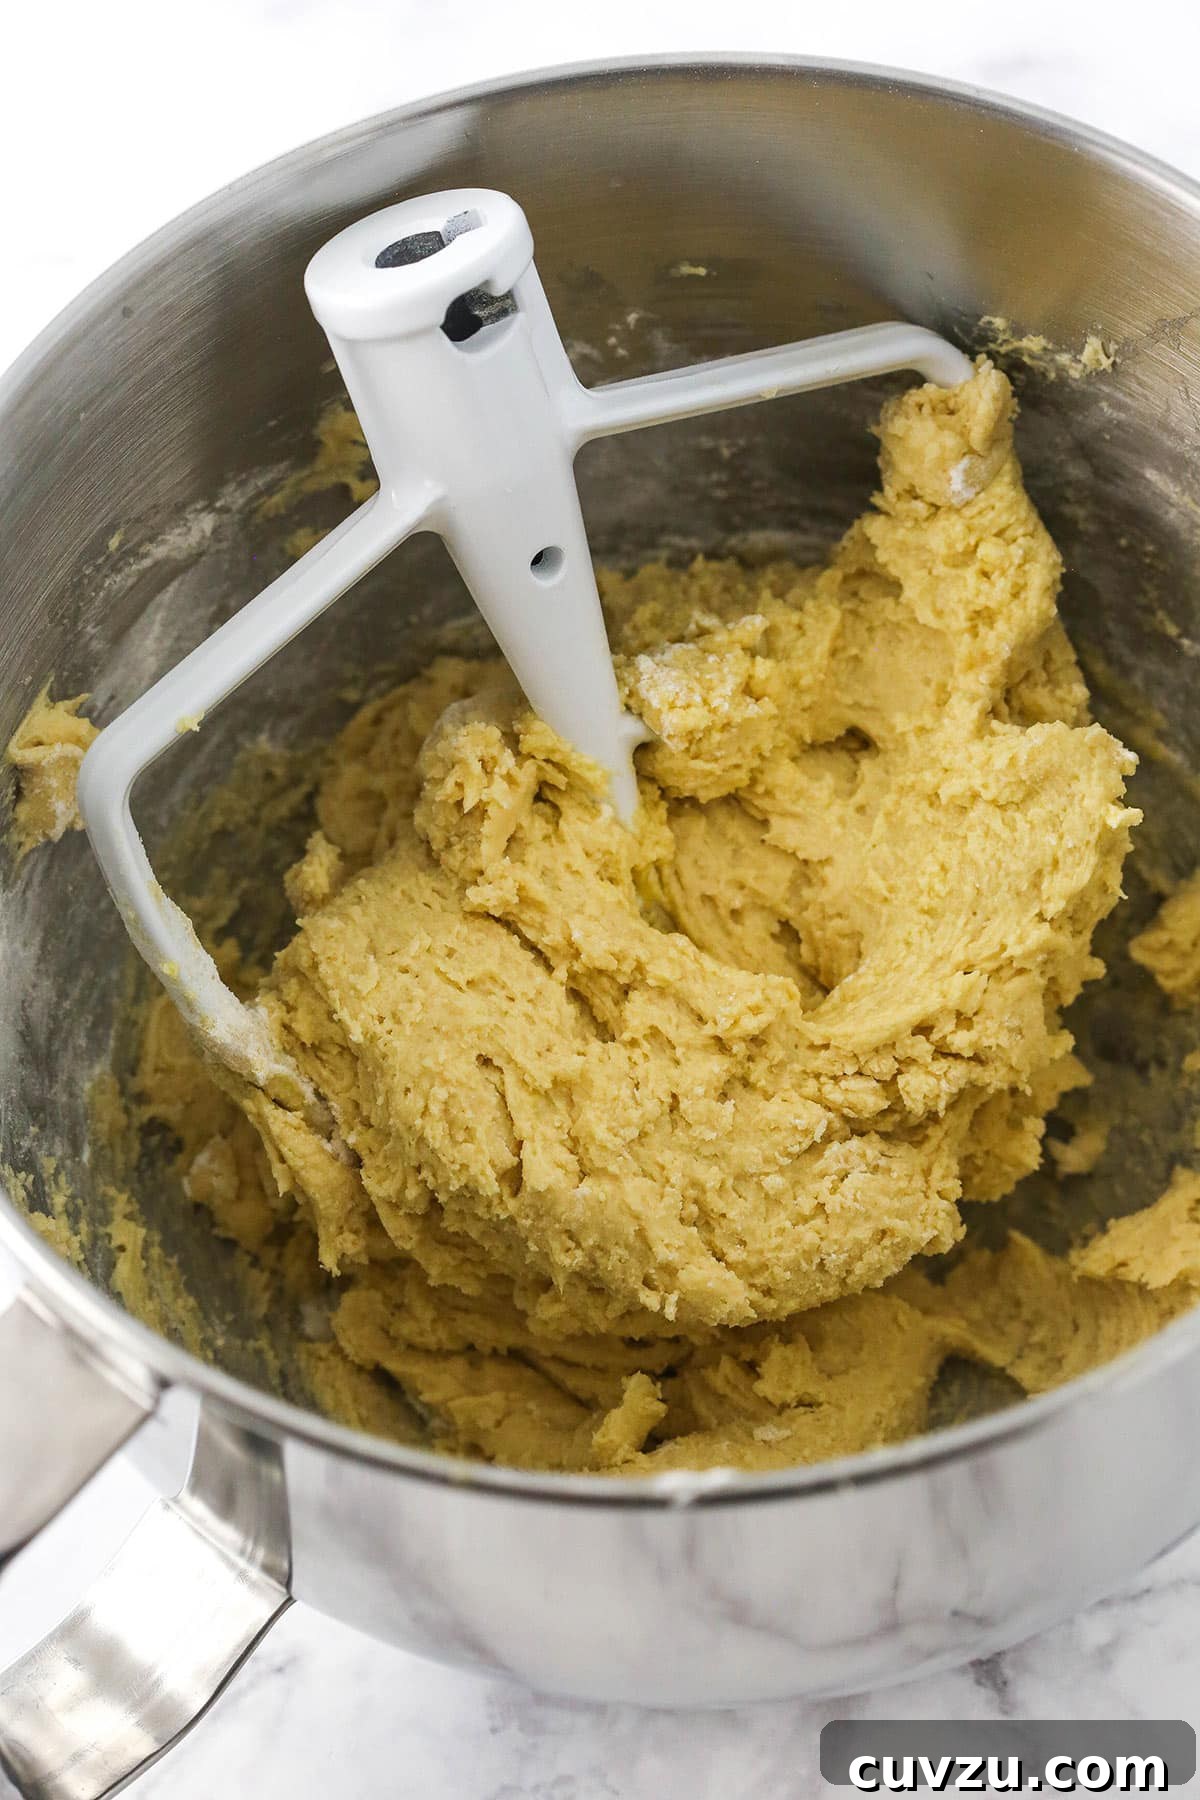
- Add Chocolate Chips: Gently fold in the semi-sweet chocolate chips using a spatula. Be careful not to overmix, which can lead to a tough cookie.
- Transfer Dough to Pan: Spoon the sticky cookie dough into the prepared sheet pan. Use an offset spatula or the back of a spoon to press and spread the dough evenly across the entire bottom of the pan. This can be a bit tricky due to its stickiness, so patience is key for an even thickness.
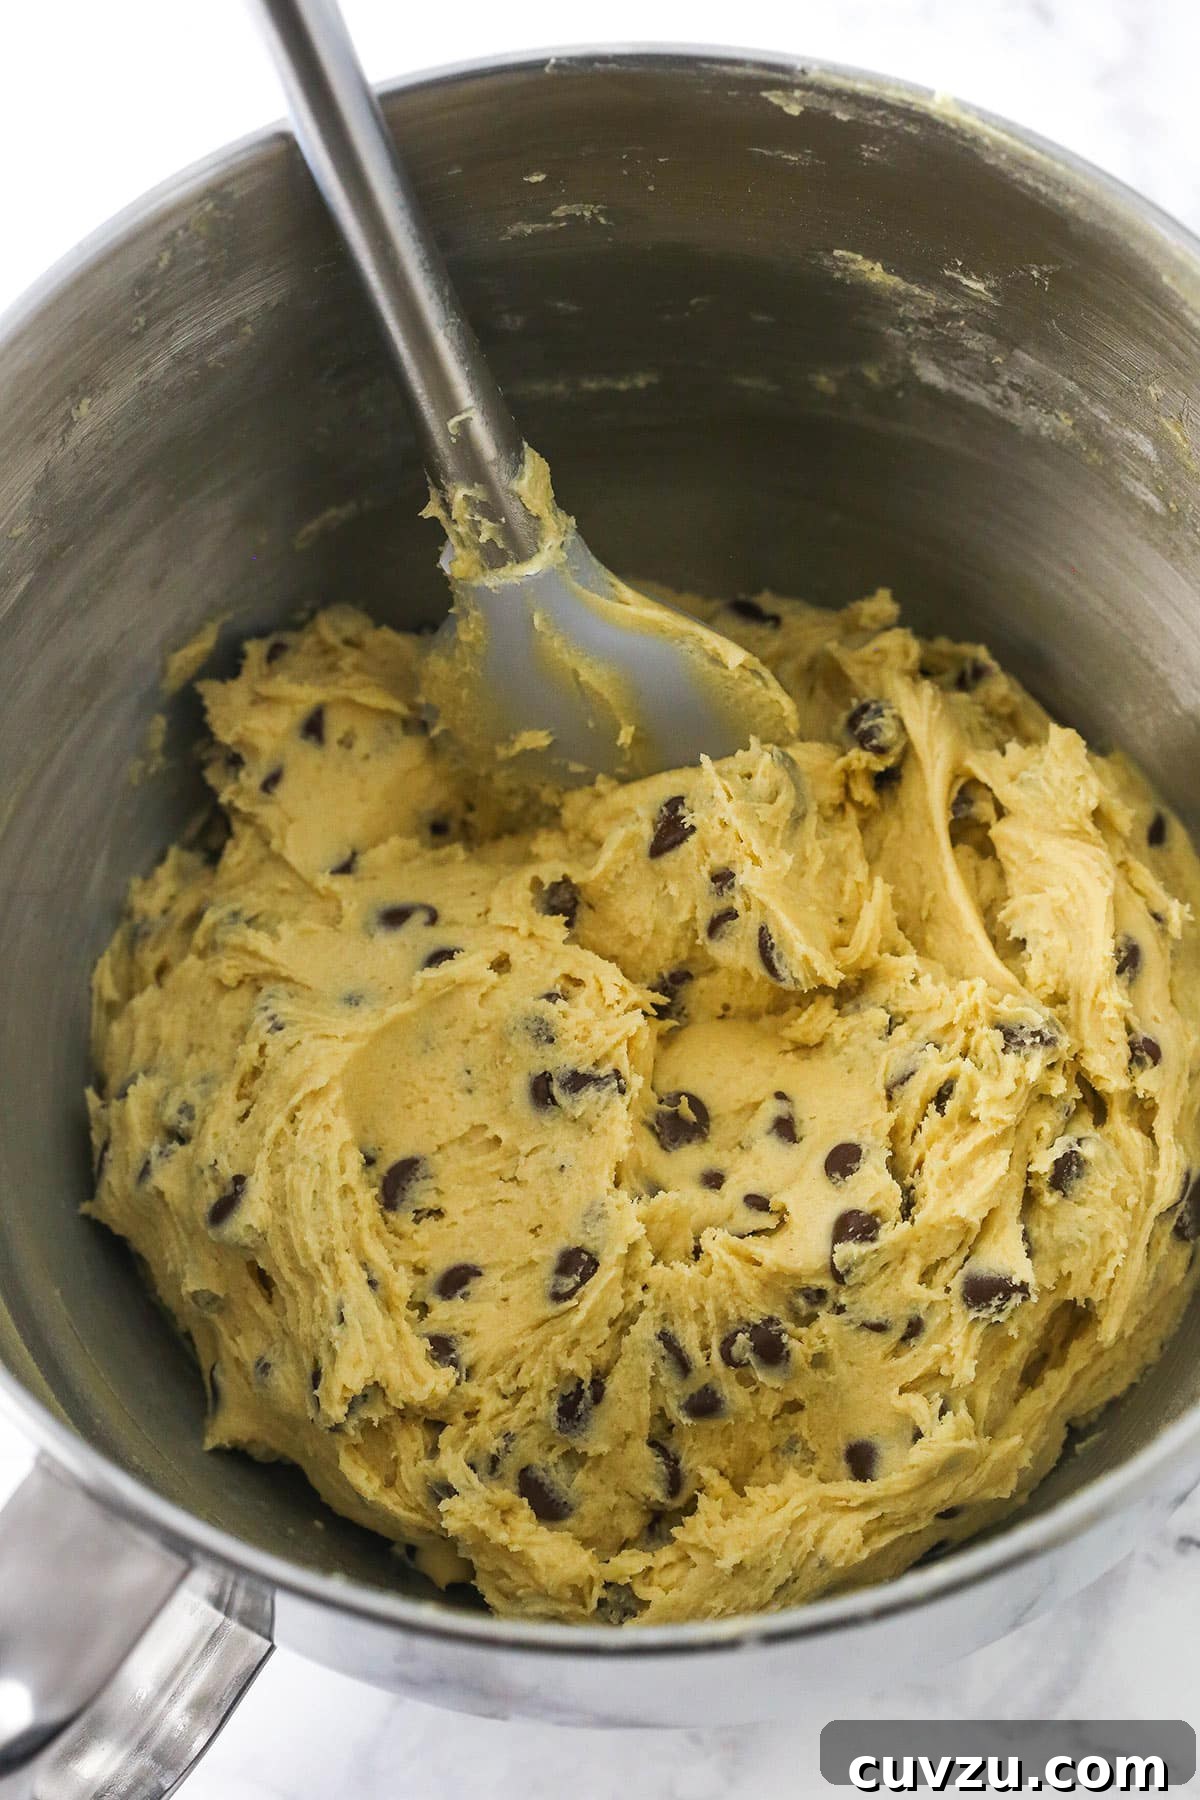
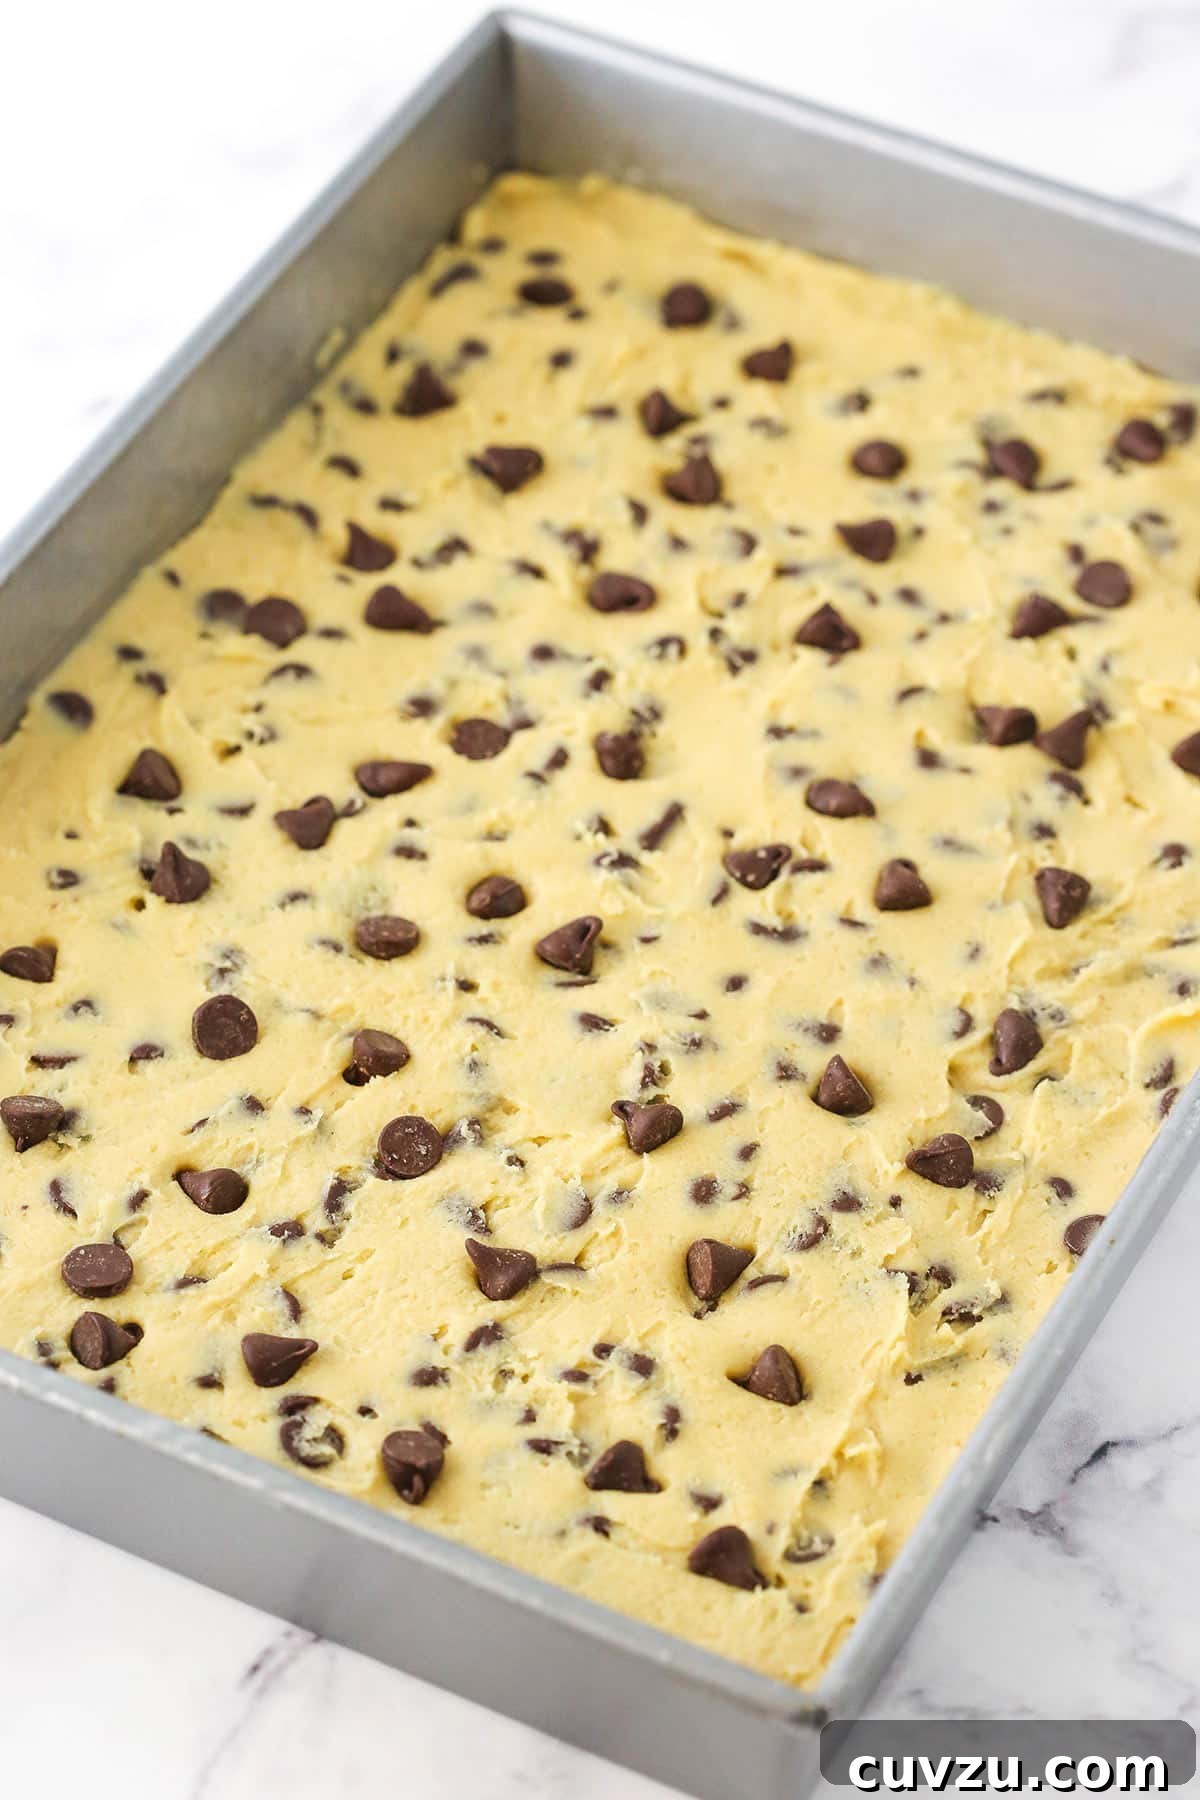
- Bake to Perfection:
- For a 9×13-inch pan: Bake for 18-23 minutes, or until the top of the cookie cake is just beginning to brown lightly around the edges and set in the center.
- For a 10×15-inch pan: Bake for approximately 15 minutes, or until it just begins to brown on top.
Remember, cookie cakes are best when slightly underbaked in the center for that perfect chewy texture.
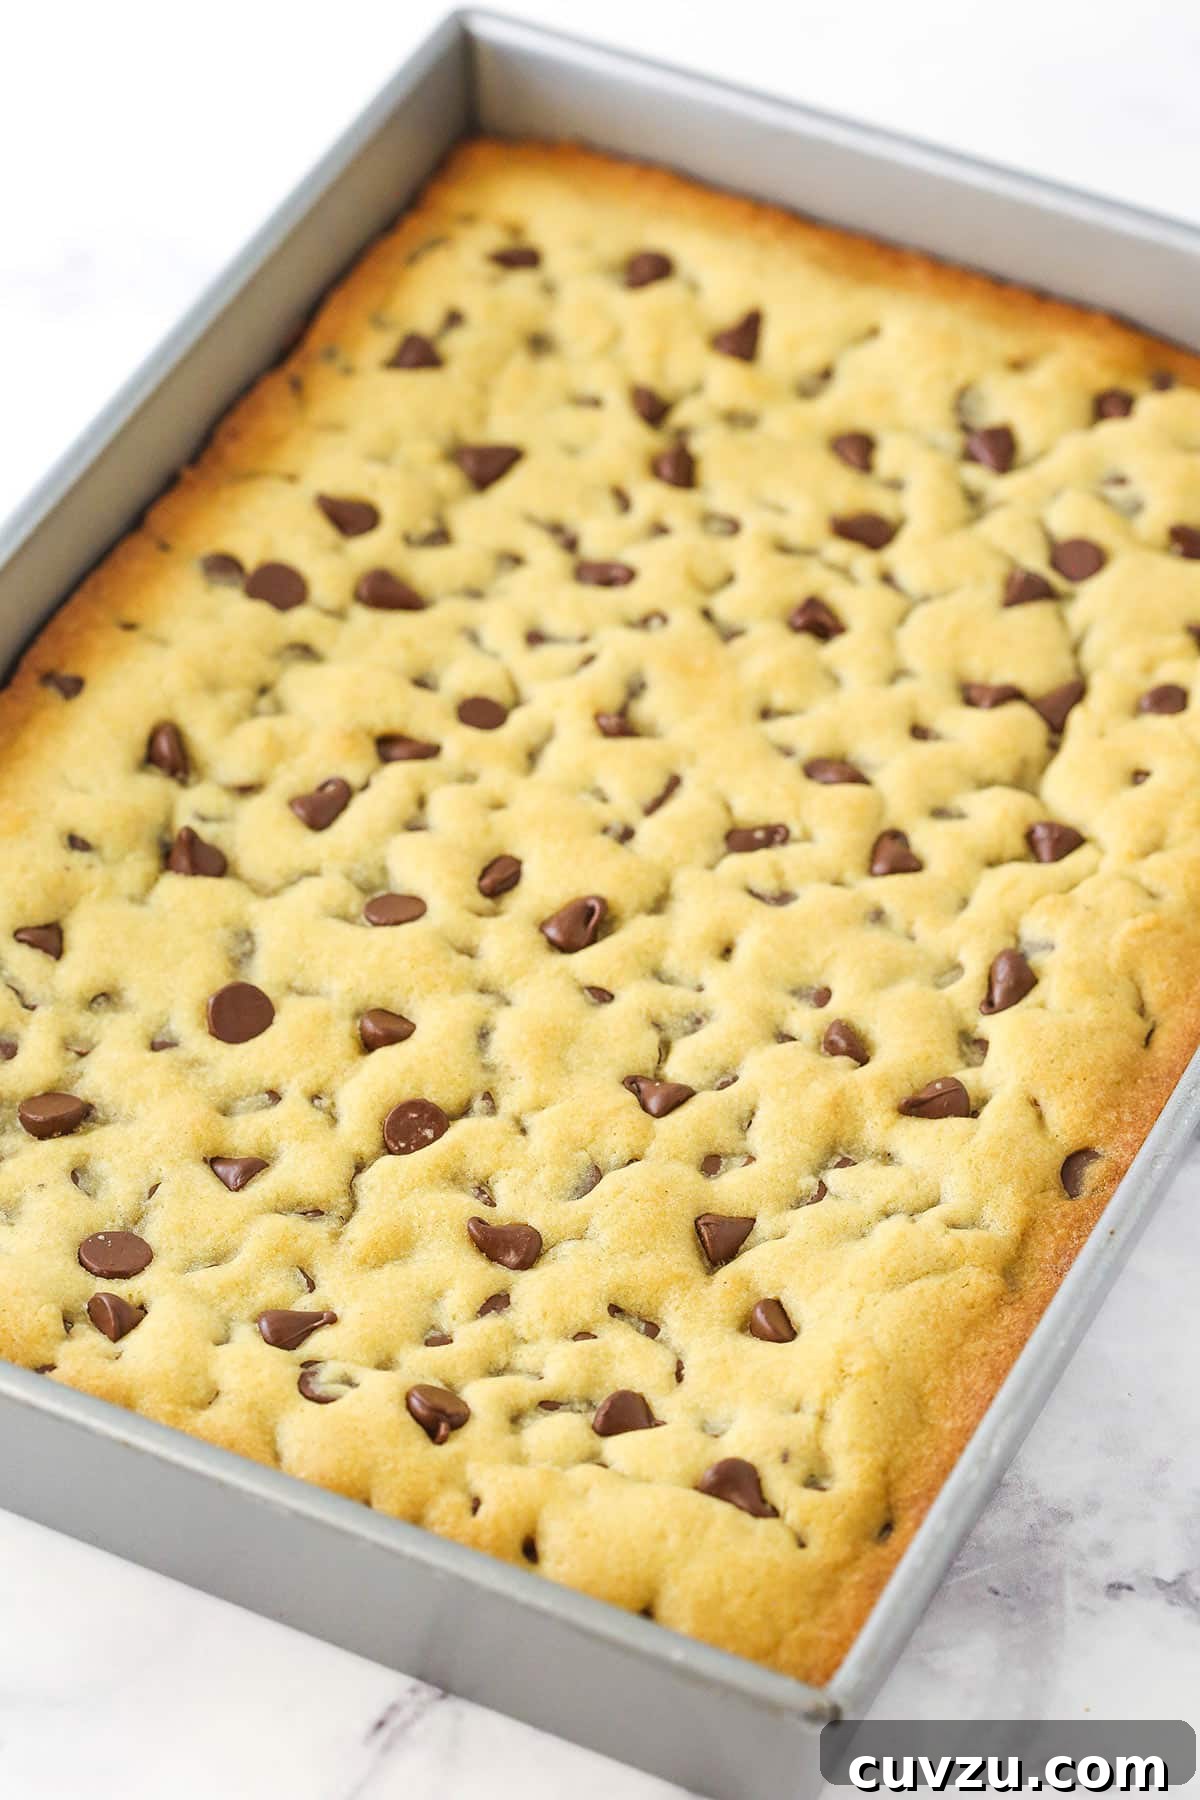
- Cool Completely: Remove the baked cookie cake from the oven and allow it to cool completely in the sheet pan. This step is critical for it to firm up before handling.
- Careful Removal from Pan: To effortlessly remove this large cookie from the pan, I suggest using a cooling rack and a sturdy cardboard cake rectangle (two cooling racks can also work in a pinch). First, place the parchment-lined cooling rack against the top of the cake pan, then carefully flip the pan over onto the rack. Immediately and swiftly place the cardboard cake rectangle (or second cooling rack) on top of the cookie cake (which is now face-down) and flip the entire assembly back over using the first cooling rack. Gently remove the cooling rack from the top of the cake, leaving your beautiful cookie cake on the serving surface. Refrigerating the cooled cookie cake for a short while can further aid in firming it up for easier transfer.
Whipping Up the Velvety Chocolate Buttercream
- Beat Butter: In a large mixer bowl, add the softened unsalted butter and beat it on medium speed until it is smooth and creamy.
- Start Adding Powdered Sugar: Add about half of the powdered sugar to the butter and mix on low speed until it’s fully incorporated and smooth.
- Add Cocoa Powder, Vanilla & Cream: Next, add the cocoa powder, vanilla extract, and two tablespoons of heavy cream (or water). Mix well until the frosting is smooth and lump-free, with a rich chocolate color.
- Add Remaining Powdered Sugar: Incorporate the rest of the powdered sugar, mixing until the buttercream is perfectly smooth and creamy.
- Adjust Consistency: If needed, add more heavy cream or water, one tablespoon at a time, until the frosting reaches your desired pipeable consistency – not too stiff, not too runny.
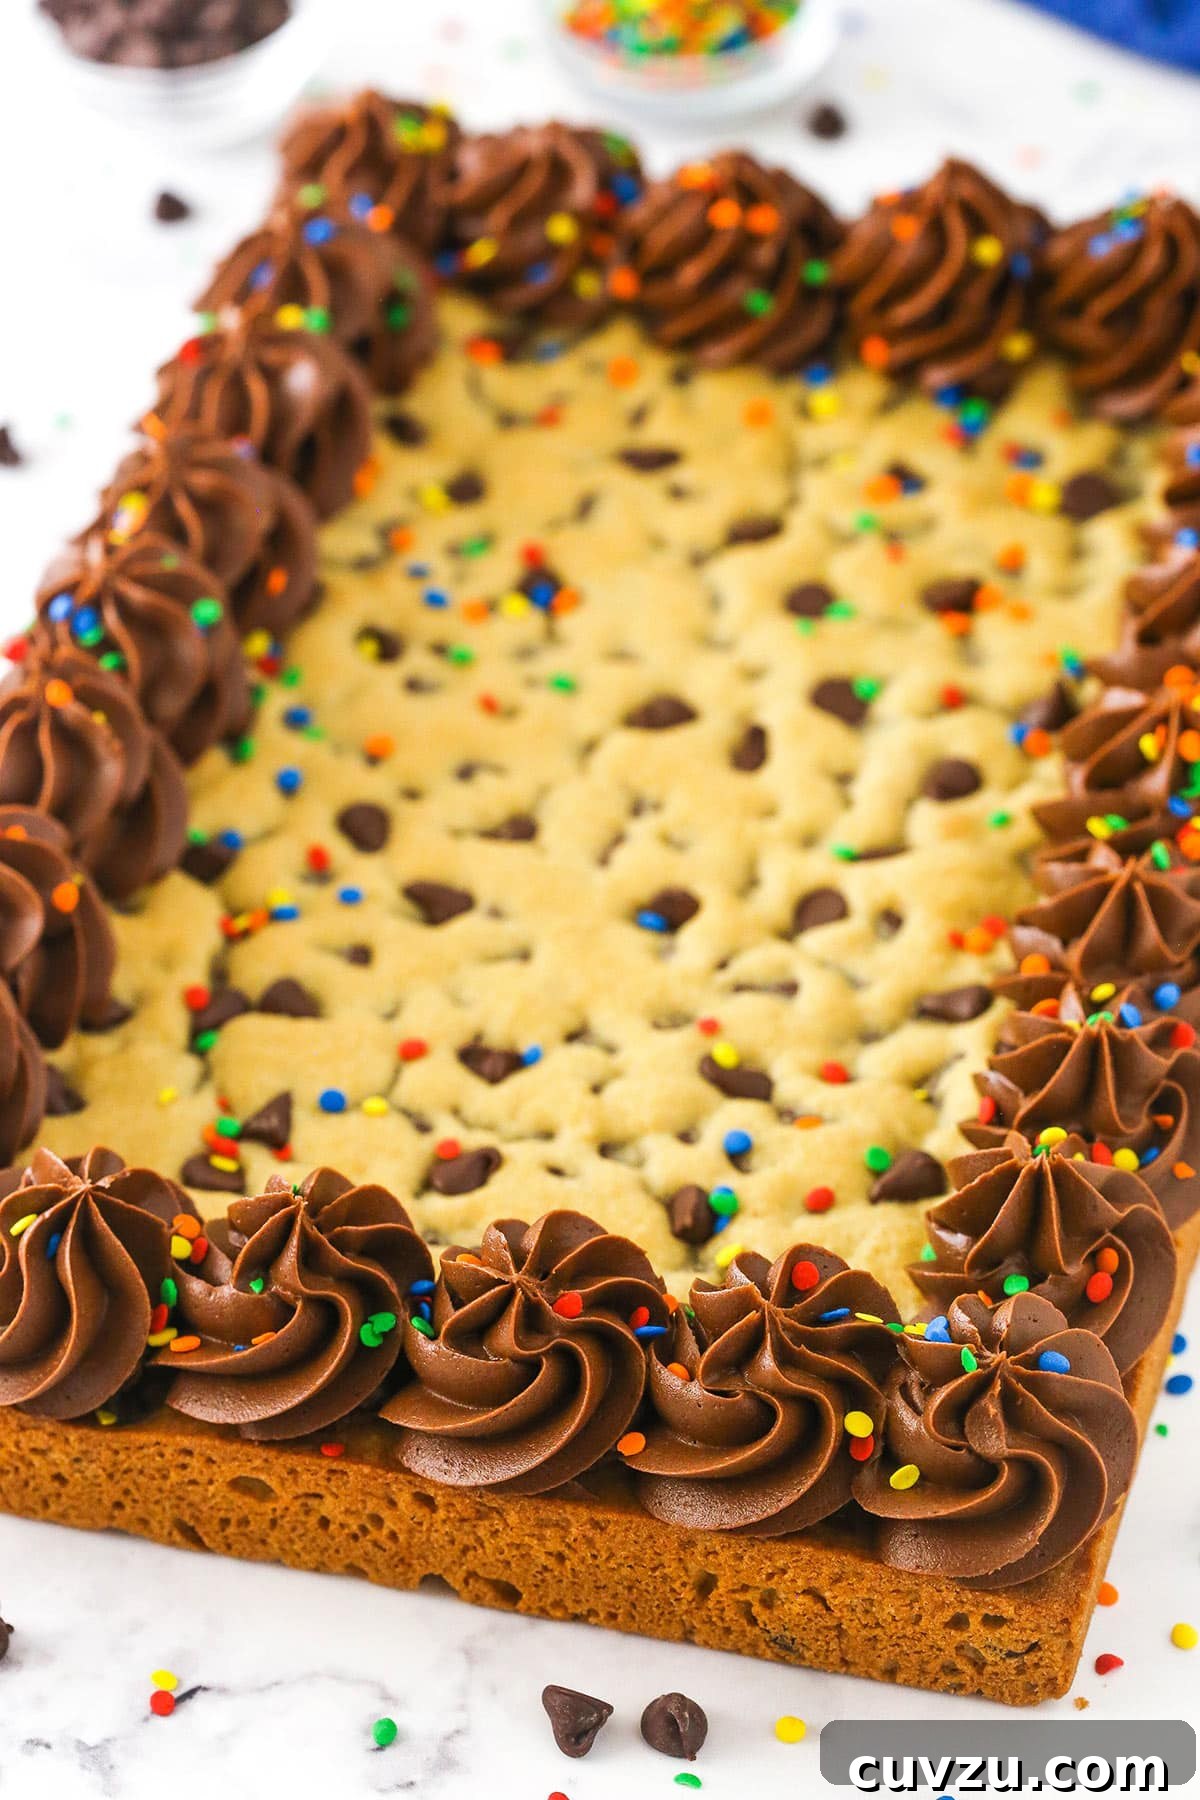
- Pipe Onto Cookie Cake: Transfer the prepared chocolate buttercream to a piping bag fitted with your favorite piping tip (an Ateco 847 was used for the swirls shown). Pipe beautiful swirls of frosting around the outer edge of the cooled cookie cake.
- Serve and Enjoy! Slice the magnificent Sheet Pan Chocolate Chip Cookie Cake into generous portions and serve immediately. Prepare for rave reviews!
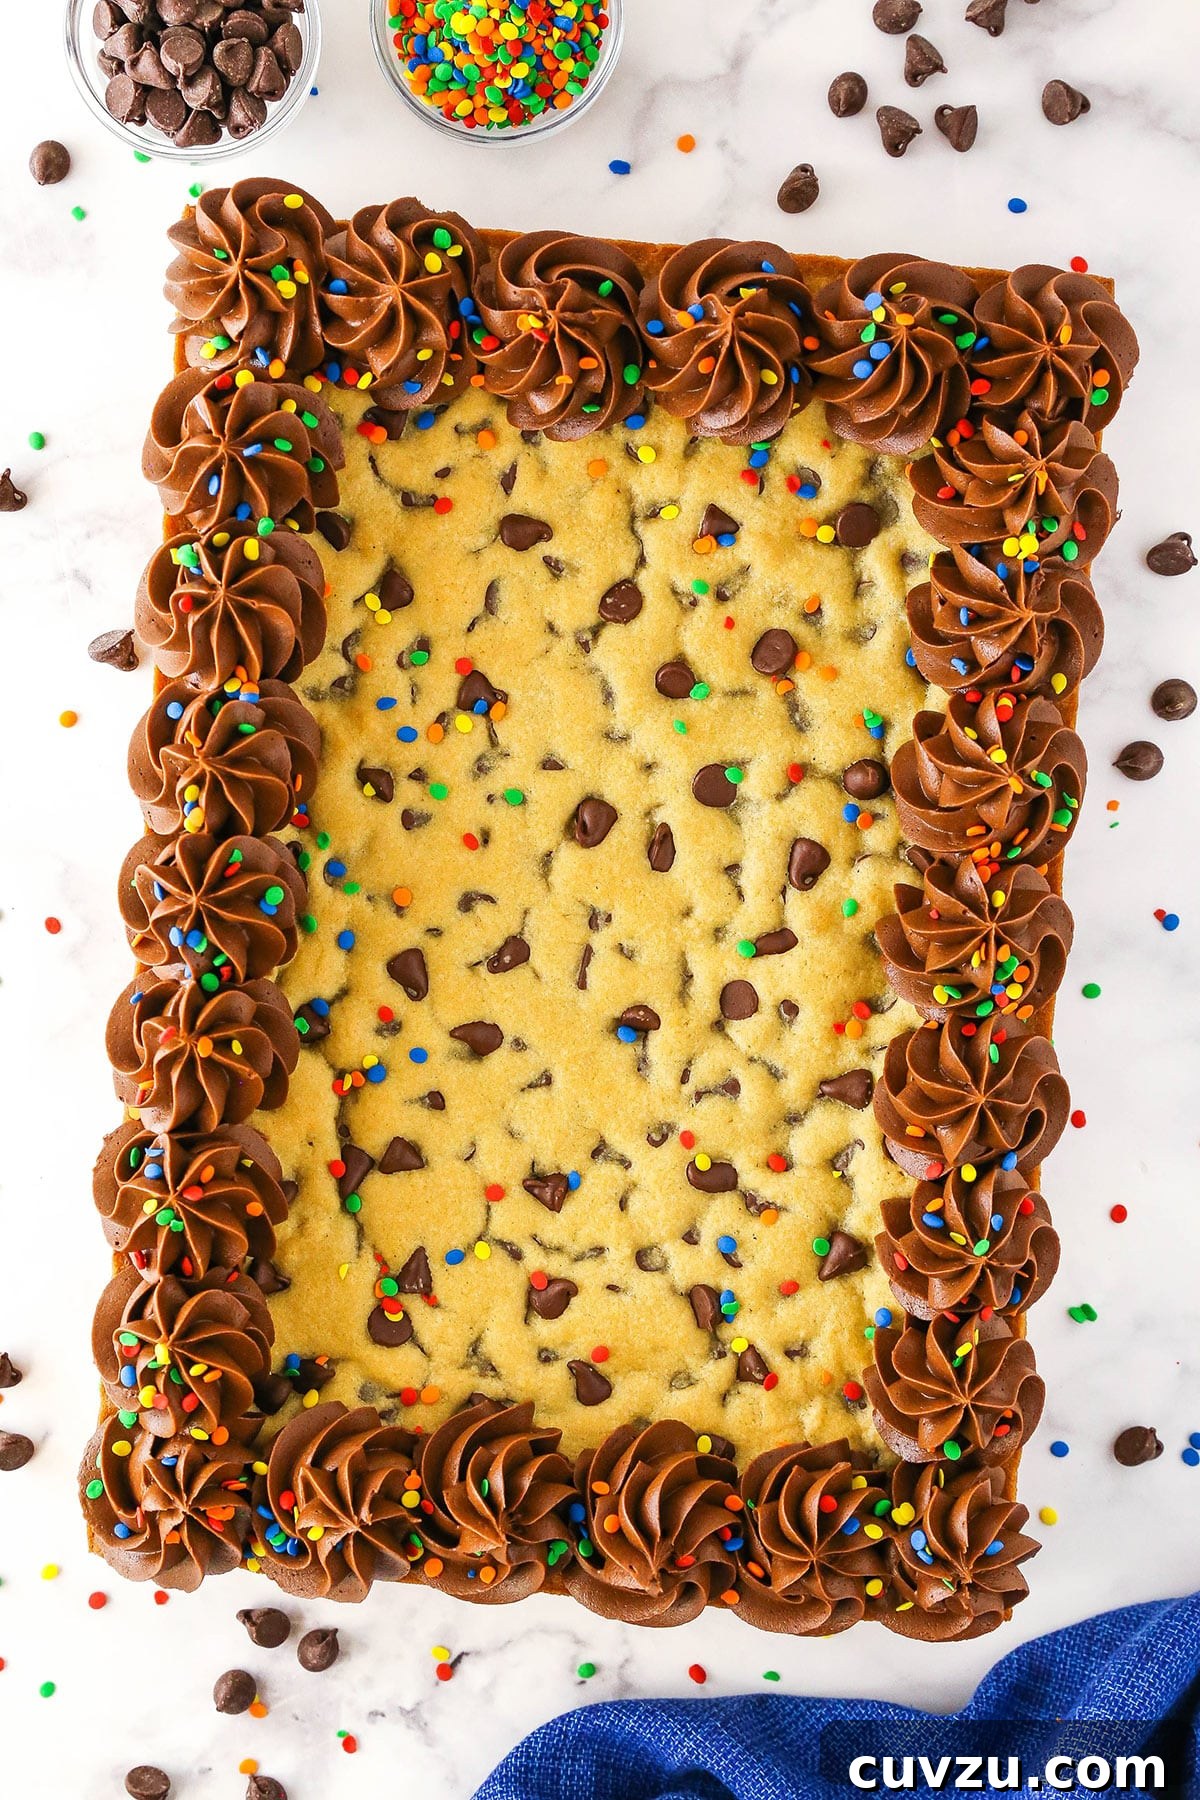
Planning Ahead: Can I Make This Cookie Cake in Advance?
Absolutely! This Sheet Pan Chocolate Chip Cookie Cake is wonderfully accommodating for make-ahead preparations. You have a couple of excellent options if you want to get a head start a day or two before your event. Firstly, you can bake the entire cookie cake a day ahead of time, allow it to cool completely, and then store it securely covered at room temperature. The cookie will remain fresh and delicious. Alternatively, you can prepare the cookie dough in advance and refrigerate it. When you’re ready to bake, simply allow the dough to come back to room temperature, which will make it much easier to spread evenly into the pan before baking. This flexibility makes it a fantastic choice for busy hosts.
Expert Tips for a Flawless Cookie Cake Every Time
To ensure your chocolate chip cookie cake turns out absolutely perfect, thick, and chewy, keep these crucial tips in mind:
- Measure the Flour Properly: Accurate flour measurement is key to texture. Never scoop flour directly from the bag with your measuring cup, as this compacts it and leads to an excess amount. Instead, spoon the flour lightly into your measuring cup until it overflows, then level it off with the straight edge of a butter knife. For ultimate precision, a food scale is always your best friend.
- Avoid Over-Mixing the Dough: Over-mixing develops the gluten in the flour too much, which can result in a dense, tough, and less tender cookie cake. As soon as the dry ingredients are just combined with the wet ingredients, stop mixing. The goal is a dough that is soft and chewy, so handle it gently, especially when folding in the chocolate chips.
- Chill the Finished Cookie for Easier Removal: While cooling completely in the pan is essential, I’ve found that refrigerating the cooled cookie cake for 30-60 minutes before attempting to remove it from the pan can make a significant difference. The chilling process further firms up the cookie, helping it maintain its shape and structural integrity when you transfer it to a serving plate. This is especially helpful for larger sheet pan sizes.
- Don’t Overbake: For that perfect soft and chewy center, it’s better to slightly underbake your cookie cake than to overbake it. The edges should be lightly golden, and the center should look set but still appear slightly soft. It will continue to cook slightly from residual heat as it cools.
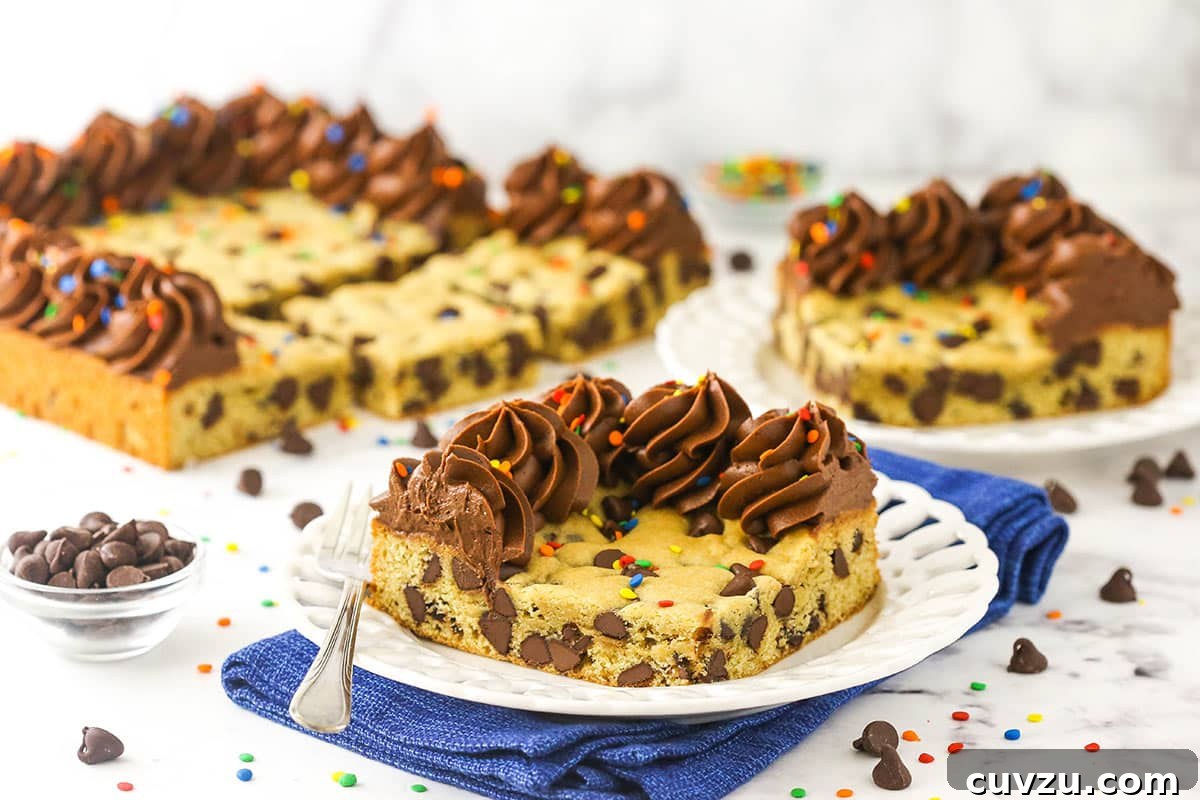
Creative Variation Ideas for Your Sheet Pan Cookie Cake
While the classic chocolate chip is a perennial favorite, sometimes it’s fun to switch things up! Here are some inspiring ideas to customize your sheet pan cookie cake:
- Transform it into a Funfetti Cookie Cake: For a burst of color and joy, replace 2 cups of the semi-sweet chocolate chips with white chocolate chips. Then, substitute the remaining 1/4 cup of chocolate chips with vibrant Jimmie sprinkles. Instead of chocolate buttercream, use a classic vanilla buttercream and consider dyeing it a festive blue or any color of your choice with gel icing color for an extra pop.
- Indulge in a Triple Chocolate Chip Cookie Cake: Elevate the chocolate experience by swapping out the 2 1/4 cups of semi-sweet chocolate chips for a delightful trio. Use 3/4 cup each of rich dark chocolate chips, creamy peanut butter chips, and sweet white chocolate chips. This combination creates an incredibly decadent and complex flavor profile that chocolate lovers will adore.
- Make it Festive for Any Occasion: This cookie cake is incredibly versatile and can be dressed up for virtually any holiday or special event simply by getting creative with your frosting and decorations. Try transforming it into a charming Christmas Tree Cookie Cake with green frosting and candy ornaments, or create a stunning American Flag design with red, white, and blue frosting for patriotic celebrations. Food coloring, sprinkles, and candies are your best friends for seasonal customization!
- Nutty Delight: Incorporate 1/2 to 1 cup of chopped nuts like walnuts, pecans, or macadamia nuts into the dough for added texture and flavor. Toasting the nuts beforehand can intensify their flavor.
- Caramel Swirl: After spreading the dough in the pan, drizzle some warm caramel sauce over the top and gently swirl it in with a knife before baking.
Storing Your Delicious Cookie Cake
To keep your sheet pan cookie cake fresh and moist, store any leftovers in an airtight container at room temperature. If you prefer, you can also return the cookie cake to its original pan and ensure it is very well covered with plastic wrap or foil. For the best flavor and texture, enjoy your cookie cake within 3-4 days.
Can I Freeze This Cookie Cake?
Yes, absolutely! Freezing is a fantastic way to preserve your cookie cake for future enjoyment. I recommend freezing the cookie cake without the frosting for optimal results. Once the cookie cake has cooled completely, wrap it tightly in a layer of plastic wrap, followed by a layer of aluminum foil, and then place it in a heavy-duty freezer bag. When you’re ready to enjoy it, thaw the cookie cake in the refrigerator overnight. It’s best to consume it within 3 months of freezing. Once thawed, you can add the beautiful rim of chocolate buttercream if desired, or serve it plain for a simpler treat.
Print Recipe
Sheet Pan Cookie Cake
Author: Lindsay
Prep Time: 45 minutes
Cook Time: 18 minutes
Total Time: 1 hour 3 minutes
Yield: 18 servings
Category: Dessert
Method: Oven
Cuisine: American
Description
This thick and chewy Sheet Pan Cookie Cake is loaded with chocolate chips and decorated with a rim of creamy chocolate frosting. It’s an easy goodie that’s guaranteed to be the life of any party – it provides plenty of servings and everyone adores it!
Ingredients
Scale: 1x
For the Chocolate Chip Cookie Cake
- 3 cups (390g) all-purpose flour
- 3/4 tsp baking soda
- 1/2 tsp salt
- 1 cup (224g) unsalted butter, room temperature
- 3/4 cup (168g) packed light brown sugar
- 1/4 cup (52g) granulated sugar
- 3 large eggs
- 1 tbsp vanilla extract
- 2 1/4 cups (380g) semi-sweet chocolate chips
For the Chocolate Buttercream
- 1 cup (224g) unsalted butter
- 3 1/2 cups (403g) powdered sugar
- 1/2 cup (57g) natural unsweetened cocoa powder
- 1 tsp vanilla extract
- 3–5 tbsp (45ml-75ml) heavy cream or water
Instructions
For the Cookie Cake
- Preheat oven to 350°F (176°C). Grease the sides of a 9×13-inch or 10×15-inch cake pan and place parchment paper in the bottom.
- In a medium-sized bowl, combine the flour, baking soda and salt.
- In a large mixer bowl, cream the butter and sugars together until light and fluffy, about 2-3 minutes.
- Add the eggs one at a time, mixing just until well combined before adding the next.
- Add the vanilla extract and mix until well combined.
- Add the dry ingredients and mix just until well combined. Dough will be thick and sticky.
- Gently fold in the chocolate chips.
- Spoon the cookie dough into the prepared pan and press the dough evenly into the cake pan. I use an offset spatula to spread it around in the pan, since it’s sticky.
- Bake for 18-23 minutes for a 9×13-inch pan, or until the top of the cookie is just beginning to brown. For a 10×15-inch pan, bake at 350°F for about 15 minutes, or until it just begins to brown on top.
- Remove from oven and allow to cool completely in the cake pan, then transfer to a serving plate. It can help to refrigerate the cake after it has cooled to firm it up before removing from the pan. This helps it stay together while you remove it from the pan. To remove this cookie from such a large pan, I use a cooling rack and a cardboard cake rectangle (two cooling racks would also work). I place the cooling rack (lined with parchment paper) against the top of the cake pan, then flip it over. Immediately and quickly place the cardboard cake rectangle on top of the cookie cake (which is the bottom) and flip the whole thing over using the cooling rack. Remove the cooling rack from the top of the cake.
For the Frosting
- Add the butter to a large mixer bowl and beat until smooth.
- Add about half of the powdered sugar and mix until well combined and smooth.
- Add the cocoa powder, vanilla extract and two tablespoons of water or cream and mix until well combined and smooth.
- Add the rest of the powdered sugar and mix until smooth. Add more water or cream to get the right consistency.
- Add the buttercream to a piping bag fitted with a piping tip (I used Ateco 847) and pipe swirls of frosting around the outer edge of the cake.
- Store cookie cake in an airtight container or cover well. Cookie cake is best if eaten within 3-4 days.
Notes
- The 9×13 size cookie serves 15-18 people, depending on the size of the slices. The 10×15 size cookie serves 20-24 people.
- To Store: Keep cookie cake in an airtight container or cover well. Enjoy within 3-4 days.
- To Freeze: Wrap cooled, unfrosted cookie in a tight layer of plastic wrap and freeze in a heavy-duty storage bag. Thaw in the fridge and enjoy within 3 months of freezing, adding the rim of chocolate buttercream if desired.
Nutrition
- Serving Size: 1 slice
- Calories: 554
- Sugar: 50 g
- Sodium: 135.8 mg
- Fat: 30.2 g
- Carbohydrates: 69.7 g
- Protein: 5.9 g
- Cholesterol: 86.6 mg
More Celebration-Worthy Cookie Recipes to Explore
- Monster Cookie Cheesecake Pie
- Red Velvet Cookie Cake
- Easy Sugar Cookie Cake