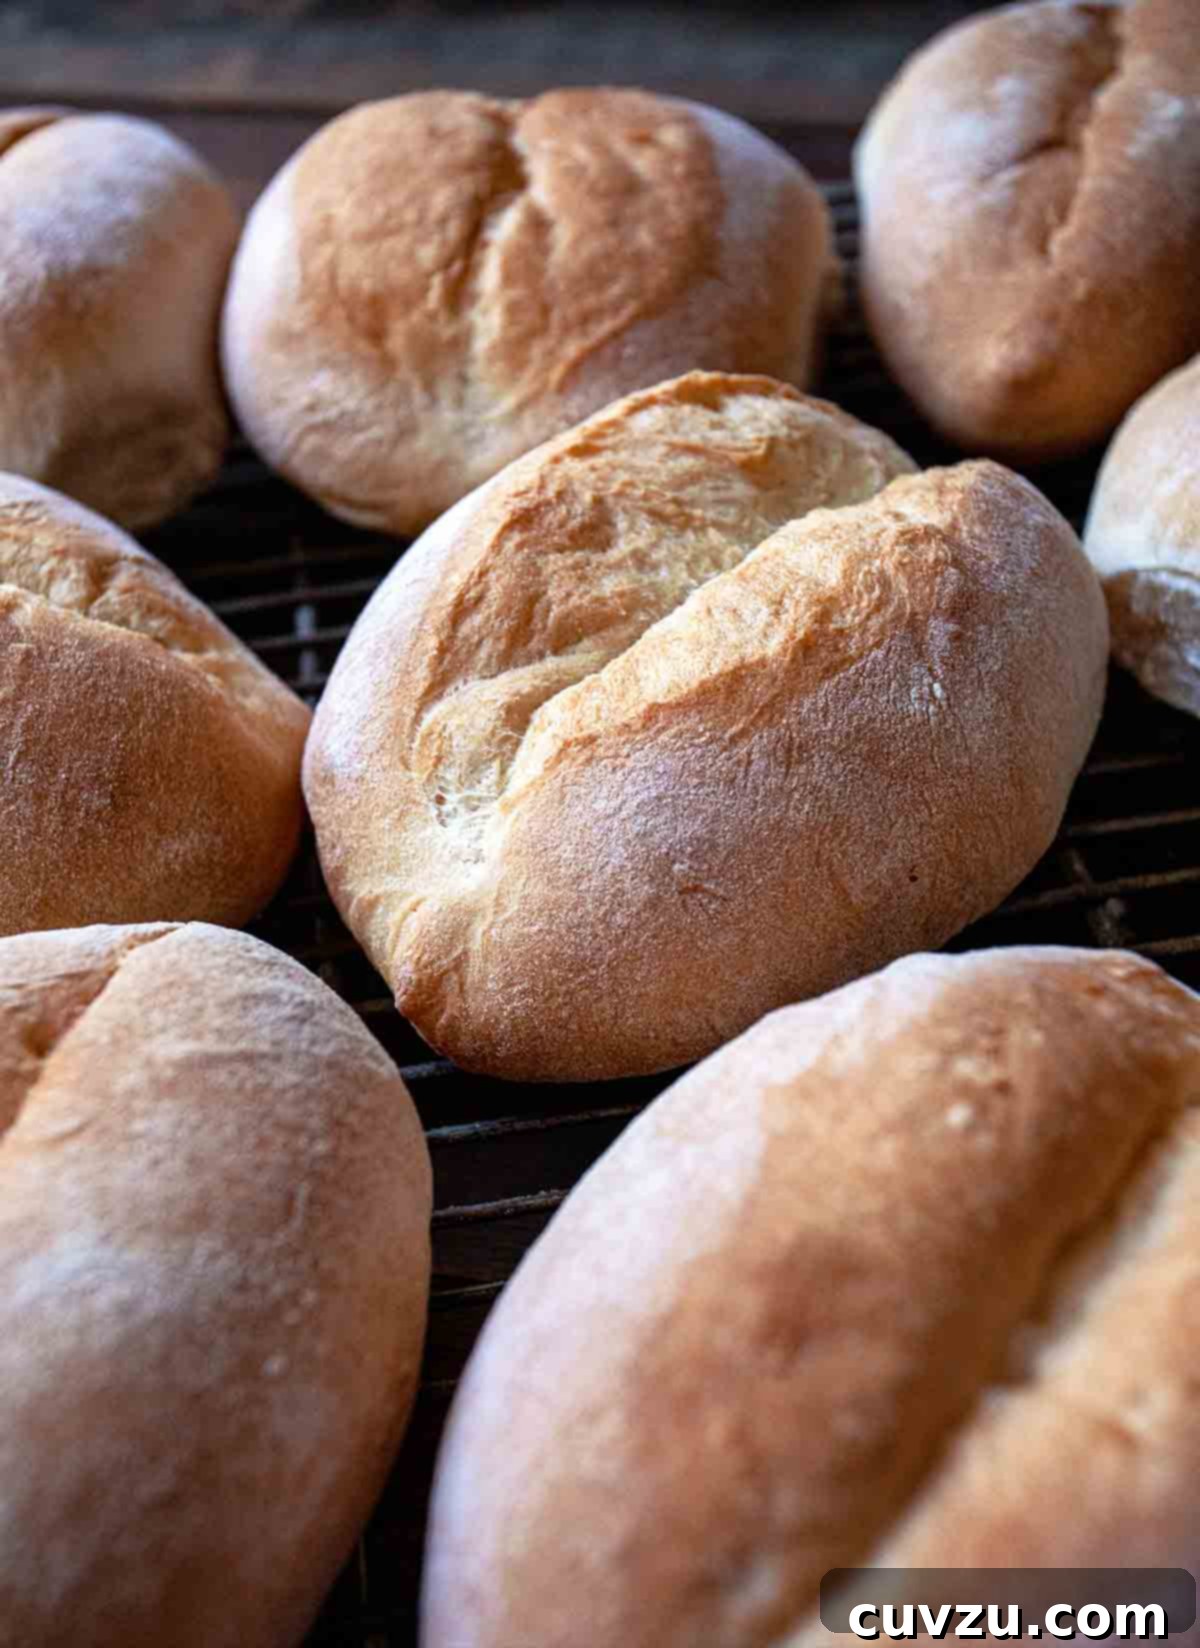
Authentic Papo Secos: Mastering Traditional Portuguese Rolls
Embark on a culinary journey to Portugal right from your kitchen by crafting these delightful Papo Secos. These aren’t just any bread rolls; they are a cherished staple of Portuguese cuisine, celebrated for their remarkably light, airy interior and a distinctive, irresistibly crispy crust. They serve as the ideal foundation for the classic bifanas—succulent marinated pork sandwiches—or can elevate any sandwich filling you desire. Even simpler, a generous smear of butter transforms a Papo Seco into a comforting treat, perfect for breakfast, a snack, or alongside a hearty meal.
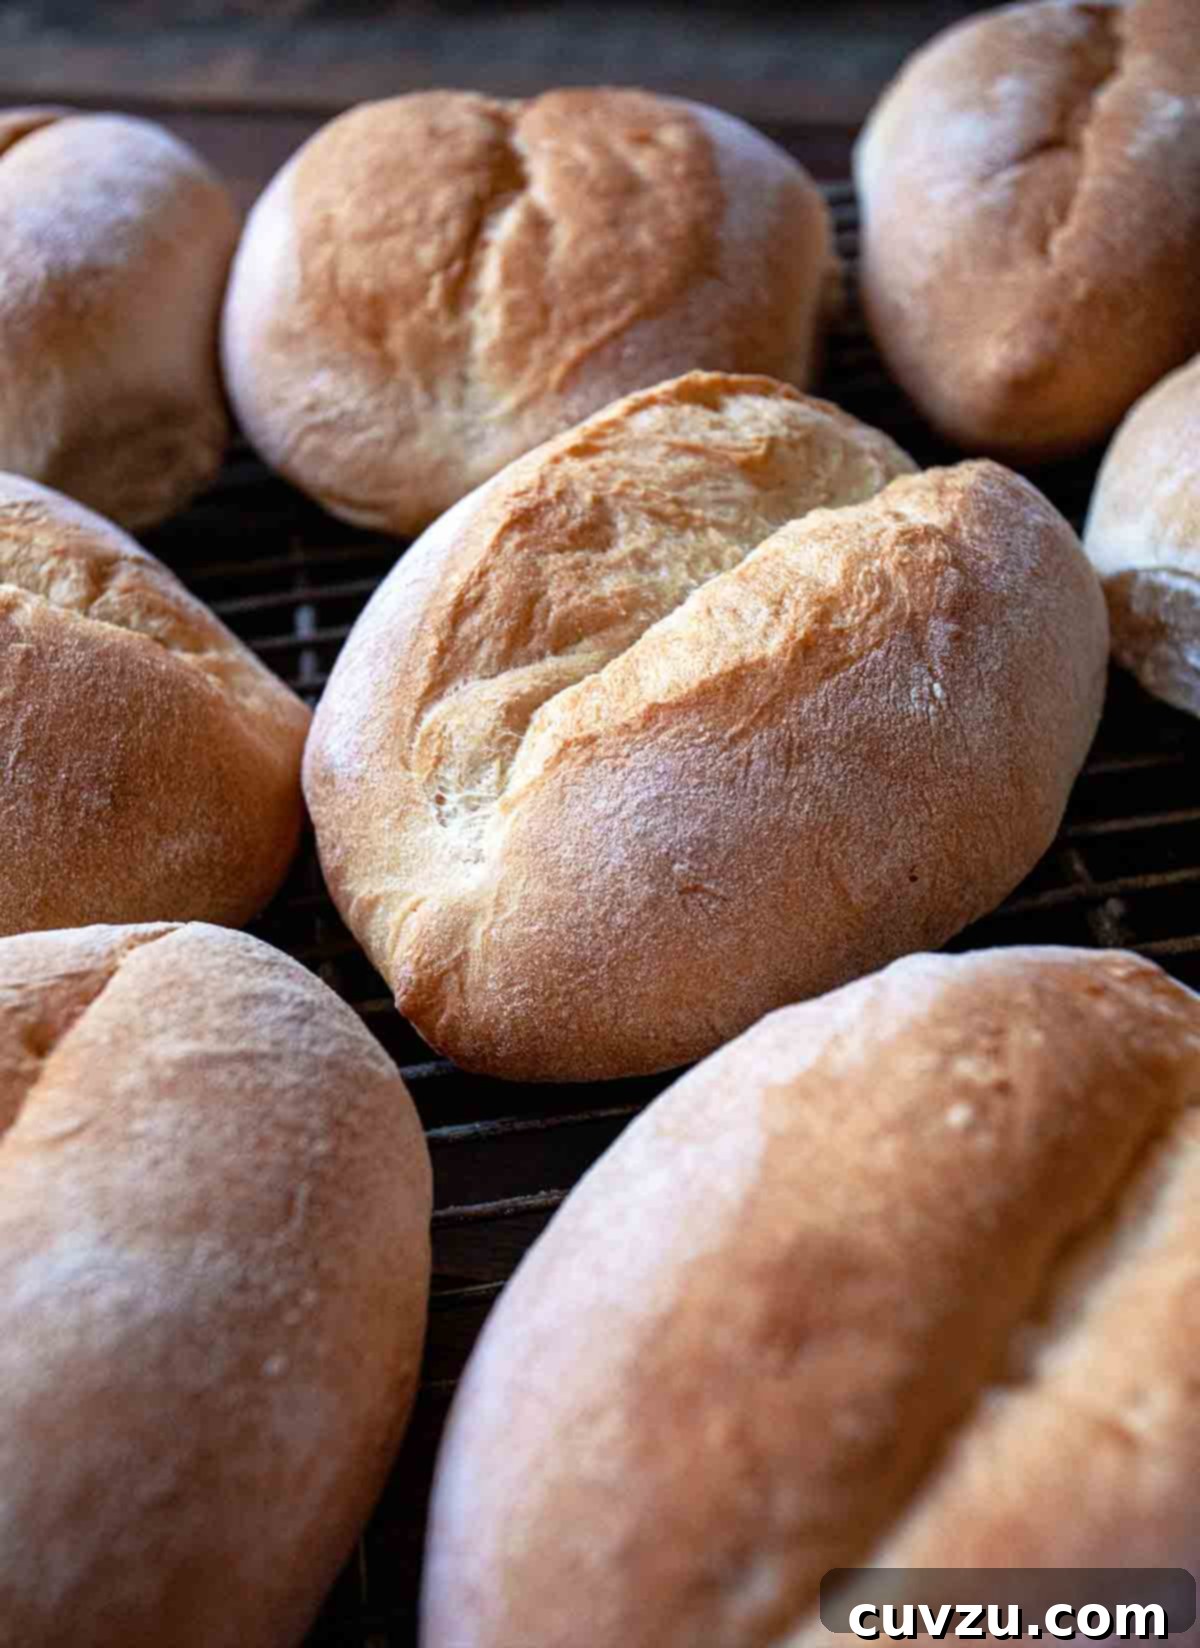
Quick Glance: Your Essential Guide to Papo Secos
- What They Are: Classic Portuguese bread rolls (Papo Secos) characterized by a uniquely light and airy crumb, encased in a famously crispy exterior. This distinctive texture is achieved through a special dough preparation and shaping technique.
- Why You’ll Adore Them: These rolls offer an authentic taste of Portugal, making them perfect for traditional dishes like bifanas, a wide array of sandwich fillings, or simply savored with butter. It’s a deeply satisfying baking project that brings a piece of Portuguese heritage into your home kitchen.
- How to Make Them: The process begins with mixing and gently kneading the dough, followed by a series of precise folds during the rise—a technique that replaces aggressive punching down. The rolls are then given their iconic shape using a “karate chop” crease, baked at high heat with steam to ensure that coveted crispy crust.
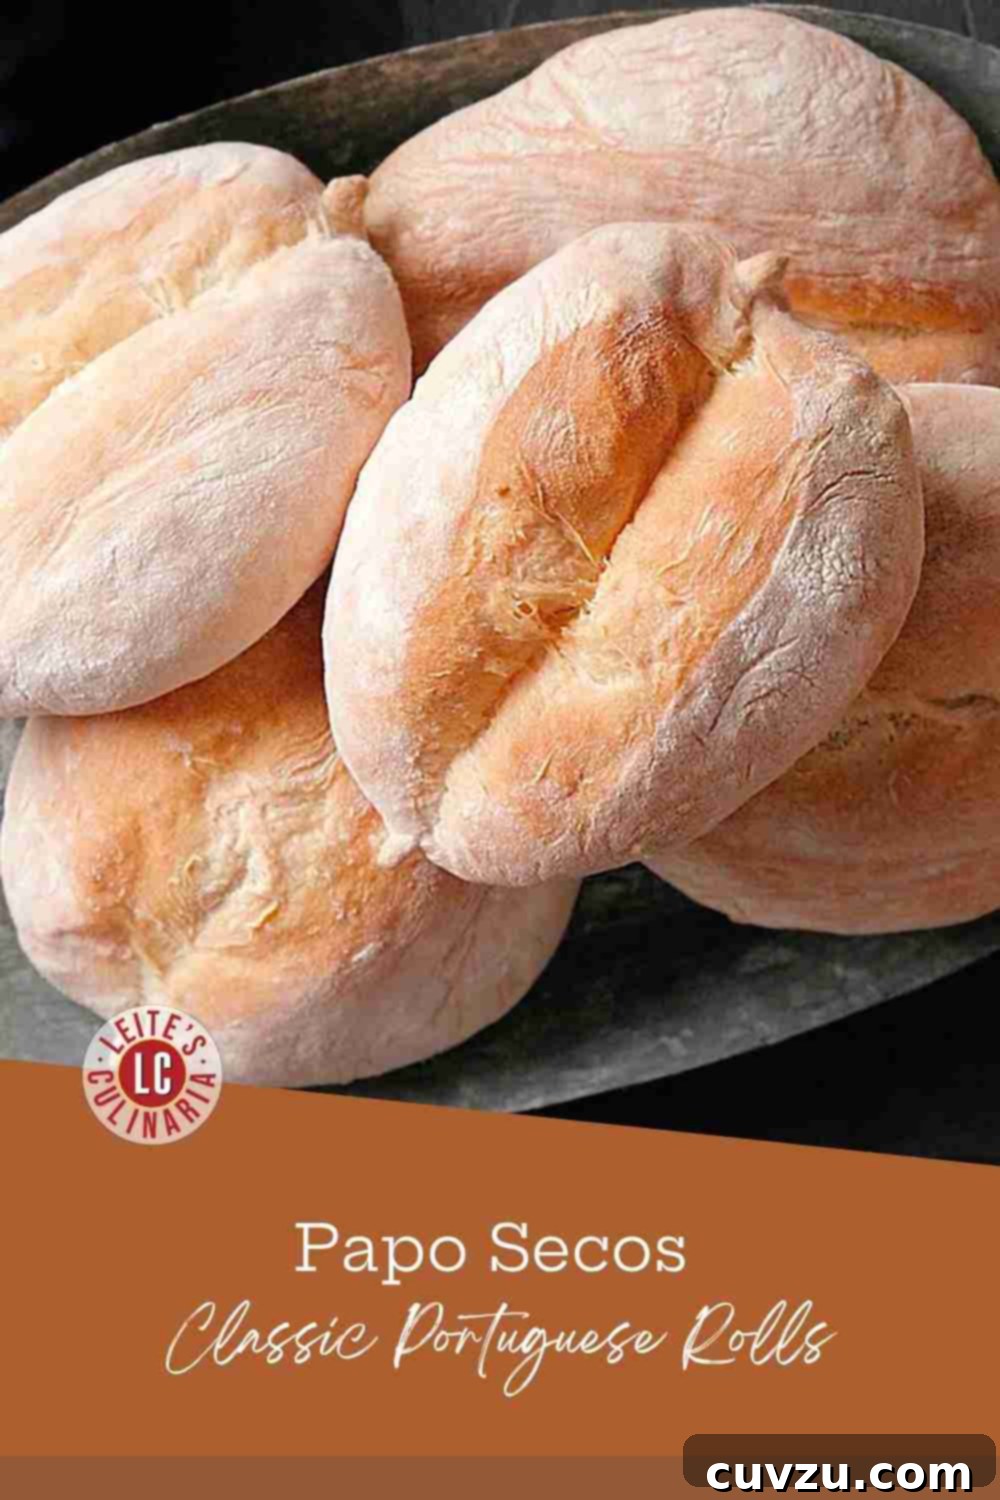
Featured Review: A Revelation for Homemade Buns!
I have been on a relentless search for a truly great bun recipe to complement my hamburgers. Every single one had been a disappointment, that is, until now. These Papo Secos turned out absolutely fantastic on my very first attempt! I genuinely cannot wait to use them for tonight’s hamburgers. I was so pleasantly surprised by how those seemingly unassuming, narrow dough logs puffed up magnificently into such robust, burger-worthy receptacles. Next time, I am eager to experiment further and try stretching them out to create perfect vertical-split hot dog buns. This recipe is a genuine game-changer.
Reid Chamberlain
Papo Secos: A Heartfelt Journey Through Portuguese Baking
My childhood memories are inextricably linked with the comforting presence of papo secos. (Indeed, almost every Portuguese child, no matter where they lived, grew up cherishing these rolls.) In my ten-year-old imagination, I fondly dubbed them “butt buns” because their plump, distinctively creased shape playfully reminded me of the adorable little posterior cheeks of a putto, or newborn cherub. This endearing nickname stuck, highlighting their charming and unique appearance that sets them apart from other bread rolls.
In developing this recipe, I’ve made a few considered departures from traditional methods, changes that I believe significantly enhance the final texture. Instead of the conventional, vigorous kneading and subsequent forceful punching down of the dough, I’ve adopted a more gentle, modern technique. This involves a series of strategic folds performed periodically during the rising process. This approach helps to develop the gluten structure more delicately, leading to an interior that is remarkably lighter and airier—and yes, produces even “bigger butts,” or rather, more generously shaped, delightful buns. Despite these refinements to the internal crumb, these rolls still proudly exhibit the wonderfully crusty exterior that every Portuguese palate has come to expect and love.
Rest assured, the process of making these rolls is not inherently difficult. In fact, it’s quite straightforward once you get into the rhythm. The only part that might take a little practice and time to truly master is the shaping technique. It certainly took me several attempts to consistently achieve that perfect, deep crack right down the middle, which is the hallmark of a beautifully formed Papo Seco. But here’s the wonderful truth: even if your very first batch doesn’t yield rolls with that flawless, textbook crease, the resulting bread will still be utterly awesome and incredibly delicious. Don’t let the pursuit of perfect aesthetics deter you; the joy of biting into your homemade Papo Secos is a reward in itself.
Storing and Reviving Your Homemade Papo Secos
Because these delightful rolls are homemade and free from the preservatives found in many store-bought options, they won’t last indefinitely in your bread box. For optimal freshness, they will keep beautifully for about 2 days when stored in a resealable plastic bag at room temperature. To bring them back to their freshly baked glory, simply warm them in a 425°F (218°C) oven for 6 to 8 minutes. This brief reheat will crisp up their crust and refresh their tender interior, making them taste as if they just emerged from the oven.
If you prefer to extend the enjoyment of your Papo Secos beyond a couple of days, freezing is an excellent option. To freeze them effectively, wrap each cooled roll individually in aluminum foil, then slip the foil-wrapped rolls into a freezer-safe plastic bag. When you’re ready to indulge, remove the desired number of rolls from the freezer. Allow them to thaw at room temperature for an hour or two, then warm them in the oven as described above. This method ensures you can have delicious, authentic Portuguese rolls on hand whenever a craving strikes, maintaining their quality and flavor for weeks.
More Soft and Chewy Roll Recipes to Delight In
Cheryl Day’s Icebox Rolls
Total Time: 3 hrs 45 mins
Rosemary Buns with Olive Oil
Total Time: 16 hrs
Pretzel Rolls
Total Time: 2 hrs 30 mins
Classic Burger Buns
Total Time: 1 hr 45 mins
Share Your Papo Secos Experience!
If you make this recipe, or any other delicious dish from Leite’s Culinaria, please consider leaving a review, a star rating, and your best photo in the comments section below. Your feedback and beautiful culinary creations inspire us! –David
Featured Review: Authenticity and Simplicity Combined!
This is another absolutely authentic 5-star Portuguese recipe from one of my all-time favorite chefs! While the preparation can be time-consuming, the recipe itself is remarkably simple and accessible. My 4-year-old daughter even enthusiastically helped with the process! I urge you to get yourself some quality bread flour and run—do not walk—to your kitchen. These incredibly crusty rolls are far too good not to try (and share)! For an added bonus, prepare David’s exceptional caçoila recipe and create an unforgettable sandwich the moment your rolls are ready. You can absolutely thank me later. 😉
Kristy Daube
Papo Secos | Traditional Portuguese Rolls Recipe
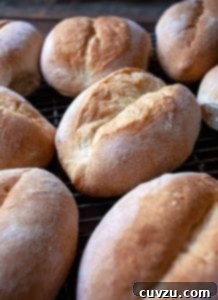
Papo Secos | Portuguese Rolls
These Papo Secos are light and airy Portuguese rolls, the perfect vessel for classic bifanas—marinated pork slices—or your favorite sandwich fillings, or simply a delightful smear of butter.
David Leite
PIN
Watch the Papo Secos Recipe Video

This detailed video guides you through making classic Portuguese rolls, showcasing the unique folding technique and the simple “karate chop” shaping method. Learn to achieve light, airy buns with a soft interior and a perfectly crispy crust, baked with steam. Click here to watch the full video tutorial.
Ingredients
For activating the yeast
- 1/2 cup lukewarm water (105°F to 110°F | 41°C to 43°C)
- 2 1/4 teaspoons active dry yeast
- 1 tablespoon granulated sugar
For the bread dough
- 5 cups bread flour, plus up to 3 tablespoons more, if needed
- 1 1/2 cups lukewarm water (105°F to 110°F | 41°C to 43°C)
- 1 tablespoon table salt
- 2 tablespoons salted or unsalted butter
- Cornmeal, for dusting
Instructions
Step 1: Activate the Yeast
-
In the bowl of a stand mixer fitted with the dough hook, combine the 1/2 cup of lukewarm water, active dry yeast, and granulated sugar. Mix these ingredients on low speed until they are just combined. Allow the mixture to sit undisturbed for 10 minutes, or until a light foamy layer appears on the surface, which indicates that the yeast is active and ready.
Step 2: Prepare and Fold the Dough
-
Add the 5 cups of bread flour, 1 1/2 cups of lukewarm water, and the butter to the yeast mixture in the stand mixer. Stir on low speed for approximately 3 minutes, just until all the ingredients are thoroughly combined and a cohesive, shaggy dough begins to form. Cover the bowl tightly with plastic wrap and let the dough rest for 30 minutes. This initial rest helps the flour hydrate properly.
-
After the resting period, sprinkle the table salt evenly over the top of the dough. Mix on low speed (typically speed 2 on most stand mixers) for 5 minutes. If you notice the dough riding up the dough hook, simply use a spatula to gently scrape it back down into the bowl, ensuring even mixing.
-
Increase the mixer speed to medium-high (around speed 7) and continue to knead the dough for an additional 2 minutes. At this stage, the dough should develop sufficient elasticity to mostly pull away from the sides of the bowl, though it may remain slightly sticky to the touch. If the dough has not yet released cleanly from the bottom of the bowl, gradually add more bread flour, one tablespoon at a time, until it does.
-
Remove the bowl from the mixer, ensure it is covered tightly with plastic wrap, and place it in a warm, draft-free location (an ideal temperature range is 68°F to 72°F | 20°C to 22°C). Your oven, with just the light turned on, creates a perfectly warm environment for proofing. Allow the dough to double in size, which typically takes about 1 hour.
☞ TESTER TIP: If you’ve ever struggled to determine exactly when your dough has doubled in size, try this trick: lightly butter a clear plastic bread proofing bucket or a clear glass bowl. Use a grease pencil or a piece of tape to mark the dough’s initial level when you begin proofing. This visual guide makes it much easier to observe when the dough has truly expanded to twice its original volume.
-
Instead of forcefully punching down the dough, gently reach down one side of the bowl and firmly but carefully pull the dough up and fold it over itself. Rotate the bowl a quarter turn and repeat this gentle folding motion. Continue turning and folding 2 more times to complete one full set of folds. Recover the bowl with plastic wrap and let the dough rest until it has doubled in size once more, which should take approximately 30 minutes. This folding technique builds strength and aeration without degasifying the dough too much.
-
Repeat the turning and folding process as described in the previous step, ensuring the dough is folded over itself from all four sides. Once complete, cover the dough with plastic wrap again and let it rest until it has doubled in size, allowing for approximately another 30 minutes. This series of gentle folds is crucial for developing the Papo Secos’ characteristic light and airy texture.
Step 3: Shape the Papo Secos
-
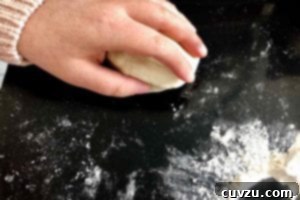
Lightly flour your hands and a clean work surface. Divide the dough into ten equal pieces; each piece should weigh approximately 4 1/4 ounces (120 grams). Take one chunk of dough, cup one hand over it, and gently roll it on your work surface in a circular motion to tighten it into a neat, round ball. Being a bit particular myself, I often count the turns—aiming for no fewer and no more than 40 revolutions—to achieve a consistently tight ball. Repeat this process with all the remaining dough portions.

Roll each portion of dough into a tight ball for uniform rolls. -
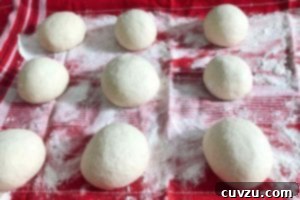
Place the tightly rolled dough balls on a baking sheet that has been lined with a generously floured non-terrycloth kitchen towel or a baker’s couche. Ensure there’s enough flour to prevent sticking. Cover these dough balls with another clean kitchen towel and allow them to rest for 20 minutes. This brief rest period is essential as it allows the gluten to relax, making the dough easier to work with for the next shaping steps.
Dough balls resting on a floured towel before the final shaping. -
Transfer the rested dough balls from the towel back to your work surface. Re-dust the towel on the baking sheet heavily with flour; this prepared towel will serve as the bed for your shaped rolls during their final proofing.
-
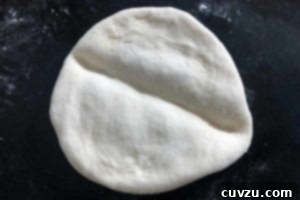
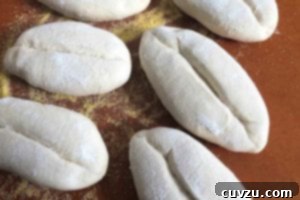
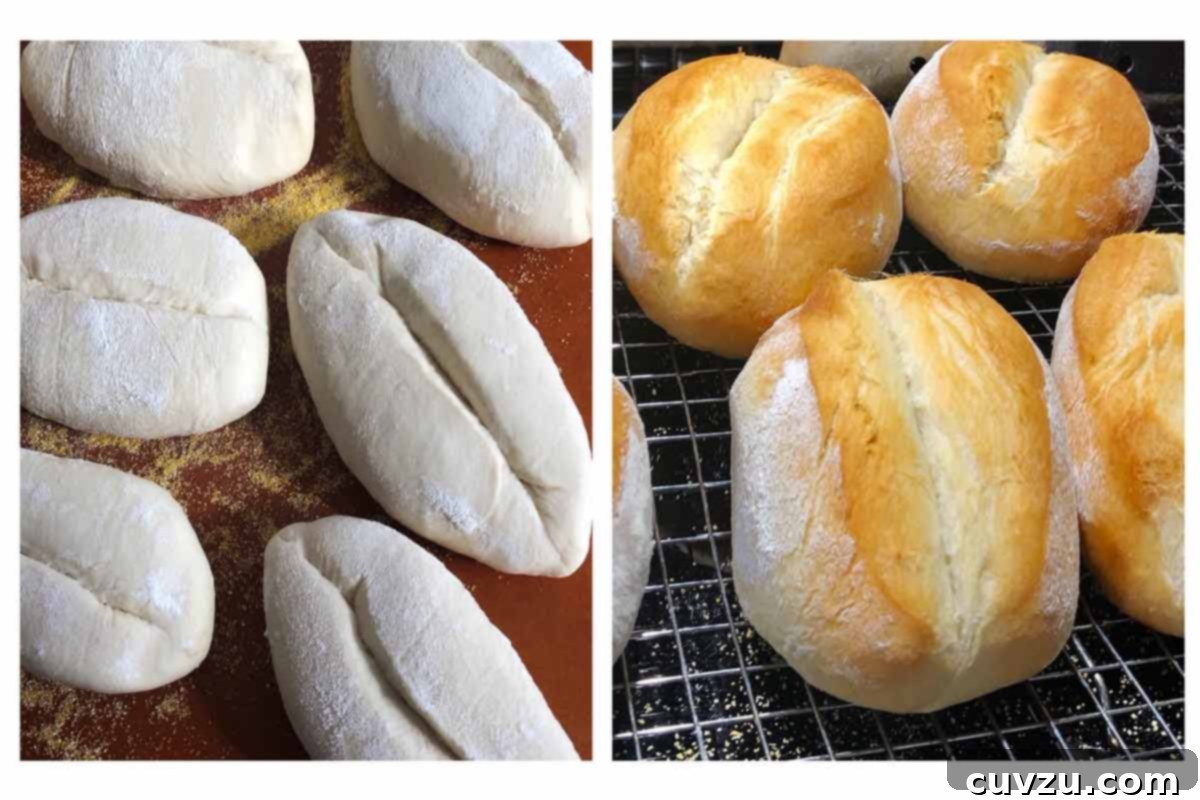
Flour your hands once more. Take one dough ball and gently flatten it into a circular disc, about 6 inches (15 cm) in diameter. Now, using the side of your hand (imagine a precise “karate chop” motion), create a deep, distinct crease right across the middle of the disc. This crease is the signature feature of Papo Secos, defining their unique shape as they bake.
Creating the essential deep crease with a “karate chop” motion. -
Once the crease is formed, gently grab both ends of the creased dough. Carefully tug them outward to slightly elongate the disc, forming a subtle oval shape. This step helps to further define the roll’s characteristic contour, contributing to its final aesthetic.
-
Carefully fold one half of the dough over the other, ensuring that the fold aligns precisely along the deep crease you just created. The dough will now adopt a distinct half-moon shape, which is fundamental to the Papo Seco’s final appearance and texture.
-
To finish the shaping, twist the ends of this half-moon shape into plump, slightly tapered points. Then, using your thumbs, gently flatten these points a bit to help seal them securely. This ensures the roll maintains its integrity and distinctive form throughout the final proofing and baking stages.
-
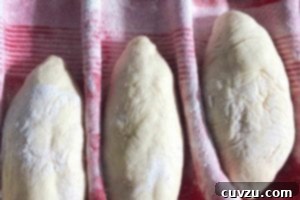
With utmost care, transfer the fully shaped Papo Seco to the generously floured towel on your baking sheet, placing it seam-side down. As you continue to shape the remaining rolls, arrange them in neat rows, ensuring a few inches of space between each. Between each row, pull the floured towel up to create a supportive ridge; this cleverly holds the shape of the rolls during proofing and prevents them from spreading too much. Repeat the shaping and lining up process, consistently creating these towel ridges.
Shaped Papo Secos proofing on a floured towel, supported by clever ridges to maintain their form. -
Once all the rolls are shaped and arranged, cover them gently with a clean kitchen towel. Allow them to rise in a warm, draft-free place until they have almost doubled in size, which should take approximately 30 minutes. This final proof is a critical step for achieving the light, airy interior texture of the rolls.
Step 4: Bake the Papo Secos with Steam for a Crispy Crust
-
Meanwhile, as your rolls are completing their final proof, position an oven rack in the middle of your oven and carefully place a baking stone or unglazed ceramic tiles onto it. Additionally, place an empty metal tray (it’s crucial to avoid using a glass pan, as it could shatter from the sudden temperature change) on any rack that will not interfere with the rising Papo Secos. Crank the oven heat up to a scorching 500°F (260°C). Allow ample time for both the oven and the baking stone to properly preheat, typically 30-45 minutes after the oven has reached its set temperature.
-
Have a cup of very hot tap water at the ready. This will be used to create steam in the oven, which is essential for developing that signature crispy crust on your Papo Secos.
-
Generously coat a baking peel or a rimless baking sheet with cornmeal. Carefully turn a few of the proofed Papo Secos, ensuring the seam-side is now facing up, and arrange them thoughtfully on the prepared peel. Be extremely gentle during this transfer to avoid deflating the delicate, proofed dough.
Gently transfer the proofed rolls to a cornmeal-dusted peel for baking. -
Open the hot oven door. Place the front edge of the peel at the very back of the preheated baking stone. With a swift, confident yank, pull the peel toward you to quickly shift the dough onto the baking stone. Repeat this process efficiently with any remaining Papo Secos. Immediately but carefully pour the hot water into the empty metal tray on the lower rack (it will instantly vaporize, creating a burst of steam). Quickly shut the oven door to trap this steam. Immediately reduce the oven temperature to 425°F (218°C).
☞ TESTER TIP: If your baking stone isn’t large enough to accommodate all ten rolls in a single batch, it’s perfectly fine to bake them in two or more batches. As the Portuguese wisely say, “Não faz mal”—no problem! Each batch will be just as delicious and beautifully baked.
-
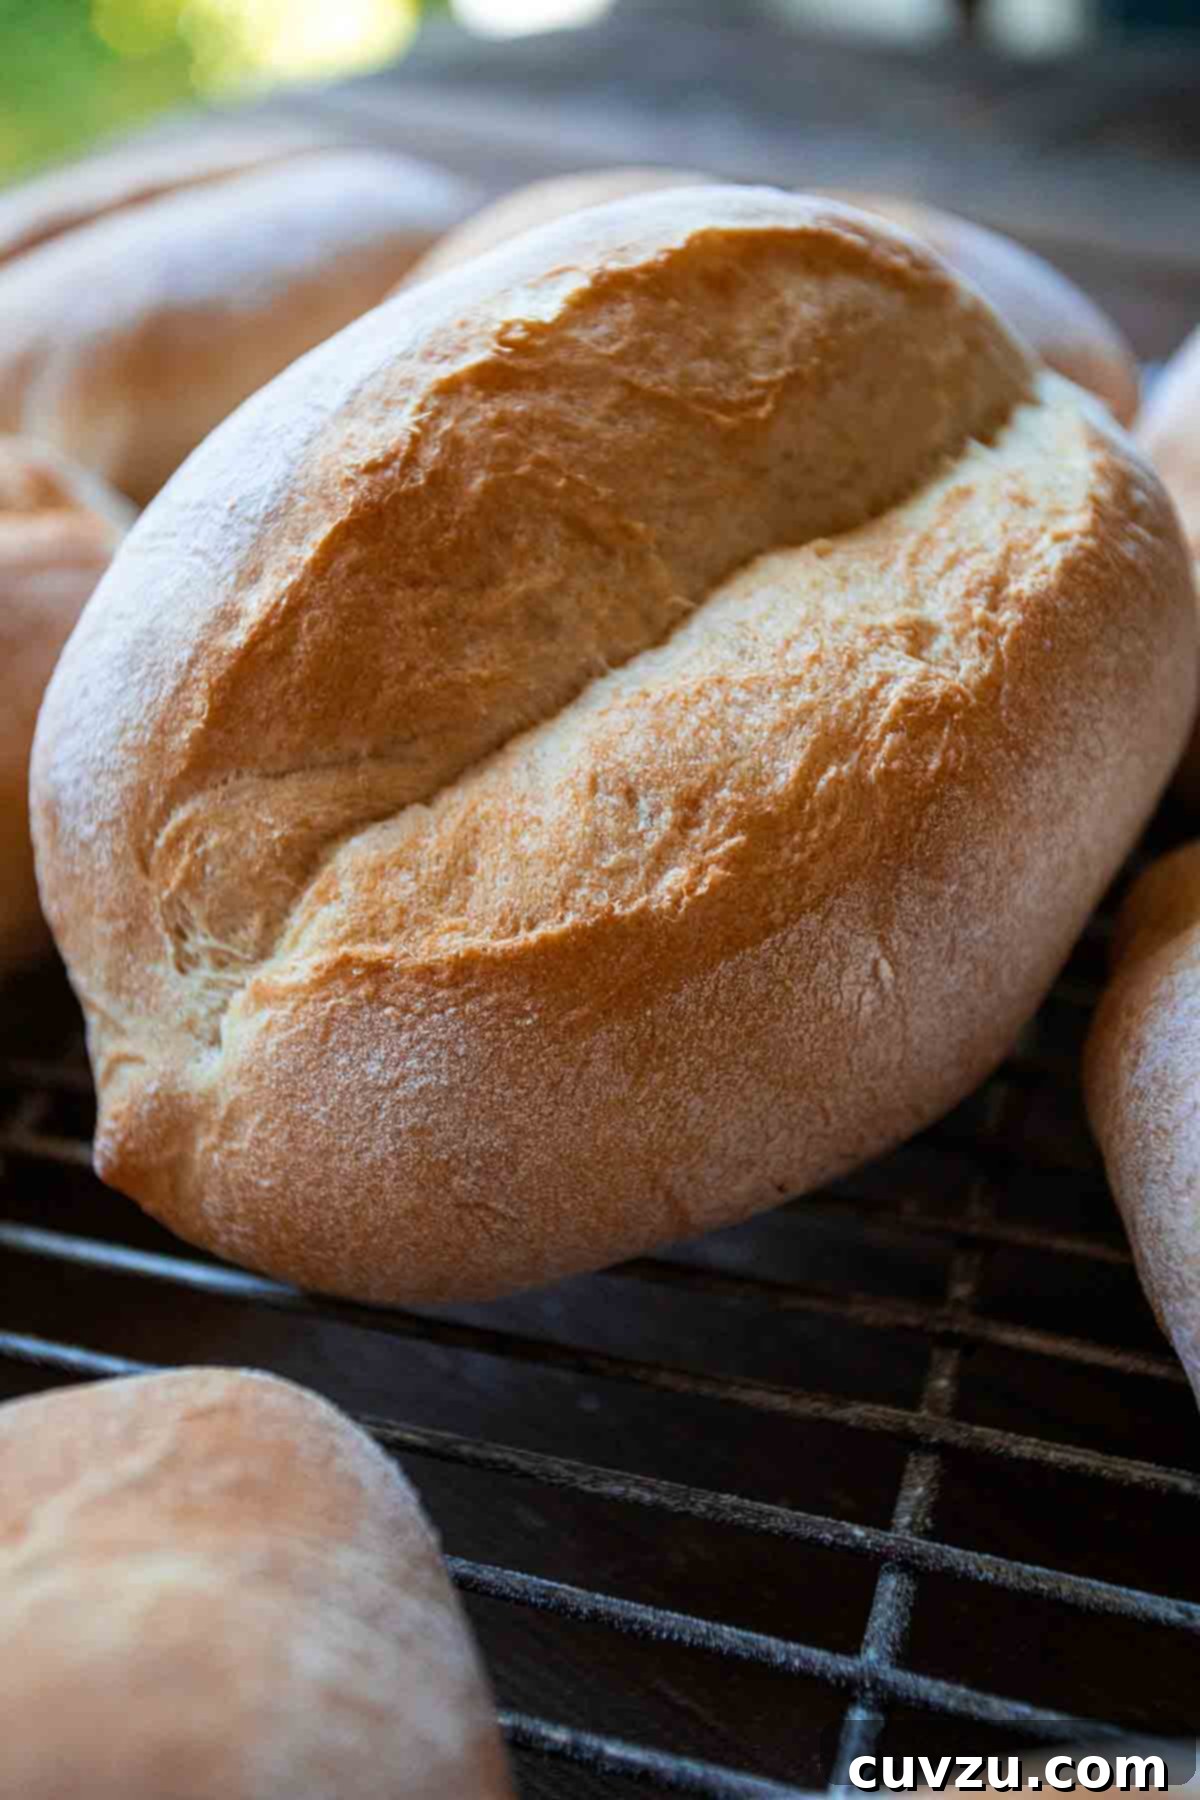
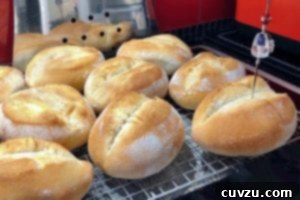
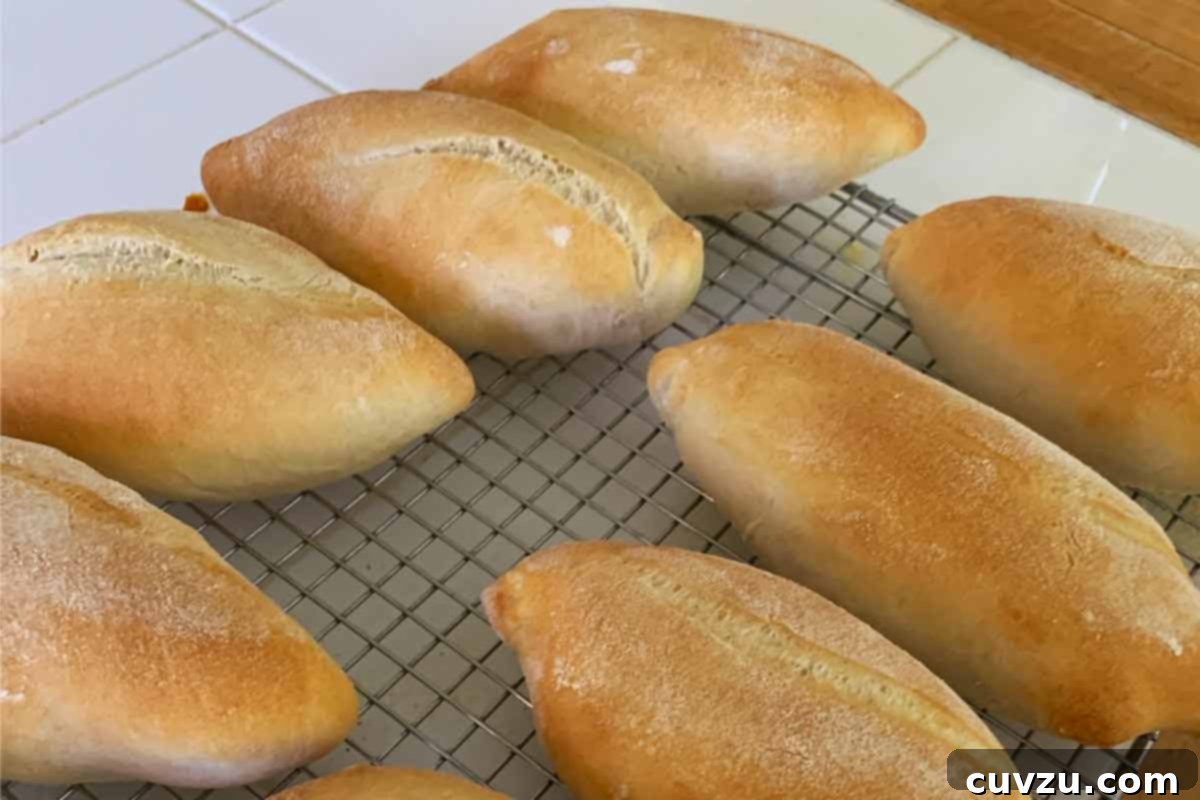
Bake the Papo Secos for 15 to 20 minutes, or until they are magnificently puffed and achieve a rich, golden-brown color on their crust. Once baked to perfection, carefully remove them from the oven and transfer them immediately to a wire rack to cool completely. For that truly characteristic, delightfully crusty outside, it’s best to allow the rolls to sit out for several more hours prior to devouring. This extended cooling period allows the crust to further crisp up, enhancing the overall texture and flavor.
Golden-brown Papo Secos cooling on a wire rack, developing their signature crust.

An LC Original Recipe
This recipe for Papo Secos is an authentic creation developed and perfected by the culinary team at Leite’s Culinaria. We pride ourselves on bringing unique, rigorously tested, and beloved recipes from around the world directly to your home kitchen, celebrating diverse culinary traditions.
View More Original Recipes
Explore More with AI
Substitutions
Scale Recipe
Summarize Recipe
Nutrition Facts
Serving: 1 roll
Calories: 259 kcal
Carbohydrates: 48 g
Protein: 9 g
Fat: 4 g
Saturated Fat: 2 g
Monounsaturated Fat: 1 g
Trans Fat: 1 g
Cholesterol: 6 mg
Sodium: 723 mg
Fiber: 2 g
Sugar: 1 g
Note: Nutrition information is automatically calculated and should only be used as an approximation.
Tried this recipe?
Mention @leitesculinaria or tag #leitesculinaria!
Insights from Our Recipe Testers
Our dedicated team of recipe testers rigorously evaluates each dish to ensure accuracy, clarity, and, most importantly, deliciousness. Here’s what they discovered and loved about making these authentic Papo Secos:
Ilda Costa-Sarnicki
I grew up with these crusty rolls. They were delivered daily before breakfast along with one giant version, our daily bread. Warm. Crusty. This was our bakery white bread. My mom baked everything else but these. When my daughter started eating table food (pre-teeth and before words), she’d point to the papo secos and say “uhm…uhm…” Then, when she could talk, she’d call them pãozinho, the Portuguese word for “little bread,” and shake all over with excitement. She still calls them pãozinho, and up until last month, we only had them for very special treats from a Portuguese bakery so that we could look forward to the ones baked in the Azores during our yearly visits. Those were so special. They don’t home deliver anymore but you can get them from the bakery still warm almost any time of day.
With the physical isolation craze of baking and numerous social network posts sporting papo secos, plus the ugly chance we may not be able to visit the Azores this year, I also jumped on the homemade papo secos bandwagon. My first attempt was quite successful, but I found the shaping to be somewhat challenging and the crust to be short-lived. When I read this recipe, I just knew that I could get the shaping right. Although I want to believe it was the wording in the recipe that provided the “click” in my understanding, it’s possible that I had already been somewhat “primed” from previous recipes. This recipe also only had a crusty exterior for about 60 minutes then softened. Although not crispy, the crust was chewy crusty when compared to the interior which was light yet dense with very even crumb. This might have been from using all purpose flour since I neither had access to bread flour or vital wheat gluten to convert my AP flour to bread flour. However, I must say that the combination of this bun with the bifana did take me back to my years when I lived in the Azores and the light yet slightly dense interior was perfect for sopping up the bifana juices! Yum! Nevertheless, this recipe creates a roll that I’m pleased to call pãozinho!
Greg Crawford
This is a time-consuming recipe, but I assure you it isn’t difficult at all, and the results are unequivocally worth every minute invested. Bread recipes can often feel daunting, and working with dough can be challenging, but this particular dough was an absolute joy to handle. It came together beautifully and kneaded nicely in my mixer, to the point where the mixing bowl was spotless by the time kneading was complete (I opted for 15 minutes of kneading). The dough rose precisely on schedule—and popping the bowl into the oven with just the light on is indeed the ideal method. The dough was remarkably easy to work with when forming the initial balls and then the final rolls. Instead of simply rolling the dough to form balls, which didn’t quite achieve the “tighten the ball” effect the recipe mentioned, I used my thumb to press the dough in as I rolled it, which resulted in wonderfully shaped and tight dough balls. The forming instructions, which initially looked a bit complicated, made perfect sense once I had an actual dough ball in my hands.
The dough proved quite airy, and while I wouldn’t describe the rolls as dense, they weren’t quite as light on the inside as I had anticipated. However, they boasted a really nice crumb and, most importantly, a delightfully crusty exterior. As the recipe correctly stated, the crust became even crisper after allowing the rolls to sit out for a few hours. But I began these in the morning and couldn’t resist having one for lunch, so I certainly didn’t wait that long! They truly tasted just like the authentic Portuguese rolls we typically buy from our local grocery store.
Victoria Filippi
Who doesn’t love a really good homemade roll? This dough was incredibly quick and easy to bring together; my Kitchenaid mixer literally did all the heavy lifting. The dough itself was slightly sticky, wonderfully smooth, and beautifully elastic, truly thwacking the sides of the bowl clean as described! All the rising times were spot on and entirely accurate. When it came time to shape the rolls, I made sure to re-read the directions a few times, and they made perfect sense as I went through the motions. Shaping took no time at all, flowing quite naturally.
The rolls were baked to completion and had a lovely, appealing color in just 18 minutes, boasting a delightful crusty outside and a wonderfully light and fluffy inside. However, once they cooled completely, the outer crust, unfortunately, was no longer crunchy. I am quite sure that a quick pop back into a hot oven would perfectly re-crisp them, restoring their desired crunch. A crucial tip to remember: always turn the oven down once you add the water for steam! I confess I forgot to do this on my second batch until they were mostly done, but honestly, they were just a touch darker, yet still wonderfully moist and tender inside, proving the recipe is forgiving.
Jenny Latreille
I was genuinely really surprised at how exceptionally well these Papo Secos turned out for me. Either this is truly the ultimate bread recipe, or I’m just finally getting really good at making yeasted breads—no matter which, these rolls are utterly delicious and surprisingly quick to make. And mine even looked (mostly) like the beautiful photograph, which was a real relief and accomplishment! These rolls baked up with a truly beautiful golden crust and an incredibly fluffy, tender interior.
My precise measurements yielded exactly 12 rolls, which meant that there were two “free agents” available for me to immediately slather with butter and devour without hesitation. While they do indeed develop a much nicer, firmer crusty finish after sitting out for a while to cool, I dare you to wait that long before eating just one. Or, in my wonderfully greedy case, two! The biggest problem I’ve often found with many bread rolls is that they aren’t sturdy enough for filling with anything substantial. These Papo Secos, however, hold up so incredibly well because of their robust outside crust that I confidently filled them with savory pork bifanas, and they absolutely did not fall apart or get soggy at all. I found all the measurements and timing in the recipe to be accurate. My dough was definitely doubled after 1 1/2 hours, both times. As the author suggests, I frequently put my dough in the oven with the light on for proofing, and it consistently works like a charm. Instead of using a towel to hold the formed rolls, I ingeniously used my metal baguette tray, and it held all 12 perfectly. I cooked them in two batches of six, utilizing my cast iron sheet pan.
Daniela Trapani
Absolutely lovely! These buns are wonderfully soft and incredibly tasty. We specifically made pulled pork sandwiches, and these rolls were perfectly able to hold all the marvelous juices without falling apart. I’m now entirely convinced that taking the time and effort to make your own bread from scratch is unequivocally worth it! These Papo Secos are far, far better than any bread I’ve ever purchased at a Portuguese bakery. I may very well have to double the recipe next time!
I found the suggestion of 35 revolutions for shaping to be a bit excessive, so I opted for about 10 turns instead. For the proofing stage, I chose to place my dough on a baking sheet lined with parchment paper and lightly dusted with flour, which I much preferred over using kitchen towels covered in flour to avoid extra washing! I then covered them simply with plastic wrap. Later, when I returned my shaped buns back to the dusted parchment-lined baking sheet, I didn’t bother to “prop them up,” and they held their shape just fine. I don’t own a baking stone, so I improvised and used the same baking sheet lined with parchment that my buns had been proofing on for baking. I poured water into the metal tray for steam, popped the baking sheet into the oven, and quickly closed the door. Yes, the buns were placed on a “cold” baking sheet, but they honestly didn’t seem to suffer at all! Plus, this method meant I didn’t have to wrestle with a baking peel and try to gracefully get the buns onto a hot stone without them sliding to the back of my oven. My rolls took 30 to 35 minutes to bake to a golden brown, so they certainly took a bit longer since they weren’t on a preheated stone. However, I would absolutely bake them this way again and highly recommend my method, as it was far easier than the traditional approach. The exterior was soft (I wouldn’t truly call it “crusty”) with some lovely big air bubbles, and the inside was light and airy, though the crumb was dense and didn’t have large, open holes. The flavor of these rolls was truly outstanding, and I will absolutely make them again and again.
Amanda S.
These rolls were undeniably soft and utterly delicious, boasting a delightful chewiness that made each bite a pleasure. They came out wonderfully, exceeding my expectations! The directions for shaping were clear and easy to follow, which was a huge help. I saw David’s rolls posted on his Instagram, and to my relief and satisfaction, mine looked just like his! I toasted them up the very next day for dinner, and man oh man, were they absolutely scrumptious!!! Beyond their fresh enjoyment, I also discovered that they freeze exceptionally well, making them perfect for preparing ahead of time or enjoying later.