Have you ever baked a cake only for it to turn out dense and dry? Or perhaps your cookies crumbled rather than melted in your mouth? And those brownies – were they cakey instead of perfectly fudgy? The culprit often isn’t your recipe or baking skills, but rather a common oversight: mismeasured flour. Flour is the backbone of most baked goods, and even a slight error in its measurement can dramatically alter the final texture and taste. This comprehensive guide will teach you How to Measure Flour Precisely Every Time, ensuring your baking adventures yield consistent, delicious results. Say goodbye to baking guesswork and hello to perfect pastries!
Why Accurate Flour Measurement Matters for Perfect Baking
Baking is often described as a science, and for good reason. Every ingredient plays a crucial role, and their precise ratios determine the success of your creation. Flour, in particular, is a foundational ingredient that provides structure, texture, and often contributes to the overall moisture content of a baked good. Unlike cooking, where a pinch of this or a dash of that might work, baking demands accuracy. Incorrectly measured flour can lead to a cascade of problems:
- Texture Issues: Too much flour makes baked goods dense, dry, and tough, as it absorbs excess moisture and creates too much gluten. Too little flour can result in weak structures that crumble, spread excessively, or become overly soft and greasy.
- Moisture Imbalance: Flour is highly absorbent. An excess will soak up all the liquid in your recipe, leaving your cakes crumbly and your cookies parched. Conversely, too little flour means not enough liquid is absorbed, resulting in a soggy, underbaked product.
- Flavor Dilution: While flour itself has a subtle flavor, its primary role is structural. When too much is added, it can dilute the intended flavors of other ingredients, making your dessert taste bland or overly floury.
- Inconsistent Results: If you’re not measuring flour consistently, you’ll find your favorite recipes yielding different results each time. One batch of cookies might be perfect, while the next is a disaster, all due to varying flour amounts.
Understanding these impacts highlights why mastering flour measurement is a fundamental skill for any baker aspiring to consistent, delicious outcomes. It’s the difference between a good bake and a truly great one.
The Unique Challenge: Why Measuring Flour is Different
You might think measuring ingredients is straightforward – just scoop and go, right? While this approach works perfectly for dense, granular ingredients like salt, granulated sugar, or baking soda, it’s a recipe for disaster when it comes to flour. Flour has a unique characteristic that sets it apart: it easily compacts.
When flour sits in its bag or container, gravity and vibrations cause the particles to settle and pack together. This compaction means that a cup of flour scooped directly from the bag can contain significantly more flour by weight than what a recipe intends. Imagine a fluffy cloud versus a dense brick; that’s the difference between properly measured and compacted flour. This seemingly small oversight can lead to an “over-measurement” of flour by as much as 20% or more, which, as we’ve discussed, has serious consequences for your final product. Fortunately, once you understand this fundamental difference, you can adopt techniques to ensure pinpoint accuracy every single time.
The Gold Standard: Measure Flour by Weight with a Kitchen Scale
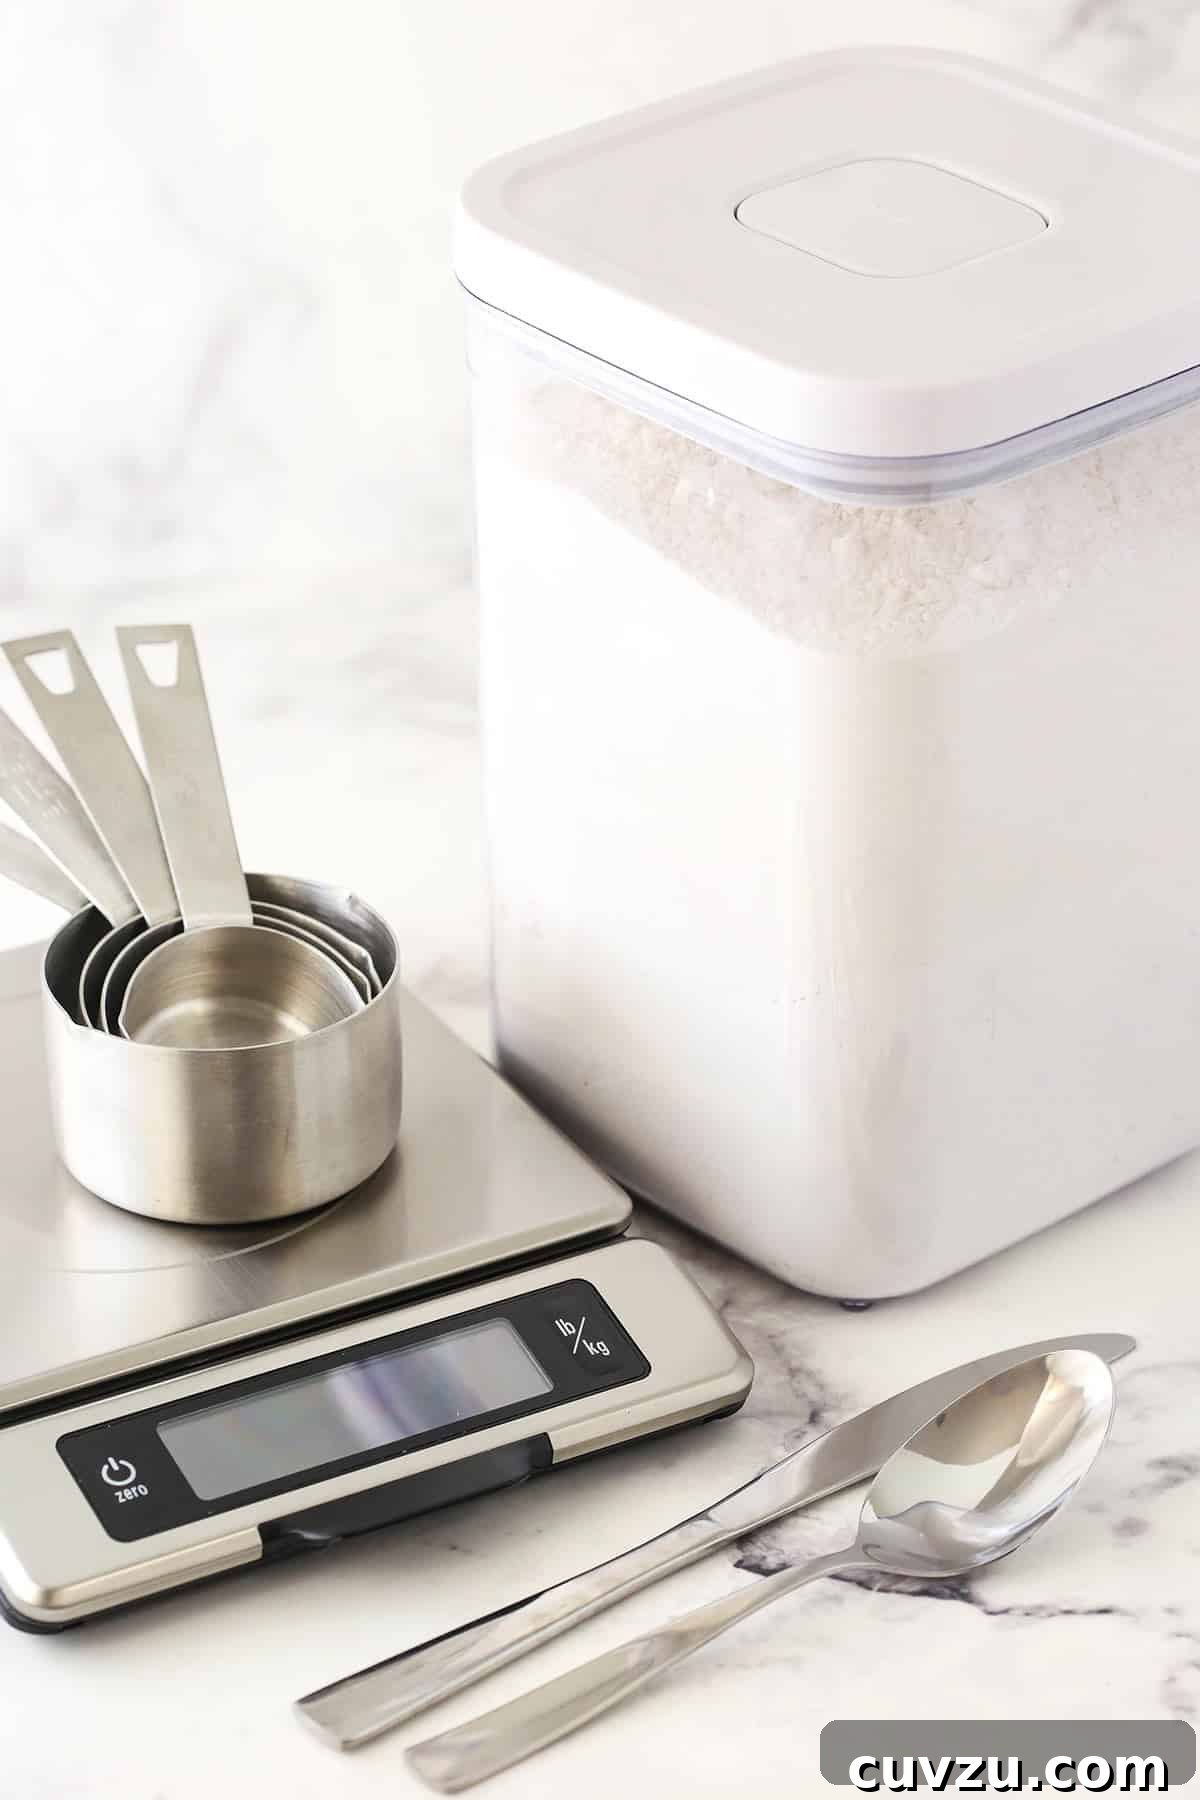
For guaranteed accuracy in baking, there is simply no substitute for weighing your flour with a digital kitchen scale. This method eliminates all guesswork associated with volume measurements (like measuring cups) and accounts for variations in flour compaction, humidity, and even the design of different measuring cups. If you’re serious about consistent, professional-quality baking, a kitchen scale is the single most valuable tool you can invest in.
Benefits of Using a Kitchen Scale:
- Unparalleled Accuracy: A gram is a gram, regardless of how packed or fluffy the flour is. This precision ensures your ingredient ratios are always exact.
- Consistency: Every time you use a recipe, you’ll get the same amount of flour, leading to reliable and repeatable results.
- Speed and Ease: Once you get the hang of it, weighing is often faster and less messy than the “spoon and level” method. Simply place your bowl on the scale, tare it to zero, and spoon in your flour until the desired weight is reached.
- Less Cleanup: You’re often measuring directly into your mixing bowl, cutting down on extra dirty dishes.
How to Use a Kitchen Scale to Measure Flour:
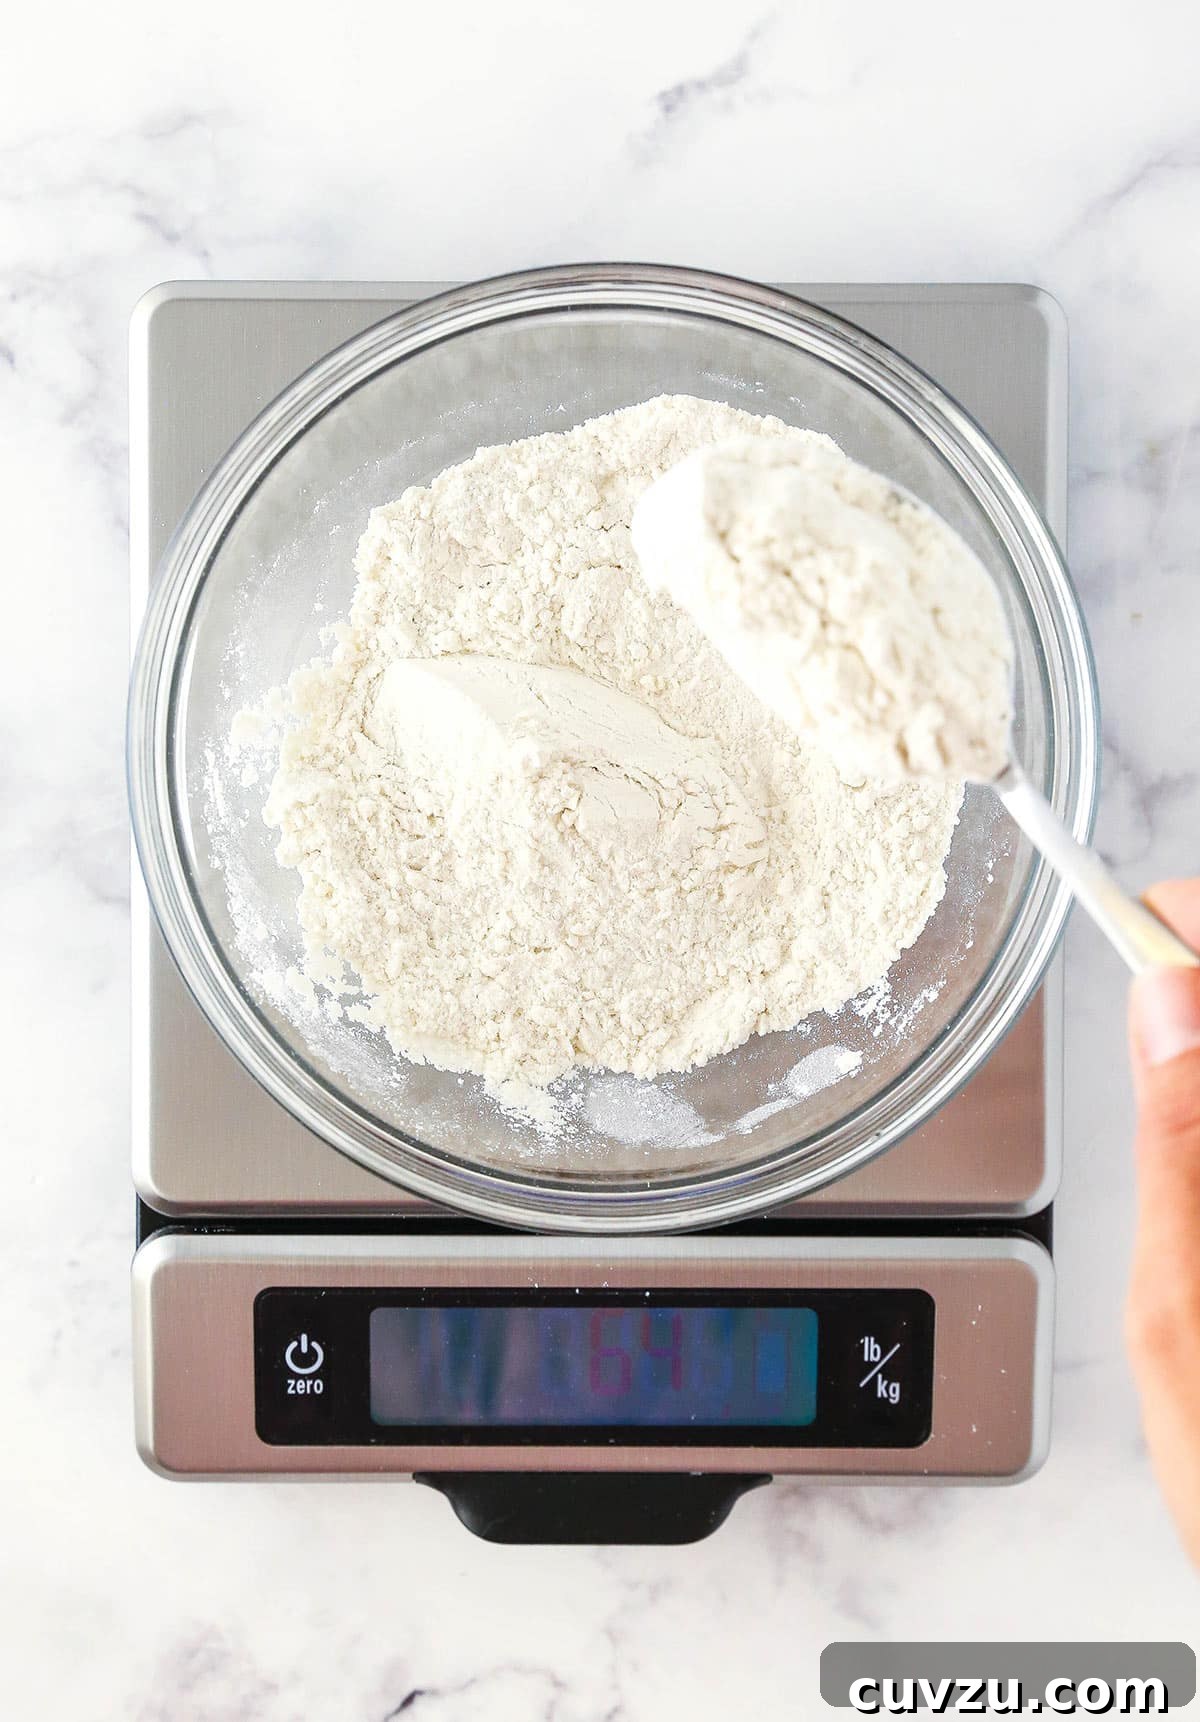
- Place a Bowl on the Scale: Put your mixing bowl or a separate small bowl on the digital kitchen scale.
- Tare the Scale: Press the “tare” or “zero” button. This calibrates the scale to ignore the weight of the bowl, showing only the weight of the ingredients you add.
- Add Flour Gradually: Carefully spoon flour into the bowl until the scale displays the exact weight specified in your recipe. It’s often easier to add slightly less than needed and then gradually sprinkle in the rest to hit the precise number.
Whether you opt for a feature-rich kitchen scale with multiple unit conversions and larger capacities, or a straightforward, inexpensive Amazon Basics model, the investment is more than justified for any frequent baker. It’s the ultimate tool for achieving baking perfection.
How Much Does a Cup of Flour Weigh? Standard Measurements
Understanding the weight equivalent of a cup of flour is crucial when using a kitchen scale. While there can be slight variations depending on the source and density, a commonly accepted standard for one cup of all-purpose flour is 130 grams. This is the measurement that countless professional bakers and recipe developers rely on for consistent results. My personal experience consistently confirms the success of using 130 grams for all-purpose flour.
It’s important to note that the weight will vary for different types of flour due to differences in their protein content, milling process, and overall density. For instance:
- Bread Flour: Typically denser, often around 135-140 grams per cup.
- Cake Flour: Lighter and finer, usually around 115-120 grams per cup.
- Whole Wheat Flour: Heavier due to the bran and germ content, often 120-130 grams per cup (though can vary greatly).
- Self-Rising Flour: Varies, as it includes leavening agents and salt, but often similar to all-purpose.
- Gluten-Free Flour Blends: Can vary significantly depending on the specific mix of flours (rice, almond, tapioca, etc.). Always check the specific brand’s recommendation or recipe notes.
When a recipe provides both cup and gram measurements, always defer to the gram measurement for the highest accuracy. If only volume is given, aim for the standard 130 grams for all-purpose flour, or research the typical weight for the specific flour type you are using.
Measuring Flour Without a Scale: The Spoon and Level Method
While a kitchen scale offers unmatched precision, not every home baker owns one, or sometimes a recipe only provides volume measurements. Fear not! If you need to measure flour by volume, the “spoon and level” method is your best friend. This technique significantly reduces the error associated with flour compaction, getting you much closer to the accurate amount needed for a successful bake. It requires a bit more care than just scooping, but the effort is well worth it for the improved results.
What Are the 3 Steps to Properly Measure Flour by Volume?
Resist the common urge to dunk your measuring cup directly into the bag of flour – that’s the primary cause of over-measurement. Instead, follow these three foolproof instructions for a near-perfect volume measurement:
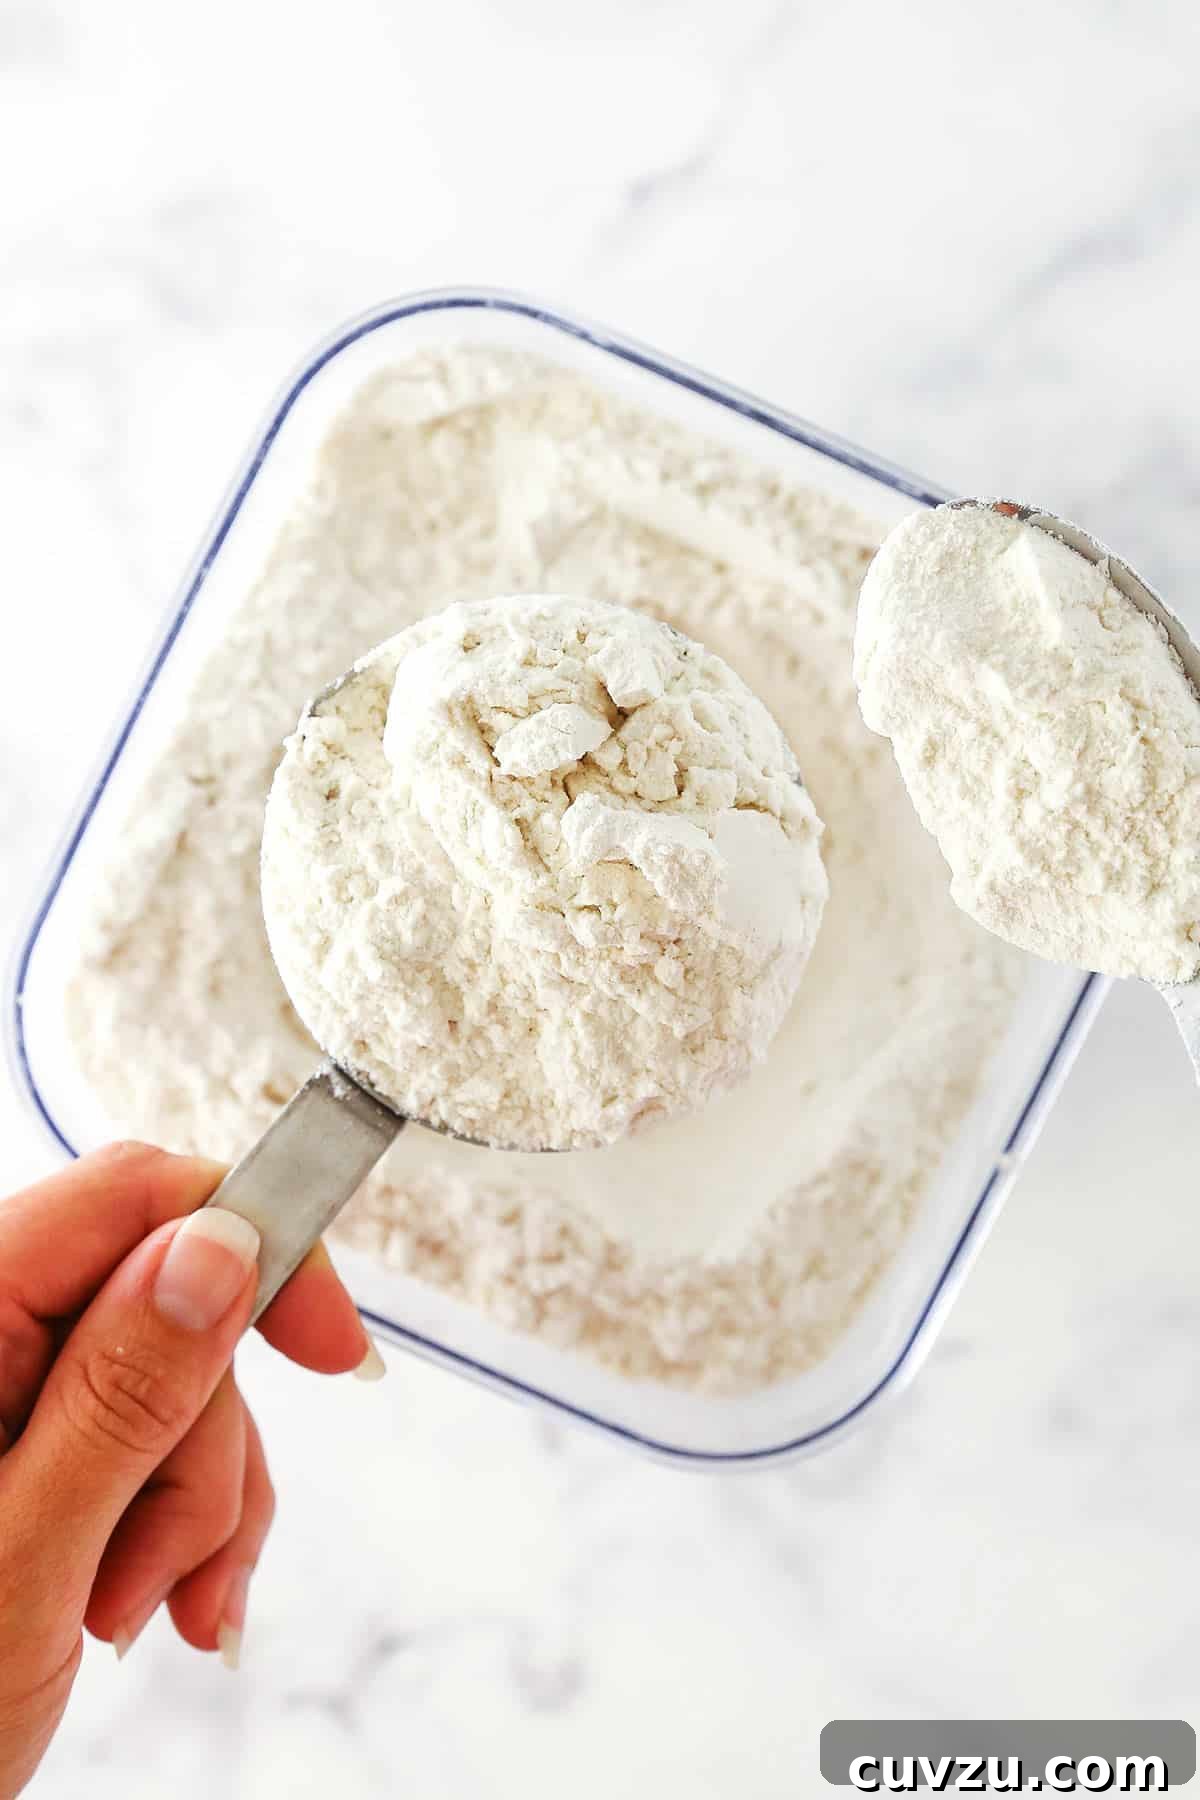
- Fluff It Up (Aeration is Key): Flour naturally settles and compacts over time in its container. Before you even think about scooping, you need to aerate it. Take a spoon, fork, or whisk and gently fluff up the flour in its bag or container. Dig deep and lift spoonfuls, letting them fall back down loosely. This breaks up any clumps and introduces air, mimicking the lighter density that recipes assume. For recipes requiring a significant amount of flour, you might need to repeat this fluffing process periodically as you measure.
- Spoon It In (Gentle Filling): Once the flour is properly fluffed, use a separate spoon (not the measuring cup itself) to gently spoon the flour into your dry measuring cup. Allow the flour to fall naturally and loosely into the cup until it heaps above the rim. Crucially, do NOT tap the measuring cup on the counter, shake it, or press the flour down at any point. Any form of compaction will defeat the purpose of fluffing and lead to an inaccurate measurement.
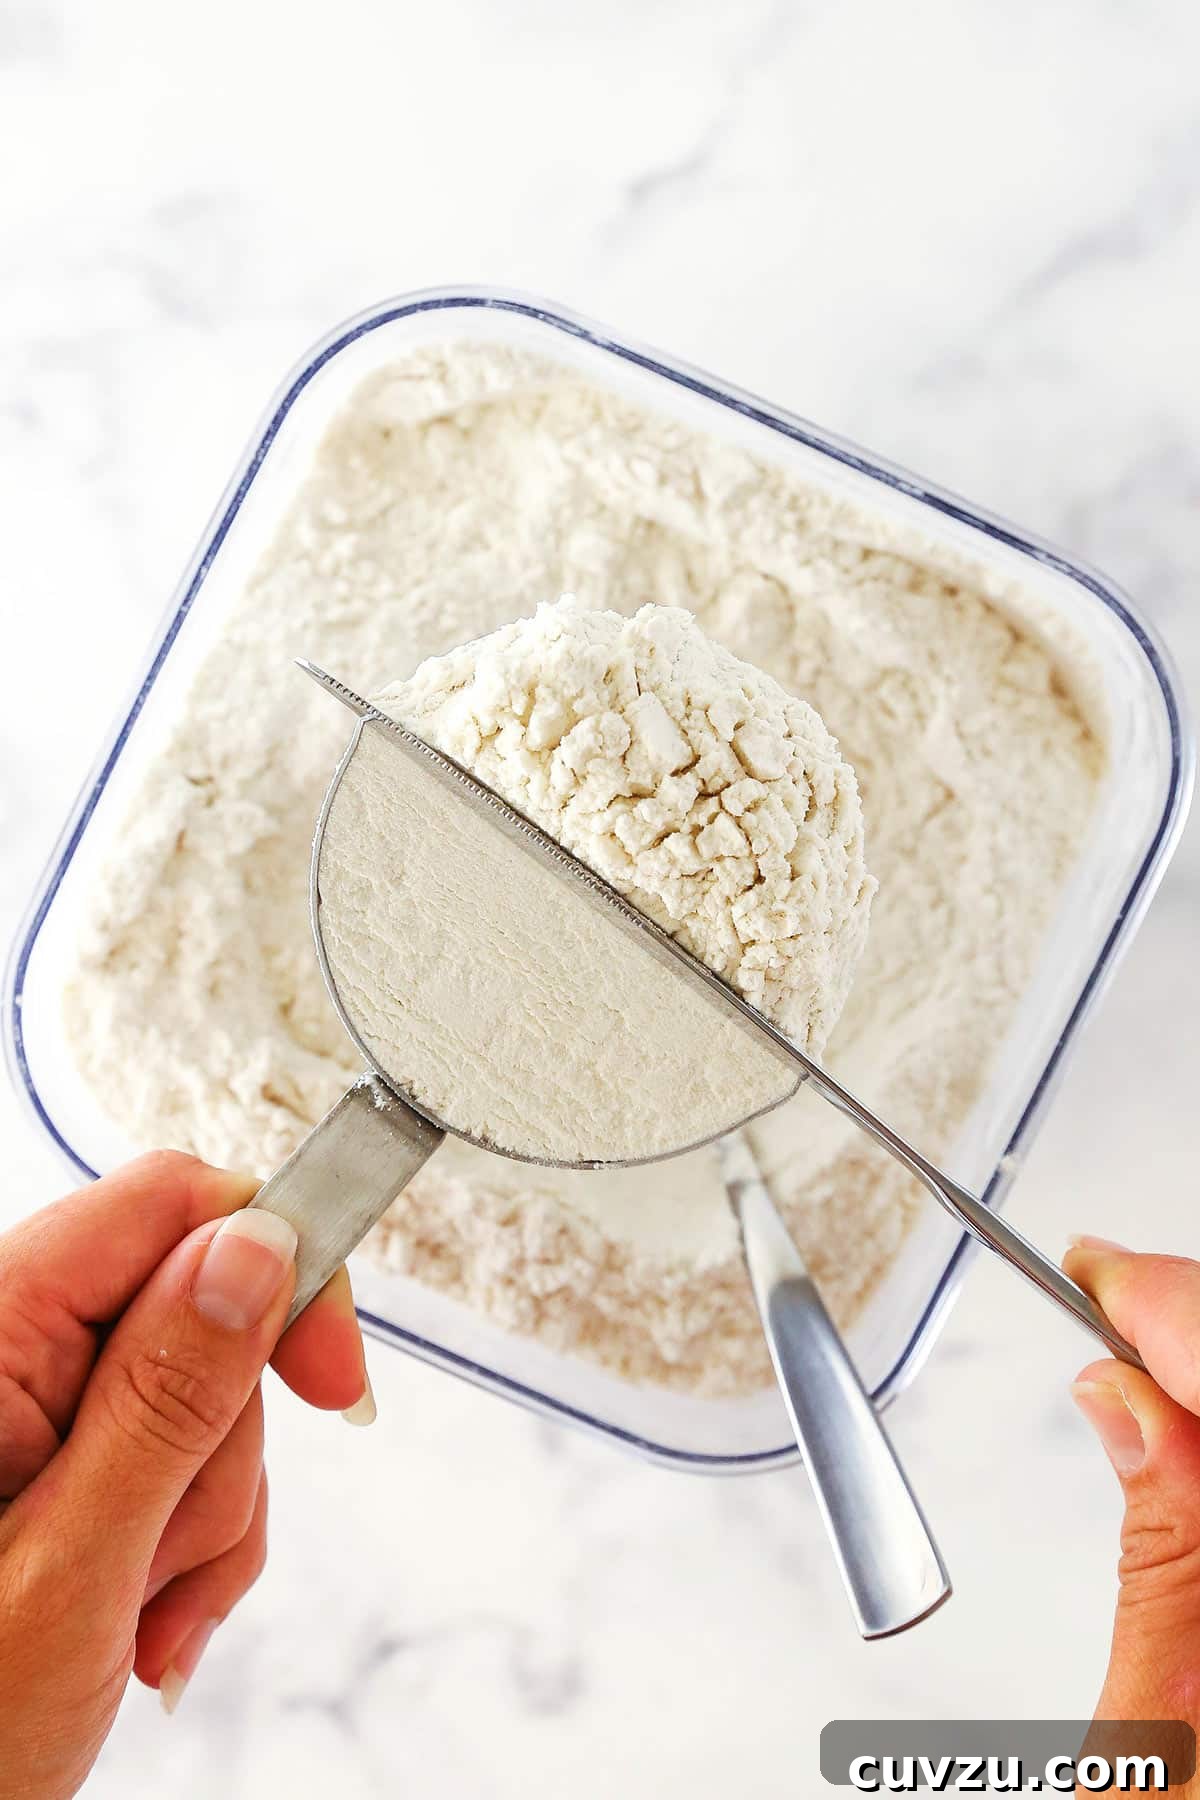
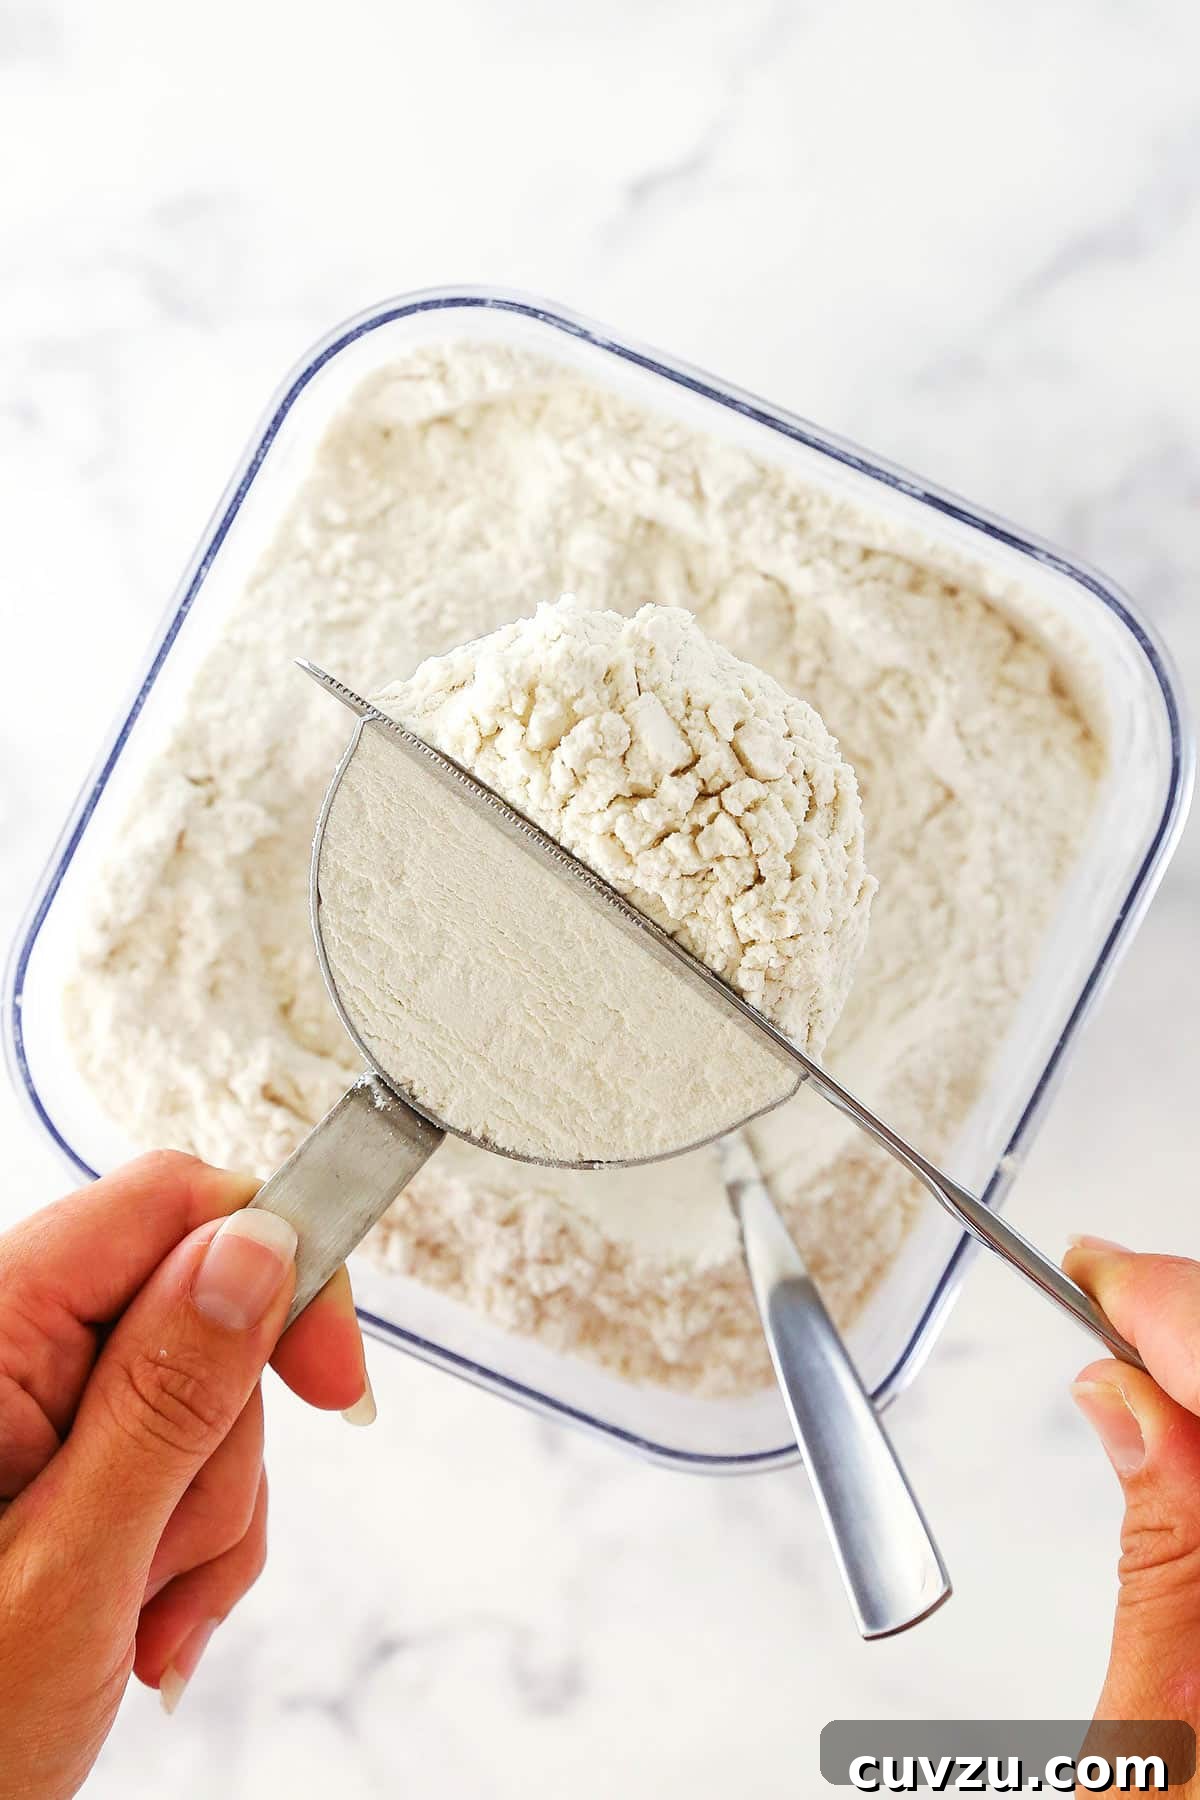
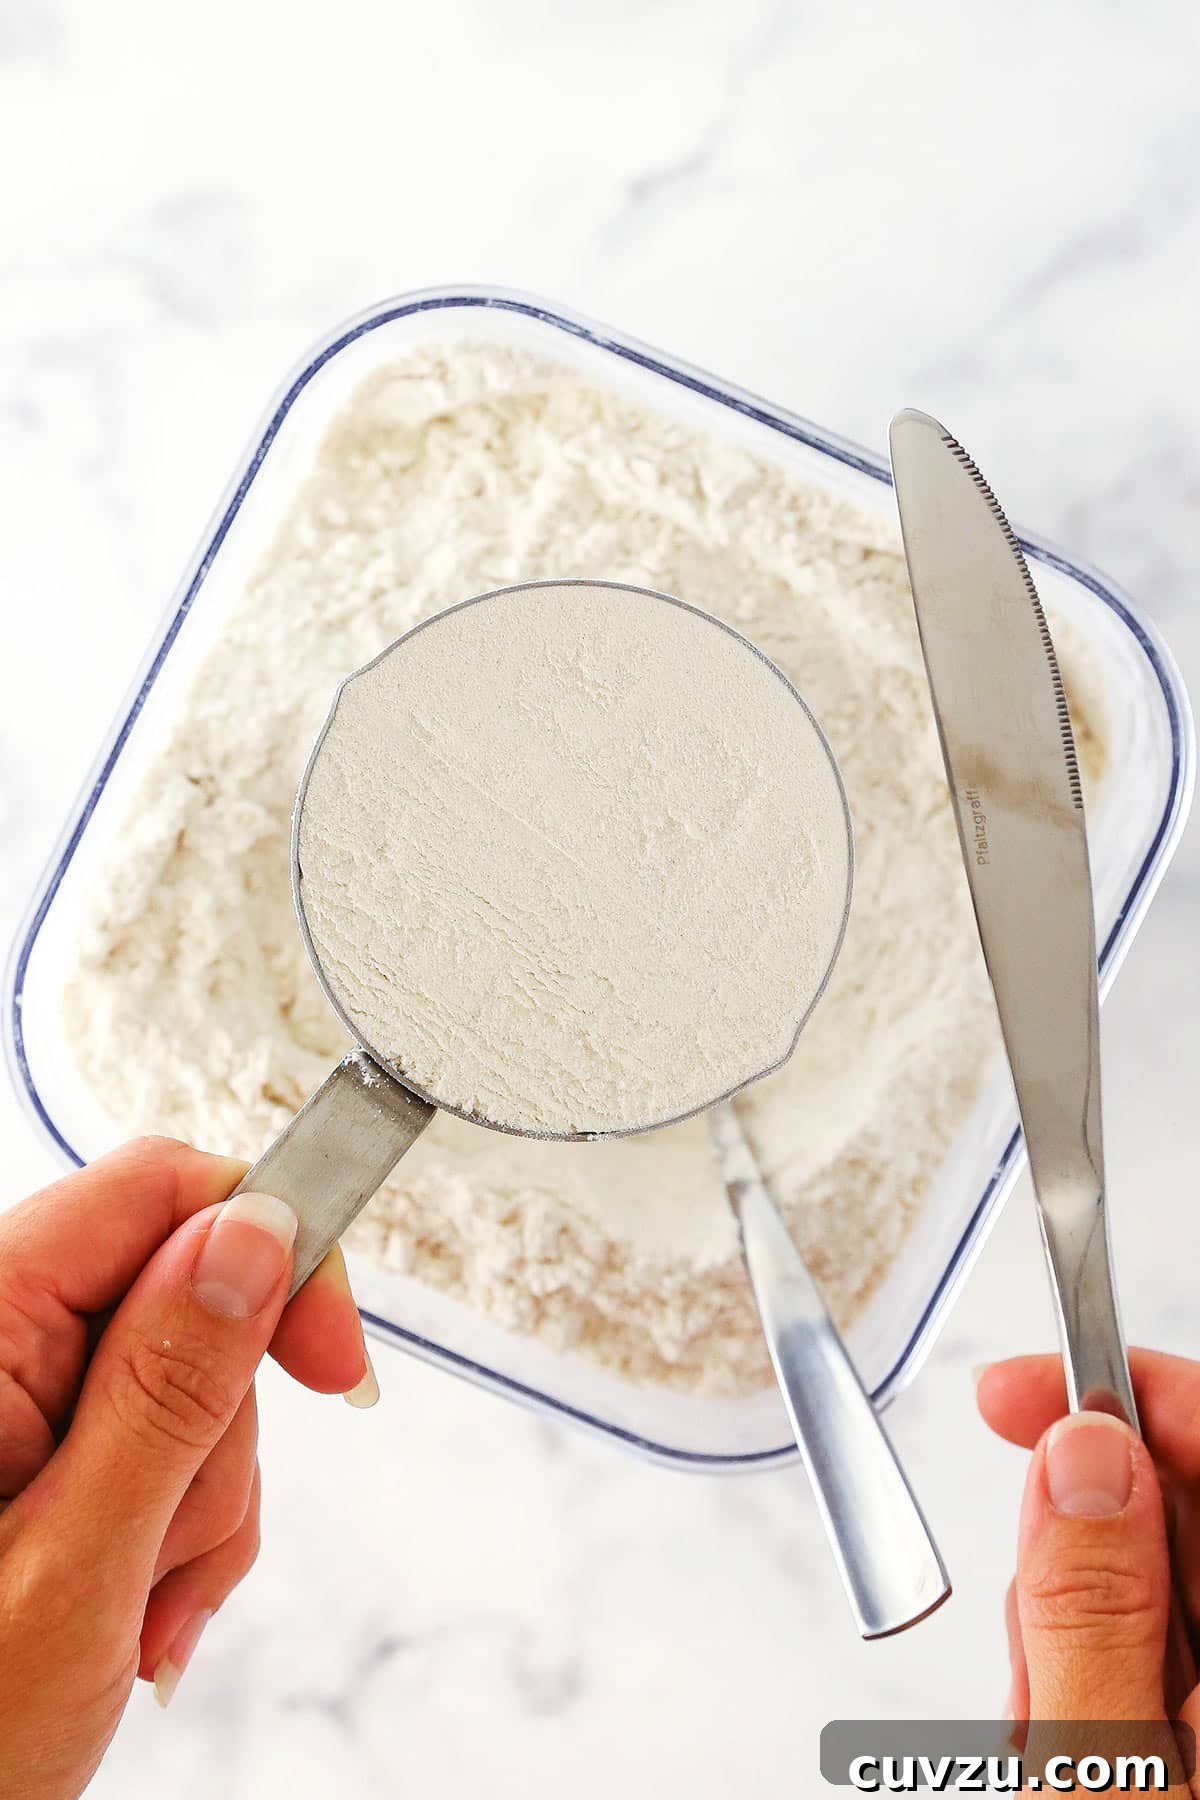
- Level It Off (Precision Finish): With the flour gently overflowing, take the blunt edge of a straight knife, an offset spatula, or even the straight handle of another spoon, and gently scrape it across the top rim of the measuring cup. This removes the excess flour without compacting the flour inside the cup, ensuring a perfectly level and accurate volume measurement. The goal is a smooth, level surface.
By diligently following these three steps, you’ll achieve a flour measurement that is remarkably close to what a recipe intends, even without the aid of a kitchen scale. This method is a crucial skill for any home baker.
Common Flour Measurement Mistakes and Their Impact
Understanding the correct methods is only half the battle; recognizing common pitfalls can save your baking. Here are the most frequent mistakes bakers make when measuring flour and why they can derail your recipe:
- The “Direct Scoop” Method: This is the most prevalent error. Dipping your measuring cup straight into the flour bag packs the flour significantly, often yielding 20-30% more flour by weight than intended. The result? A heavier, denser product with insufficient moisture. Cakes become bricks, cookies don’t spread, and bread turns out tough.
- Tapping or Shaking the Measuring Cup: Even if you spoon the flour in, tapping the cup on the counter or shaking it will cause the flour to settle and compact, leading to over-measurement. Remember, the goal is a loose, aerated fill.
- Using the Wrong Type of Measuring Cup: There’s a difference between liquid and dry measuring cups. Liquid measuring cups have a spout and measurements below the rim to prevent spills, making it difficult to level dry ingredients accurately. Dry measuring cups are designed to be filled to the brim and leveled precisely. Always use dry measuring cups for dry ingredients like flour.
- Sifting When Not Directed: Sifting flour makes it much lighter and introduces more air. If a recipe calls for “1 cup flour, sifted,” you sift it before measuring. If it says “1 cup sifted flour,” you sift first, then measure. However, if it simply says “1 cup flour” and you sift it before measuring (or measure, then sift, assuming it’s for lightness), you will end up with too little flour by weight, potentially leading to a weak structure, excessive spreading, or a greasy texture.
- Ignoring Humidity: In very humid environments, flour can absorb moisture from the air, making it heavier. While difficult to control perfectly, awareness can help you slightly adjust if your flour seems unusually dense.
Being mindful of these common mistakes will further hone your flour measurement skills and drastically improve your baking consistency.
Comparing Flour Measurement Methods: A Practical Demonstration
To vividly illustrate the impact of different measurement techniques, I conducted a simple comparison using three common methods to measure what should be one cup of all-purpose flour (standard target: 130 grams). The results clearly demonstrate why technique matters:
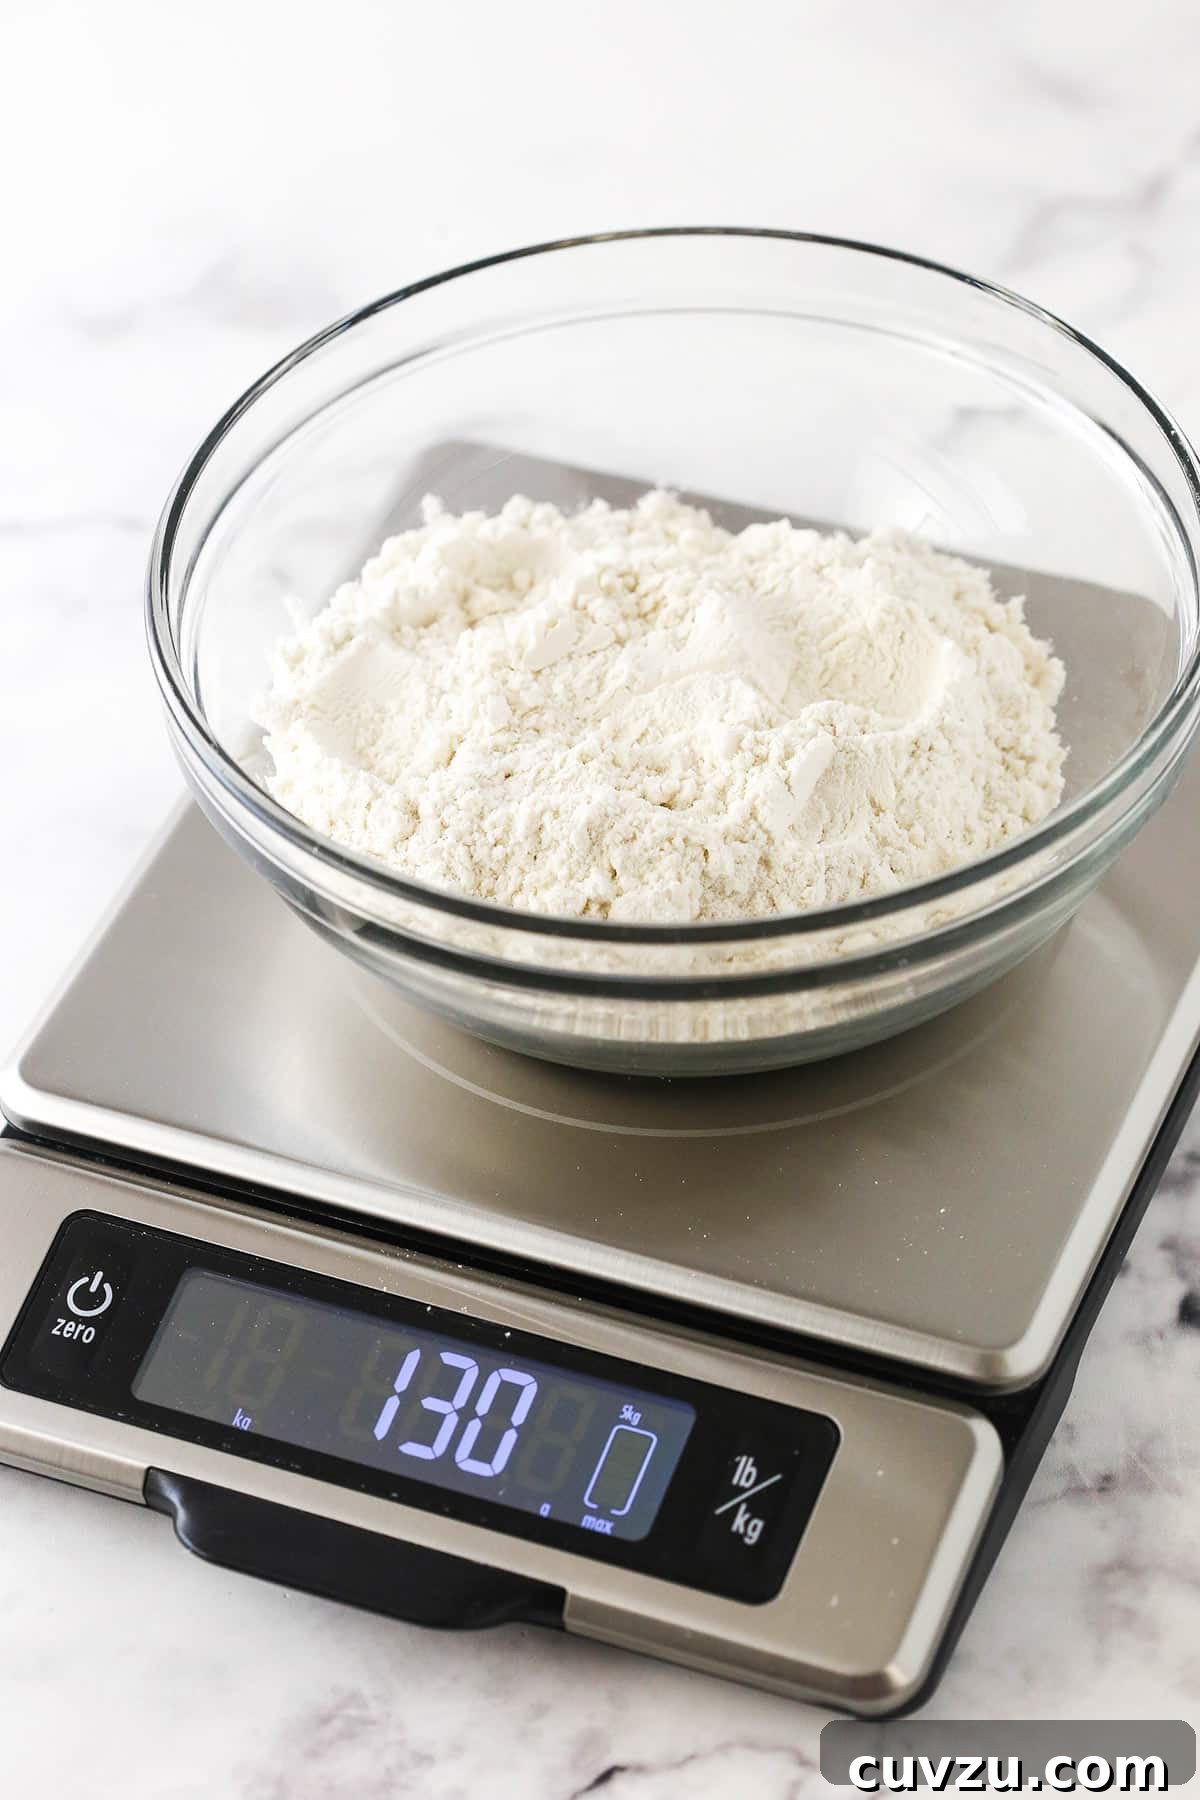
- Kitchen Scale Method: Unsurprisingly, this technique yielded precisely 130 grams of flour. This result reinforces why weighing is the most accurate and reliable method, removing all ambiguity and ensuring the exact amount specified in the recipe.
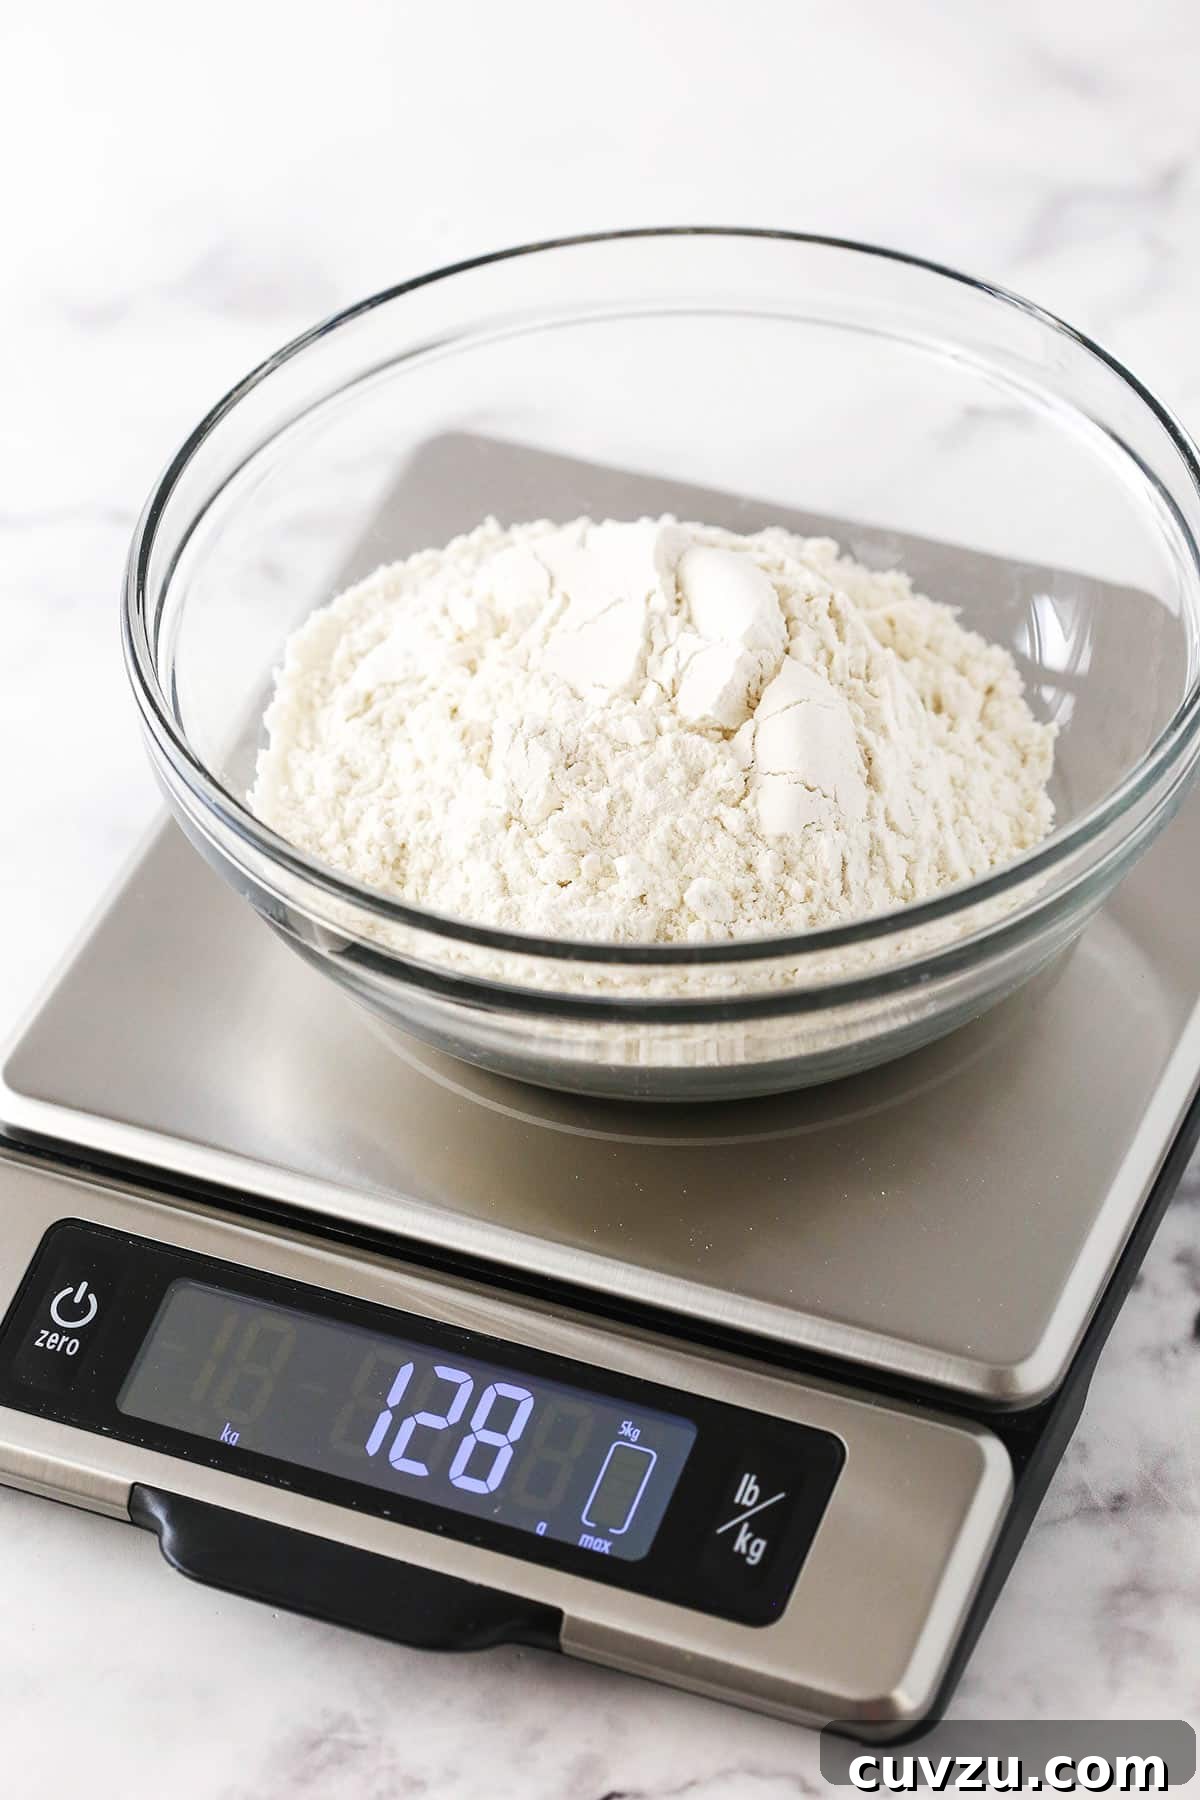
- Spoon and Level Method: This method proved to be impressively accurate for a volume-based approach. My cup of flour weighed in at 128 grams. This is exceptionally close to the 130-gram target, a mere 2-gram difference. Such a minor variation is typically negligible and would have no discernible impact on the taste or texture of most baked goods. It confirms that the spoon and level method is a highly effective alternative when a scale isn’t available.
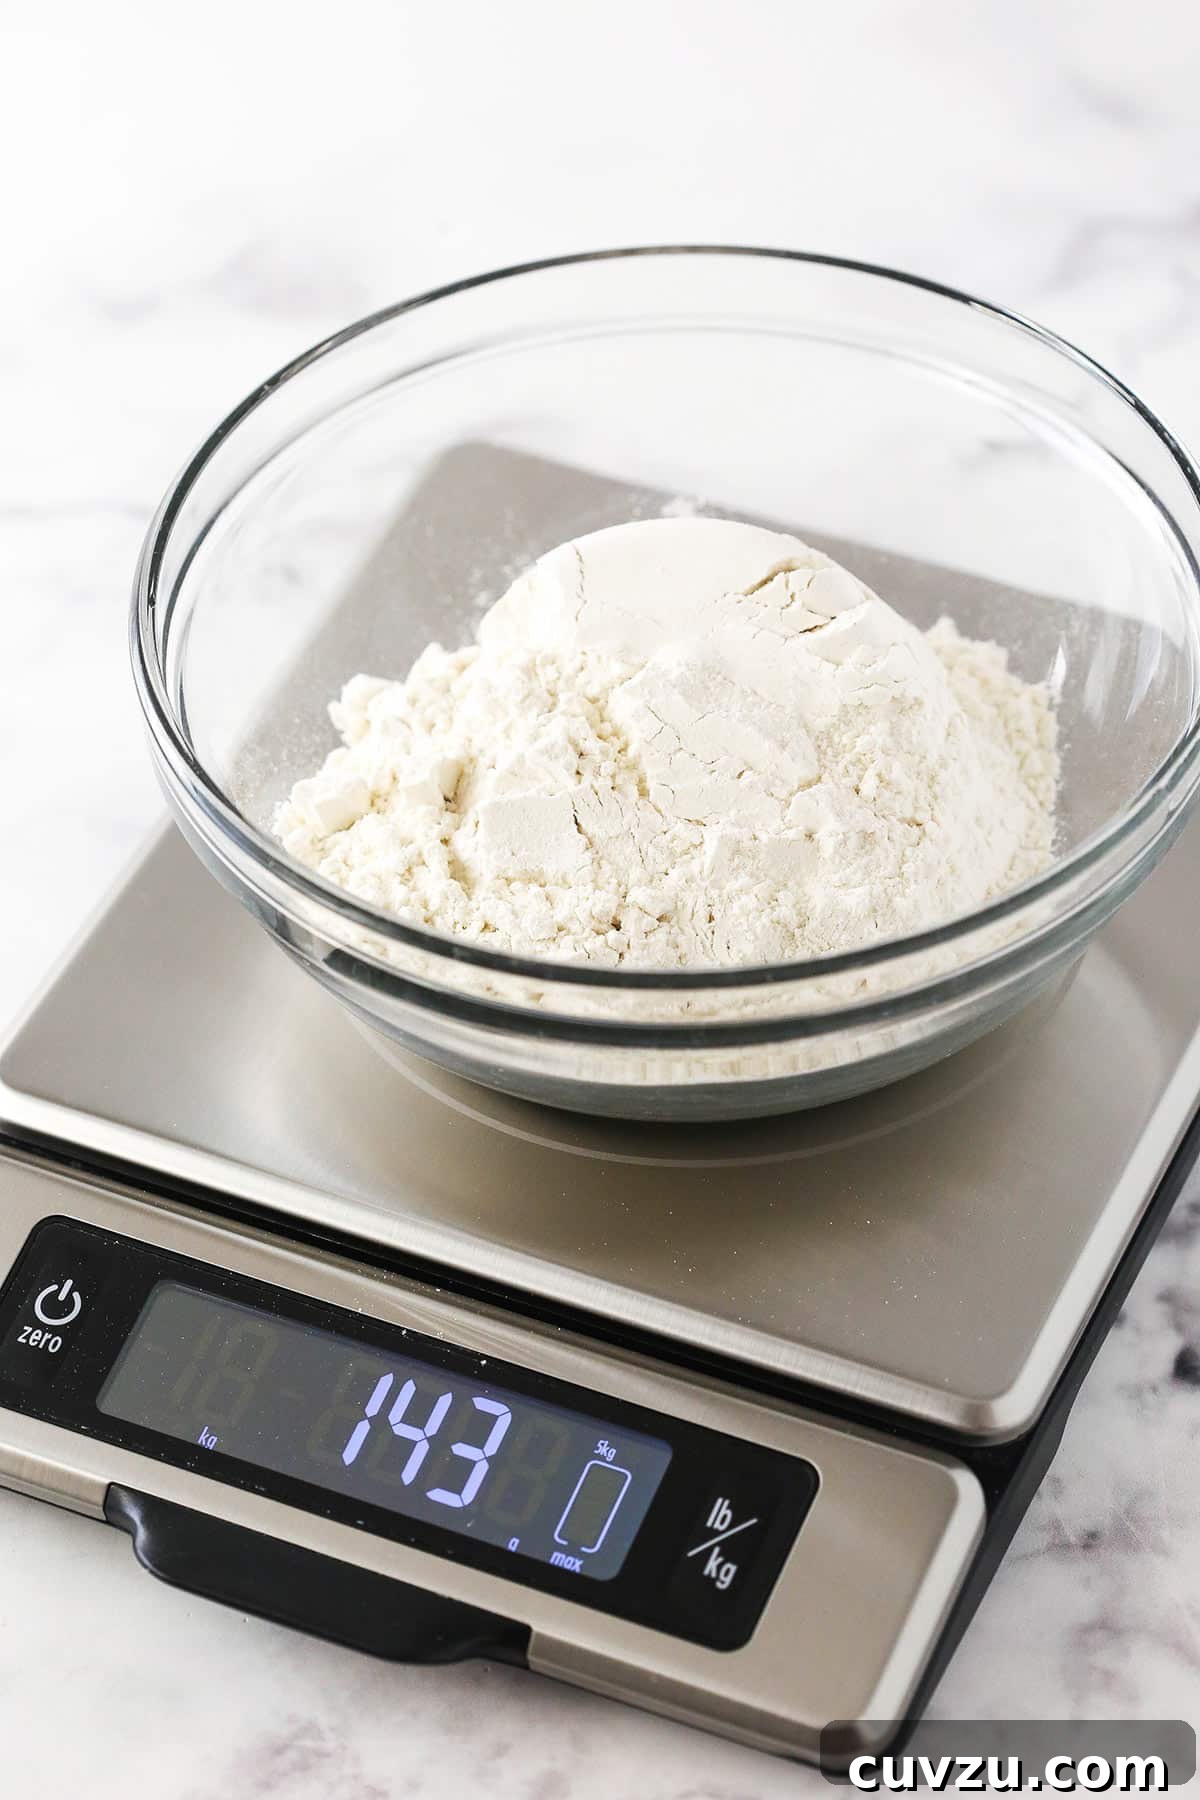
- Direct Scoop Method: This is where the problems arise. When I simply dipped the measuring cup directly into the flour bag, without fluffing or spooning, the resulting cup of flour weighed a hefty 143 grams. That’s an excess of 13 grams per cup! To put this into perspective, if a recipe calls for 3 cups of flour, you would inadvertently be adding an extra 39 grams of flour – which is more than a quarter of an additional cup. This substantial over-measurement would undoubtedly lead to stiff, dense cakes, cookies that refuse to spread, and dry, crumbly textures in almost any baked good. It highlights the critical importance of avoiding the direct scoop method at all costs.
This comparison underscores the value of precise flour measurement. While the spoon and level method provides a very good approximation, the kitchen scale remains the undisputed champion for ultimate accuracy and consistent baking success.
Expert Tips for Flour Measurement Success
Beyond the core techniques, a few additional considerations can elevate your flour measurement game and contribute to consistently excellent baking results:
- Different Flour, Different Densities: Remember that all flours, from fine cake flour to coarse whole wheat or gluten-free blends, have the same tendency to compact. Always apply the kitchen scale or spoon and level method regardless of the flour type. Crucially, if you’re using a food scale, always verify the specific weight (in grams) associated with that particular type of flour, as it will likely differ from all-purpose flour. A quick online search for “1 cup [type of flour] in grams” can usually provide this information.
- Always Use the Right Measuring Tools: This bears repeating: utilize dry measuring cups for dry ingredients and liquid measuring cups for liquid ingredients. Dry measuring cups are designed to be leveled off, while liquid cups have a pouring spout and headspace for accurate reading at eye level. Mismatching these tools will lead to inaccuracies.
- Sift Only When the Recipe Instructs: Sifting flour incorporates air and makes it lighter and finer. If a recipe explicitly states “1 cup sifted flour” or “sift flour before measuring,” then you should absolutely do so. However, if the recipe simply says “1 cup flour” and you sift it, you’ll end up with significantly less flour by weight than intended, potentially leading to a lack of structure in your baked goods, causing them to spread excessively or be too moist. Always read the recipe carefully!
- Consider Temperature of Ingredients: While not as critical as with fats (like butter), cold flour can be denser than room-temperature flour. For most recipes, using room-temperature ingredients, including flour, can contribute to a more consistent dough or batter.
- Store Flour Properly: Even the most accurately measured flour won’t perform well if it’s past its prime. Proper storage is key to maintaining freshness and consistent texture.
Beyond Measurement: How to Keep Flour Fresh and Flavorful
Even perfectly measured flour won’t yield exceptional results if it’s no longer fresh. Proper storage is essential not only to prevent spoilage and pests but also to maintain its consistent texture and baking properties. Here’s how to ensure your flour stays in top condition:
Airtight Storage is Paramount:
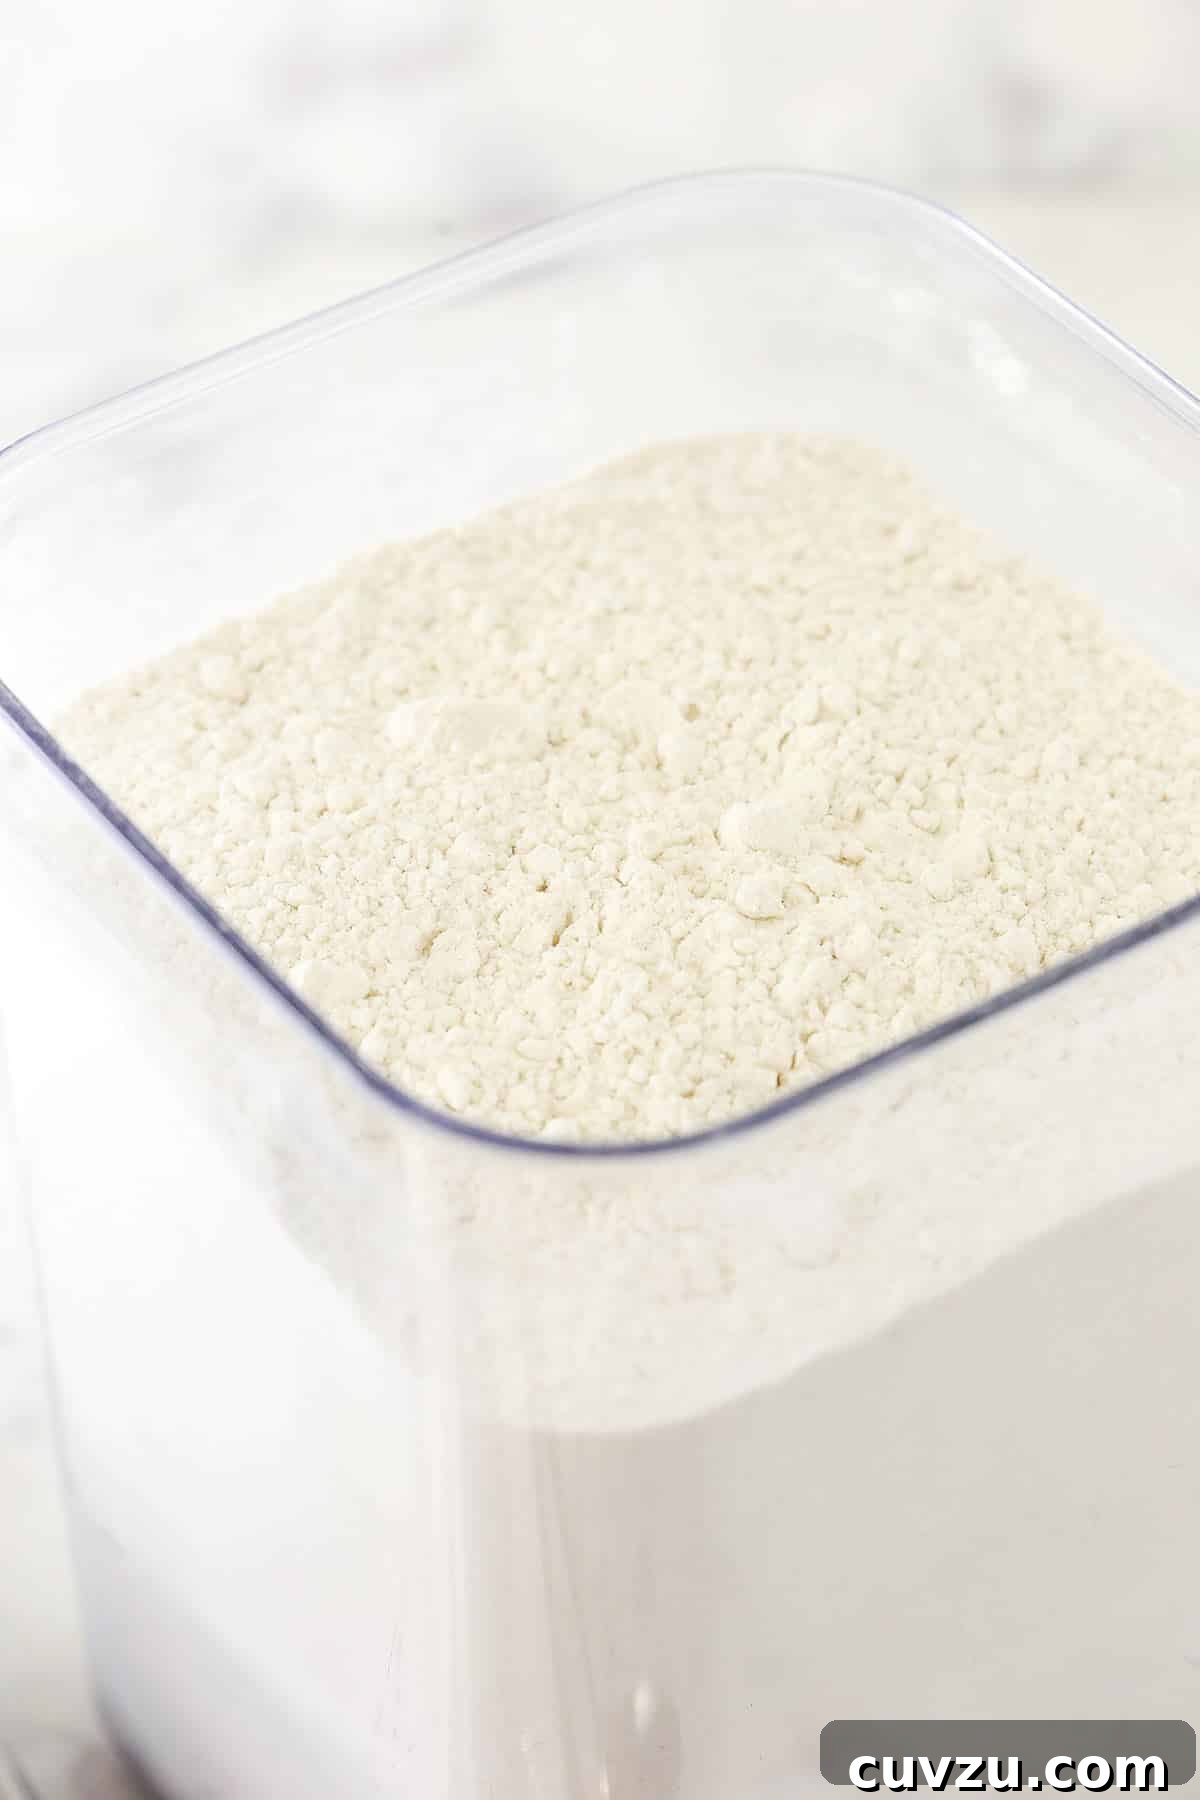
Once you open the original bag, transfer your flour to an airtight container. This is the single most important step. Airtight containers prevent moisture, odors, and pantry pests from getting in, and they keep the flour from absorbing environmental humidity, which can alter its weight and performance. Glass jars with rubber seals, sturdy plastic containers with secure lids, or large, heavy-duty resealable storage bags (with all the air squeezed out) are excellent choices.
Where to Store Your Flour:
- Pantry (Short-Term): For general all-purpose or bread flour, a cool, dark, dry pantry or cabinet is suitable for up to 6-8 months after opening. Ensure it’s away from direct sunlight, heat sources (like ovens or dishwashers), and fluctuating temperatures.
- Refrigerator (Mid-Term): If you bake infrequently or want to extend the shelf life of more perishable flours (like whole wheat, rye, or specialty flours with higher oil content that can go rancid faster), the refrigerator is a great option. Stored in an airtight container, flour can last for an additional 4-6 months here. Just be extremely cautious about moisture condensation; ensure the container is truly sealed to prevent mold growth and absorption of fridge odors. Allow refrigerated flour to come to room temperature before using, as cold flour can affect liquid absorption.
- Freezer (Long-Term): For the longest possible shelf life, or for large quantities of flour, the freezer is ideal. In an airtight, freezer-safe container or bag, flour can stay fresh for up to a year, sometimes even longer. Freezing also kills any potential insect eggs that might have been in the flour when purchased. Before using frozen flour, always bring it to room temperature completely to prevent excess moisture from interfering with your recipe. It’s often helpful to measure it out while still cold, then allow the measured portion to thaw.
Signs of Spoiled Flour:
- Off Odor: Fresh flour has a neutral, slightly earthy smell. If it smells sour, musty, or like stale nuts (especially whole wheat flour), it’s likely gone rancid or absorbed odors.
- Discoloration: While subtle, any noticeable change in color, particularly a yellow or gray tint, can indicate spoilage.
- Mold or Pests: Obvious signs of mold growth or the presence of weevils or other pantry pests mean the flour should be discarded immediately.
By combining meticulous measurement techniques with proper storage, you’re setting yourself up for consistent baking success, ensuring every ingredient contributes optimally to your culinary creations.