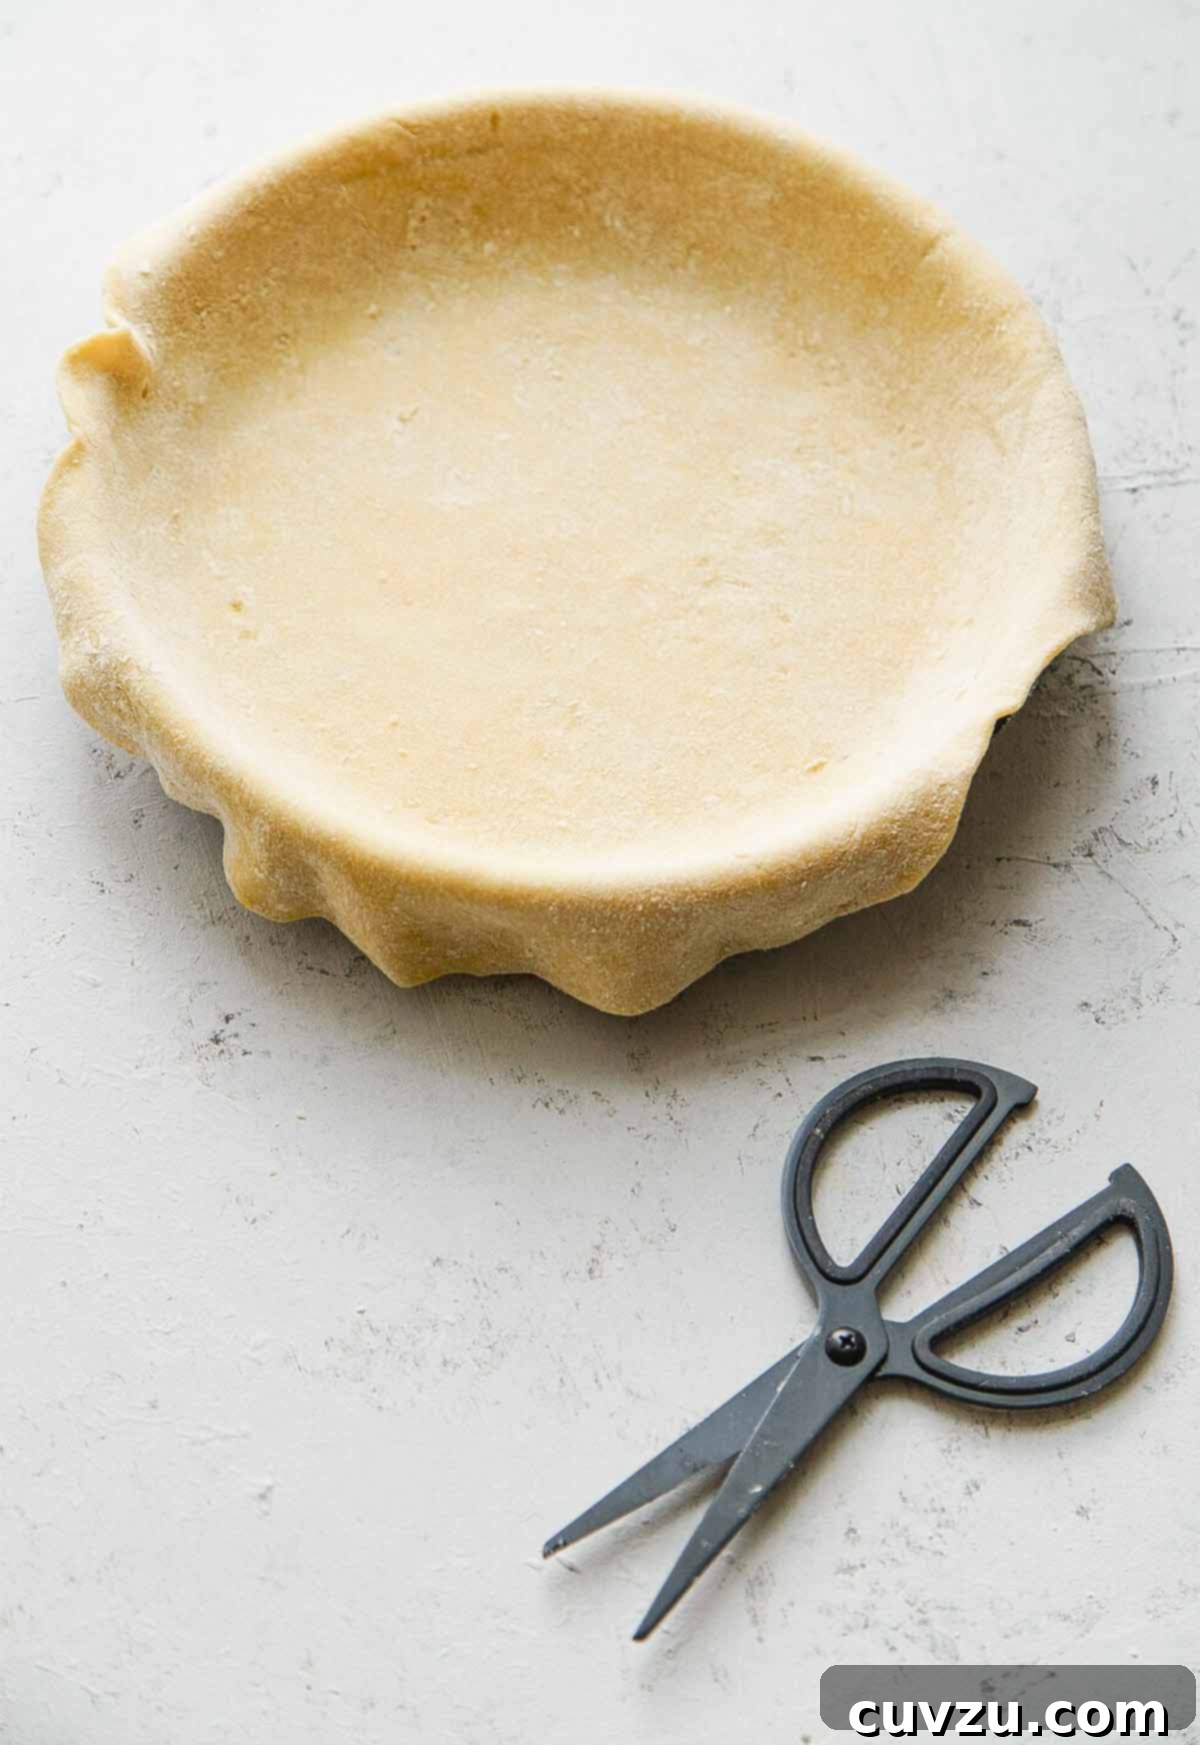
The Ultimate Cream Cheese Pie Crust: Easy, Flaky, and Foolproof for Every Baker
Imagine a pie crust that’s not only incredibly flaky and tender but also remarkably easy to work with. A crust that forgives your every imperfection and still bakes up golden brown and delicious. This isn’t a baking fantasy; it’s the magic of a cream cheese pie crust. Often touted as a beginner-friendly alternative to traditional all-butter crusts, the addition of cream cheese transforms ordinary dough into a tender, pliable masterpiece, making your pie-making journey a joy rather than a struggle.
Whether you’re crafting a luscious apple pie, a savory quiche, or a delicate tart, this cream cheese pie crust recipe is your secret weapon. It produces a crust that’s rich in flavor, delightful in texture, and resilient to handling – meaning you spend less time worrying and more time enjoying the baking process. Plus, our recipe makes enough for two crusts, giving you the perfect excuse to prepare one for immediate use and freeze another for a spontaneous baking adventure later!
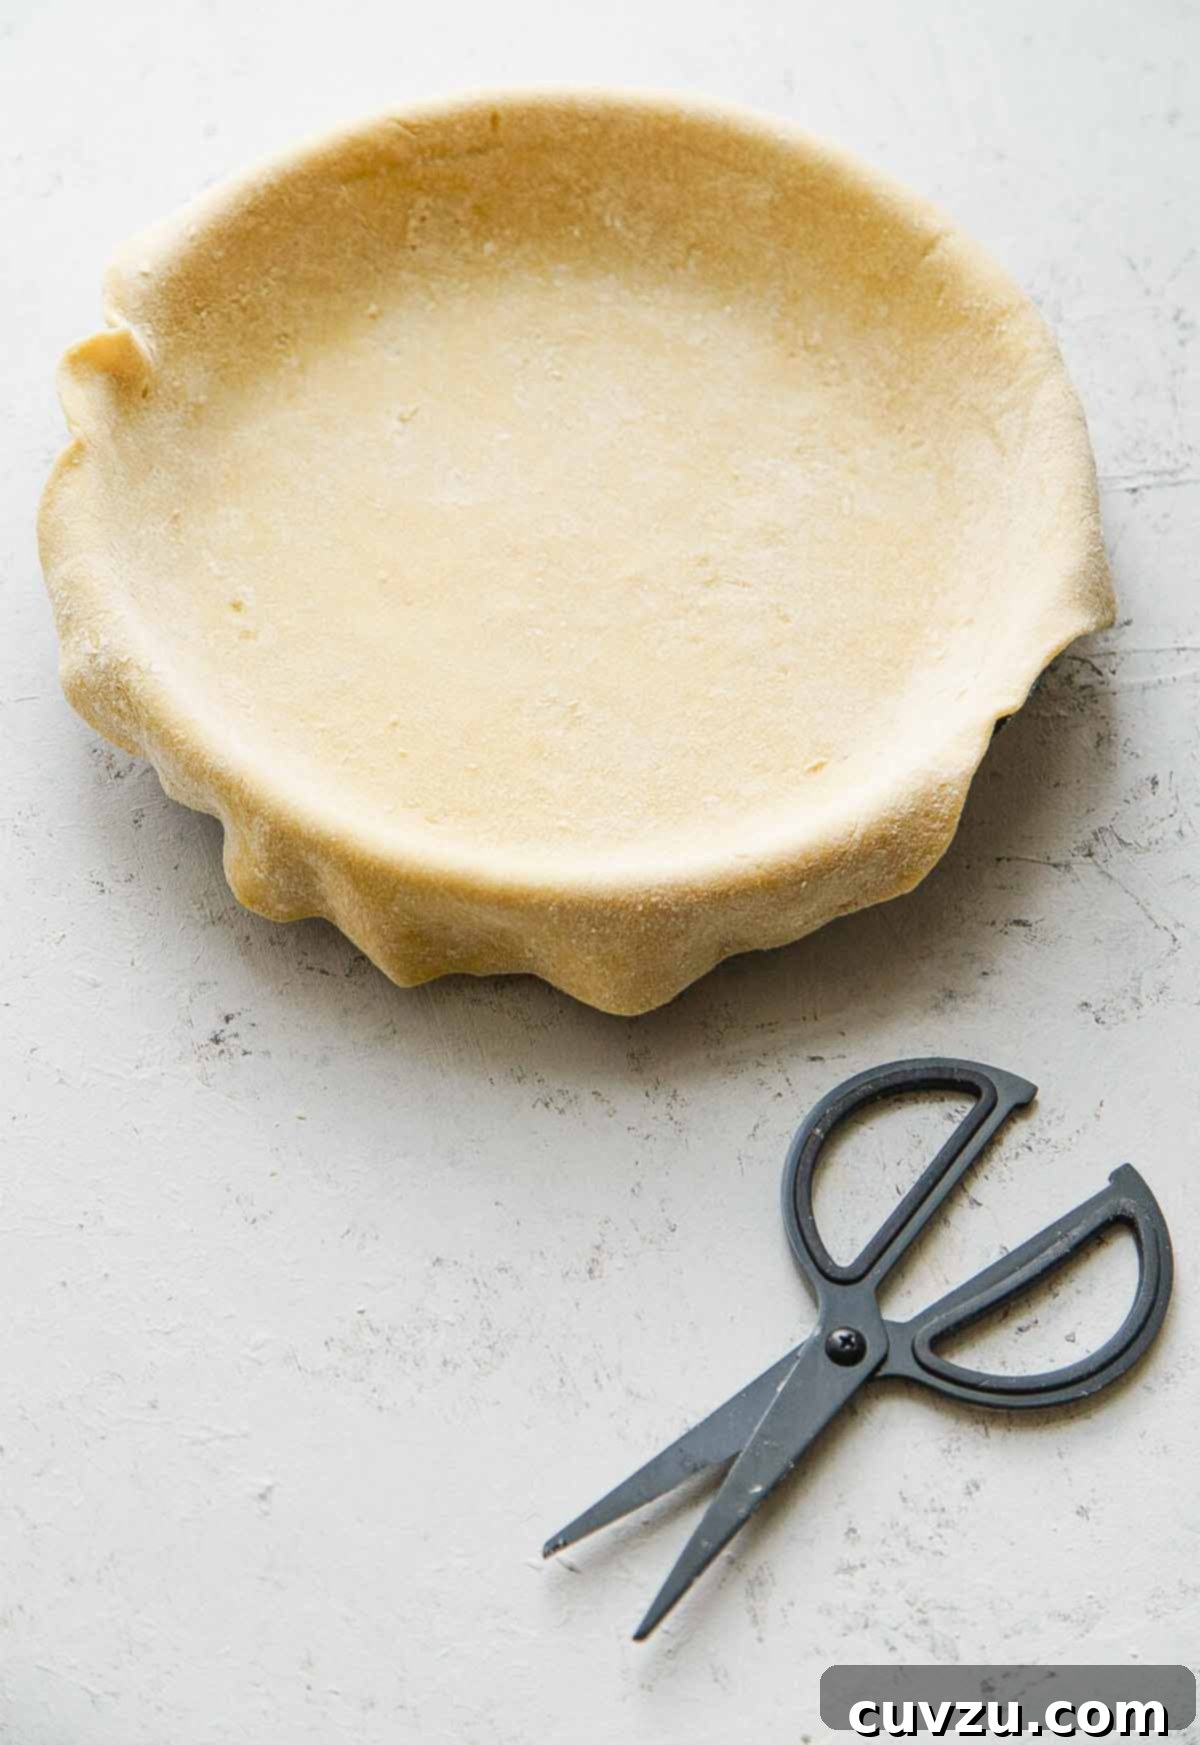
Why Choose a Cream Cheese Pie Crust? The Secret to Stress-Free Baking
For many home bakers, pie crust can be intimidating. The quest for that elusive flaky, tender texture without it shrinking or becoming tough often feels like a high-stakes culinary challenge. This is precisely where the cream cheese pie crust shines, offering a delightful solution to common pie-making dilemmas. Here’s why this recipe is a game-changer and how cream cheese works its magic:
- Unmatched Tenderness and Flakiness: The cream cheese introduces additional fat and moisture to the dough, which significantly inhibits gluten formation. Gluten is essential for structure in bread, but too much in a pie crust leads to toughness. By minimizing gluten development, cream cheese ensures a crust that literally melts in your mouth with every bite. The interaction of the fat and dairy creates delicate, buttery layers that define a truly flaky crust.
- Incredibly Forgiving Dough: Unlike temperamental all-butter crusts that demand a light touch and quick handling, cream cheese dough is much more pliable and forgiving. It’s less prone to tearing, cracking, or becoming crumbly during the rolling process, making it ideal for beginners and seasoned bakers alike. You won’t feel like you’re walking on eggshells with this dough; it handles beautifully, allowing you to focus on shaping and fluting rather than damage control.
- Resists Shrinking During Baking: One of the most frustrating aspects of pie making is the dreaded crust shrinkage in the oven. The cream cheese in this recipe acts as a stabilizer, helping the dough maintain its shape and size during baking. This means your beautifully fluted edges will stay put, ensuring a visually stunning and properly sized pie every time. Say goodbye to sad, slumped crusts!
- Rich and Balanced Flavor Profile: Beyond its texture benefits, cream cheese imparts a subtle tang and richness that perfectly complements a wide array of fillings, from sweet fruit pies and creamy custards to savory quiches and hearty meat pies. It adds a depth of flavor that elevates your finished dish without overpowering it, providing a delicious counterpoint to both sweet and savory notes.
- Versatility for Any Filling: This recipe is a true chameleon, equally at home whether supporting a vibrant berry pie, a classic pumpkin pie, a hearty chicken pot pie, or an elegant savory tart. Its balanced flavor and sturdy yet tender structure make it suitable for virtually any pie application you can imagine, making it a valuable addition to your baking repertoire.
Embrace the ease and deliciousness that a cream cheese pie crust brings to your kitchen. It’s time to banish pie crust anxiety and welcome perfect, stress-free pies with open arms!
Cream Cheese Pie Crust Recipe
⭐
⭐
⭐
⭐
Recipe by David Leite
- PIN
Print Recipe
Dessert, Mains, Baking
American, Southern
2 (9-inch) pie crusts
129 kcal
45
1 hour (minimum)
Ingredients
-
3 cups unbleached all-purpose flour
(Using unbleached flour can contribute to a slightly more tender crust, though bleached will also work. Ensure your flour is fresh for best results.)
-
1 1/2 teaspoons kosher salt
(Salt is crucial for flavor balance, especially in a rich crust. It enhances the taste of both sweet and savory fillings.)
-
1/2 teaspoon baking powder
(A small amount of baking powder provides a tenderizing effect and helps with the lightness of the crust, contributing to that perfect flakiness.)
-
2 sticks plus 2 tablespoons (9 oz) unsalted butter, chilled and cut into small pieces
(Keeping butter very cold is the golden rule for flaky pie crusts. The small pieces ensure even distribution and create steam pockets for flaky layers.)
-
7 ounces full-fat cream cheese, chilled and cut into small pieces
(Use full-fat cream cheese for the best texture and flavor. Low-fat versions may yield a less desirable and less forgiving result.)
-
1/4 cup very cold water
(Ice water is preferred to prevent the butter and cream cheese from warming up too quickly. Using a few ice cubes in the water can help ensure it’s sufficiently cold.)
Instructions
-
In the bowl of a stand mixer fitted with the paddle attachment, combine the flour, kosher salt, and baking powder on low speed. Mix briefly for about 30 seconds to ensure everything is evenly distributed.
(Ensure your dry ingredients are well-mixed before adding fats. This prevents pockets of salt or leavening, ensuring a consistent flavor throughout the crust.)
-
Gradually add the chilled, small pieces of unsalted butter to the flour mixture. Mix on low speed until the butter is incorporated and resembles small peas or coarse meal. Some pieces may be slightly larger (up to the size of a small bean), which is perfectly fine and contributes significantly to flakiness.
(Avoid overmixing at this stage. The goal is to coat the flour with fat, not to create a smooth dough yet. Visible pieces of butter are key for creating steam pockets and flaky layers during baking.)
-
Next, add the chilled, small pieces of cream cheese. Mix until the cream cheese is just incorporated and the mixture starts to come together, forming a shaggy, cohesive dough. Do not overmix; a slightly lumpy appearance is actually desirable.
(The cream cheese will break down faster than butter, so watch closely and stop mixing as soon as it’s just combined. Overmixing here can make the dough tough.)
-
With the mixer still on low speed, gradually drizzle in the very cold water, one tablespoon at a time, just until the dough comes together and clears the sides of the bowl. You may not need all of the water; stop as soon as the dough forms a cohesive mass.
(The exact amount of water can vary based on factors like humidity and the specific flour used. Add just enough to bring the dough together without making it sticky or wet. Err on the side of less water if unsure.)
-
Turn the dough out onto a lightly floured surface. Divide it into two equal portions. Gently form each portion into a flat disk, about 1-inch thick. Avoid excessive kneading or working the dough.
(Shaping into disks makes rolling much easier later and helps the dough chill evenly. Overworking the dough at this stage will develop gluten, which we want to avoid for a truly tender crust.)
-
Wrap each disk tightly in plastic wrap. Ensure there are no exposed areas to prevent drying. Chill the wrapped dough in the refrigerator for at least 1 hour, or preferably for 2 hours, and up to 2 days. This chilling period is crucial for the fats to firm up and for the gluten to relax, resulting in a tender, manageable dough that won’t shrink when baked.
(Don’t skip the chilling step! It’s absolutely essential for a flaky, easy-to-roll, and perfectly shaped crust.)
-
When ready to use, remove one dough disk from the refrigerator and let it sit at room temperature for 10-15 minutes to slightly soften, making it easier to roll without cracking. Lightly flour your work surface and a rolling pin. Roll the dough into a 10-inch (25-cm) round, about 1/8-inch thick, rotating the dough frequently to prevent sticking.
(Rotate the dough frequently and flour lightly to prevent sticking. Use quick, even strokes from the center outwards, avoiding pressing too hard. If the dough becomes too warm or sticky, place it back in the fridge for 10-15 minutes.)
-
Carefully transfer the rolled crust to your pie plate. Trim any excess dough and flute the edges as desired. Use as directed in your specific pie or tart recipe, whether for blind baking or immediately filling.
(To easily transfer the delicate dough, roll it loosely around your rolling pin and unroll it directly over the pie plate.)
Expert Tips for a Flawless Cream Cheese Pie Crust
- Keep Everything Cold: This is the golden rule for flaky pie crusts. Cold butter and cream cheese create pockets of steam during baking, which separate the layers of dough, resulting in the desired flakiness. Use ice water, and if your kitchen is warm, consider chilling your mixing bowl and paddle attachment beforehand.
- Don’t Overmix: Overmixing develops gluten, which leads to a tough crust. Mix just enough to combine the ingredients. It’s okay to have some visible bits of butter and cream cheese – these are crucial for achieving the perfect texture and flakiness.
- Chill Time is Essential: The chilling period allows the fats to firm up and the gluten to relax. This makes the dough much easier to roll without tearing and significantly prevents shrinking during baking. Don’t rush this step; patience is key for a superior crust!
- Flour Lightly: When rolling out the dough, use just enough flour to prevent sticking. Too much flour can make the crust dry, tough, and compromise its tender quality. Keep a brush handy to sweep off excess flour.
- Work Quickly but Gently: While this dough is forgiving, working efficiently helps keep the fats cold. Use a light hand when rolling and handling the dough to avoid overworking it.
- Blind Baking (for certain recipes): If your recipe calls for blind baking (e.g., for quiches or pies with very wet fillings), prick the bottom of the crust generously with a fork, line with parchment paper, fill with pie weights or dried beans, and bake until lightly golden. This prevents a soggy bottom.
The Savvy Baker’s Secret: Freezing Homemade Pie Crusts
One of the greatest advantages of making homemade pie crust, especially this forgiving cream cheese version, is the ability to prepare ahead and freeze for later. As Chef Asha Gomez wisely advises, always make two and freeze one! This simple practice can transform a busy weeknight or a spontaneous gathering into an opportunity for a freshly baked delight, without the fuss.
How to Freeze Your Cream Cheese Pie Crust:
- After Forming Disks: Once you’ve formed your dough into two flat disks (after step 4 in the instructions), tightly wrap the disk you wish to freeze in at least two layers of plastic wrap. Ensure there are no air gaps, as air is the enemy of frozen dough, leading to freezer burn and compromised texture.
- Add an Extra Layer of Protection: For added protection against freezer burn and to prevent absorption of freezer odors, slip the plastic-wrapped disk into a freezer-safe zip-top bag or wrap it in a layer of heavy-duty aluminum foil. This double-layer approach is highly recommended for optimal storage.
- Label and Date Clearly: Always label your frozen dough with the contents (“Cream Cheese Pie Crust”) and the date it was made. This helps you keep track of its freshness and ensures you use it within its prime.
- Strategic Storage Location: Store the frozen dough in a place where it won’t get squashed, crushed, or lost. The freezer door is often a convenient spot for easy access, although for maximum shelf life and consistent temperature, a more stable spot in the main freezer compartment is ideal.
- Shelf Life of Frozen Dough: Properly wrapped and stored, cream cheese pie dough can be kept in the freezer for up to 2-3 months without a significant loss in quality or texture.
How to Thaw and Use Frozen Pie Crust:
When you’re ready to bake, simply transfer the frozen dough disk from the freezer to the refrigerator the night before, or at least 12-24 hours prior to use. Allowing it to thaw slowly in the fridge ensures even thawing and maintains the dough’s integrity. Once thawed, let it sit at room temperature for about 15-20 minutes before rolling, just until it’s pliable enough to work with, but still cold to the touch. Then, proceed with rolling and baking as per your recipe instructions, enjoying the convenience of homemade goodness at a moment’s notice.
Having a homemade pie crust ready in the freezer is a true testament to intelligent and efficient baking. It means you’re always just a step away from a comforting apple pie on a chilly evening, an elegant savory tart for an unexpected brunch, or any other delicious pie creation. This cream cheese pie crust makes that convenience even more accessible and ensures you’re always prepared for any baking whim!

Adapted From
My Two Souths by Asha Gomez
Buy On Amazon
Nutrition Information
Serving: 1 serving (of 16 total servings per recipe)
Calories: 129 kcal
Carbohydrates: 18 g
Protein: 3 g
Fat: 5 g
Saturated Fat: 2 g
Monounsaturated Fat: 1 g
Trans Fat: 1 g
Cholesterol: 14 mg
Sodium: 259 mg
Fiber: 1 g
Sugar: 1 g
Nutrition information is automatically calculated and should be used as an approximation. Actual values may vary based on specific ingredients, portion sizes, and preparation methods.
Tried this recipe?
Mention @leitesculinaria or tag #leitesculinaria!
Recipe Testers’ Reviews
Our dedicated team of recipe testers puts every recipe through its paces in diverse home kitchens to ensure optimal results. Here’s what they had to say about our Cream Cheese Pie Crust:

Callie M.
“This cream cheese pie crust is PERFECT. It is hands down the easiest, most forgiving pie dough I’ve ever worked with. The recipe makes enough for two, and I successfully used the second crust for an apple pie, proving its versatility for both sweet and savory applications. I highly recommend it for both beginners eager to master pie making and experienced bakers looking for a reliable and consistently delicious crust.”

John D.
“I used to dread making pie crust, finding it a daunting task, but this cream cheese version has truly changed everything for me. It was incredibly easy to roll out, didn’t crack or tear even when I wasn’t super delicate, and baked up beautifully golden and remarkably flaky. I made a pumpkin pie with one and froze the other for later. When I used the frozen one for a chicken pot pie a month later, it was just as perfect and delicious. This is now officially my go-to pie crust recipe!”
Sarah K.
“The tenderness of this crust is simply superior to any other I’ve tried. The subtle hint of tang from the cream cheese is a fantastic addition, especially when paired with sweet fruit pies. My family absolutely devoured the cherry pie I made with this crust, requesting it again almost immediately! The instructions were incredibly clear and easy to follow, and the dough itself was very cooperative, making for a pleasant baking experience. An absolute winner in my recipe book!”