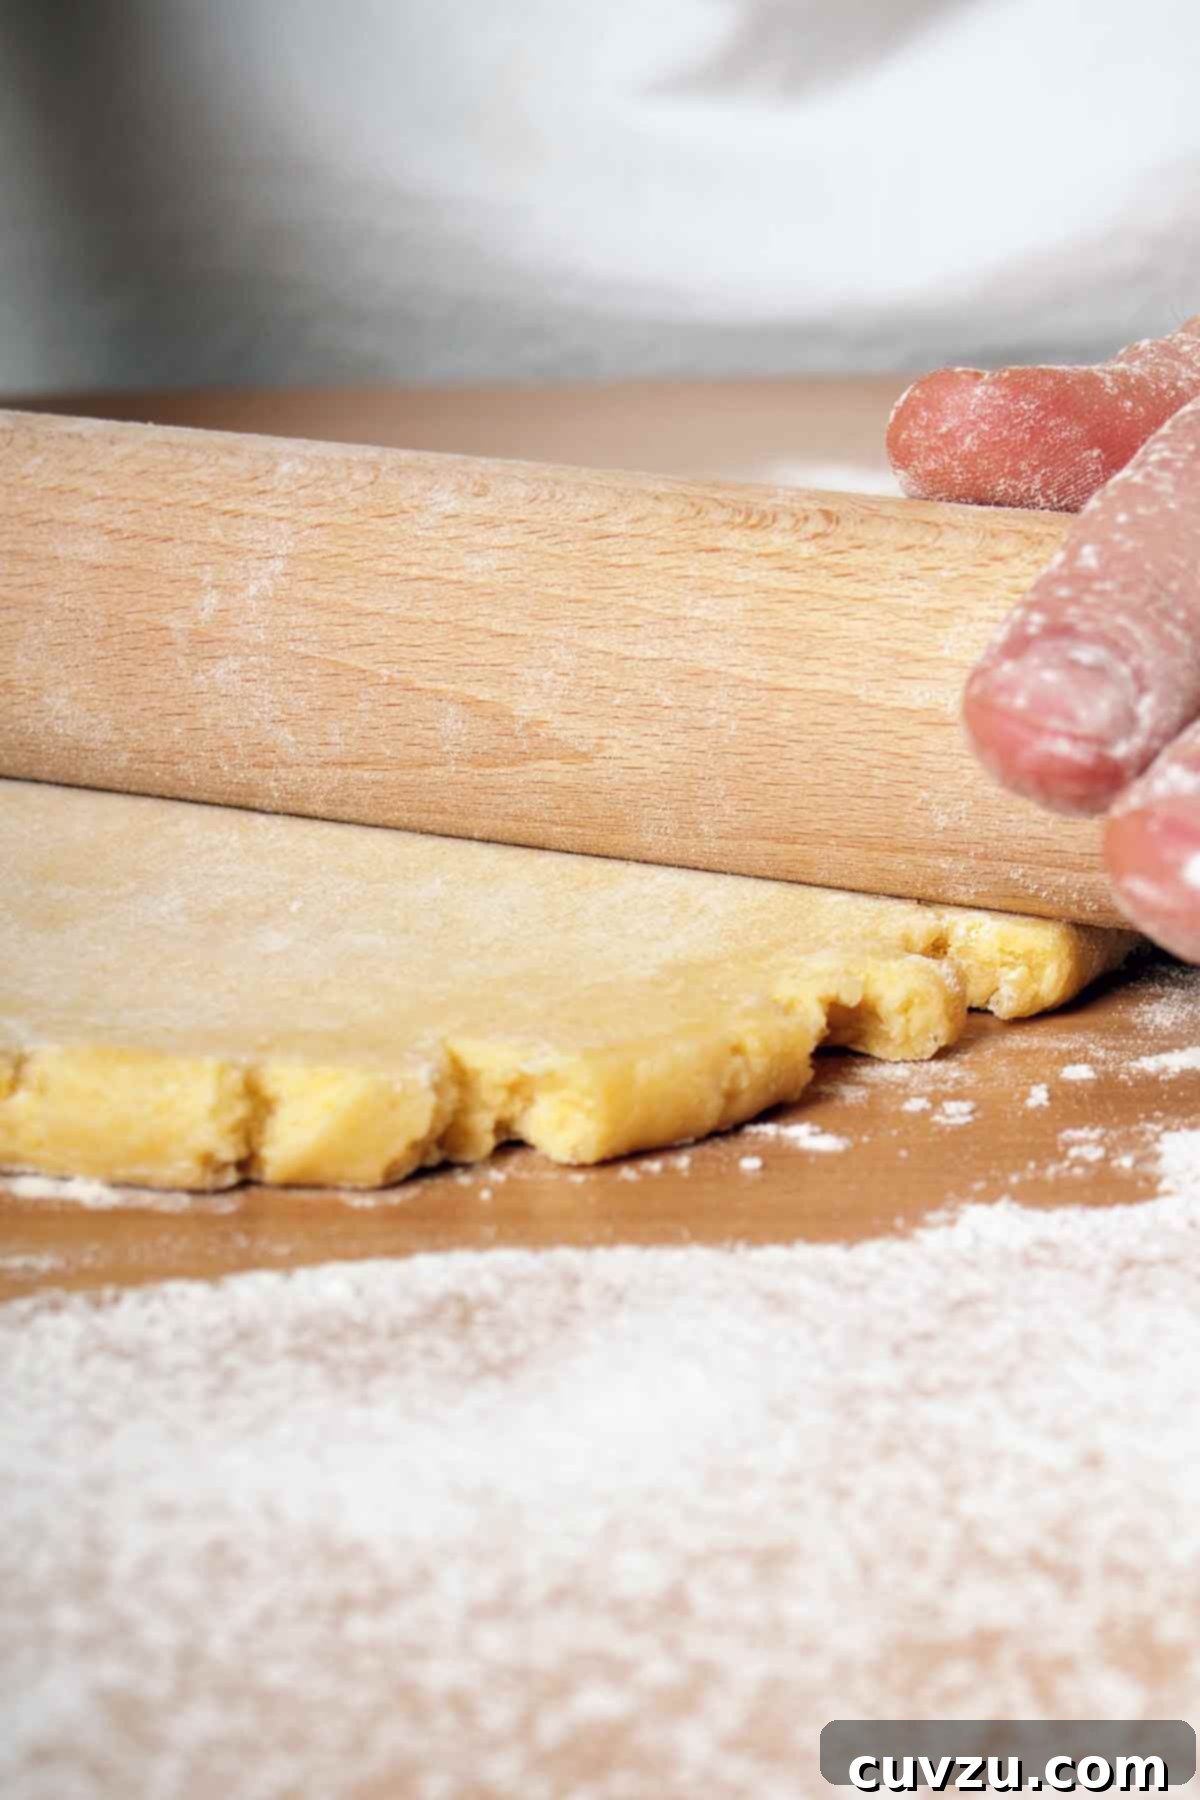
Crafting the perfect pie is an art, and at its heart lies a impeccably rolled pie crust. Far from a simple task, achieving that golden, flaky, and tender base requires precision and understanding. Whether you’re a seasoned baker or just starting your journey into the delightful world of pies, mastering the art of rolling dough is a foundational skill that will elevate all your creations. This comprehensive guide will walk you through every essential step, offering expert tips and techniques to ensure your pie crust is not just good, but absolutely perfect every single time. Get ready to transform your pie-making experience and impress everyone with your homemade masterpieces.
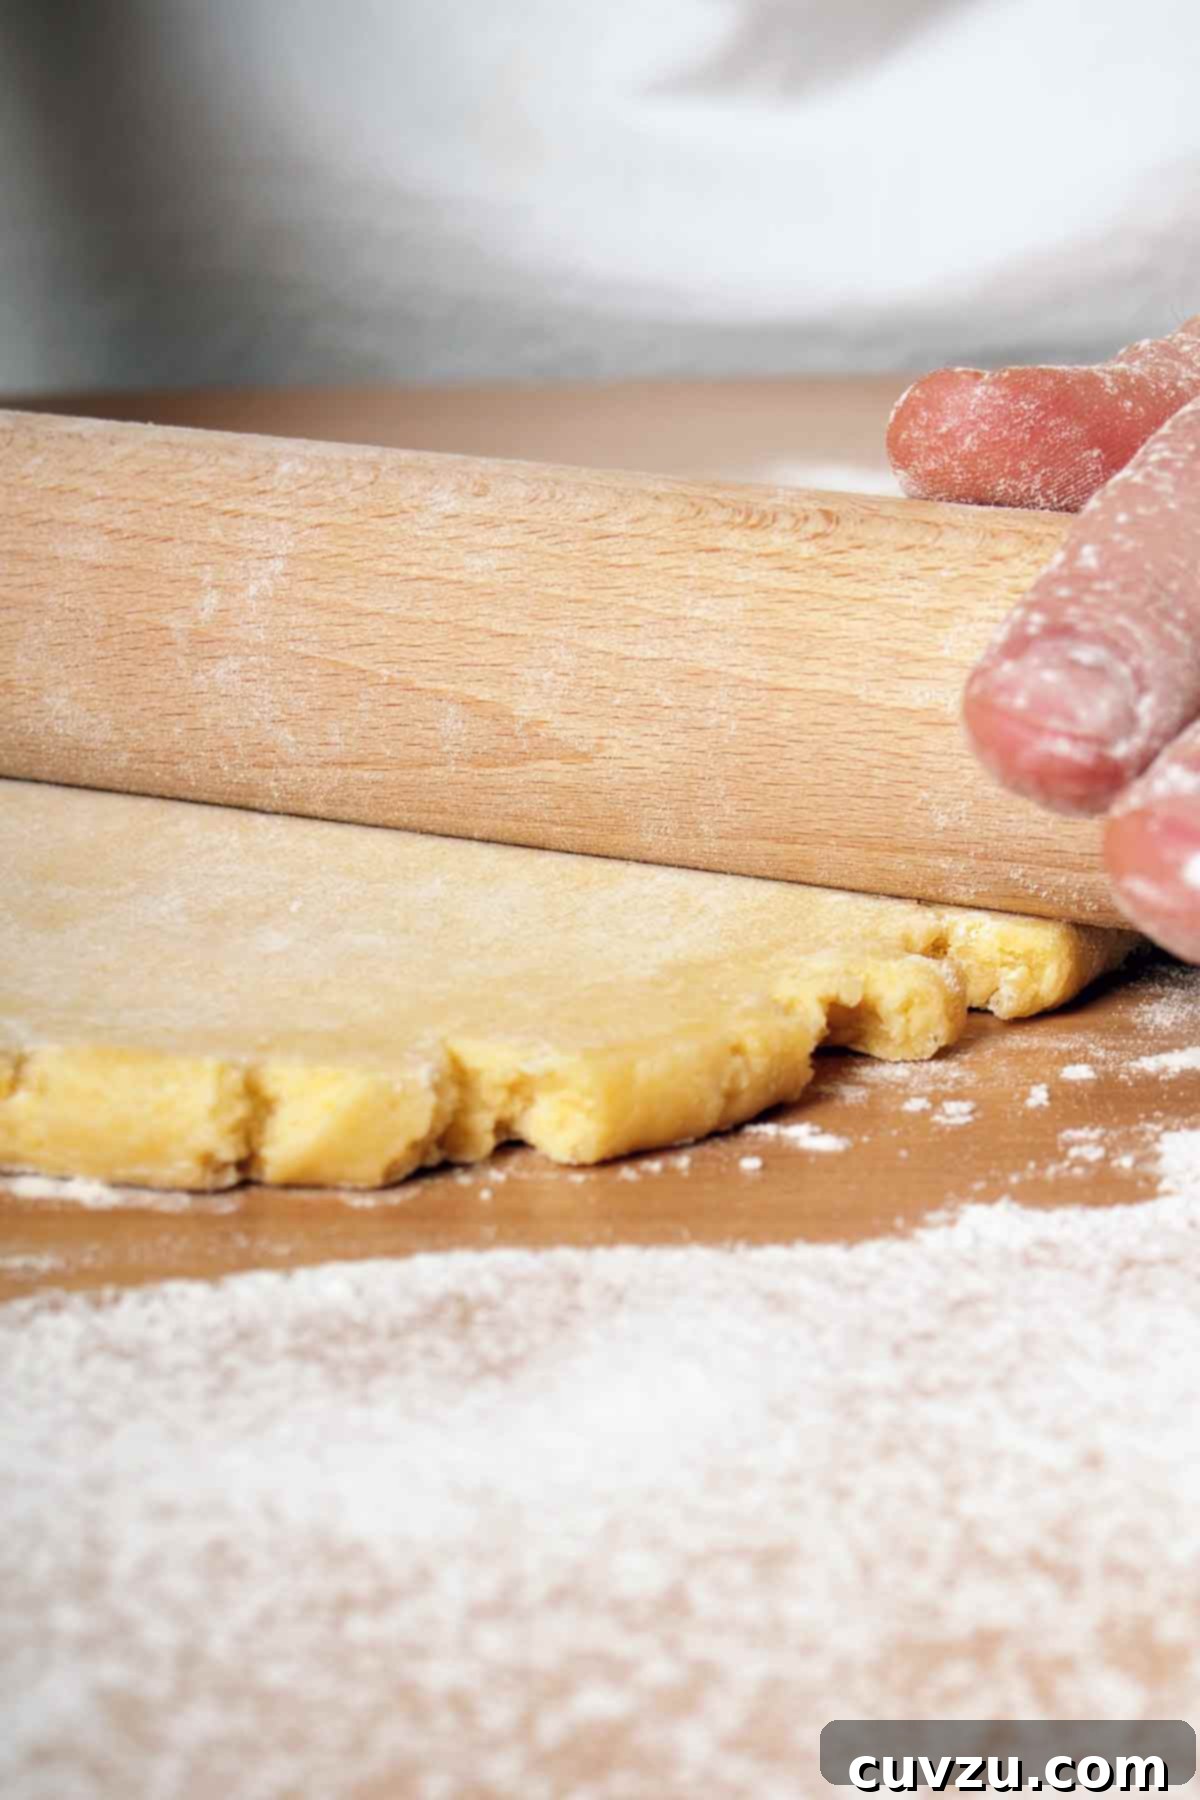
Rolling out pie dough, while seemingly straightforward, is a skill that many bakers find challenging to perfect. The good news is that with the right guidance, a little patience, and a few insider tricks, you can master this technique and produce consistently beautiful and delicious pie crusts. As acclaimed pie expert Kate McDermott often emphasizes, the journey to a flawless pie crust is paved with understanding your dough and applying simple, effective methods. Let’s delve into these essential tips that will have you confidently rolling out pie dough like a seasoned professional in no time, ensuring your homemade pies are always a triumph.
Achieving Perfection: The Ideal Temperature for Your Pie Dough
The temperature of your pie dough is arguably the most critical factor in achieving a tender, flaky crust. It’s a delicate balance: the dough needs to be cool enough to keep the butter (or other fat) solid, yet pliable enough to roll without cracking. If your dough is too cold and rigid straight from the refrigerator, it will be incredibly resistant to rolling, likely leading to cracks and an uneven texture. To remedy this, simply place your dough disc on the counter for about 30 to 60 minutes, allowing it to gently warm up to the optimal temperature. Check it periodically; it should feel malleable and responsive to pressure, but still distinctly cool to the touch. This pliability is key.
Conversely, if your dough becomes too warm and greasy at any point during the rolling process, it’s crucial to pause. When the butter starts to melt, it can be absorbed by the flour, leading to a tough rather than flaky crust. Stop immediately, cover your dough and work surface loosely with plastic wrap, and place it back in the refrigerator for 10 to 15 minutes to allow the fats to re-chill and firm up. I personally find that the sweet spot for rolling pie dough is around 54°F (12°C). Once the dough reaches 59°F (15°C) or higher, the butter or shortening begins to soften excessively, making it difficult to handle and compromising the final texture. Patience with temperature management will be your greatest ally in creating that coveted flaky crust.
Before you even touch your rolling pin to the dough, prepare your workspace. Select a flat, stable surface that is at a comfortable height for you, ensuring you have ample elbow room for broad, sweeping rolling motions. This could be a clean countertop, a sturdy table, or a dedicated baking station. To prevent sticking, lay down a pastry cloth, a silicone rolling mat, a large piece of plastic wrap, or a sheet of parchment paper. Each has its advantages: pastry cloths absorb flour and provide a non-stick surface, silicone mats often have measurement guides, and parchment or plastic wrap makes for easy cleanup and transfer. Liberally sprinkle some all-purpose flour across your chosen surface, then place one disc of your chilled pie dough directly on top. Finish by dusting a light, even layer of flour over the top of the dough disc as well. This initial flour barrier is crucial for preventing the dough from adhering to your rolling pin and surface, making for a much smoother rolling experience.
Initiating the Roll: Gently Pressing the Dough for Uniformity
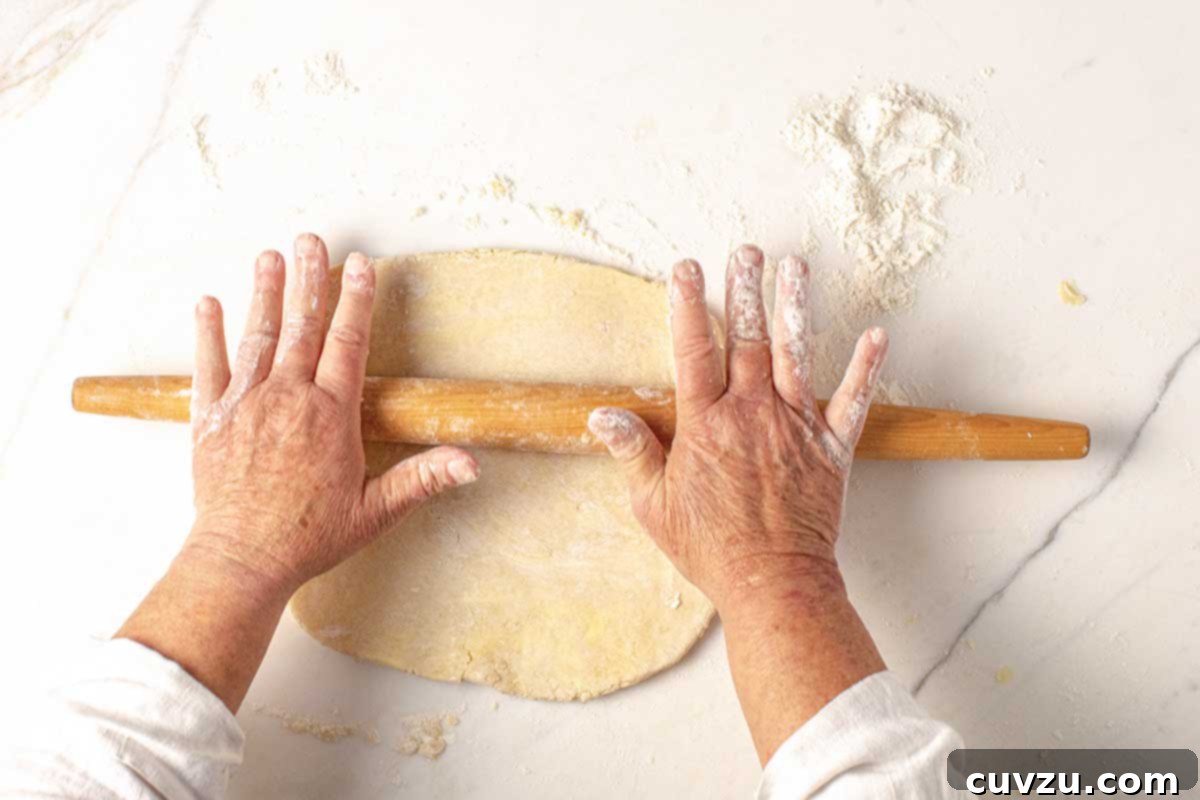
Once your dough is perfectly tempered and your surface is prepped, it’s time to begin the rolling process. Before you start moving your rolling pin back and forth, it’s beneficial to gently press down on the dough disc in several places. Imagine you’re pressing the top of a peanut butter cookie with a fork, creating small indentations. Use your rolling pin to apply firm, even pressure directly downwards onto different sections of the dough. This initial pressing helps to slightly flatten the dough, making it more pliable and preventing it from cracking at the edges when you start to roll. It also helps to evenly distribute the initial pressure, setting the stage for a uniformly thick crust.
As you press, you should feel a distinct “give” in the dough – it should yield under the pressure without sticking to the pin or crumbling. If your rolling pin presses the dough right down to your rolling surface with little resistance, your dough is likely too warm and the butter is too soft. In this scenario, stop immediately, gather your dough, cover it, and return it to the refrigerator for at least 10 minutes to allow it to firm up. A properly chilled dough will offer some resistance and maintain its integrity during this pressing stage. This small initial step of pressing down is often overlooked but significantly contributes to a smoother, more successful rolling experience and ultimately, a more consistent and beautiful pie crust.
The Golden Rule: Always Roll from the Center Outwards
With your dough gently flattened, the true rolling begins, and the cardinal rule is to always start rolling from the center of the dough disc outwards. This technique is fundamental for achieving a crust of uniform thickness, which is crucial for even baking and a perfectly tender texture. To execute this correctly, position your hands on the rolling pin so that they are directly over the dough, rather than gripping the ends off to the sides. This central hand placement allows you to apply even, consistent pressure directly down onto the dough, giving you a better sense of what’s happening beneath the pin. You can feel the dough expanding and thinning under your touch, enabling you to adjust your pressure as needed.
By starting in the center and working your way out, you ensure that the dough thins gradually and uniformly. This prevents the edges from becoming too thin and fragile too quickly, a common issue that can lead to tears and an unevenly baked crust. Instead of pushing the dough outwards from the edges, which can compress and toughen them, you are gently coaxing the dough to expand from its core. Maintain a steady, even rhythm, applying just enough pressure to extend the dough without tearing it. This central-outward motion is the cornerstone of a well-rolled, perfectly round, and consistently thick pie crust.
The Rhythmic Dance: Roll, Turn, and Repeat for a Round Crust
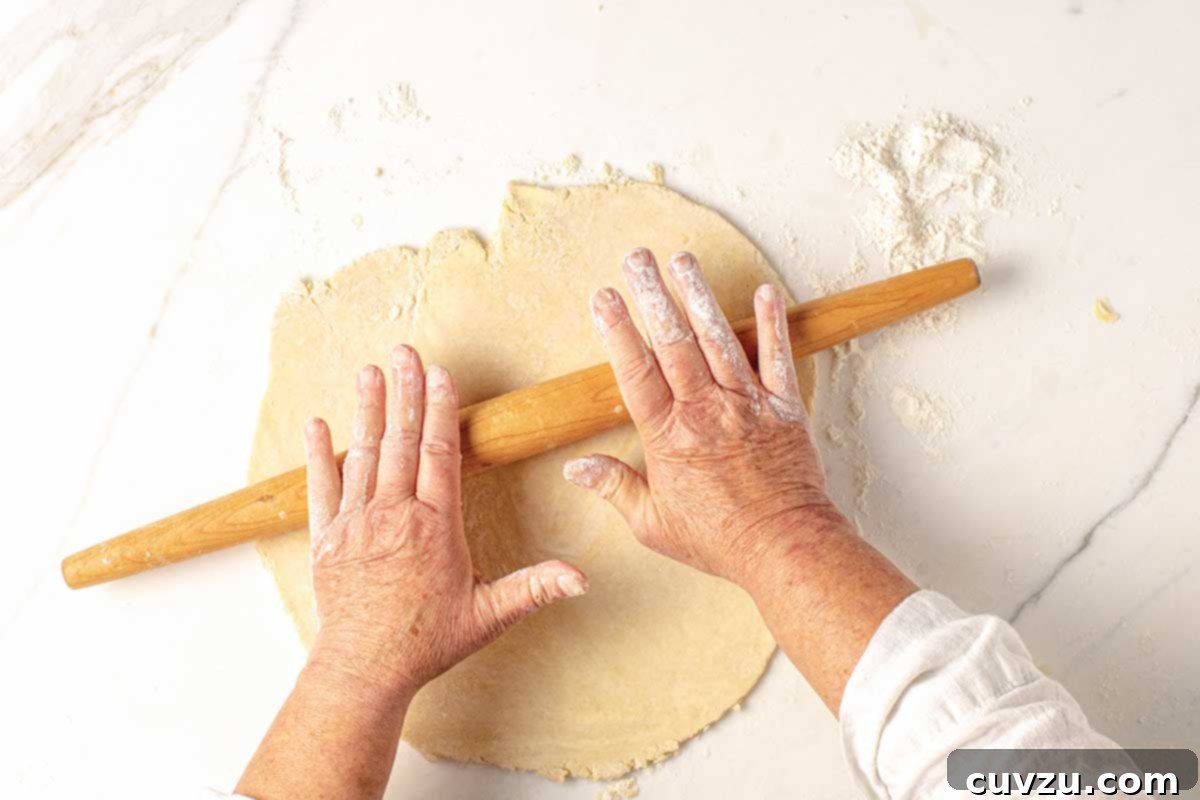
Once you’ve mastered rolling from the center, the next crucial step is incorporating a regular turning motion into your technique. This “roll, turn, repeat” method is what truly guarantees a perfectly round and uniformly thick pie crust, preventing sticking and allowing the dough to expand evenly in all directions. Your first pass with the rolling pin should start at the very center of the dough and extend outwards towards what you can imagine as 12 o’clock. Crucially, don’t roll all the way to the very edge; stop approximately 1 1/2 inches (4 cm) short of the perimeter. This deliberate pause helps prevent the edges of the dough from becoming excessively thin and prone to tearing, which can compromise the integrity of your finished crust.
After your first roll, lift the pin, place it back in the center, and roll again, this time towards 6 o’clock, applying consistent pressure. Once this pass is complete, gently lift and give the entire dough disc a quarter turn (90 degrees). Repeat the entire sequence: roll from the center towards 12 o’clock (stopping short of the edge), lift, place in the center, and roll back towards 6 o’clock. Then, another quarter turn. Continue this rhythmic dance of rolling and turning. The quarter turns are vital because they allow the dough to relax slightly, prevent it from sticking to your work surface, and ensure that you’re applying pressure evenly across all radii of the circle. This systematic approach ensures that your dough expands into a beautifully circular shape with consistent thickness from the center all the way to the edge, making it much easier to transfer and fit into your pie pan.
Ensuring Ample Overhang: Bigger is Better for Your Pie Crust
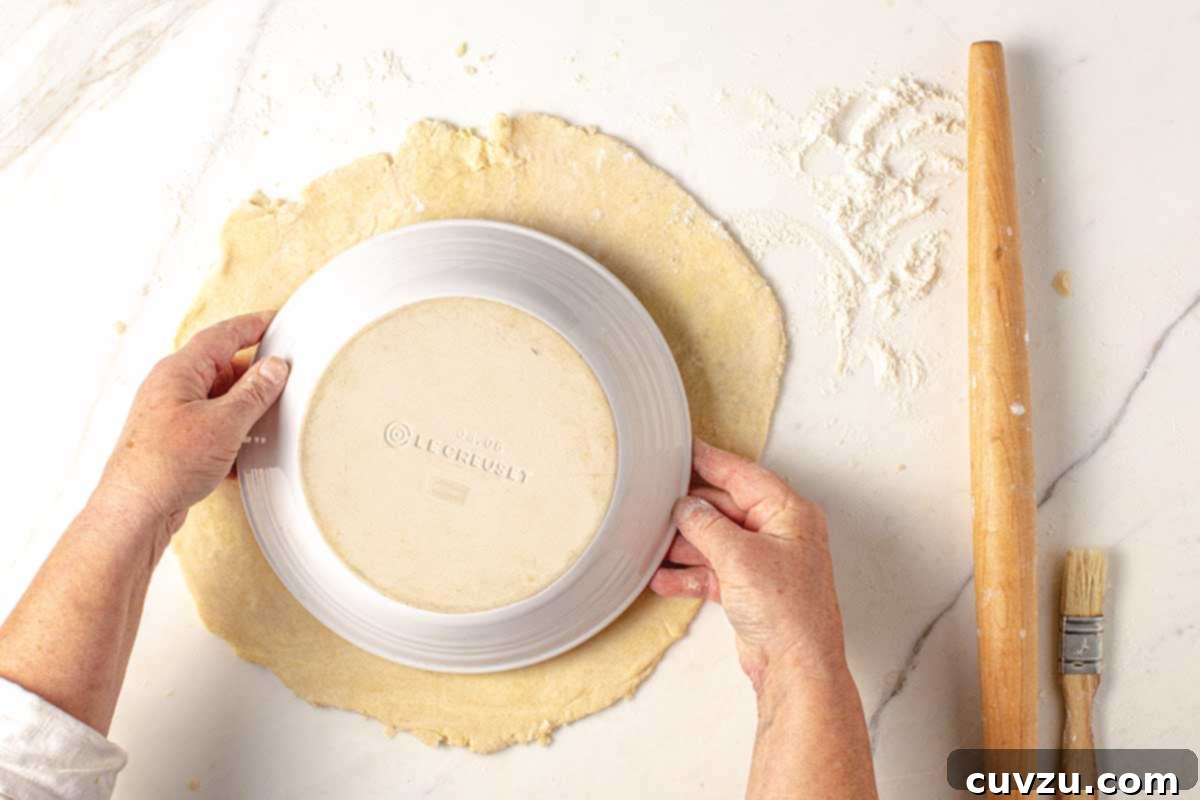
As you continue your “roll, turn, repeat” rhythm, your dough will gradually expand. Initially, focus on getting the dough to about 7 inches (18 cm) in diameter, maintaining that even thickness. Once you reach this size, you can begin to apply slightly more consistent pressure around the clock, always rolling from the center outwards, until your dough is significantly larger than your pie pan. The goal is to roll the dough until it is at least 2 inches (5 cm) wider in diameter than your pie pan. For example, if you are using a standard 9-inch pie plate, you should aim for a rolled dough that is at least 11 inches in diameter.
This generous overhang is not just for aesthetics; it serves several crucial purposes. Firstly, it provides ample material for crimping, fluting, or creating any decorative edge you desire, allowing for a sturdy and beautiful finish. Secondly, it accounts for any slight shrinkage that might occur during baking. Pie dough, particularly if it was handled a bit too much or was slightly warm, has a tendency to pull back during baking. Having an extra 2 inches ensures that your crust will comfortably fit the pan, reach the edges, and stay put, preventing a “short” crust that barely covers your filling. To check for size, simply invert your pie pan over the rolled dough and visualize the necessary allowance. Don’t be afraid to make it a little larger than you think you need; it’s always easier to trim excess dough than to stretch a crust that’s too small, which can lead to tears and an undesirable tough texture.
Clean Finish: The Importance of Brushing Off Excess Flour
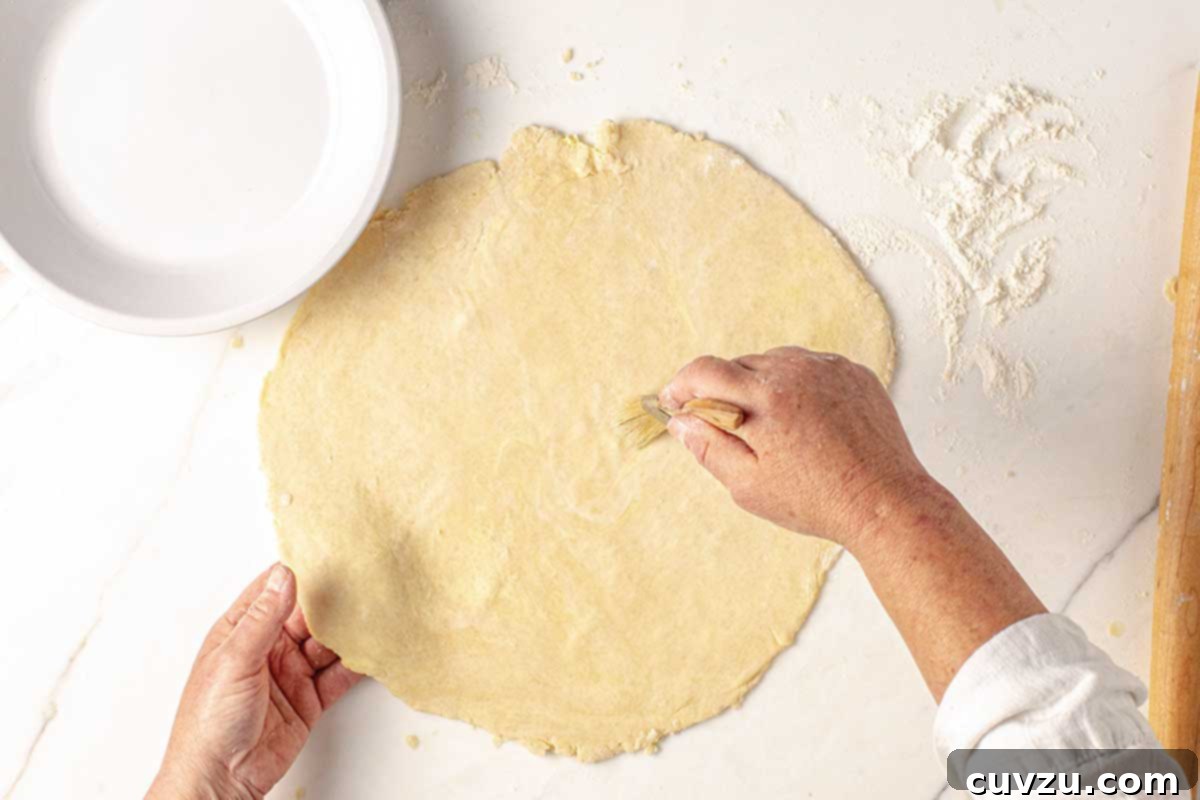
After your pie dough has been rolled to the perfect size and thickness, there’s one small but important step before transferring it to the pan: removing any excess flour. As you rolled, you likely dusted your work surface and the top of the dough with flour to prevent sticking. While necessary during the rolling process, leaving too much flour on the dough can negatively impact your finished pie crust. Excess flour can dry out the crust, making it tough or crumbly rather than tender and flaky. It can also create an undesirable pasty texture, affect the browning, and leave unsightly white streaks on the surface of your beautiful golden crust.
To ensure a clean and professional finish, gently brush off any visible excess flour from both the top and the bottom surfaces of your rolled dough. A dedicated pastry brush with soft bristles is the ideal tool for this task. Work gently, using light strokes to sweep away the flour without pressing into or damaging the dough. If you don’t have a pastry brush, a clean, soft-bristled kitchen brush or even a clean, dry, lint-free cloth can work in a pinch. This simple step takes mere seconds but contributes significantly to the overall texture, appearance, and taste of your final pie, ensuring a delicate and golden-brown crust.
The Delicate Transfer: Moving Your Dough to the Pie Pan
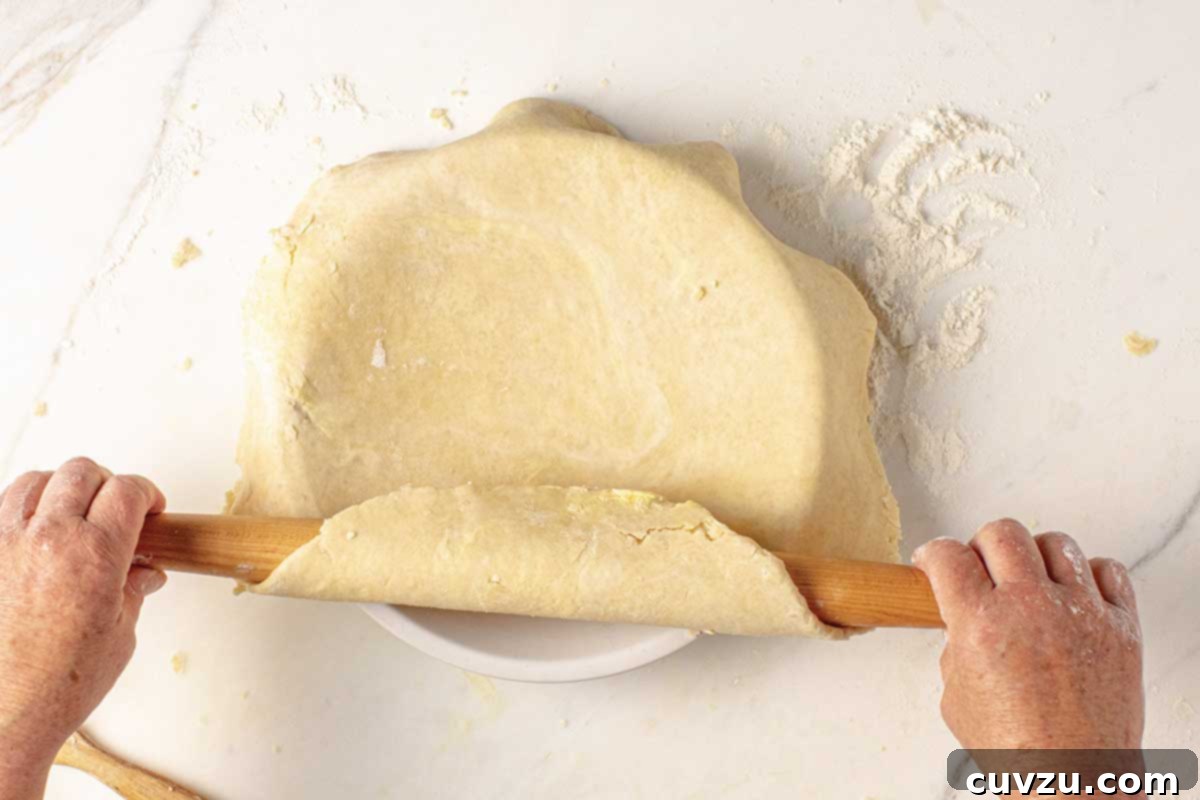
Transferring the delicate, freshly rolled pie dough from your work surface to the pie pan can feel like the most intimidating part of the process, but with the right technique, it’s remarkably simple and stress-free. The most common and effective method involves using your rolling pin. First, gently drape the entire sheet of rolled dough over your rolling pin. To do this, carefully slide the edge of the dough onto one side of the pin, then slowly roll the pin towards you, allowing the dough to wrap loosely around it. The dough should not be tightly wound, but rather lightly draped, creating a convenient way to lift and transport it without tearing.
Once the dough is draped over the rolling pin, approach your pie pan. Lightly lay the dough-covered rolling pin directly over the “equator” or center of the pie pan. With a quick and deft flick of the wrist, smoothly unroll the dough towards you, allowing it to fall gracefully into the pan. The goal is to let the dough settle into the pan naturally, using its own weight. This gentle handling is paramount. Avoid pushing, pulling, or stretching the dough to fit the pan. Pie dough contains gluten, which is elastic. If you stretch the dough to fit, it will inevitably shrink back during baking, leading to a misshapen crust that pulls away from the edges of the pan or even tears.
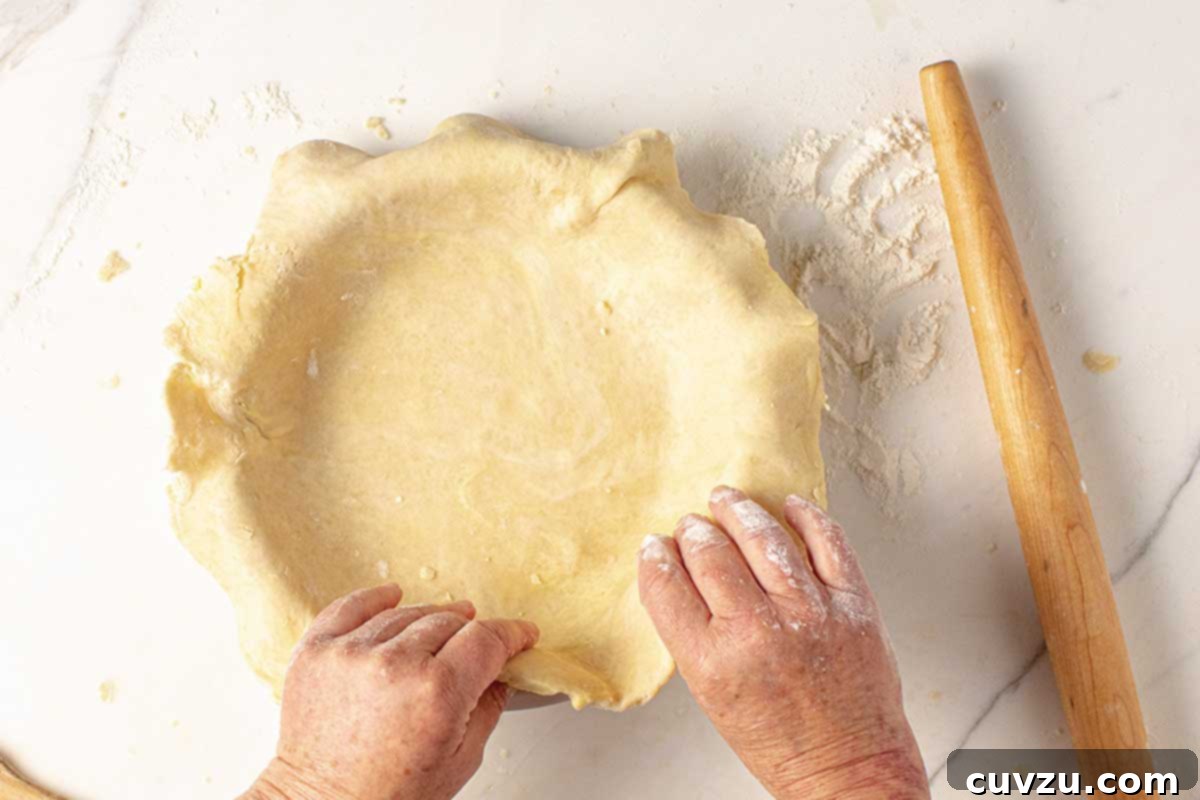
Once the dough is loosely in the pan, take a moment to adjust it as needed to center it. Gently lift the edges of the dough and encourage the weight of the dough itself to settle naturally into the corners and along the sides of the pan. You can use your fingertips to very gently coax the dough into the contours, but always remember to do so without stretching. If you find any large air pockets underneath the dough, you can gently prick them with a sharp knife to release the air, then gently press the dough down. By allowing gravity to do most of the work, you preserve the delicate structure of the dough, ensuring that it bakes into a beautifully tender, flaky, and perfectly shaped crust that holds its form and doesn’t shrink back during the baking process. This gentle approach is a hallmark of truly professional pie making.
Finishing Touch: Trimming the Edges for a Perfect Crust
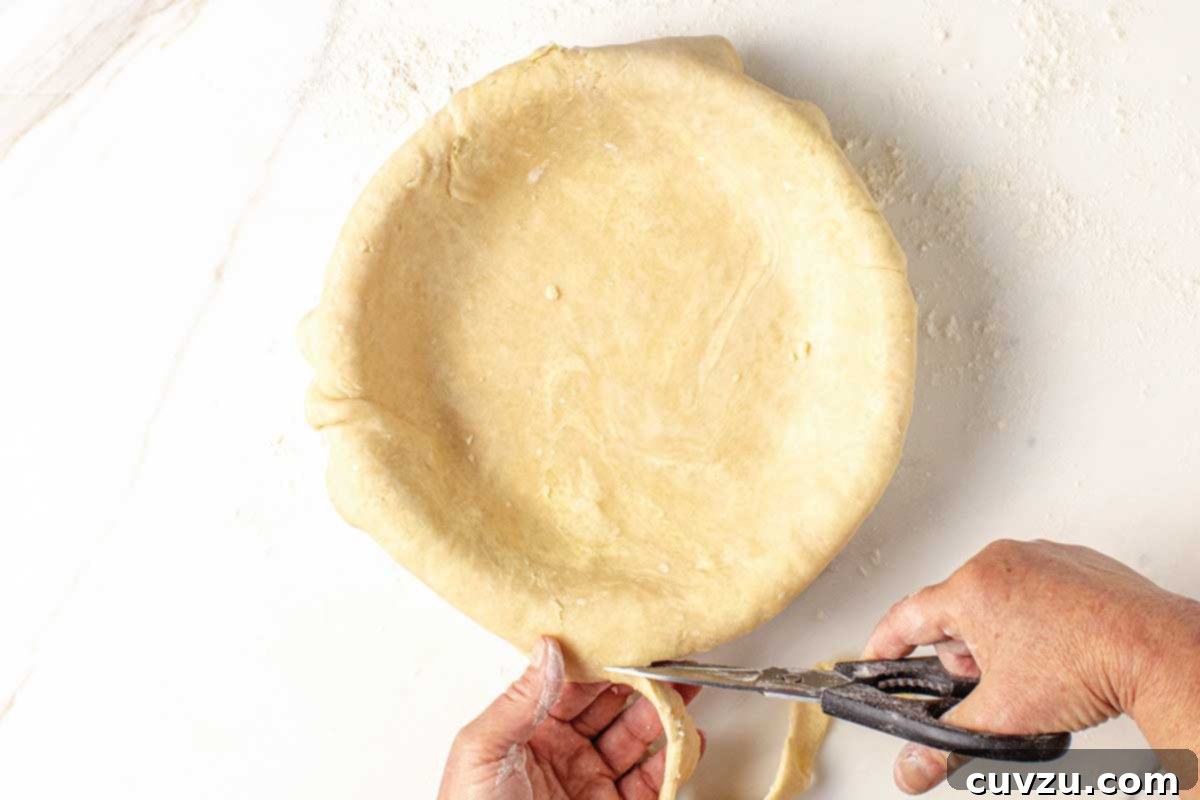
With the dough successfully transferred and settled into your pie pan, the next step is to trim the excess dough from around the edges. This seemingly small detail is crucial for creating a neat, professional-looking crust and providing the necessary foundation for decorative crimping or fluting. Using a pair of kitchen scissors or a sharp paring knife, carefully trim the dough to leave an overhang of approximately 1 inch (2.5 cm) beyond the rim of your pie plate. This 1-inch allowance is the ideal amount to work with, providing enough material to create a beautiful, sturdy edge without being overly cumbersome.
For precision and ease, I highly recommend using culinary shears to trim the excess dough. These specialized kitchen scissors are designed for food use and often break apart into two pieces, making them incredibly easy to clean thoroughly – a hygiene bonus for any avid baker. If you don’t have culinary shears, a dedicated set of sharp craft scissors that are solely used for food preparation can also work wonderfully. Alternatively, a very sharp paring knife can be used, carefully cutting along the edge of the pan. Once trimmed, any leftover dough scraps can be gently re-rolled (with minimal handling to avoid overworking the gluten) and used for decorative cut-outs, mini tarts, or simply discarded. Trimming ensures that your pie crust is perfectly proportioned, ready for its final decorative touches and a flawless bake.
The Final Stages: Preparing Your Pie for Baking
Congratulations, your pie crust is now perfectly rolled, expertly transferred, and meticulously trimmed! At this pivotal stage, your crust is ready for its next adventure. You now have a couple of options depending on your recipe and baking plans. You can either proceed directly to filling your pie with your chosen sweet or savory ingredients, preparing it for a single bake. Alternatively, if your recipe calls for it, or if you wish to prepare ahead of time, you can cover the dough-lined pie pan loosely with plastic wrap and place it in the refrigerator. Chilling the prepared crust for at least 30 minutes (or even overnight) before baking is often a wise move. This allows the gluten to relax further and helps the butter to firm up again, which minimizes shrinkage during baking and promotes an even flakier texture.
Once chilled, or immediately after trimming, you can then decide on the type of edge you would like to create. This is where your pie truly takes on its unique character and charm. You can opt for a classic crimped edge, pressing your fingers together to create a fluted design. Or perhaps a simple fork-pressed pattern for a rustic look. More intricate designs like rope edges, braided rims, or decorative cut-outs can also be added using your trimmed dough scraps. If your recipe requires a blind bake (pre-baking the crust before adding the filling), this would be the next step, often involving lining the crust with parchment paper and filling it with pie weights, beans, or rice. Whichever path you choose, remember that the perfectly rolled and shaped crust you’ve just created is the foundation for a truly exceptional homemade pie. With practice, precision, and a little patience, every pie you bake will be a testament to your newfound skill and a delight to share.