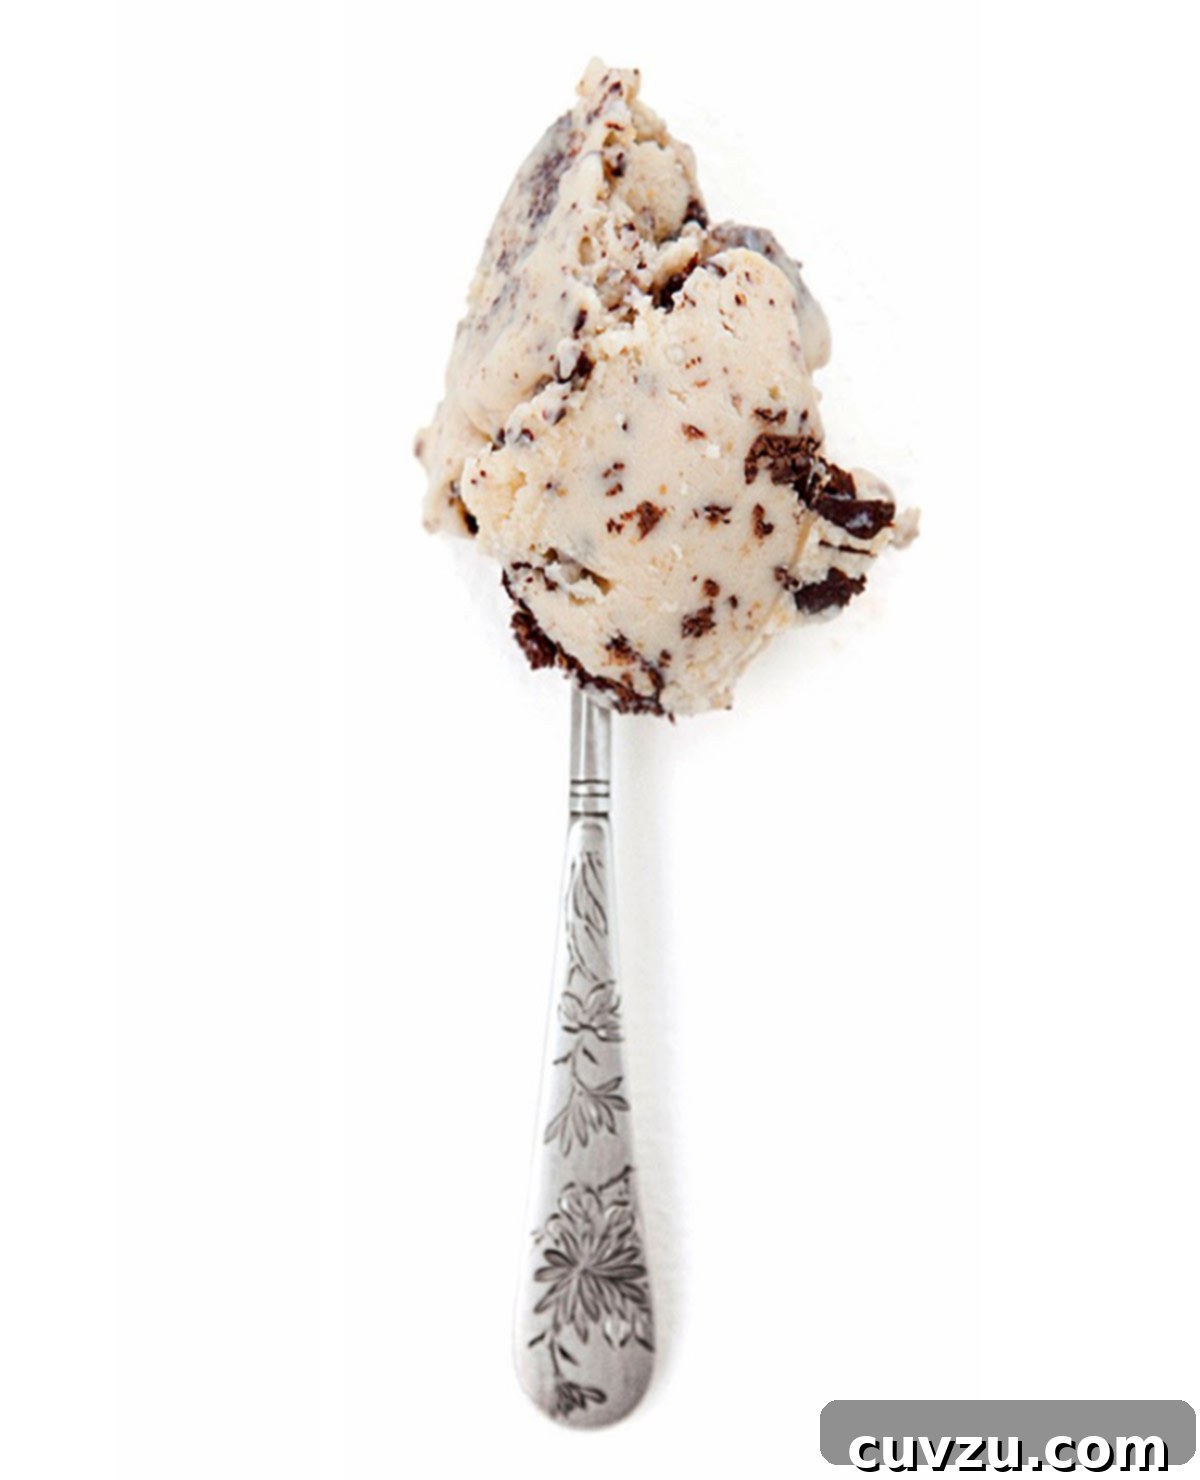
Prepare to be swept off your feet by our latest obsession: this extraordinary salted peanut butter ice cream, generously studded with delicate chocolate flecks. From the moment the first spoonful graces your palate, you’ll understand why the harmonious pairing of peanut butter and chocolate is celebrated as one of the culinary world’s most enduring and beloved romances. This isn’t just ice cream; it’s a testament to perfect flavor balance, a creamy dream that promises to delight with every bite.
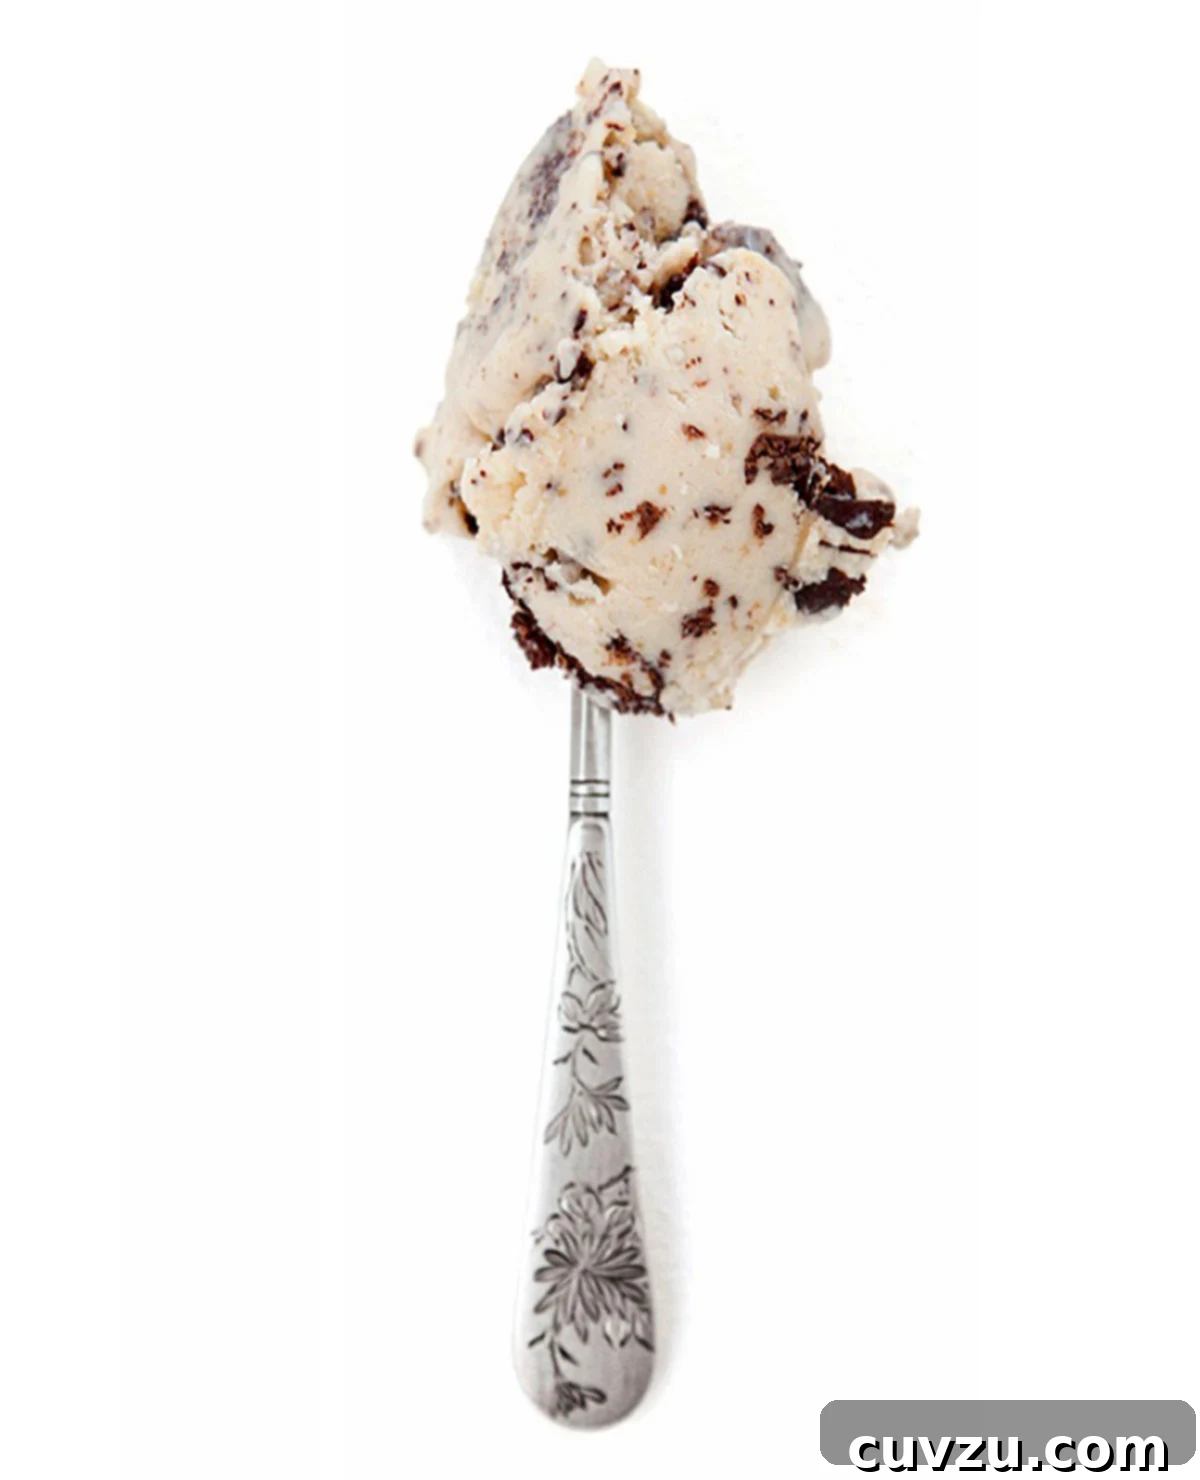
This exquisite salted peanut butter ice cream, complete with enchanting chocolate flecks, hails from the renowned Jeni’s Splendid Ice Creams. Jeni’s is celebrated for transforming classic flavors into extraordinary frozen concoctions, and this recipe is a shining example of her genius. It showcases the timeless appeal of peanut butter and chocolate, elevated by Jeni’s signature technique, which guarantees an unparalleled creamy texture and depth of flavor. This ice cream is a universally adored treat, designed to bring pure joy to anyone who tastes it, regardless of their preferences.
Salted Peanut Butter Ice Cream with Chocolate Flecks: A Jeni’s Splendid Recipe
David Leite
Saved
Dessert
American
8
servings
464
kcal
30 minutes
4 hours
5 hours
Equipment
-
Ice cream maker
-
Large bowl for ice bath
-
Saucepan
-
Heatproof bowl or double boiler (for melting chocolate)
-
Spatula and whisk
Ingredients
Creating this rich and creamy peanut butter ice cream requires a precise blend of ingredients, each playing a crucial role in achieving that signature Jeni’s texture and flavor. Pay close attention to ingredient quality for the best results.
-
2
cups
whole milk
(The foundation of a rich, creamy base.) -
1
tablespoon plus 1 teaspoon
cornstarch
(A secret to Jeni’s smooth, scoopable texture, preventing ice crystals.) -
1/2
cup
natural peanut butter
(Opt for a good quality natural peanut butter where the oil separates; stir well before measuring. Creamy works best for a smooth base, but chunky can add delightful texture.) -
3
tablespoons
full fat cream cheese,
softened (Another Jeni’s hallmark, adding a subtle tang and preventing iciness.) -
1/2
teaspoon
table salt
(Crucial for balancing the sweetness and enhancing the peanut butter flavor.) -
1 1/4
cups
heavy cream
(For ultimate richness and mouthfeel.) -
2/3
cup
granulated sugar
(Provides sweetness.) -
2
tablespoons
honey
(Adds a subtle floral note and helps keep the ice cream smooth.) -
2
tablespoons
light corn syrup
(A crucial anti-crystallization agent, ensuring a perfectly smooth texture.) -
4
ounces
dark chocolate
(For the delightful flecks; choose a good quality dark chocolate, around 60-70% cocoa for best flavor contrast.)
Instructions
Follow these detailed steps to create your own batch of Jeni’s-inspired salted peanut butter ice cream with chocolate flecks. Precision in each stage, especially chilling, will yield the best results.
-
In a small, separate bowl, combine 1 tablespoon of the whole milk with the cornstarch. Whisk vigorously until the mixture is completely smooth and free of lumps. This creates a “slurry” that will help thicken our ice cream base without requiring egg yolks. Set this aside.
-
In a large, sturdy bowl, use a rubber spatula to thoroughly mix together the softened full-fat cream cheese, natural peanut butter, and table salt. Continue to stir and press against the sides of the bowl until the mixture is incredibly smooth and well-combined. This might take a few minutes of dedicated effort.
☞ TESTER TIP: If you’re using natural peanut butter that separates, ensure you stir it very well in its jar before measuring to reincorporate the oil. If your peanut butter is chunky, you won’t achieve a completely smooth texture, and that’s perfectly acceptable – the small peanut pieces will add a wonderful textural element to the final ice cream.
-
In a medium to large saucepan, combine the remaining whole milk, heavy cream, granulated sugar, light corn syrup, and honey. Place the saucepan over medium-high heat. Bring the mixture to a rolling boil, stirring frequently to ensure the sugar dissolves and nothing sticks to the bottom. Once boiling, allow it to cook for approximately 4 minutes, maintaining the boil. This step helps to dissolve the sugars completely and begins the thickening process.
-
Remove the saucepan from the heat. Immediately whisk in the cornstarch slurry you prepared earlier. Whisk continuously for about 15-30 seconds to fully incorporate the cornstarch and prevent lumps.
-
Return the saucepan to the heat, bringing the mixture back to a boil. Continue to cook, stirring constantly with a whisk or spatula, for about 1 minute. The mixture should thicken slightly and achieve a consistency that coats the back of a spoon, similar to a thin custard. This ensures the cornstarch is cooked and activated.
-
Gradually and slowly, whisk the hot cream mixture into the peanut butter-cream cheese mixture. Begin by adding just a small ladleful of the hot mixture to the peanut butter, whisking until fully combined and smooth. This tempers the cream cheese and prevents it from curdling. Continue adding the hot mixture in slow, steady streams, whisking constantly, until all of it is incorporated and the entire mixture is smooth and lump-free. The final consistency should resemble a thick, pourable custard.
-
Place the bowl containing the ice cream base into a larger bowl that is half-filled with ice water. This ice bath will help cool the mixture down quickly. Once cooled to room temperature, cover the bowl tightly with plastic wrap and refrigerate for at least 4 hours. For the absolute best texture and deepest flavor development, chilling the mixture overnight is highly recommended. This allows the ingredients to meld and the base to become thoroughly cold, which is essential for proper churning.
-
Once the ice cream base is thoroughly chilled and you are ready to churn, remove it from the refrigerator. Give it a final whisk to ensure it’s smooth. Pour the custard into your ice cream maker’s frozen canister and churn according to the manufacturer’s specific instructions. Churning typically takes about 20-30 minutes, or until the ice cream reaches the consistency of soft-serve.
-
While your custard is churning, prepare the chocolate flecks. Melt the dark chocolate using a double boiler: place the chocolate in a heatproof bowl set over (but not touching) a pan of simmering water, stirring until smooth. Alternatively, you can carefully microwave the chocolate in short bursts (15-30 seconds), stirring after each, until melted. Allow the melted chocolate to cool slightly to a warm, pourable consistency – it shouldn’t be piping hot when added to the ice cream.
-
Approximately 5 minutes before the ice cream finishes churning and reaches its desired soft-serve consistency, slowly and steadily drizzle the slightly cooled melted chocolate into the ice cream maker. The cold ice cream and the motion of the paddle will cause the chocolate to harden and break into delicate flecks. Allow the machine to churn for a couple more minutes to ensure the chocolate flecks are fully incorporated and evenly distributed throughout the rich peanut butter ice cream.
☞ TESTER TIP: It’s crucial to drizzle the chocolate in slowly and gradually. If you pour it too quickly, the chocolate may clump together and get caught in the ice cream maker paddles, preventing proper fleck formation. Patience is key here for those perfect shards of chocolate!
-
Once churned, transfer the soft ice cream to an airtight freezer-safe storage container. Press a piece of plastic wrap directly onto the surface of the ice cream to prevent ice crystals from forming. Cover the container and freeze for at least 4 hours, or until it reaches your preferred scoopable hardness. This “ripening” period allows the flavors to fully develop and the texture to firm up beautifully.

Adapted From: The Magic Behind Jeni’s
This phenomenal recipe is adapted from “Jeni’s Splendid Ice Creams at Home,” a cookbook that has revolutionized homemade ice cream for countless enthusiasts. Jeni Britton Bauer’s innovative approach, particularly her use of cornstarch and cream cheese to achieve unparalleled creaminess without eggs, has set a new standard. Her recipes focus on maximizing flavor and texture, ensuring every scoop is a delightful experience. This book is a must-have for anyone serious about making extraordinary ice cream at home.
Buy On Amazon
Explore More with AI: Enhance Your Culinary Journey
Substitutions
Scale
Summarize
Nutrition
Serving:
0.5
cup
Calories:
464
kcal
Carbohydrates:
41
g
Protein:
8
g
Fat:
32
g
Saturated Fat:
16
g
Monounsaturated Fat:
10
g
Trans Fat:
0.004
g
Cholesterol:
55
mg
Sodium:
272
mg
Fiber:
2
g
Sugar:
34
g
Nutrition information is automatically calculated, so should only be used as an approximation. It’s provided for informational purposes and may vary based on specific ingredients and preparation methods.
Tried this recipe? Share your delicious results!
Mention @leitesculinaria or tag #leitesculinaria on Instagram! We love seeing your creations.
Recipe Testers’ Reviews: Real Experiences, Delicious Results
Our team of dedicated recipe testers meticulously evaluates each recipe to ensure it meets our high standards. Here’s what they had to say about Jeni’s Salted Peanut Butter Ice Cream with Chocolate Flecks:
Jack V.
As a long-time admirer and customer of Jeni’s Splendid Ice Creams, with both cookbooks under my belt and a pilgrimage to the Columbus mothership, I approached this recipe with a critical eye, perhaps more so than usual. My expectations were sky-high, given Jeni’s reputation for exceptional, egg-free ice creams that defy crystallization.
This recipe didn’t just meet my expectations; it soared past them! This is, without a doubt, one of the best homemade ice creams I have ever produced. Every spoonful delivered the intense, comforting flavor of the finest peanut butter cup imaginable, but with that signature Jeni’s cold, creamy, and impeccably smooth texture. The honey, though subtle, provided a delightful background note, and the drizzled dark chocolate transformed into perfect, crunchy flecks, adding an incredible textural contrast.
Jeni’s use of corn syrup proved invaluable in preventing any ice crystal formation, resulting in a perfectly scoopable treat that came out of the churning canister without a single hard layer clinging to the sides. It was truly a thing of beauty.
For my test, I specifically used O Organics Creamy Natural Peanut Butter, ensuring I stirred it thoroughly to reincorporate any separated oil before measuring. I also opted for Savannah Bee Company Tupelo honey and Guittard 64% Dark Chocolate for a rich, balanced flavor profile. The quality of these ingredients shone through in the final product.
I can confidently say I will never purchase store-bought peanut butter ice cream again. This recipe is a perfect 10/10. We’re already scraping the bottom of our container, and I’m seriously considering investing in a larger ice cream maker or a second freezer canister just to keep a constant supply of this glorious confection. It’s that good!
Jack’s Expert Tip: When incorporating the melted chocolate, be sure to drizzle it into the churning ice cream very, very slowly. If you rush this step, the chocolate can clump up and potentially get stuck in your ice cream maker’s paddle. However, don’t despair if it does; a quick poke with a spoon or spatula while the machine is still running can often break up any stubborn clumps.
Christi B.
As a fervent fan of the chocolate and peanut butter combination, this recipe instantly caught my eye. The addition of cream cheese to this dynamic duo hinted at something truly special, and I was not disappointed. This ice cream delivers an incredibly rich and creamy texture, beautifully punctuated by varying sizes of dark chocolate pieces throughout. It has unequivocally earned a permanent spot on my list of favorite ice cream recipes.
For my trial, I chose Skippy Natural Super Chunk peanut butter. Our household prefers chunky peanut butter, and I appreciated that any leftover peanut butter wouldn’t go to waste. I prepared the mixture and allowed it to refrigerate overnight, which resulted in a delightfully thick, custard-like consistency perfect for churning the next day. After churning, I transferred the soft-serve ice cream into a lidded plastic container and placed it in our deep freezer to fully set and ripen.
The final product was nothing short of fantastic! The delightful crunch from the peanuts in the chunky peanut butter, combined with the fractured pieces of dark chocolate (I used melted dark chocolate chips for convenience), created a symphony of textures. This was all enveloped in the smooth, subtly tangy ice cream base, thanks to the cream cheese. The interplay of sweet, salty, and a hint of tang made for an irresistible treat. I’m certain this recipe will be a regular request in our home.
Christi’s Expert Tip: Don’t be afraid to experiment with your favorite type of peanut butter. While a creamy natural peanut butter provides a smoother base, a chunky variety can add an exciting layer of texture and intensify the peanut flavor. Just ensure it’s well-stirred before use to avoid separation issues in the base mixture.